

It all started when I was explaining to Cruella (my wife) how my new garden kneeler works. I had just finished explaining the kneeling element and was going on to outline the workings of the seat part, when she suddenly blurted out “you are so boring”. Obviously, I was taken aback, but I quickly countered with “well your chickens are fat”. I probably went too far as she burst into tears and accused me of body shaming her girls. Any way it all went down hill from there and it now appears she is threatening to report me to the Chief Diversity and Inclusion Officer of the National Chicken Council. I think she made this up so I am just going to get on with Part 2 of the big winter cutback.
I don’t want to make you choose sides, but just look at my new garden kneeler in the photos below and compare that with the fat chickens. Eh! Who is boring now. Click on each photo for a larger view.


19th January 2023. Things I have been doing lately:
Pruning fig trees. Now is the time to prune your fig trees, as all the leaves should be off by now and the sap should have stopped rising. I have two fig trees; one of which is espalied. The photos below show my figs waiting their annual prune. Click on each photo for a larger view.
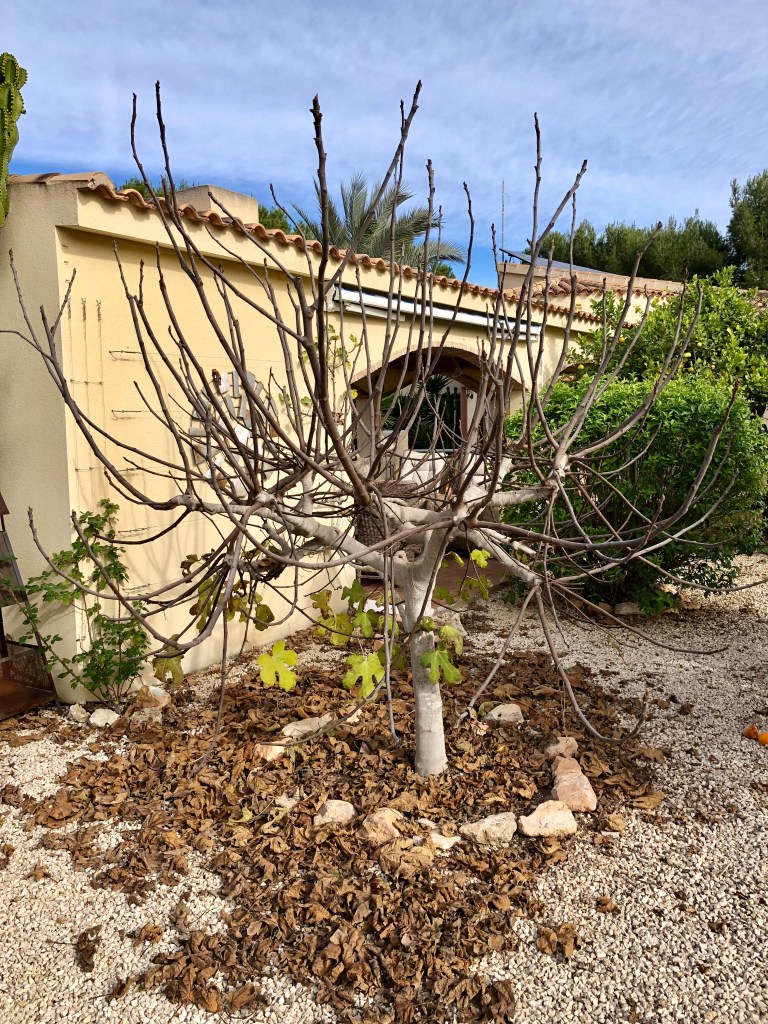

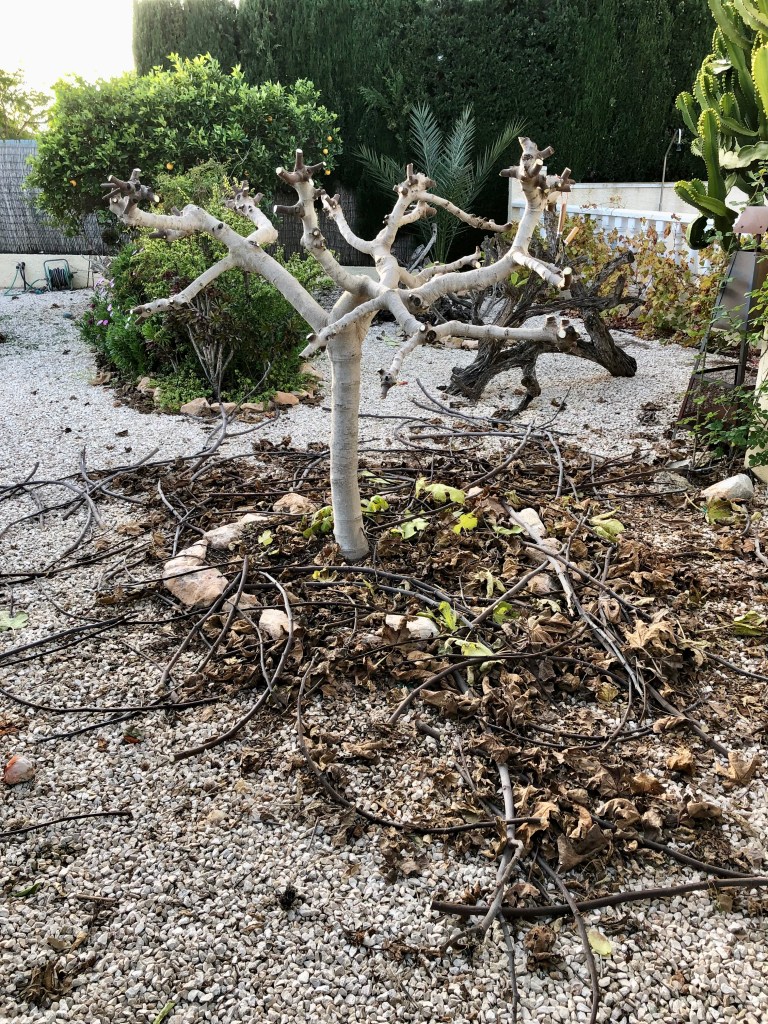
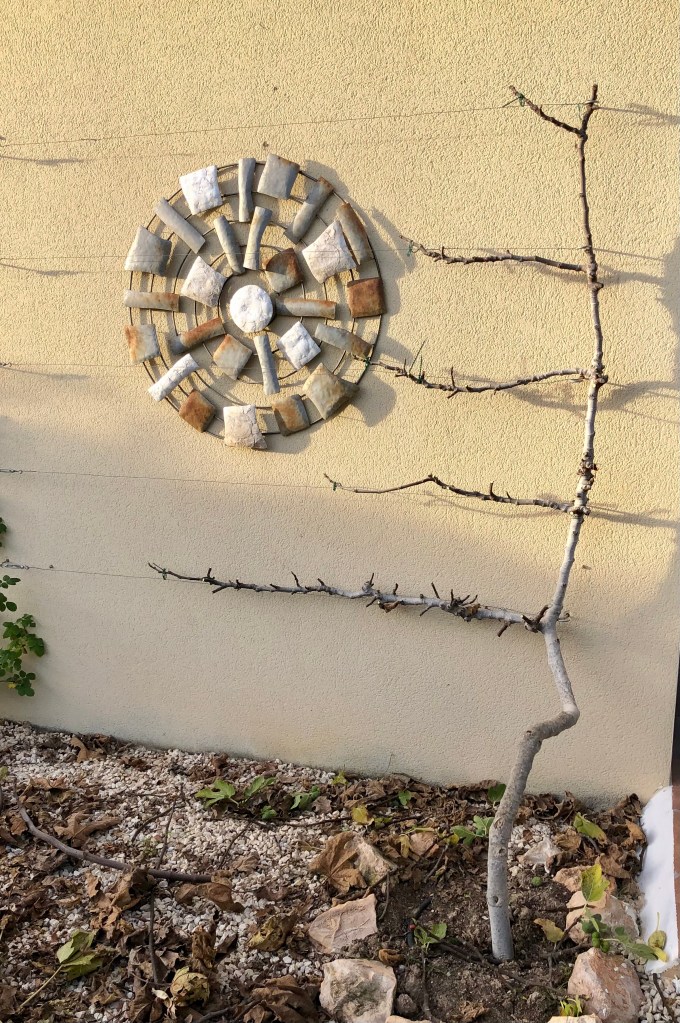
Fig pruning is a multi year event, you must first let the tree grow to the size that you want it, and which fits in with your garden. Once you are happy with the size then cut back hard to an open structure of branches and then leave it alone for a year. It will grow a whole new set of fruit bearing branches from this main structure, and it is these that you will prune back each year, and by this method you will keep the tree in shape and stop it becoming a behemoth which dominates your garden. It is important to note that the branches of the espalier fig are not cutback, as I am training it along wires, only the side shoots are taken out. The photos below show my trees after their annual prune. Click on each photo for a larger view.
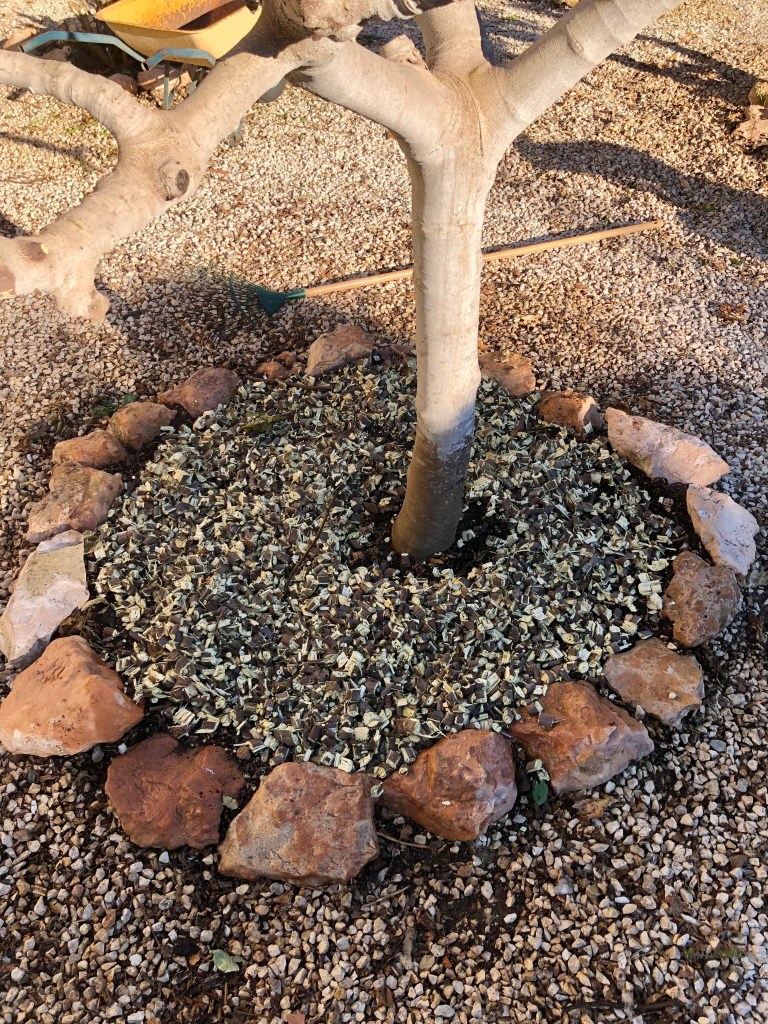
A useful adjunct to your pruning is to leave the cut stems on the ground for a few days to let them fully dry out, and then shred them and lay them as a mulch under your trees. The photos below show the final mulch laid around the tree.
Pruning grapevines. In a similar way to the fig, grapevines should now have lost most of their leaves and the sap should no longer be rising. I have three grapevines which are basically ornamental, but look lovely in summer. The main grapevine grows along the front of our Naya and it’s stems hang down to form a lovely fringe along the front of the house. The other two grow along balustrade at the side of our pool and provide a barrier to table tennis balls going out of the pool area (don’t ask). The vines can be seen in their uncut state in the photos below. Click on each photo for a larger view.


Many people in Spain just leave their grapevines to become a big shapeless, tangled, amorphous mass. But this is not fair to the plant and it will not give of its best when left like this. You need to leave the main stem alone, but cut back all the side shoots to the nearest bud node, and then tie it all in to stop wind rock tearing at the main stem.
The vine along the front of the house is tied back to wires, but will more or less stay in shape as the vine stem thickens and it gets older. The ones around the swimming pool needed to be rehung for the best display. Note that it is important not to tie up vines with a single strand of wire, as this will dig into the stem and allow pathogens and pests in. Instead form a loop of wire as shown in the photo below like a little hammock for the vine stem to rest in.
The photos below show my vines pruned back, and finally you can see the wire hammock to hold the stem. Click on each photo for a larger view.


Cutting back Dame de Noche. Many of you will have a Dame de Noche plant in your garden for the beautiful night scent they give off in the summer. This plant is especially useful near outside seating areas or close to the house where an open window will allow the scent to flood the house.
Dame de Noche in itself is not an intrinsically beautiful plant, but it makes up for this by its scent. However, to maintain the shape of the plant and its scent you need to prune in a specific way. Right now you need to cut back the plant by two thirds using your electric trimmer or lopers. Normally this will suffice and allow the plant to grow quickly by the summer, and back to at least it’s original size. However, sometimes the centre of the plant will become congested as mine has, then you need to get your chainsaw out and cutback lower to main branches.
The photo below shows my Dame de Noche ready for pruning, and if you look at the centre of the plant you can see that it is congested.

The first photo below shows the level you would normally cutback each year. However, I have to cutback further because of the congestion at the centre of the plant, and the second photo shows the drastically pruned plant. Click on each photo for a larger view.


Cutting back Oleander. Oleander is another of those Spanish plants which you can only cutback in the winter after the sap has withdrawn from its stems. Failure to obey this simple rule of thumb will probably leave you with badly burned hands and arms from the caustic sap.
Cutting back Oleander is simple. First stand back and assess what you want out of the plant; do you want it to be large and dominant, or in a hedge, or like me do you want it to play its part in a sympathetic blending of plants. If you decide to prune then it is very simple just go down the stems to the height you want the plant to be, then cut just above a pair of leaves on each stem. Try and leave as little stem as possible above your cut, as this is dead and will only attract pathogens and pests if left too long.
The first photo below shows the Oleander I want to cutback to stop it dominating this part of my small “dry garden”. Often it is best to cutback Oleander via its back door from behind as you get a better view of the stems and where you need to cutback, as in the second photo. The third photo shows where to cut on each stem, and finally the newly pruned plant. Click on each photo for a larger view.


Creating sight lines in your garden. Unfortunately, I have to finish this post now as I have received a court summons from Chief Diversity and Inclusion Officer of the National Chicken Council, evidently they do exist, and I have to prepare my defence. But before I go I want to tell you about the importance of sight lines in your garden.
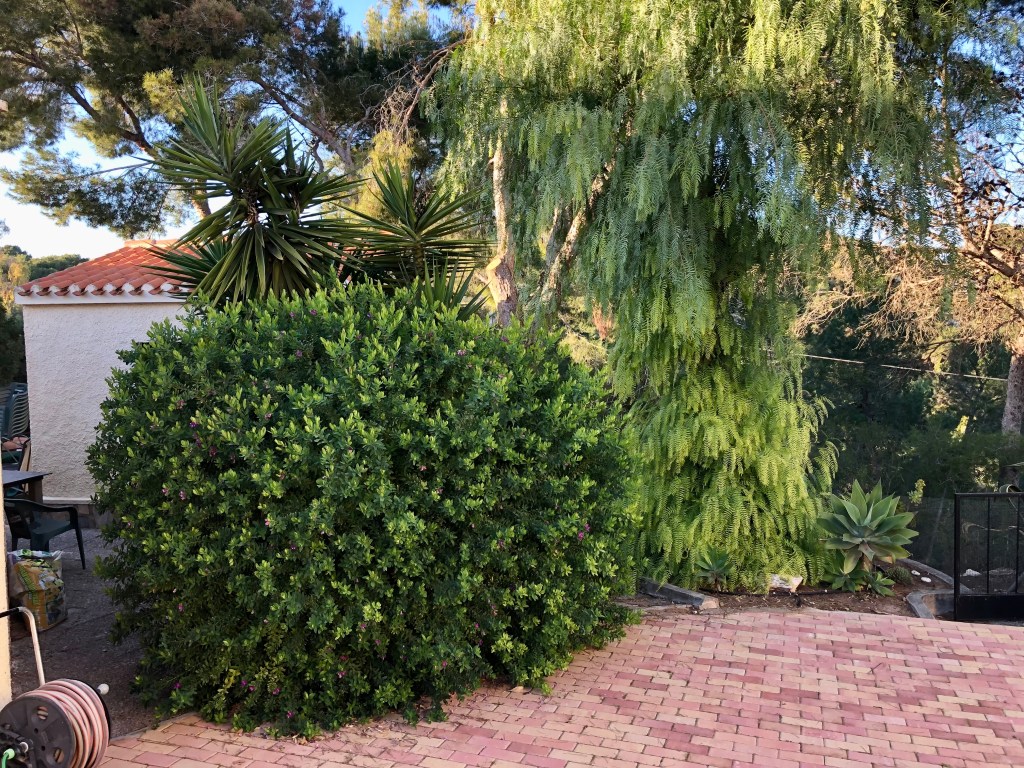
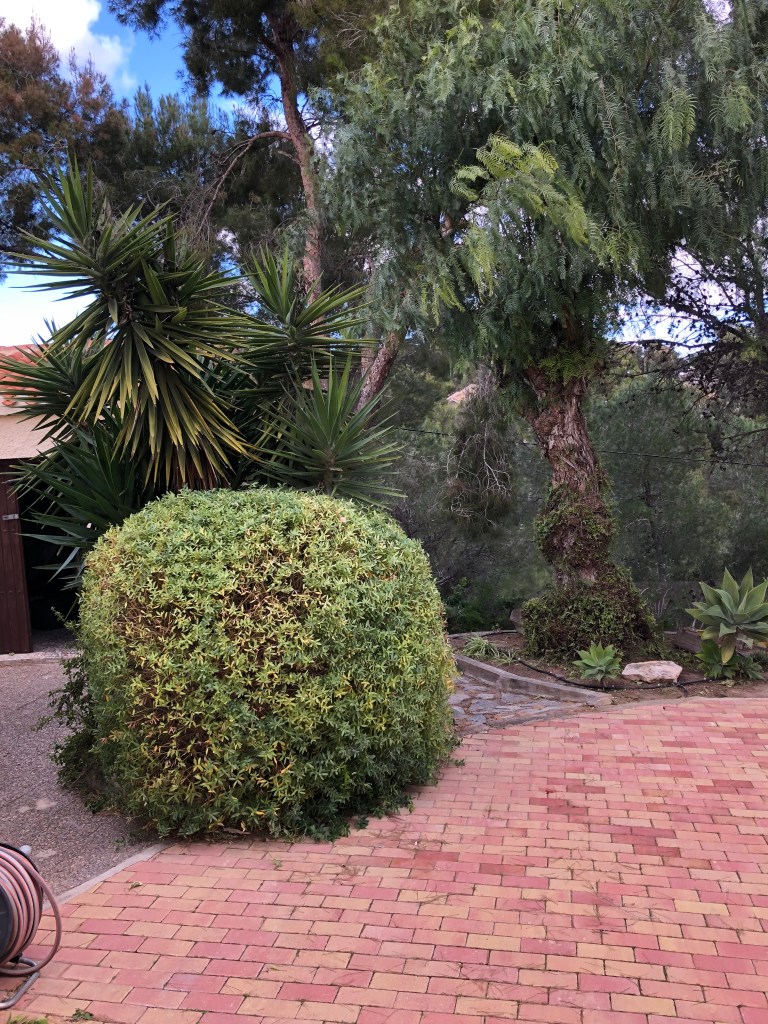
Sight lines are views or viewpoints that exist within any garden large or small that display either the whole garden to best advantage or a particular area. In this case it is the view at the end of my drive. I have planted the end of the drive in various ways but the dominant plants are a Californian False Pepper tree and a Myrtle-leaf milkwort bush. Unless both these plants are kept in shape with regular pruning then the sight line at the end of the drive becomes messy and confused. This is an important sight line for my garden as it is the first thing visitors see as they come down the drive.
The first photo below shows the end of the drive with the plants overgrown and not providing the sharpness that I want in this sight line. The next photo shows the two main plants pruned back and the sight line restored.

You must be logged in to post a comment.