

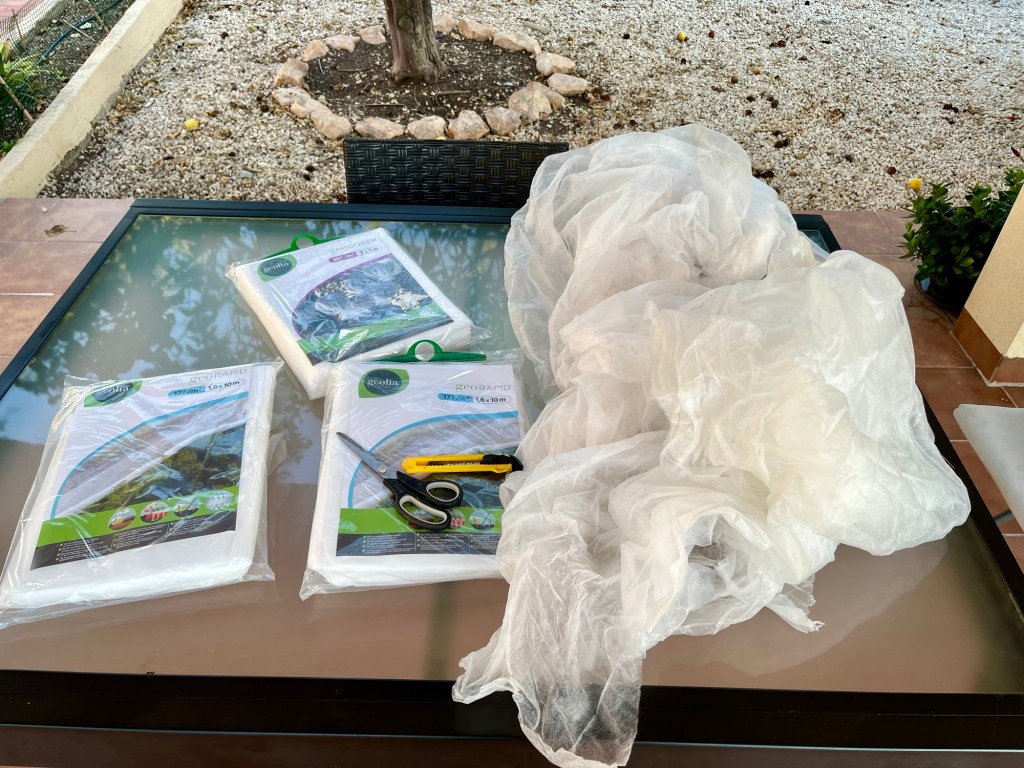
The big winter cutback continues, and this post covers the main jobs you should be doing in your garden right now. Remember, don’t delay as growth will start in late February and you will have missed the window to prepare your garden for summer.
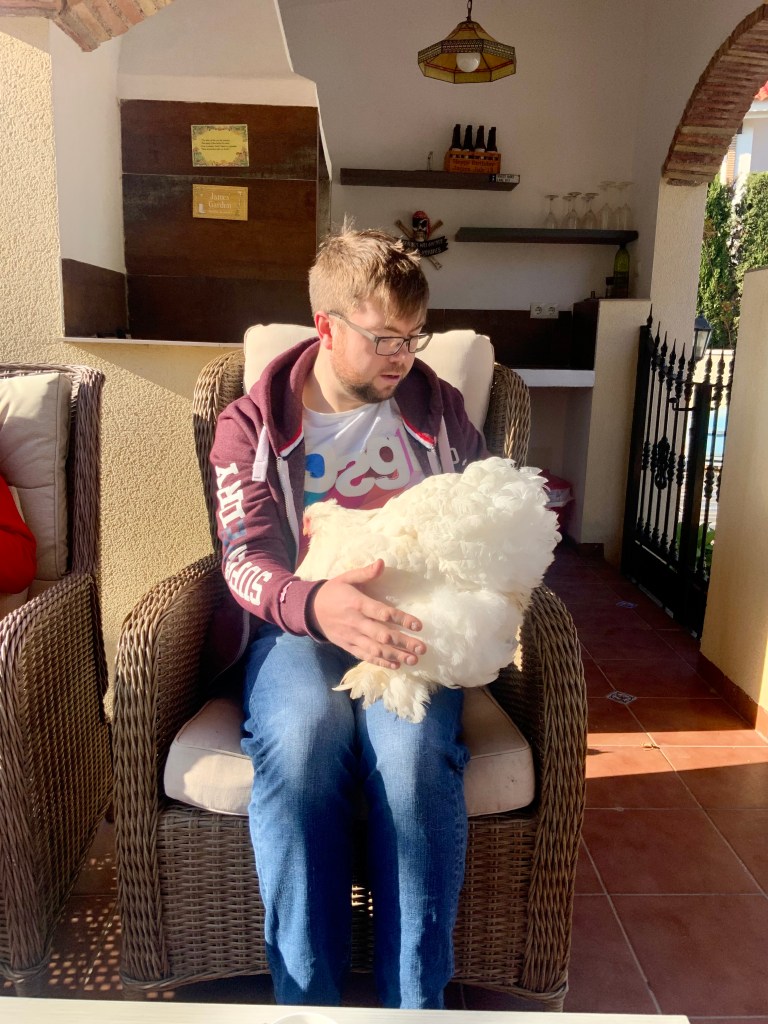
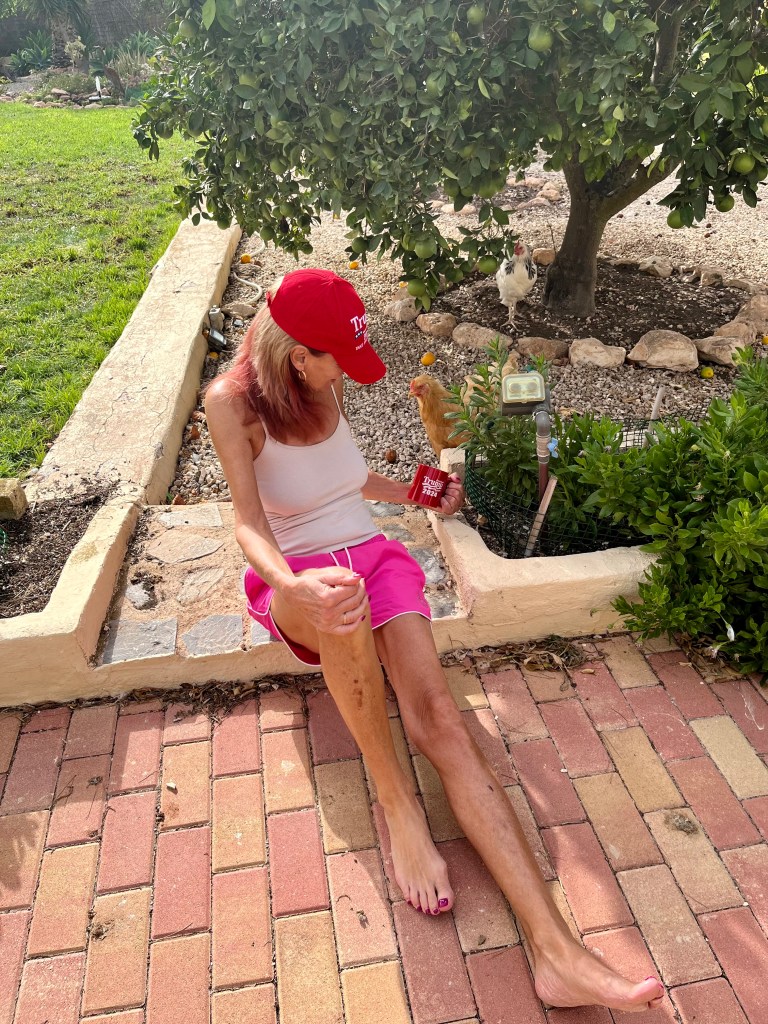
All is going well with my cutback and I have managed to find a use for the chickens in the garden; Cruella (my wife) is not impressed. Anyway, this is what I have been up to:
19th January. Things I have been doing lately:
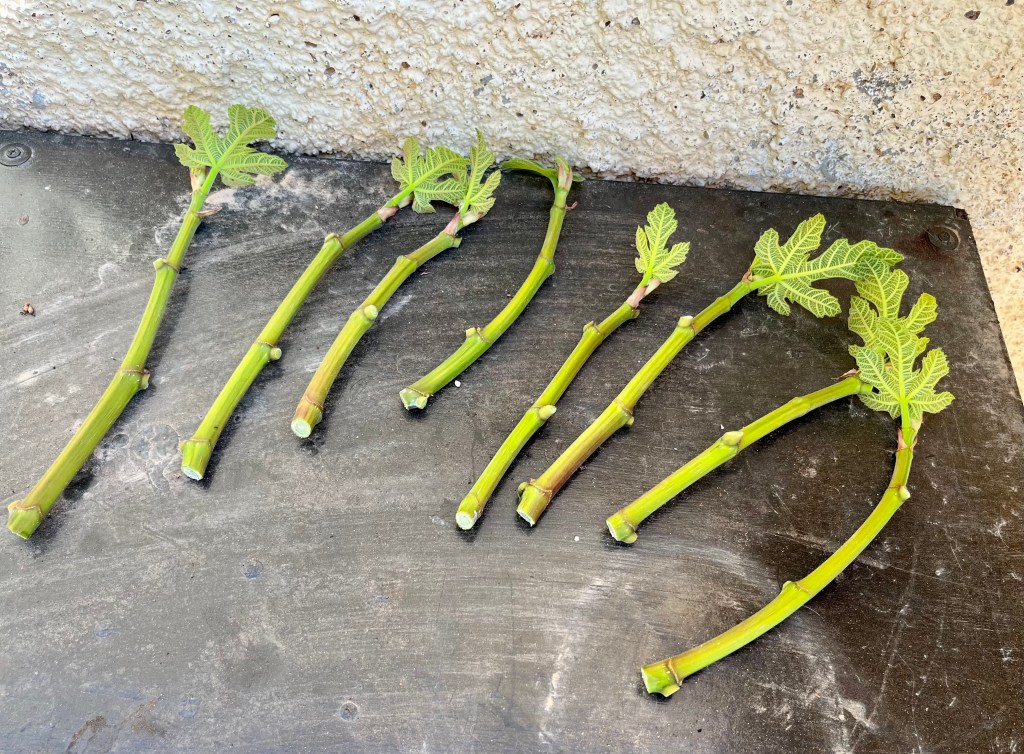
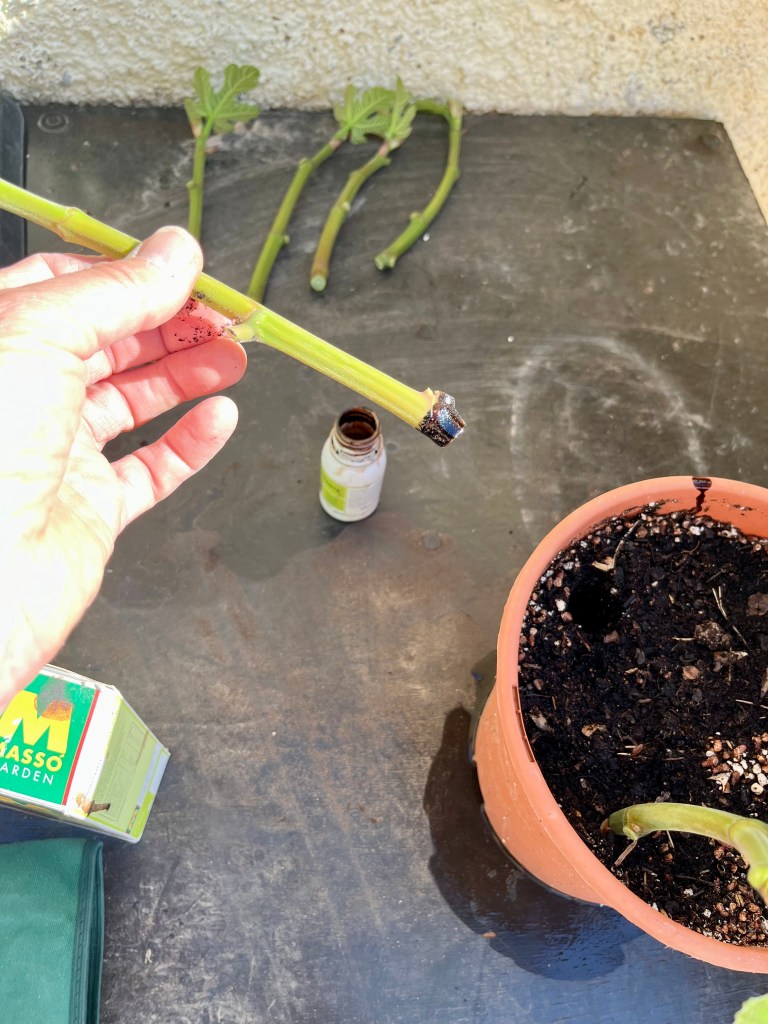
- Pruning figs safely
- Pruning grapevines
- Cutting back ornamental grasses
- Pruning figs safely
- Mulching with chickens
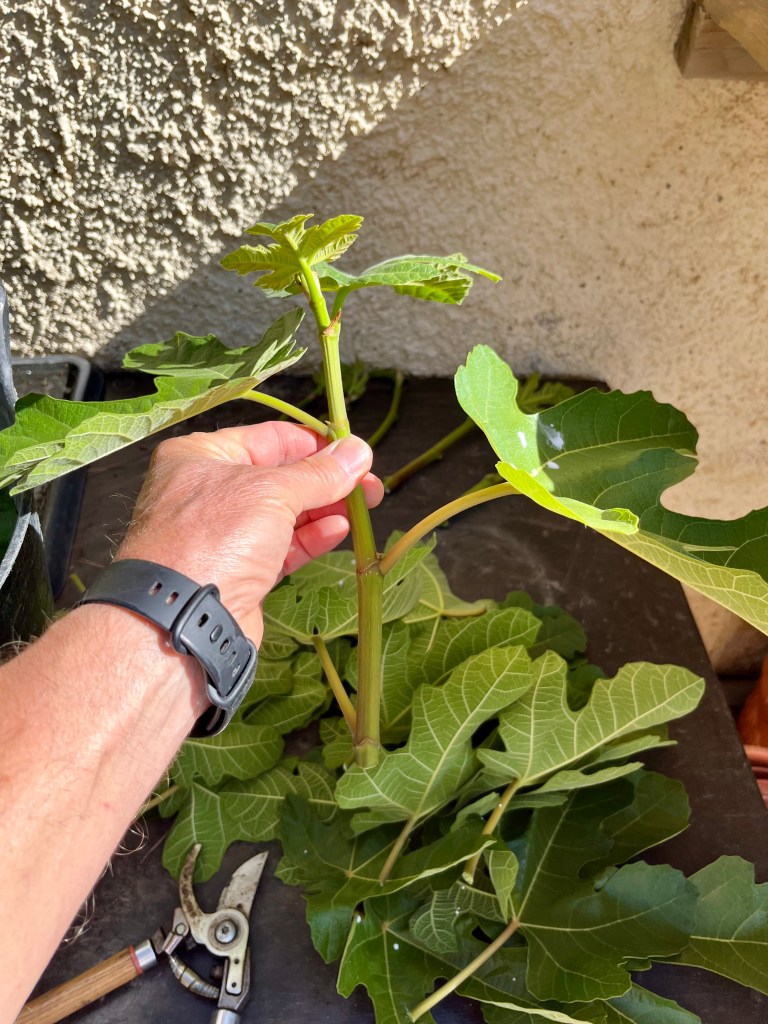
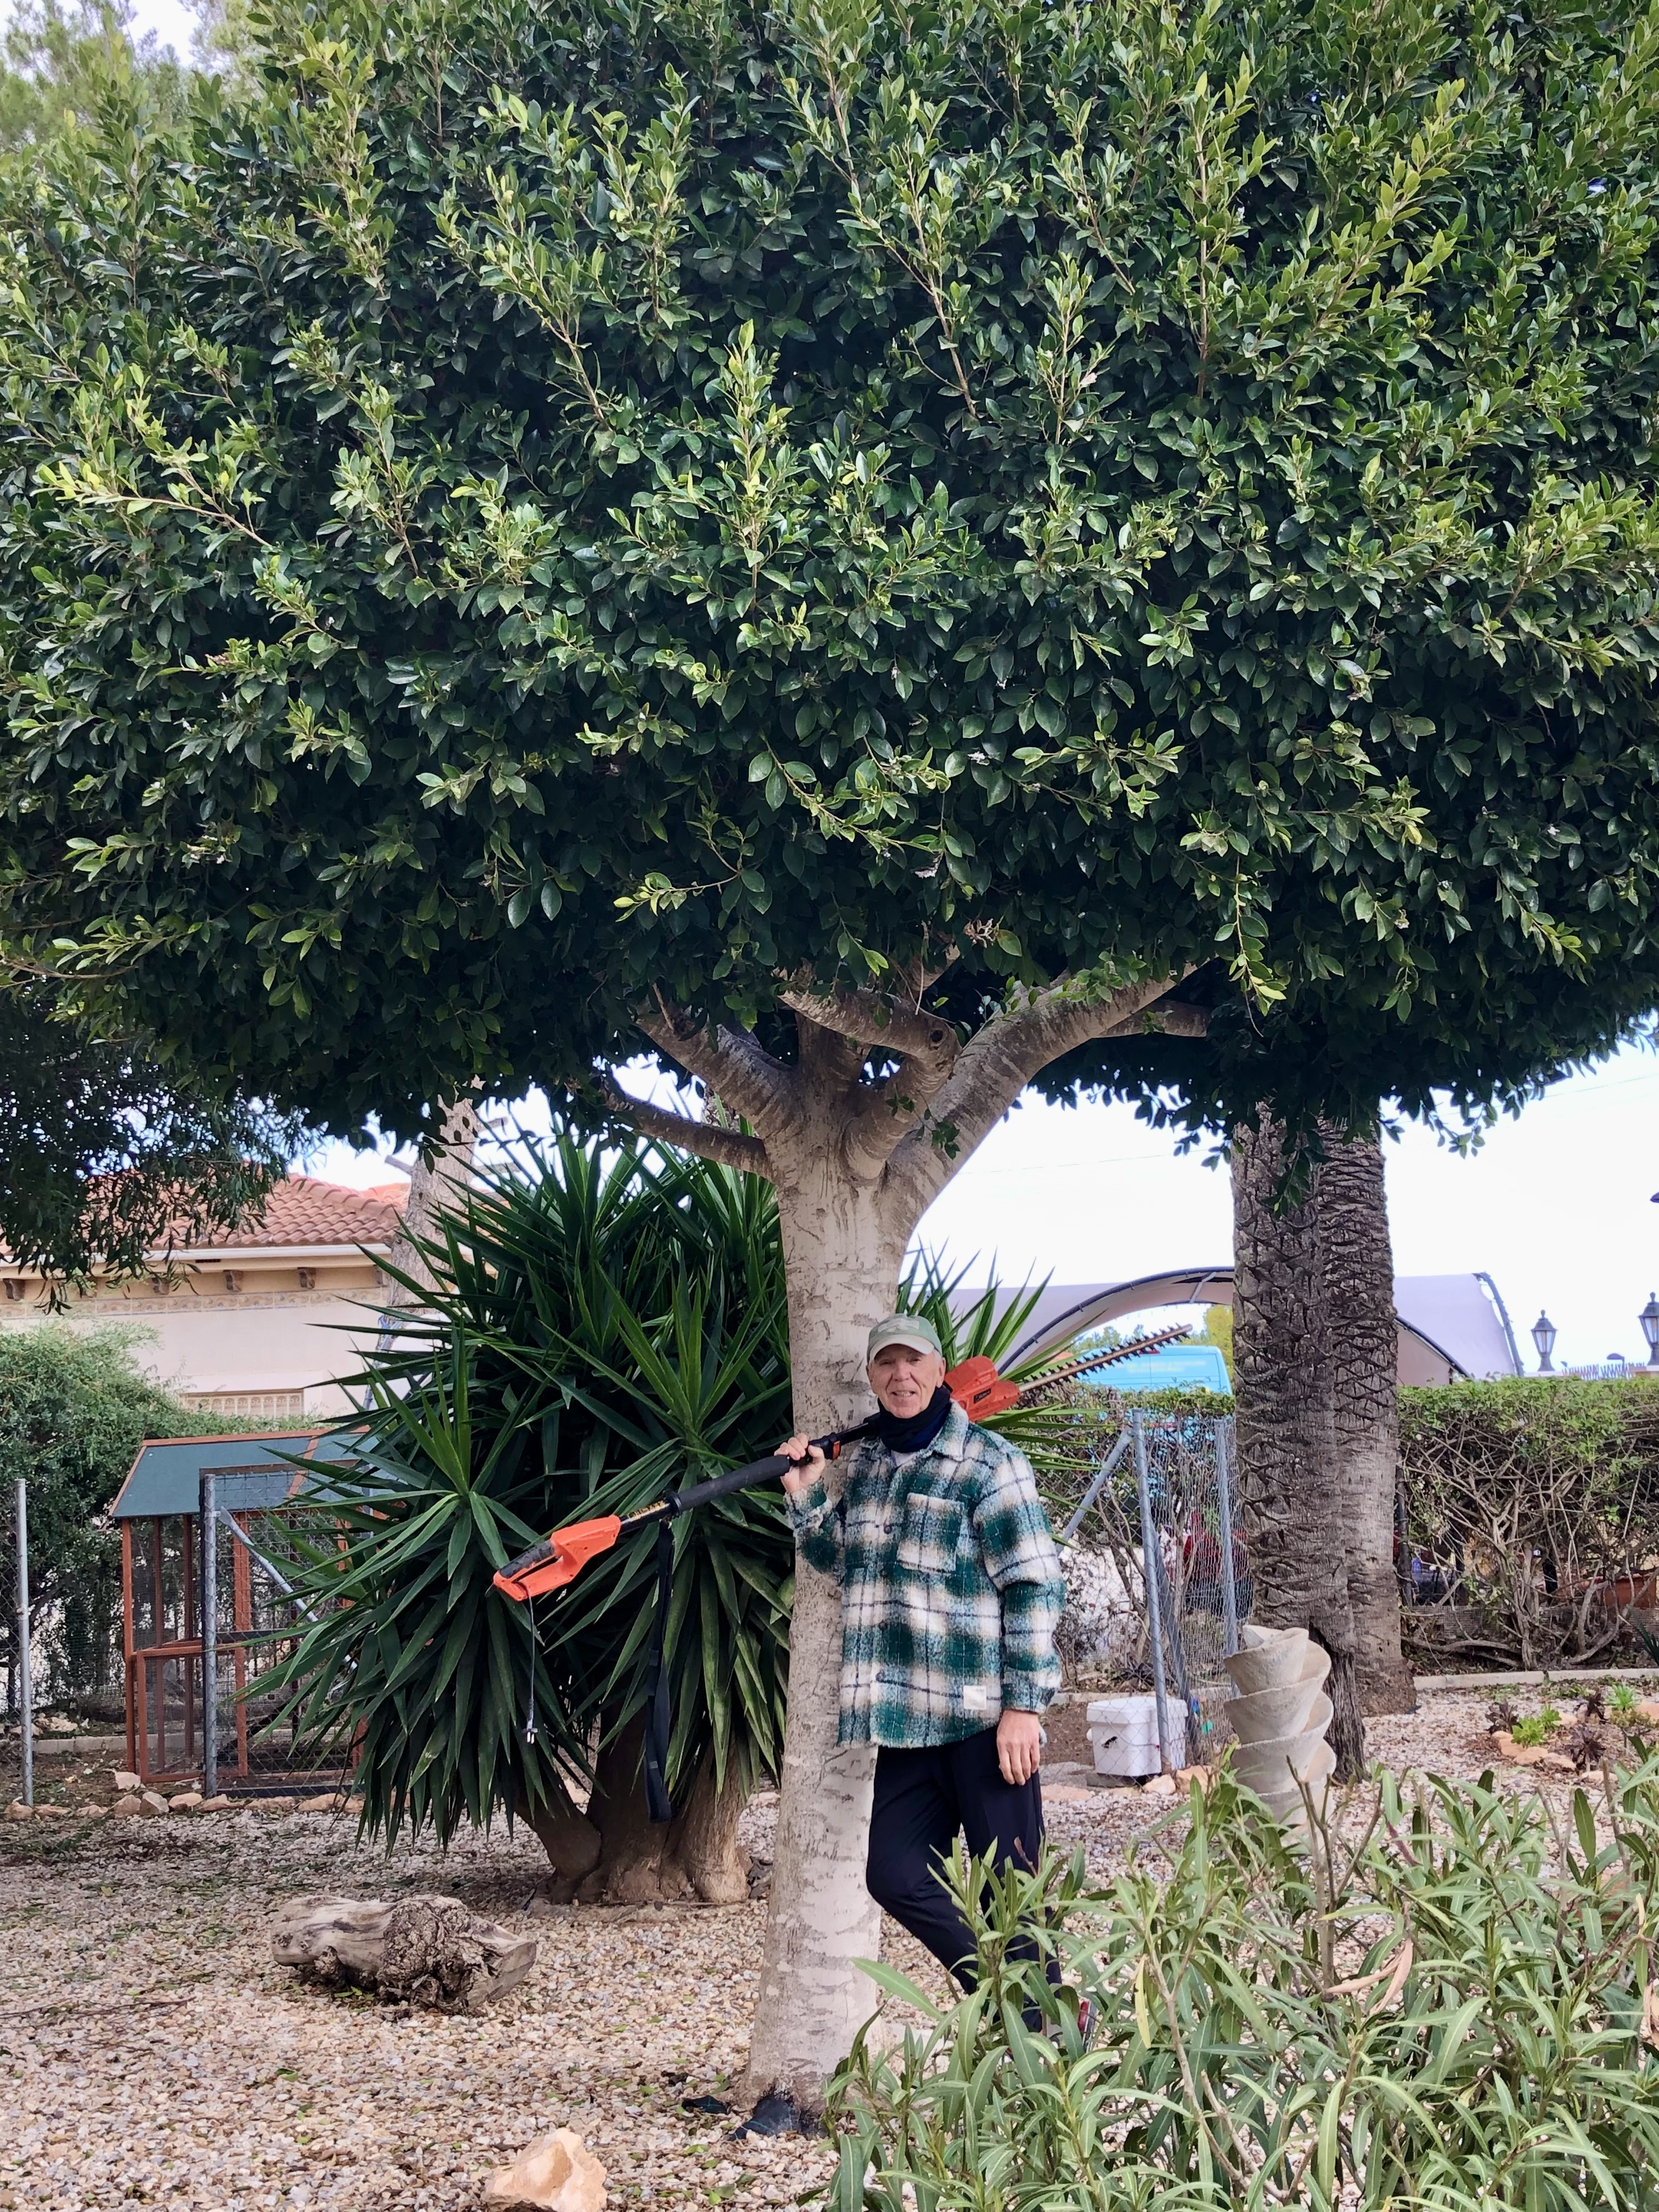
A well maintained fig tree is a joy: it not only looks good, but it provides you with hundreds of juicy figs. Unfortunately the majority of figs trees in gardens in Spain are large bulky behemoths that are far too big with fruit that is impossible to reach. Maintaining your fig tree is simple. If you have a young fig tree (less than 7 years old), then just prune to keep the tree trim and with an open centre. If however you have a large tree, or one that you want to keep manageable then I would recommend pruning to a “pollard”. When pollarding you take the tree right back to a few key branches then let it grow annually from these knuckles. Unfortunately you may lose fruit for the first year, but thereafter it will be much better.
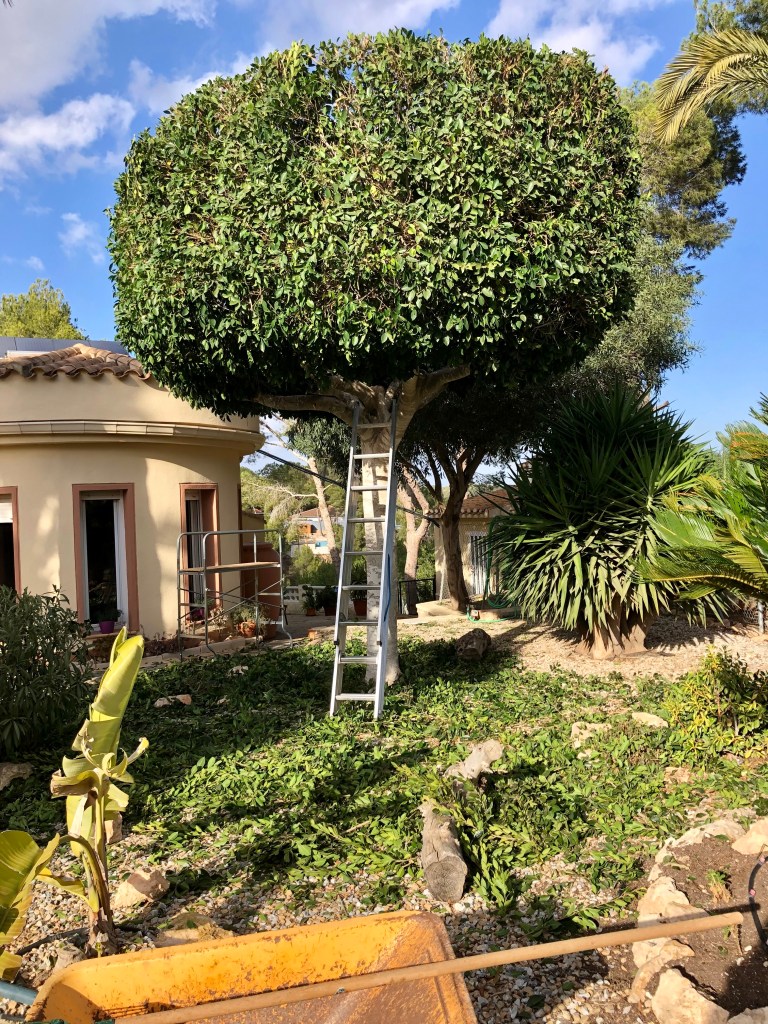
I have two fig trees one that is pollarded and one that is espalied. The photos below show both trees when they are in full leaf. Click on each photo for a larger view.


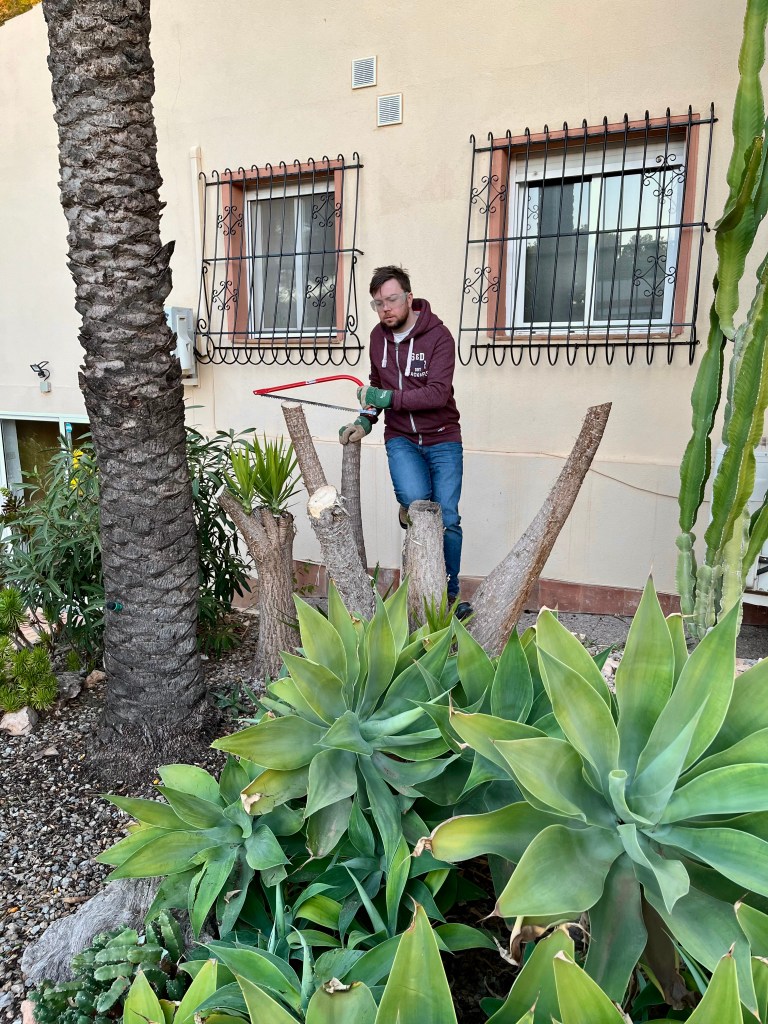
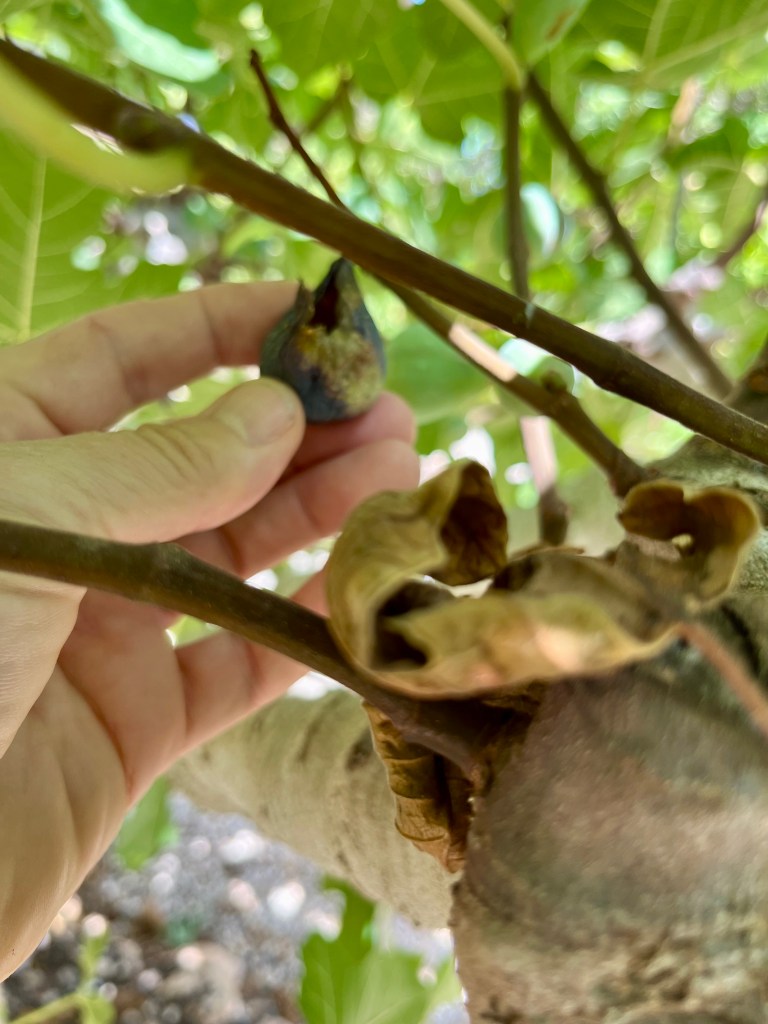
The important point to remember when you are pruning figs is that they will weep a very caustic sap from their pruning wounds so you must not attempt to prune until January or February when the sap will have returned to the roots. Even then it is best to wear a long sleeve shirt, gloves and eye protectors.
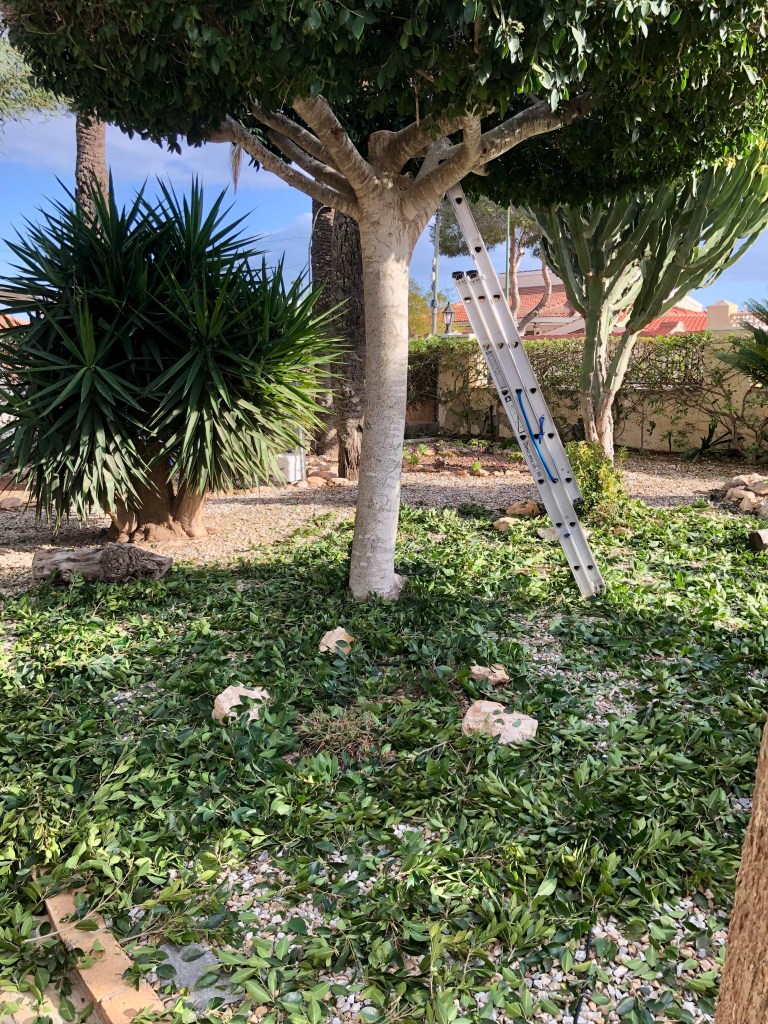
The photos below show both of my figs with their leaves off and safe to prune.


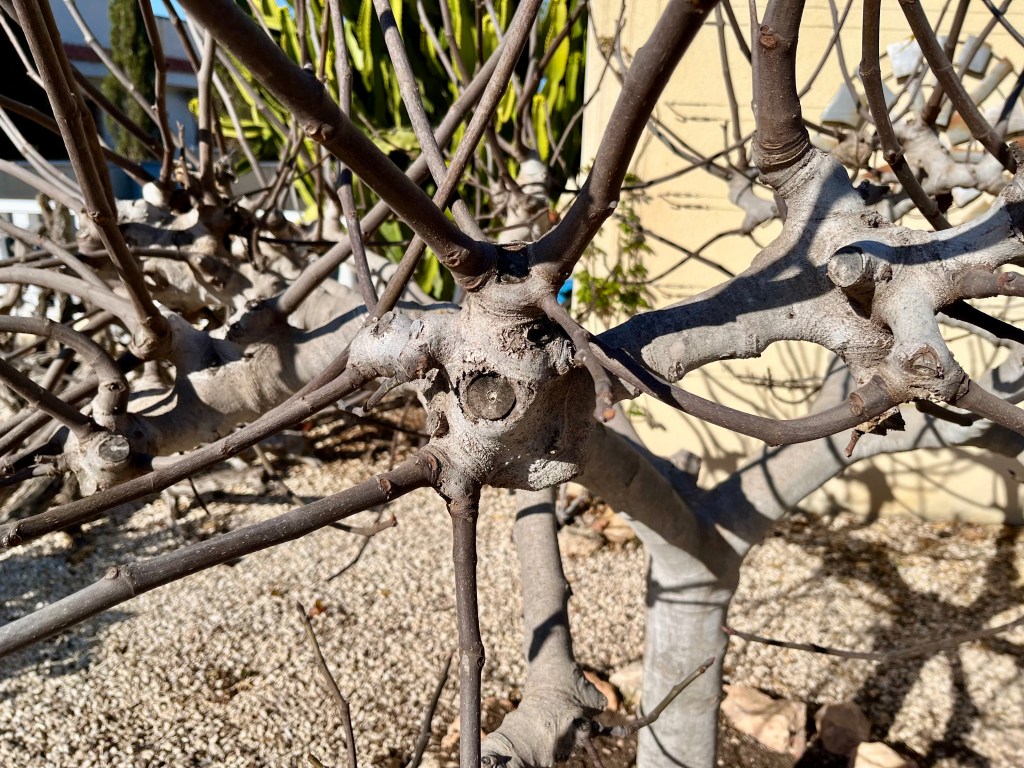
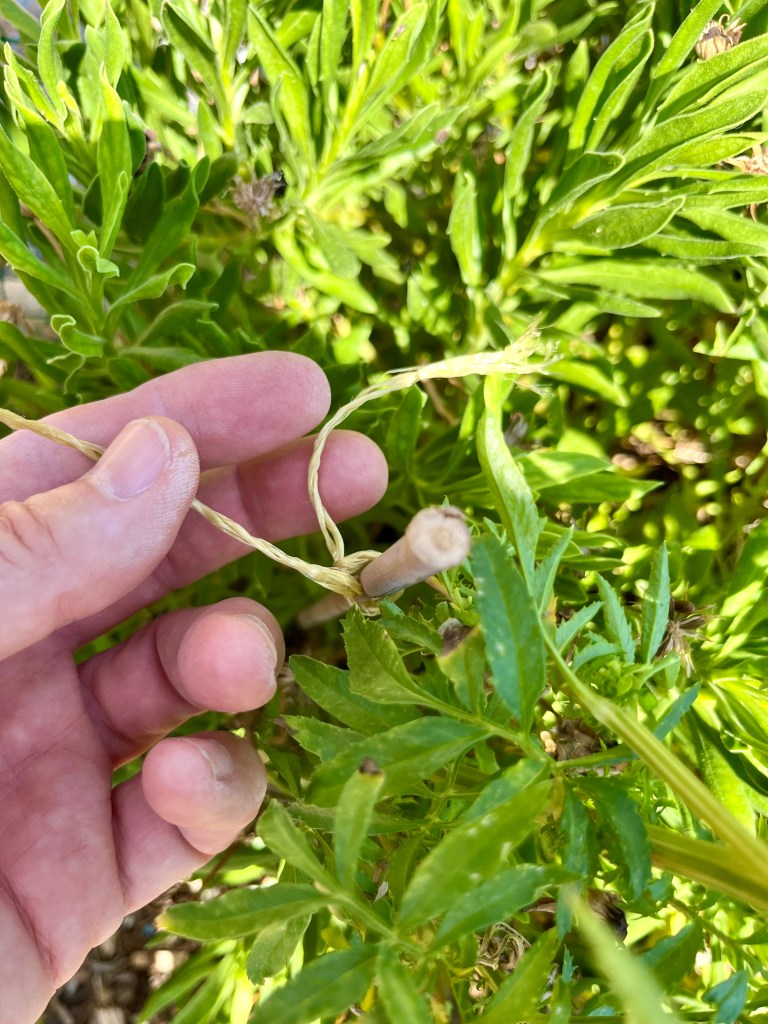
The large free standing tree was pollarded a few years ago so all that I need to do is to take back this year’s growth to the knuckles. Using lopers, and secateurs I cut everything right back to knuckle, but be careful not to take it right back or you will breech the “collar” of the branch where the next growth comes from. Leave a centimetre or two.
The first photo below shows the structure of the knuckle, the second shows a knuckle pruned, and finally the tree cutback for another year and ready to burst into leaf in about a month.


Pruning the espalier tree is different. I want this to grow along the wall on the wires that I have trained it. So the main stem I have stopped growing and want no more upward growth. Neither do I want growth at the back against the wall, or any growth that goes to the right, as I am espaling to the left. In this case I trim all the side shoots back to the lead branches. The end result is shown in the photo below.

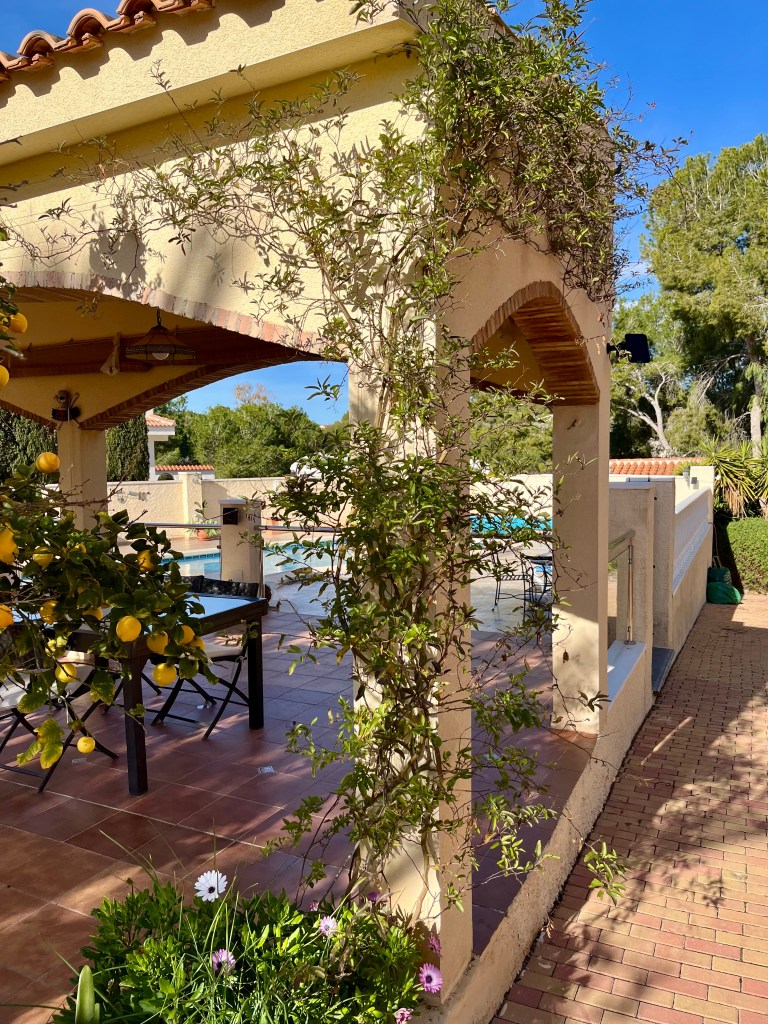
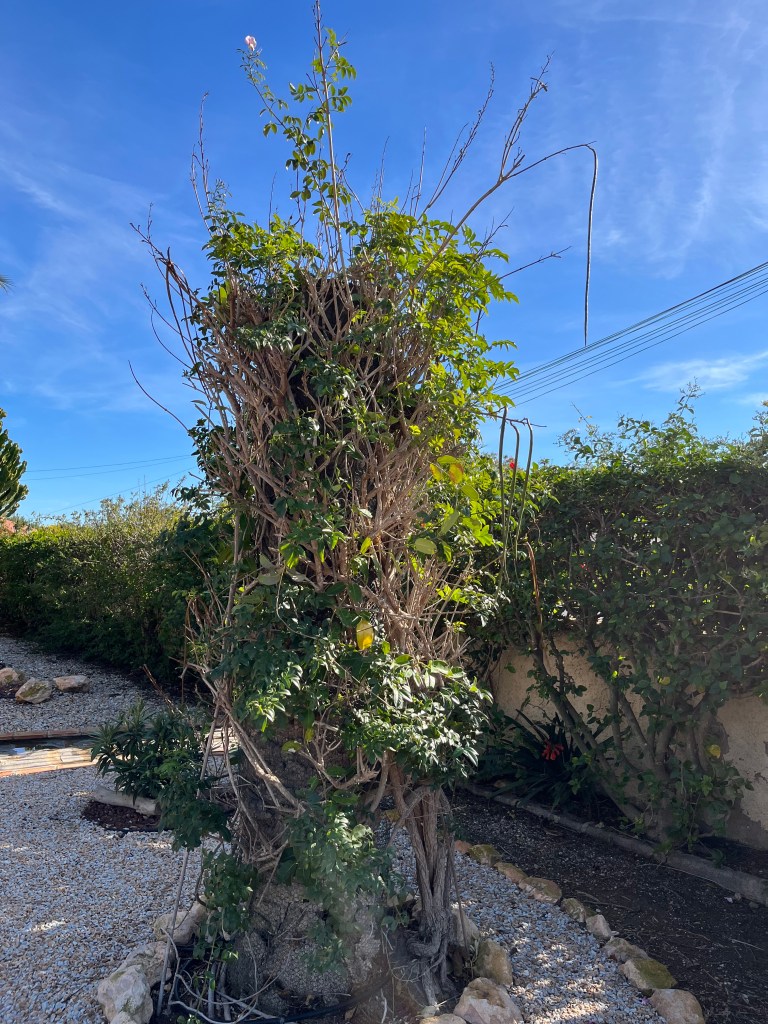
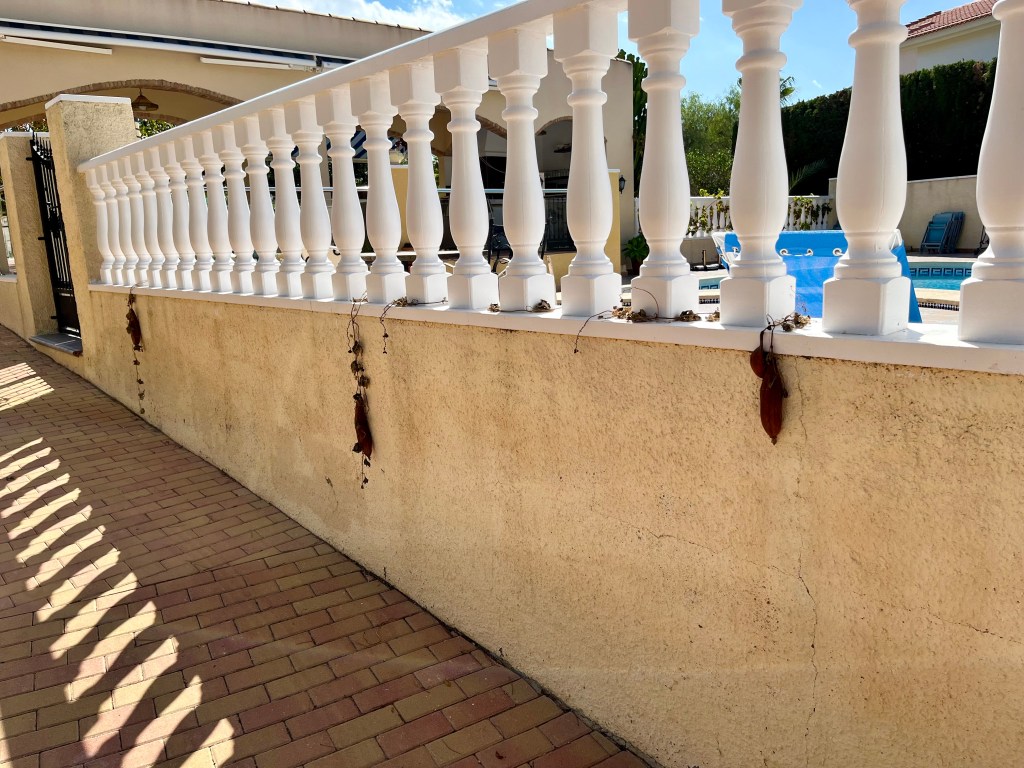
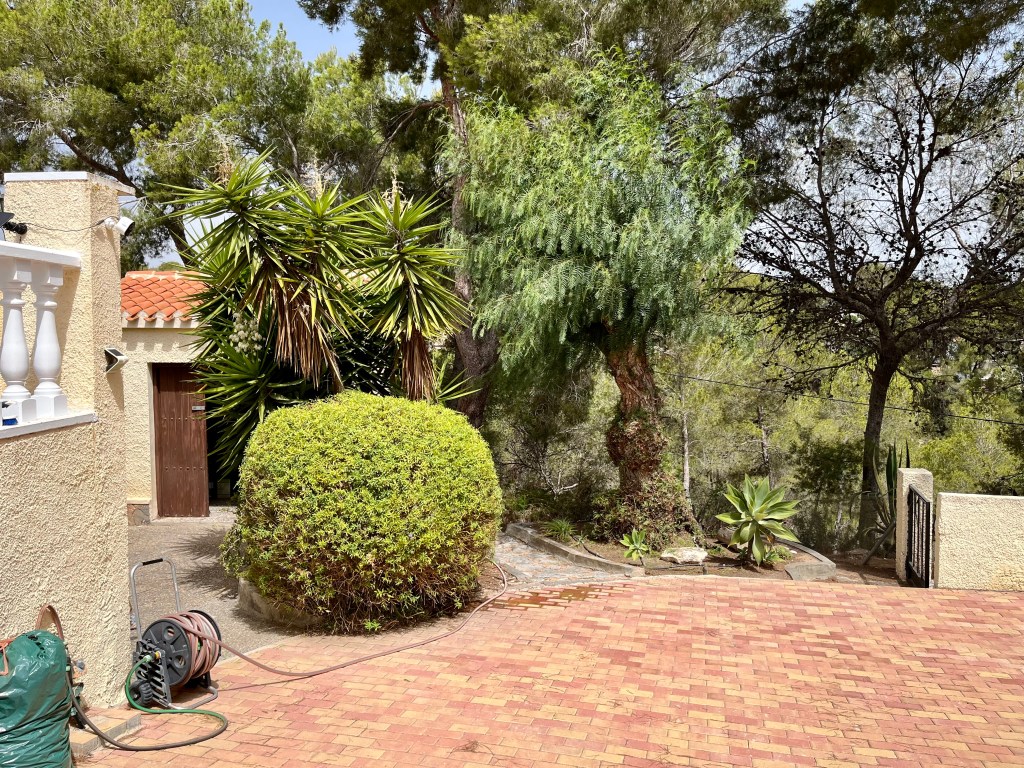
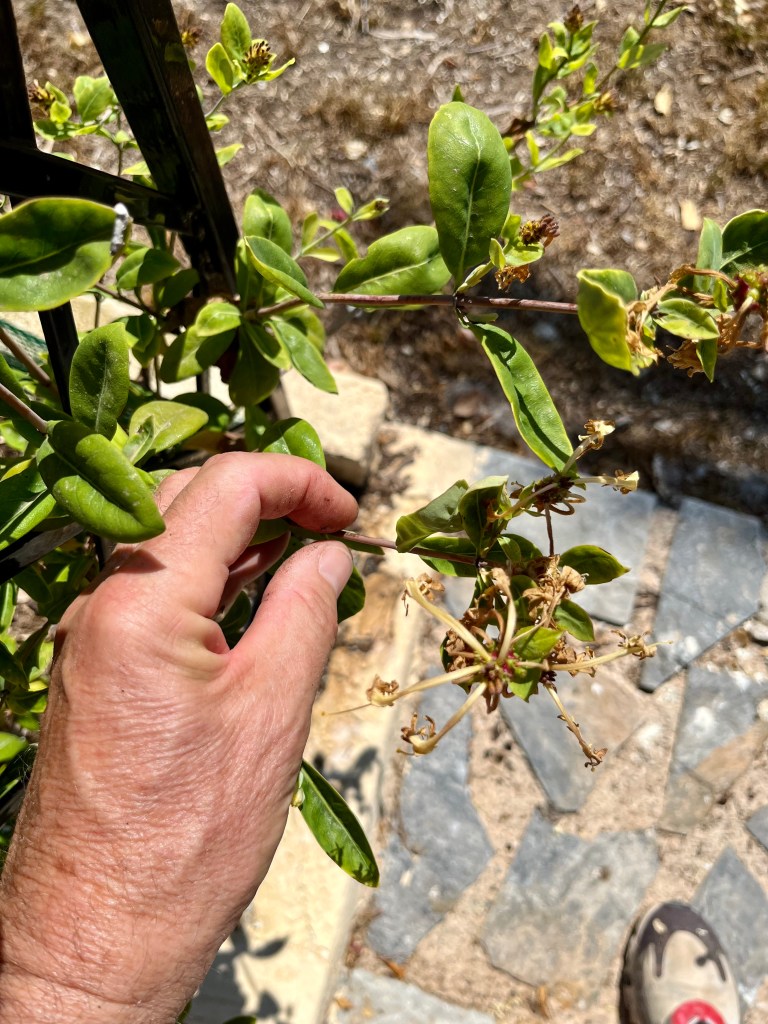
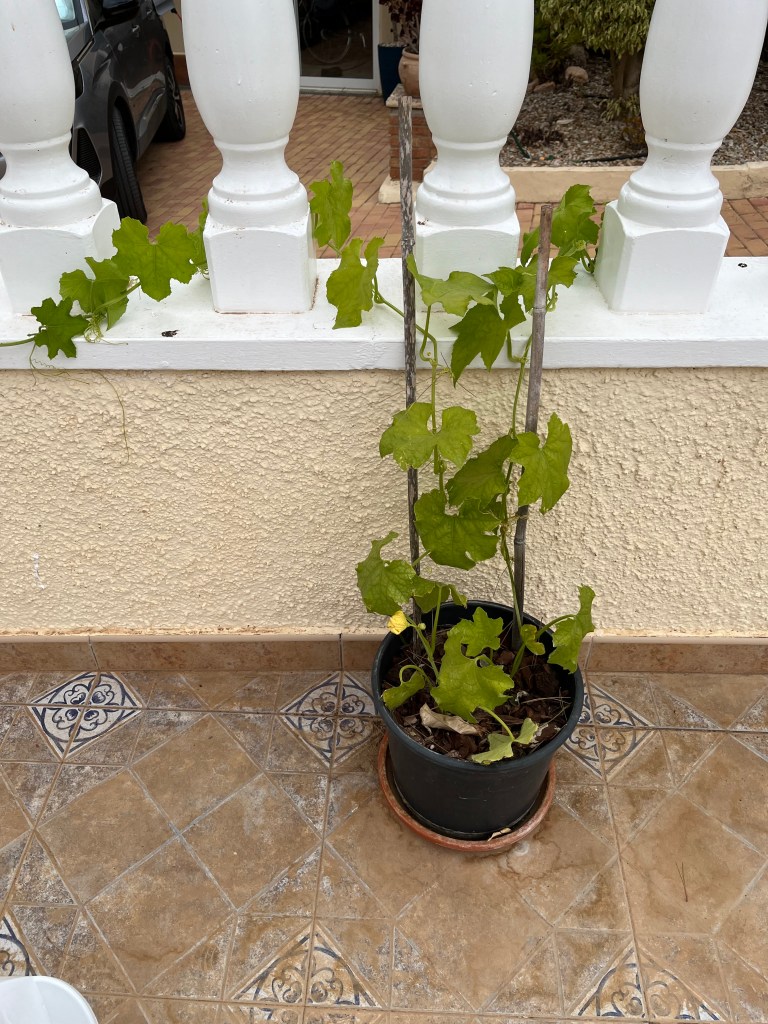
Pruning grapevines. Pruning grapevines is very similar to pruning espalied figs. You need to take all the side shoots away and take everything back to the main vine. I have three grapevines. One grows along the front of the house and is mainly ornamental as it gets mildew each year because of its position against the wall. The others grow along wires attached to balustrades and therefore have lots of air flow and ventilation. See photos below. Click on each photo for a larger view.

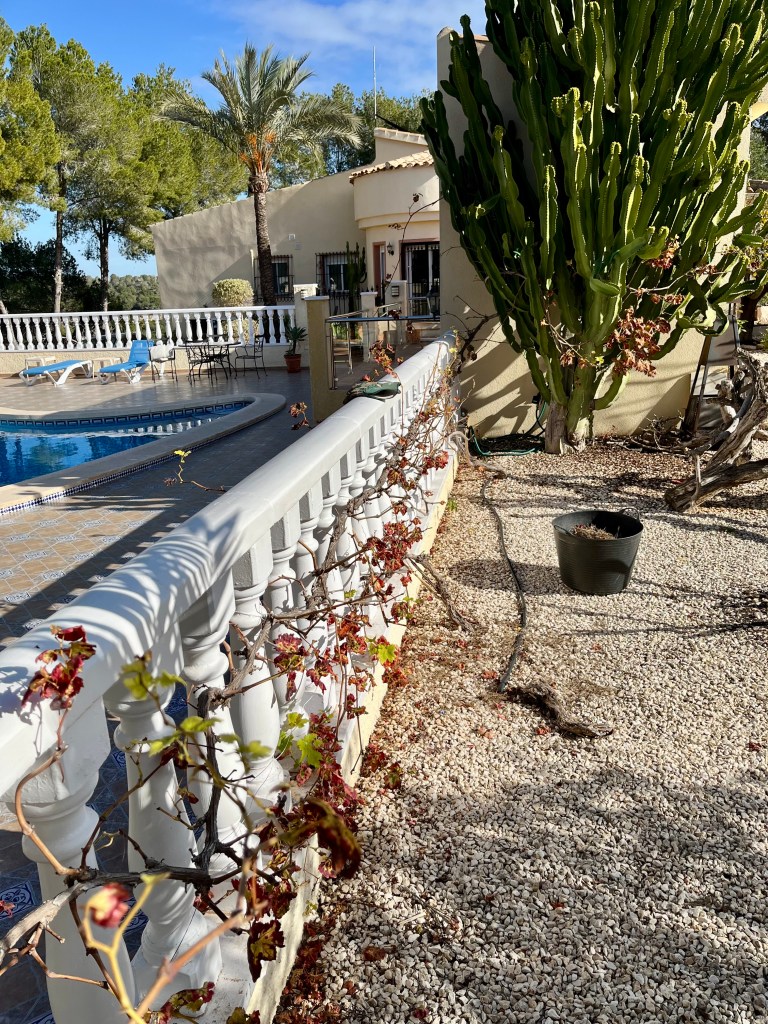
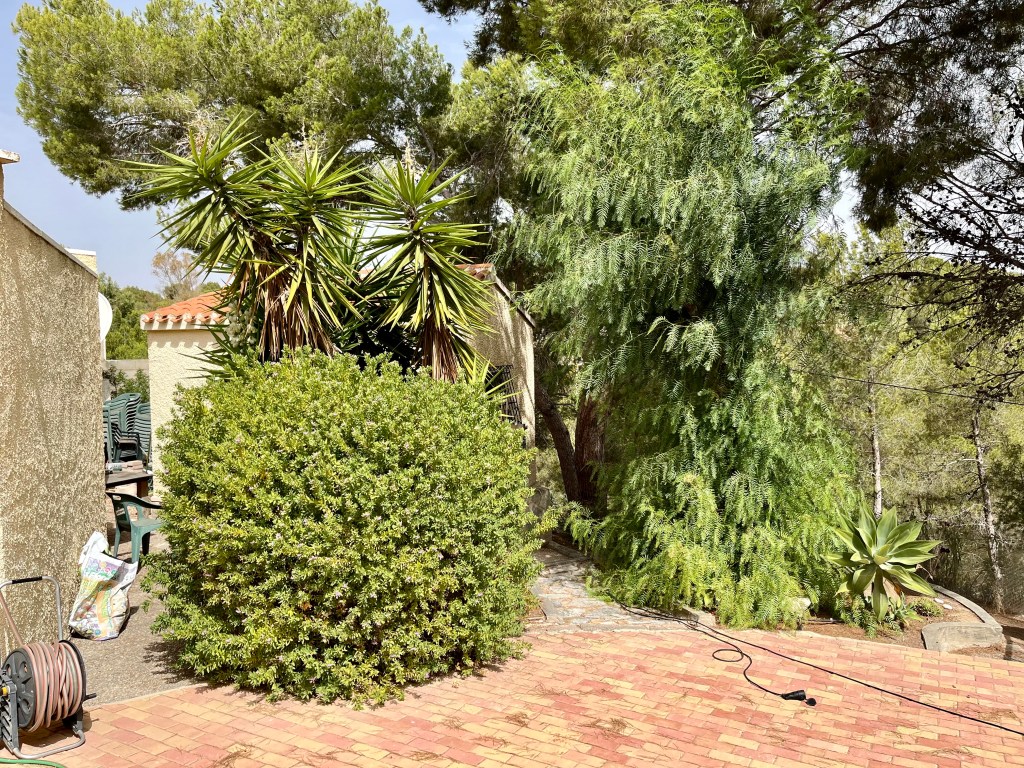
In each case I just move along the main stem taking out any side shoots and taking everything back to the one strong vine. The photos below show the vines pruned. You may be interested to note that I am using the large Euphorbia at the end to grow the vine through, hopefully this will be a nice feature in a couple of years.


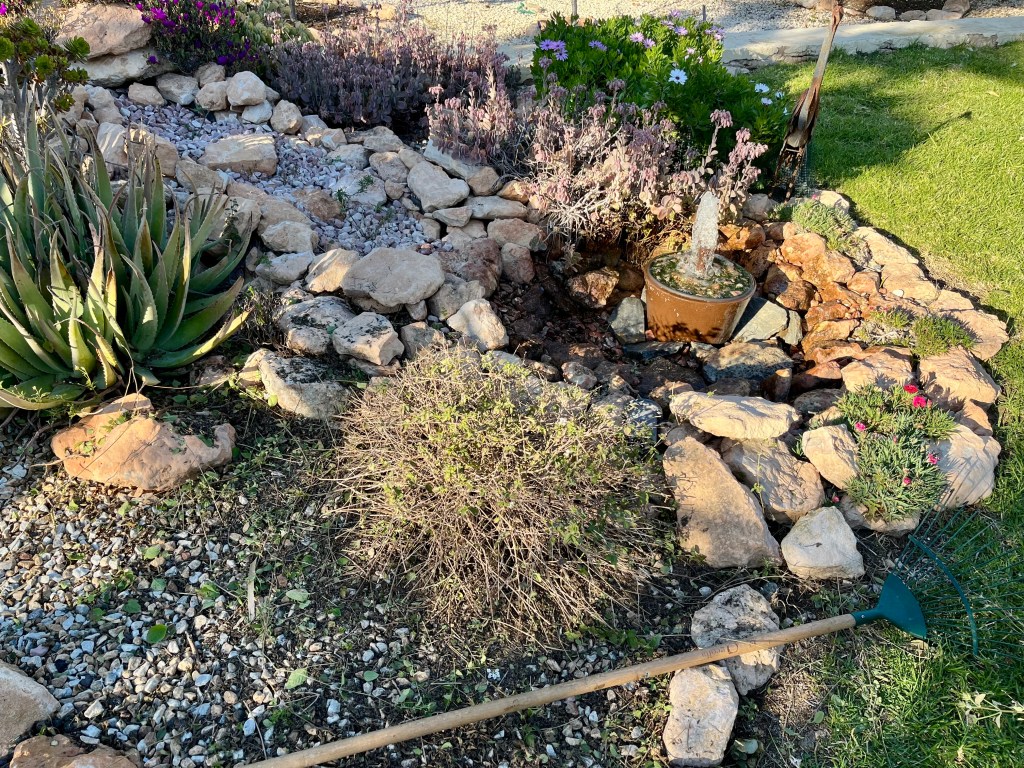
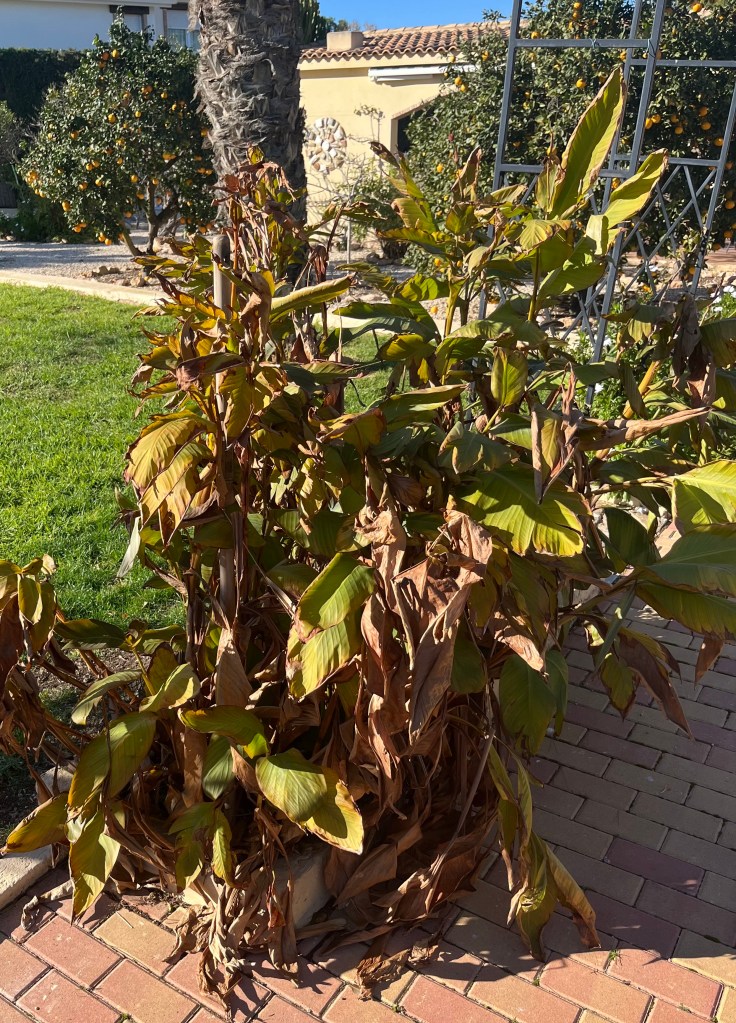
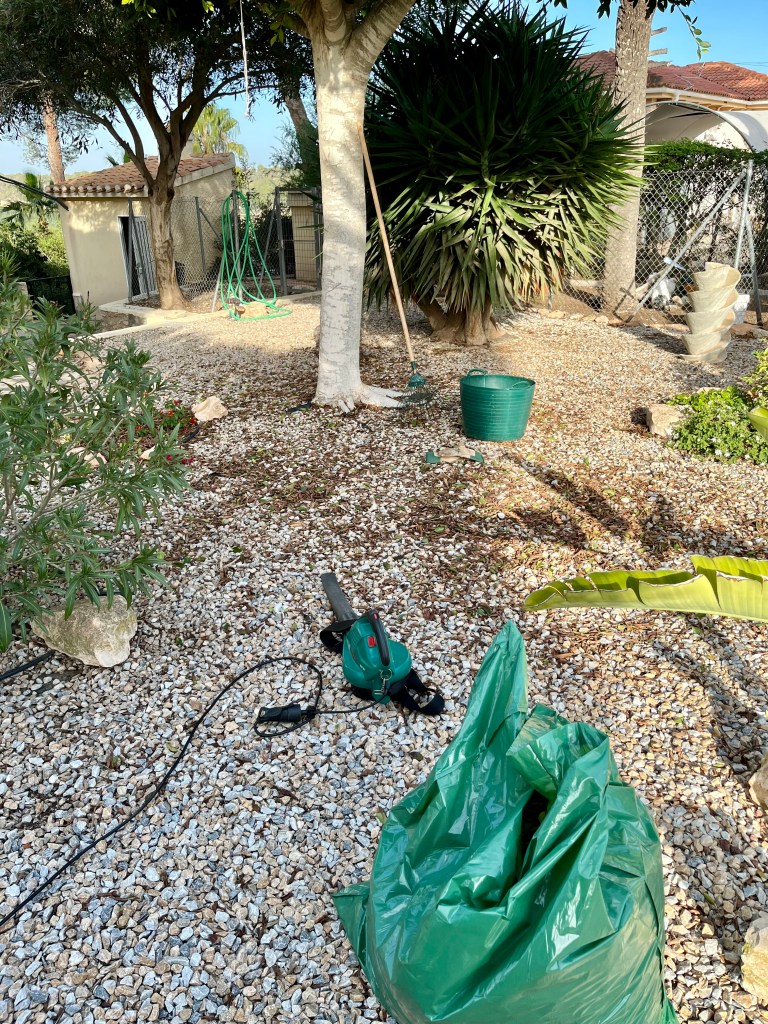
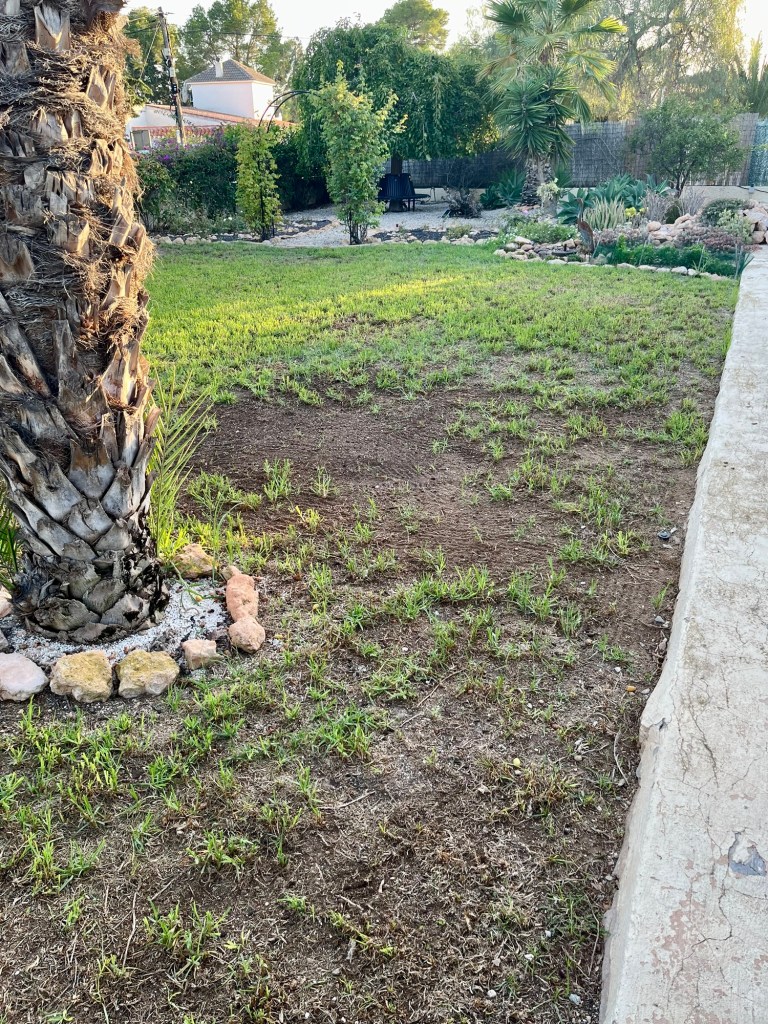
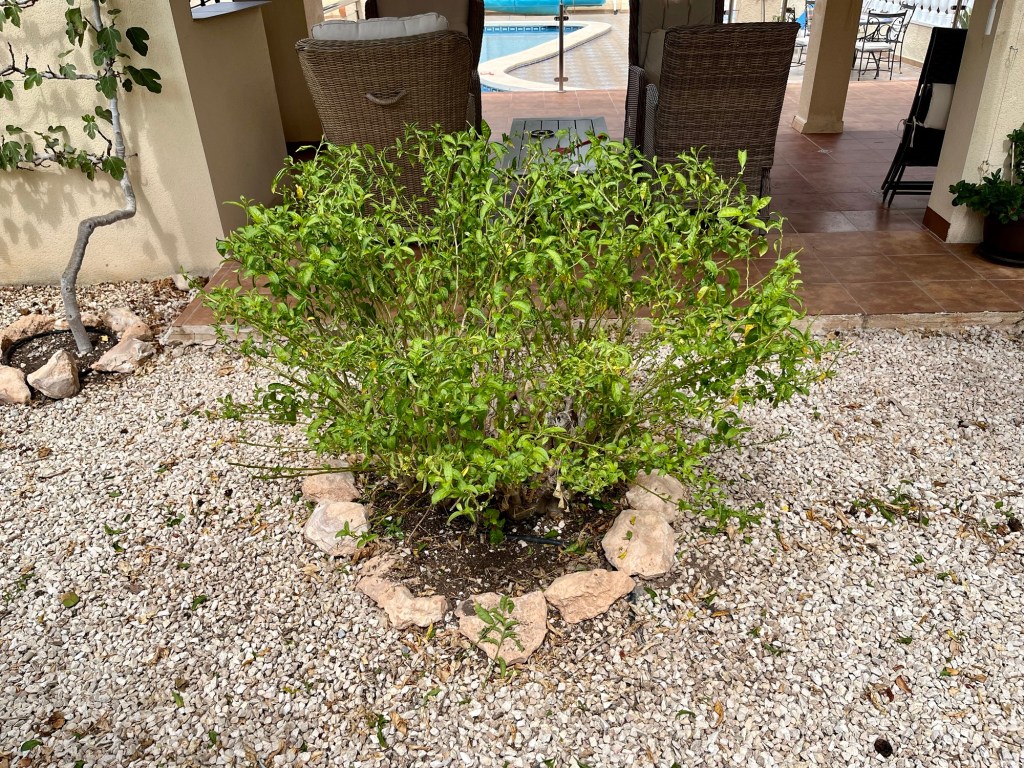
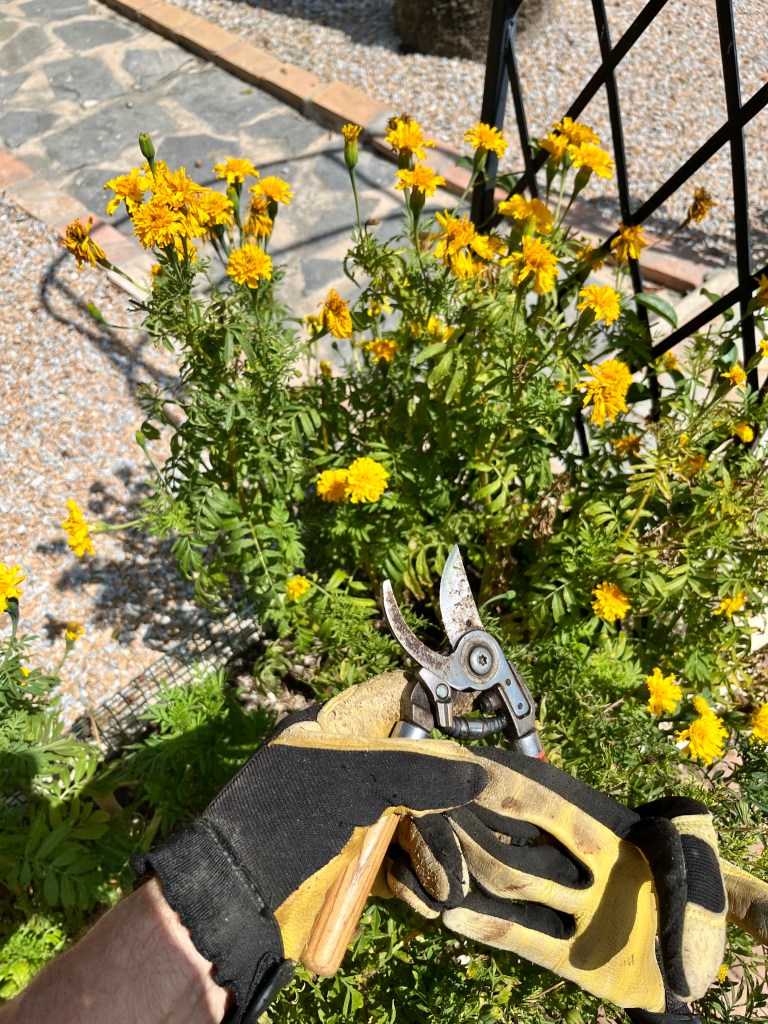
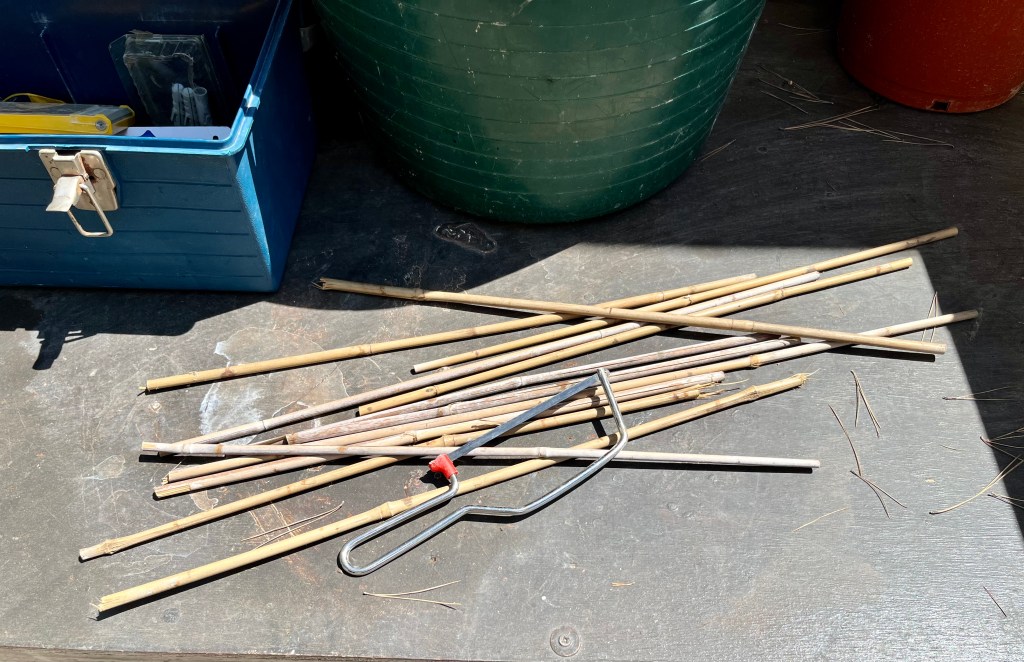
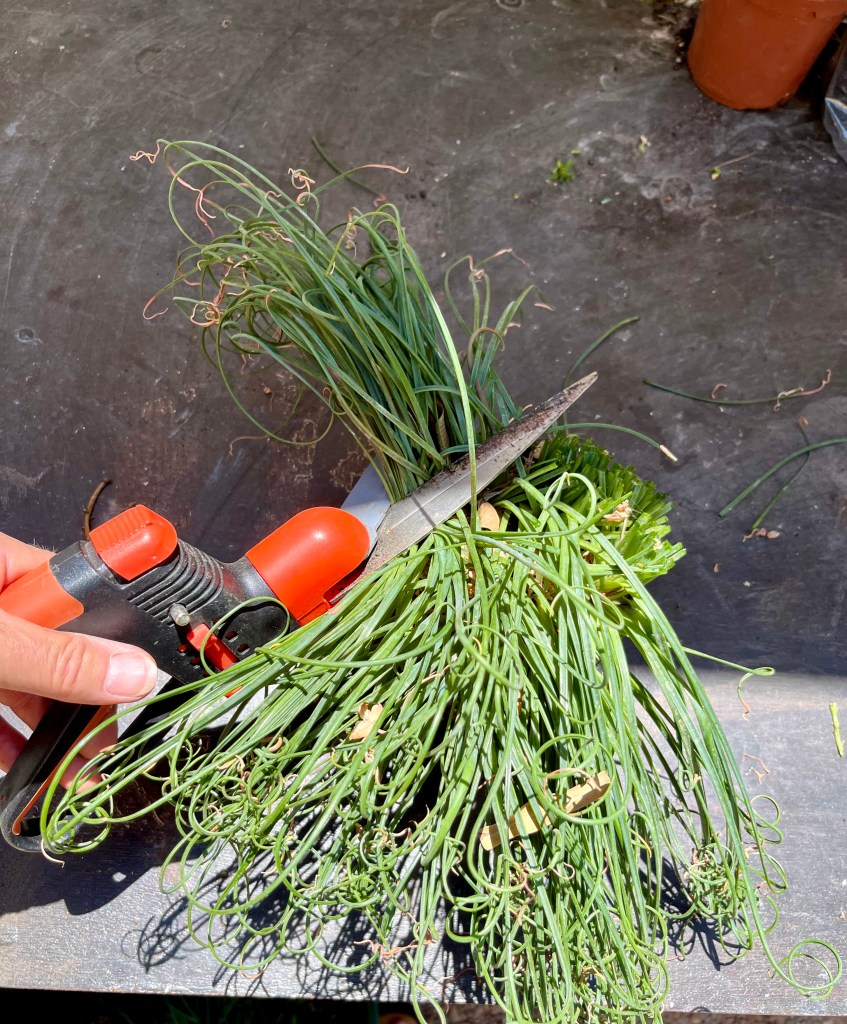
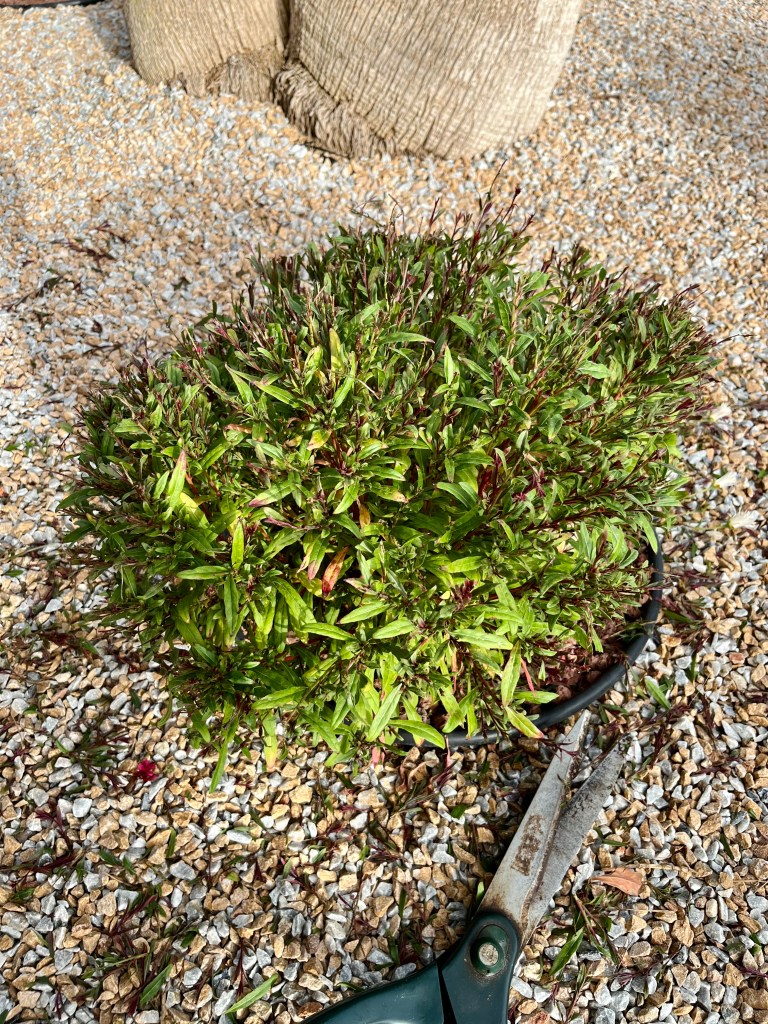
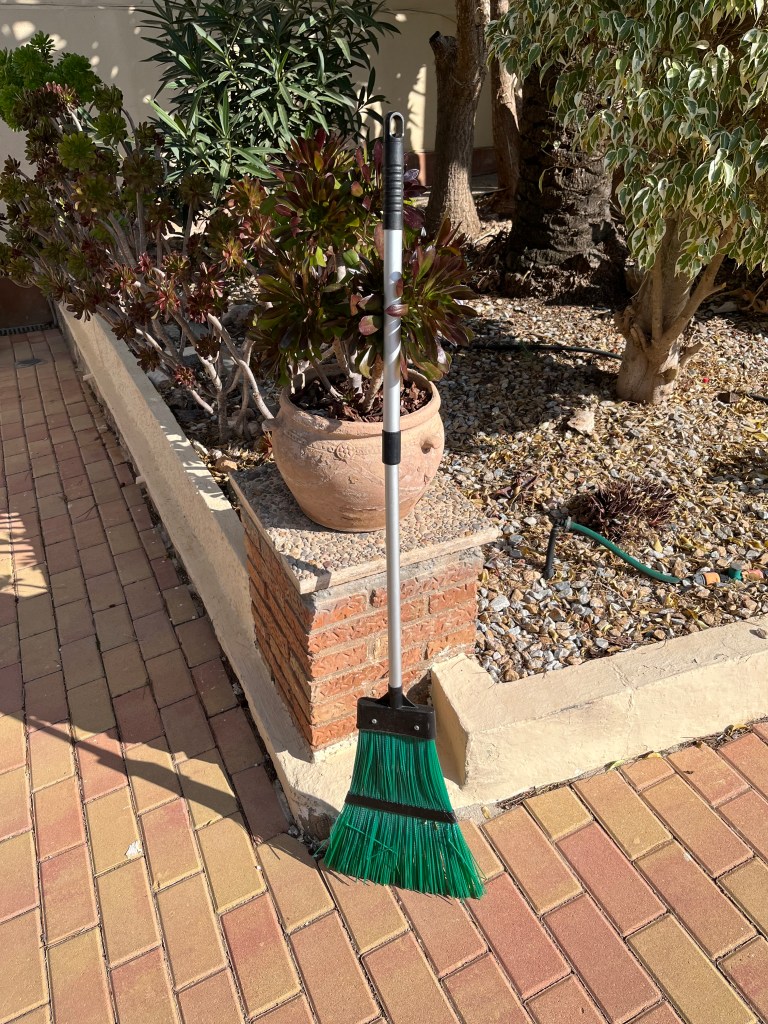
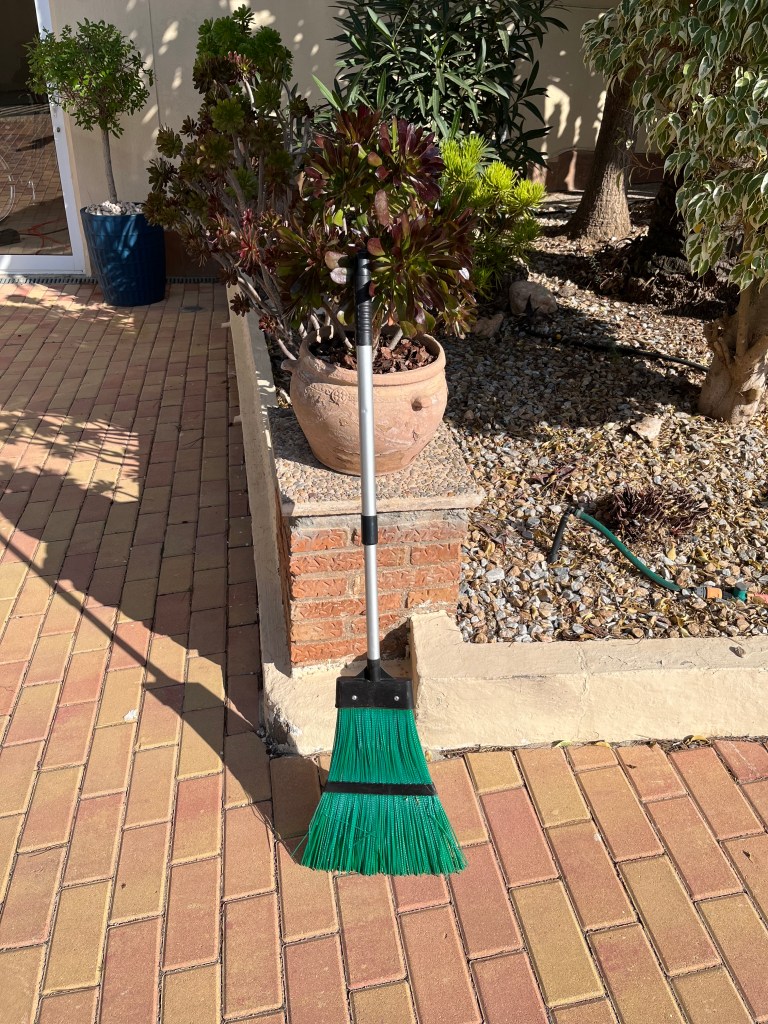
Cutting back ornamental grasses. You have to be determined when cutting back ornamental grasses. You might think “well they don’t look too bad let’s leave it this year”. But if you are lenient then this years growth will soon fallback into a matted mess, that will not only look untidy, but will hinder this years new growth.
Cutting back grasses is simple, just use your hedge trimmer or shears to cut right back to a small mound shape. The photos below show one of my my grasses before and after its trim. Click on each photo for a larger view.


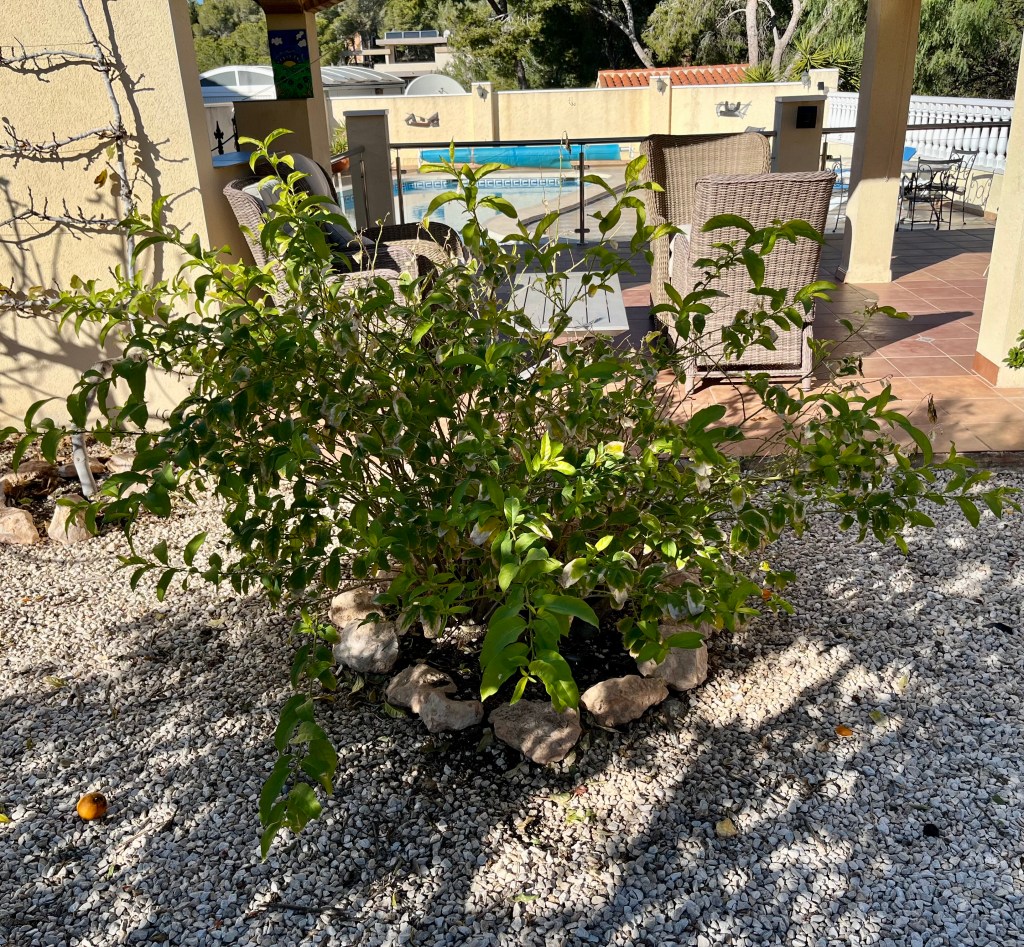
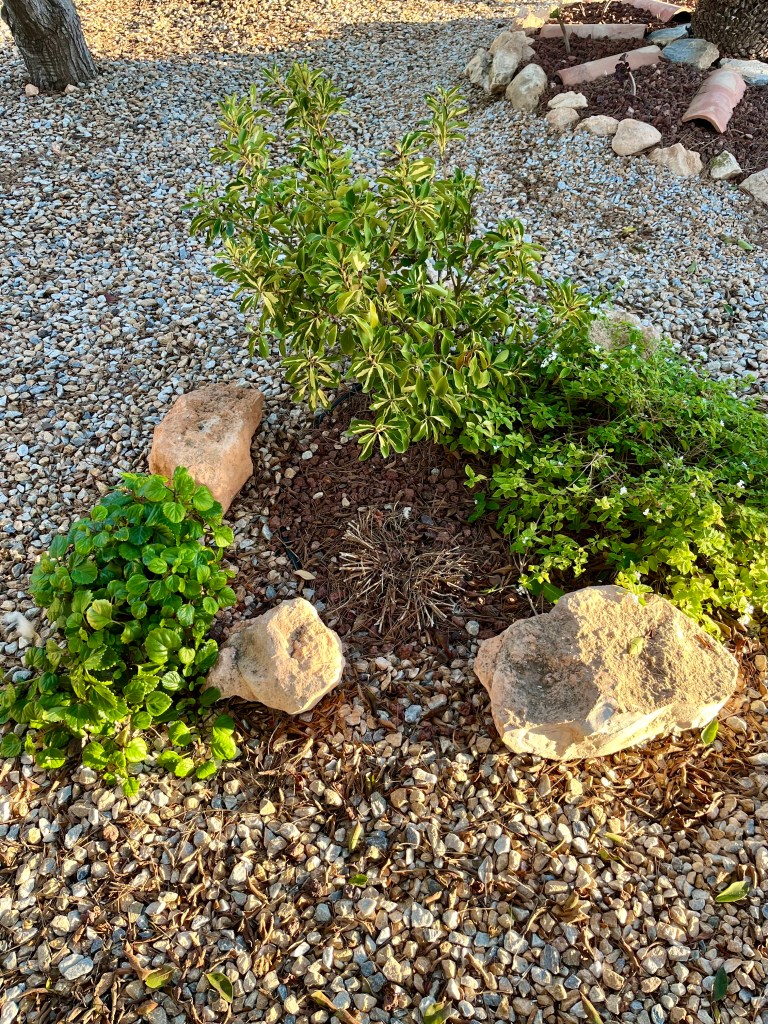
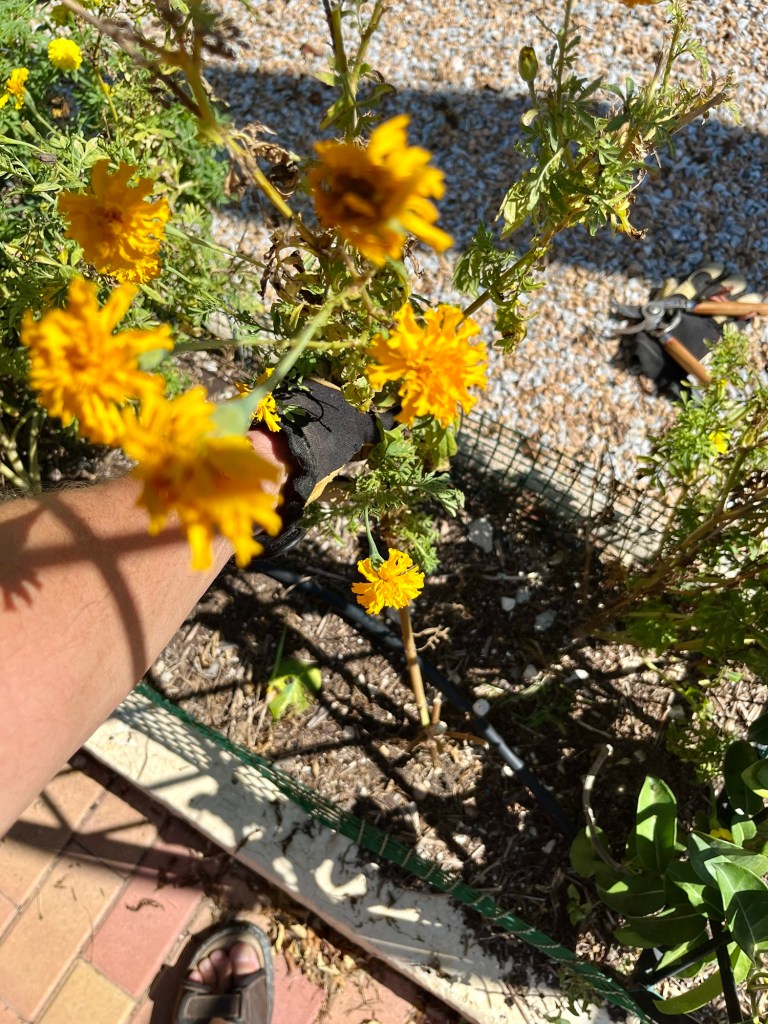
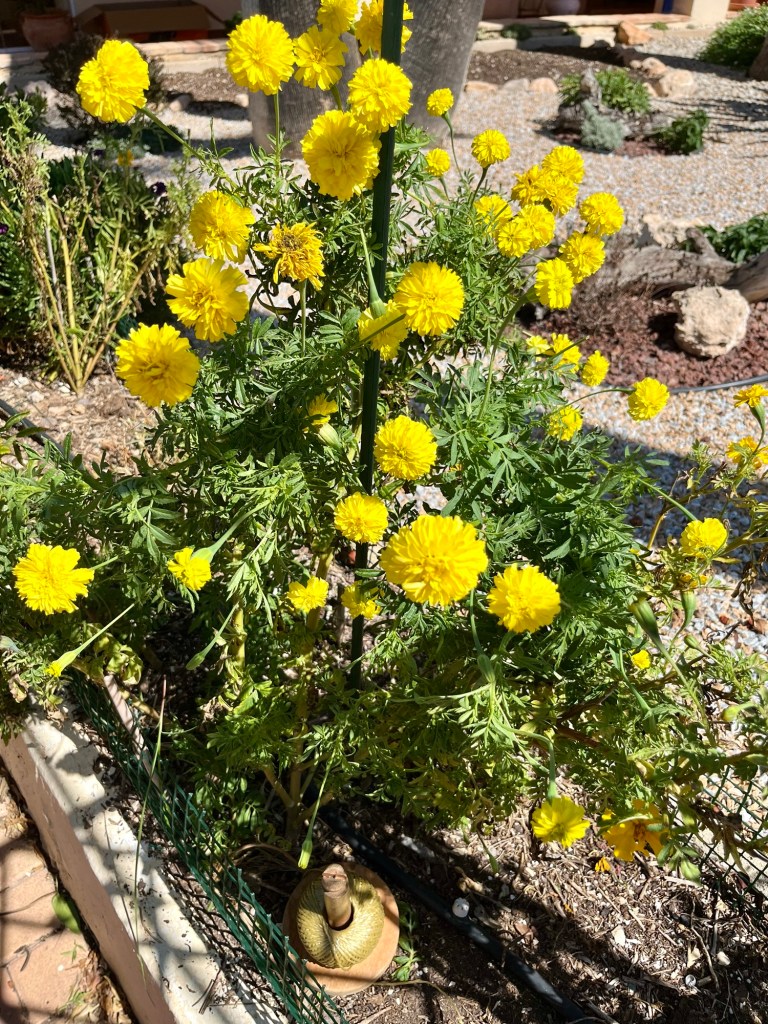
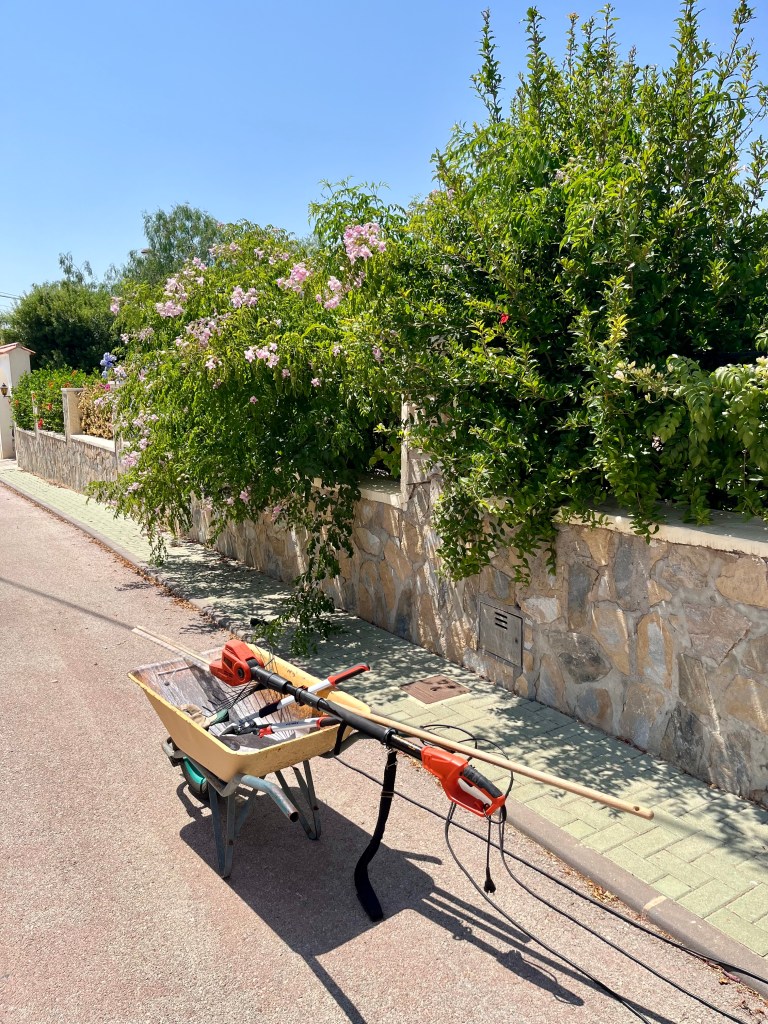
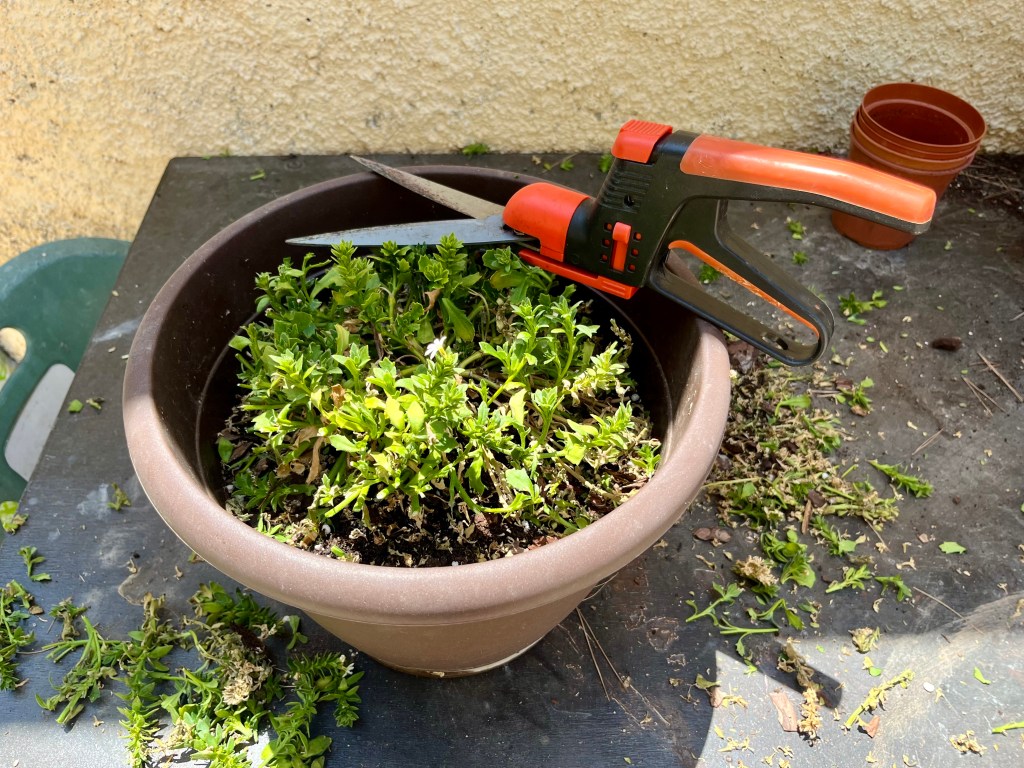
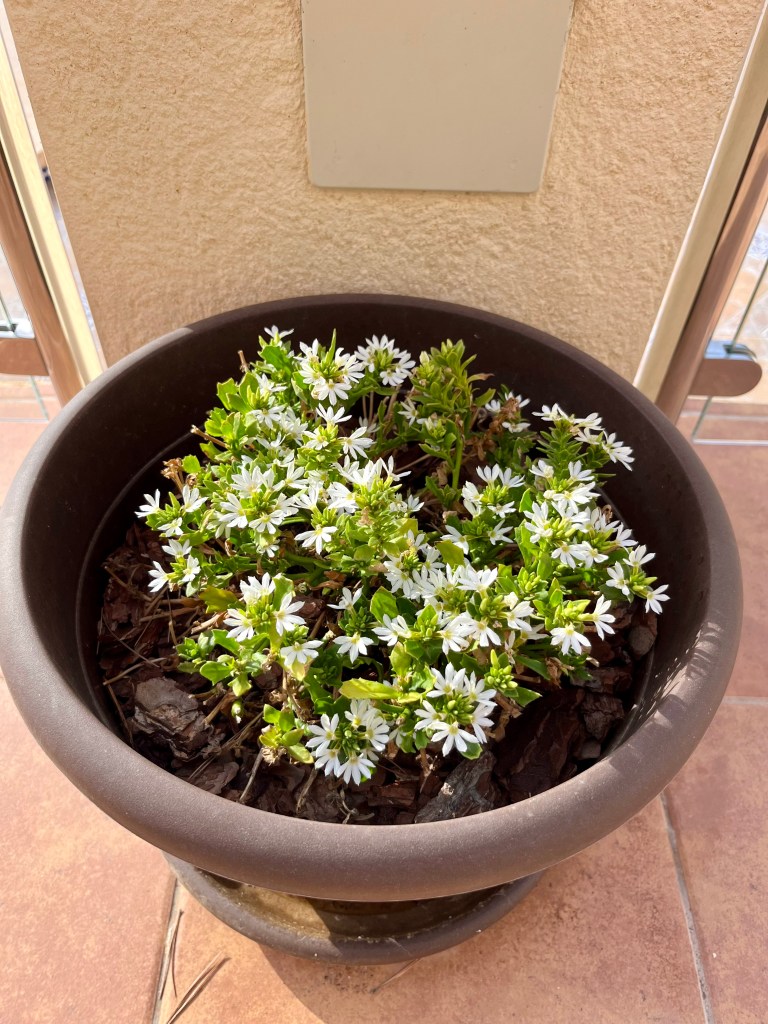
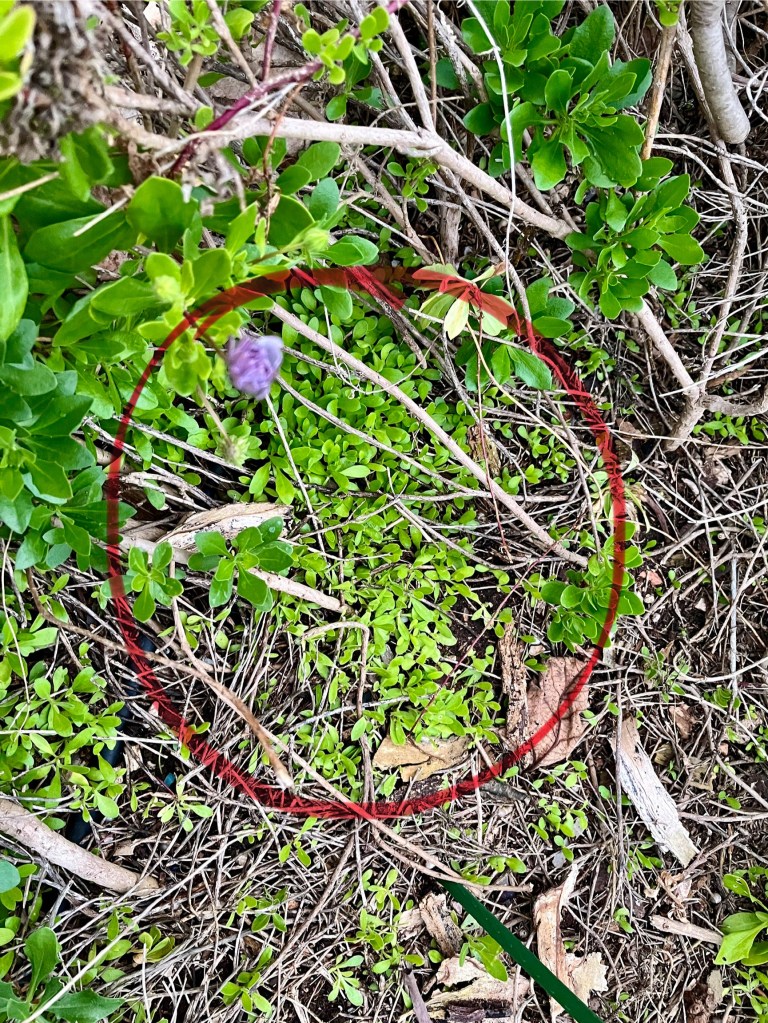
Shearing Lantana. Lantana are a perennial favourite in Spanish gardens. It is a reliable and hardy shrub that produces a continuous flow of lovely little flowers all summer. I prefer trailing Lantana and these do not need much pruning, but to keep them in shape you should shear around the outside to keep them neat. The first photos below show my main Lantanas ready for a trim, whilst the second shows them brought back into shape. Click on each photo for a larger view.


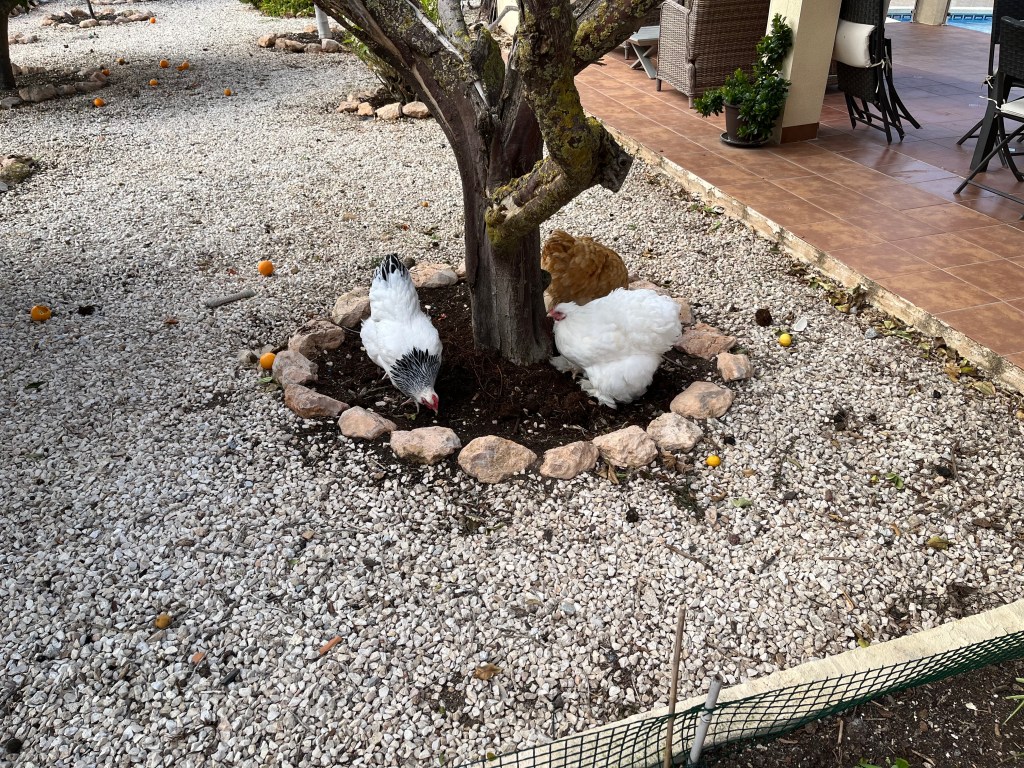
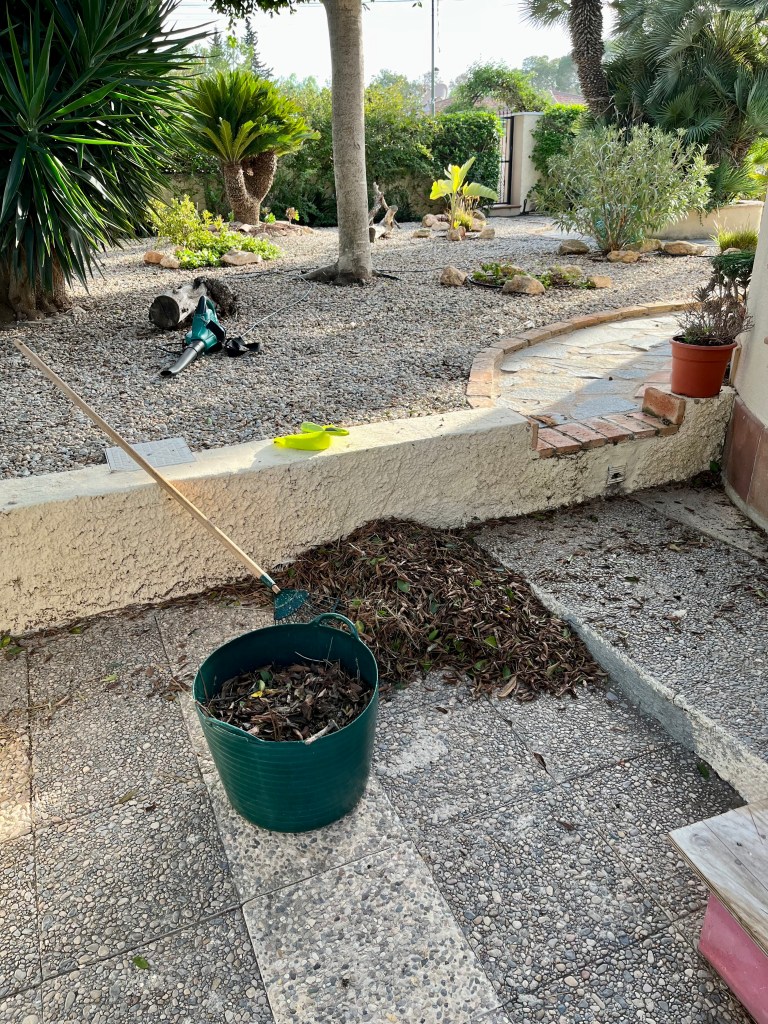
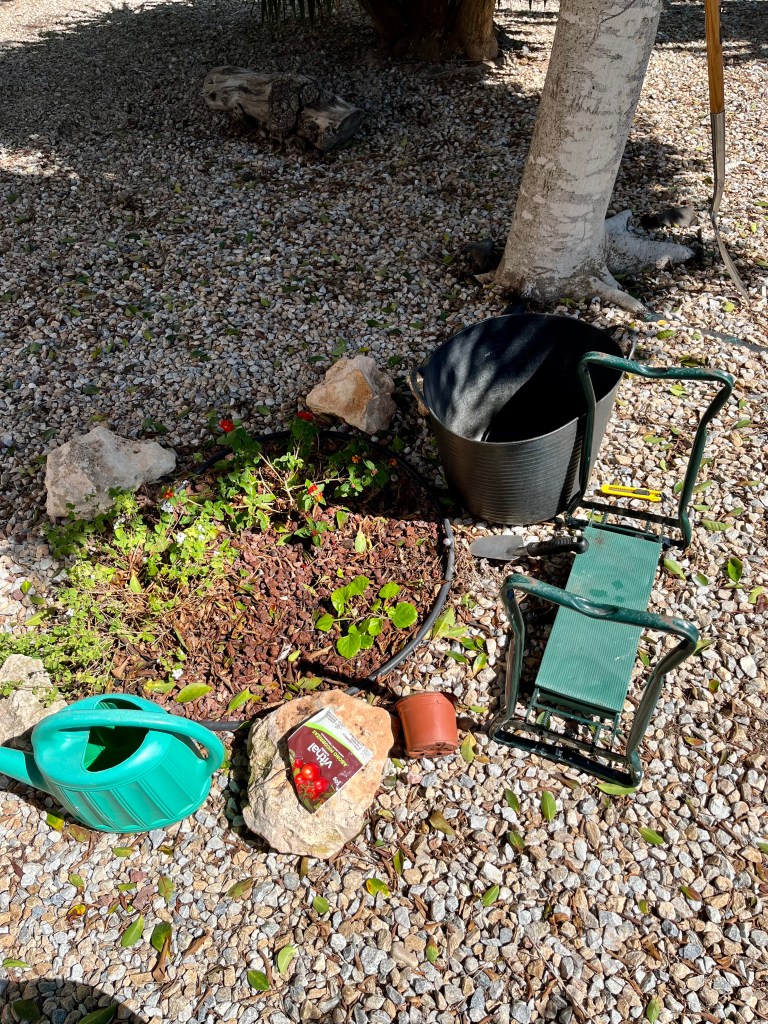
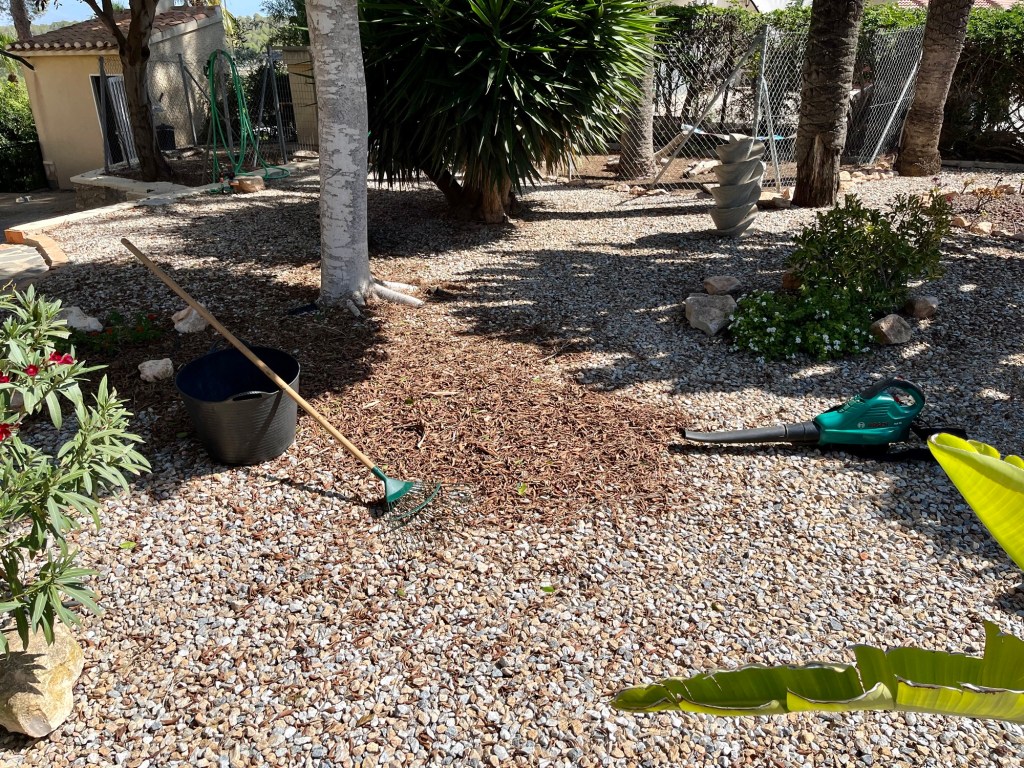
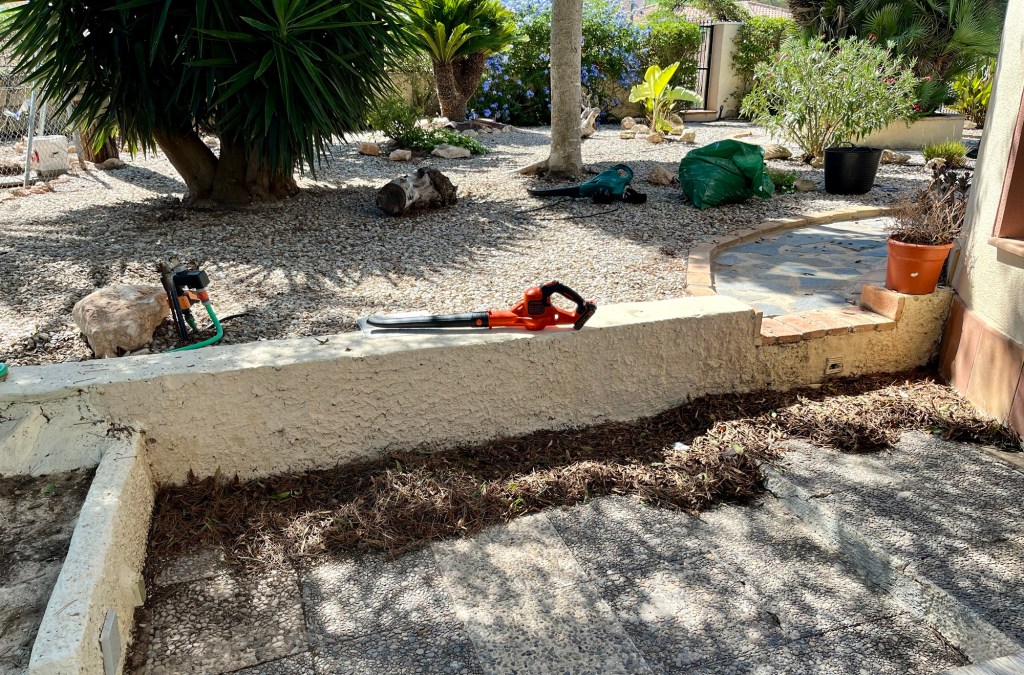
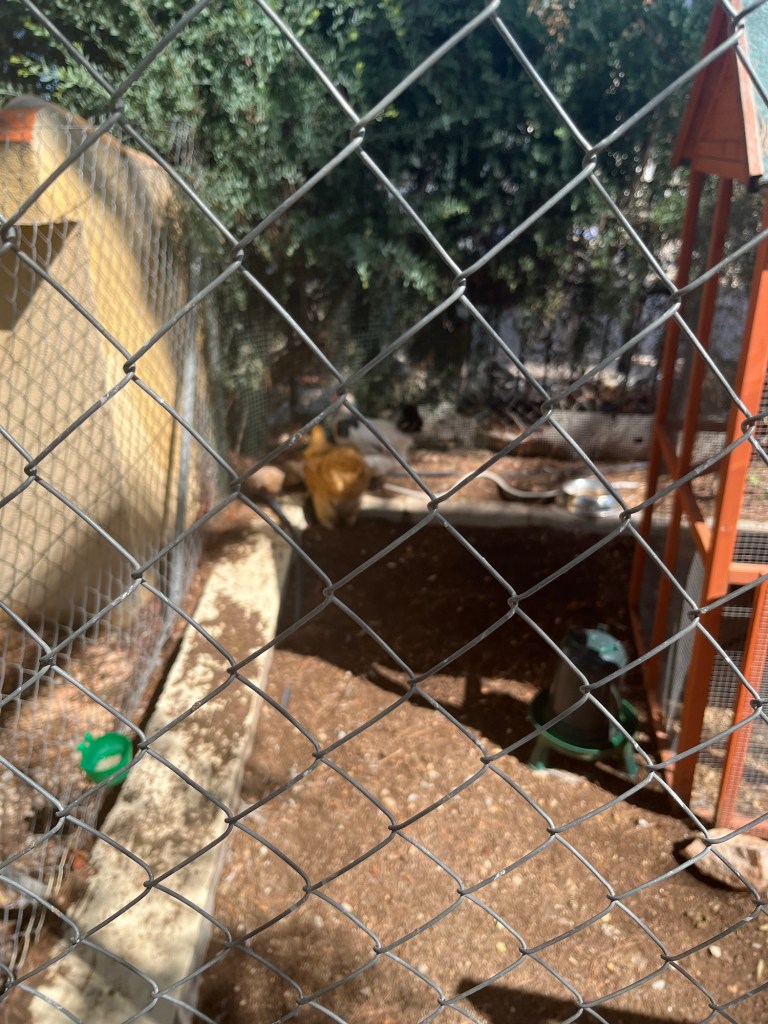
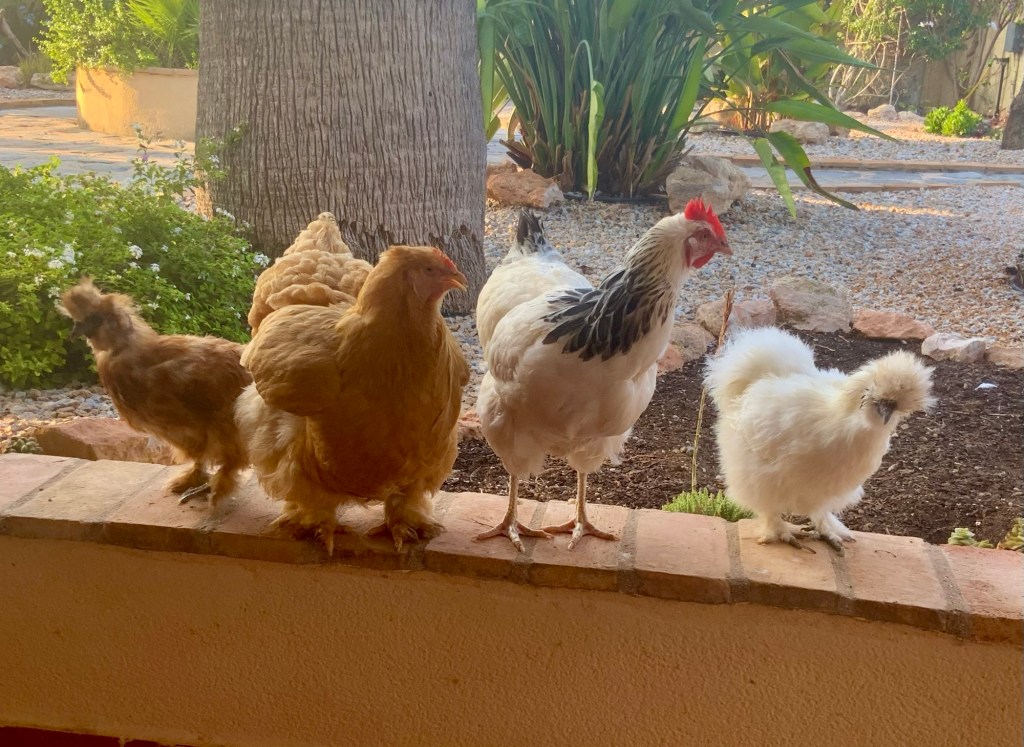
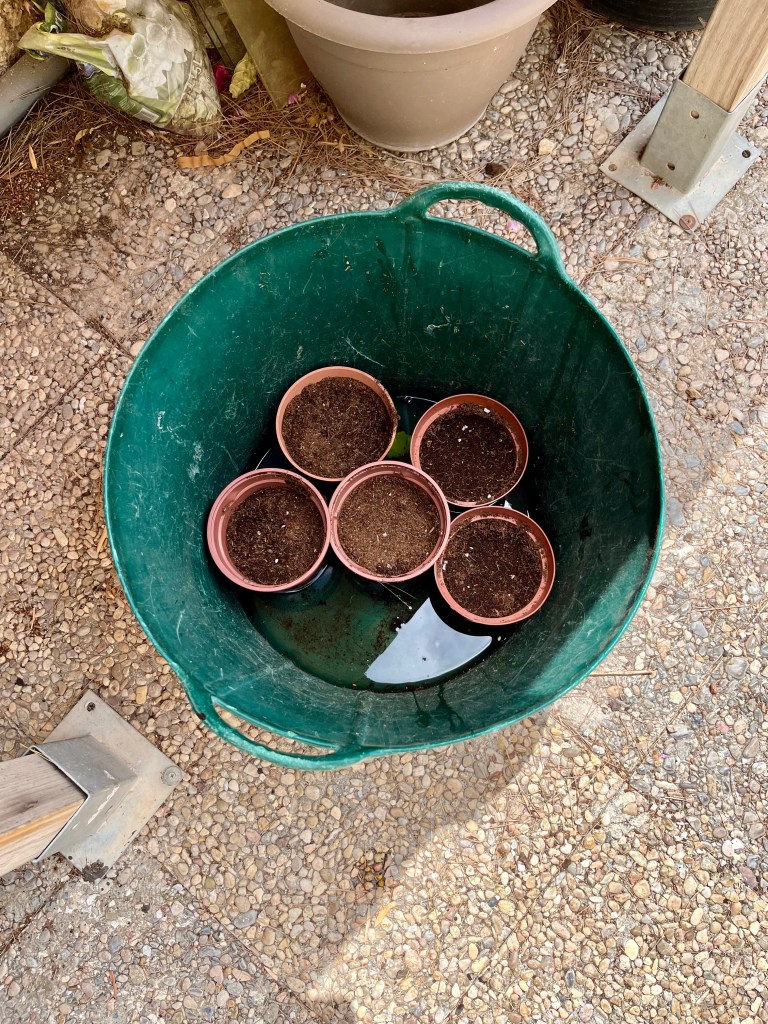
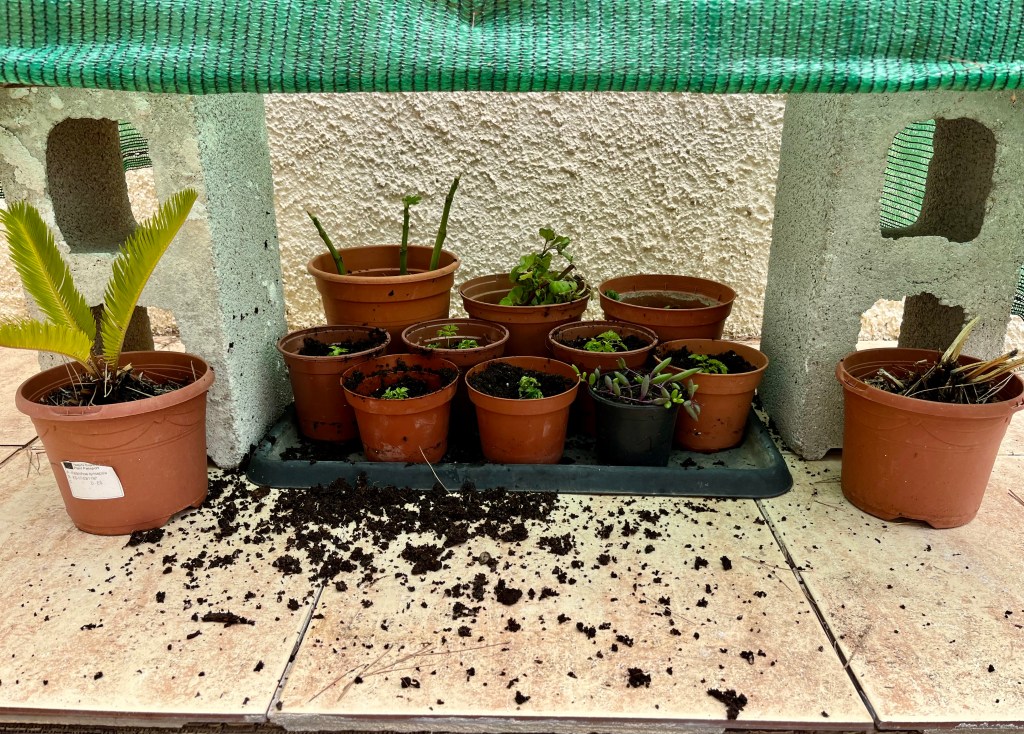
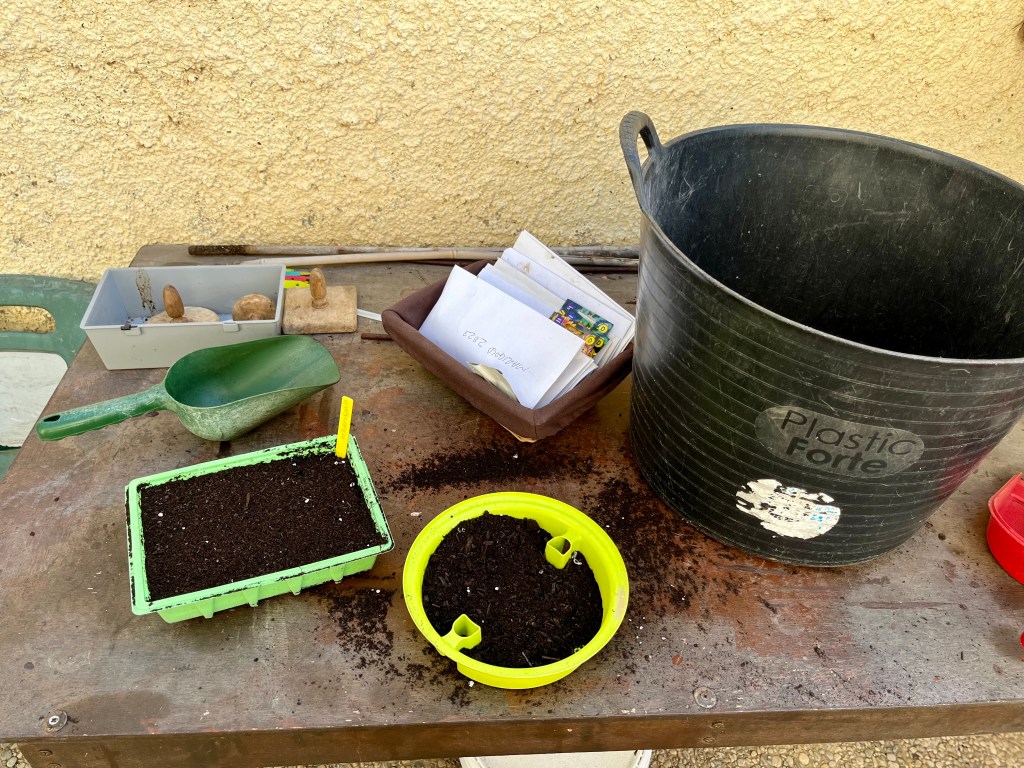
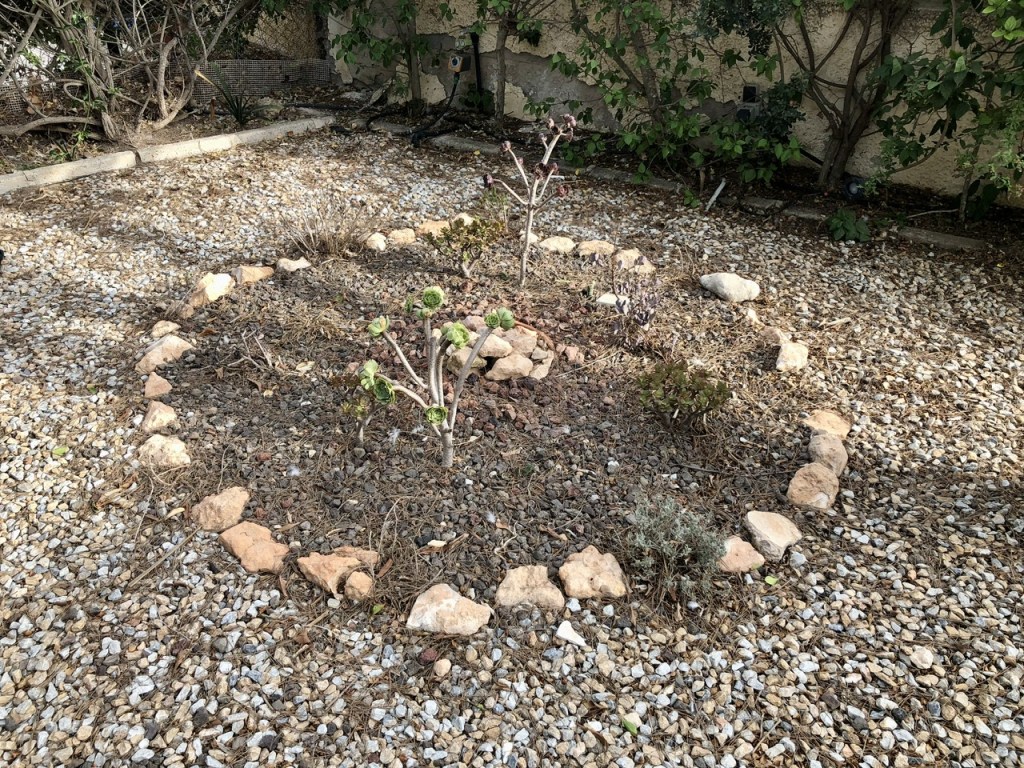
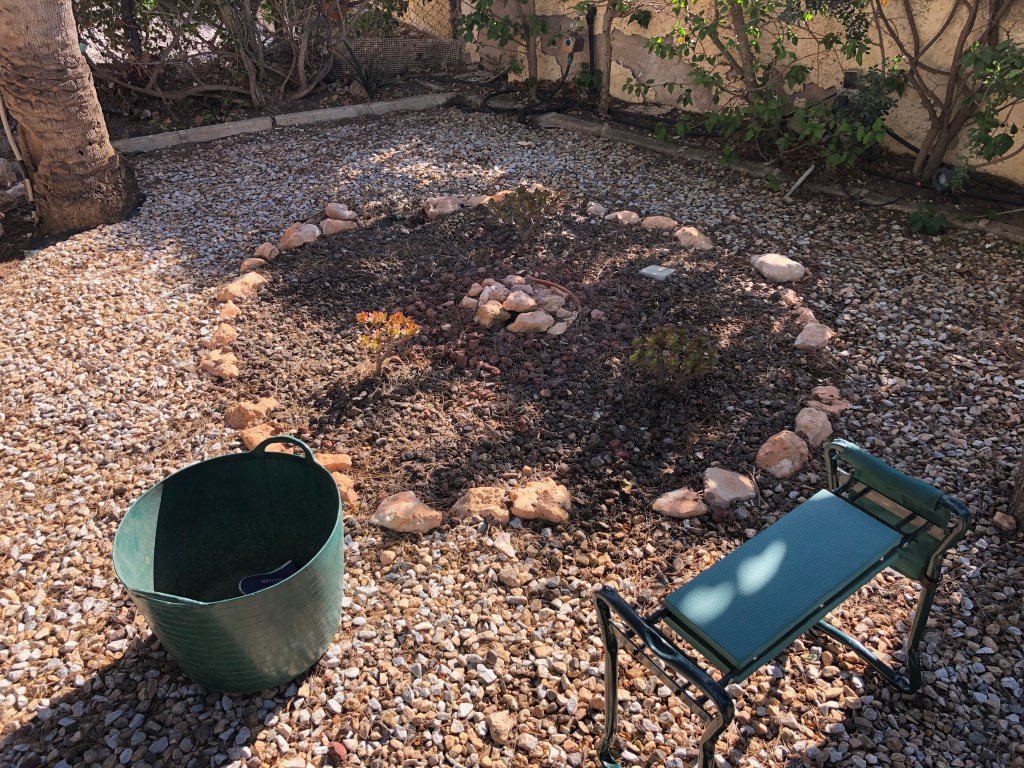
Mulching with chickens. If you have a compost bin, (and if not, why not?), then now is the time to start mulching your flower borders and under trees with your compost. If you don’t have your own compost then buy some from a garden centre. The benefits of mulching is that you replenish the micro organisms in your soil and generally enrich and enhance your growing medium. The photo below shows my composting area with a full bin and one in the process of being emptied.

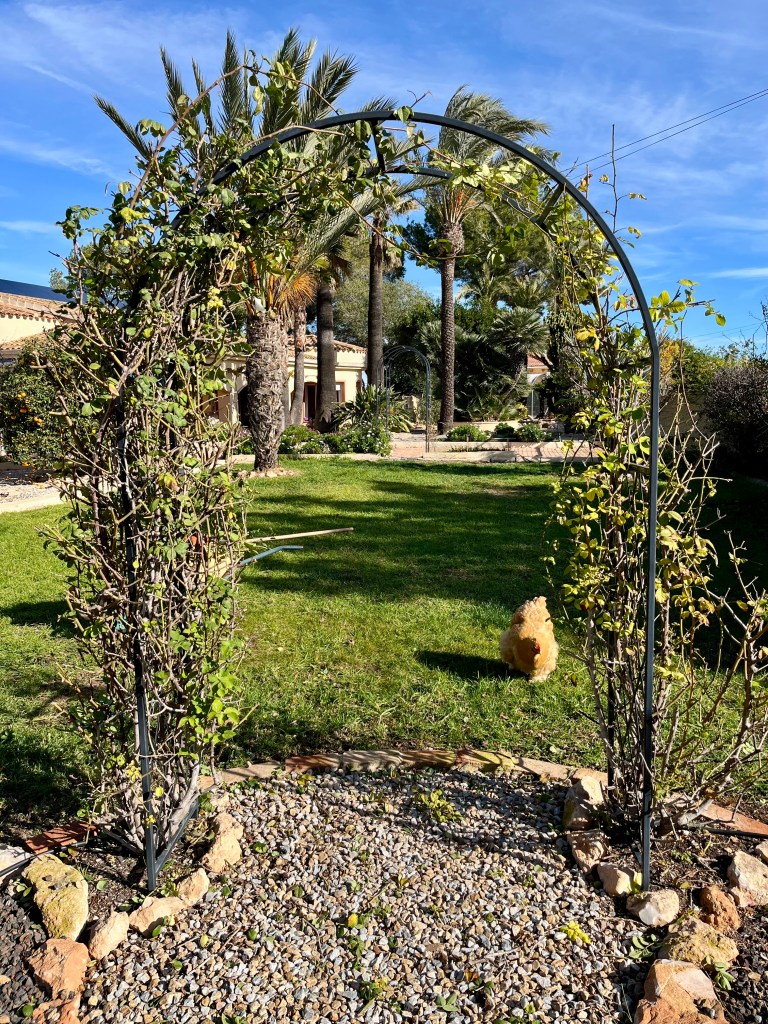
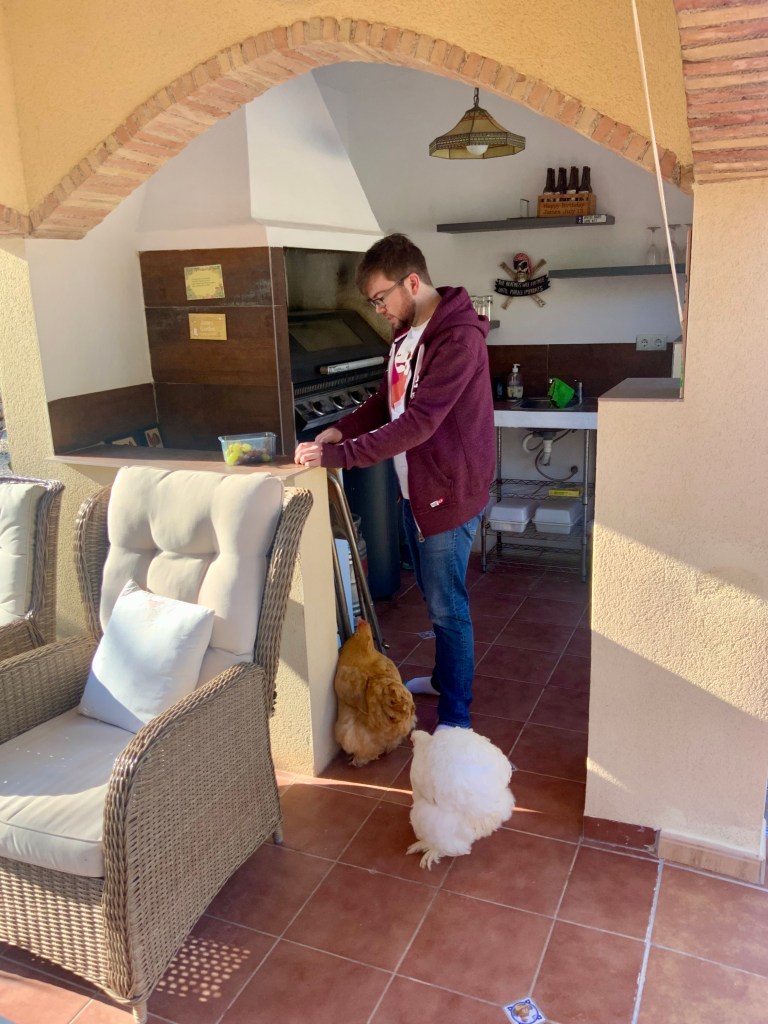
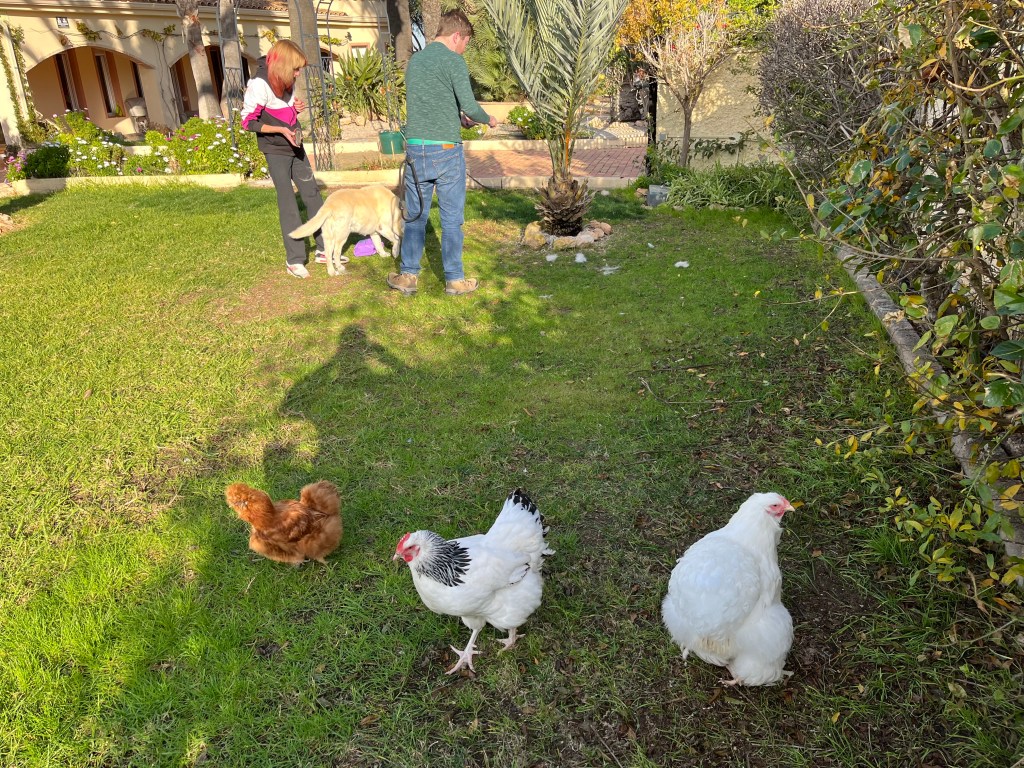
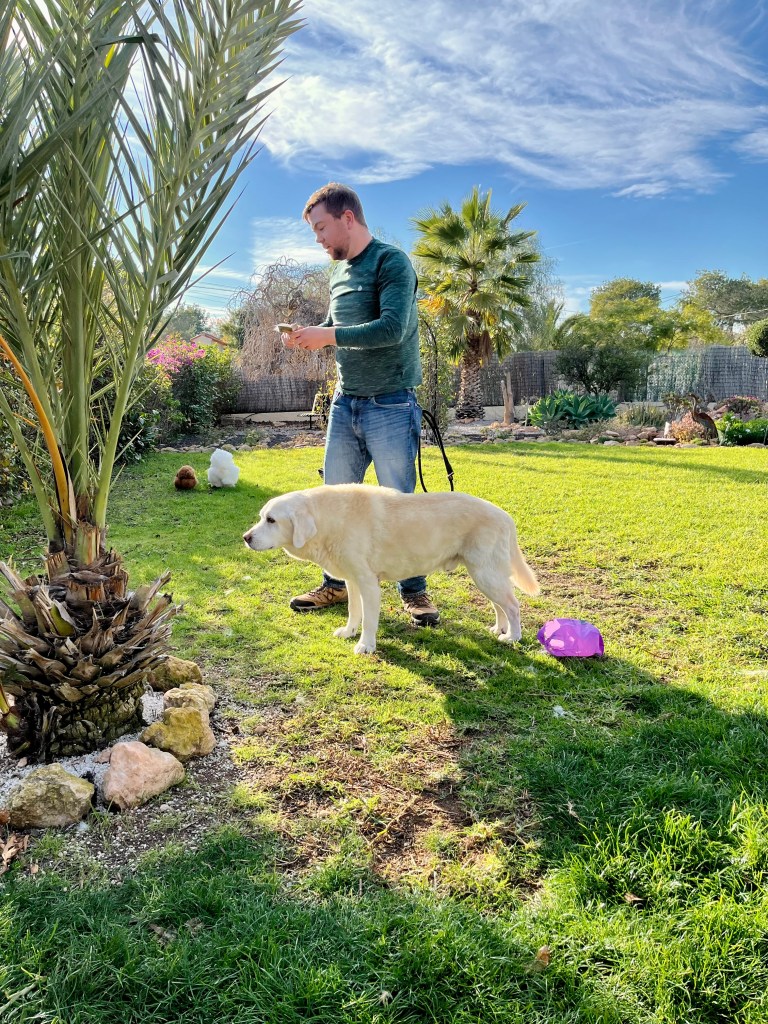
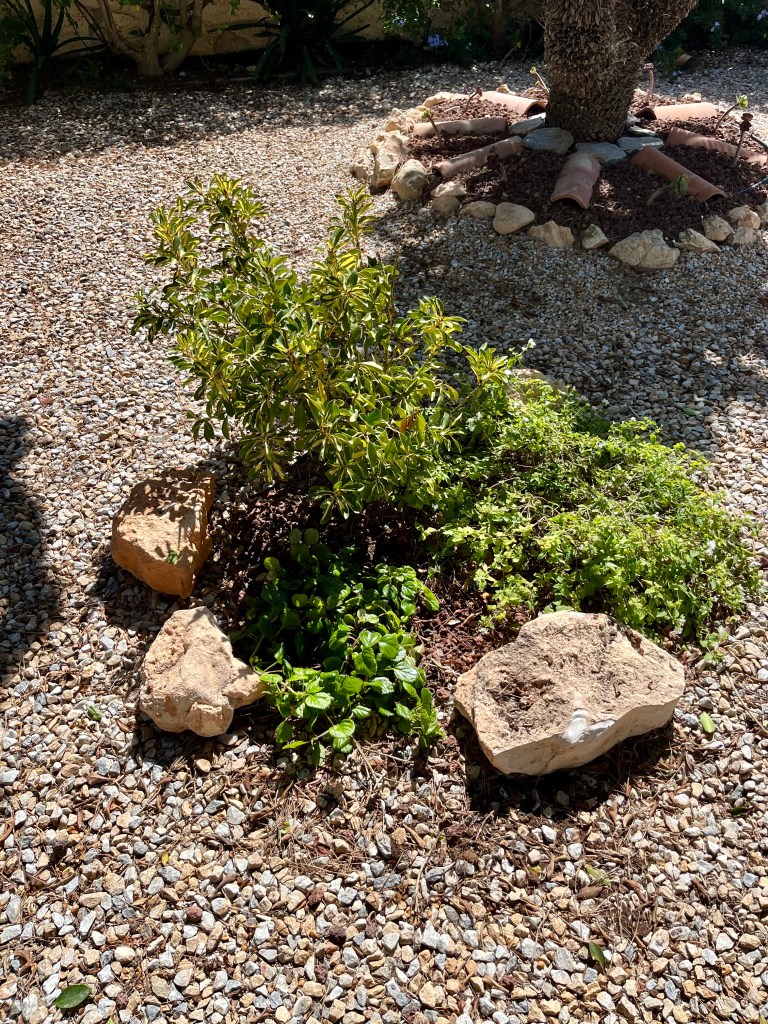
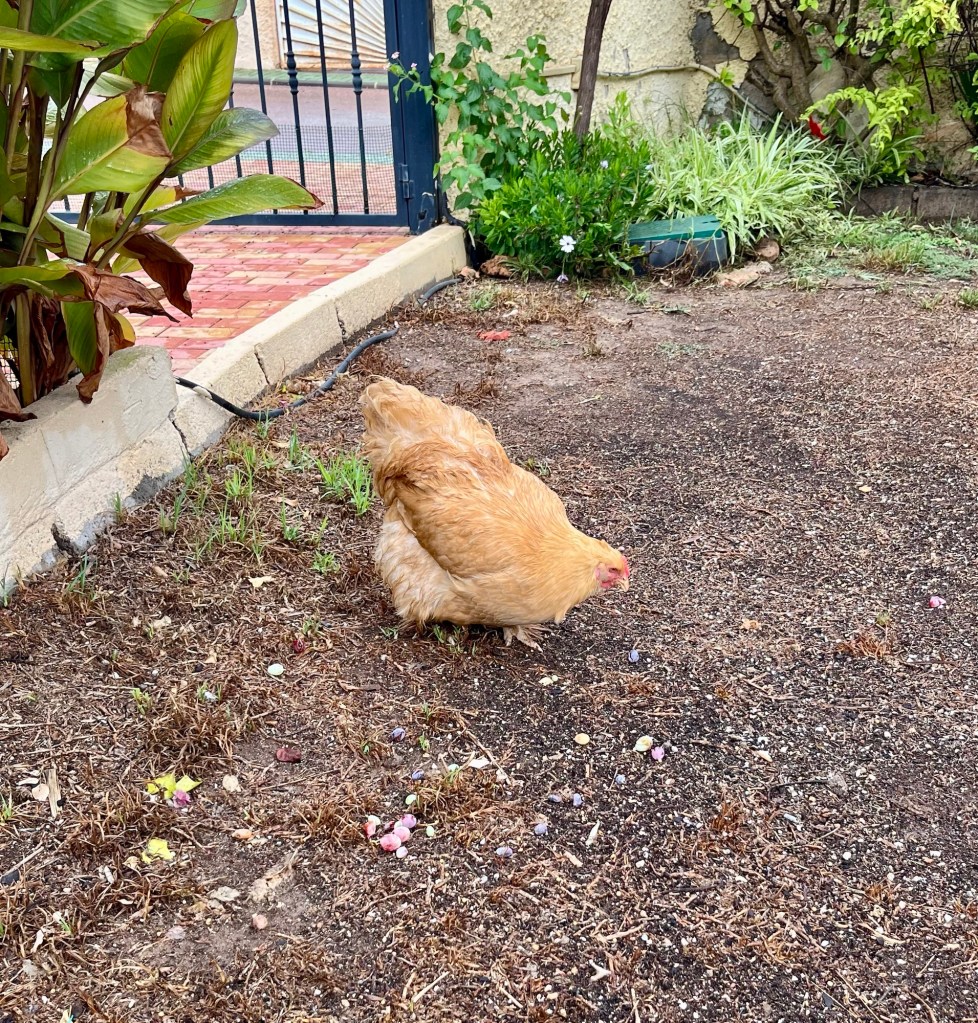
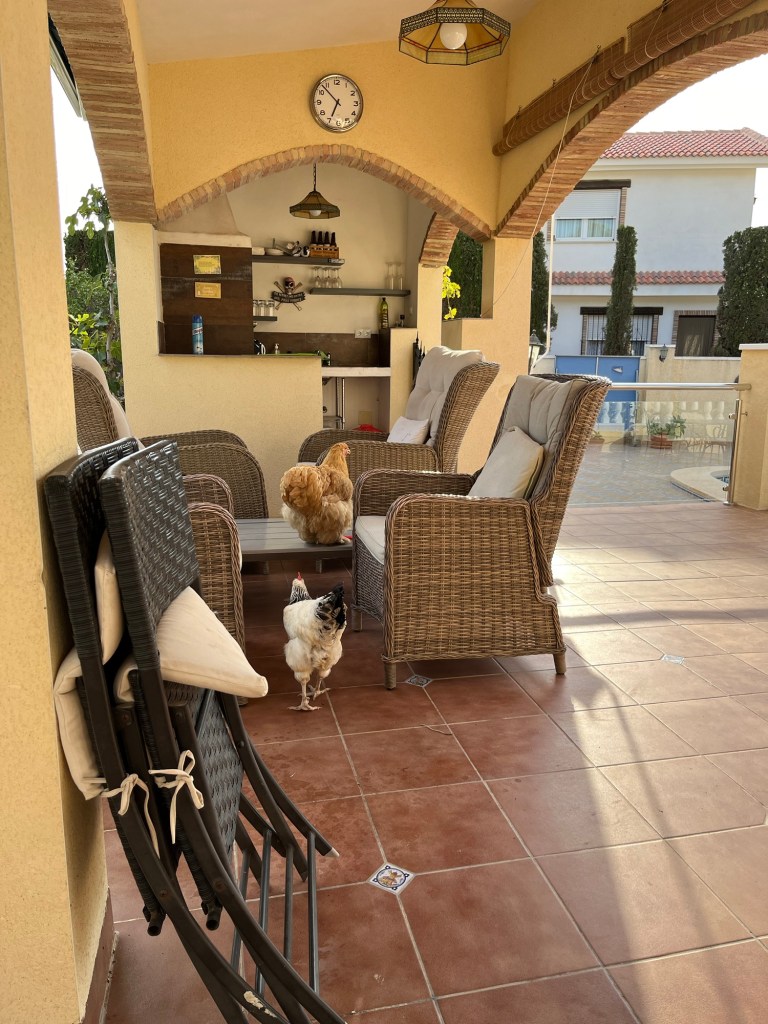
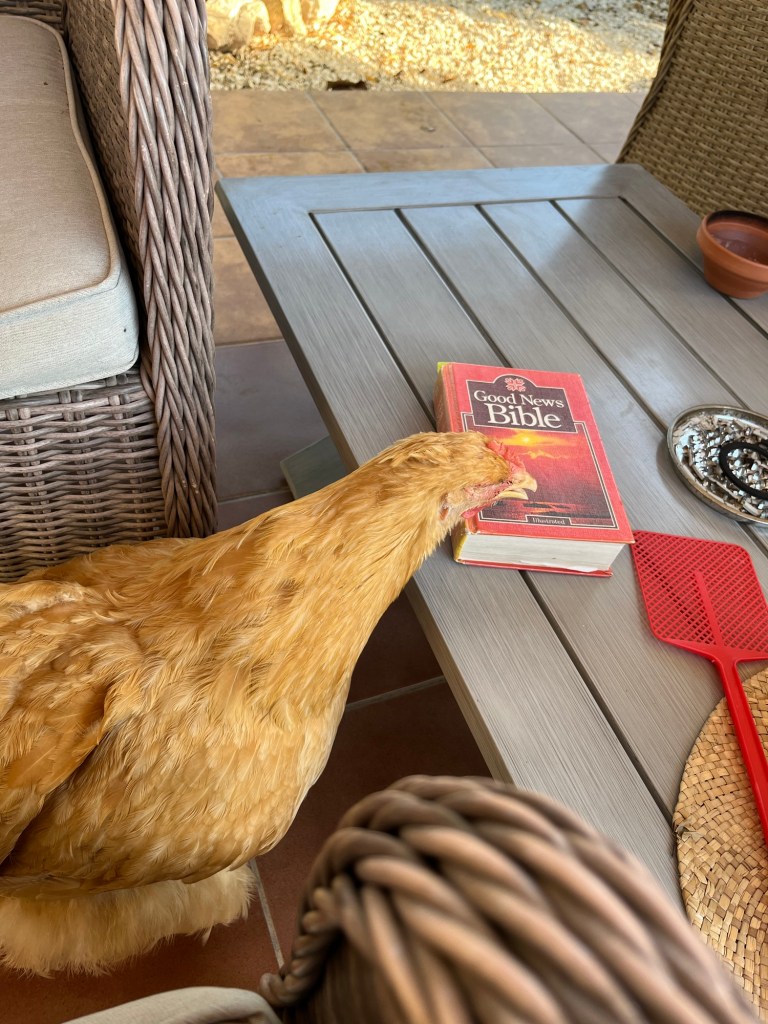
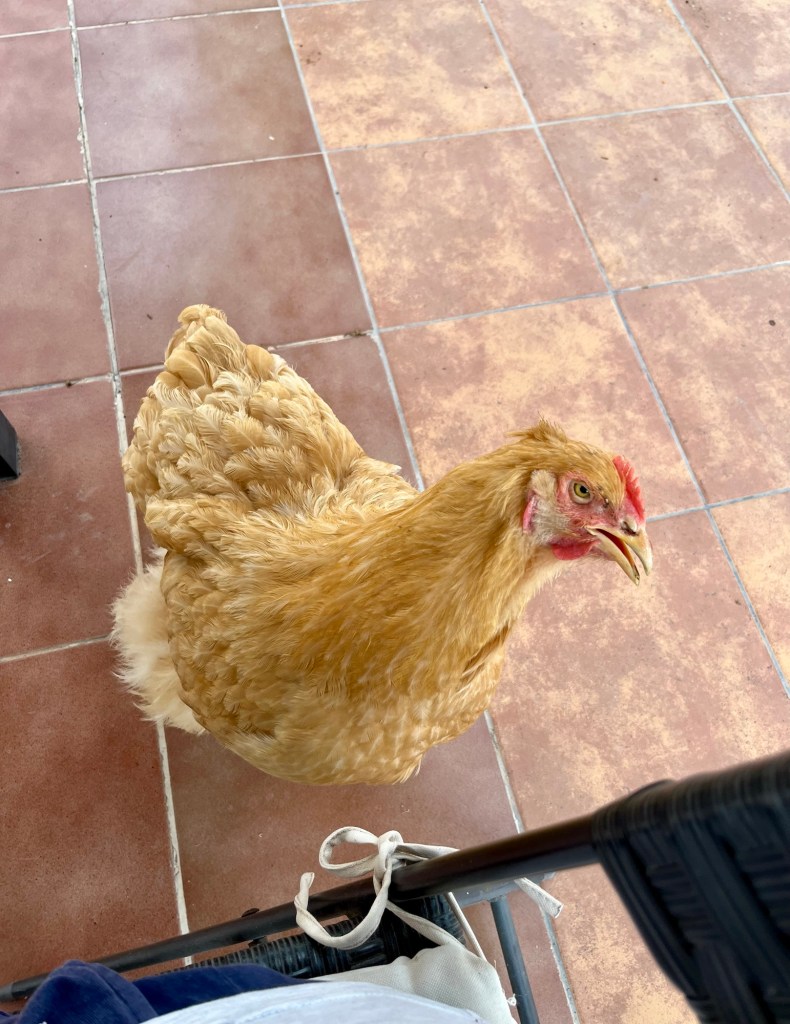
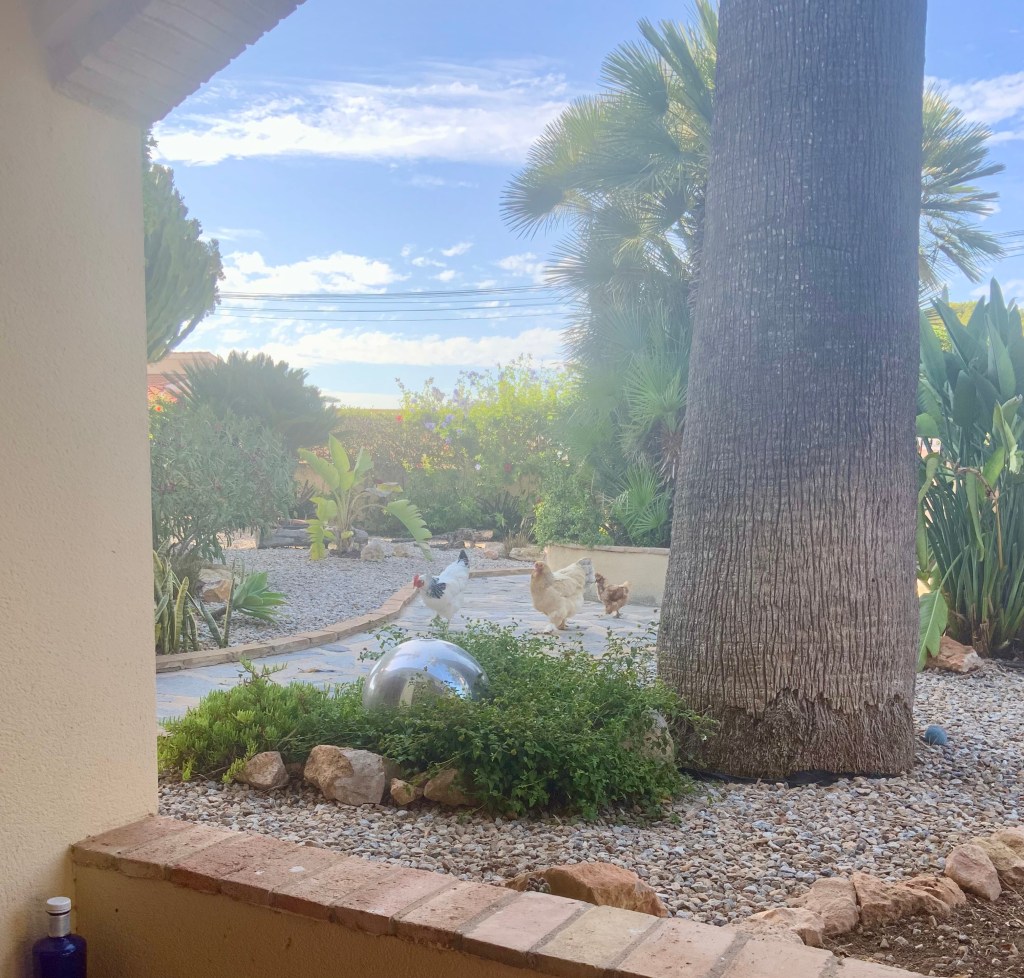
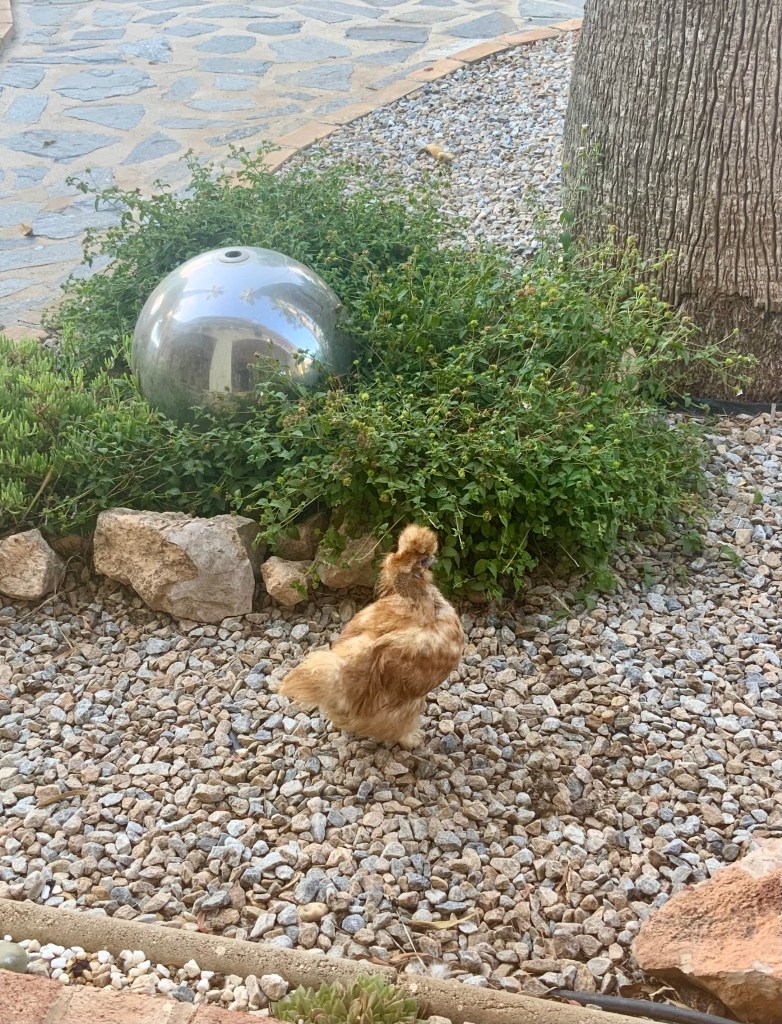
Normally I spread mulch under all my fruit trees, only to see the bloody chickens kick it all over the place. This year I had a great idea, instead of spreading the mulch I left it piled around the tree trunks and just as I hoped the chickens then spread it for me. The photos below show the chickens in action. Click on each photo for a larger view.


When I rushed in to tell Cruella (my wife) about my great idea, she said “you are exploiting my girls” and demanded reparations for slavery. I explained that they were enjoying it. Despite my explanation she stormed off furiously and called all the chickens together. Since then she has given all the chickens what she calls “slave names” and keeps muttering about the underground railway and heading north. As if all this wasn’t bad enough they have started chanting in chickenese what sounds like work songs. So far I can make out “Go Down Moses” and “Nobody Knows the Troubles I’ve Seen”.
Anyway the upshot of all this is that she demands I pay them a living wage. I agreed that they should benefit from their labour and promptly produced a plate of maggots from the compost. Cruella ran away screaming, but the chickens seemed pleased, if a little perplexed.


You must be logged in to post a comment.