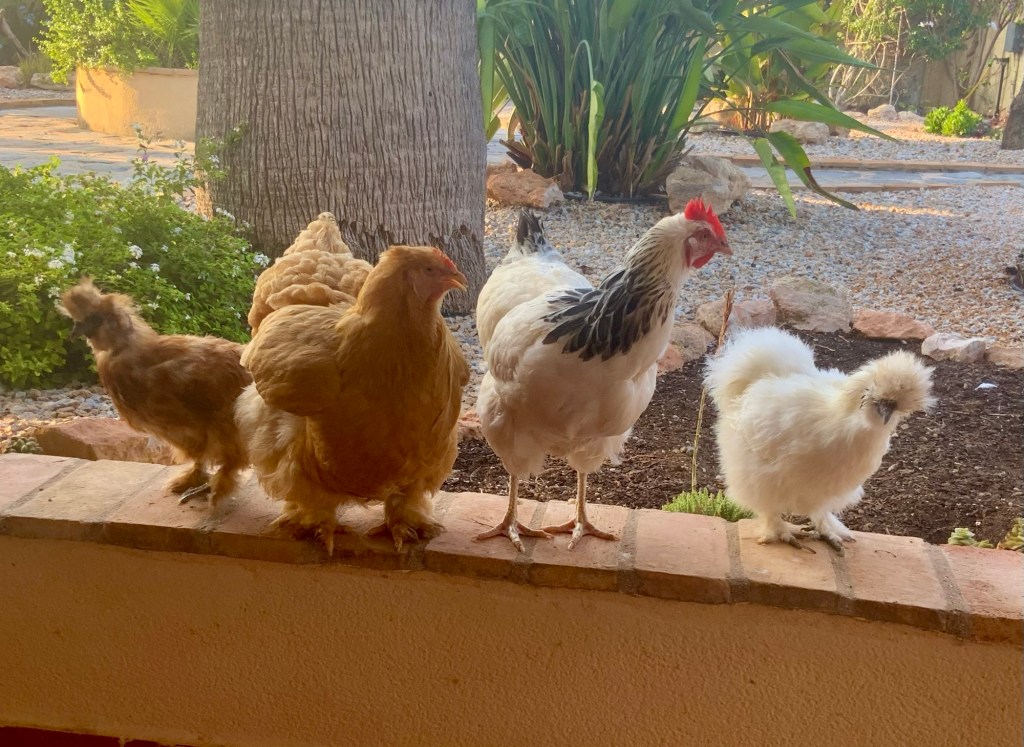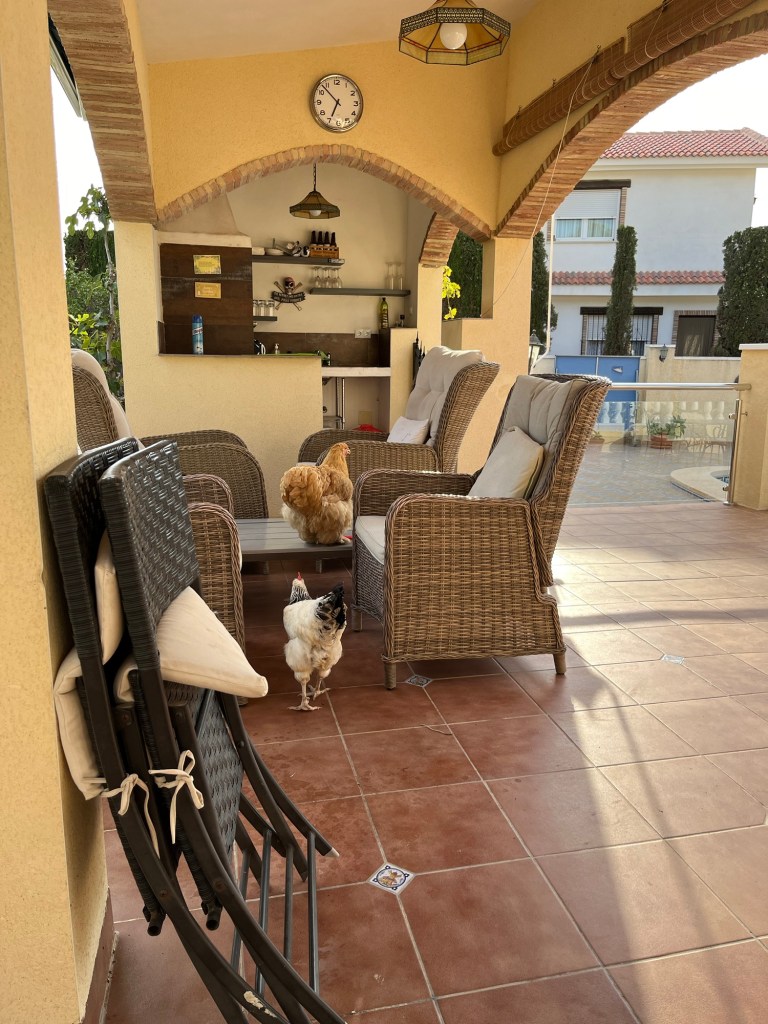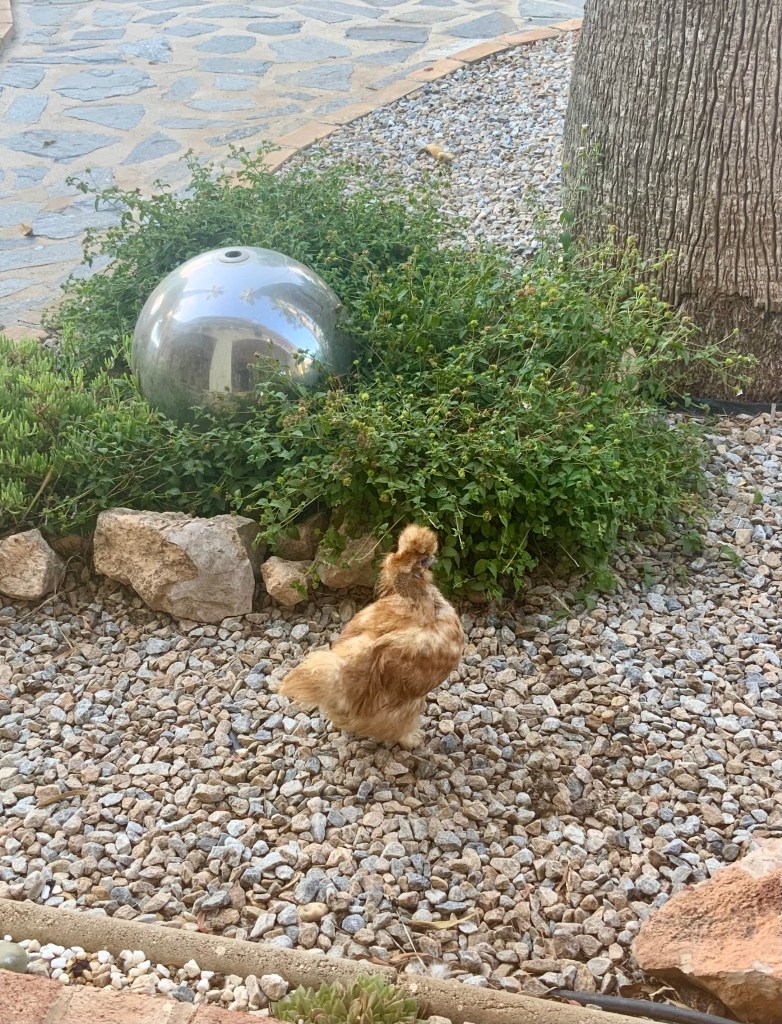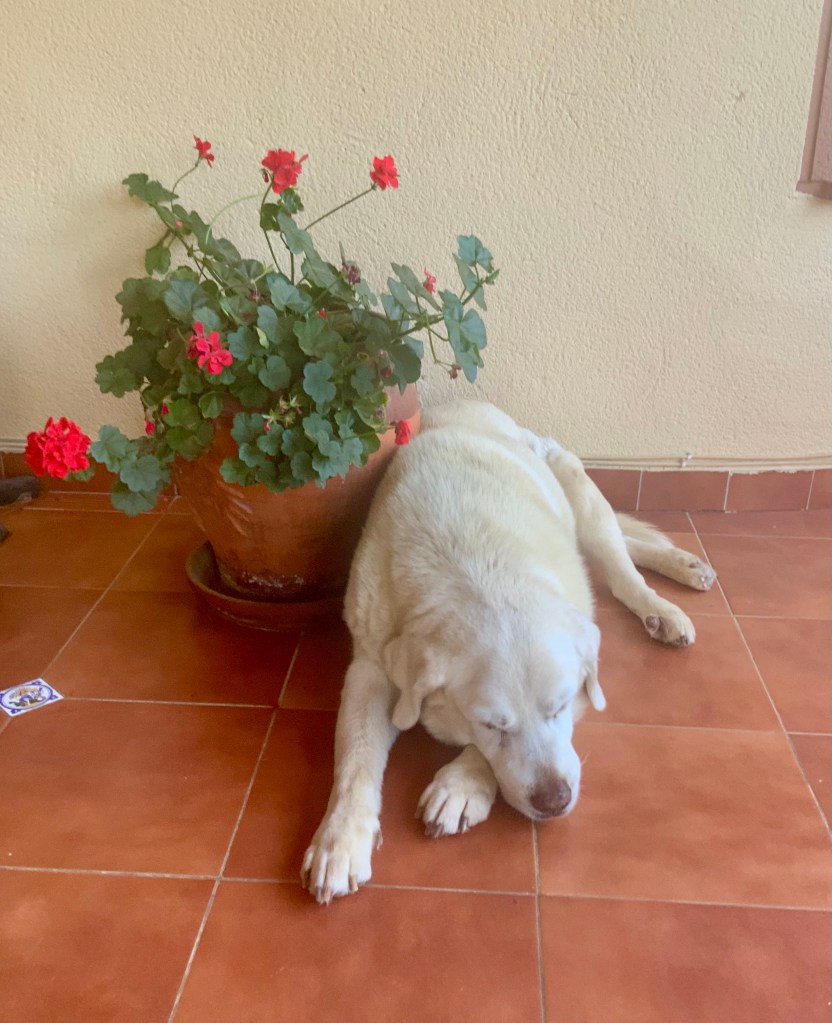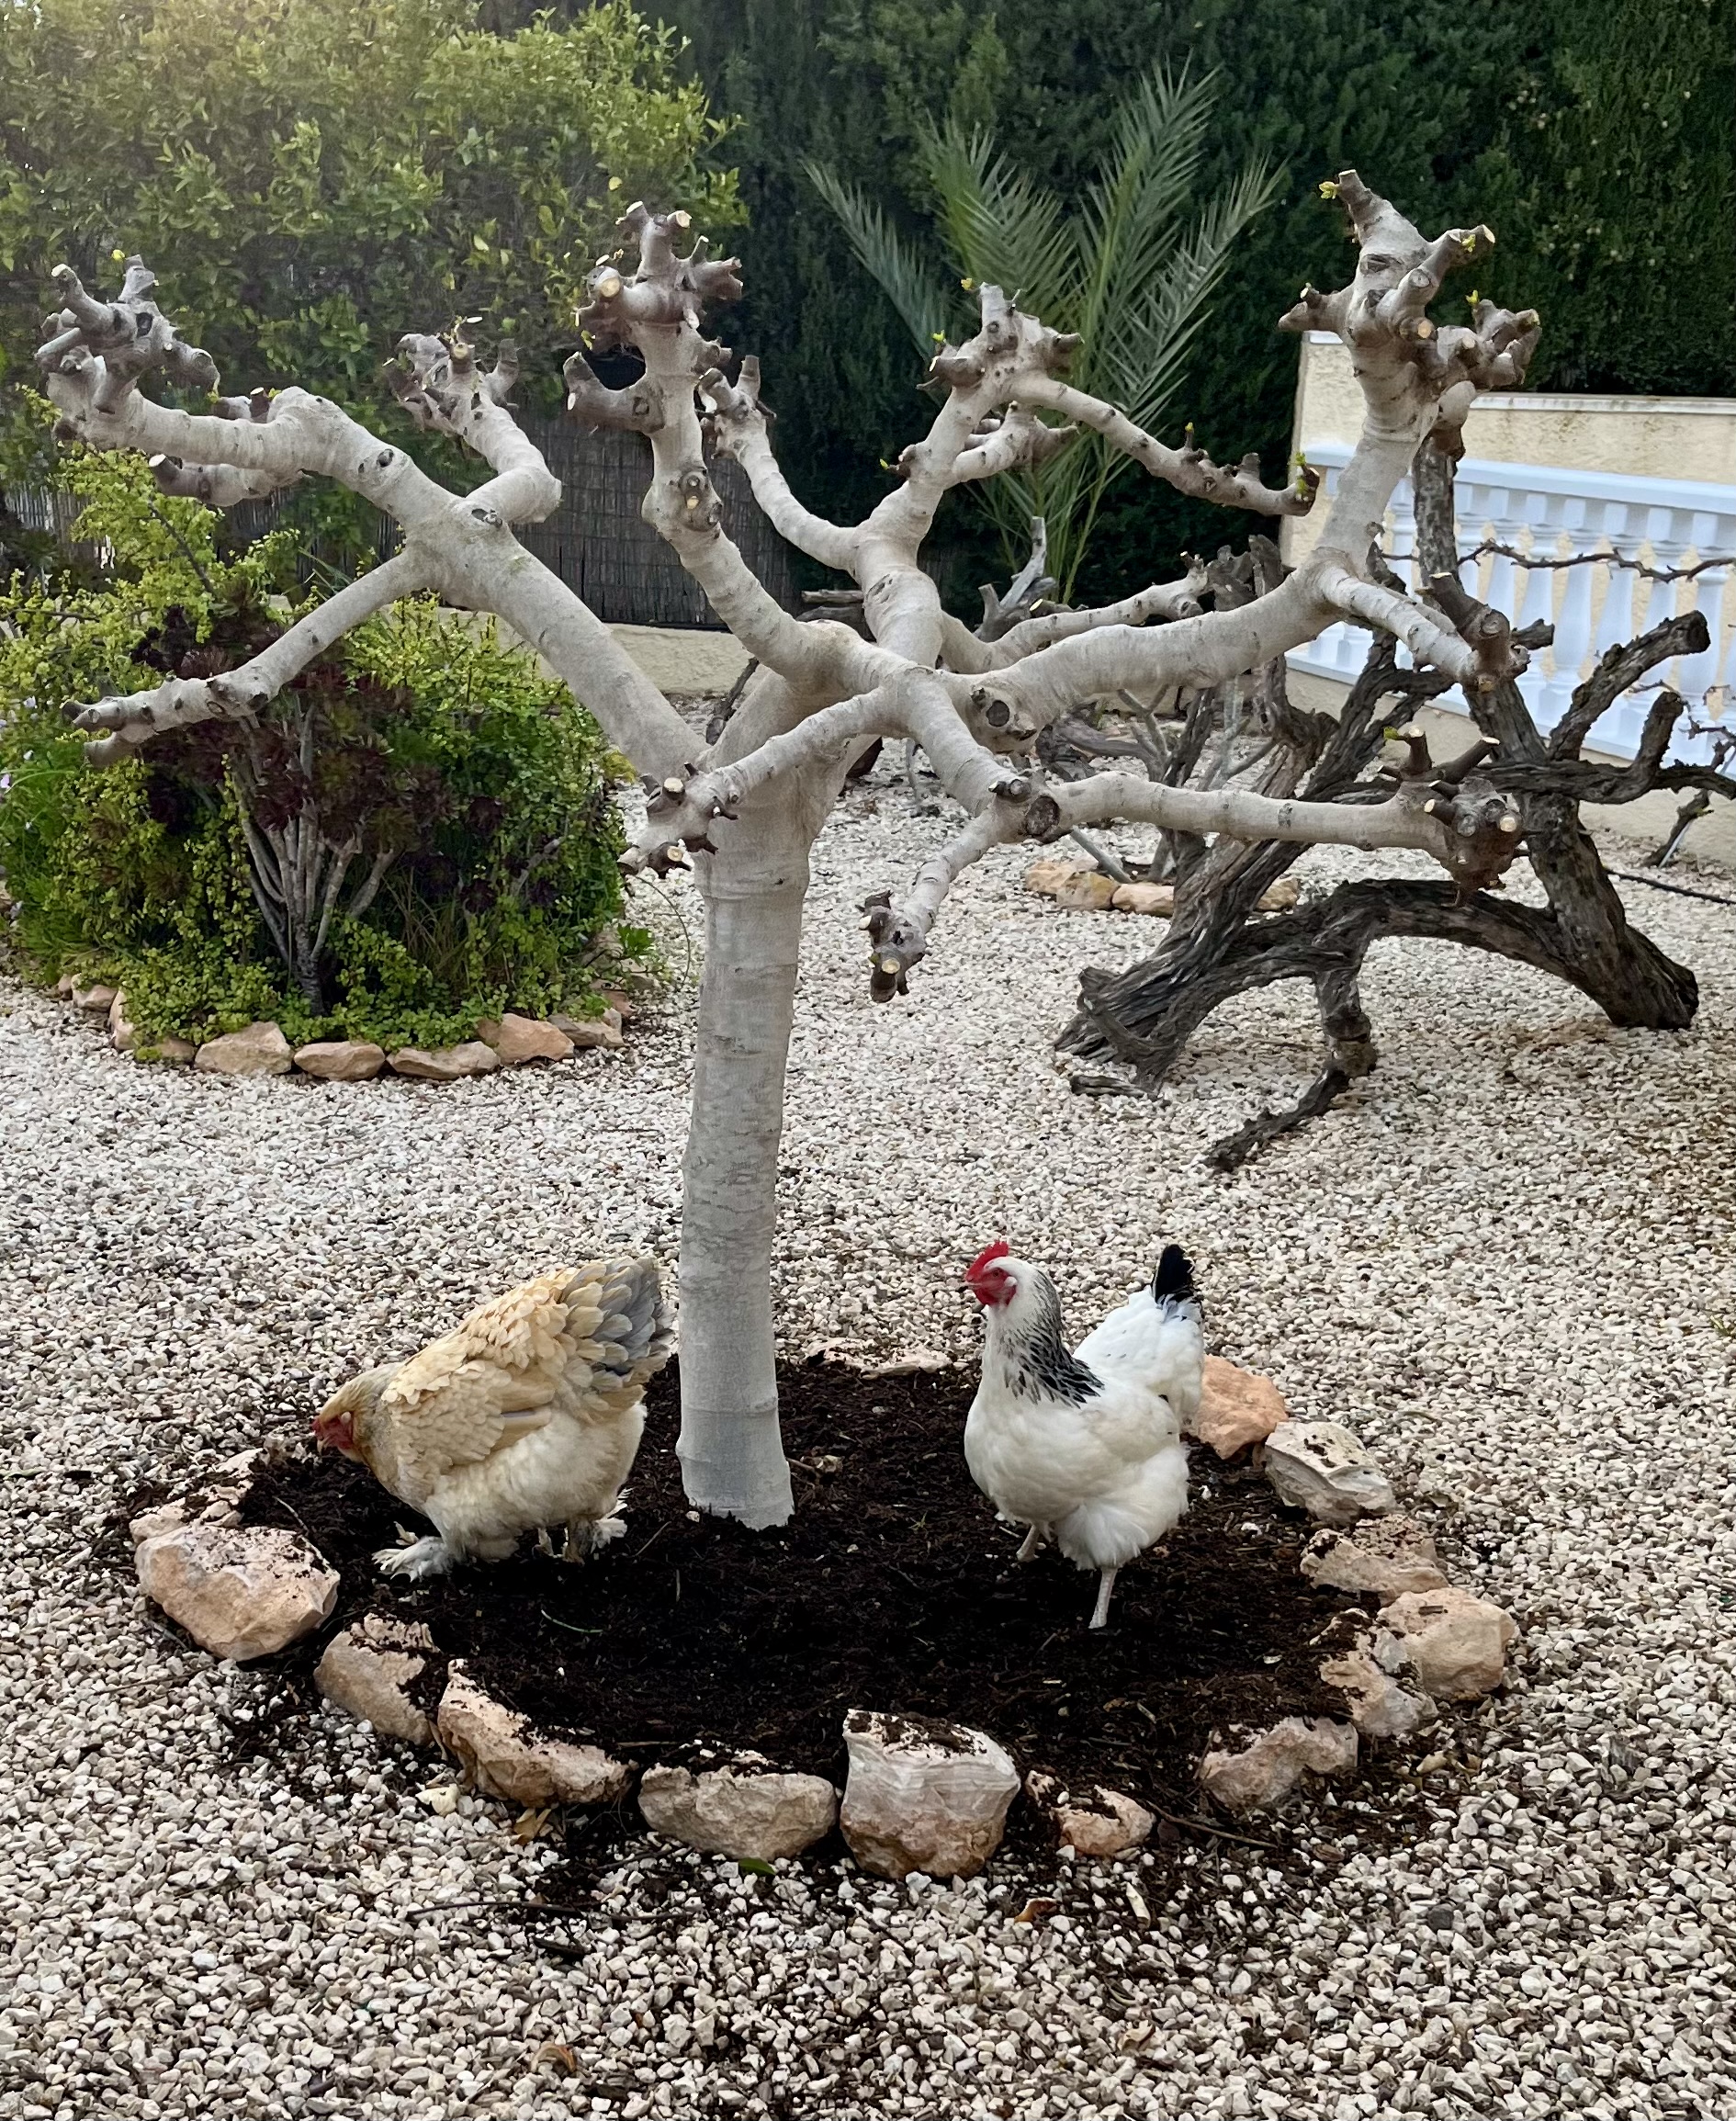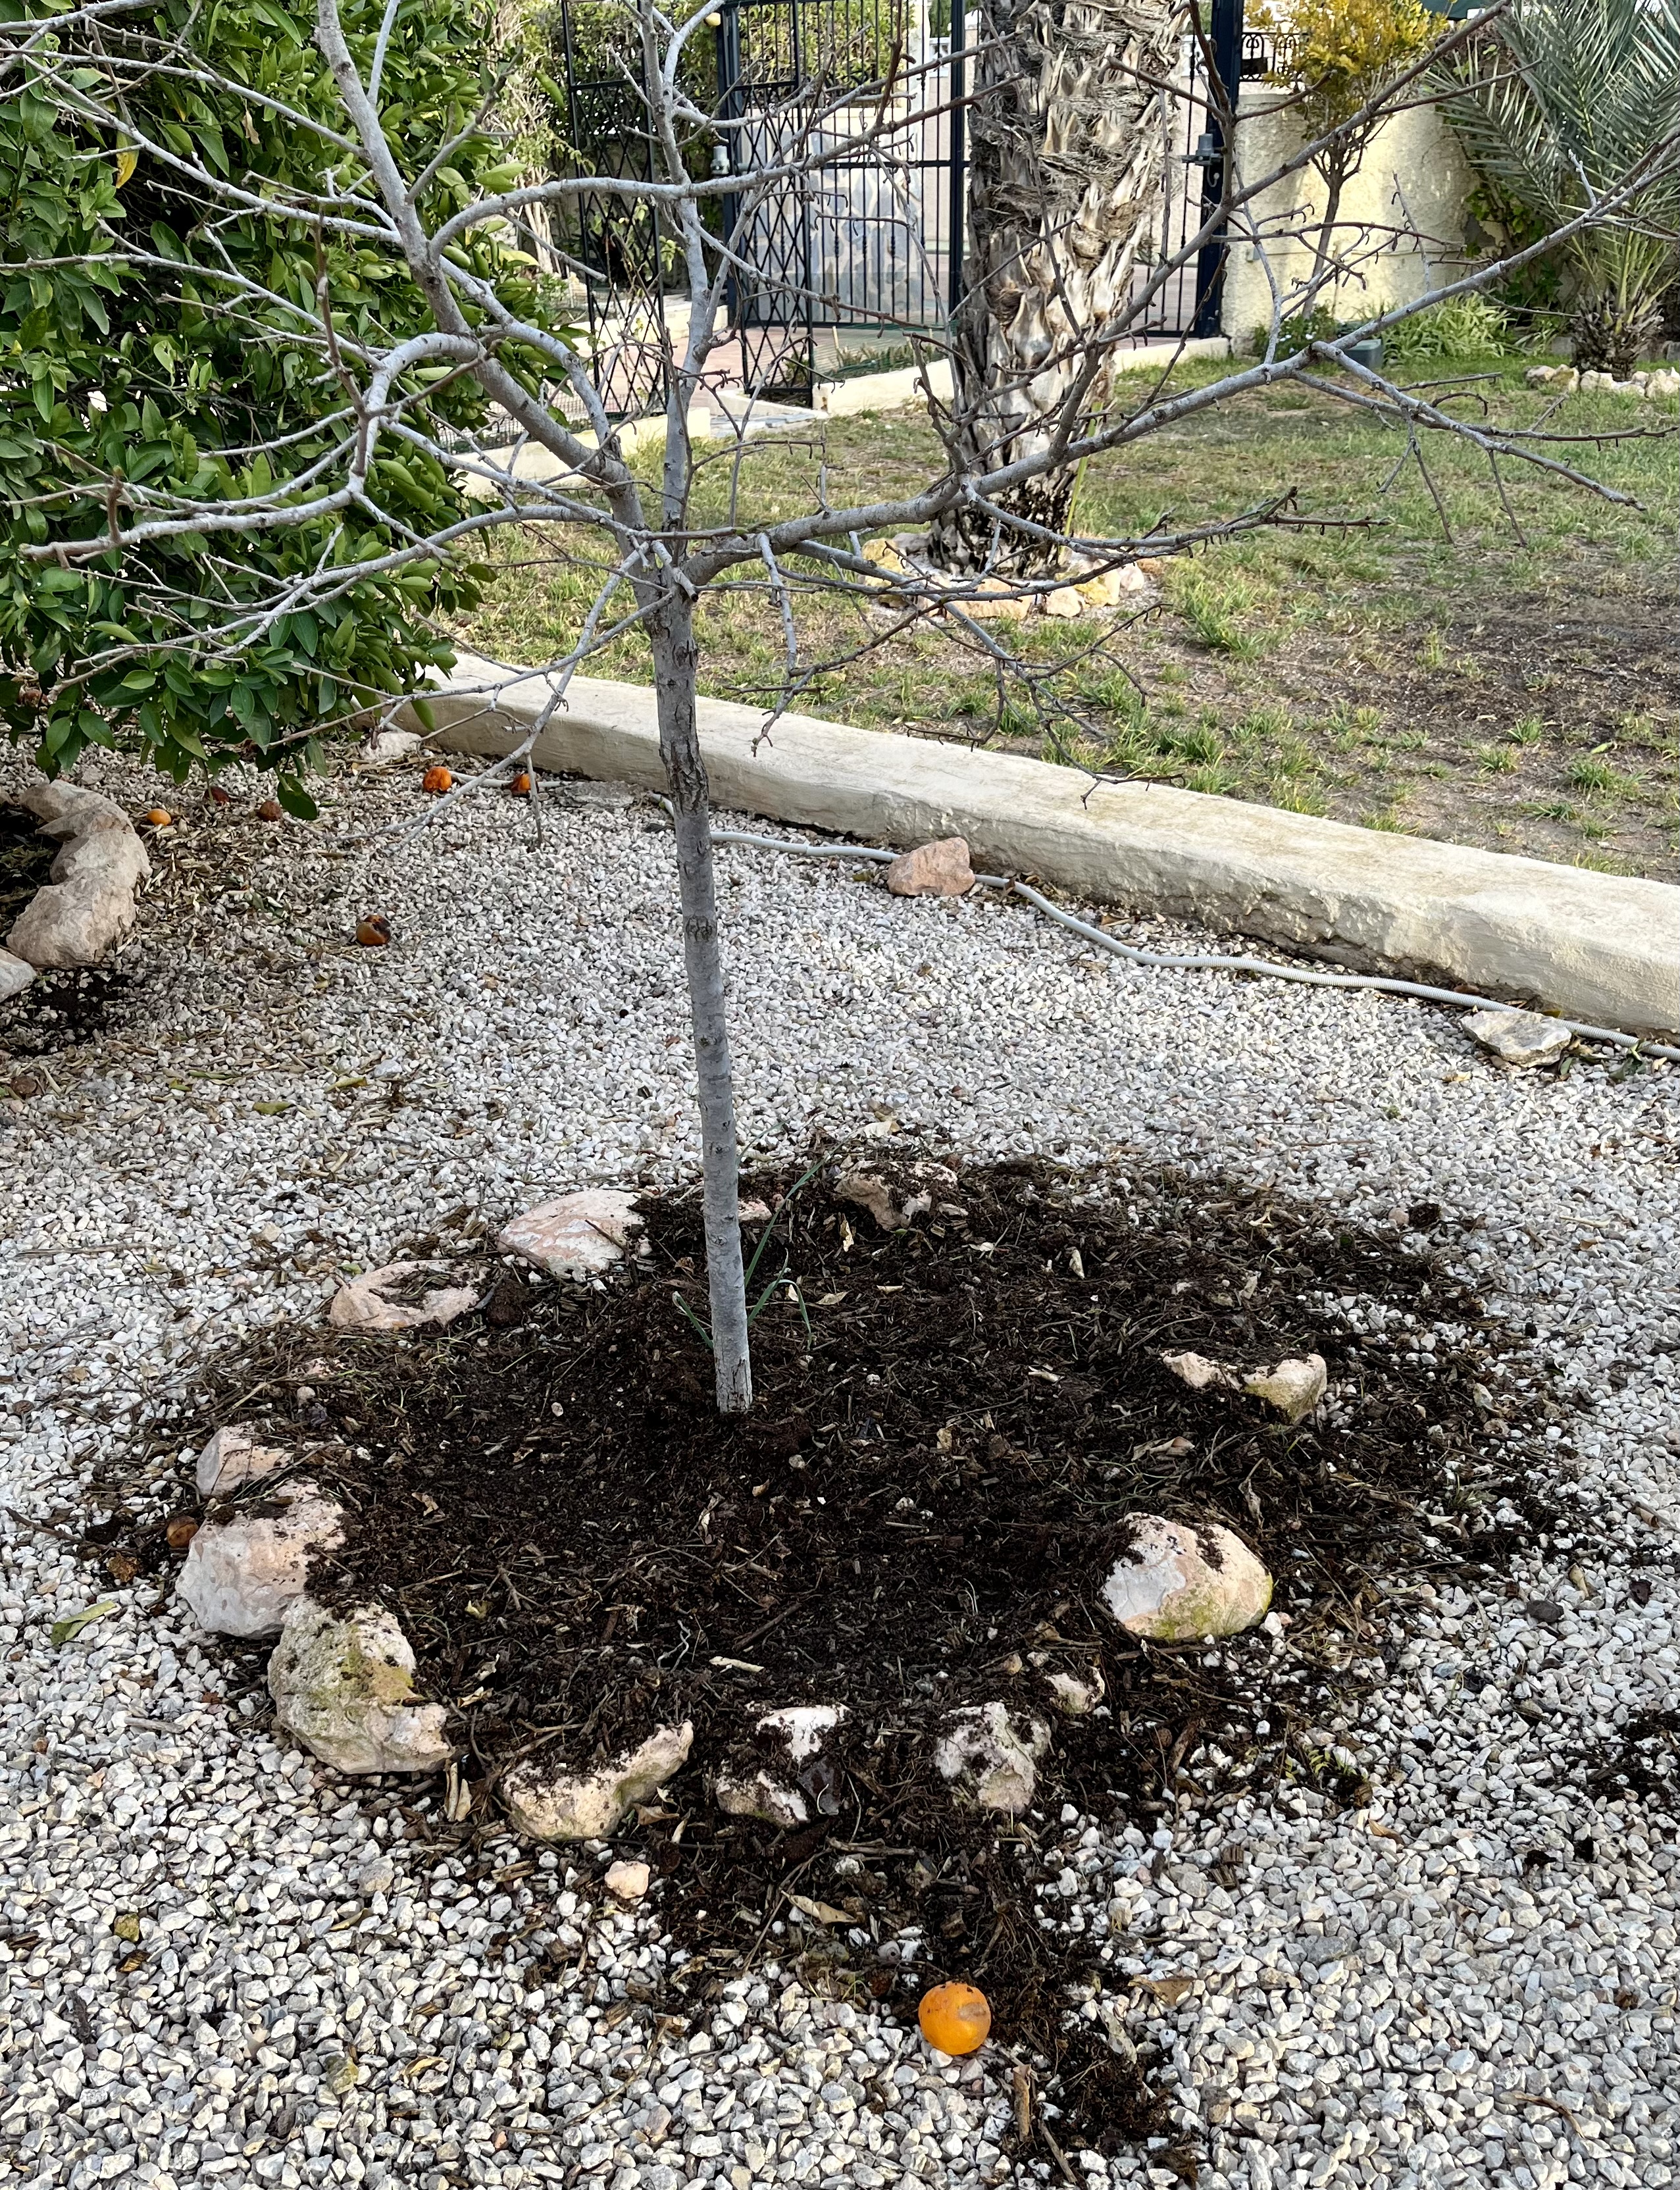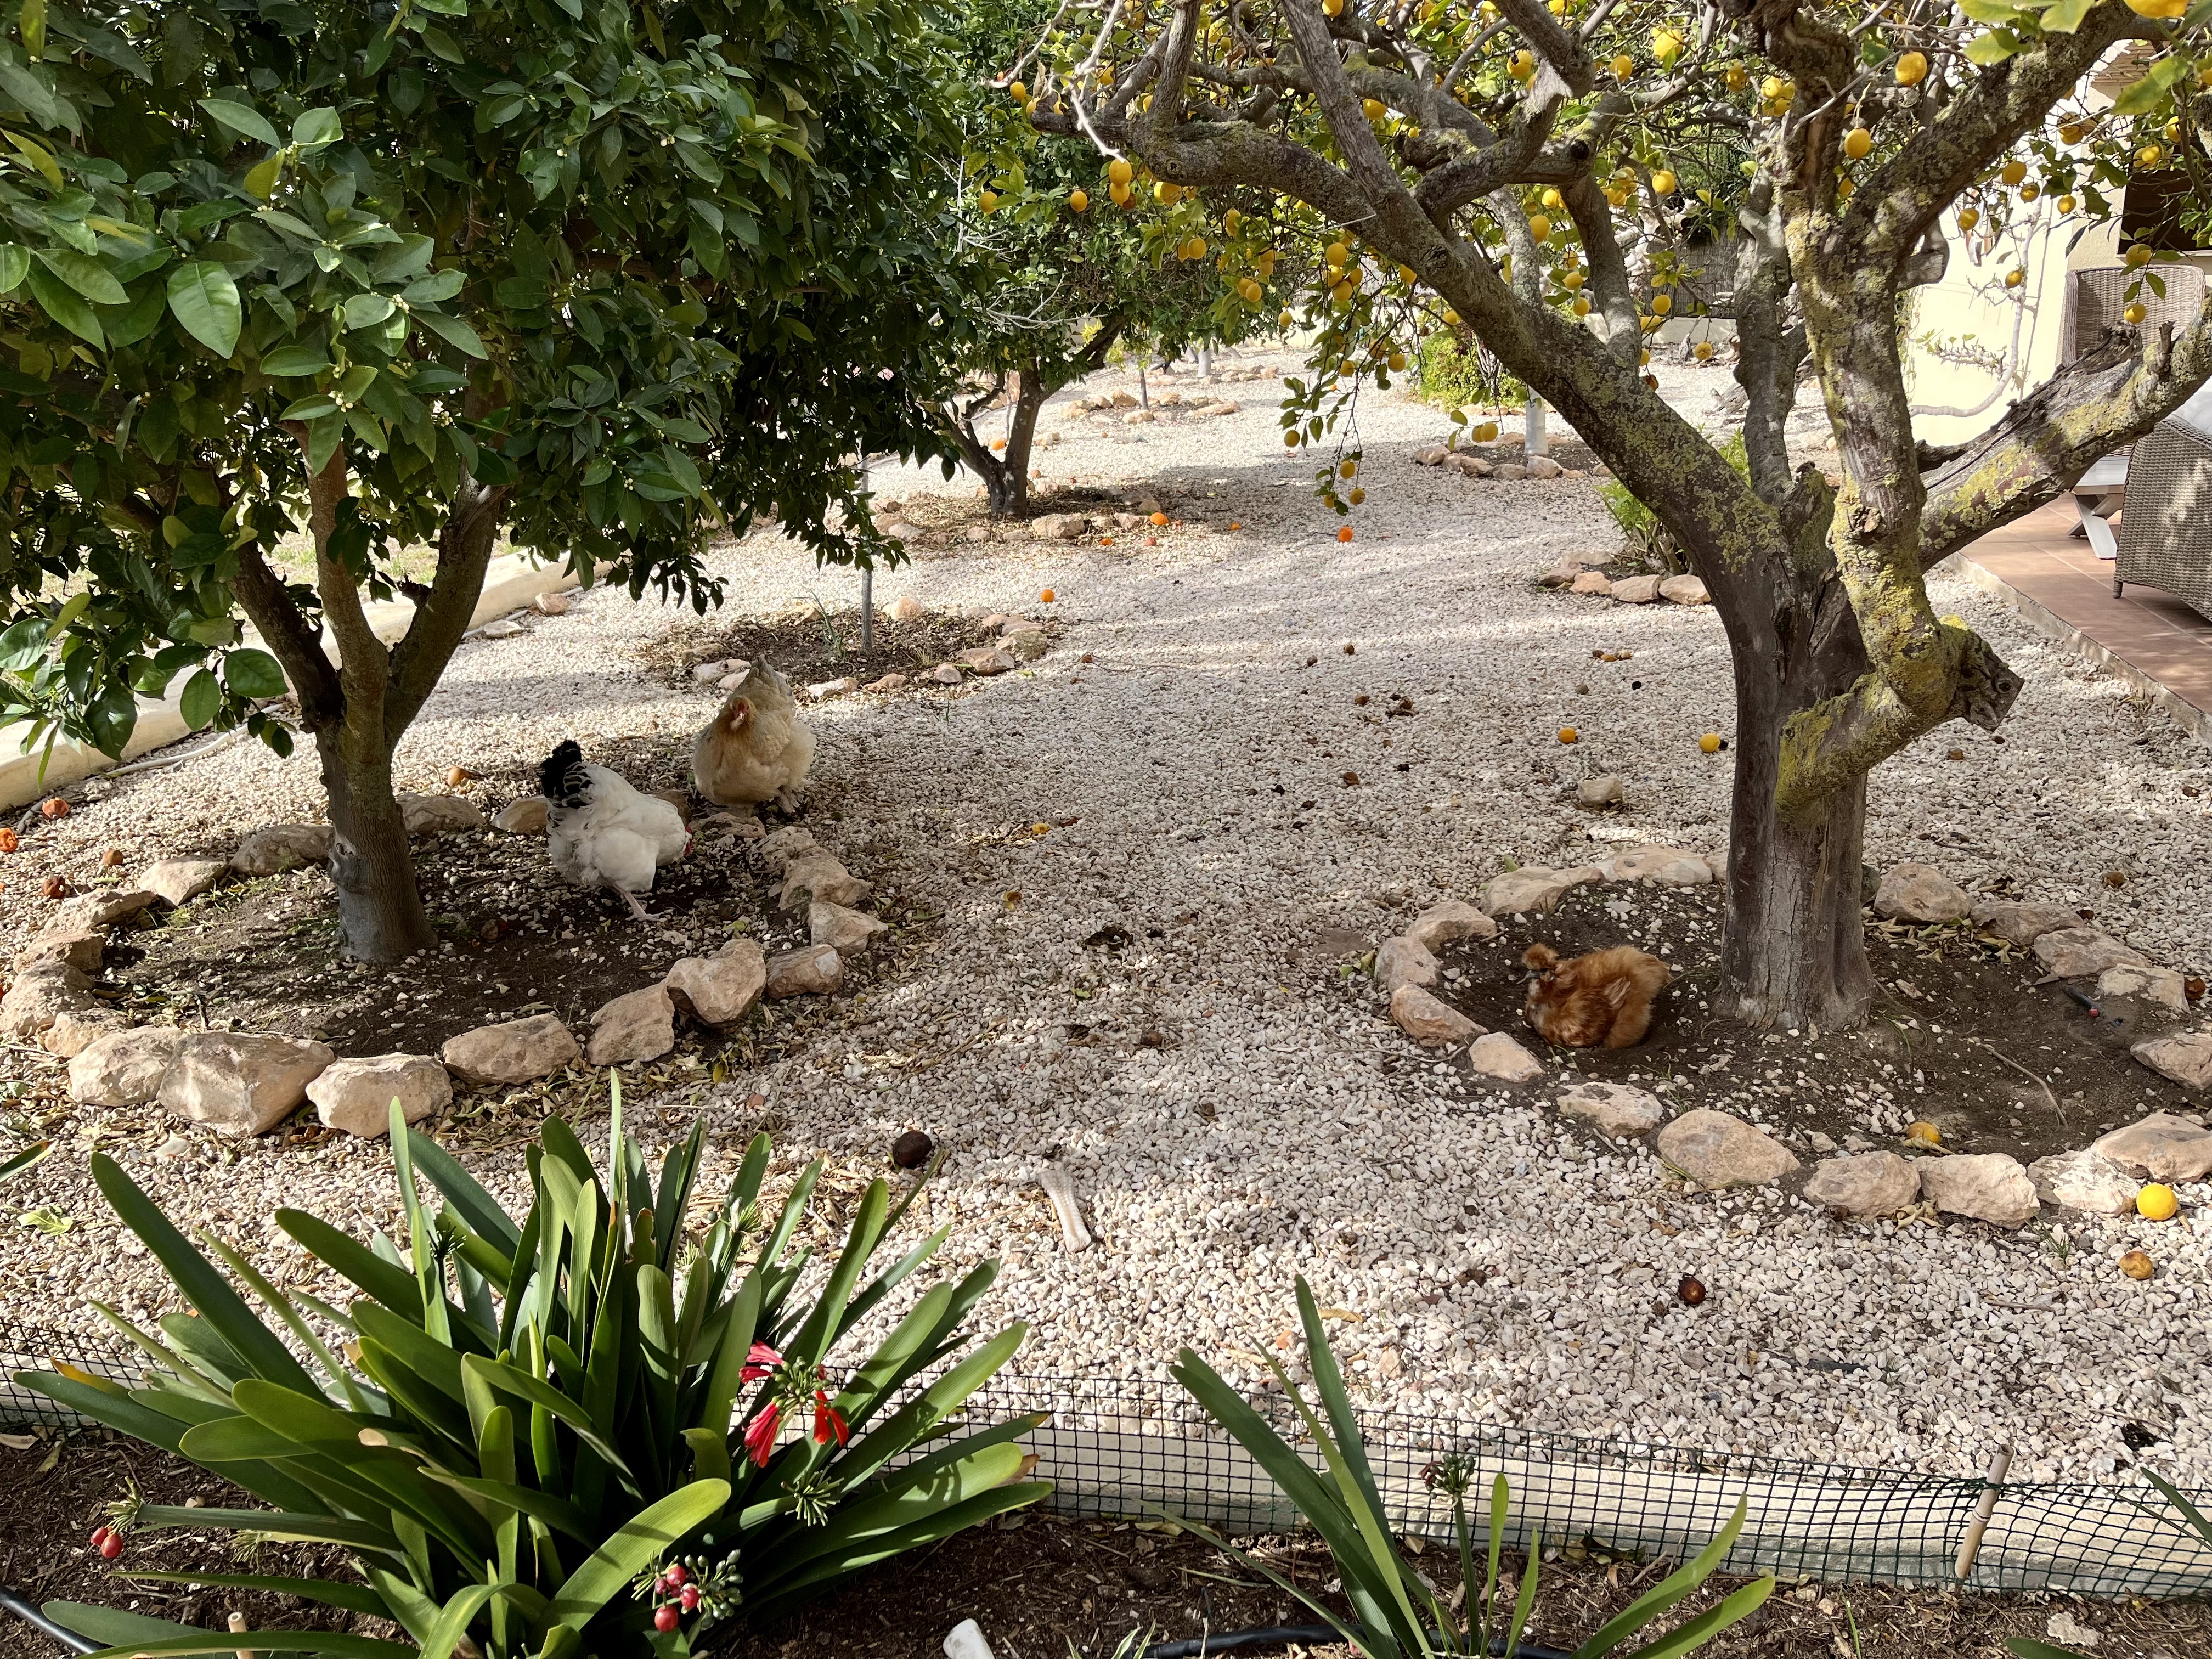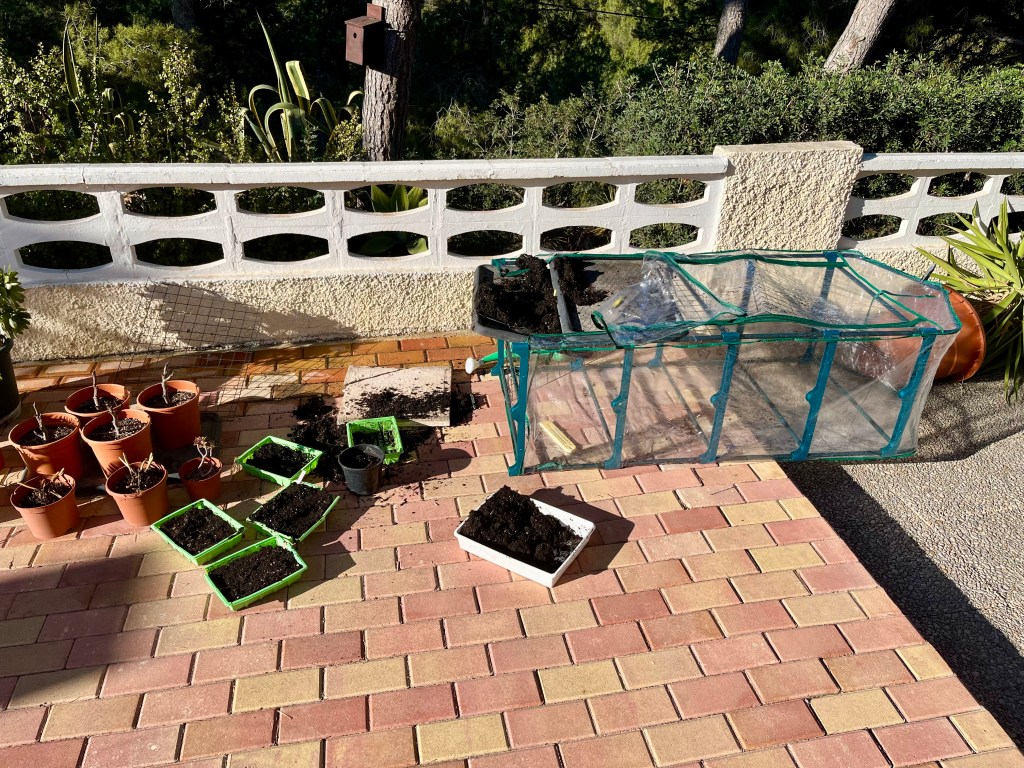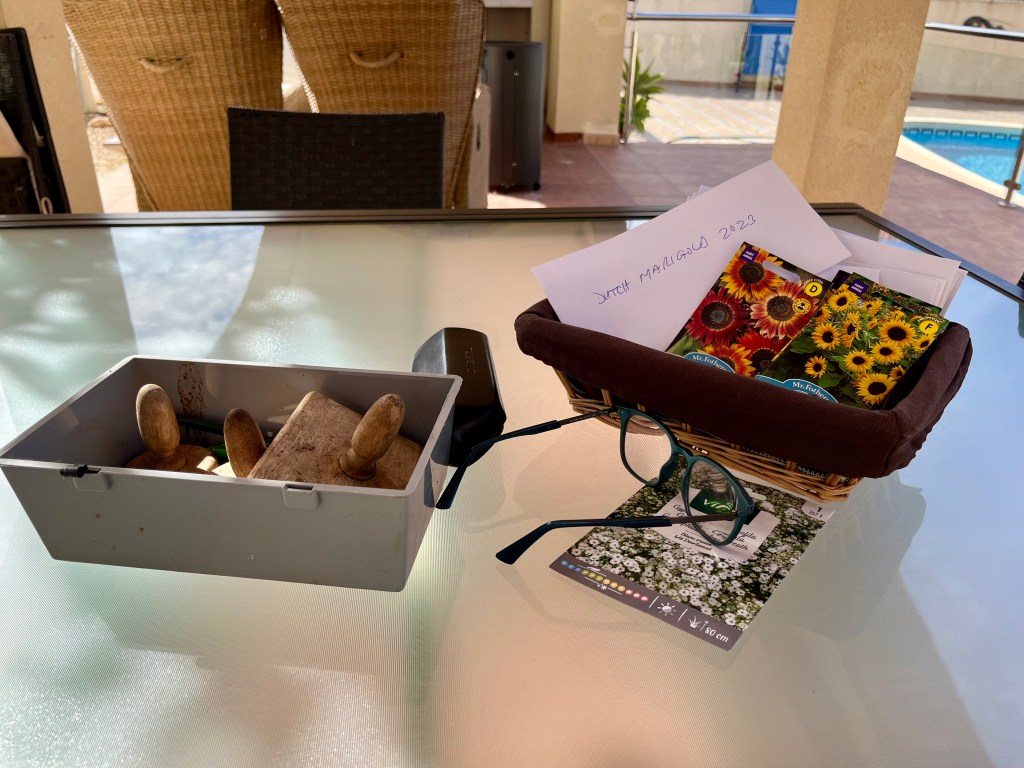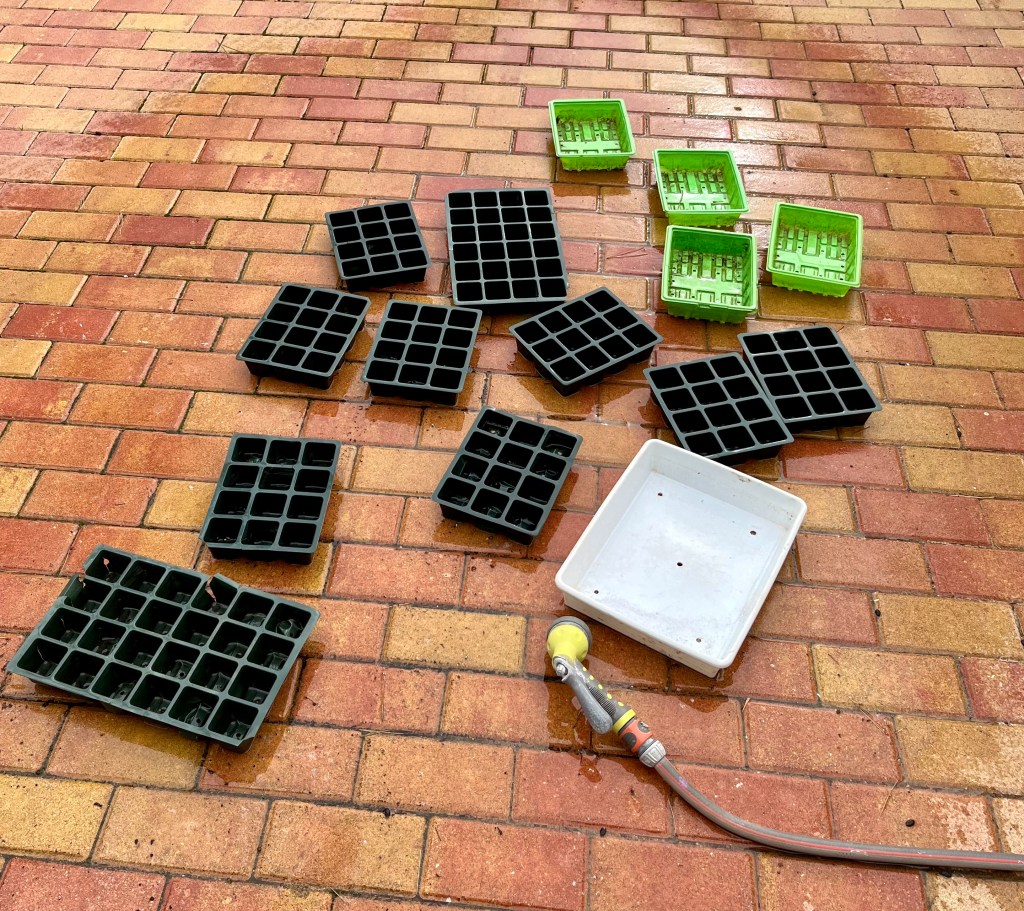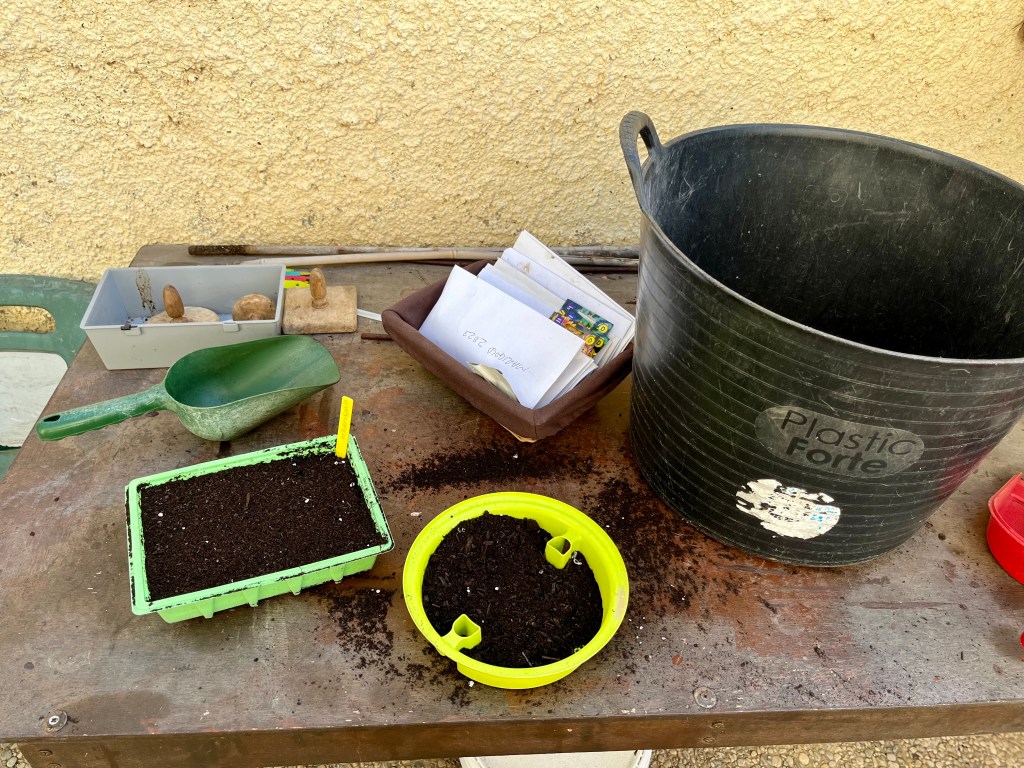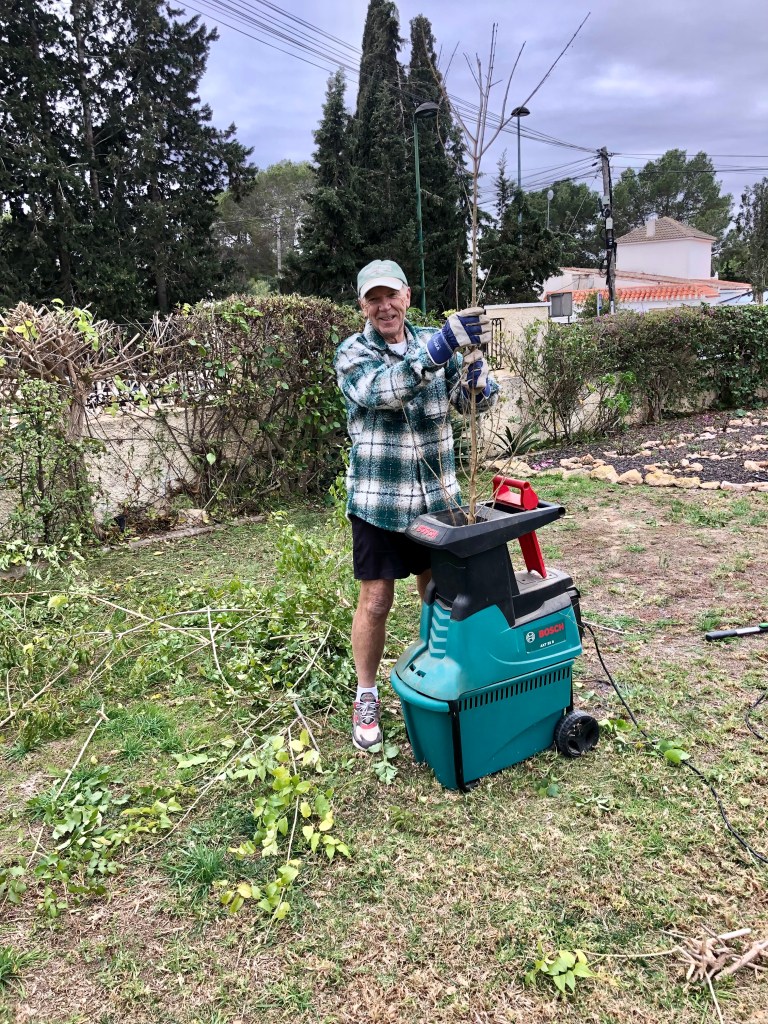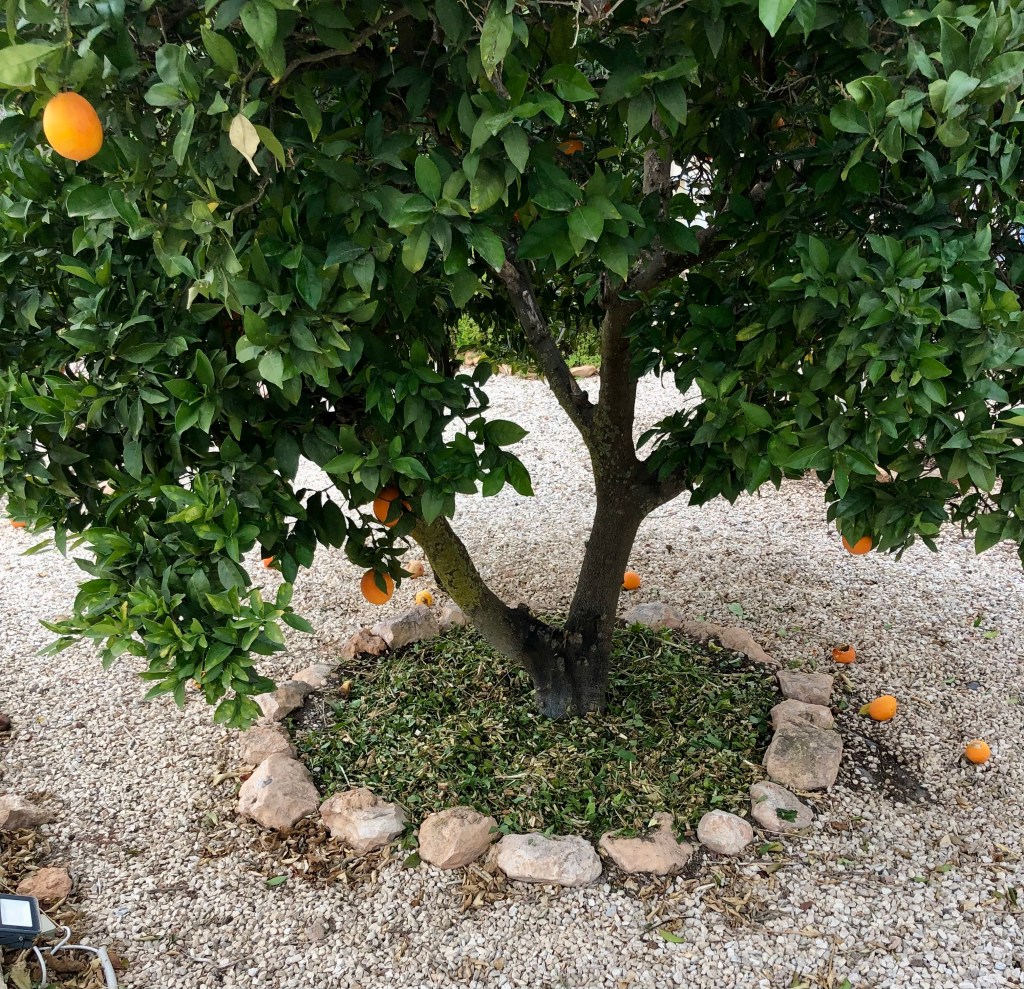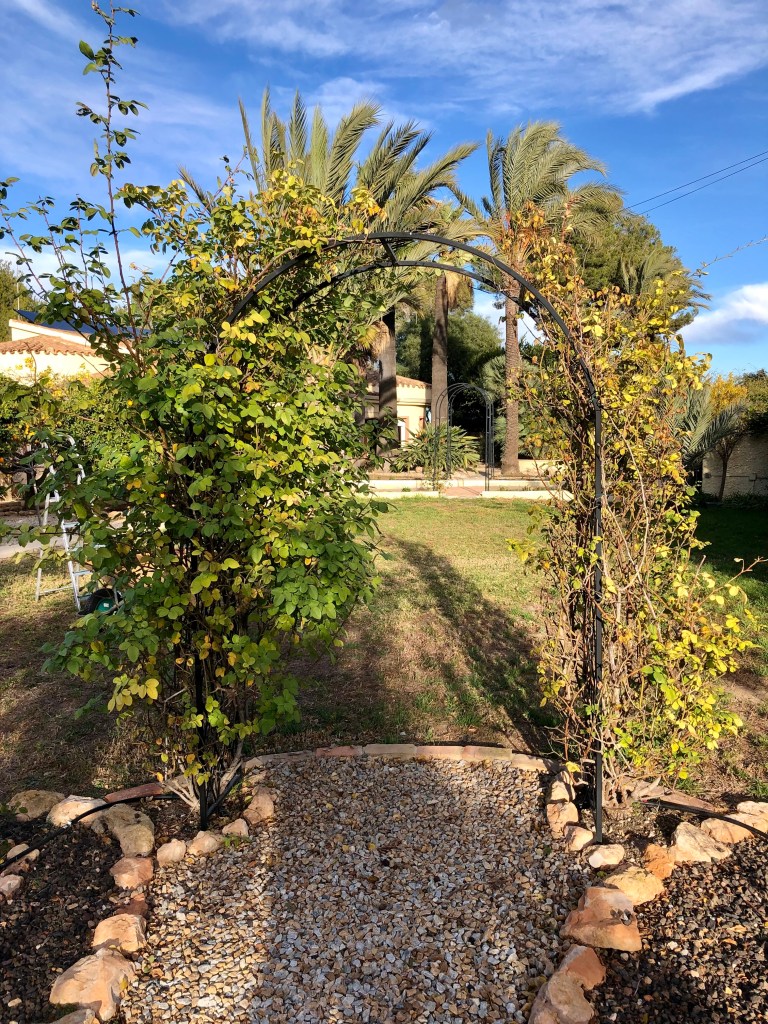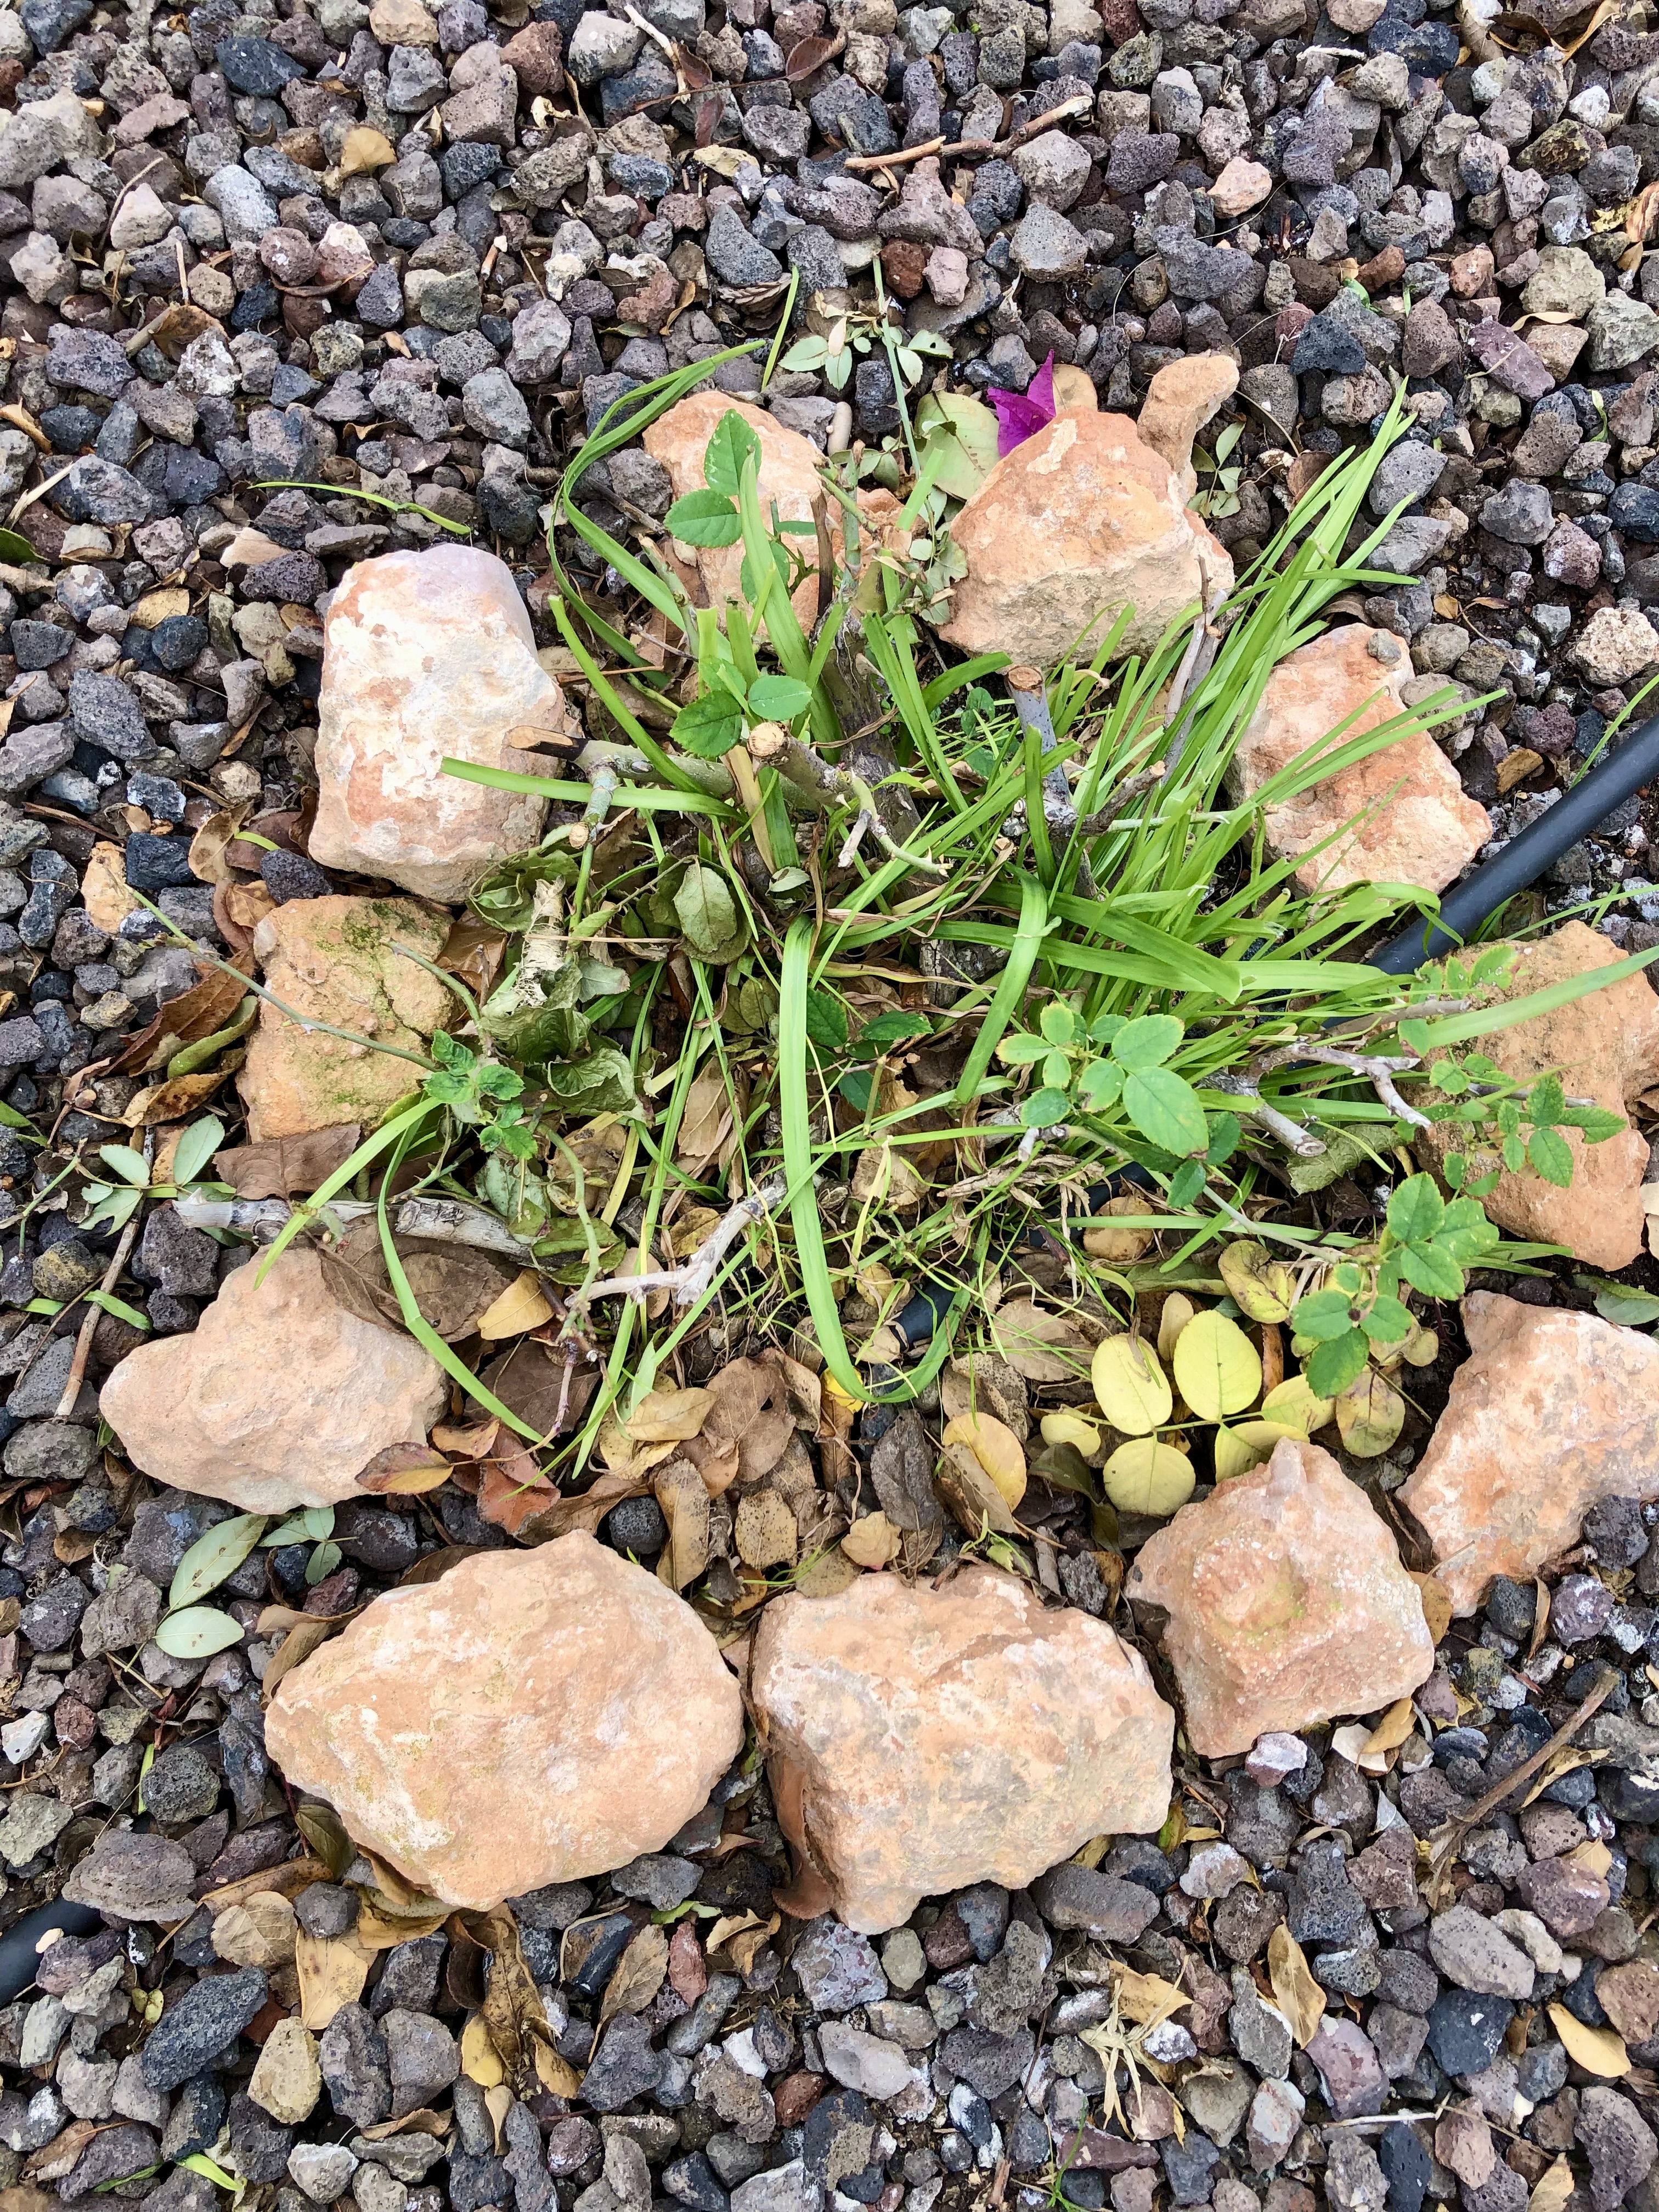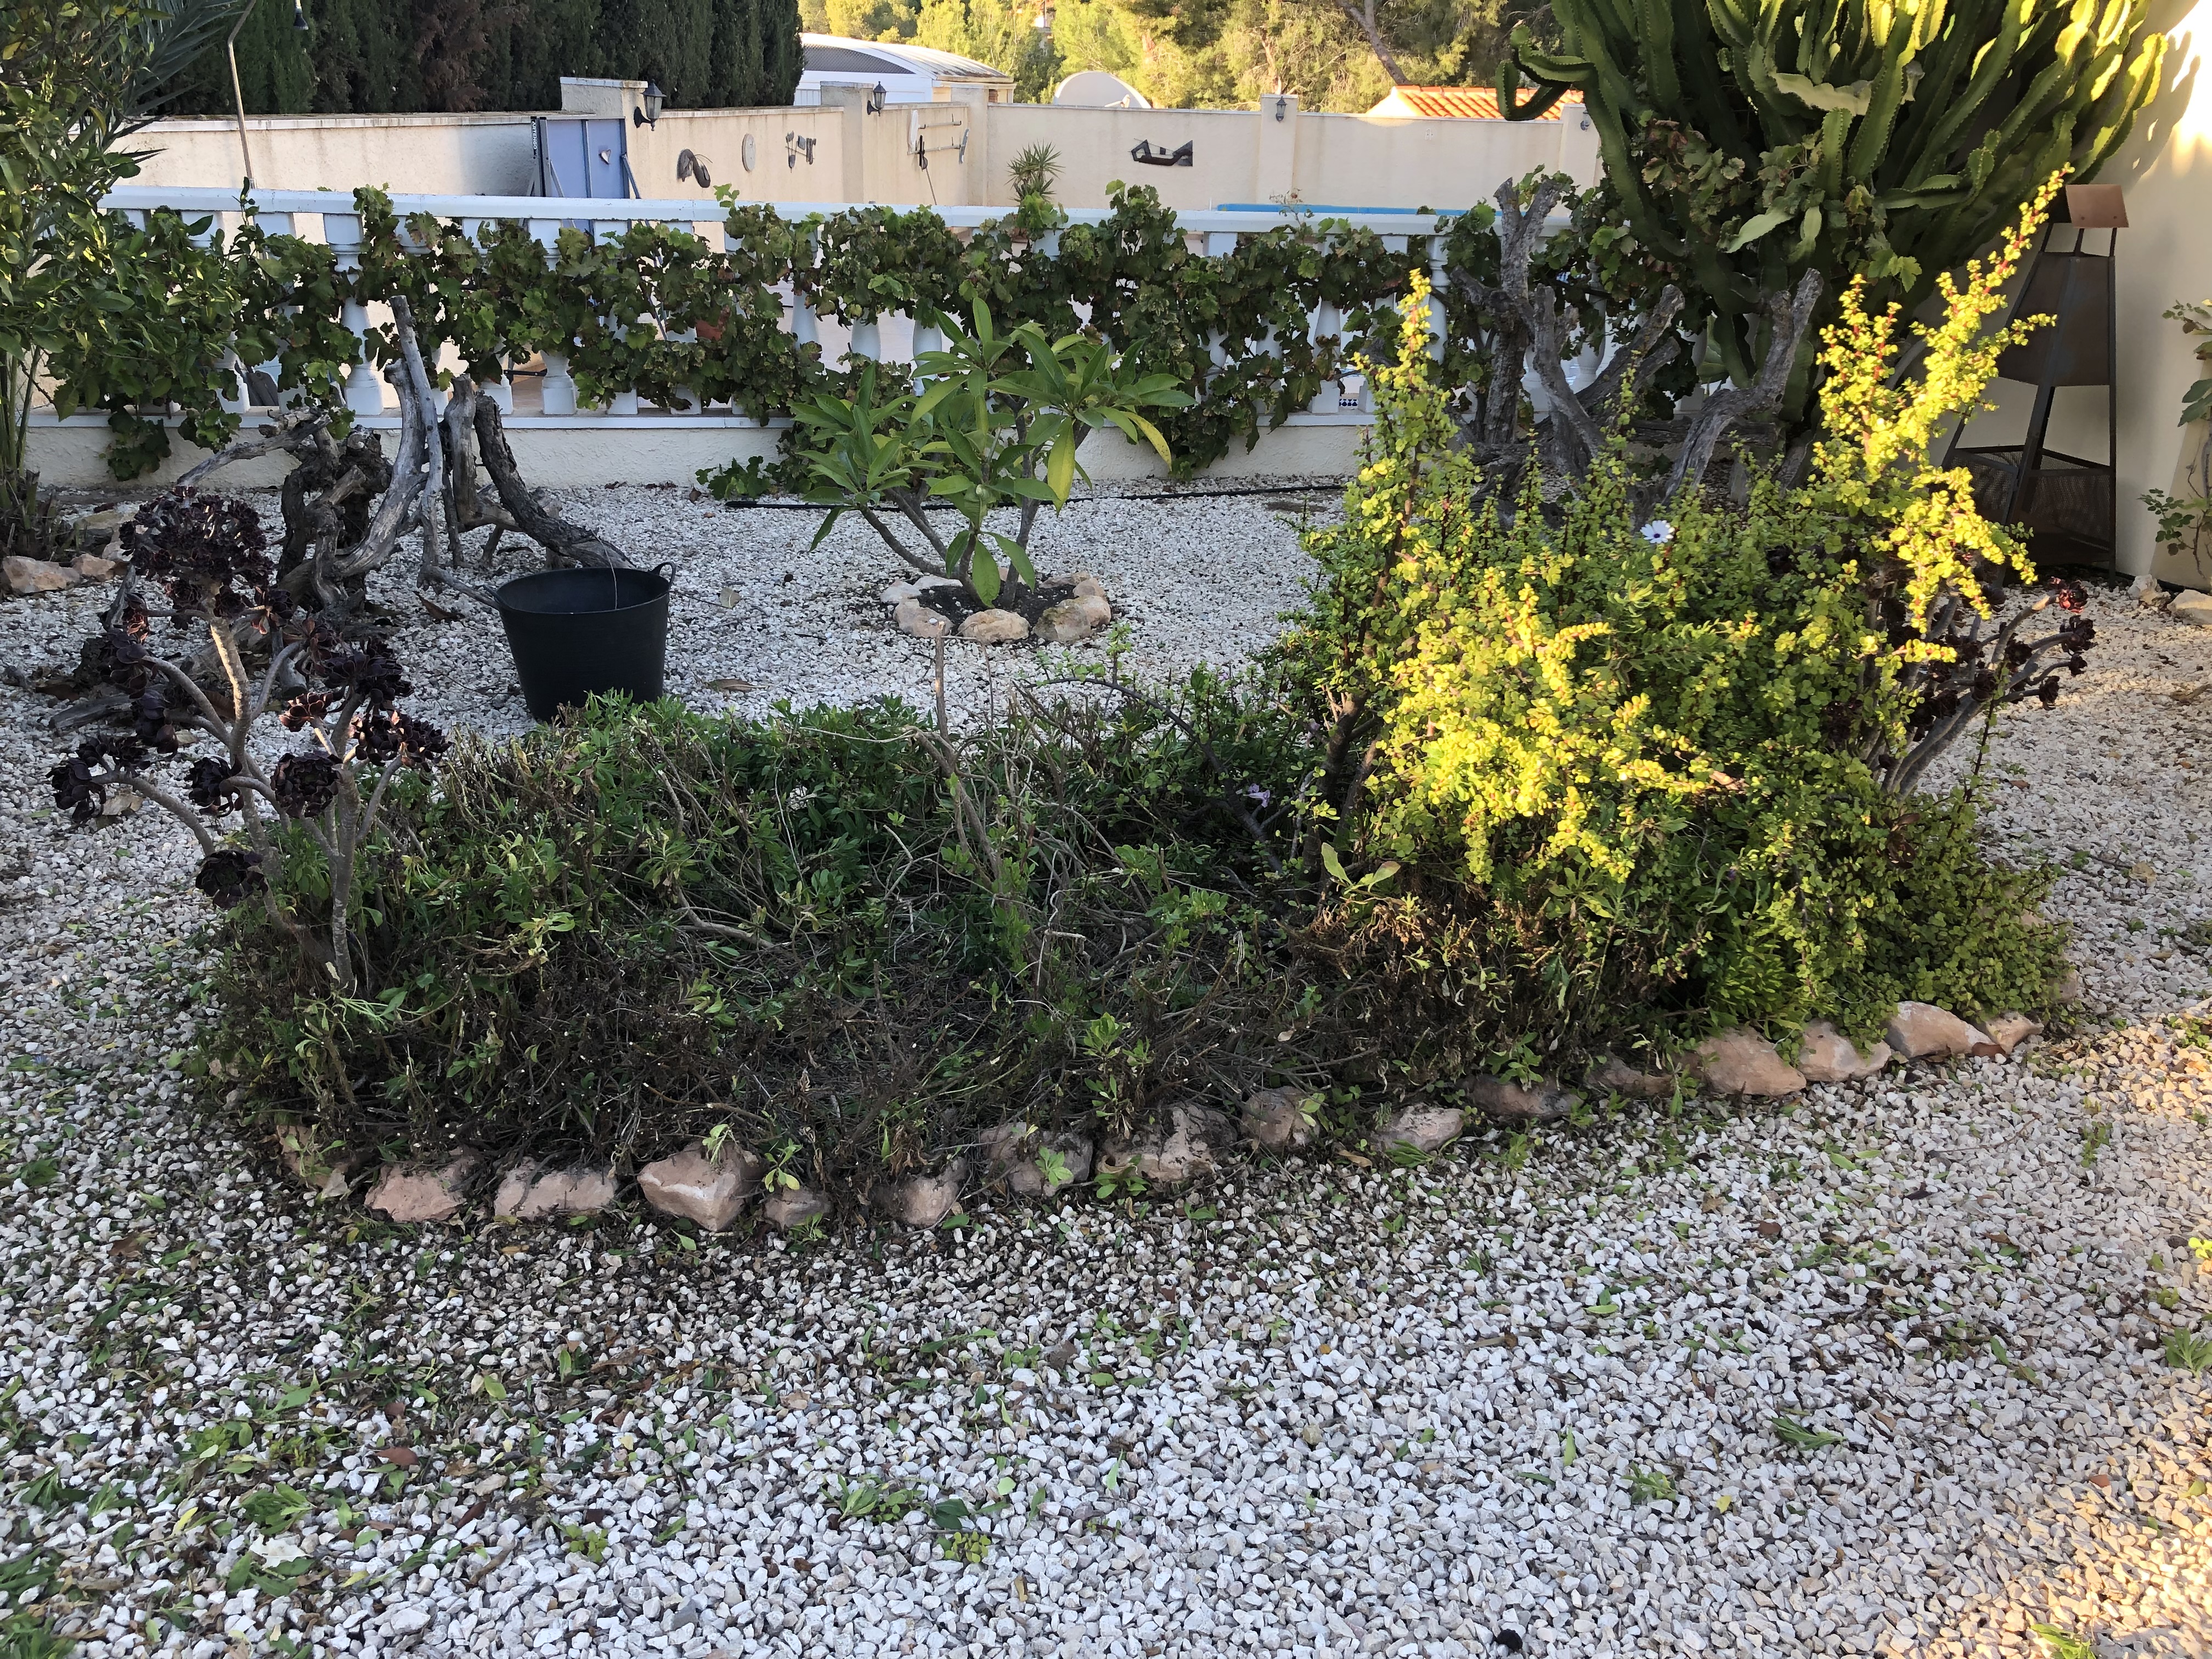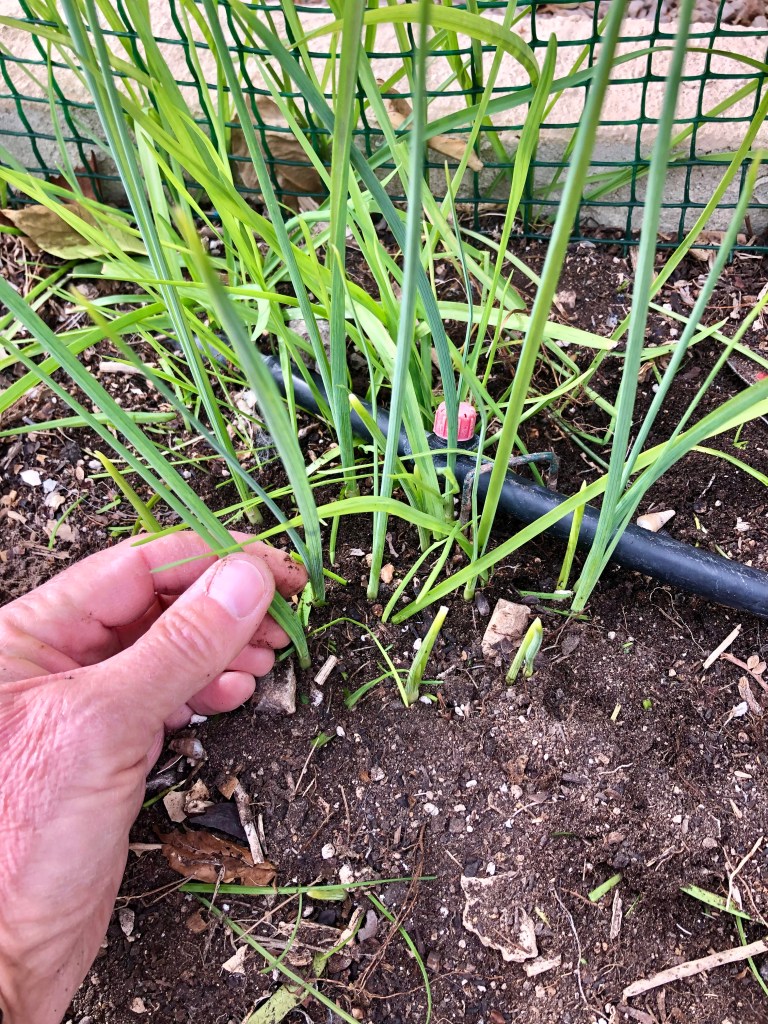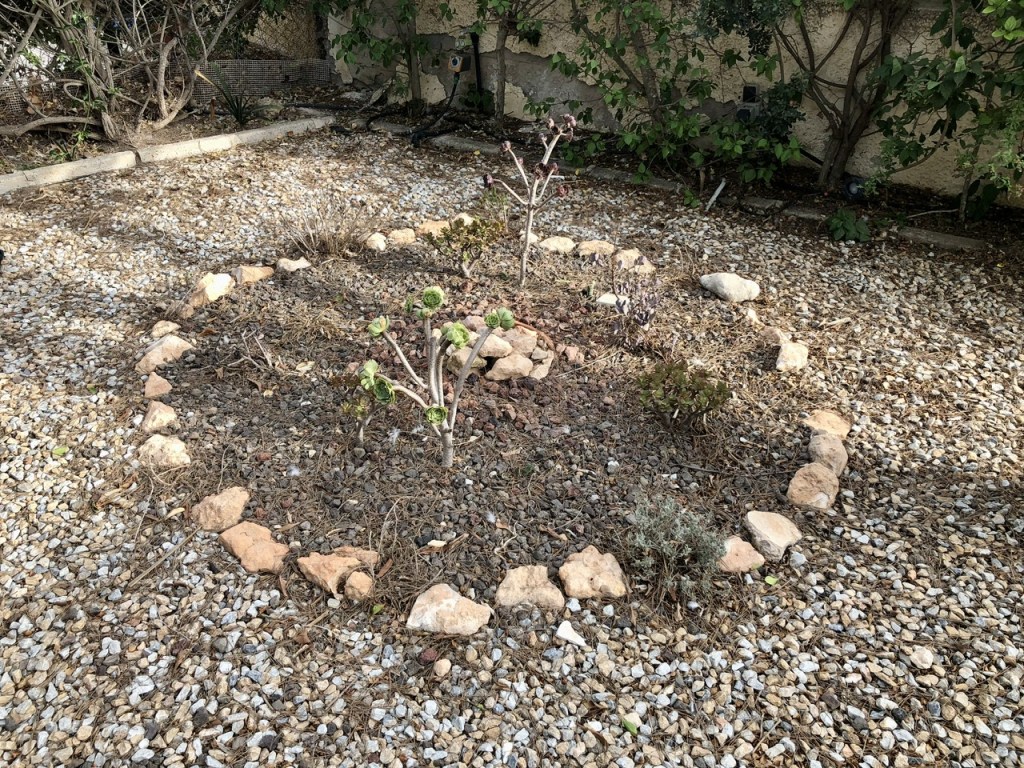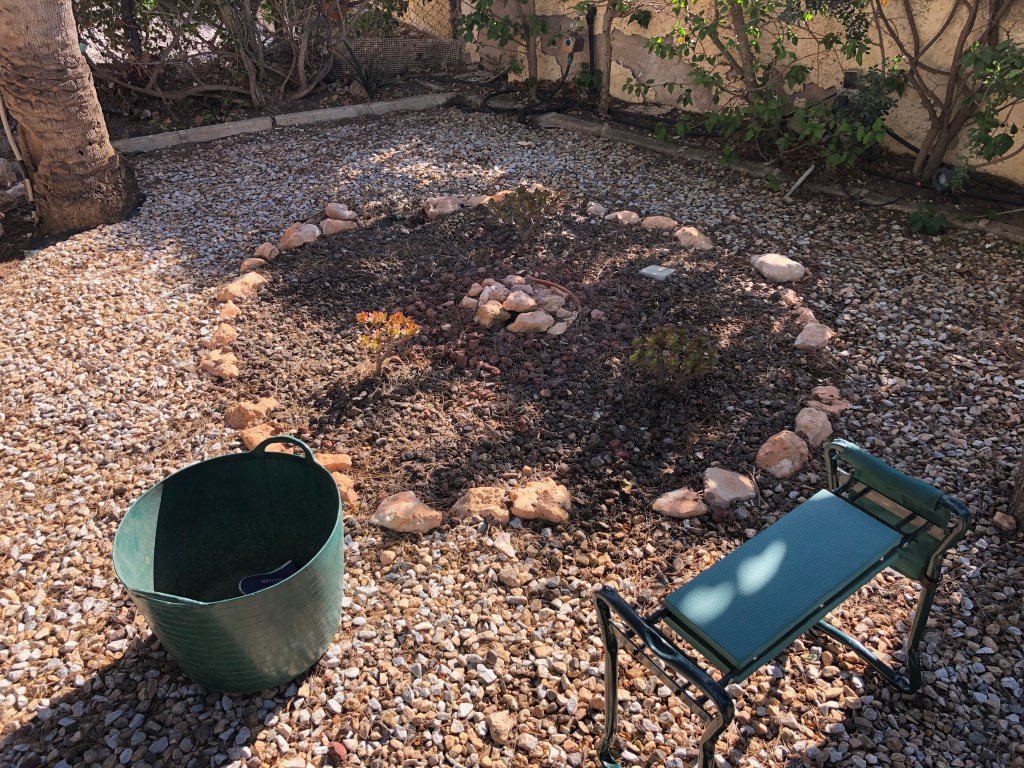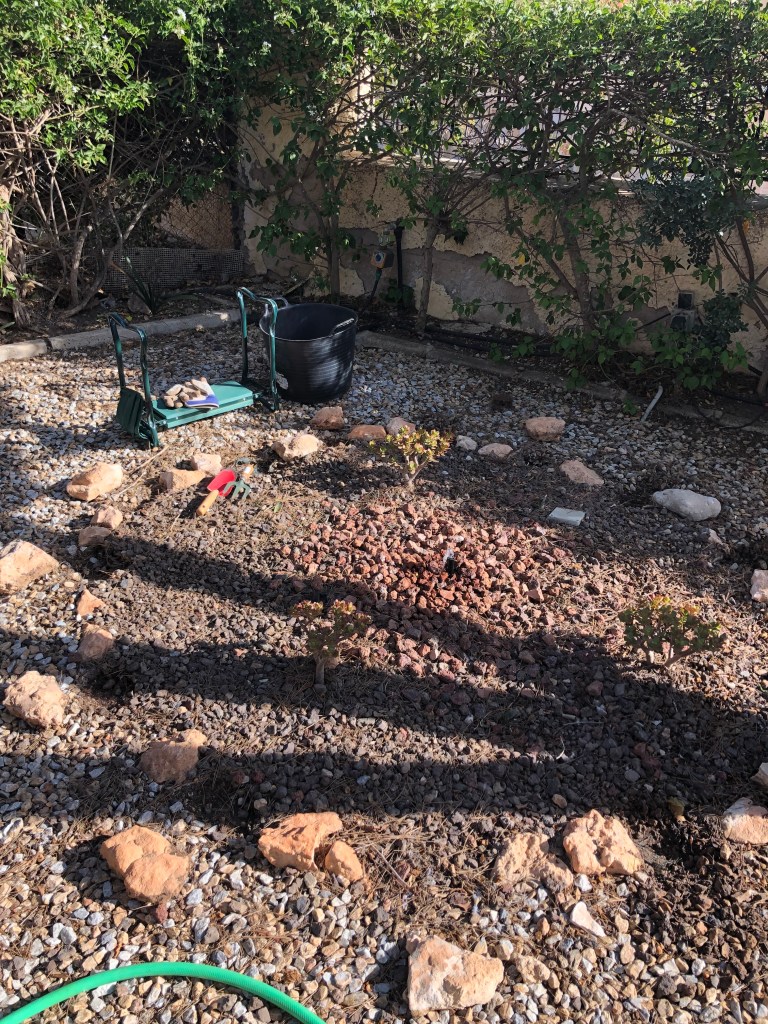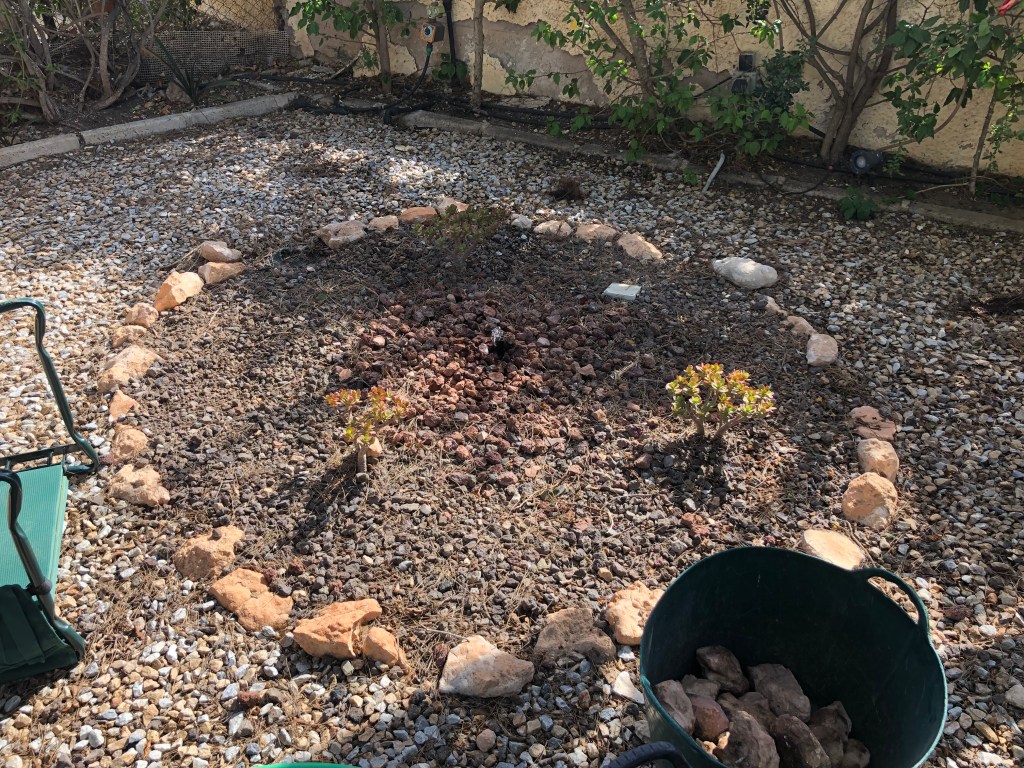
The ants have stolen my grass seed and I set up a chicken internment camp

Cruella (my wife) is away for almost three weeks. She is visiting our idiot son and subjecting him to what she calls “mother’s love” and what he calls harassment.

Anyway, the good news is that I am gardening on a 24 hour cycle. I divide each day into three 6 hour portions of gardening with two hours rest between each. I mainly sleep in the compost bin for the warmth and I wash in the water feature.

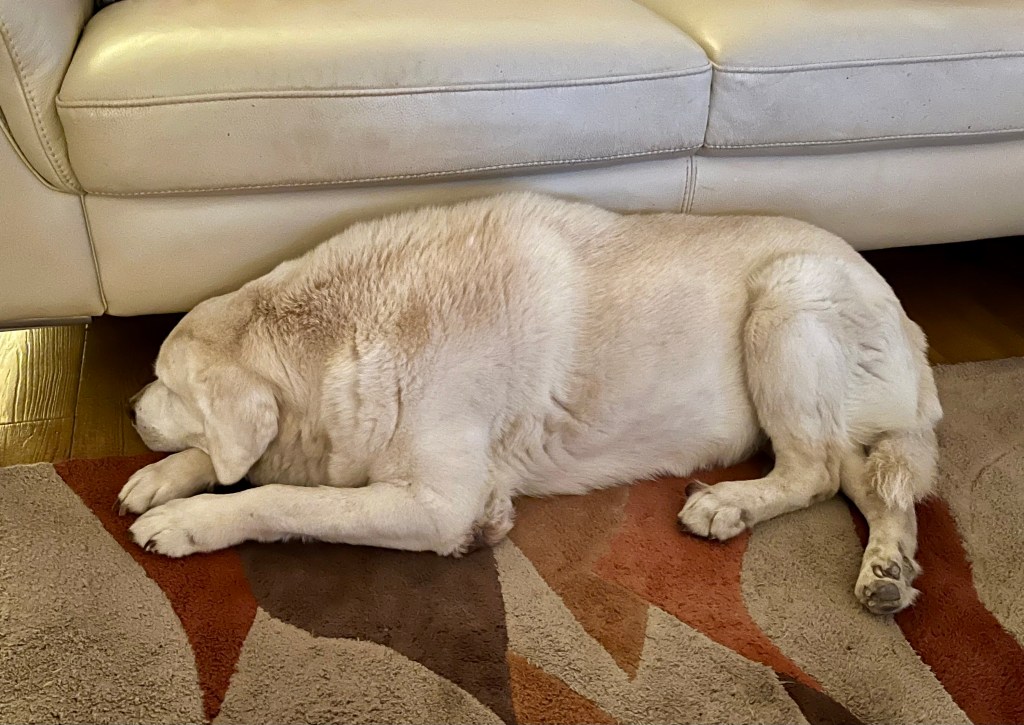
The bad news is that I have been tasked with taking care of Cruella’s chickens whilst she is gone. The last thing she said to me as she sat astride her broom – before taking off over the trees – was “look after my girls”. And I have, they have been locked up 24 hours a day with Tango the lonely blind Labrador acting as guard. All was going well till she found out. More later, on with the gardening.

22nd September 2024. Things I have been doing lately:

  • Continuing to deadhead and tie up.
  • Cleaning up leaves on gravel.
  • Revitalising my lawn
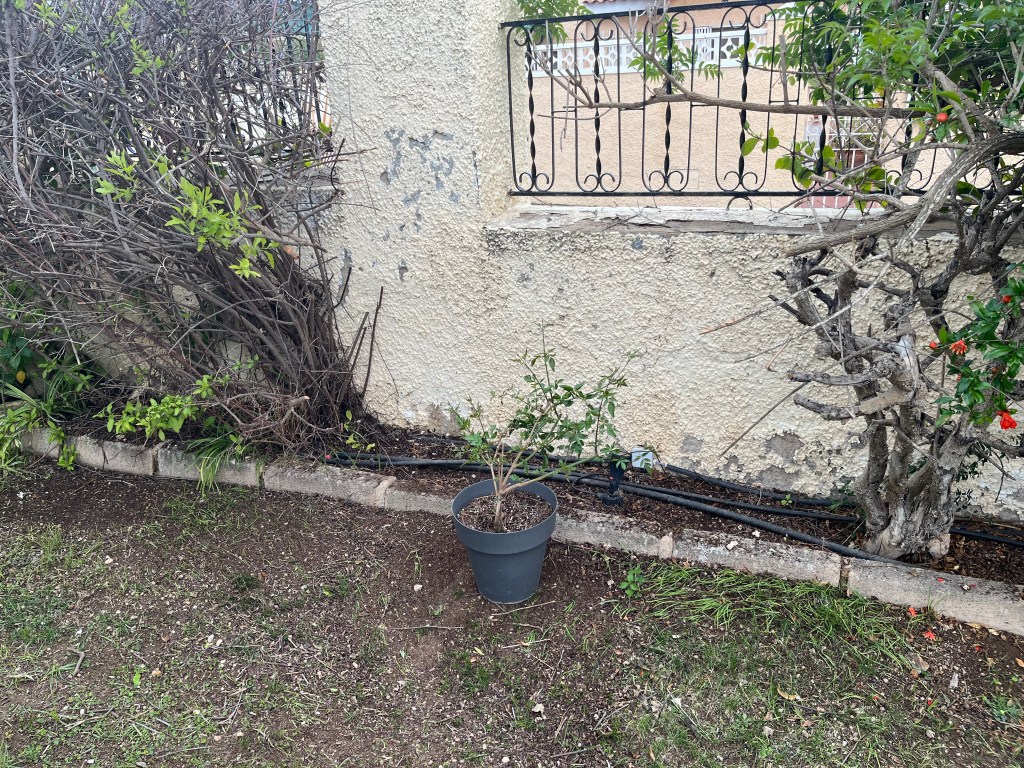
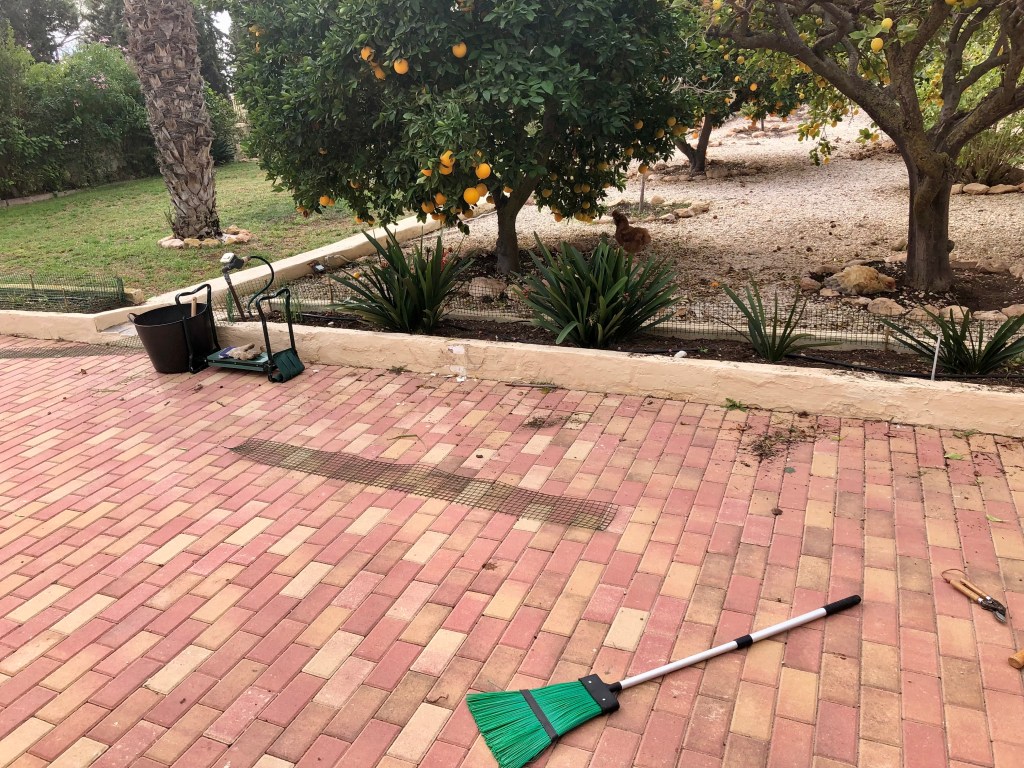
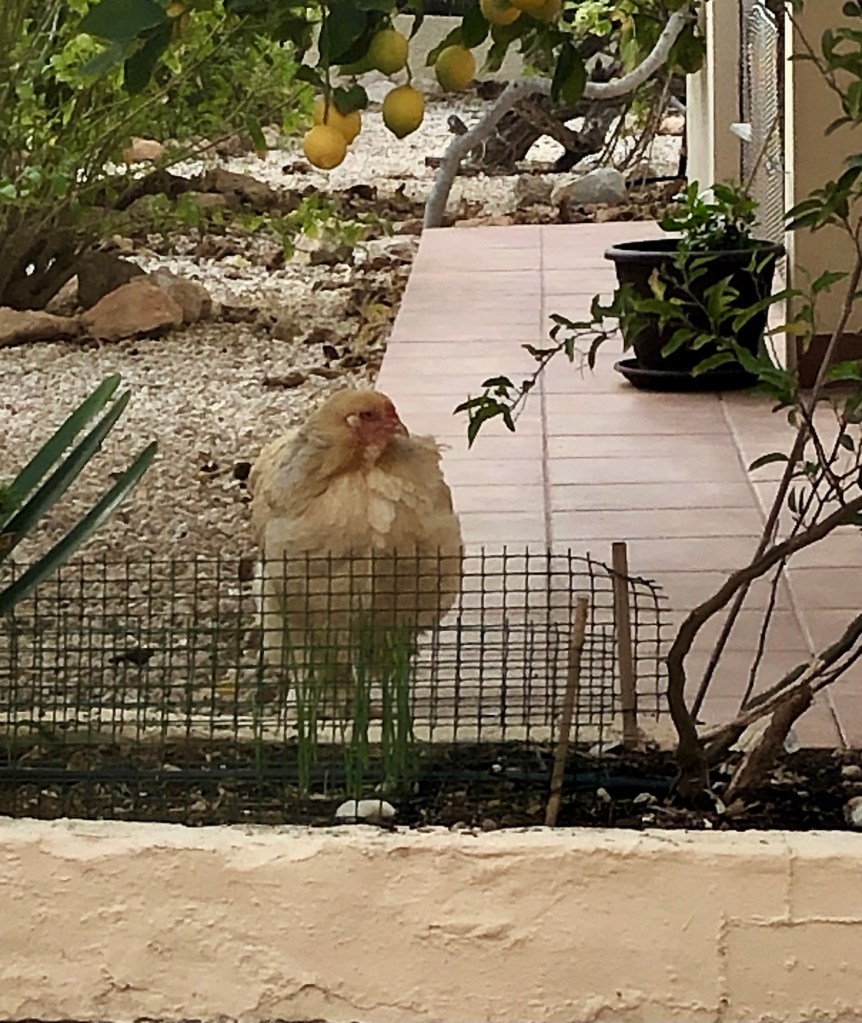
  • Setting up a chicken internment camp.

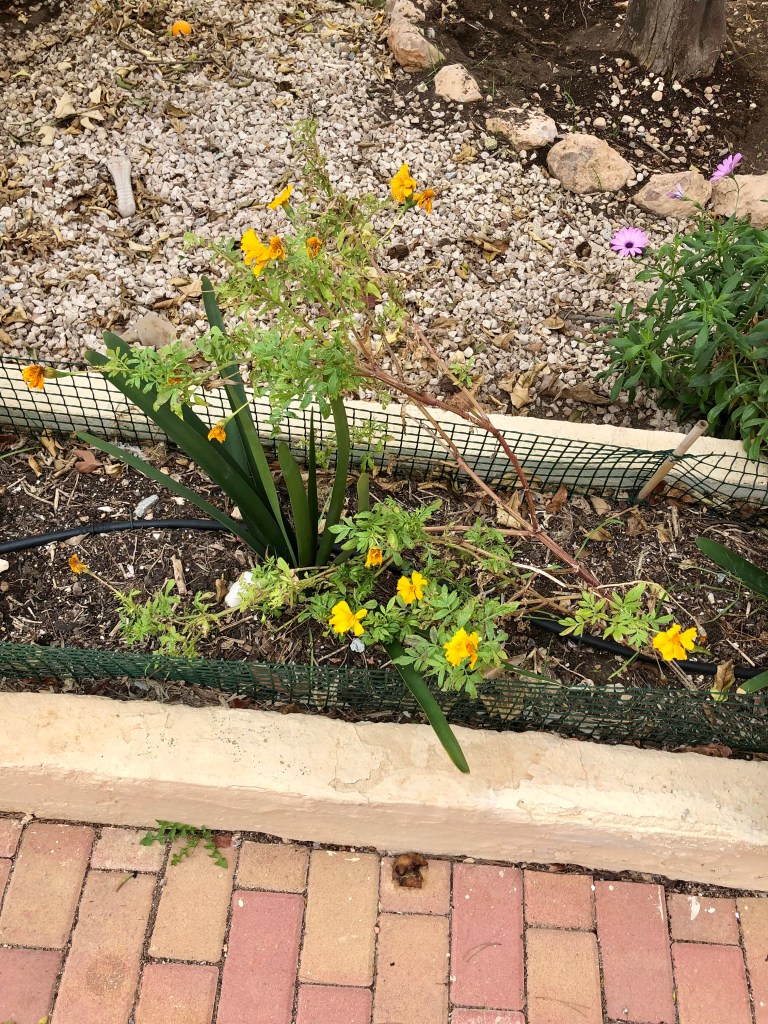
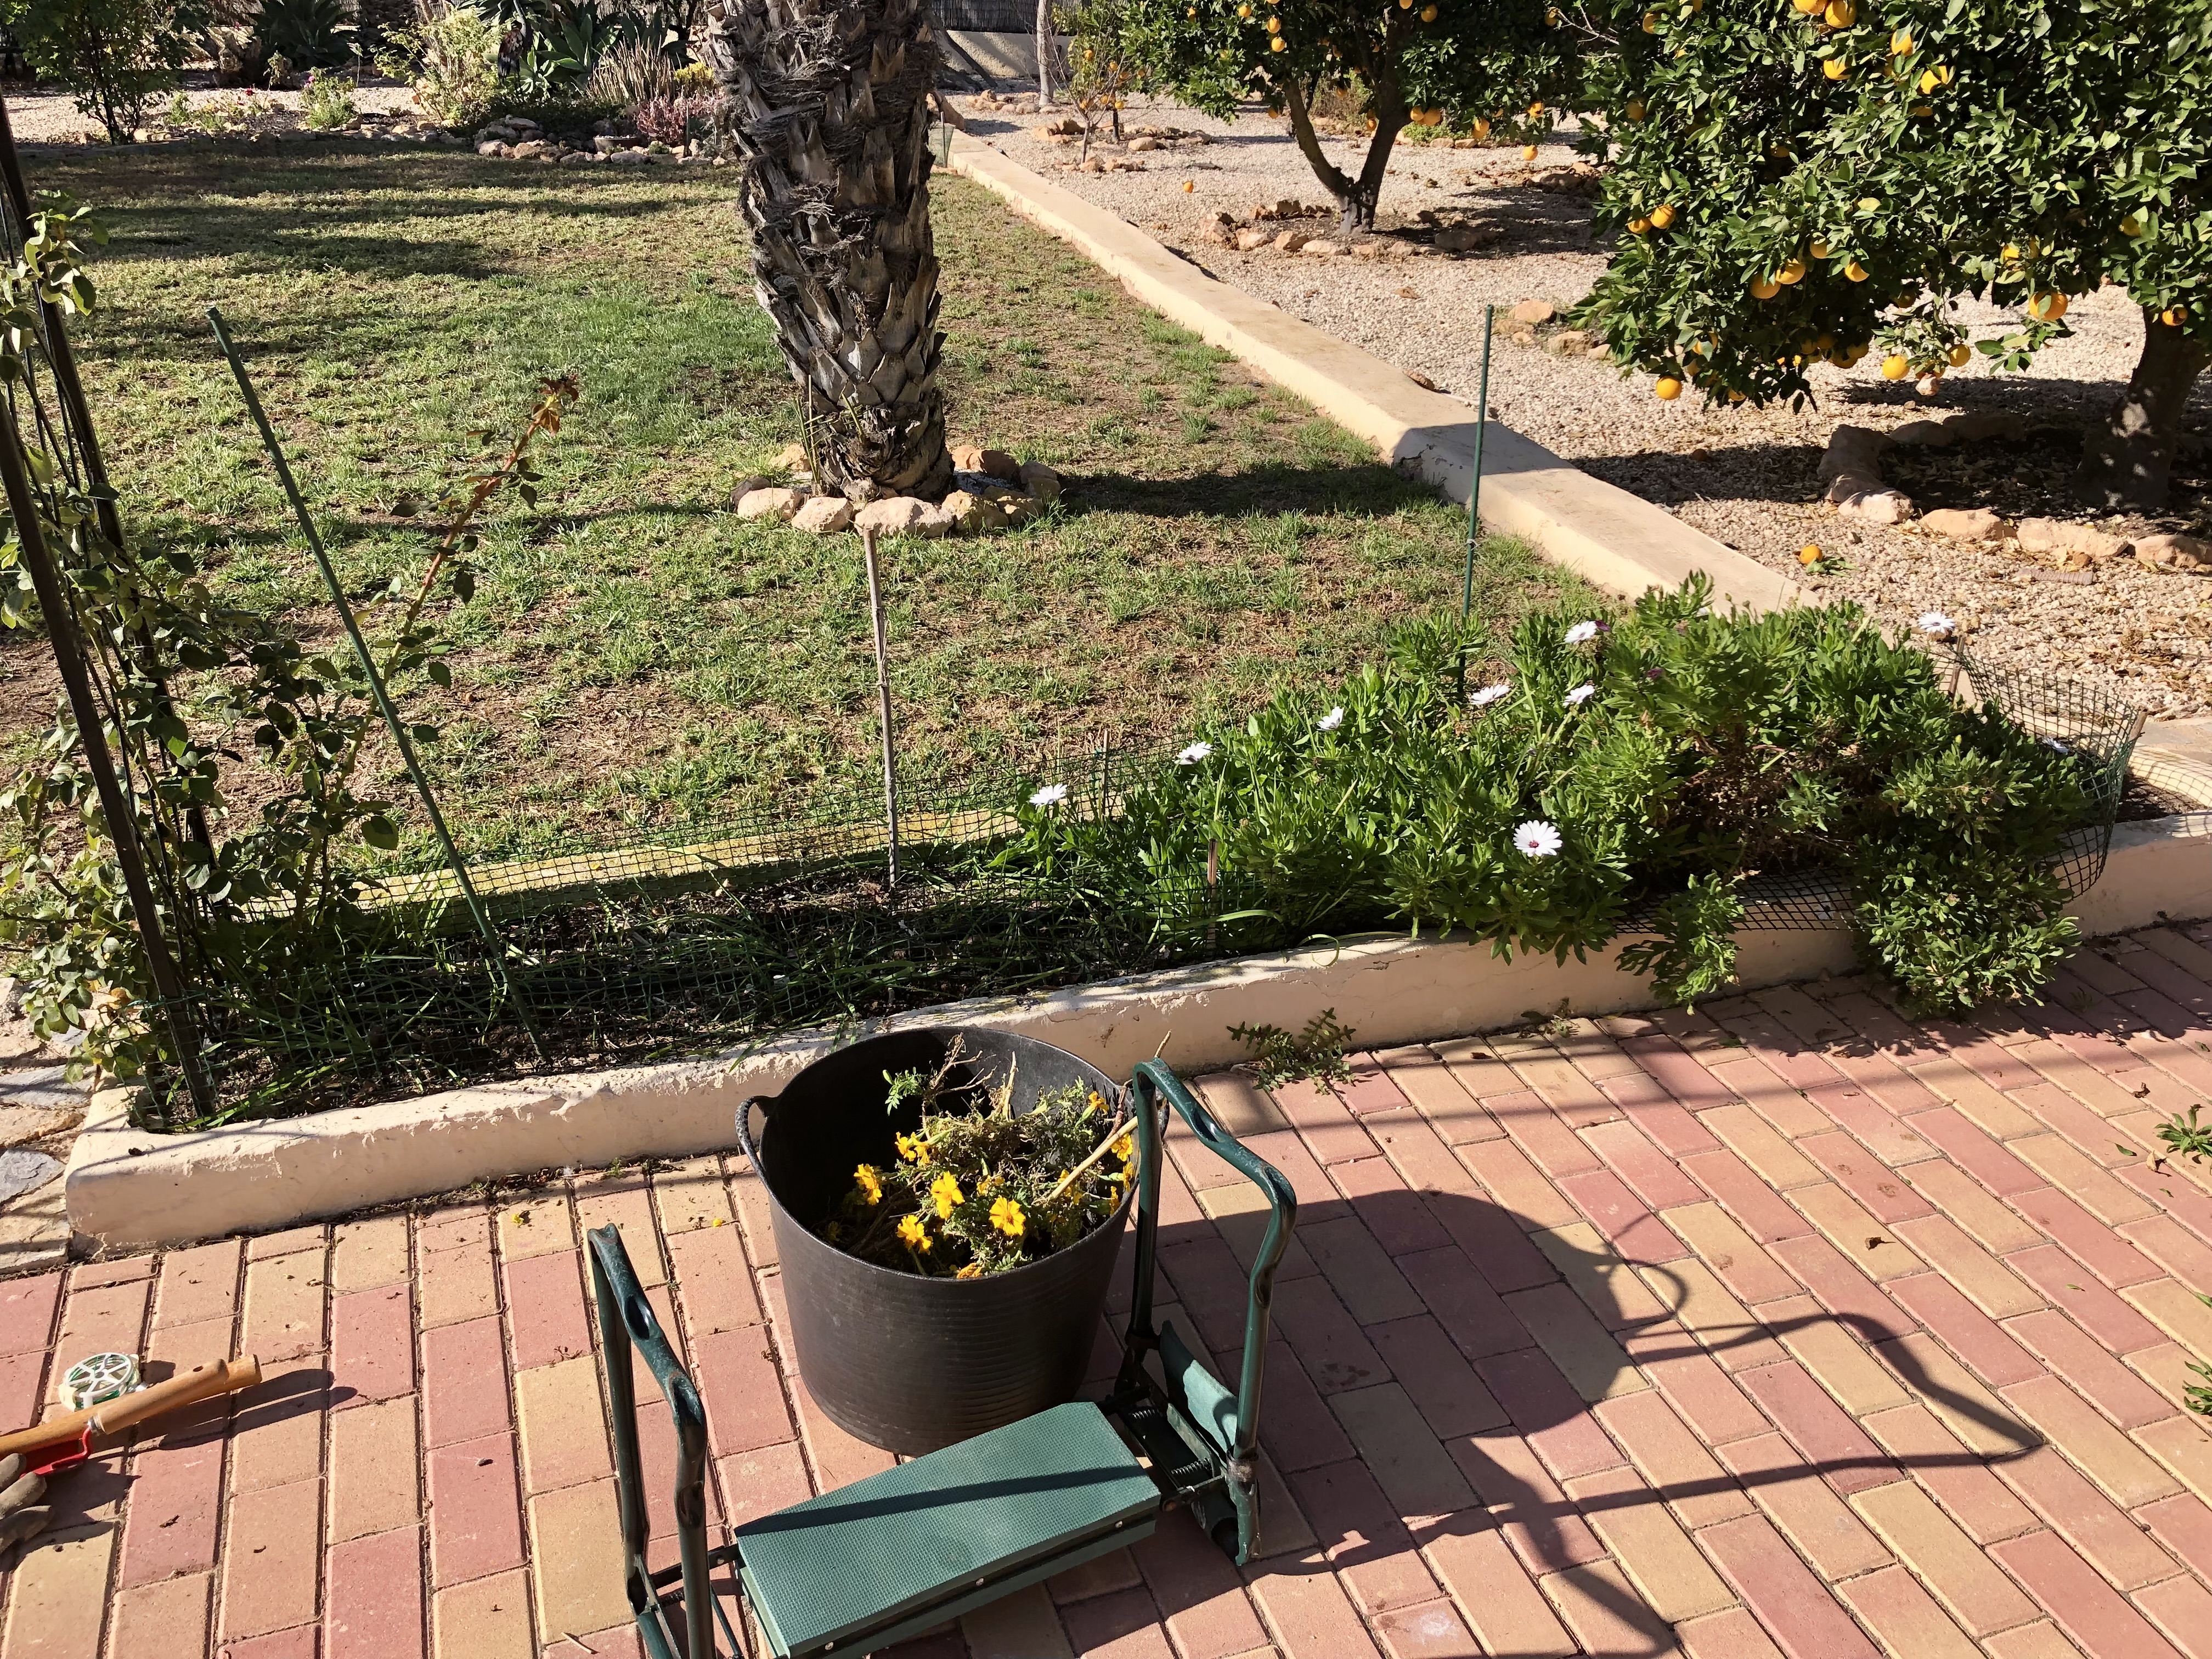
Continuing to deadhead and tie up. By now most of your flowering plants will be almost spent. But don’t give up on them yet, with careful care you can get another month of flowering.

Your starting point should be to assess which plants are worth bothering with, and which just need to come out and go to the compost heap. Any plant that is not producing new flower heads and where all you have is spent flowers, needs to come out. Alternatively, any plant that has at least 50% flowers and is still producing should be saved.

You will need to start by tying the plant to a cane to give it some support. Then deadhead on a daily basis. Given this encouragement there will be a lot more flowers.

The photos below show the various stages of saving your plants for some autumn colour. Click on each photo for a larger view.
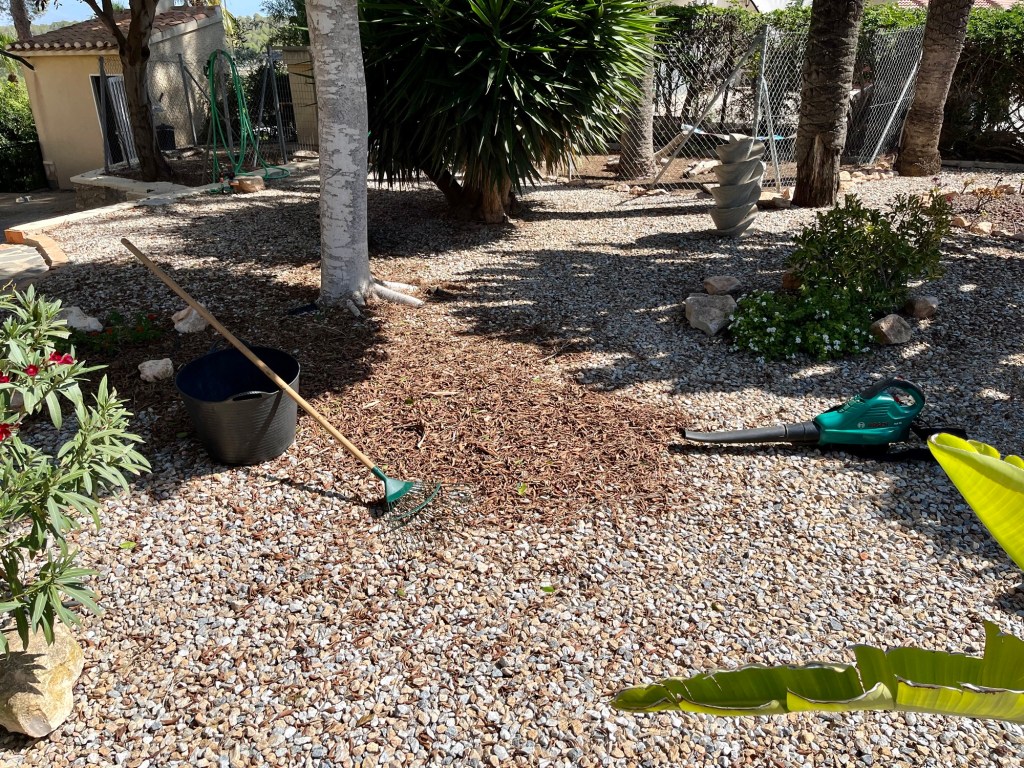
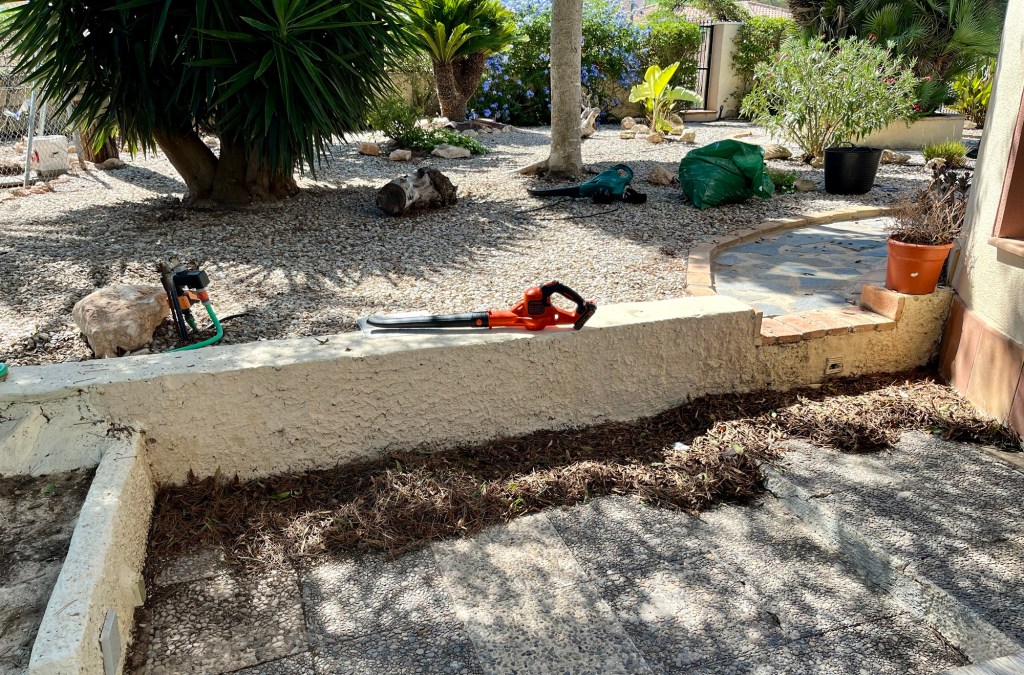
Cleaning up leaves on gravel. This may seem like a mundane job and not really worth doing. But in my part of Spain (Costa Blanca) lots of people have enhanced their gardening by using gravel. Used properly with island planting gravel can really enhance a garden, and in our heat is a practical solution. My problem is when people completely gravel over their garden and turn them into what looks like a car park. Any way, my petty prejudices are for another day.

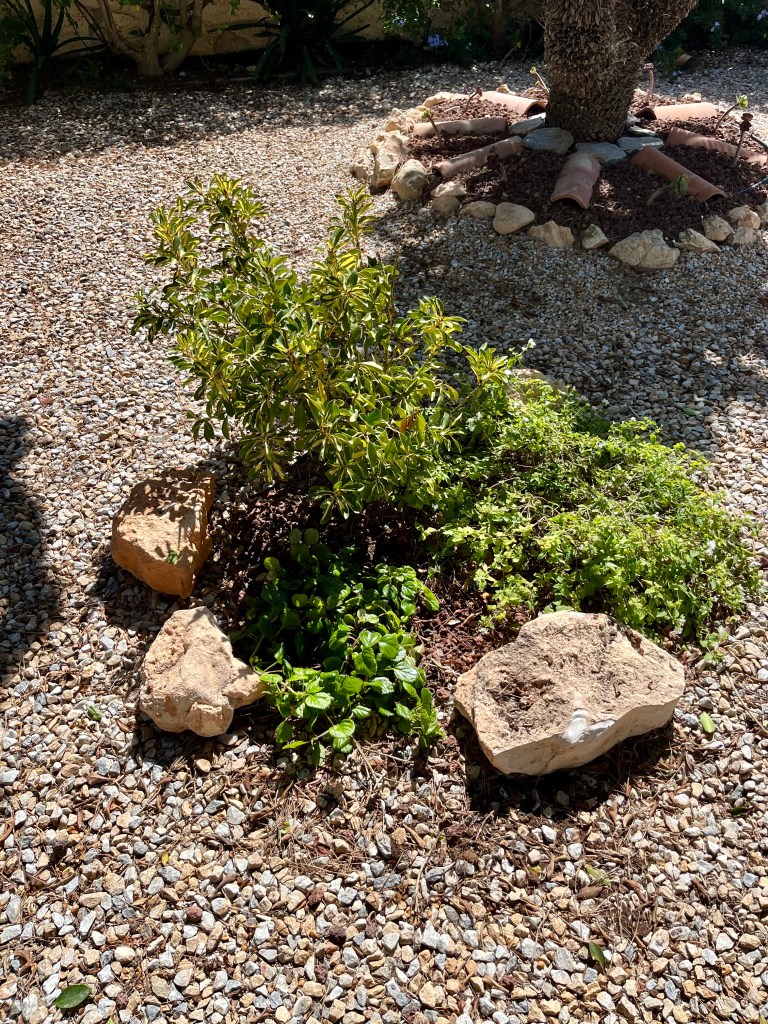
Whatever the reasons for gravel, if you have it, then you need to keep it clear of debris. Debris, such as leaves and pine needles will gradually mulch down into your gravel providing a lovely fine tilth ideal for weeds. So you need to keep your gravel clear or you will eventually lose it to weeds.

You can keep your gravel clear by raking on a regular basis, but a more practical approach – if you have a large garden – is to use a garden blower. The photos below show me in action with my regular clean up process.

Revitalising my lawn. Regular readers of this blog will know that I have neglected my lawn all Summer as I was contemplating giving up on grass. However, after a complete change of mind I have spent the past few weeks trying to revitalise my lawn and bring it back into some sort of shape.

Now I know that the vast majority of you do not have lawns, and think that I am mad, but I can’t help it, I just love to see the green in a Spanish garden. Anyway, there is no point in trying to talk me out of it, I have made up my mind.

If like me you a setting out to revitalise your lawn, then these are the various stages.

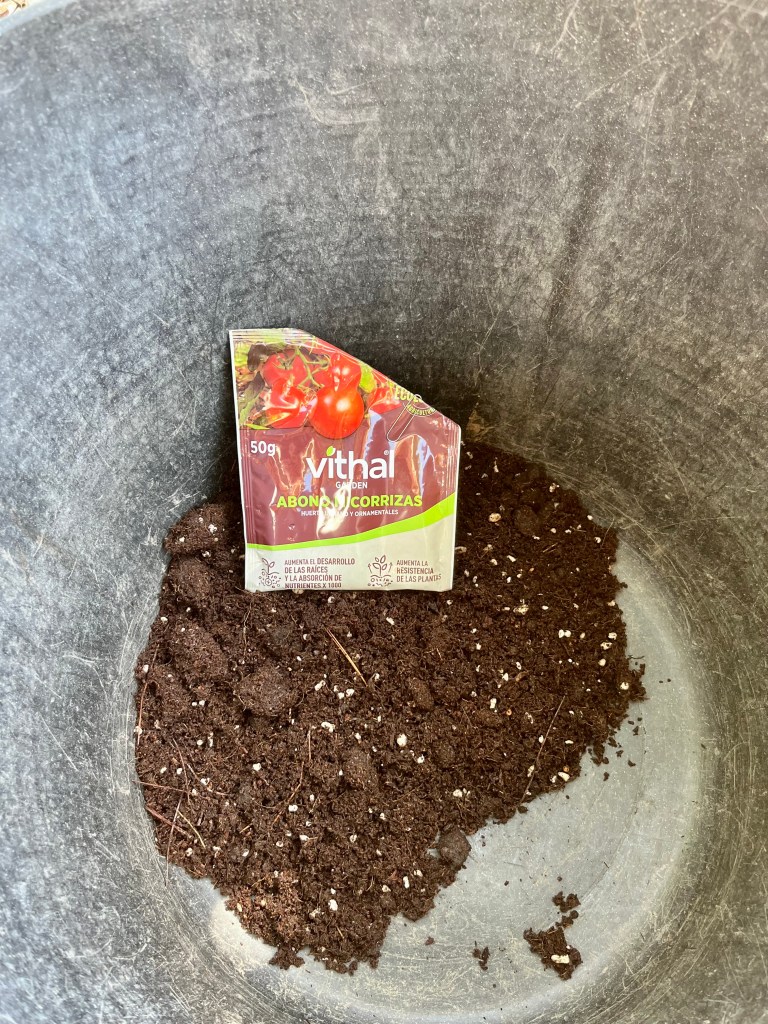
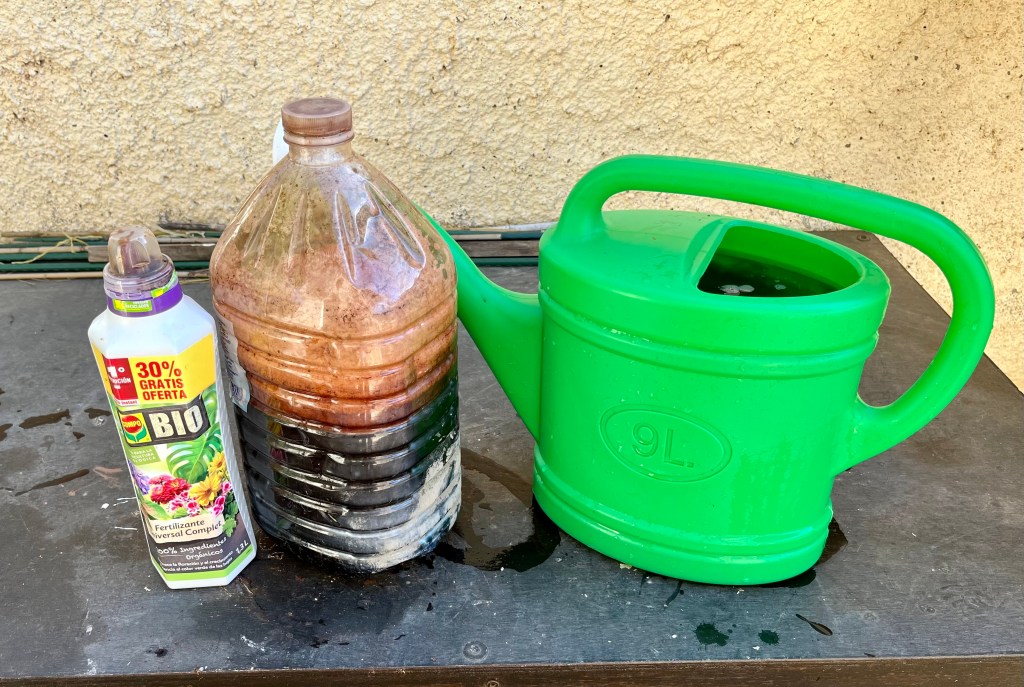
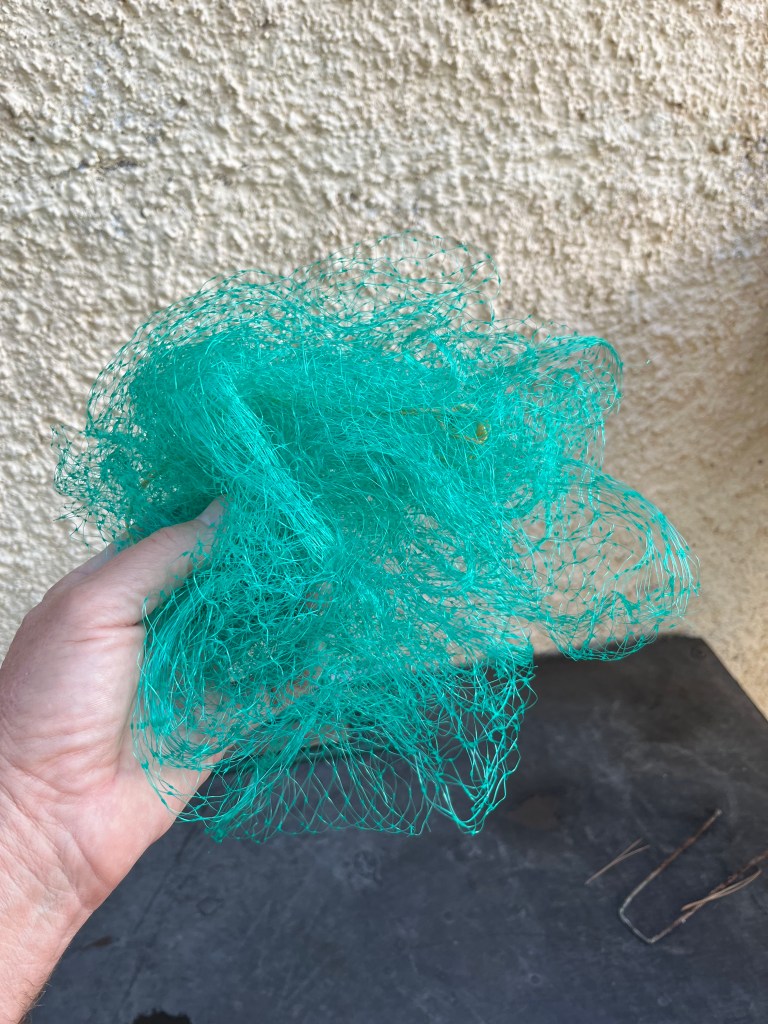
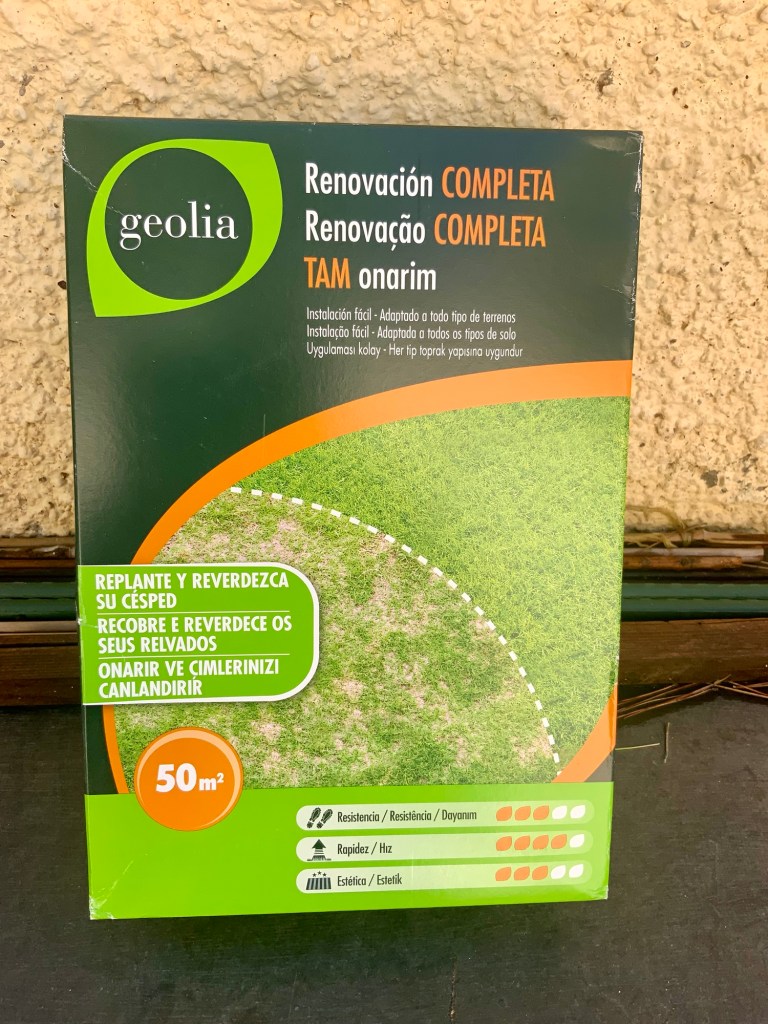
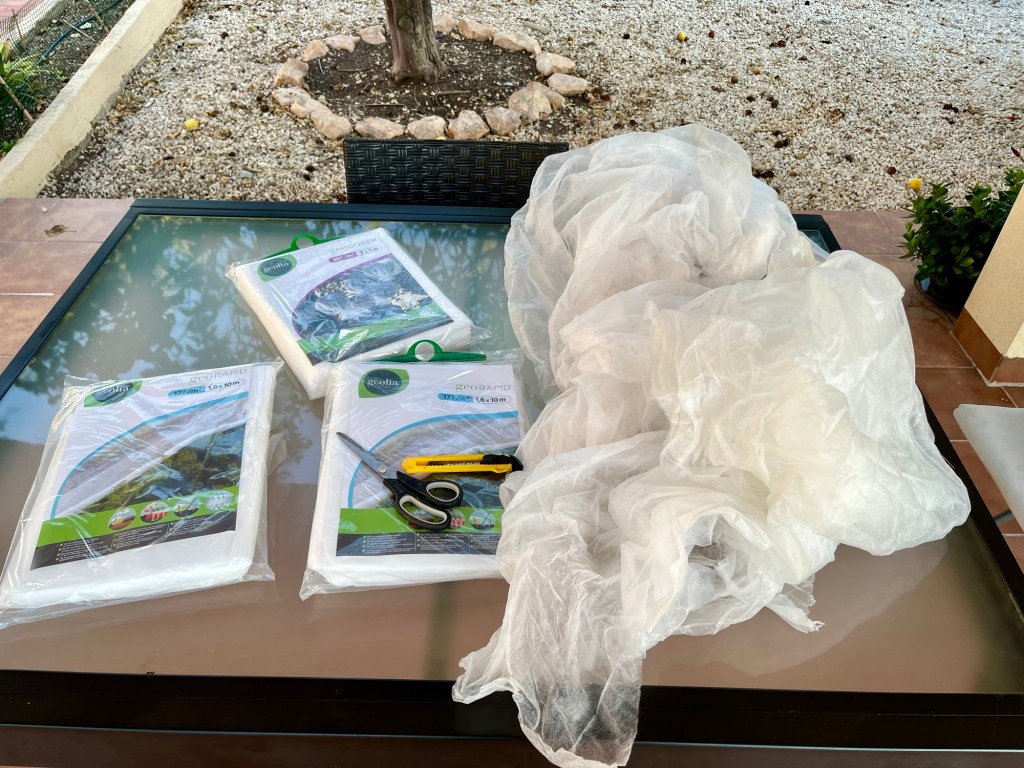
To start with you need to assemble the various things you will need. This will include a top dressing to provide a grow medium for your seeds. You will also need a good grass seed. This can be bewildering as there are so many different types. I chose one that was appropriate for renovation rather than a new lawn. Lastly, you will need a membrane to cover your new seeds and keep them from the birds (and chickens). The photos below show my assembled accoutrements. Click on each photo for a larger view.

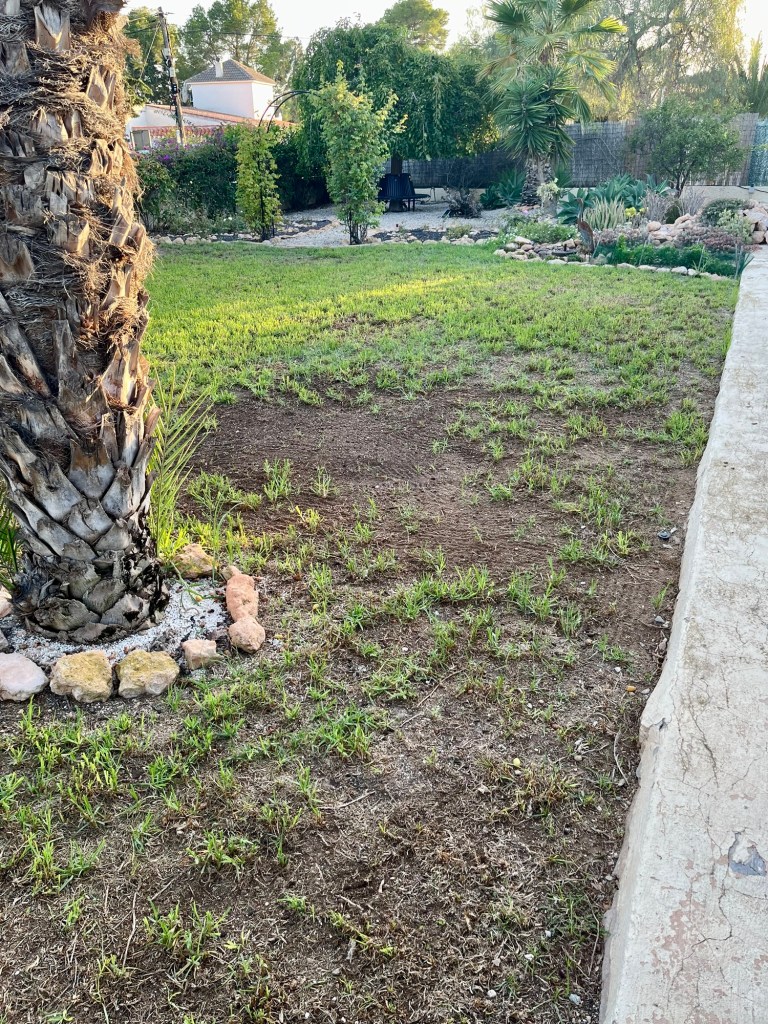
To start your renovation process you will need to rake (with a garden tine) and remove the thatch. Before applying your top dressing. The photos below show my main problem areas and the start of my raking. Click on each photo for a larger view.

You need to rake in both directions firstly to remove the thatch then to provide a key for your new top dressing.

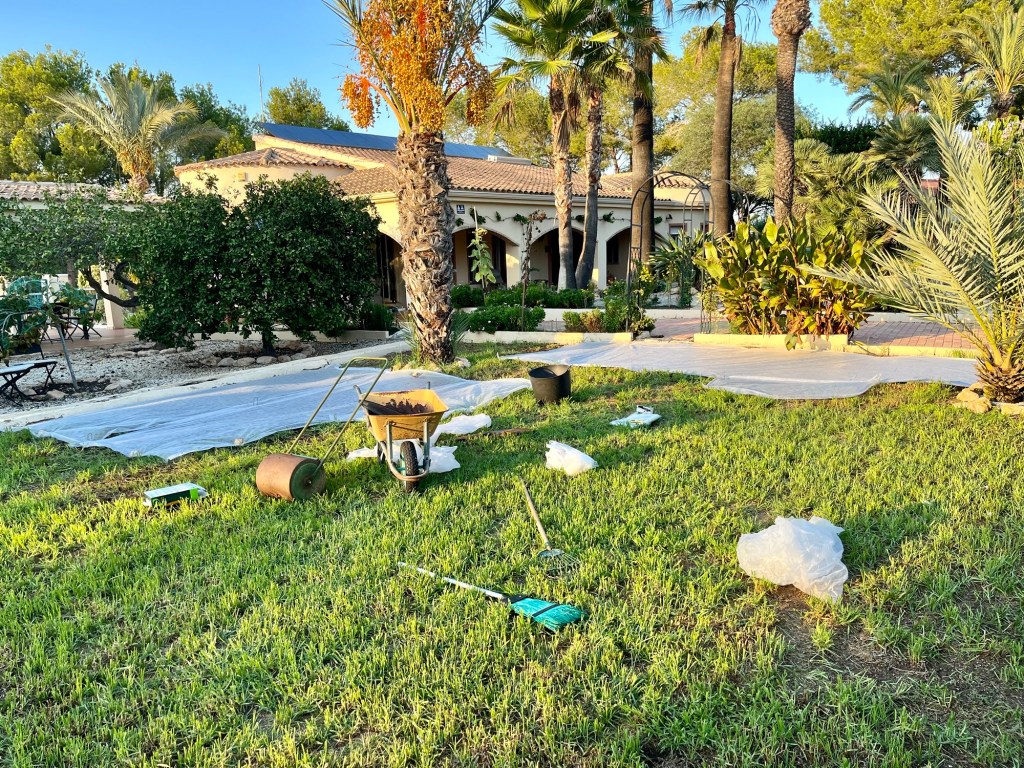
Once you have completed the above you then need to add your top dressing and brush this over the area you are about to seed. When you are ready, sow your seed by moving across the patch and then traversing from side to side to ensure an even spread. Finish off by sieving some top dressing to cover your seeds and then rolling the area to ensure good contact between the seed and the soil. The photos below show the various stages. Click on each photo for a larger view.
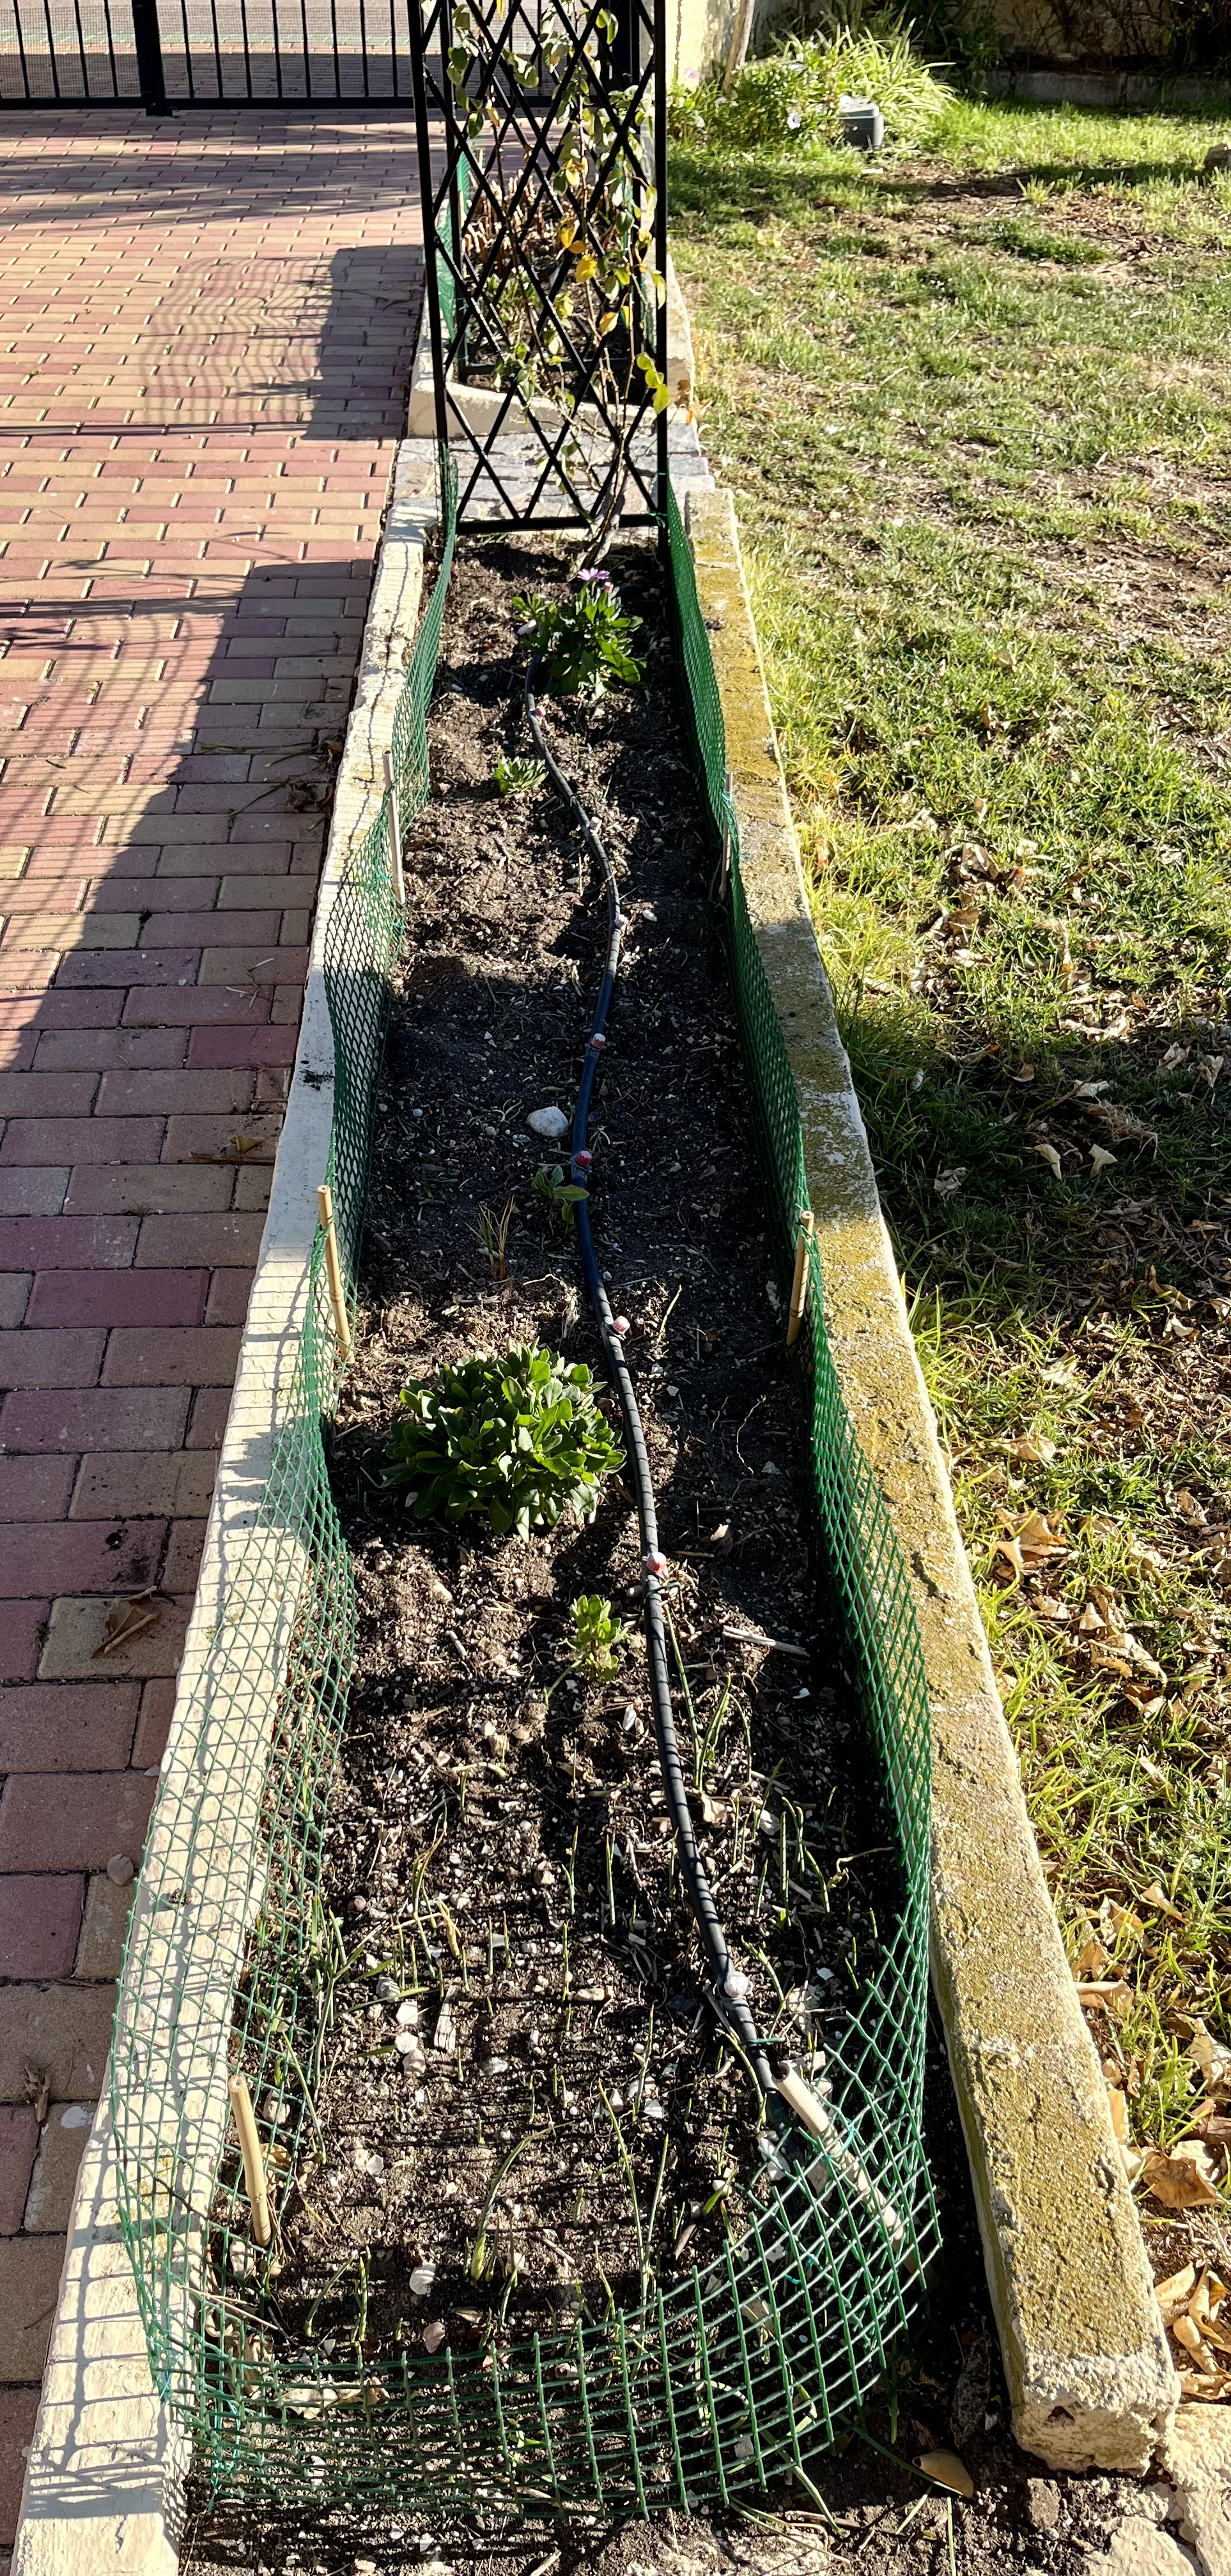
The final task is to completely cover the seeded area with a protective membrane to ensure that the birds can’t rob you of your precious seed. The photos below show some of my work, I did go on to do more.

As with all things gardening, nothing is simple. Resting safe in the knowledge that I had protected my precious seed from birds, I completely forgot the danger of ants.

Grass seed provides ants with an ideal take-away of ready made and packaged food. I had forgotten how they had robbed me a few years ago, when they happily trundled all my grass seed under ground.

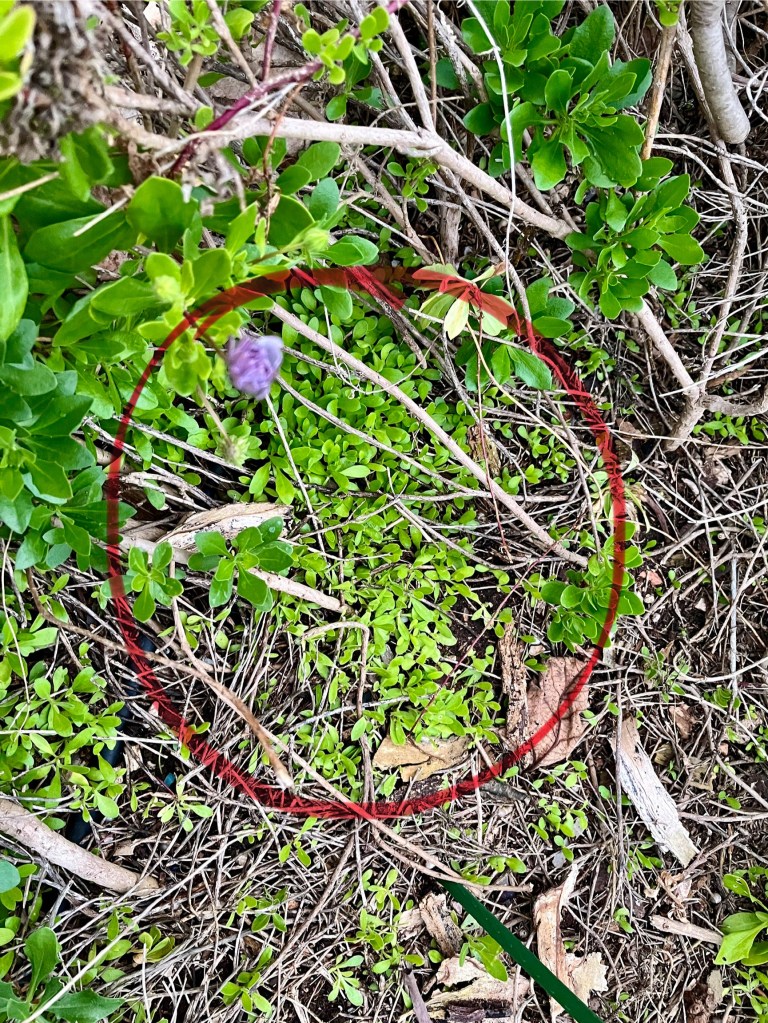
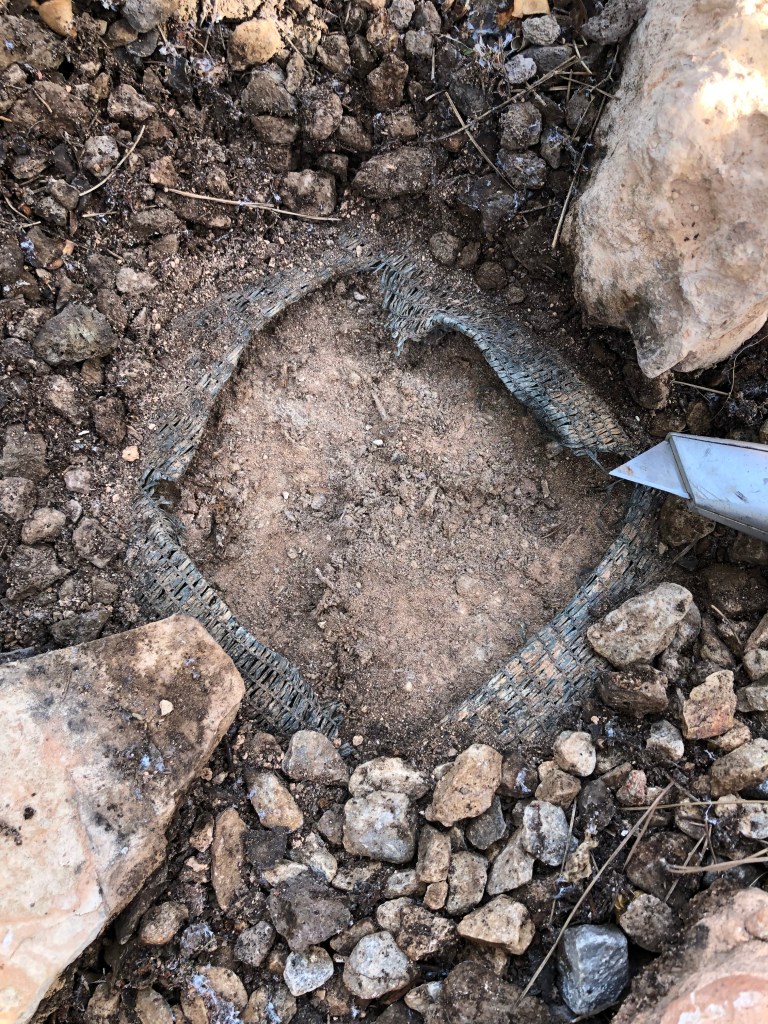
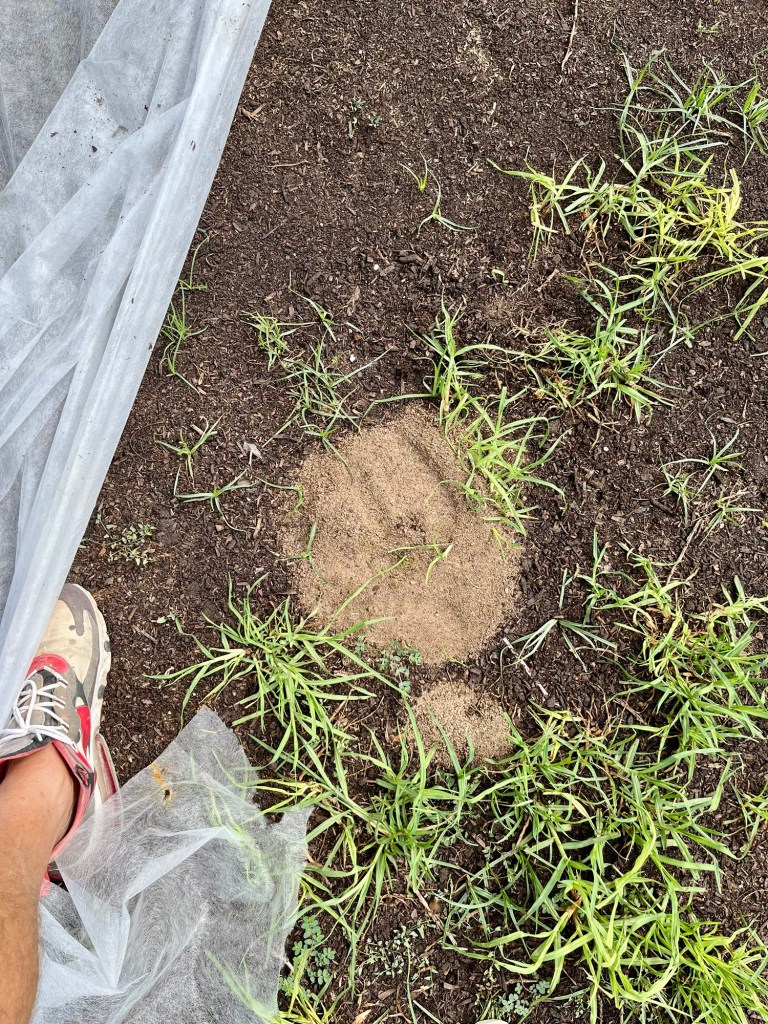
Sure enough they came back. I was happily perusing my work a few days later when I noticed an earth disturbance under my membrane. When I pulled the membrane back to check, sure enough there was a volcanic entrance to Hades, into which all my grass seed had been taken. The photos below show the horror, together with my retribution. Click on each photo for a larger view.

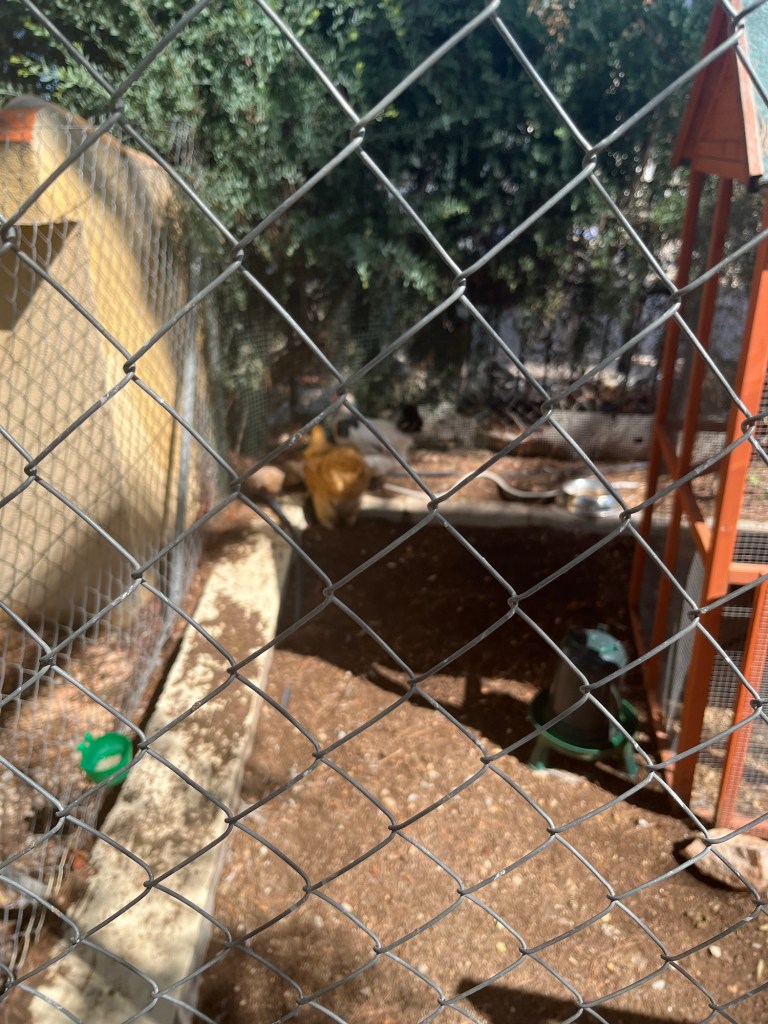
Setting up a chicken internment camp. As soon as Cruella (my wife) had disappeared over the trees, I immediately locked all the chickens up in their coop. Ostensibly this was so they would not interfere with my gardening, but really it was for revenge for all the indignities both they and Cruella had inflicted on me.

You should have seen their faces. Every time I walked by they would all rush to the wire and jabber away in Chickenese indignantly. Although I don’t speak Chickenese I could tell from their faces what they were saying. Basically, “let us out…we are going to tell our Mum…you will be for it when she gets back”. But I just ignored them happily pointing at my ear in a pantomime fashion whilst shouting in a loud voice “sorry I don’t speak Chickenese”. The photos below show their imprisonment. Click on each photo for a larger view.
Everything was going well for a few days. I was getting on with the gardening and Tango the lonely blind Labrador was enjoying his role as a guard dog; he was very keen on the uniform. Yes, I know we are both perfectly cognisant with the flaws in his role, but he is old and it gives him purpose.

Anyway, it all fell apart after five days. Cruella rang up asking me how things were. I explained everything was fine and there were no problems. She asked to speak to her girls, but I said they were not here as they were running around the garden. I thought I had got away with it as there was no way the chickens could contact her as I had taken all their phones away and cut off their Wi-Fi.

The next day she phoned back incandescent with rage. “What have you done” she screamed. “Nothing” I replied, “don’t lie to me, let me speak to the girls”. I tried to stall, I said they were sleeping etc, but all to no avail. I asked her why she thought there was something wrong, and her only reply was “I can feel it there has been a disturbance in the Chicken Force”.

The upshot of all this was that I had to put Helga the Hen on the phone. As I said previously I don’t speak Chickenese, but I could pick up phrases like… “he has done what!…how long” I might have got away with it but Tango turned Kings Evidence. He had taken off his uniform and confessed everything to Cruella. When later I berated him as a traitor he said he had mental health issues.

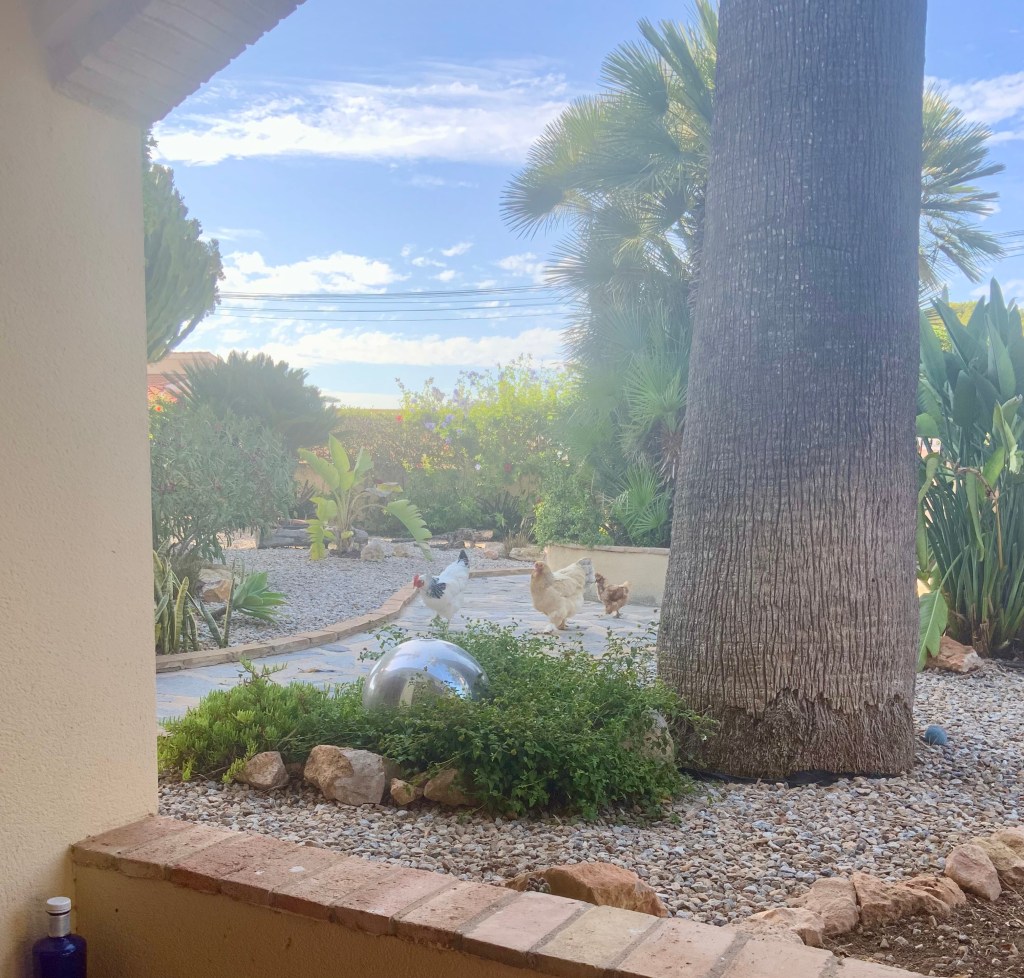
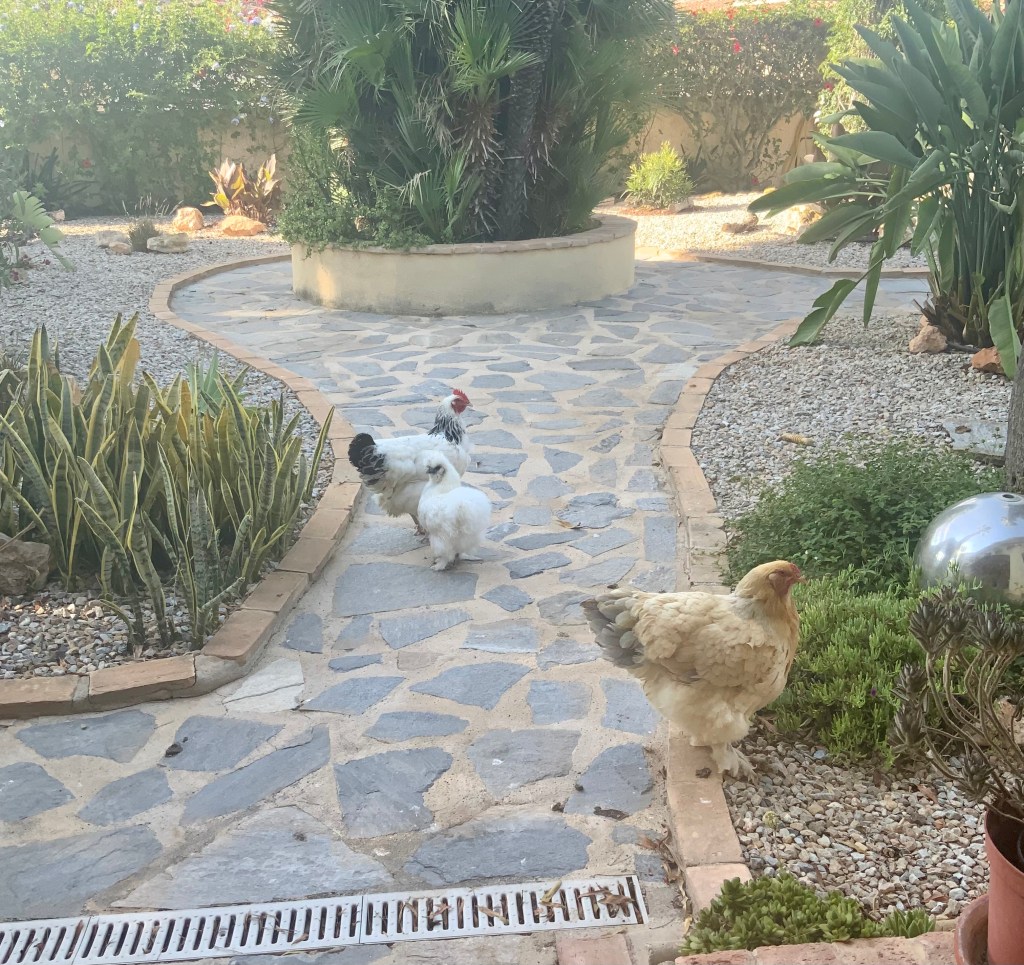
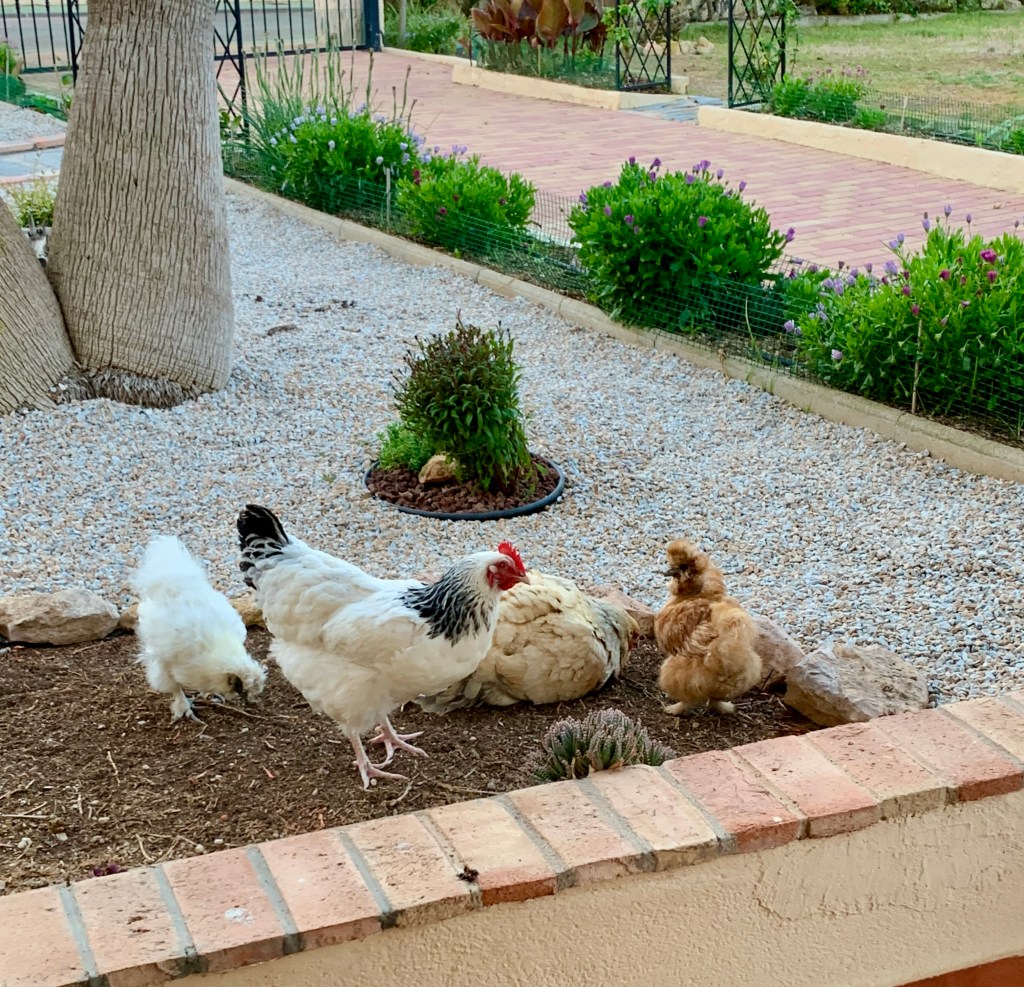
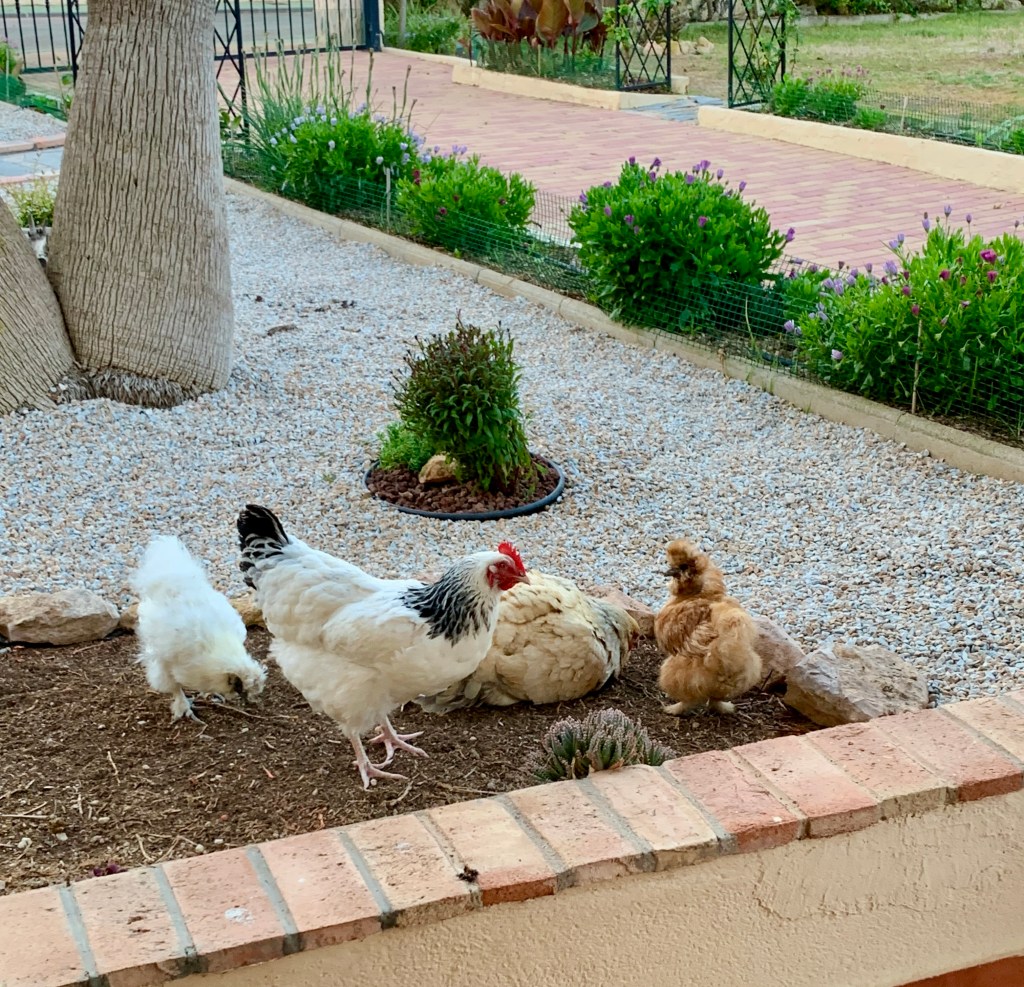
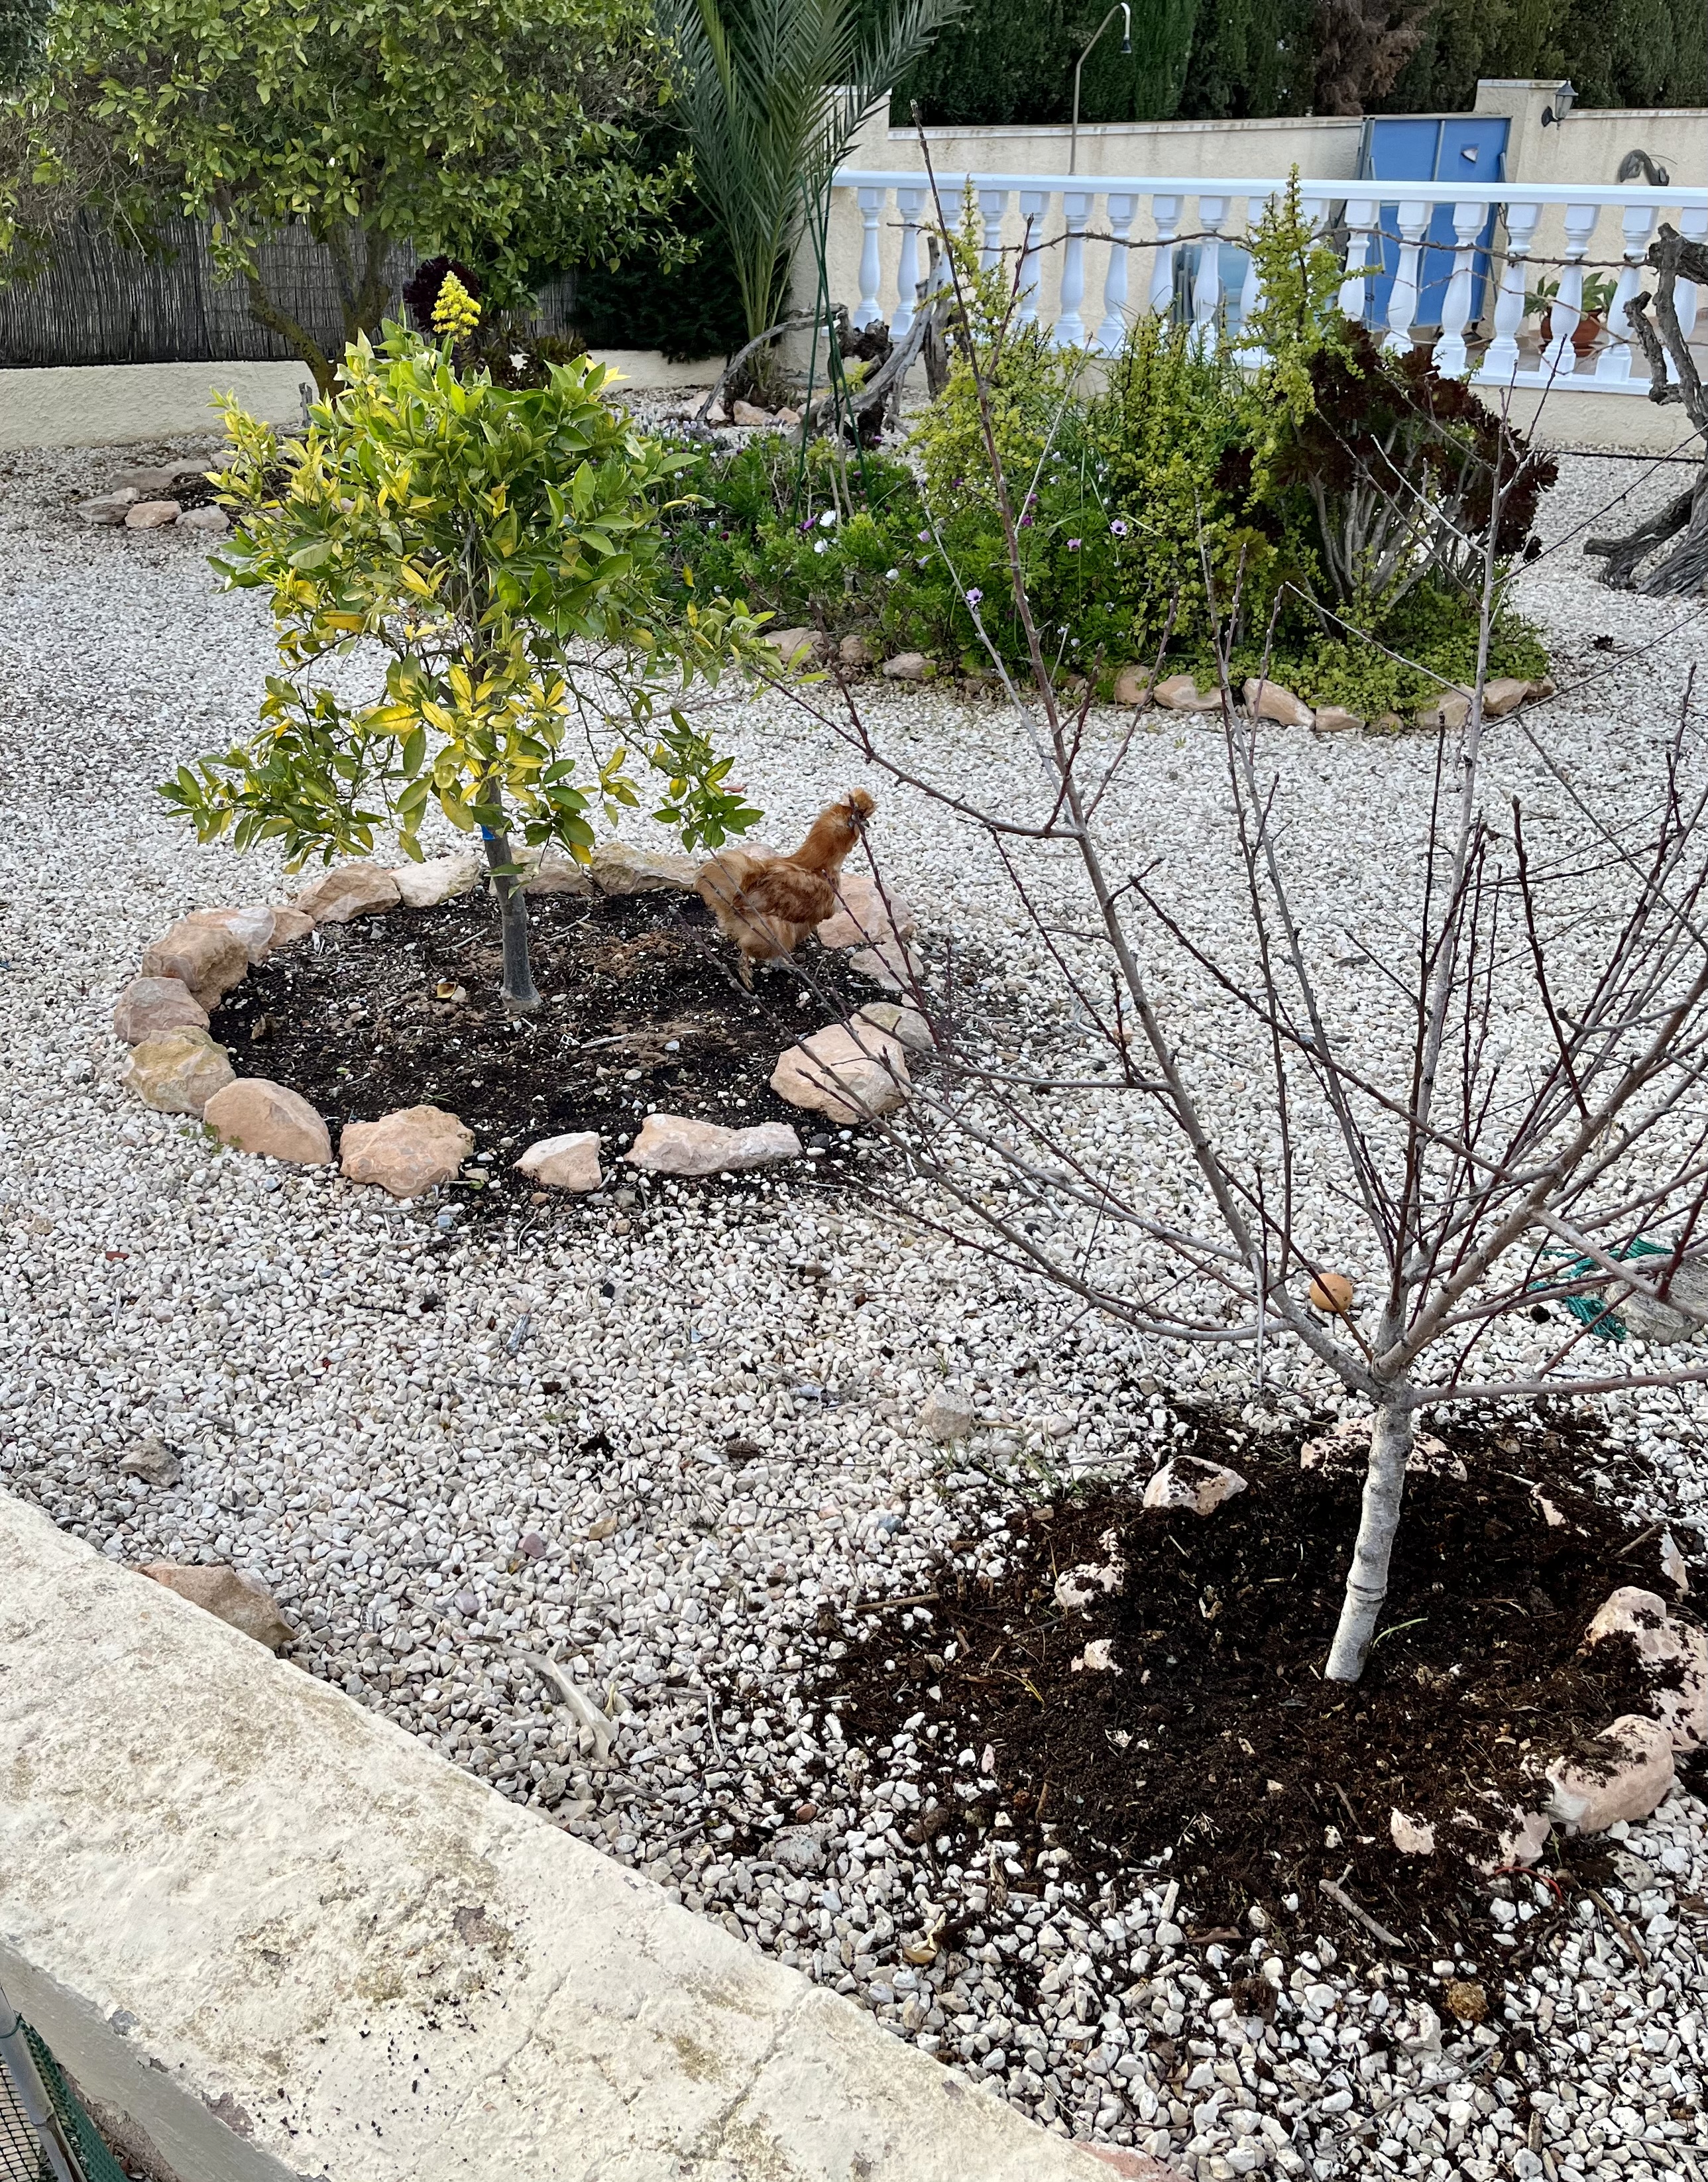
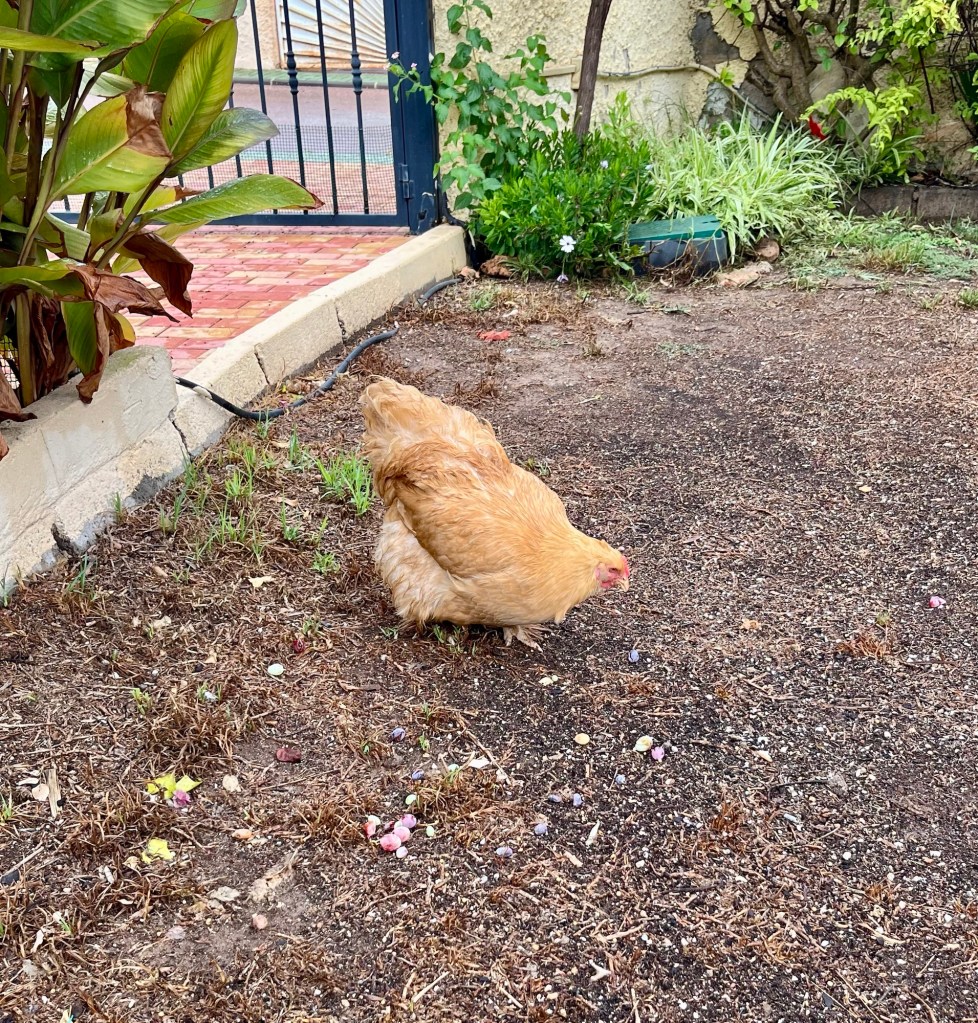
Well they are out again, roaming the garden stealing what is left of my grass seed. I still don’t know how they got word to Cruella (my wife), but I have my suspicions. I have seen them talking to a white Dove that has been in their coop. But I don’t think it is a Dove, I think it is a stool pigeon. See the photo below.

If you look carefully the little brown one has just passed the pigeon a note

The Summer has been a gardening disaster and now I am being terrorised by a chicken

To be honest I am really fed up with this summer, it has been a gardening disaster: my seedlings never properly germinated, my lawn looks like the surface of the moon, my figs and grapes have been eaten by birds, my favourite Agave died, my Dame de Noche refused to flower and now I am being terrorised by Cruella’s new chicken.

I could cry. But never mind, we gardeners are made of sterner stuff, let’s get on with the gardening – what’s left of it.

1st September 2024. Things I have been doing lately:

  • Repairing the lawn
  • Chopping down the dead Agave
  • Pruning the Dame de Noche
  • Netting fruit
  • Taking summer cuttings
  • Dealing with Helga the hen

Repairing the lawn. The last time I posted about my lawn I was in the depths of despair. The lack of rain and constant chicken attacks had made a mockery of my grass. I was seriously contemplating tearing it all up and planting a range of new beds with succulents. But after many a sleepless night I have decided to take Madonna’s advice in her greatest hit and I am definitely keeping my baby (the lawn).

This has meant I am now in the process of planning a major renovation. The first thing I did was feed the grass and I have now re-started a twice weekly irrigation programme. I will be ordering new Grama type grass seed for the Autumn. The photos below show the challenge I face. Click on each photo for a larger view.

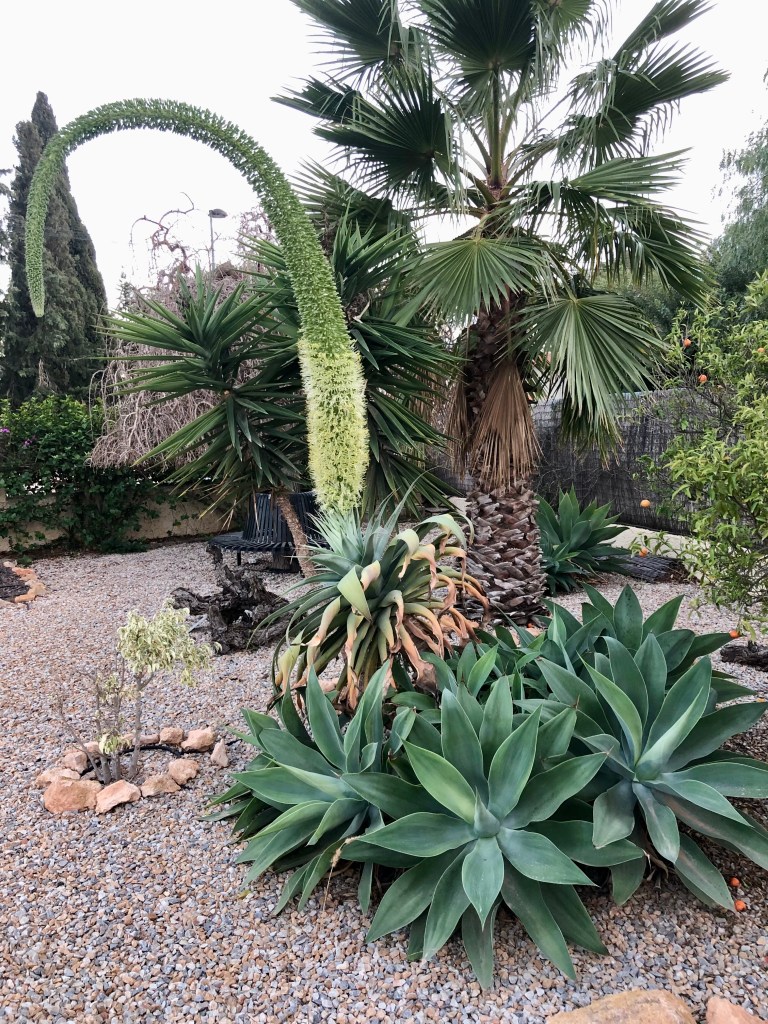
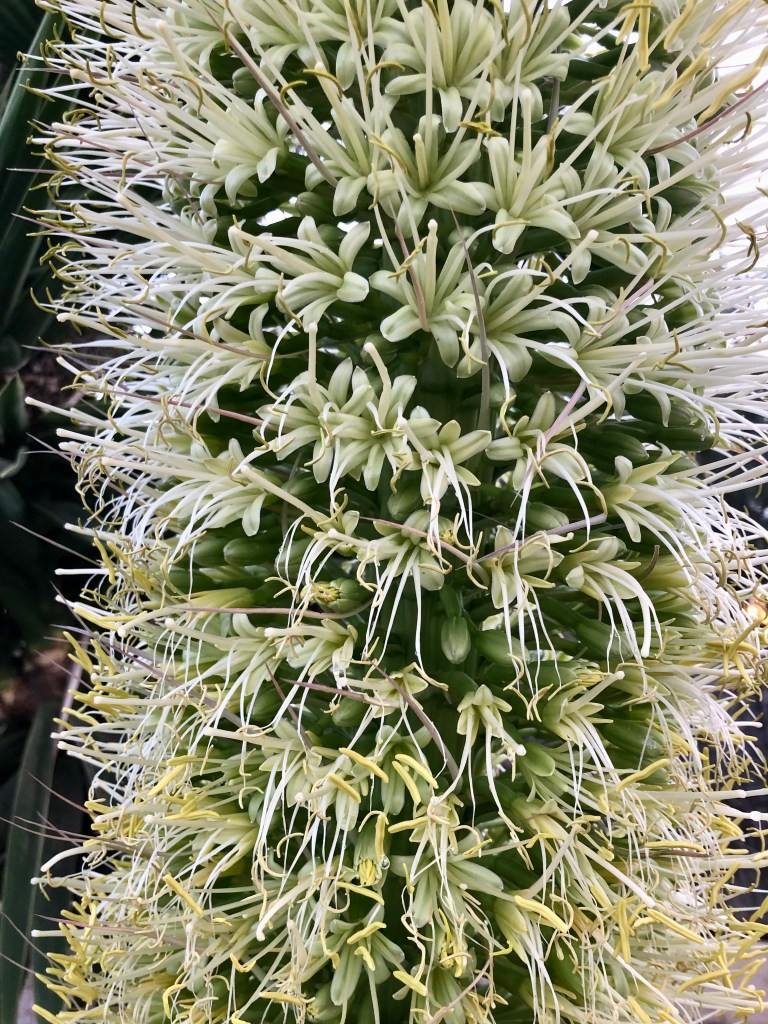
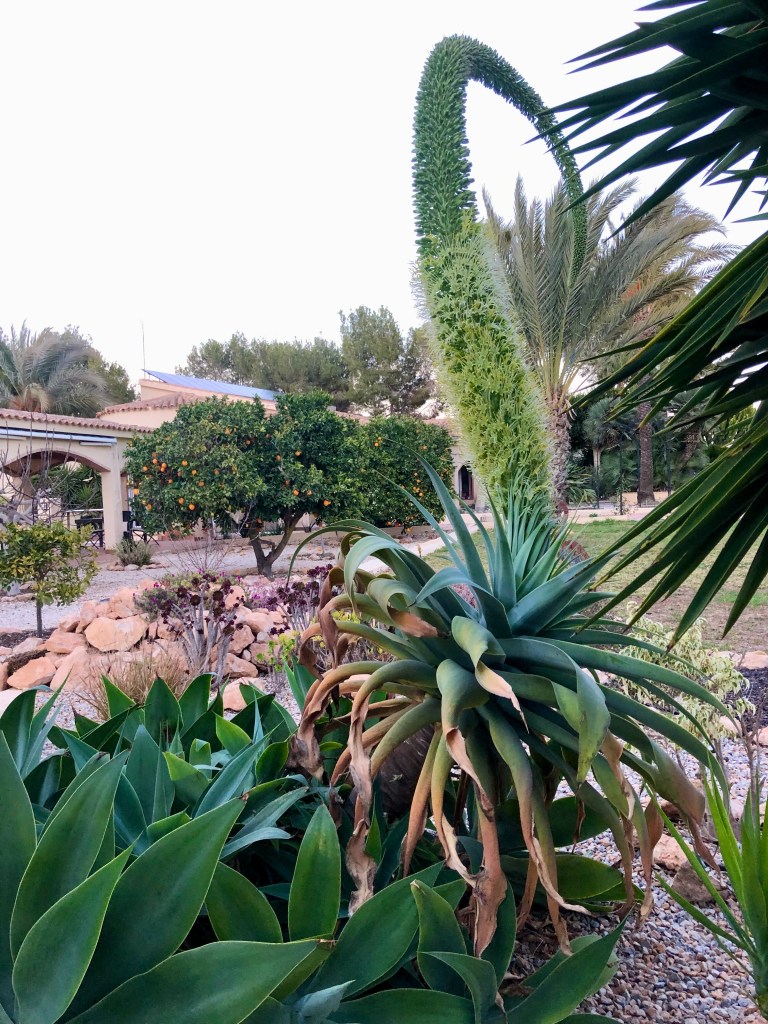
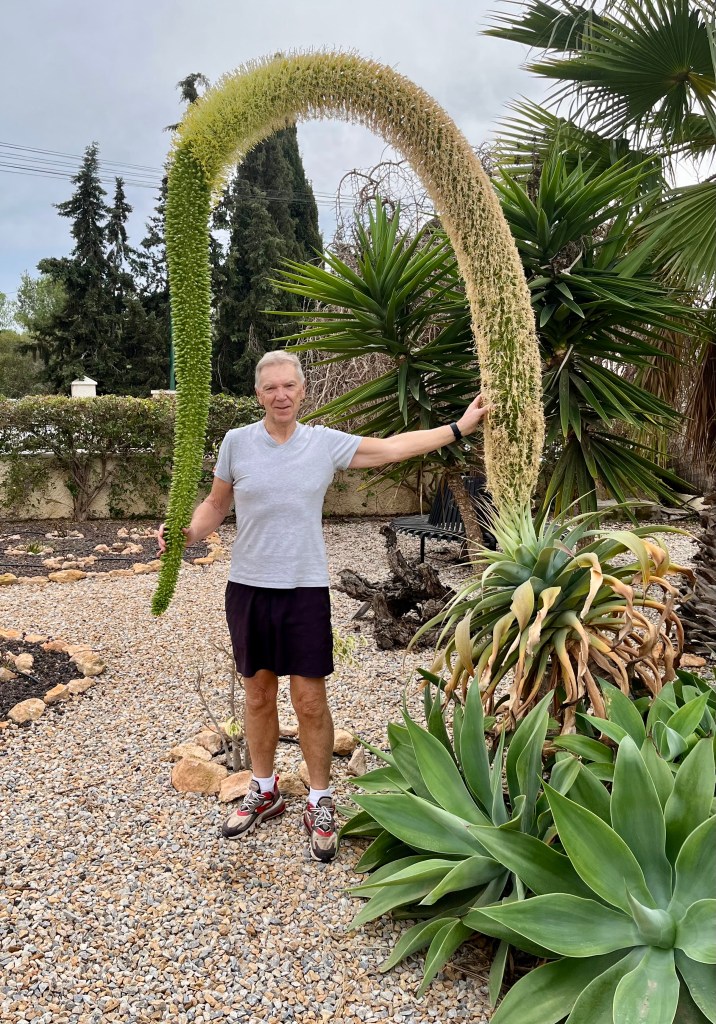
Chopping down the dead Agave. I have lots of Agave Attenuata around my garden and I particularly love this plant as it forms a family of pups around the main plant. Every 10-20 or so years the main plant will flower spectacularly in a huge arc of flowers and then die just as spectacularly leaving behind the motherless pups.

Over a period of time 3-5 years the pups will sit there motherless until one suddenly decides to become mummy and grows much bigger, and so the cycle continues.

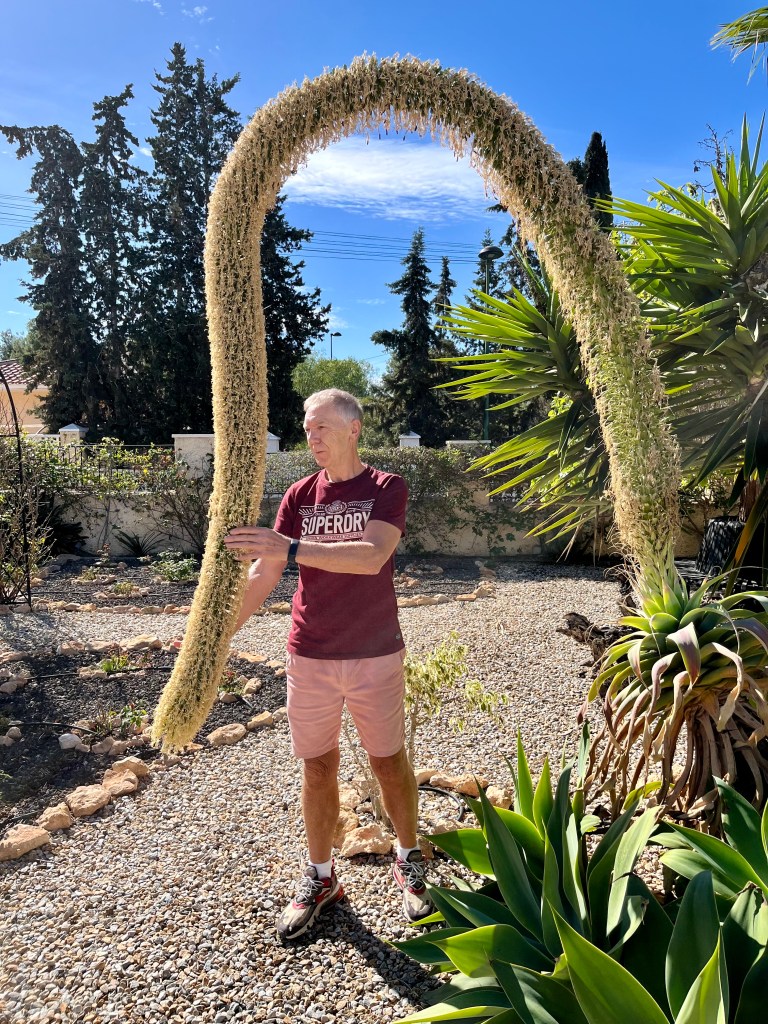
Once the main stem has finished its magnificent flowering, then it is time to cut it right back. The photo below shows me with the Agave in all its flowering pomp.

I sang to her every night as she slowly passed away

The next photos show the poor Agave 3 months later accompanied by a photo of its orphan pups. Click on each photo for a larger view.

Finally the flowering spike is cut off and makes its way ceremonially to the compost bin. I do not take the death of an Agave lightly and therefore ensure that all due bereavement procedures are followed.

I dress in black and the compost bins are draped in black crepe. We set off from the point where the flowering arch has been cut and process across the big lawn and down the drive to the compost bins. Tango the lonely blind Labrador has black rosettes either side of his ears and he follows mournfully behind the wheel barrow. Chopin’s Funeral March from Sonata number 2 is played loudly.

Cruella and her chickens line up, but only to mock me and Tango. They point at us and shriek away in Chickenese, especially when poor Tango goes the wrong way or bumps into a tree.

When we arrive at the compost bin I lay the big Agave to rest and sprinkle composting powder over her and say a prayer. Our last ceremonial flourish is the last post, but this was somewhat spoiled as when I stepped back to salute, Tango was right behind me and I fell over backwards. We both ended up in a sprawling heap which caused paroxysms of mirth from Cruella and her cackling crew.

Click on each photo for a larger view.
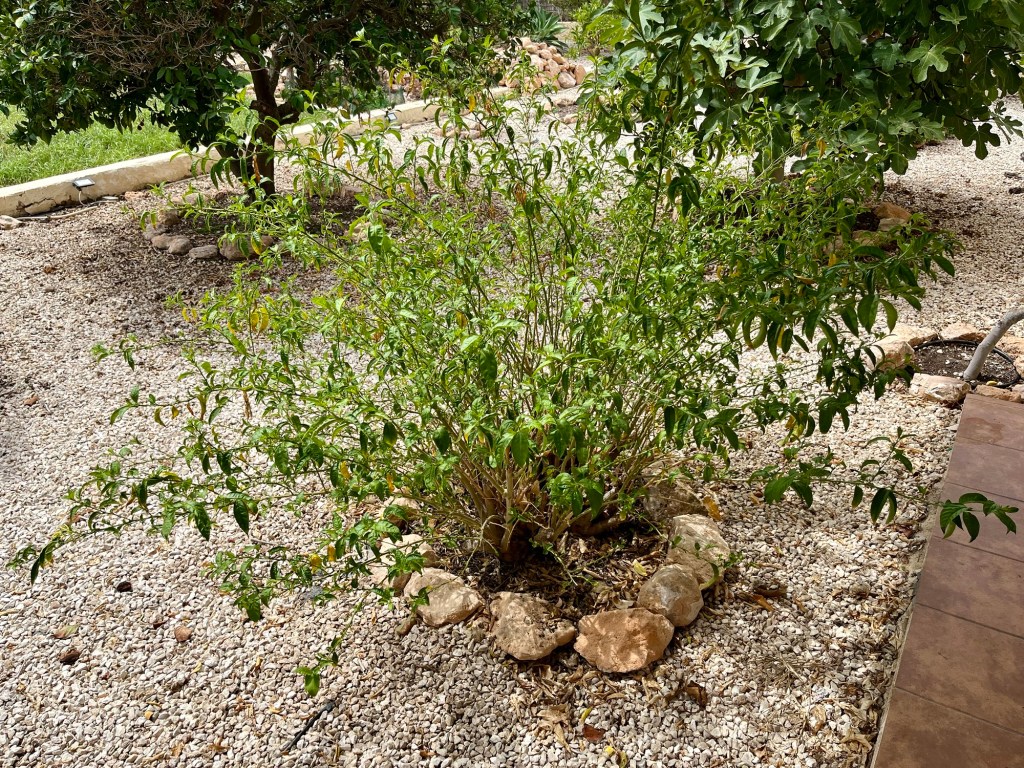
Pruning the Dame de Noche. If you have a Dame de Noche, and many of you will have – then it has been a terrible year for this normally reliable night scenter. The severe lack of rain has meant then even mature well rooted plants like mine have struggled to produce blooms.

The normal pruning procedure I use for this plant involves cutting back by a third in late August to encourage a second flowering followed by a big cut back in January to about 12-18 inches. This has not been possible this year because of the state of the plant, see the photo below.

Not one flower this year

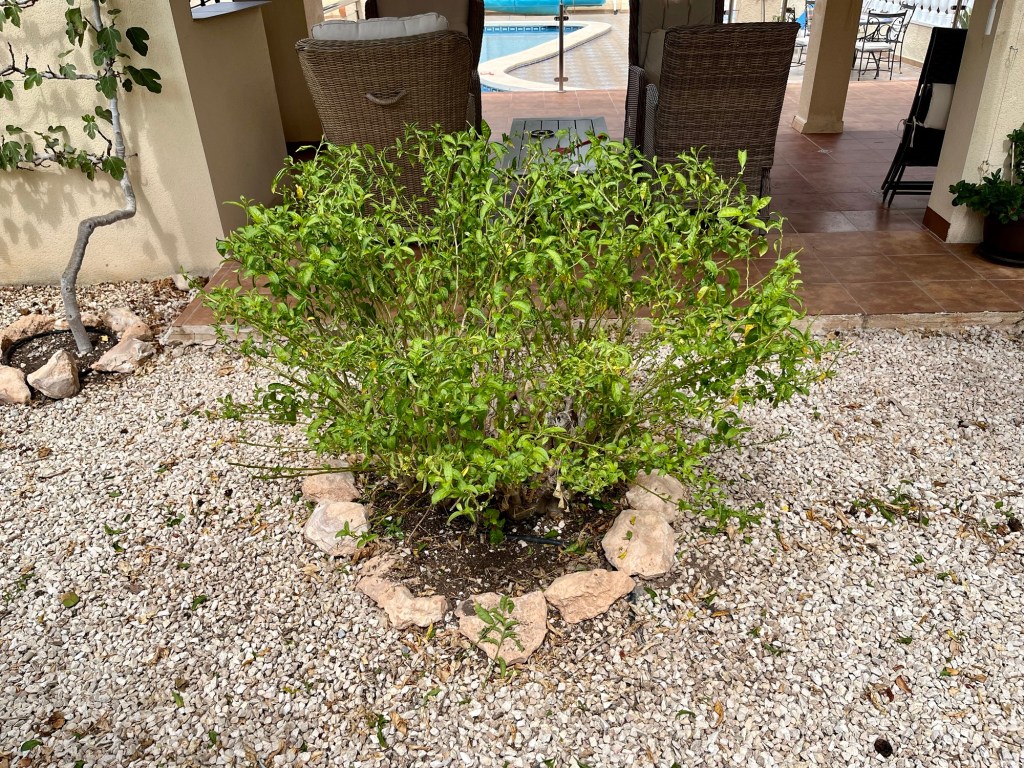
Instead of the normal pruning procedure I have taken one third of the foliage away and I will not cut back in January. This will mean that the plant will be substantially bigger next year, but I am hoping that the winter rains will bulk it up. The photo below shows my Dame de Noche finished for this year.

Better luck next year

Netting fruit. The only soft fruit I have left this year is my Persimmons. Normally, I would net them at the same time as my figs, but given that I was late with the figs and suffered huge bird depredations, I was not going to make the same mistake again.

Persimmon will slowly go from a soft blush red to a bright yellow as they mature. The birds are watching them just as you are, and they know exactly when they are at their best.

You need to net now with a small mesh net (so you don’t end up with birds hanging upside down each morning). As the fruits mature you can take them off and let them ripen off the tree. They are lovely in fruit salads or eaten directly with a spoon. The photos below show my little tree full of fruit and eventually netted. Click on each photo for a larger view.

Taking summer cuttings. Most plants will by now be heading for seed, but occasionally as you wander round your garden you may notice the odd particularly lush plant that is bursting with new growth. If you find them, then why not try some late summer cuttings.

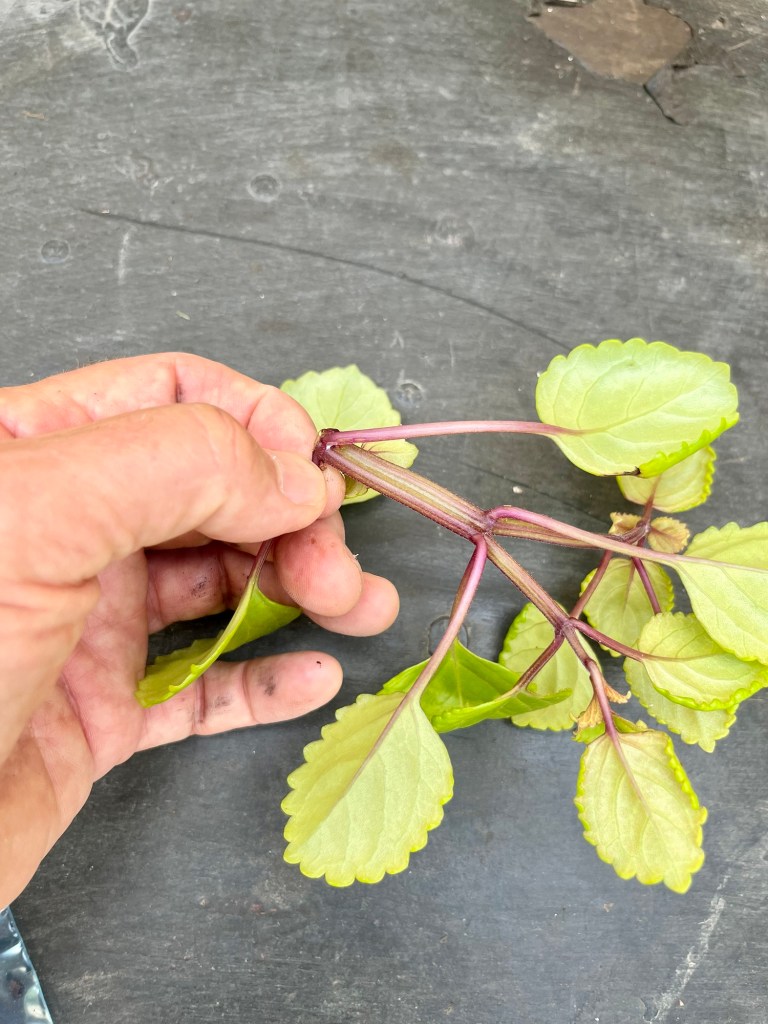
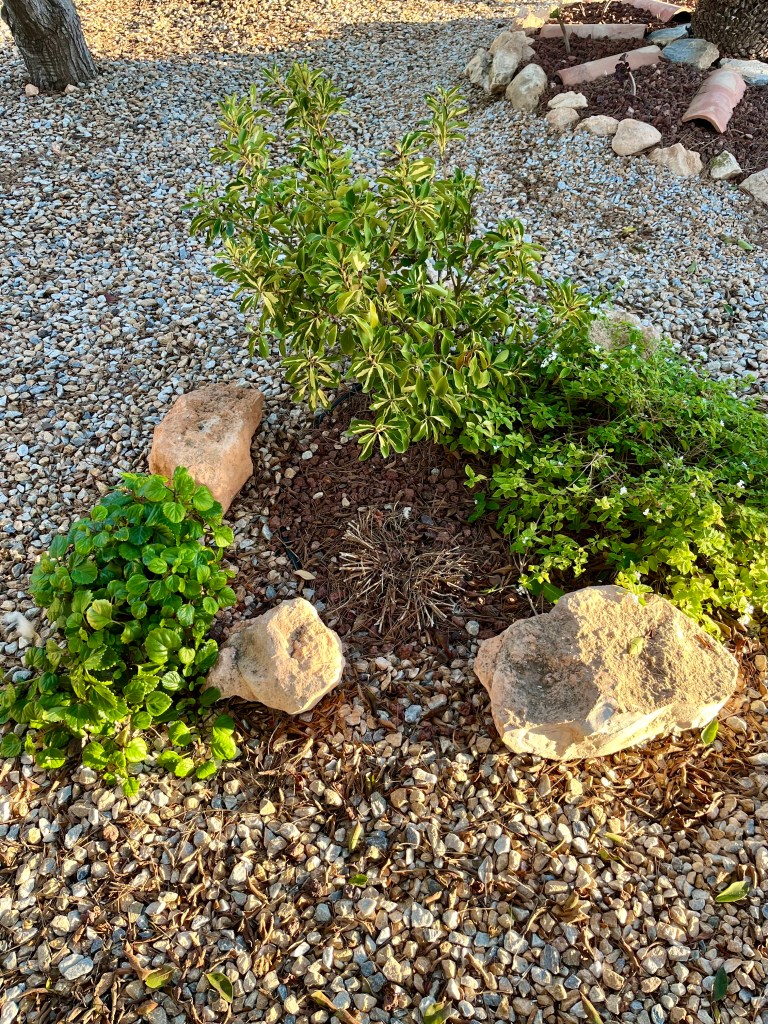
I have a Swedish Ivy (Creeping Charlie) in a pot that I got as a root cutting from my friend Camilla. This is bursting with new growth and I have decided to take some cuttings. The photo below shows the plant bursting with new growth.

I could easily take 10 cuttings off this plant

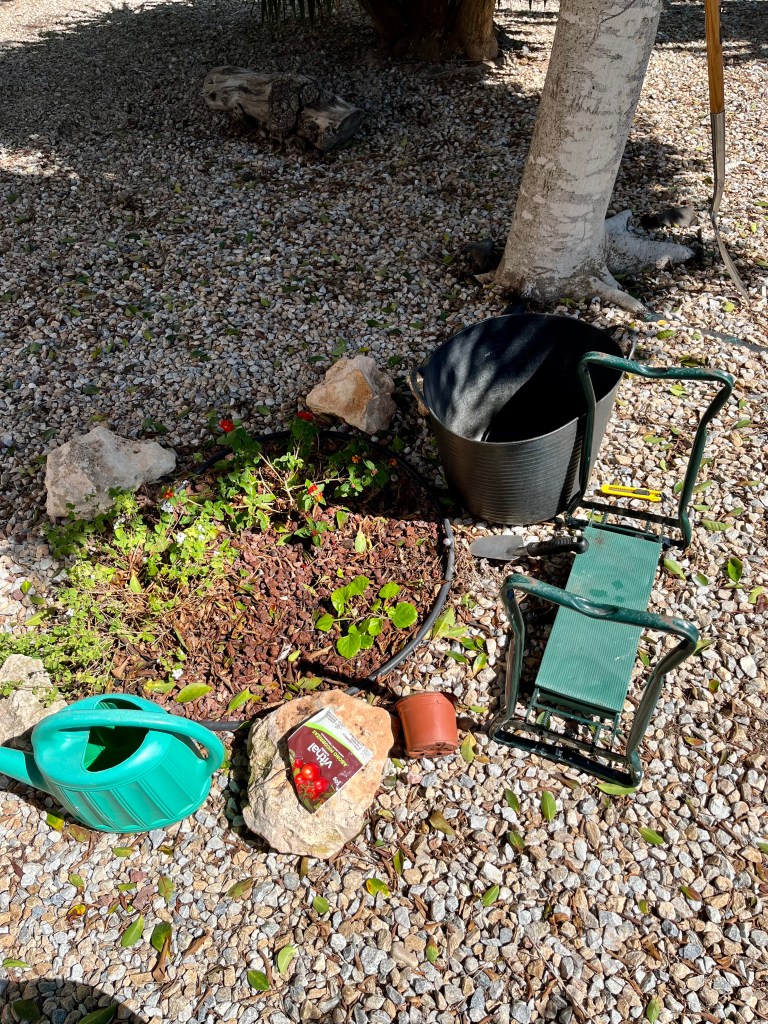
When you take cuttings this time of year it is useful to purchase some ziplock plastic bags (sold in every supermarket) these will aid humidity by keeping the plant moist. It is also useful to have some rooting liquid or powder (not necessary but useful). The photo below shows my preparations.

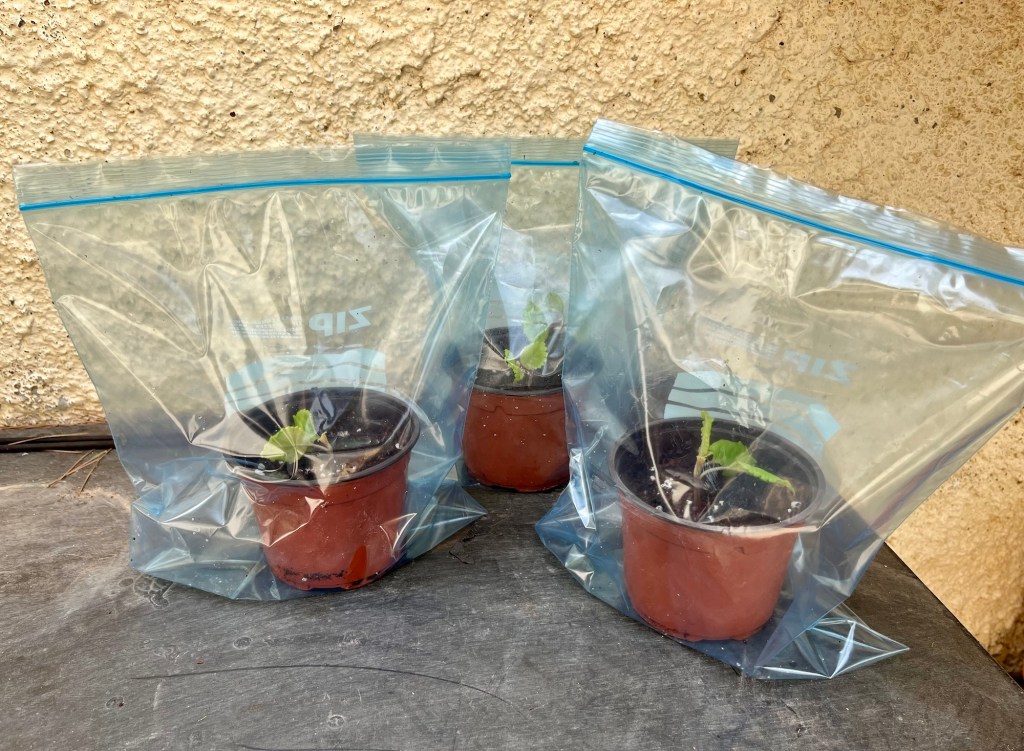
Once you are ready fill 4 inch pots with a good compost and water them well. Take the cuttings from just below a growth node, and then using your thumbnail pinch out all the leaves up the cutting stem leaving just a couple of leaves at the top. Dip each cutting in hormone liquid before planting it securely in the pot. Place the pot in the ziplock bag and seal.

It is a good idea to open the bag at the top for about half an hour each day and ensure you keep the cuttings in the shade for a few weeks until growth starts. See photos below. Click on each photo for a larger view.
Remember open for half an hour each day

Dealing with Helga the hen. Regular readers of this blog will remember that Cruella (my wife) favourite hen died last month. She quickly announced that her girls would need a new friend and promptly ordered another giant chicken.

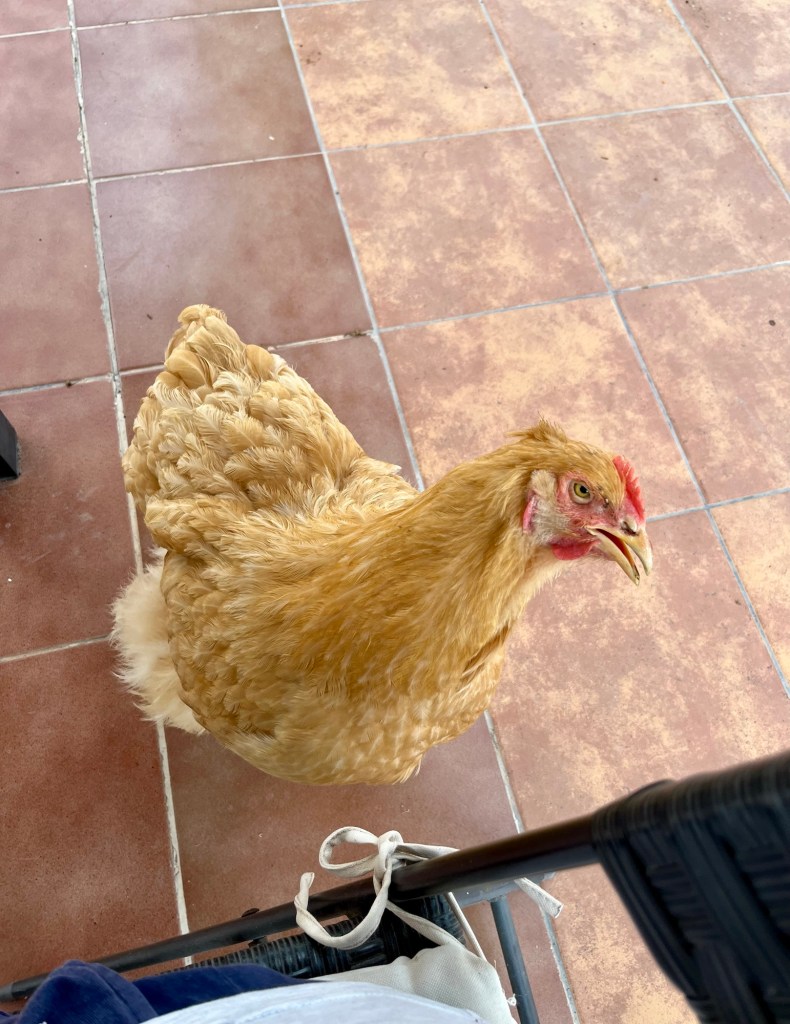
Helga the giant hen duly arrived two days later. Cruella was immediately smitten and declared her the love of her life. In case you are interested I am seventh on this particular list. First the idiot son, then the four chickens followed by Tango the lonely blind Labrador and then me. The photos below show Helga and the new line up. Click on each photo for a larger view.
In a stupid attempt to curry favour with Cruella I started to feed Helga by hand with what was left of my figs and grapes. This has resulted in her continually following me everywhere demanding more food. If I fail to give her a grape or fig she starts to peck my toes. I have tried shouting at her but she only speaks chickenese.

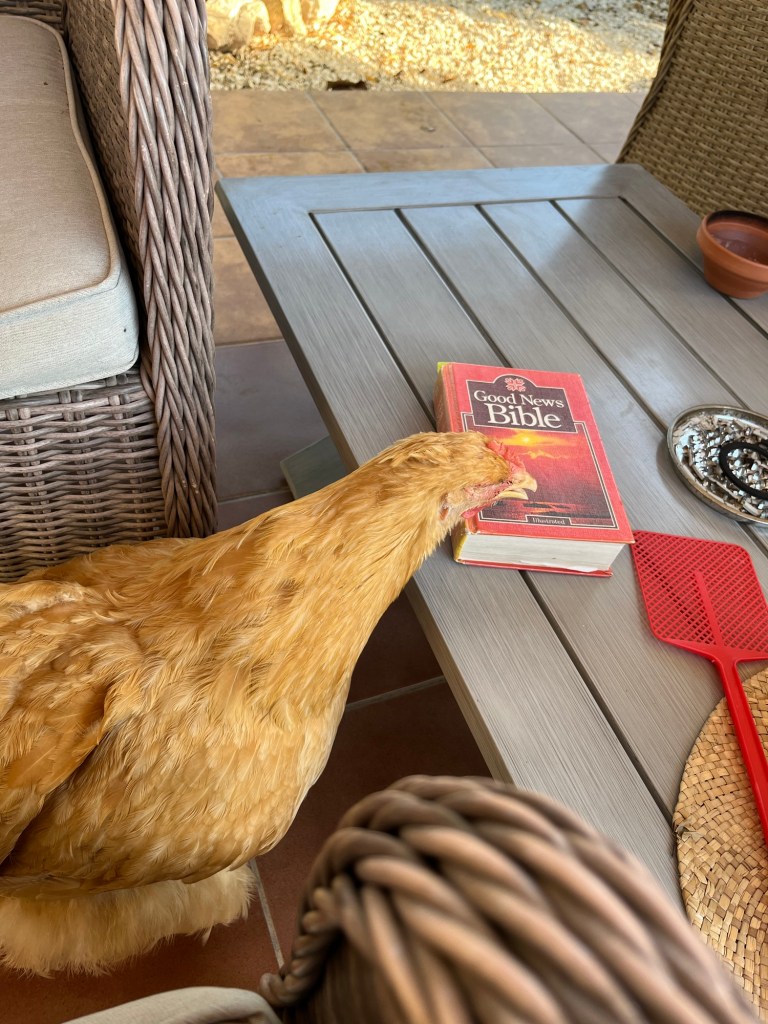
I have explained to Cruella (my wife) that Helga is out of control, but she says it’s only girlish fun. But you can see from the photos below that she sits on my chair, waits on the table to be fed, stops me reading my Bible and is currently sitting beside me as I write this. I fear for the future. Click on each photo for a larger view.
The big summer cutback, I forgot to net my figs and I am accused of killing Big Bertha

I suppose I better start with the bad news; Big Bertha my wife’s favourite chicken is dead! The really bad news is that I am being accused of deliberately killing her (the chicken that is). I won’t go in to it all now, we will do the garden stuff first then I will plead my innocence.

11th August 2024. Things I have been doing lately:

  • The late Summer cutback
  • Gathering in the few crops the birds have left me
  • Continuing to deadhead
  • Dealing with the fall out from the death of Big Bertha

The late Summer cutback. As we move towards late summer here in Spain the heat has been building for months and we have had no rain in the Costa Blanca. This has meant that most of us will have lost some plants and the rest of the garden looks very wilted and sorry for itself.

Now is the time to stroll round your garden in the cool of evening and decide whether some areas need cutting back. There are two main reasons for cutting back at this time of the year. Firstly, you may want to redefine the shape of your plants where they have got floppy and overblown. Secondly you may want to cut off old growth to encourage a new flush of flowers or green growth.

The photos below show the bottom of my drive where the large Peruvian false pepper tree and the Myrtle bush normally make for an attractive scenario that draws the eye down the drive. The first photo shows them both slightly out of shape, whilst the second shows them back at their best after trimming. Click on each photo for a larger view.
If you have hedges (and I have a lot), then now is a good time to give them a light trim to bring them back into shape and stop them shadowing lawns and your bedding plants. Don’t be tempted to trim hedges before round about now as you may disturb or even destroy bird nests. But also remember this is not the big winter cutback so don’t cut into wood, unless you really need to, instead just concentrate on taking back leaf. The photos below my various trimming efforts before and after. Click on each photo for a larger view.

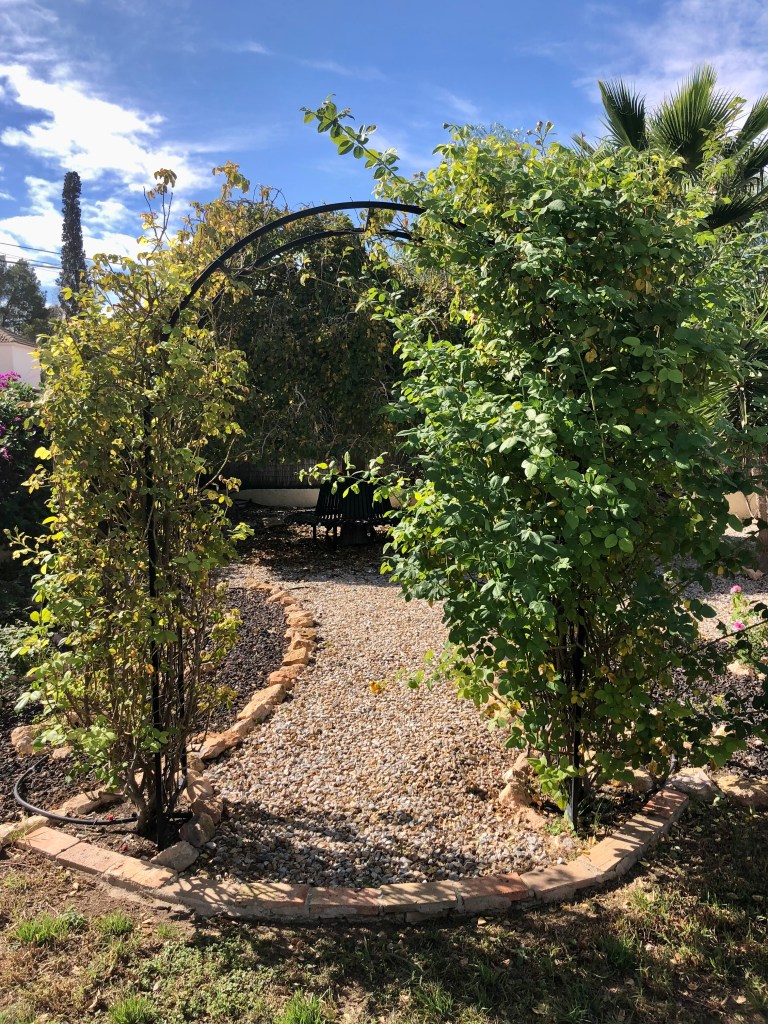
If you have arches over gates or other entry points into your garden then tidy these up as well so that cars don’t get scratched and people don’t snag their clothes on overgrown plants. The photos below show some little areas of tidying up. Click on each photo for a larger view.
Gathering in the few crops the birds have left me. Regular readers of this blog will remember that I prepared my fig trees for netting just before I went away for a couple of weeks. Unfortunately, when I got back, I didn’t get around to netting them as I became distracted with other tasks. Then I stupidly decided not to net them this year as an experiment. The results were predictable. A good third of my fig crop is being lost to birds. Each morning I go out and harvest that days ripened figs, but large numbers have been pecked by birds, most annoyingly sometimes just one peck, but enough to spoil the fruit. The photos below show the morning devastation. Click on each photo for a larger view.

The photo below shows a typical morning collection including the spoiled figs that I will never enjoy.

In addition to figs I have been harvesting my grapes. I don’t normally bag or net grapes as it would be too time consuming. The secret with grapes is not to try and harvest them before they are ripe. Grapes do not continue to ripen once they are cut, so you have to be patient.

Keep an eye on your grapes, twice a day if necessary. Taste one each day as they get close to ripening. Then once you are happy take off the ripe bunches straight away. The birds will know exactly when your grapes are at their best so don’t leave them any longer than necessary. The photos below show my grapes waiting to be harvested, and then the daily harvest. Click on each photo for a larger view.
Continuing to deadhead. I know it is hot, and you have cold beer and wine waiting for you. But, if you don’t deadhead daily then you will run out of flowers in late summer. Once most plants have 50% of dead flowers going to seed, then they will stop even trying to put on more flowers. By deadheading daily you are forcing the plant to produce more flowers to reproduce itself. The photo below, shows me on my daily rounds.

Dealing with the fall out from the death of Big Bertha. I started this post by informing you that Big Bertha, my wife (Cruella’s) favourite chicken had died. But let’s start with the facts. Yes Bertha is dead, and yes I may have had something to do with her demise. But I feel I need to explain and get you to understand the sequence of events and extenuating circumstances. But just to remind you of the late great Big Bertha, she is the one on the left in the photo below, in case you hadn’t guessed.

What happened was this. I have a spray irrigation system watering under all of our fruit trees on a timed system. It was a hot evening and Bertha had positioned herself under one of the trees where she seemed to be happily enjoying the irrigation spray. I thought it was funny and even took the photo below to show Cruella.

Anyway, that night when Cruella went to put her to bed and gave her, her normal goodnight cuddle (all I get is goodnight pig), she discovered that Bertha was soaking wet. The next day Cruella came hurtling into the house in hysterics screaming that Bertha was dead and that I had murdered her. It turns out that when Cruella went to let her girls out Bertha didn’t appear, only to be discovered stiff as a board.

I can’t begin to tell you what it has been like in our house since. The recriminations and hysterics are terrible. They all shout and scream at me in chickenese and accuse me of Water Boarding Bertha. Cruella has already reported me to the ICC (International Chicken Court). She gets things mixed up and insists that the ICC is somewhere in Europe overseen by William Hague who she insists will see that justice is done.

We had Bertha’s funeral yesterday down in our wild wood. It wasn’t really a funeral as Cruella insisted that Big Bertha was burned on a funeral pyre. We all stood around, Cruella and her girls all wore black and sang dirges in chickenese. As the flames licked around Big Bertha’s corpse they all burst out into loud wailing. I just stood there, all I could think of was KFC!

Leaks, borders, deserts and birthdays

I have had to leave the garden. Cruella (my wife) demanded we go back to our English house to celebrate the 30th birthday of our idiot son. She insisted we have house sitters with previous experience of chickens as she was worried her girls would pine; no mention of needing gardening experience. Every night she insisted on FaceTime calls with the chickens; I wasn’t involved as they all spoke chickenese. I had to comfort myself by looking on Google maps at the garden.

Anyway on with the gardening; or what’s left of it.

30th July 2024. Things I have been doing lately.

  • Dealing with water leaks everywhere.
  • Bringing the borders back under control
  • Dealing with the desertification of the lawn
  • Celebrating the idiots birthday

Dealing with water leaks everywhere. I spent many sleepless nights worrying about the garden whilst I was away. Cruella complained that my nightly mumbling kept her awake, but to be honest I don’t know how she could even hear me as the area of ceiling she normally hangs from is right over the other side of the bedroom.

Anyway, you can imagine the state of the garden when I got back. But the worst things was the many leaks that had sprung up all over my various irrigation systems. Our water bills are normally high, but the one that met us on our return was €700? Apart from a mains leak which was creating a new swimming pool for me, the rest were leaks from split irrigation pipes.

I normally keep an eye on all my irrigation pipes, but it just shows you that even a couple of weeks away can make a big difference. Irrigation pipes in Spain become very brittle in the sun and as a consequence are liable to splits. So get outside now and start your checks.

  • turn all your irrigation systems off
  • turn them on one at a time
  • as you turn each system on walk the length of the piping looking for leaks or suspicious area of lush growth
  • once you detect a leak cut out a decent length of the piping as it will usually be weak in other areas close by
  • connect the piping with appropriate connectors ( see below)
  • then check that your repair is not leaking
I possess more piping and irrigation connectors than most hardware stores

The photo below shows my mobile leak repair tools as I deal with yet another leak.

Just to give you an idea of the scale of the problem I have faced, it has taken two days to track down and repair most of the leaks. The photos below show some of the areas where I am leaking money. Click on each photo for a larger view.
Bringing the borders back under control. By now all of your borders should be in full flower, and ideally you should be deadheading and staking up each day. The photos below show the state of my borders upon my return. Click on each photo for a larger view.
To the superficial eye, these may look fine, (not that I am accusing you of having superficial eyes). But to me there are heads to be deadheaded and stems to be staked. I tend to stake things first and then go round and deadhead. In this way I can see any dead flowers that may be dropping down.

At this time of year the gardeners best friend are canes and twine. The photos below show me getting ready to go. Try not to use very long canes as this is not cost effective, instead cut long canes into four. Not only does this save you money, it will also stop you having expensive eye surgery when you bend down and poke your eye out. Click on each photo for a larger view.

Once you are set to go, wander round looking for drooping and fallen stems. Most plants will stop flowering if there is a kink or break in their stem. You need to get them upright as soon as possible. I know it may sound stupid, but there is a correct way to tie up a plant. Ideally you should form a figure of eight around the cane and the plant stem. You achieve this by first tying your twine around the stake and then forming another loop around the plant stem. The idea is to stop the stem chafing against the stake, thereby causing a wound that may let pathogens in. The photo below shows how well I attended to knot tying in the Scouts.

For some reason Cruella (my wife) is very good at tying knots. I asked her about this one day and she told me it is all about tying down small animals for sacrifice!

Once you have tied everything up, then it is time to go around deadheading. Remember don’t just cut off the flower head, go back to the next leaf node and cut just above there. In this was you will not leave dead stem for infection to enter. Once you have finished deadheading the obvious, take a good look into your borders to see whether anything else interesting is popping up. I cut back my mini sunflowers and discovered some lovely new little blooms at the bottom of their stems, see the photos below. Click on each photo for a larger view.

The last thing I do when I am deadheading is to go round with single handed shears and take off all seed heads from Osteospermums and the Honeysuckle.

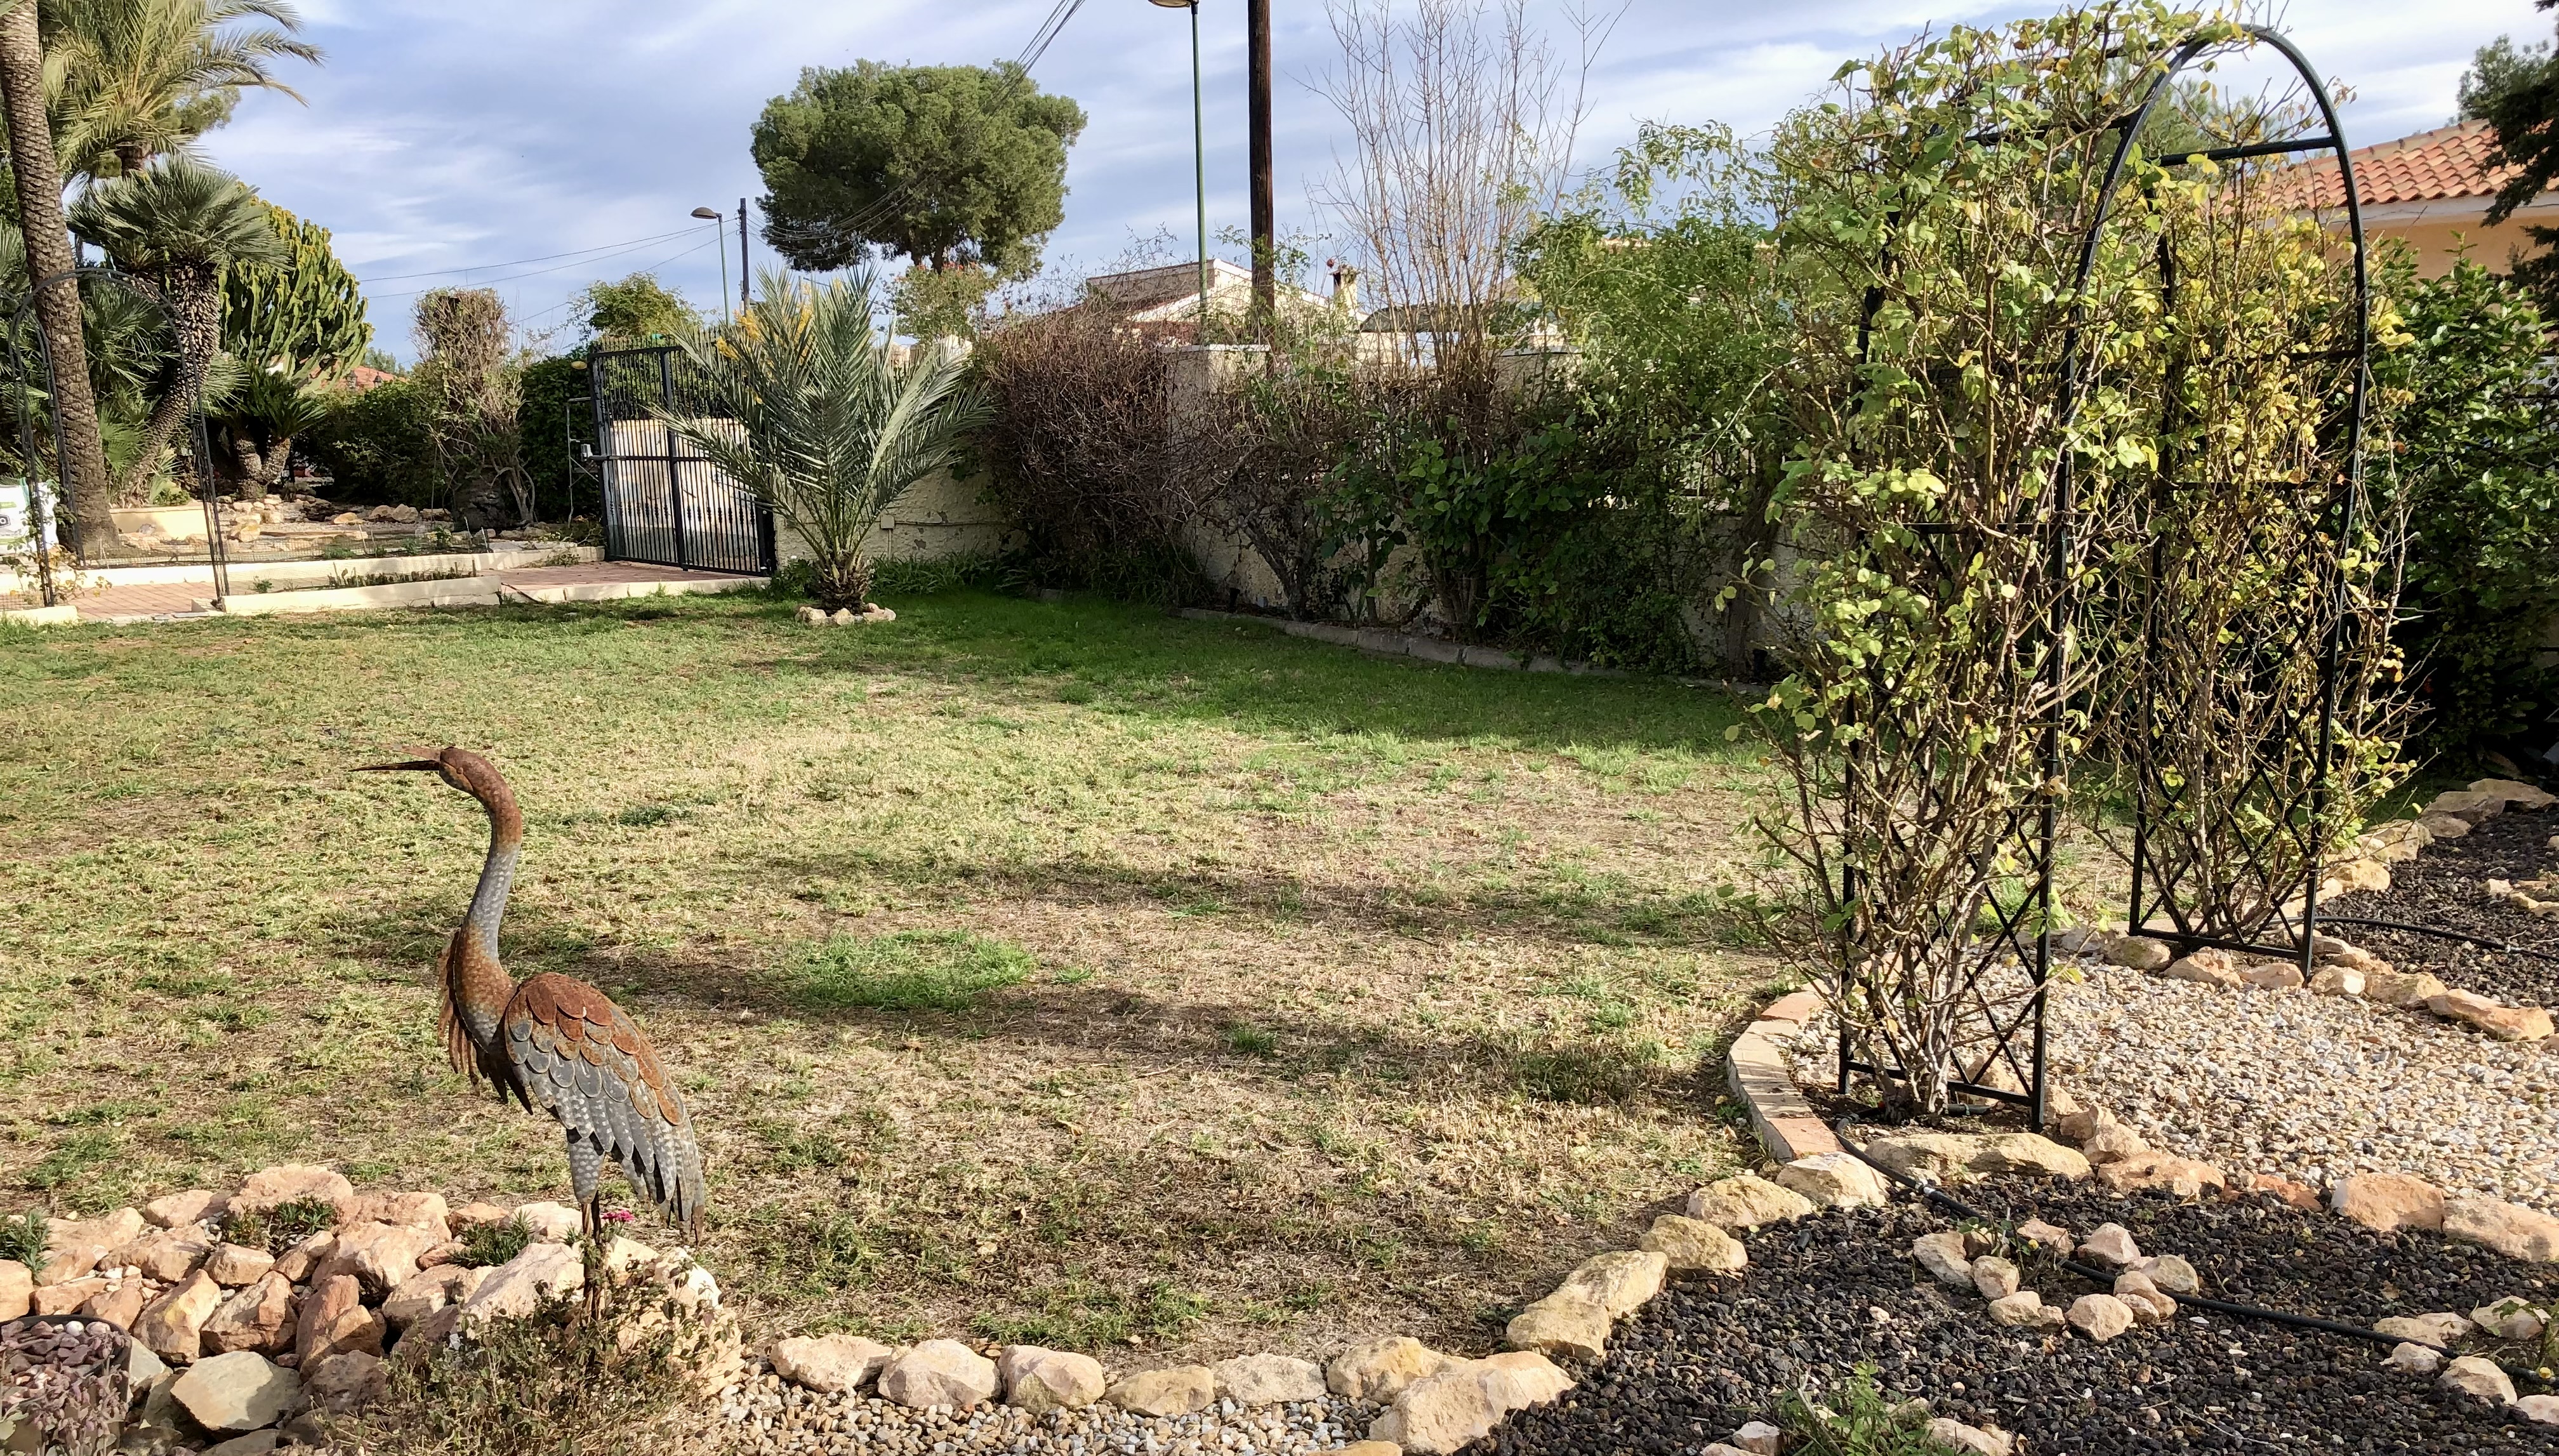
Dealing with the desertification of the lawn. My lawn as I jokingly call it has suffered greatly this dry summer. But to be honest my biggest problem is chickens. In the Spring I could have reseeded areas, and I could even do it this autumn. However, if I put any seed down the chickens would scoff it immediately. I am rethinking the whole lawn thing, but just to give you an idea of the problem of desertification, see the photos below. Any idea or suggestions are welcome. Click on each photo for a larger view.
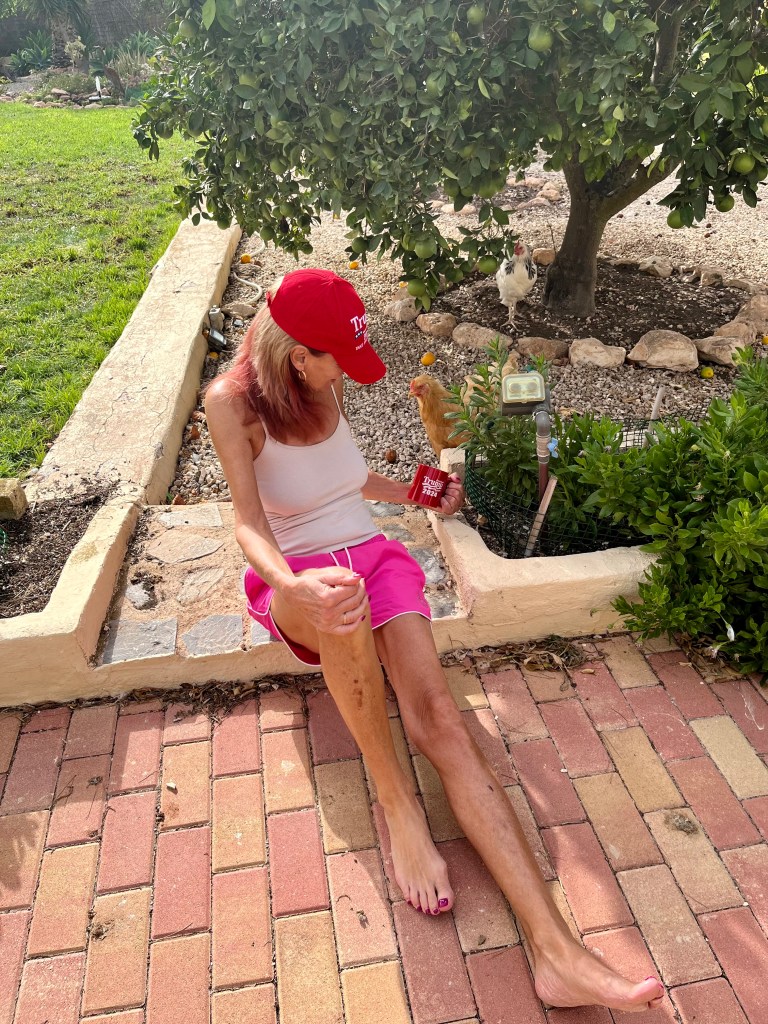
Celebrating the idiots birthday. Cruella (my wife) insisted that I put a celebratory birthday photo of the idiot son into my blog. I protested that it was a gardening blog and as such nobody would be interested. She threatened me that if I didn’t put a photo in the blog she would set fire to my shed.

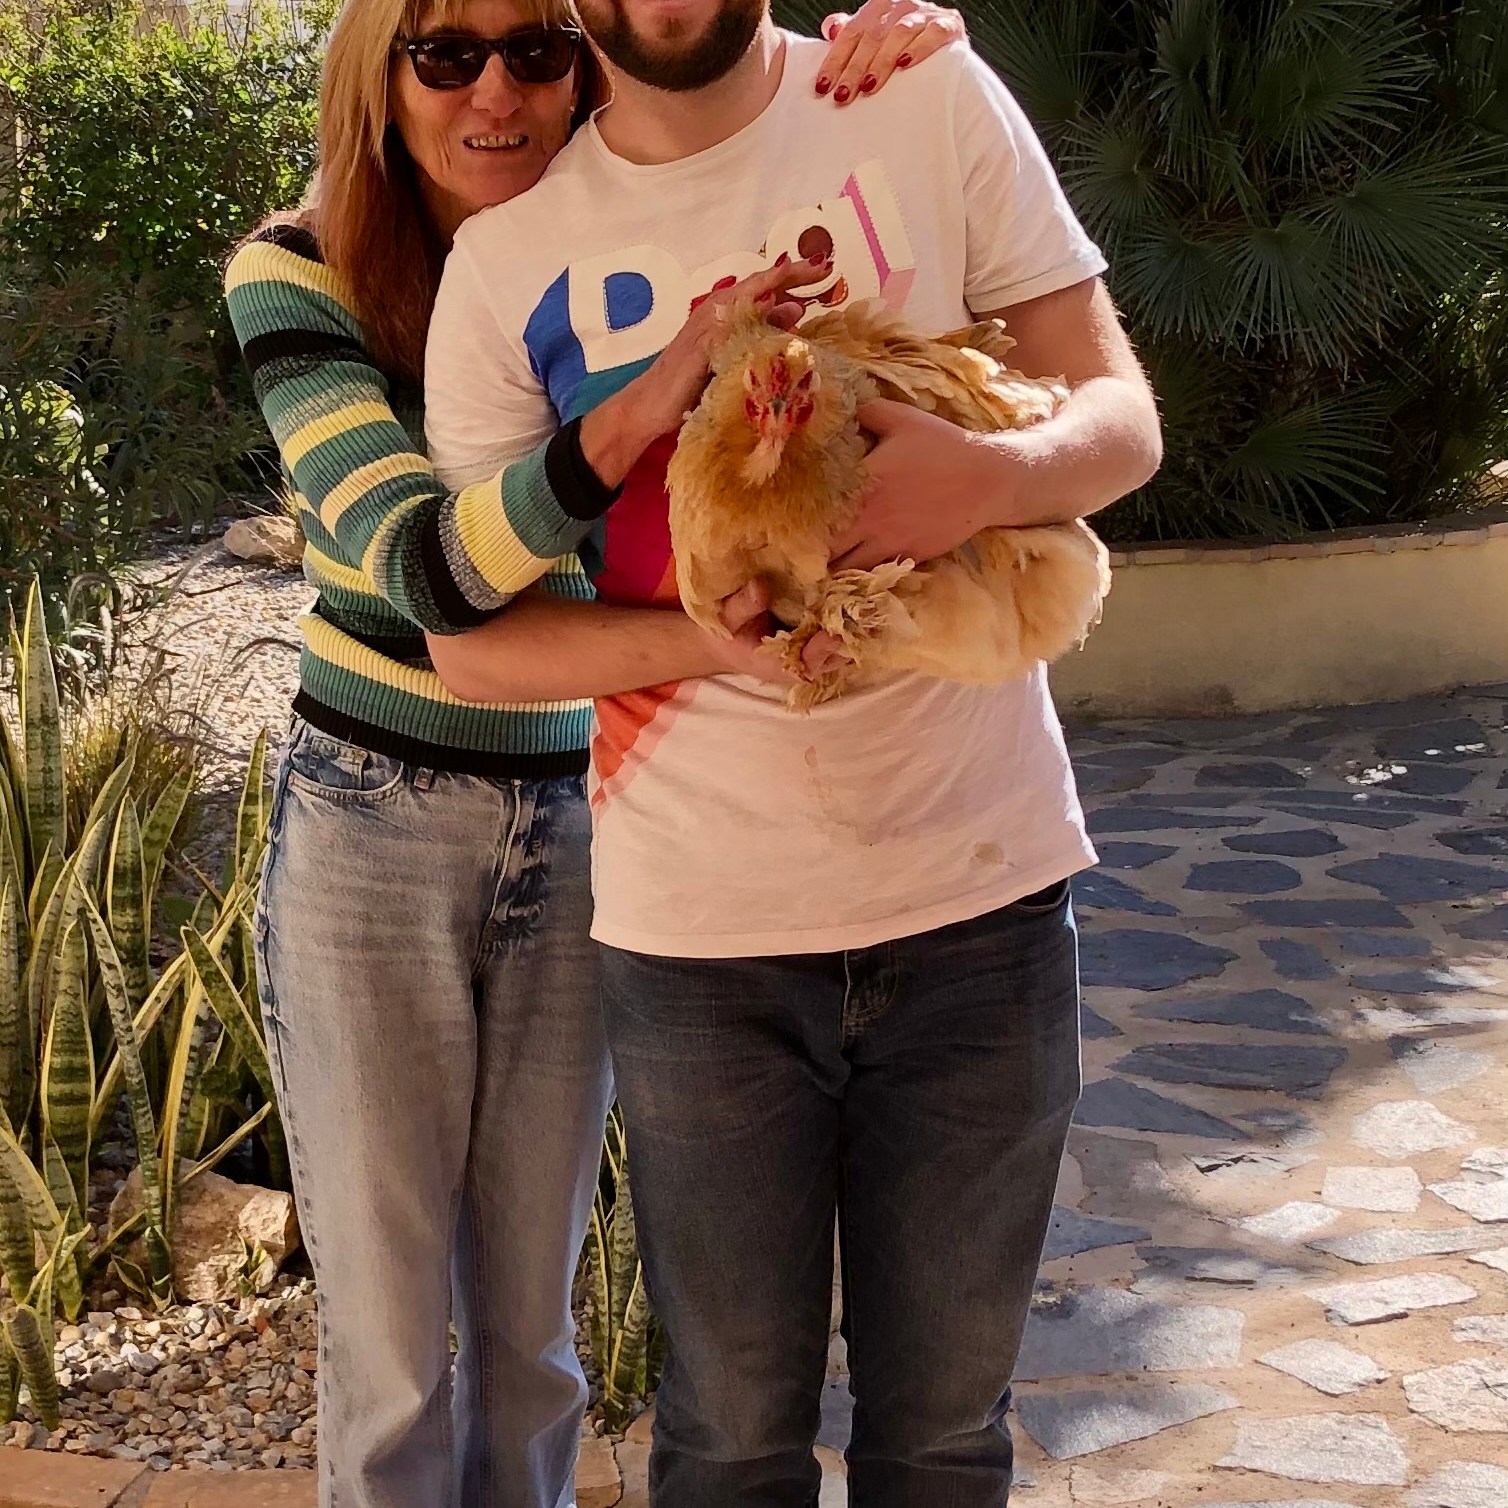
Anyway, here it is. Cruella is on the left, you can just see a hint of her tail though she has tried to tuck it away, normally you could see her horns but she is cleverly burying them in the beard of the idiot boy. I am on the right, the idiot is in the middle.

Pruning, trimming, a Blackbird broke my heart and Cruella has entered the chicken Olympics

I have been away, I know I didn’t tell you, but I just slip away and creep back, it is best for the garden. If Cruella (my wife) knows I am away she takes down all my chicken defences and dances around the garden with her girls shouting about freedom and chicken rights. She told me she that she sees her self as a latter day Isadora Duncan whilst being an admirer of Just Stop Oil, chicken division.

When I crept back in after a week away she said “where have you been?”. I told her I had just been down by the compost bins and she nodded ok. She then casually informed me she was preparing for the Olympics; anyway, on with the gardening, more later.

29th June 2024. Things I have been doing lately:

  • Taking fig cuttings
  • Planting out loofahs
  • Trimming back to encourage new growth
  • Trumpet vine and the Blackbird
  • The chicken Olympics

Taking fig cuttings. By now your fig tree should be putting on leaf and fruit at a great pace. This means there will lots of lush green growth which is ideal for taking cuttings. If you fancy a new fig tree for free, or would like to donate one to a friend, then now is the time to take a few cuttings.

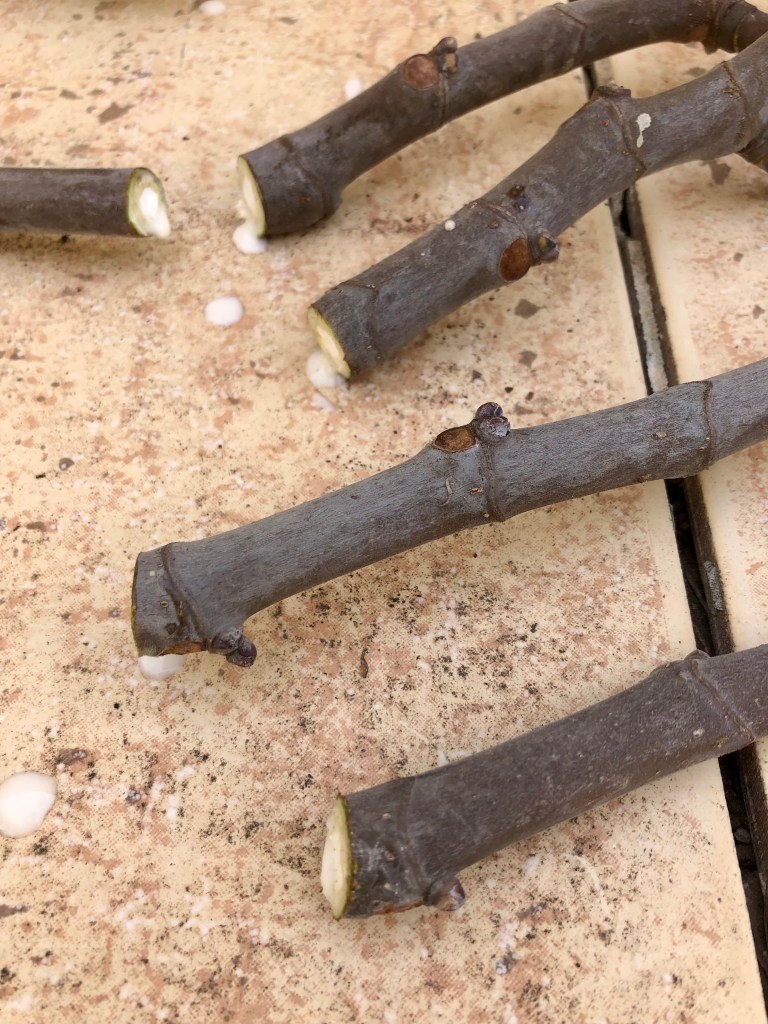
I must warn you that when taking fig cuttings at this time of year you have to be very careful of the white sap that will weep from the cut wound as this will be very caustic and can give you a nasty burn. But taking this into account and dressed accordingly in long sleeved T shirt and wearing gloves, all you need to do is select a lush non fruiting stem and cut just below a leaf node. See photo below.

Try and take a number of cuttings as this will give you a better chance of success. Once you have all your cuttings, take them back to your potting bench and remove all the leaves apart from a couple at the end of each stem. See photo below.

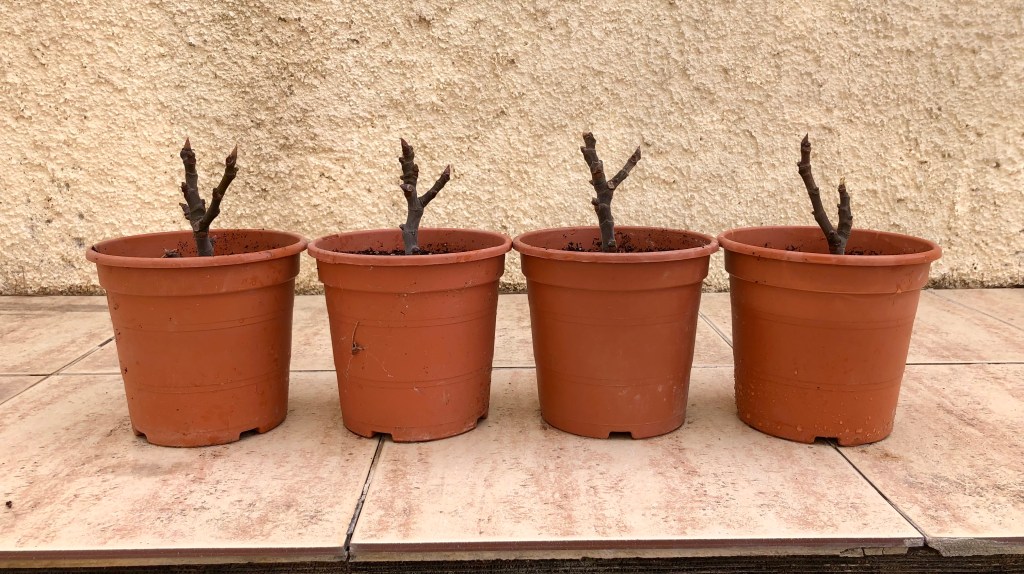
Once you have trimmed your cuttings up, leave them for a couple of hours in the shade so that the dripping sap can dry up. Once the sap has dried dip the end of each cutting into hormone rooting powder or liquid (this is not essential, but it helps). Plant each of the cuttings around the edge of a six inch pot, I usually plant four to a pot, but it is up to you. Finally place your potted cuttings in the shade on your potting bench and wait. Most will die, but hopefully some will sprout new leaves and give you a future fig tree. The first photo below shows the stems being dipped in rooting liquid, whilst the second shows the new cuttings in their new home ready to go into shade for a few weeks. Click on each photo for a larger view.

Planting out loofahs. Those of you who came to my open garden day were given some loofah seeds to plant, and hopefully you did? Loofahs are lovely plants, an annual that grows quickly as a climber, has lovely yellow flowers and as an end product you have a loofah to use in your shower as an exfoliant. What is not to like; Cruella’s Coven swears by my loofahs wart removing powers.

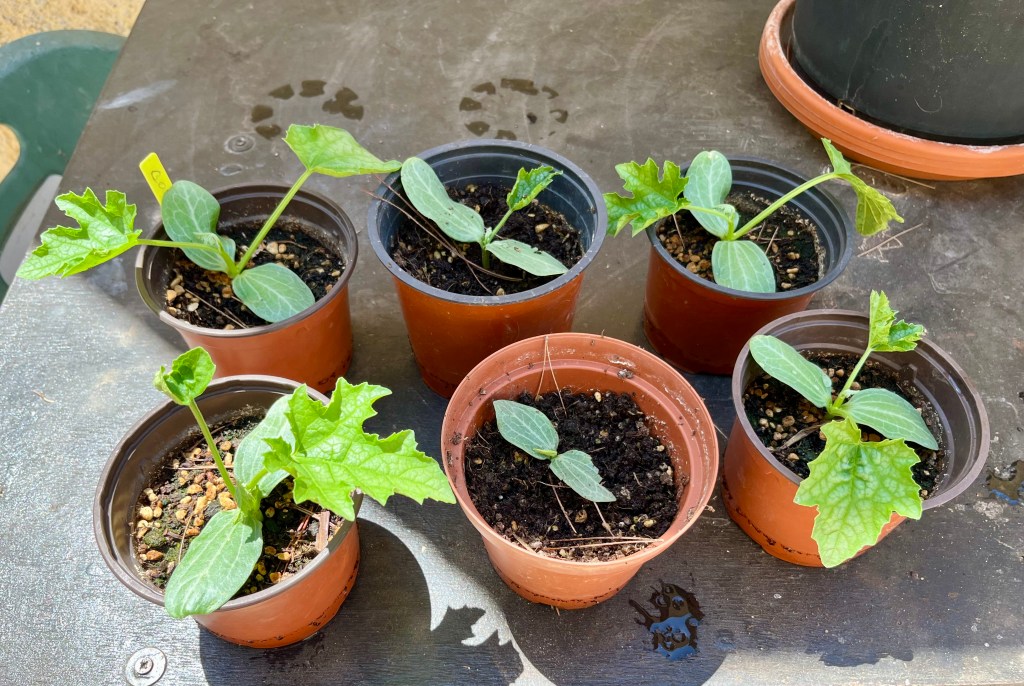
I planted some loofah seeds some time ago and it is now time to pot them on. The photo below shows my little seedlings ready for a new home.

The secret to success when potting on loofahs, is to recognise that they really don’t like their roots to be disturbed. I plant them two to a 9 inch pot, but before planting them I place each of the pots into the new pot and build compost around them, then I gently ease out the loofah beforecarefully slotting it into its newly prepared home. The first photo below shows them being prepared for their new pot, whilst the second shows the strong root growth after only a few weeks. Click on each photo for a larger view.
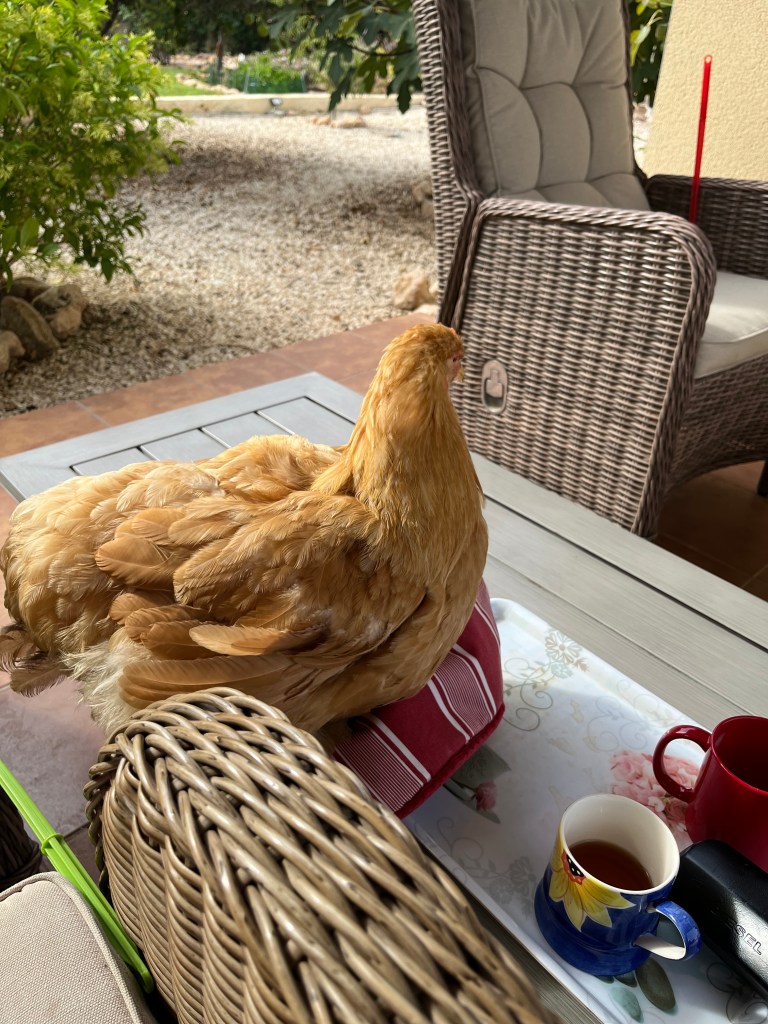
Finally a couple of photos of their quick growth. Each plant can grow up to 10 to 15ft and give you 8 or more fruits. Click on each photo for a larger view.

Trimming back to encourage new growth. By now most plants will have flowered and will happily go to seed if you let them. But if you want flushes of new flowers all summer, then don’t let them. Both perennials and annuals can benefit from deadheading and trimming.

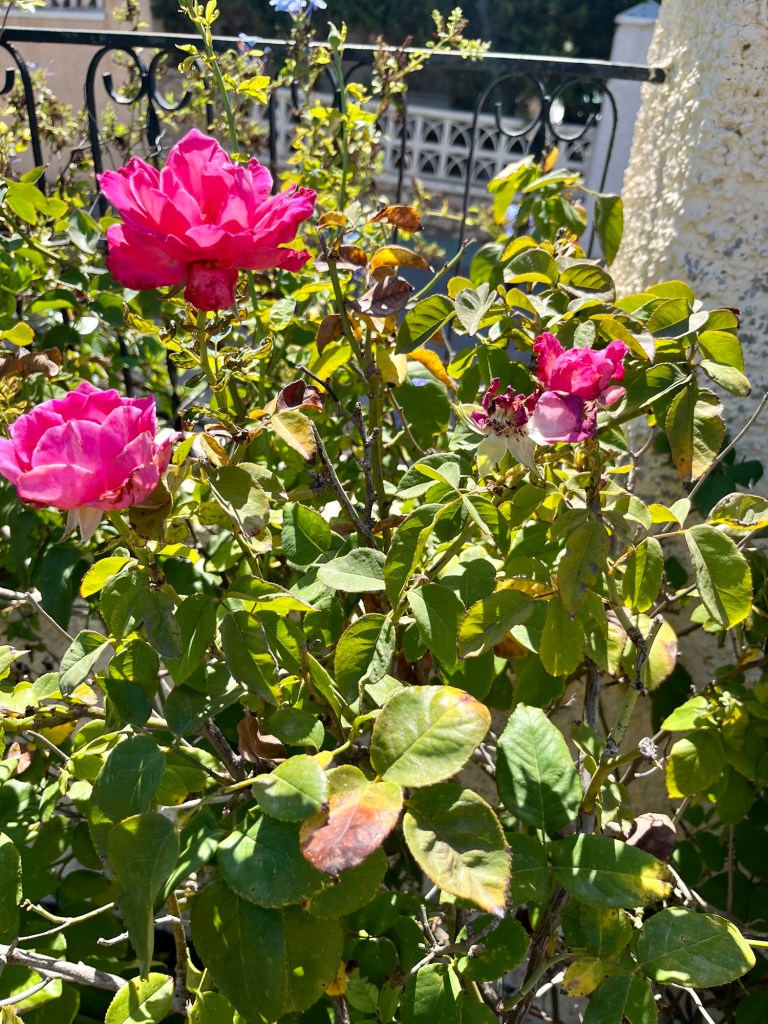
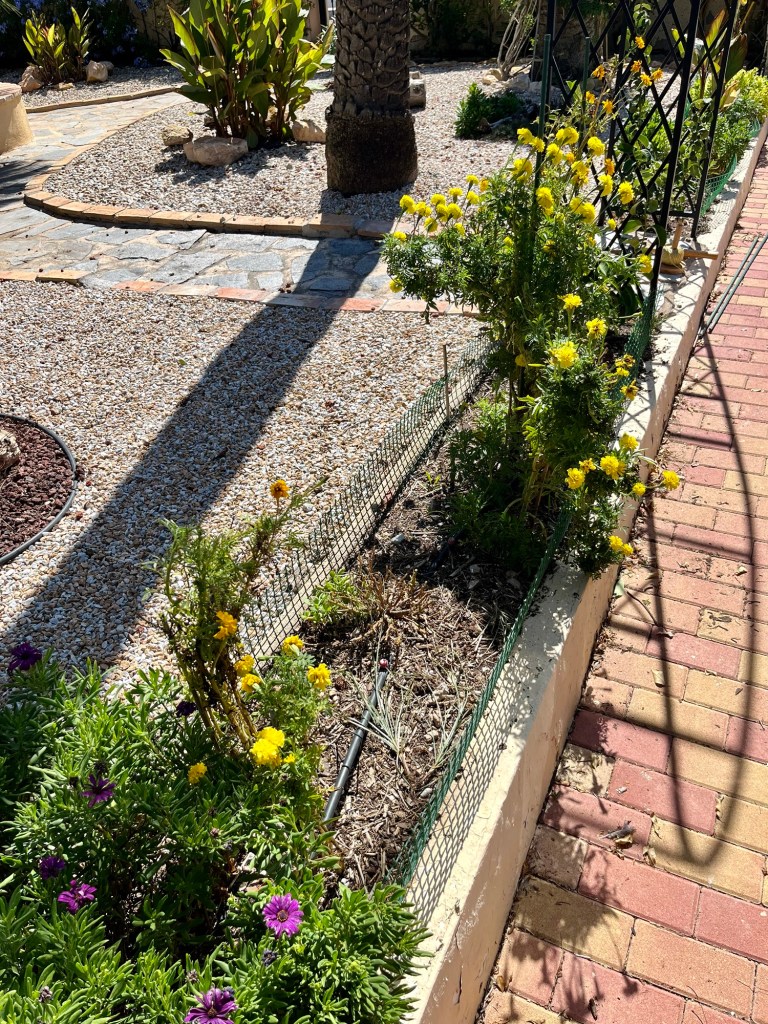
I have been deadheading roses daily for the past couple of months, but as yet have not started on the Marigolds. But look for those perennials that flower in a flush. Don’t bother with secateurs for flowers that all come at once; instead get your shears out and give them a hair cut.

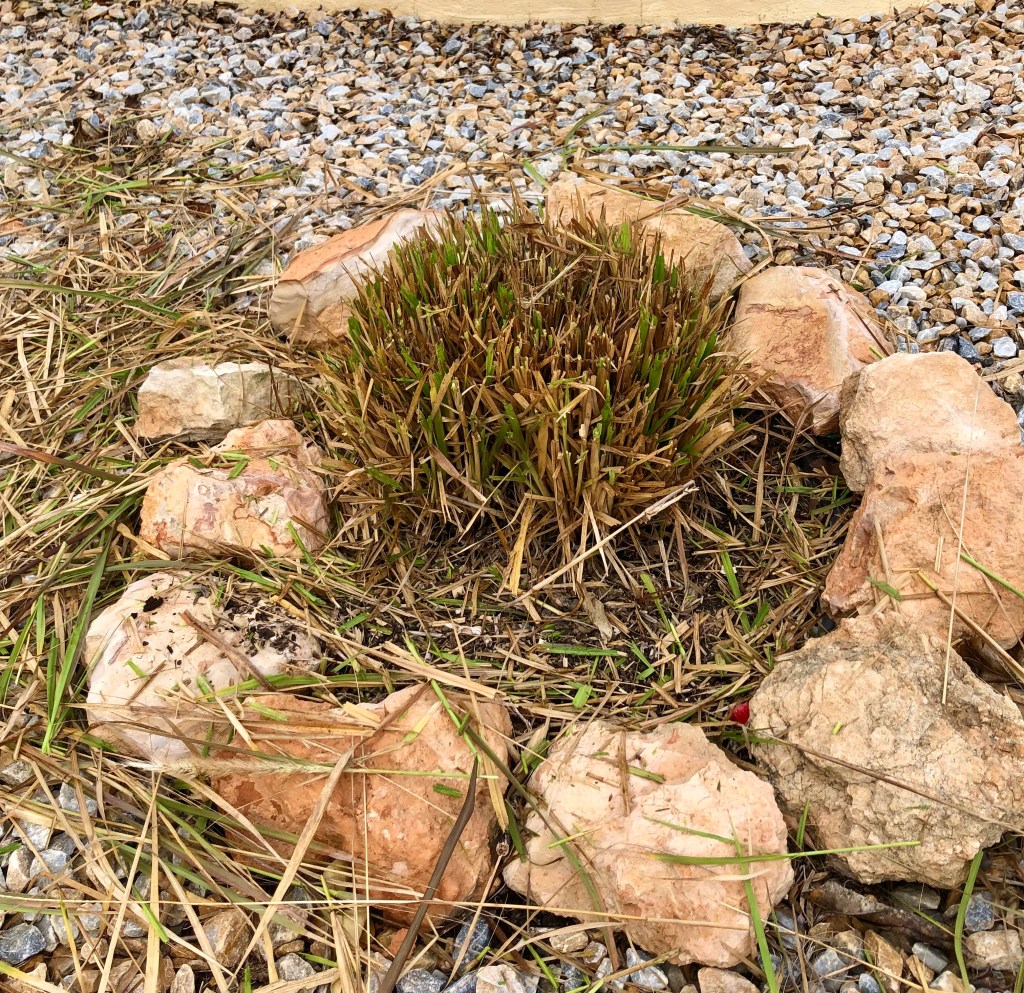
The photos below show some of the plants I have been shearing starting with one of the most unusual “spiral grass”. Click on each photo for a larger view.
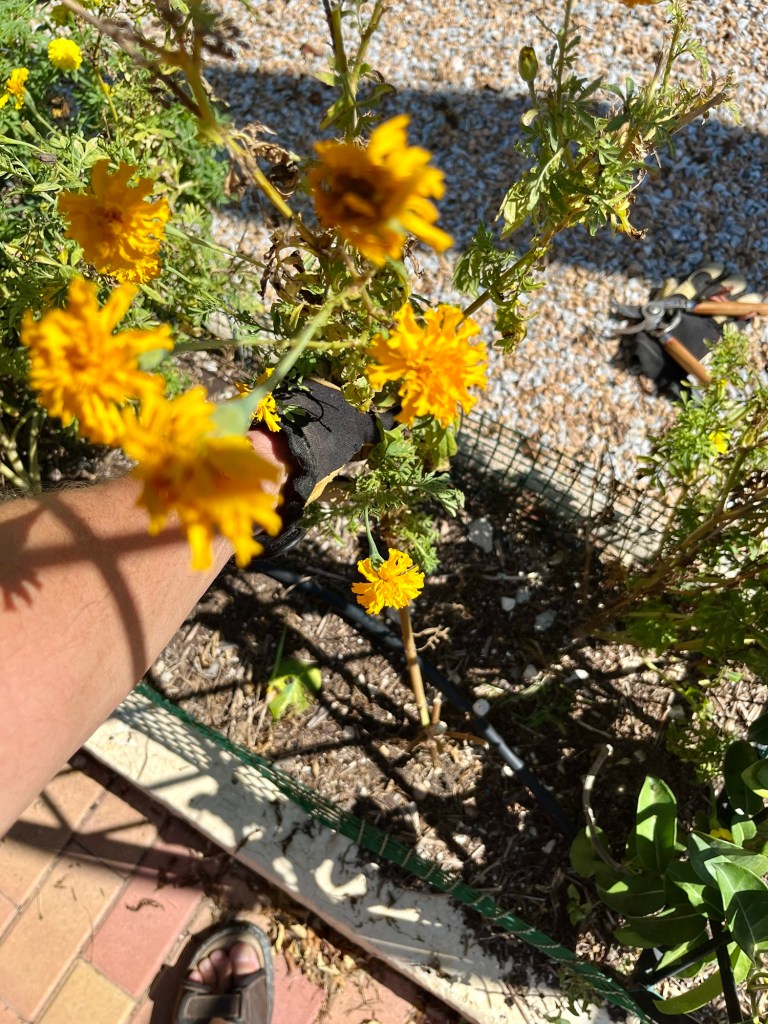
If you have multi head sunflowers, then take off the individual heads as they die back. But don’t forget to let the final flower head go to seed for the birds.

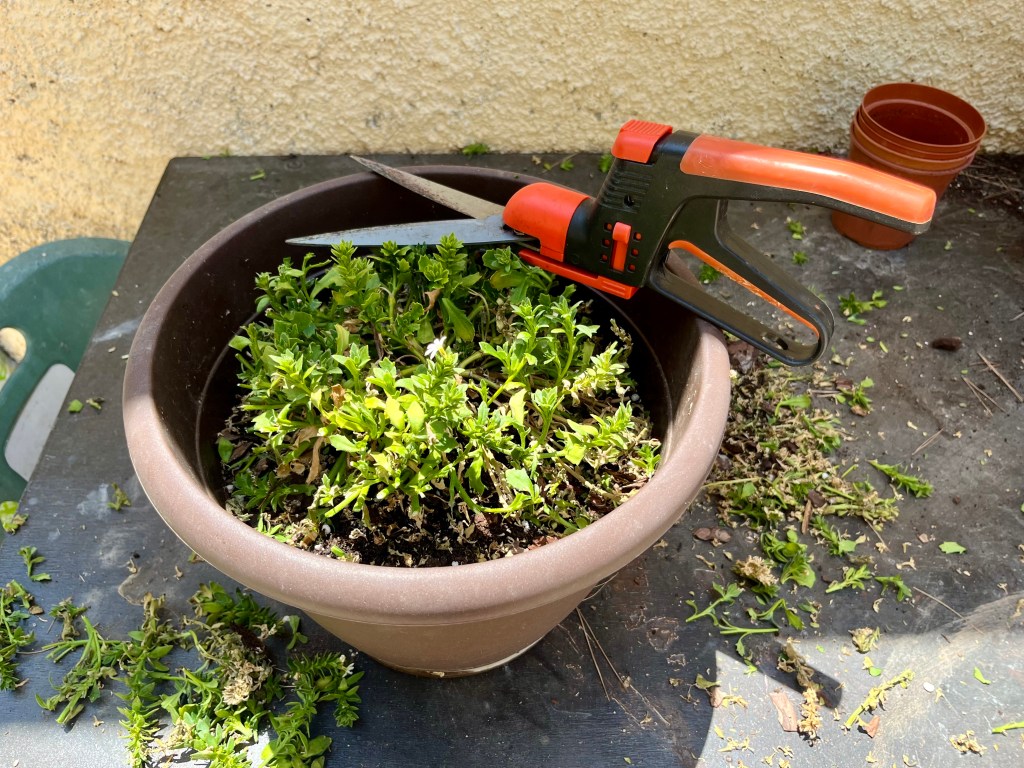
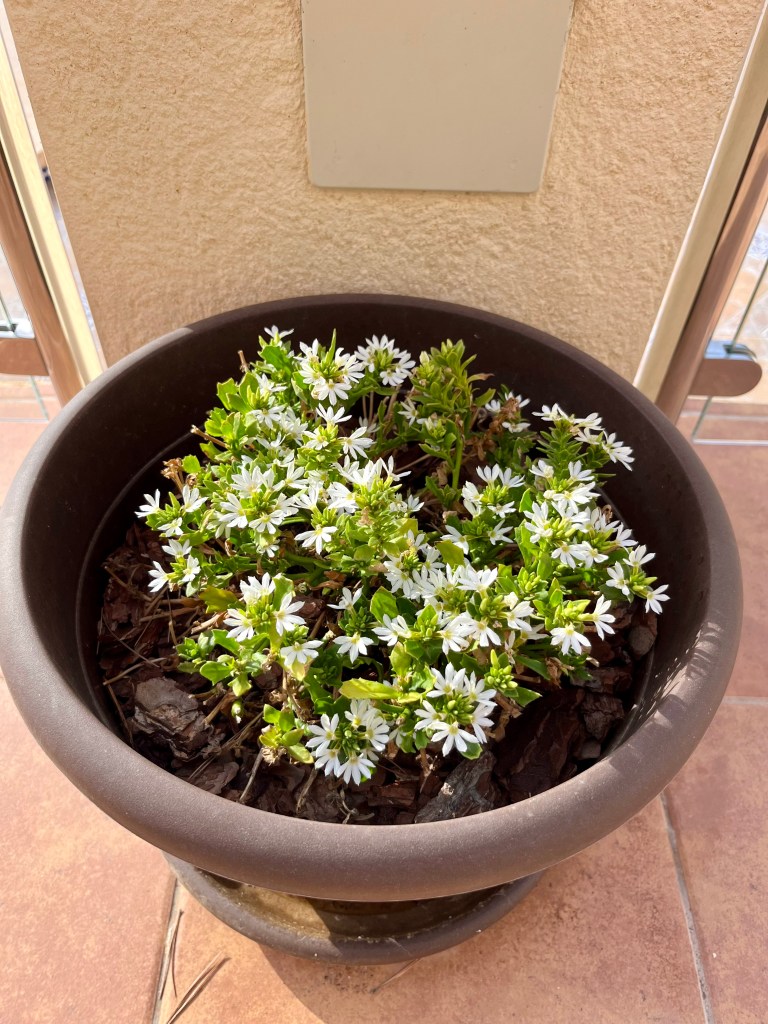
One of my favourites is the lovely Fairy Fan Flower. It flowers all in one rush and after the bloom has gone off trim all the flowers and you will get a second flush. The photos below show the plant after its trim and the successful second flush just coming through. Click on each photo for a larger view.

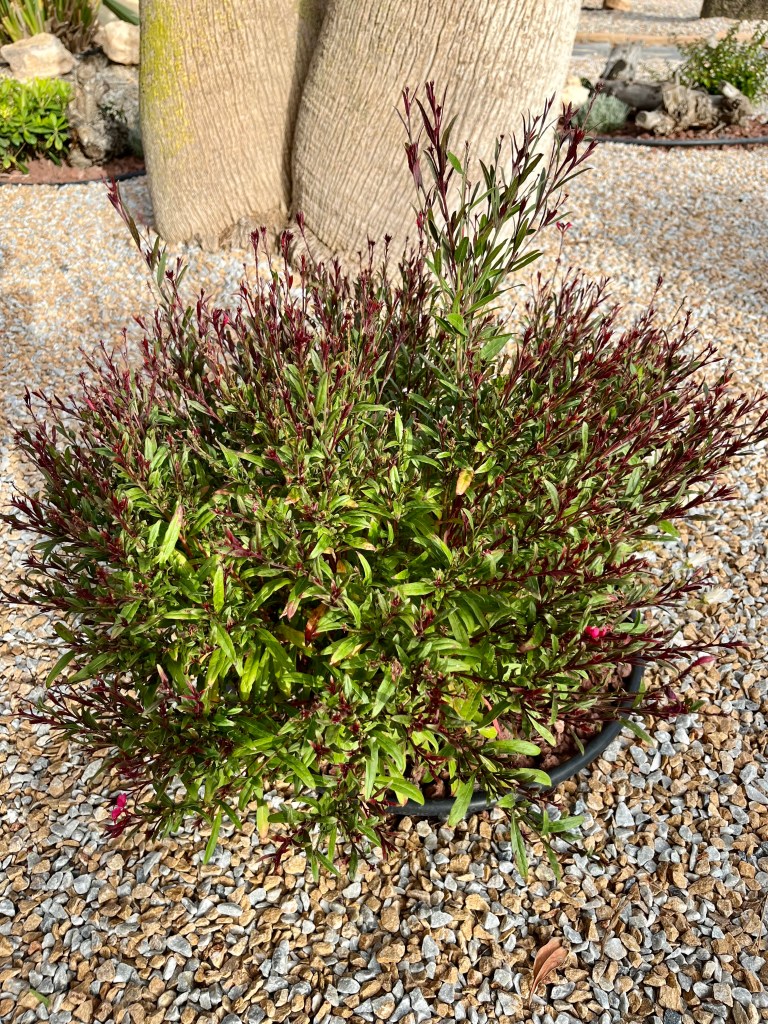
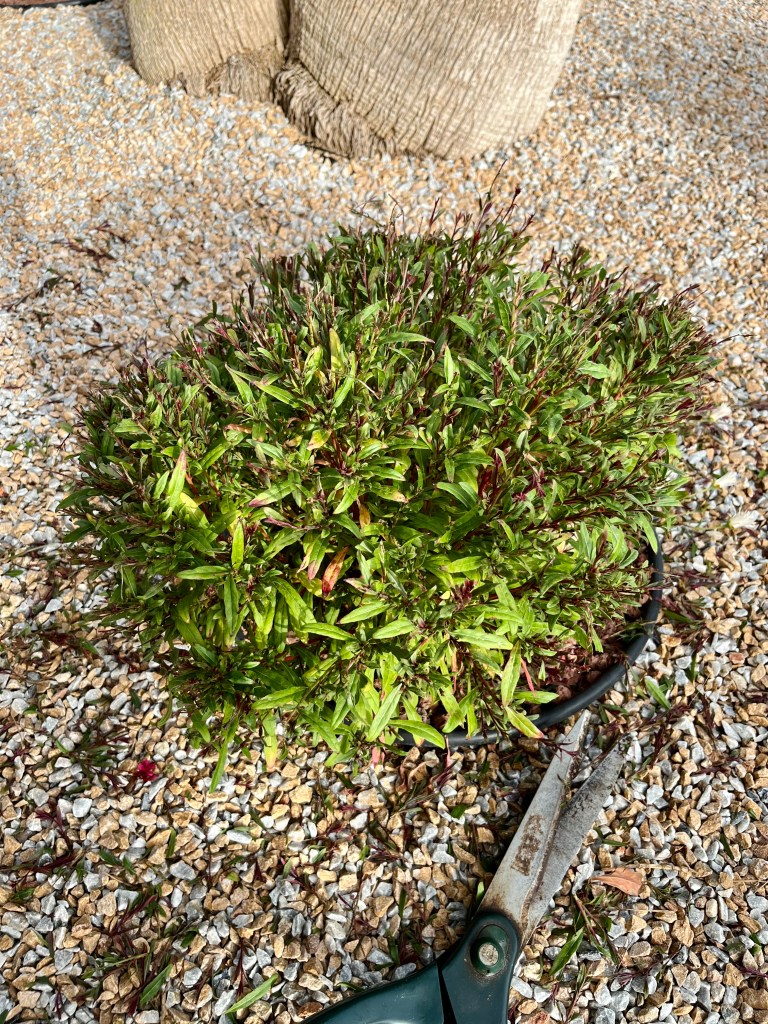
Gaura is another of those plants that benefit from the complete flush of flowers being taken off. Gaura, like Lavender, does not like you cutting too deep into the wood so just take off the flowers and the first bit of green. The cutback Gaura shown below will soon give me another lovely flush of flower spikes. Click on each photo for a larger view.
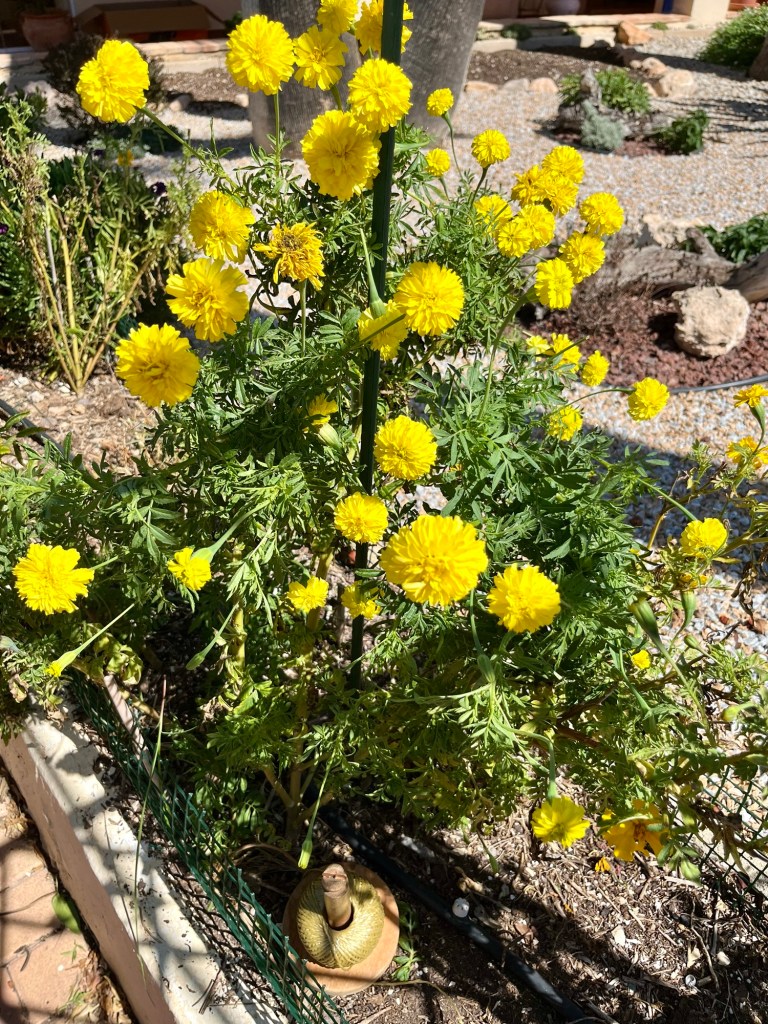
Trumpet vine and the Blackbird. Each year I take seeds from my Trumpet Vines and carefully set them aside to grow them in the Spring. Every year to date the seeds have failed; mainly my fault. But this year I eventually managed to get eight through to the seedling stage. When I came to prick them out and pot them on, I bought the best compost, mixed it with Perlite and prepared 4 inch pots for each seedling . This painstaking process can be seen in the photos below. Click on each photo for a larger view.
Once I completed this task I wandered into the house to boast to Cruella about my success. I swear I was in the house no more than 5 minutes before I went back to the potting bench. As I turned the corner to the potting bench I caught a flash of black wing before my eyes fell on the devastation. A blackbird had dug up all my new seedlings and thrown them around.

Crying out with anguish I rushed back into the house to ask Cruella if she knew anything about this. That must be “Shadowstrike” she said, “I told him he could play in the garden”. The devastation left by the stupid bird can be seen in the photo below. To make matters worse he now follows me round the garden smirking.

The chicken Olympics. It appears that whilst I was away Cruella (my wife) became concerned that her girls appear to be getting fat. At first she blamed it on ultra processed foods and has written to the WHO complaining. Then she lighted on the fact that wonder drugs can stop obesity, and tried to order Wegovy and Ozempic. The vet refused to prescribe them as he said she just needs to cut back their food. She stormed out shouting that she would not put up with fat shaming and would be reporting him to Weight Watchers.

Anyway, the end result is that she has started to train the chickens for the Paris Olympics. She has already written to the IOCC (International Olympic Chicken Committee). I told her chickens are not allowed in the Olympics, but she just said I was stupid and should just stick to gardening.

Cruella has bought herself a whistle, megaphone and stop watch and the chickens are now trained every morning. They start with leg stretches, which I entitled the “drumstick roll. This is followed by running around the garden in circles whilst chanting improving slogans in Chickenese. Their coop is plastered with self improvement slogans such as

  • Be best chicken you can be
  • Cluck your best and the rest will follow
  • Feathers high, spirits higher
  • Every day is a chance to spread your wings
  • Beneath every feather beats a strong heart
  • Find your flock, lead with pride

The photos below show you some of their early morning training sessions. Click on each photo for a larger view.
After two weeks of training and exhortation she asked me how I thought they looked. I said “they are still fat”. I’m sleeping in the shed with Tango the lonely blind Labrador and the big rat.

Seeds, seedlings, greenfly and other pests + a new big rat and his best friend the snake

Well summer is certainly getting going and what is left of my seedlings are growing well. All round the garden is looking ok apart from the chicken destroyed lawn. I was just settling down for a summer of steady gardening when all hell broke loose. I have a new big rat in the compost bin and this time he has brought a snake to back him up.

The presence of the rat and the snake has sent Cruella (my wife) into a frenzy of chicken health and safety; culminating in me and Tango the lonely blind Labrador having to mount night patrols. Anyway, more of this later, on with the gardening.

2nd May 2024. Things I have been doing lately:

  • another successful Open Garden Day
  • dealing with the last of seeds and seedlings
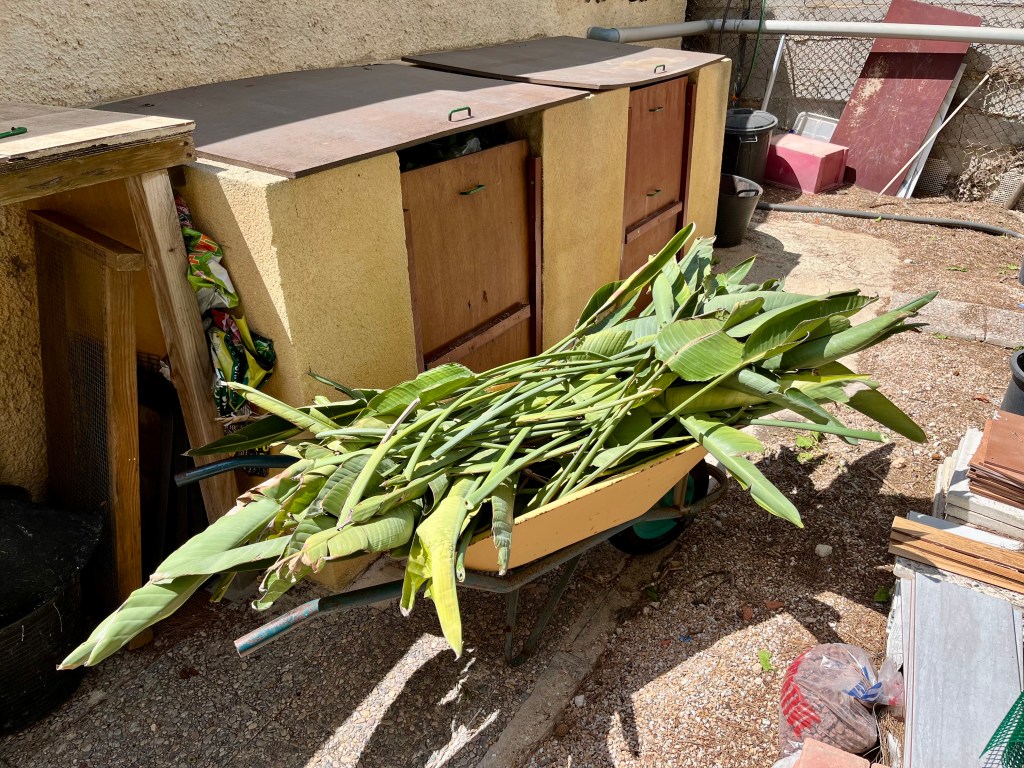
  • tidying up Bird of Paradise
  • keeping a look out for pests
  • keeping up with composting
  • dealing with the big rat, the snake and Cruella’s hysteria

Another successful Open Garden Day. Regular readers of this blog will know that I organise an Open Garden Day every year in my village of Campoverde. The basic idea is that some local people will open their garden for a day to the general public. Everything is free and all that is asked is a small voluntary donation to our Church’s work with young people. The photos below show me in action together with a look at the other gardens so you know what you missed. Click on each photo for a larger view.

Dealing with the last of seeds and seedlings. By now all your seeds should have germinated and most things should be in the ground in the next couple of weeks. However, I have been dealing with a few stragglers.

Loofahs. I love loofahs as they are such a joyous simple to grow plant with lovely yellow flowers and at the end of it all you get your own home made exfoliant. Loofahs are simple to grow. Just place a seed on top of compost in a four inch pot, push the seed down into the compost to the depth of your finger nail, and that is it.

Keep them watered and in full sun and in a couple of weeks after germination transfer to a 12 inch pot to grow on. The photos show the start of the seed process followed by the fast growing seedlings two weeks later. Click on each photo for a larger view.
Sunflowers. One of the other annual gardening events that I organise is the “Campoverde Sunflower Challenge”. This again is a fund raiser for the Church and is an idea you can perhaps consider copying in your area.

It is a simple process. For 5 euros I provide entrants with an envelope containing two Sunflower seeds (giant variety) and all the instructions on when and how to plant them. The instructions stipulate when the closing date will be and the measuring method. I send out monthly updates with photos of progress and the eventual winner gets glory and a mention in the local press.

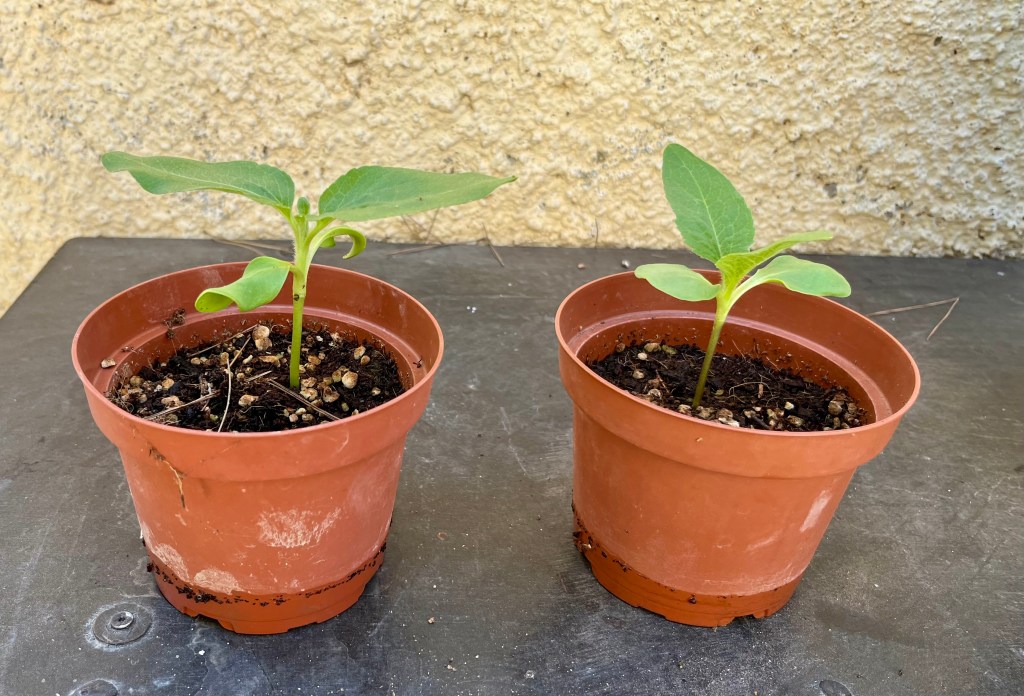
To ensure there is no cheating, I change the Sunflower variety every year and I grow two test seedlings to ensure nobody sneakily plants too soon. In addition to the Sunflower Challenge why not try growing some mini sunflowers, they are a delight. The photos below shows my two test seedlings coming along nicely, followed by a photo of some of my mini sunflowers. Strangely the sunflower growing beside the minis came from the same packet, obviously a flower from another father – I will love her just the same. Click on each photo for a larger view.
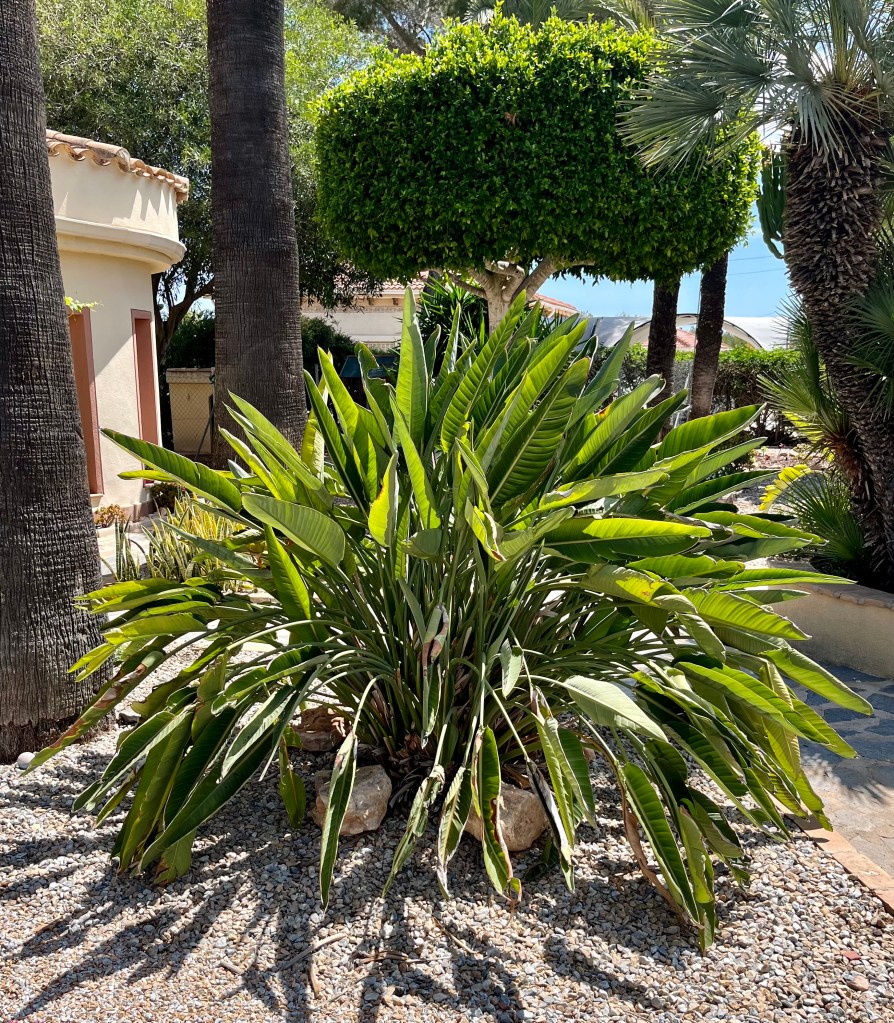
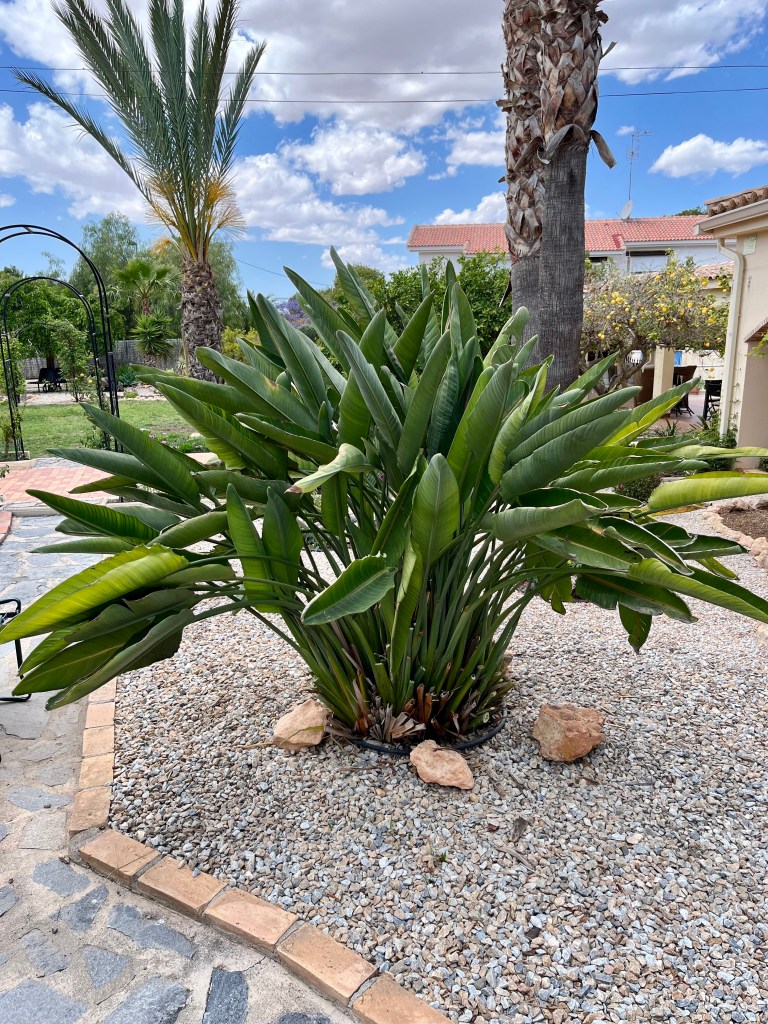
Tidying up Bird of Paradise. Bird of Paradise (Strelitzia Reginae) is a very popular plant in Spain. Which normally can be trouble free once you get it flowering. People are always asking me when will my plant flower. It is simple, the plant itself can take up to 5 years before it decides to flower. Sometimes it is quicker in a pot as it does not mind being a bit pot bound.

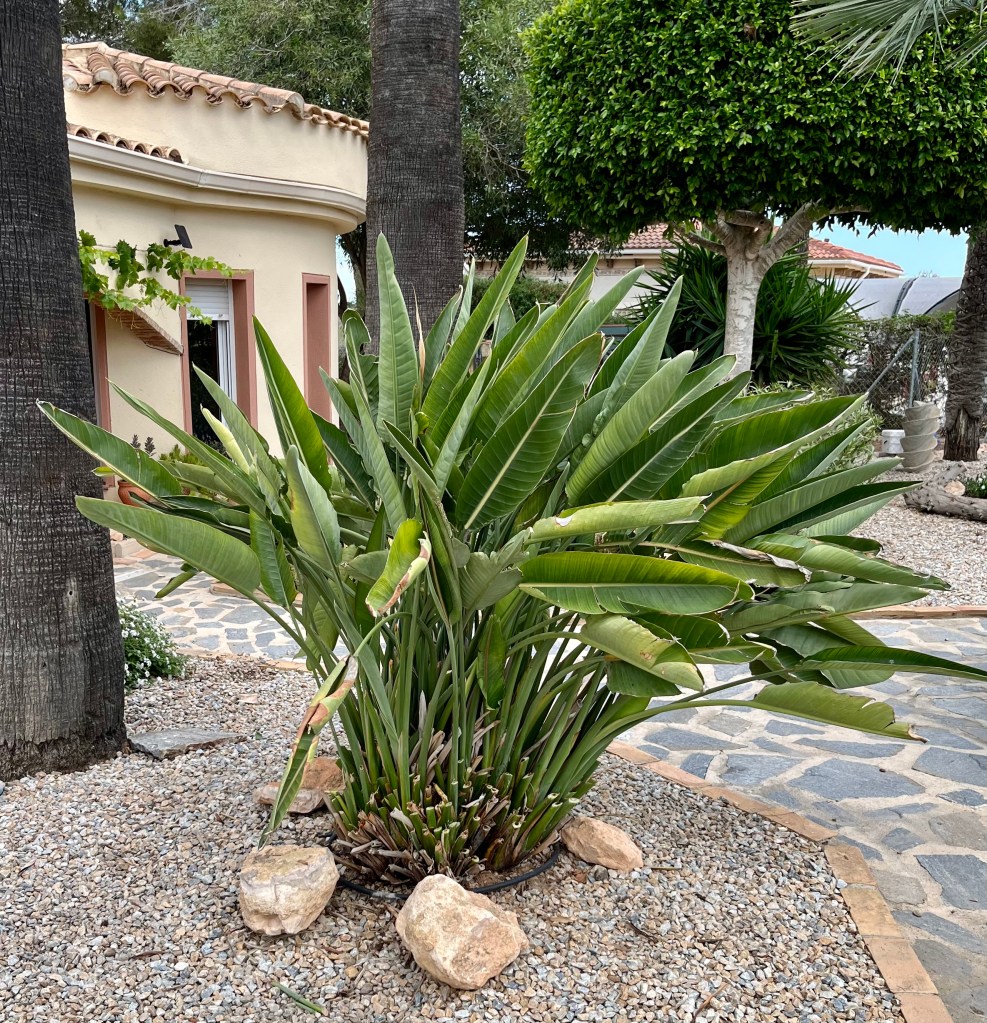
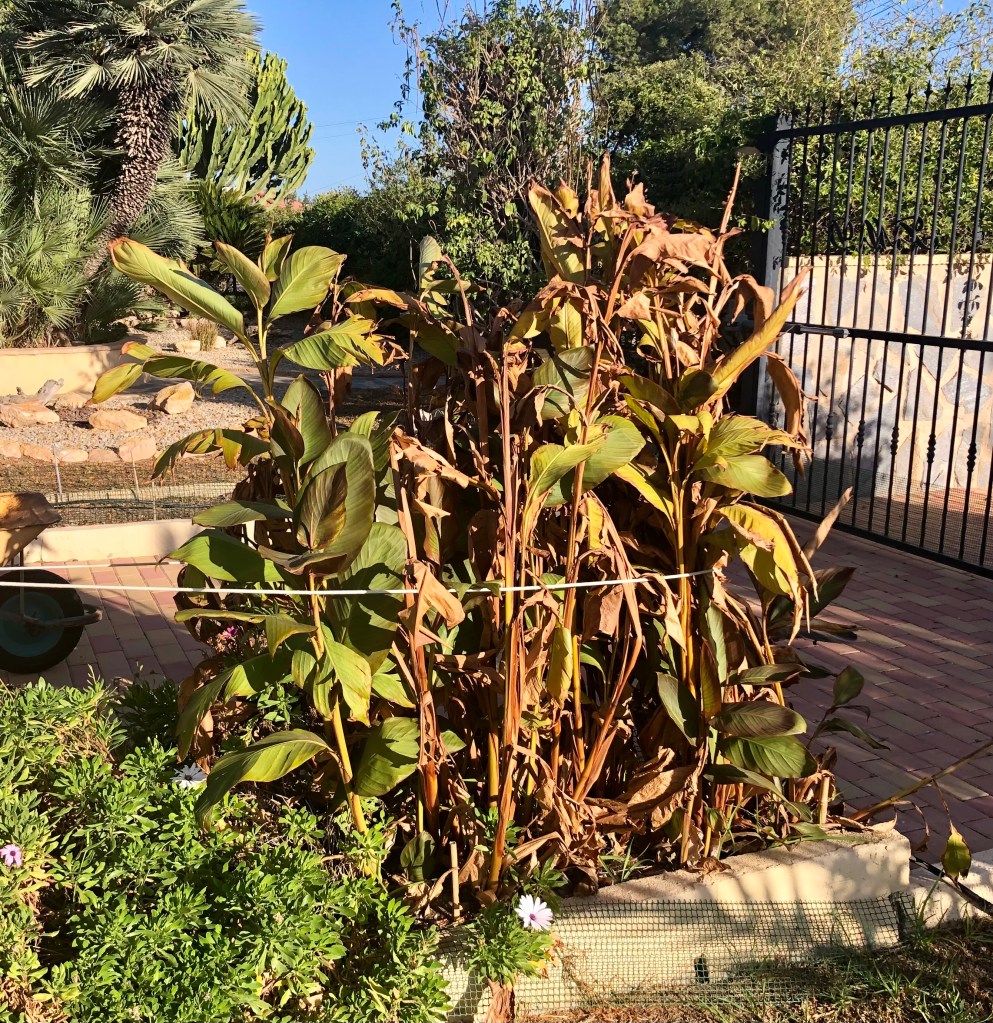
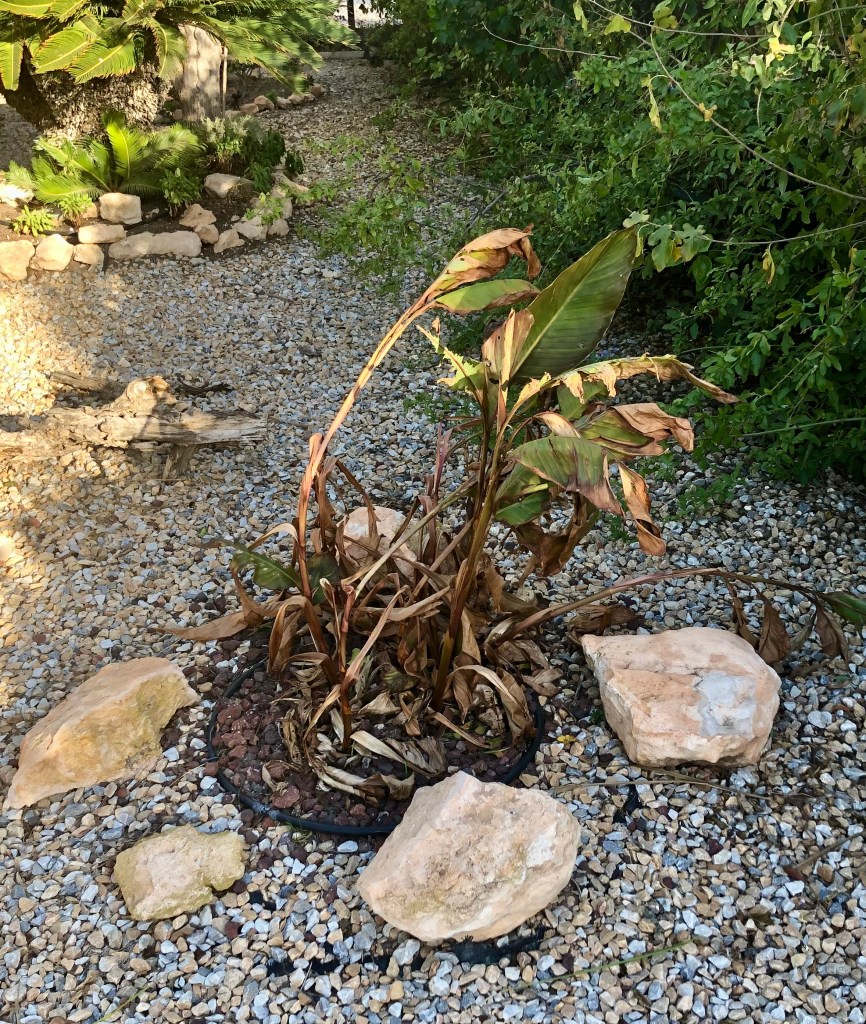
My large stand of Bird of Paradise has reliably flowered for years. It is fed and watered at the correct times and it normally rewards me with a continuous flush of flowers from Spring onwards. However, over the last few months it has been curiously droopy and looked rather untidy. So it was time to go in and have a look. The photos below show my starting point. Click on each photo for a larger view.

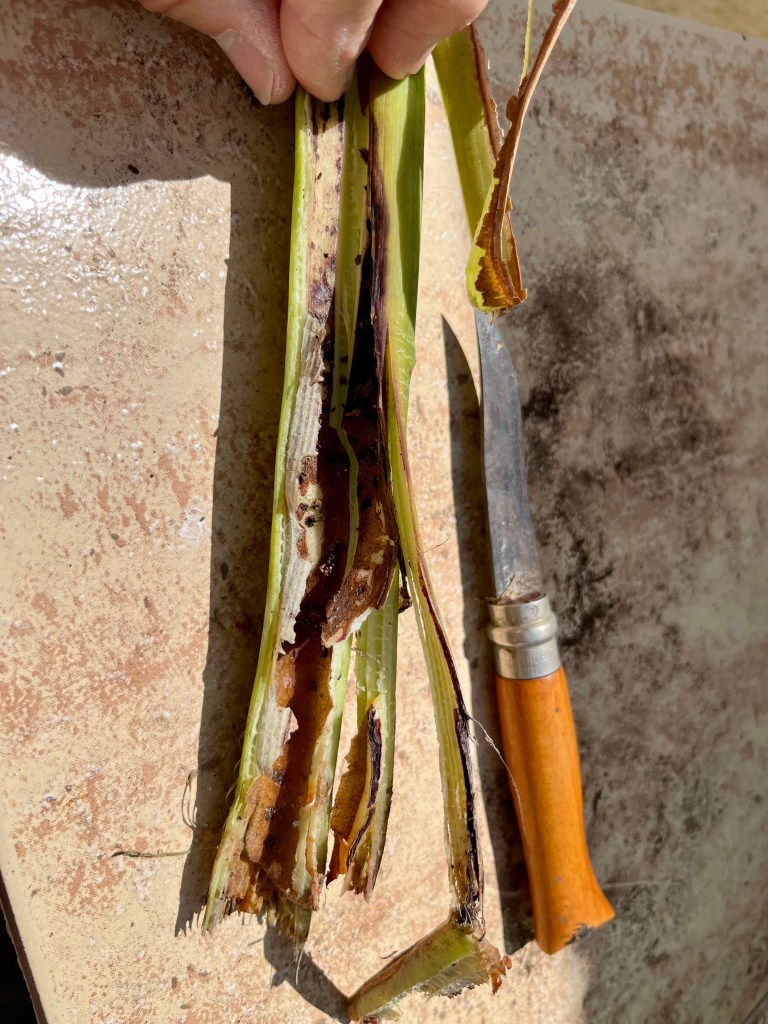
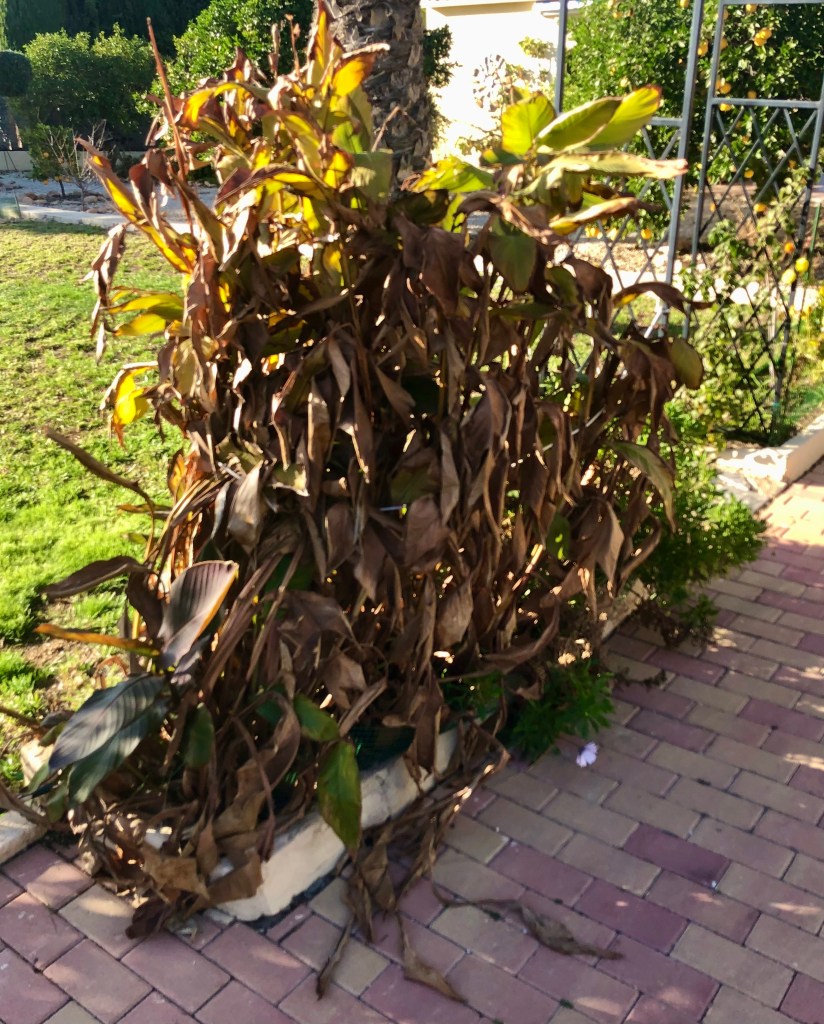
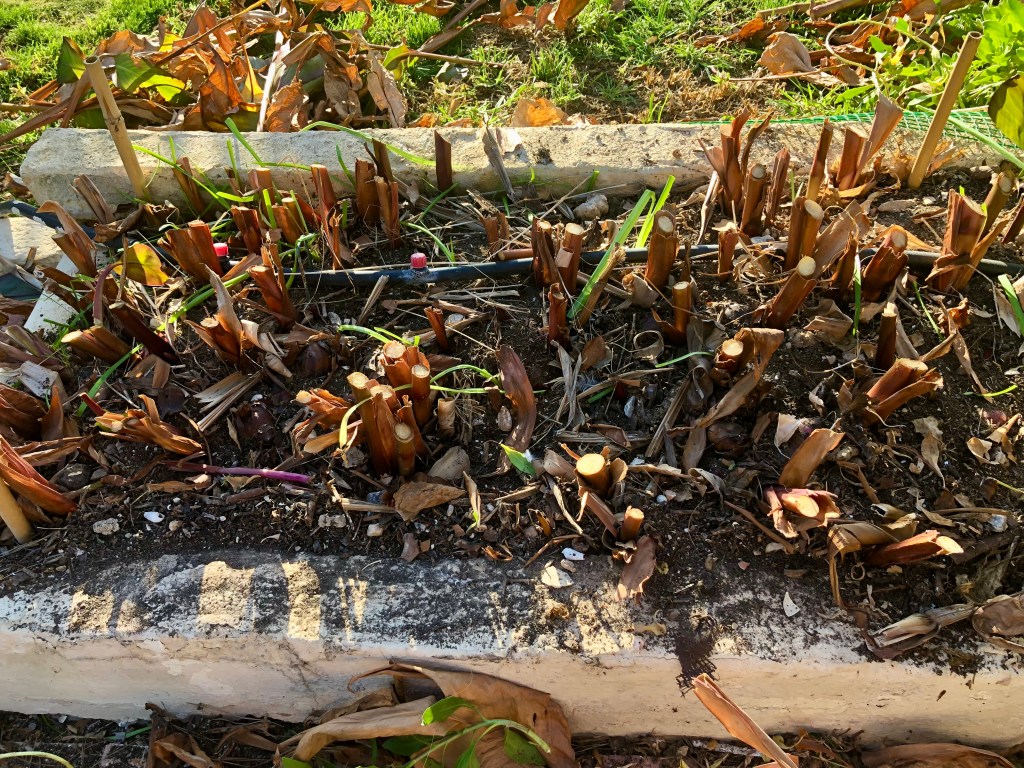
Once established Bird of Paradise do not object to pruning. The simplest method when you are tidying up is to go round the plant cutting any drooping or diseased stems right to the ground. When I was doing this I discovered the reason for the overall droopiness. Something was rotting the stems at the base and proceeding up the plant. The photos below show my newly cutback plant together with the mysterious problem. I am still investigating, but any advice would be welcome. Click on each photo for a larger view.
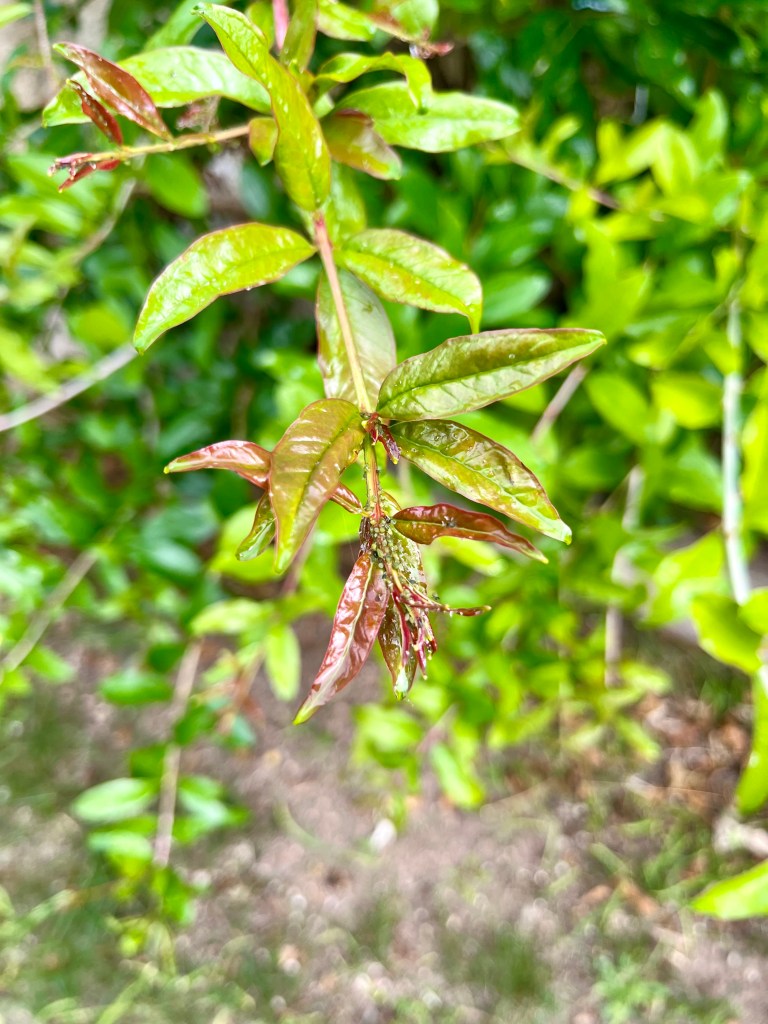
Keeping a look out for pests. Don’t forget that as your garden begins to bloom so you will get a build up of pests. This is where you have to be clever and admit your age, it is time to put on your glasses! Most pest build ups start very small with just a few insects such as greenfly hiding under the odd leaf. However, if you don’t notice this it can rapidly build up to a major infestation which, whilst it may not kill your plant, it will make it unsightly.

The photos below show the need for me to put my glasses on sooner. You must treat these infestations as soon as you see them. I will leave the method up to you. Click on each photo for a larger view.
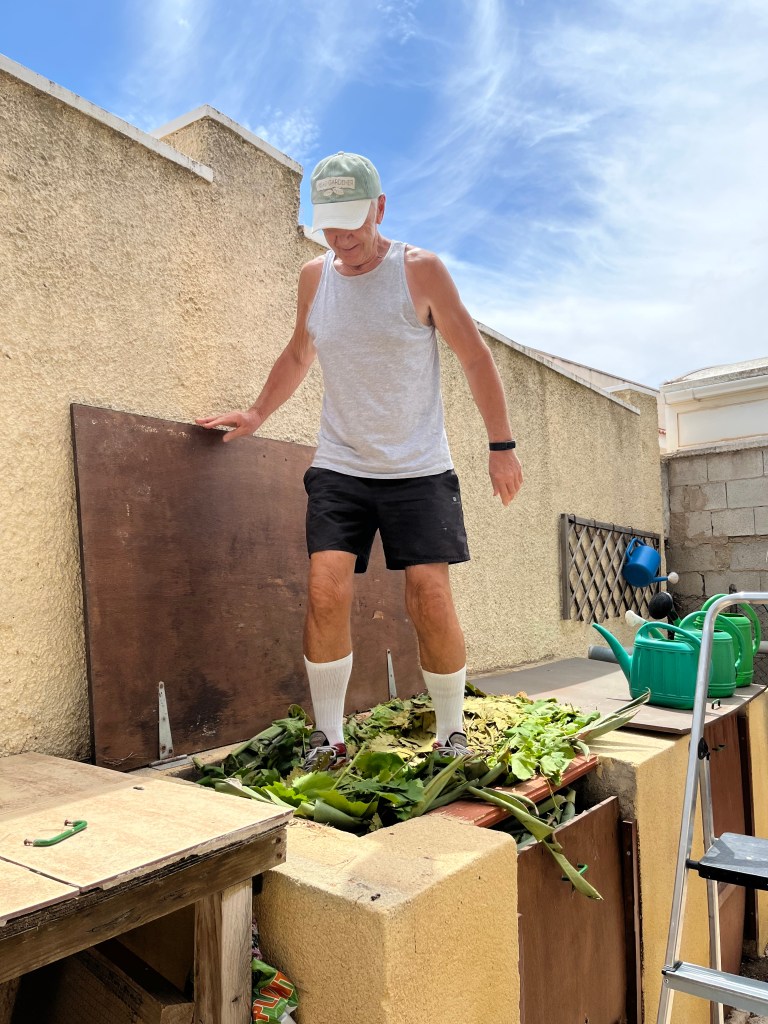
Keeping up with composting. As the summer progresses, so you will be continually cutting back and generating green waste. I have waxed lyrical many times in this blog on the benefits of composting. And I will do a “composting special” later in the year – be still my beating heart. But for now keep loading your compost up in layers and keep it moist and use an accelerator. Also make sure that you tread your compost down to keep it relatively compact with not too much air between layers. The photos below show my compost treading in action. I sing old composting songs as I work. Click on each photo for a larger view.
Dealing with the big rat, the snake and Cruella’s hysteria. It all started when I went down to the compost bins one morning and opened the lid. There staring straight at me was the big rat. My first impression – I have to admit – was that he was a good looking rat; big eyes and lovely eye lashes. As I quietly closed the lid both the big rat and I knew this was not going to end well for him.

In the past when Tango the lonely blind Labrador was young, and accompanied by his brother Nero, the big rat would have faced an untimely end. But given Tango’s obvious problems this was impossible so unfortunately the big rat had to be poisoned. I have nothing against rats per se. However, rats can introduce bacteria and pathogens such as Salmonella and Leptospira into your compost, and that is not good.

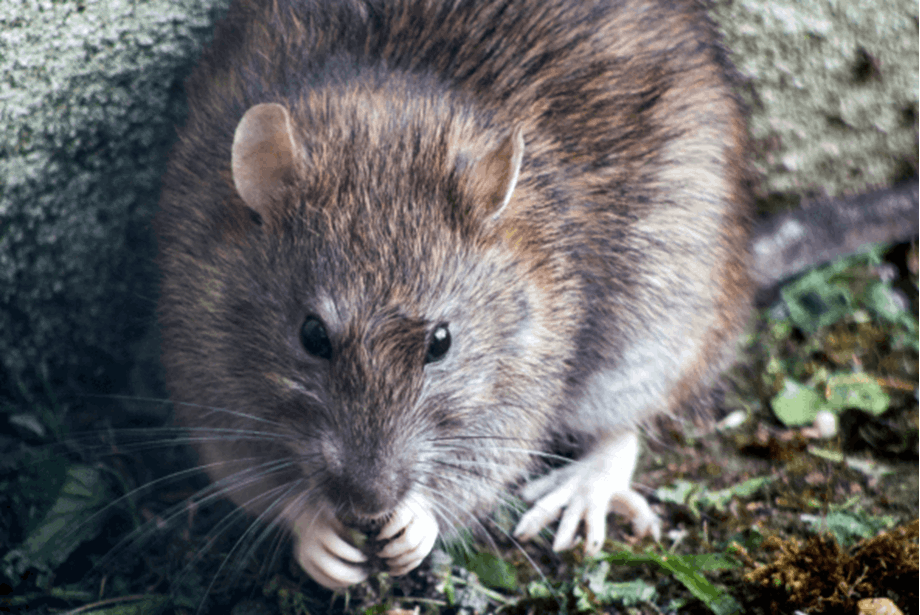
I set about my normal process of gradually poisoning the big rat, but, that was when I discovered the big snake. Standing by the compost bins one afternoon he shot out from the bottom of the bin door straight through my legs. A day later I found him sunning himself on the compost bin lids before disappearing into the bin. The photos below shows the big snake and an idealised photo of the big rat.

It was at this point I thought it important to warn Cruella (my wife) of the existence of the big rat and the snake. I should have realised this was a mistake. No sooner had I told her than she instantly flew into hysterics crying out “my girls, my girls they are in danger”. She then insisted that a comprehensive plan for chicken protection should be put in place.

This has involved proactively patrolling the compost bin area by Tango the lonely blind Labrador and me, every hour on the hour. She has placed leggings on all the chickens made out of tin foil to protect them from snake bites and little tin foil collars to protect them from rat bites. In addition she has asked me to dig a moat around their coop – I have refused. When I told her no to the moat she then fell back on her normal tactic of threatening to report me to organisations and authorities that she insists are real, but I know she makes them up. So far she has told me I am in big trouble with the following agencies:

  • ICCJ: International Court of Chicken Justice
  • BBC: British Board of Chickens
  • RSPCA: Royal Sociaty for the Prevention of Chicken Attacks
  • UNESCO: United Nations Economic Social Chicken Organisation
  • National Trust: Chicken Section
  • RCA: Royal Chicken Academy

When her various threats failed, she hinted that she may nominate me for a Chicken Nobel prize if I would just dig the moat. But I don’t even believe there is a prize for chickens, is there?

I am preparing for Open Garden Day and Cruella is preparing for ChickenFest 24; we both can’t be right!

It’s that time of year again when the good people in our village of Campoverde are persuaded by me to open their gardens to the public. As Cruella (my wife) is away at our English house pestering the idiot son I have been able to get on with things. The only slight hiccup is that she is determined that Open Garden Day should be retitled ChickenFest 24 and that her girls should take centre stage. I am not sleeping at night with worry, she is ordering special costumes from designers and she is calling it “Cluck Couture” she says she will be the next Victoria Beckham; I fear the worst. Anyway on with the gardening; more details about Open Garden at the end of this post.

11th May 2024. Things I have been doing lately:

There is lots to be getting on with in the garden as summer begins to make its appearance, including:

  • Cloud pruning your olive trees
  • Keeping up the deadheading with Dianthus and Chrysanthemum
  • Filling gaps in your hedges
  • Dealing with False Garlic
  • Admitting it has been a terrible season for seeds
  • Campoverde Open Garden Day

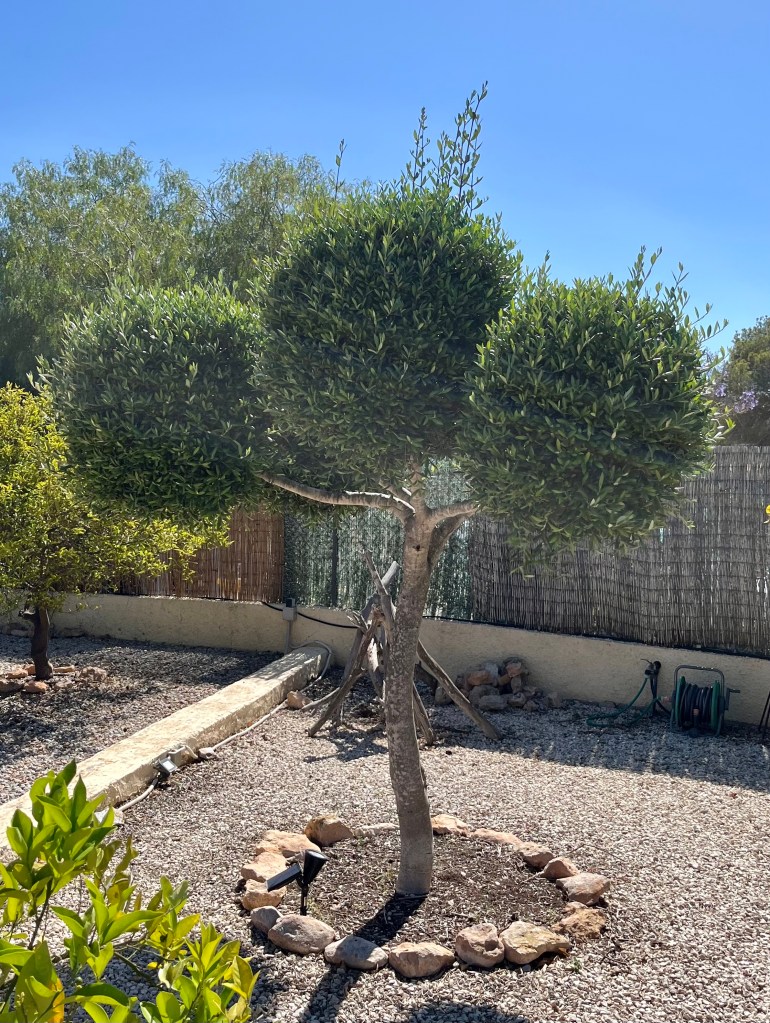
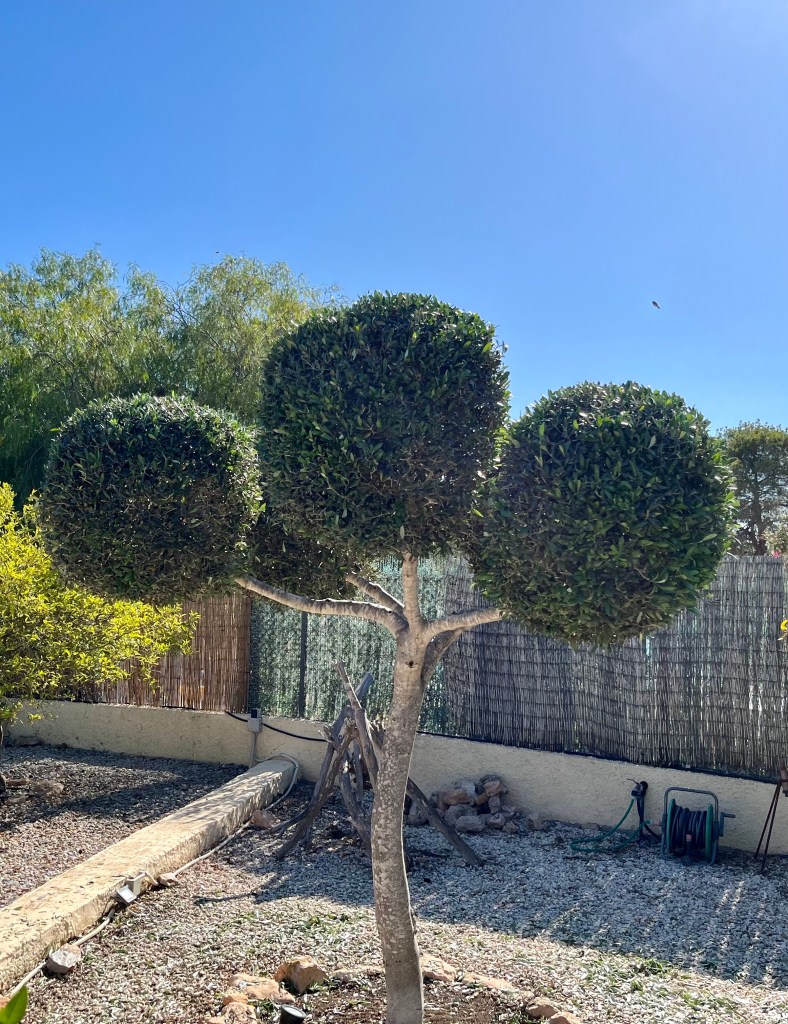
Cloud pruning olive trees. If you have olive trees and you don’t really use the olives, then you know what a mess they can make of your garden with squashed rotting olives mixed with bird poo. An alternative to this is to cloud prune your tree into an interesting shape that is aesthetically pleasing to you.

I cloud pruned my olive tree a number of years ago and once you have done the initial shaping, all that is required is to lightly reshape two or three times a year. The photos below show my olive tree before and after its short back and sides. Click on each photo for a larger view.

Keeping up the deadheading with Dianthus and Chrysanthemum. Although we are not at peak deadheading season you will still need to deadhead plants that are in flower if you want to see repeat flowering. Two early flowerers here in Spain are Dianthus and Chrysanthemum. Both are dealt with differently.

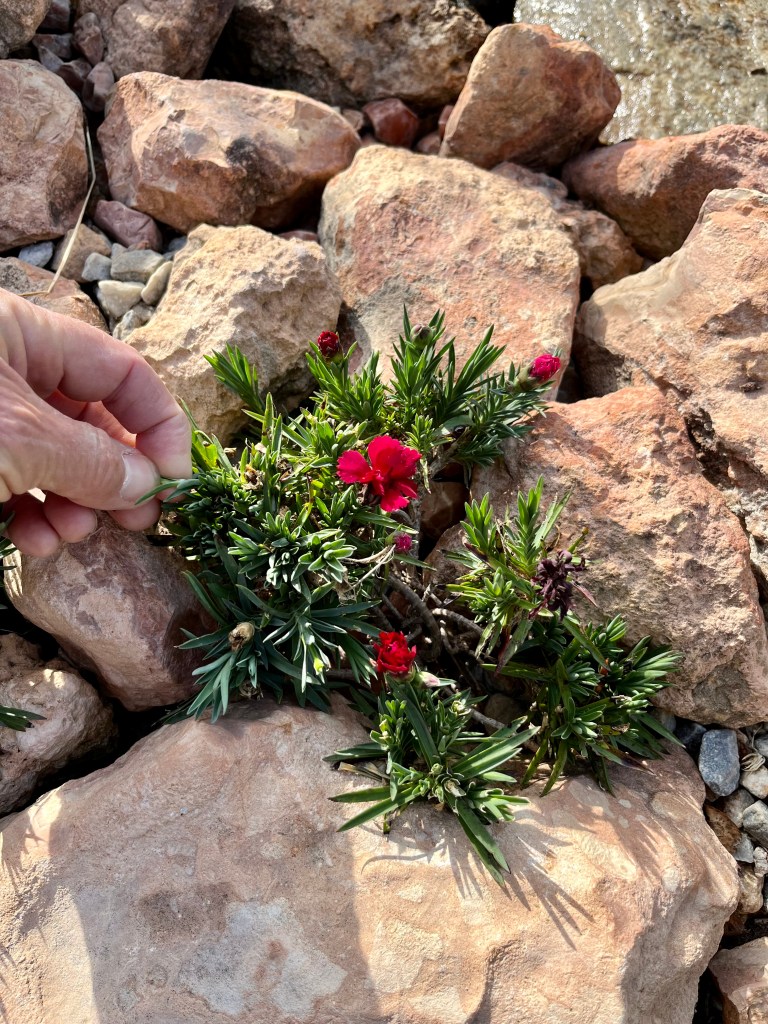
With Dianthus you should carefully nip out dead flowers using your thumb and forefinger. If you try to use secateurs then you will definitely damage the twin flower sitting beside the spent one. I have mentioned before about growing your thumb nails long in the summer, and this is why; your long thumbnails ensure you always have home grown secateurs with you at all times. The photos below show my thumbnails in action. Click on each photo for a larger view.

Chrysanthemum are different. Because they flower so lushly and in a dense flower formation you can be fooled into thinking that once the flowers start dying it is all over for another year. But this is not the case, if you push back the dead and dying flowers you will see another flush of little buds ready to come forward.

What you need to do, is on a daily basis snip off the dead flowers and a portion of attached stem to lower the flowering level to let light into the news buds. It is also a good idea to give the plant a good feed to encourage the new flush of flowers. The photos below show me exposing the next generation of lovely flowers. Click on each photo for a larger view.

Filling gaps in your hedges. Hedges are an important part of my garden as they provide a riot of colour throughout the summer. I have deliberately packed my hedges tight, as this forces them to fight for space, light and air, which in turn produces profuse flowering.

Unfortunately some times a plant dies (not often with hedges), but I recently lost a Plumbago which would have left a dead space in my summer hedges. Normally I would have had to take a cutting from an existing plant and grow it on, all of which would have taken time. Fortunately, my friend Pip from Church had a Jasmine which she was dissatisfied with and kindly donated it to me.

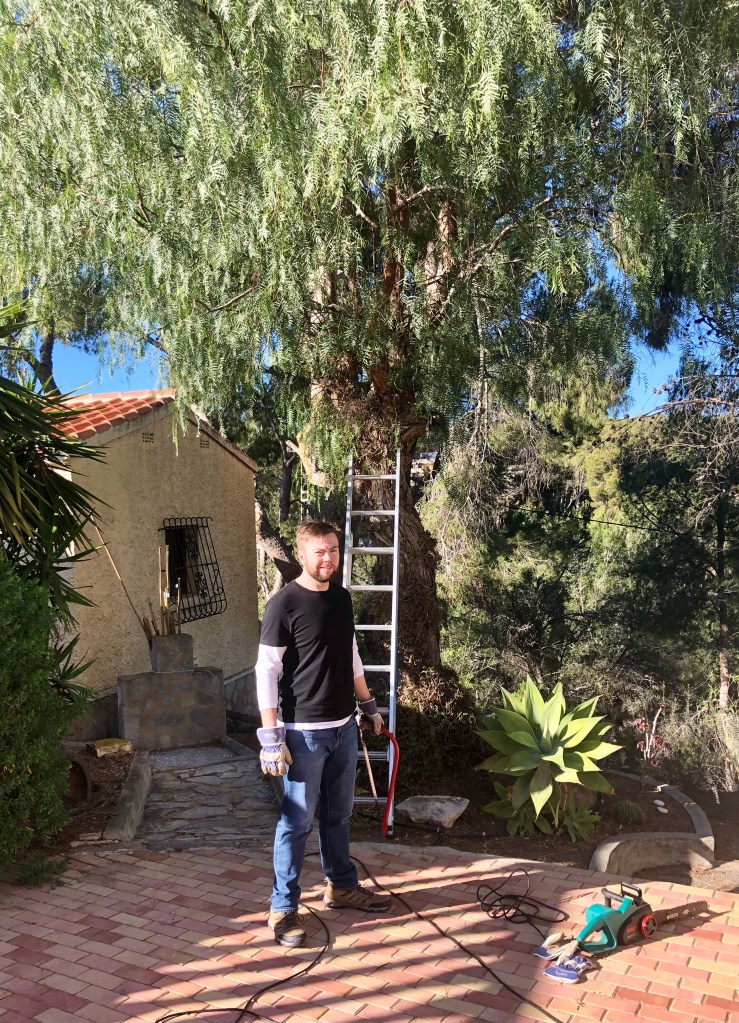
Normally I would be looking to plant hedging plants in November or at the latest January. But needs must. My starting point was to use a chainsaw to cut the new plant some breathing space within the hedge. This will allow it to get established this summer before the rest of the hedge comes rushing in. The photos below show the gap created. Click on each photo for a larger view.

Once I had made space then it was necessary to dig out a decent sized planting hole, fill it with water, let it drain and then dig in some good compost. Hedges are generally greedy feeders and they will deplete the soil, so it is necessary to give your new plant the best possible start by replenishing the soil. The photos below show the new plant settling in. By the end of summer the gap will be completely filled with hedges. Click on each photo for a larger view.

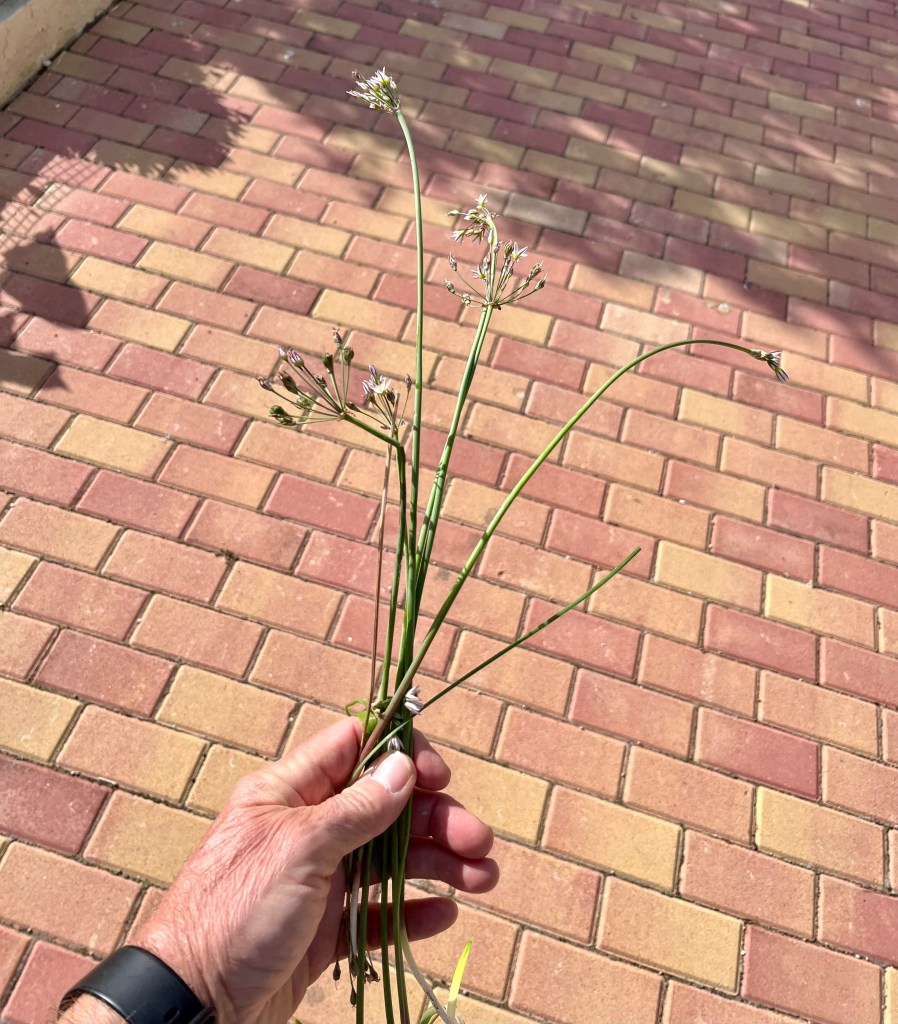
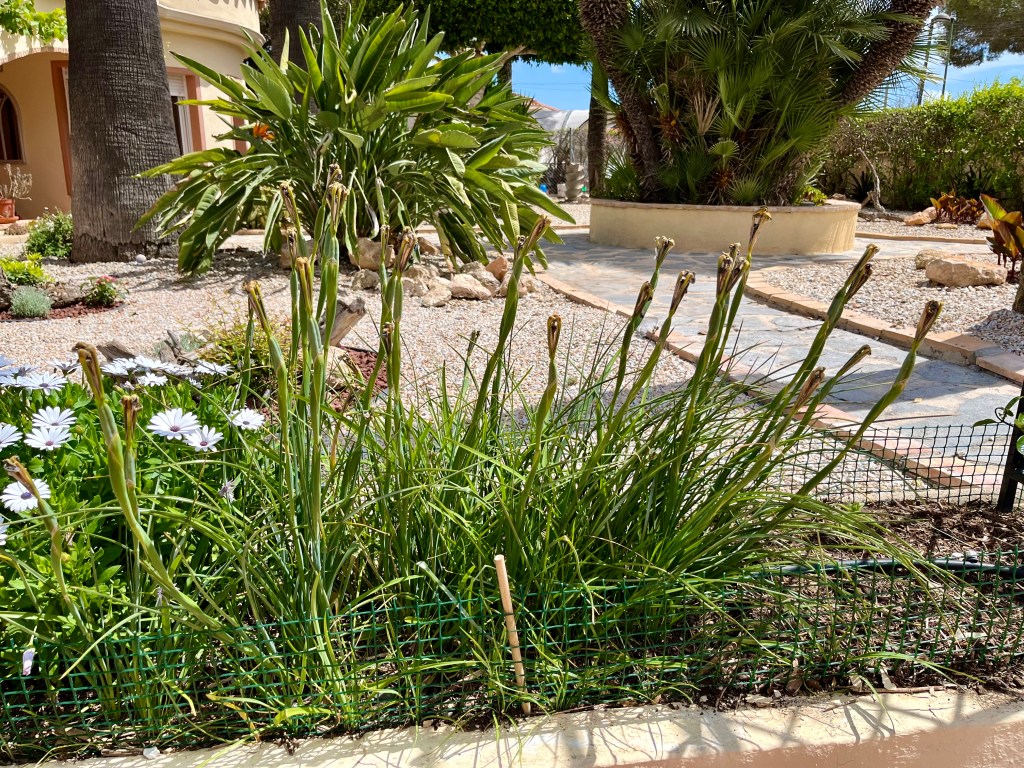
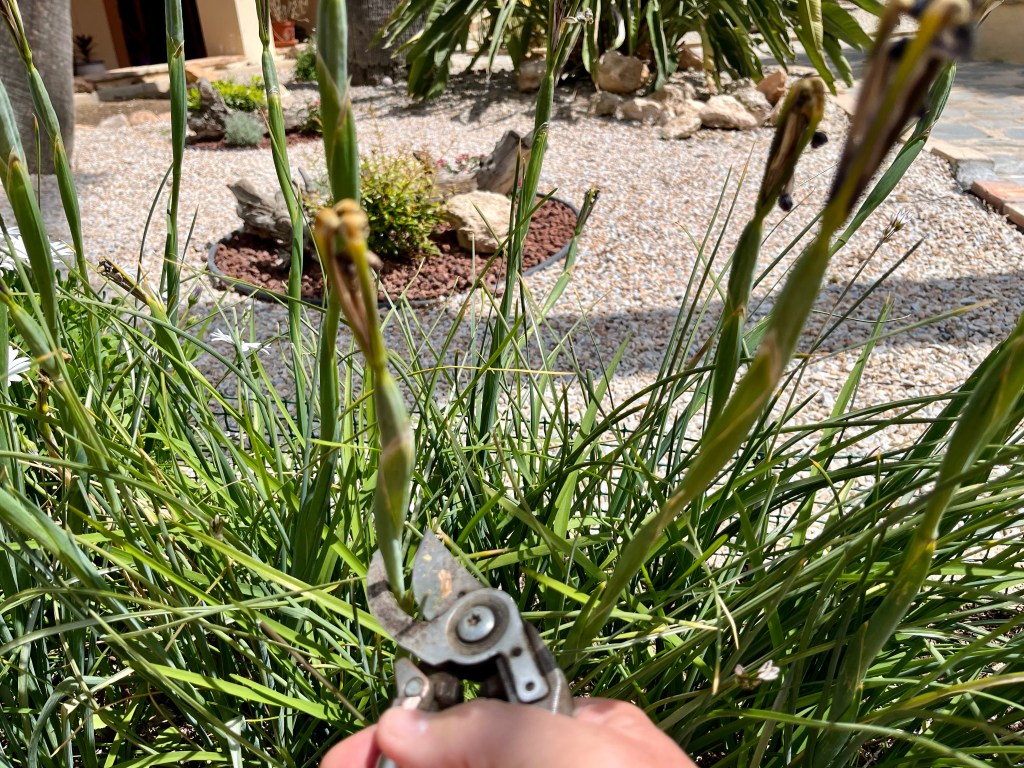
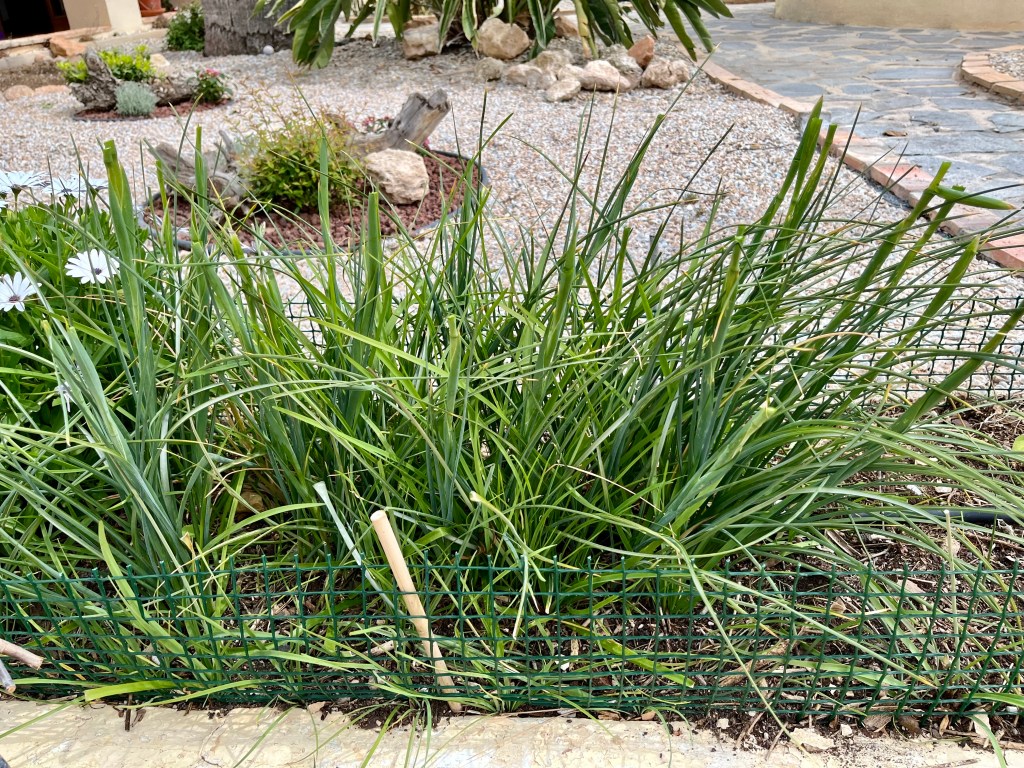
Dealing with False Garlic. False slender garlic is a weed. But, like many weeds it has a lovely flower. I don’t really mind it growing in the only lawn I have left (thank you chickens). But I don’t want it in my flowerbeds. If you are not in Spain this won’t be much of a problem to you. But here in Spain it is a pain (alliteration).

False garlic grows from a tiny bulb that in turn grows from a set seed. Short of digging the bulbs up up there is not much you can do. However, over the years I have found that by pulling the flowers out stem and all, you can gradually outcompete and exhaust the bulb. It is important that you pull out as much of the stem as possible. The plant has spent so much energy creating the stem, so when you remove it, it exhausts the bulb trying to grow another. It may take years but you will eventually win the war. The photos below show me involved in a minor skirmish. Click on each photo for a larger view.

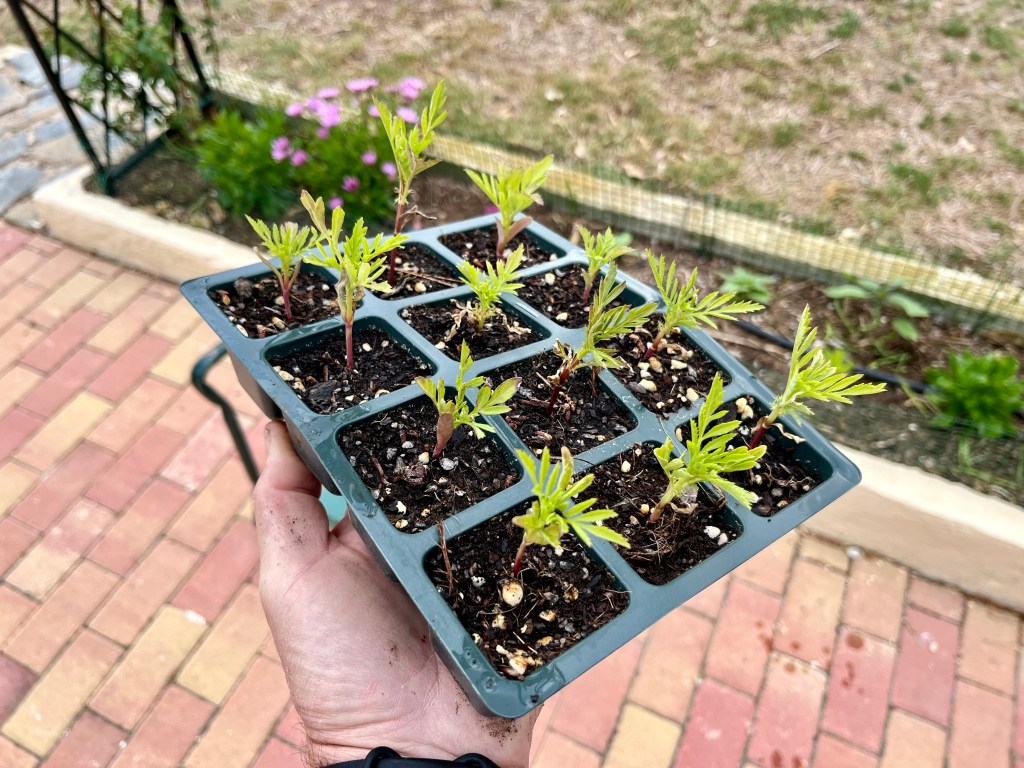
Admitting it has been a terrible season for seeds. I don’t know about you, but it has been a terrible year for seeds. Everything has either not germinated, or if it has the seedlings are scrawny little things. Normally at this time of year my potting bench would be filled with trays of healthy seedlings waiting to take their place in the garden.

Currently everything I have is now planted in the garden, and even then they do not look that healthy. Apart from the early season chicken sabotage, it has just been one of those years. The photos below show my seedling season ending with a whimper. Click on each photo for a larger view.
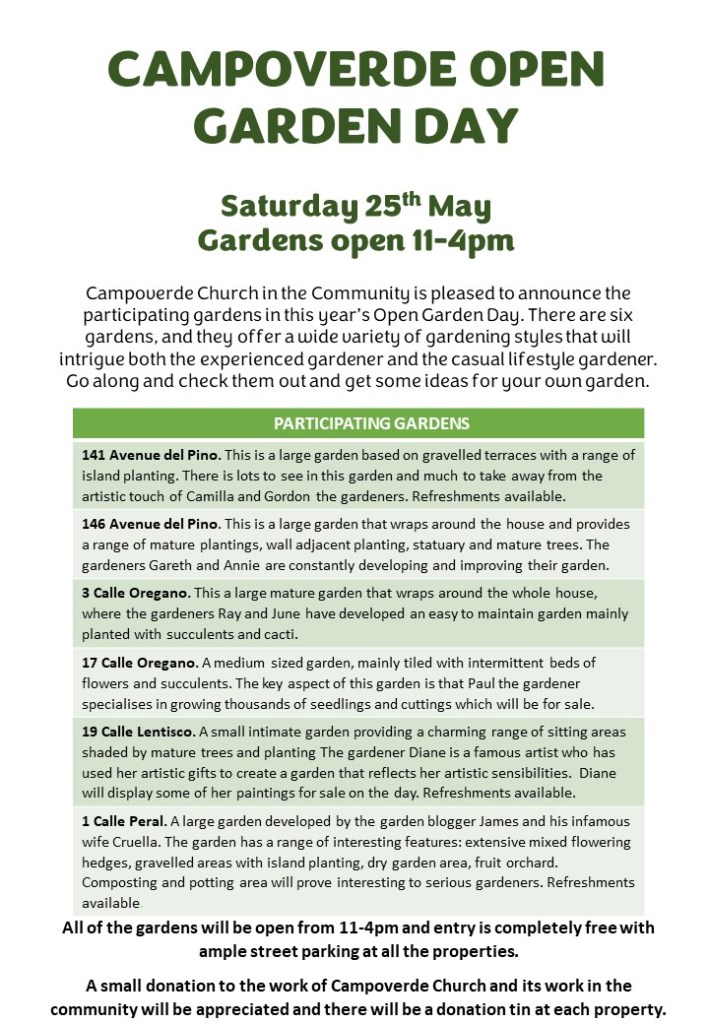
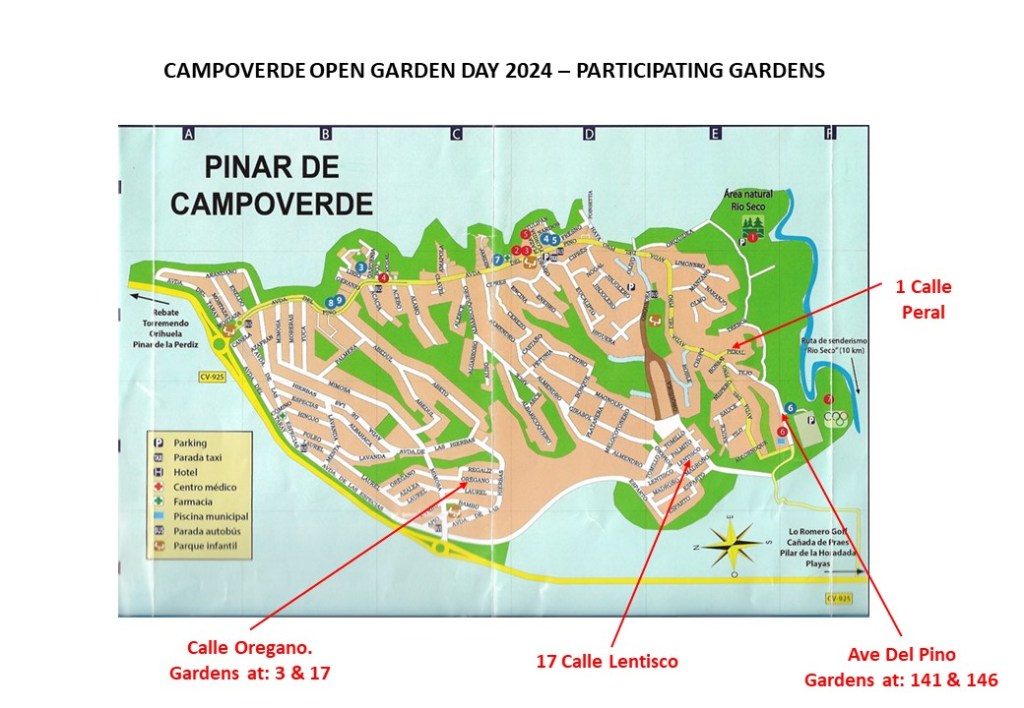
Campoverde Open Garden Day. Yes, it is that time of year again when I want you all to come along and have a wander around some of the nice gardens here in Pinar de Campoverde. This is not a competition and these are not show gardens, but just some local people who are keen gardeners opening their garden for the day for a good cause. All the details are shown below, and you will have a lovely day.

The only problem I am still having to deal with is Cruella (my wife) insisting that the day should be turned into ChickenFest 24“a clebration of all things chicken”. I mentioned earlier that she is ordering some special costumes for “her girls”, so called Cluck Couture. She has been emailing me asking me to measure her girls so she gets the right sizes. I have tried my best but to be honest I don’t know where a chicken waist is.

Tango the lonely blind Labrador asked me to ask her if he was to have a special costume for the day. When I asked her she just laughed and said “I’m not wasting any money on that blind mutt”. When I told him he wasn’t to have a costume, he tried to put a brave face on it, but tears sprang into the corners of his little milky eyes and dropped off the end of his nose.

Anyway the upshot of it is that I am trying to run him up a costume from some old compost sacks. It may not be much, but at least he will have a cape and a little flower pot hat. The photos below show the bloody chickens waiting to be measured up for their Cluck Couture and poor Tango the lonely blind Labrador dreaming of his costume. Click on each photo for a larger view.

Oh, I nearly forgot below are the details for Campoverde Open Garden Day. I look forward to seeing you there.

Early deadheading and I set up chicken demarcation zones

I haven’t been able to blog for a few weeks as I have been locked in negotiations with Cruella (my wife) relating to the establishment of chicken demarcation zones in the garden. To be honest with you I am a mere pale shadow of myself, I have been the subject of constant vilification, I have had garden sit ins by angry chickens, I am not sleeping at night and Cruella has just told me I am to be the subject of an enquiry by the UN chicken rapporteur.

Anyway, let’s talk about some gardening, the chicken stuff I will explain at the end of this post.

30th April 2024. Things I have been doing lately:

  • Spring deadheading
  • Cleaning out ornamental grasses
  • Restructuring my garden with chicken demarcation zones

Spring deadheading. We often associate deadheading with the height of summer, but in fact there is lots you can be getting on with now, but you have to do it the right way or you will not get the best out of your plants next year. The plants you should be looking to deadhead now, include:

  • Roses
  • Spring bulbs
  • Ice plants
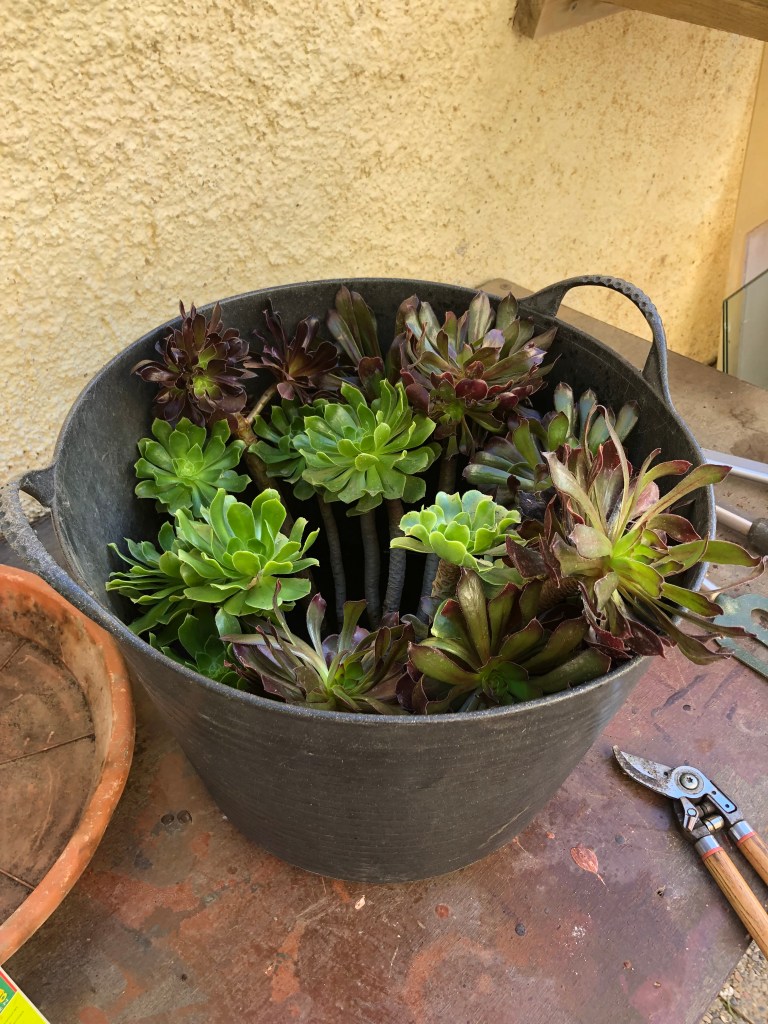
  • Aeoniums

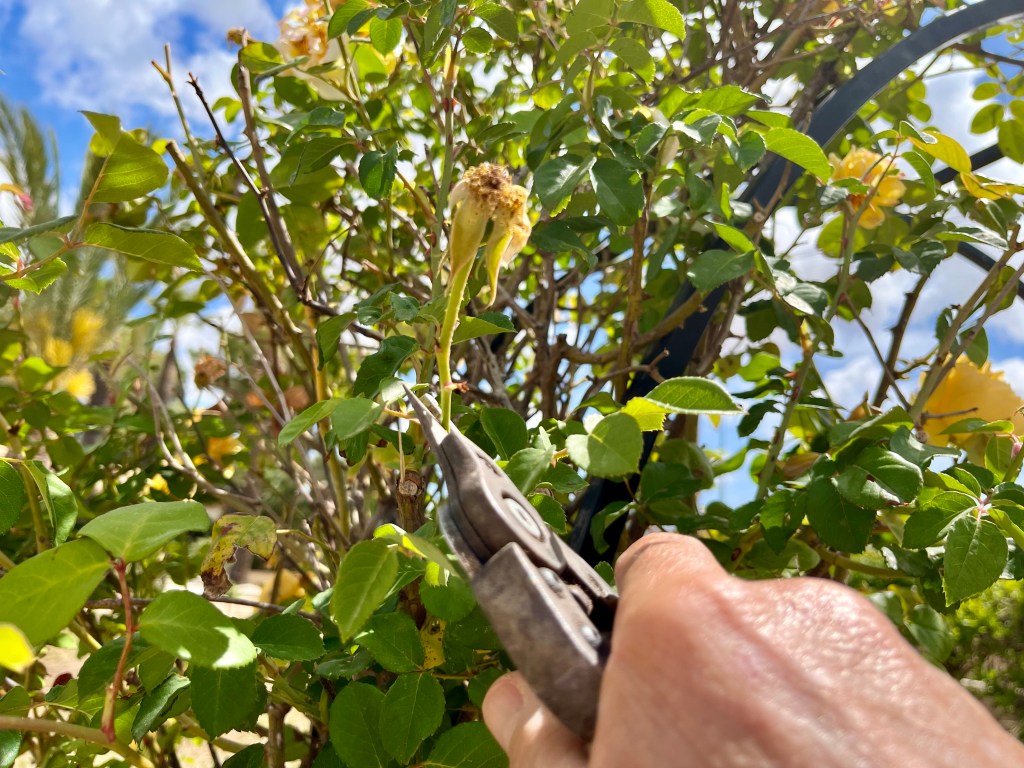
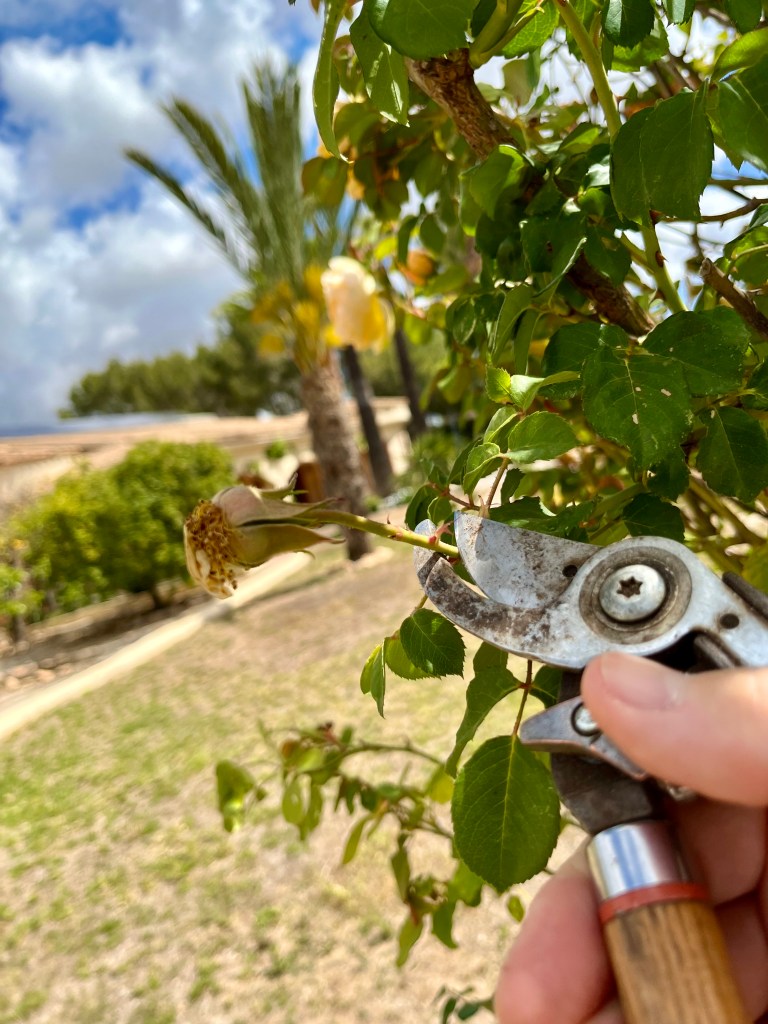
Roses. With roses even at this time of year you should be looking to deadhead on a daily basis. Regular deadheading will reward you with fresh flushes of roses (depending on the type of rose). With roses all you have to do is use sharp secateurs to cut just above the next leaf node on the stem with the spent rose. Don’t be tempted to cut just below the spent flower as you will leave dead stem that not only looks ugly but both hinders repeat flowering and can act as a vector for disease. The photos below show where to deadhead. Click on each photo for a larger view.
Spring bulbs. Most spring bulbs will have finished flowering by now and they need deadheading. With bulbs it is important that you leave the stems and foliage to die back naturally ensuring that they release their last bits of energy back into the bulb for next year.

The first thing you need to do is to cut off the seed head. This consists of the dead flower and the bulge just below it on the stem. When you have cut the flower off then you need to leave the foliage to die back till it goes nicely brown. This can look untidy for a few weeks, but it is worth it to plump up your bulbs. Do not be tempted to tie the foliage into a knot which became fashionable a few years ago. If you do this then you are effectively cutting off the supply to the bulb. In just a few weeks time you can cut the dried foliage off right to soil level and plant over the area.

The first photo below shows some of my Spanish Irises ready for deadheading. The second photo shows where to cut them and the final photo shows how they will be left for a few weeks. Click on each photo for a larger view.

Ice plants. Are a spring favourite here in Spain and their early blossoms brighten up the spring garden. If you want to encourage profuse flowering in your plant next year and possibly be rewarded with a new flush of flowers this year, then you need to deadhead now.

To deadhead Ice plants you preferably need to replace your secateurs with shears or single handed lopers. If you look at the plant you will see that you have hundreds of little round spent flowers. You need to carefully shear these off making sure – if possible – not to damage the foliage or the existing flowers. It is a bit like going to the hairdressers and having a light trim all over.

The first photo below shows some of the ice plants around my water feature ready for their light trim. The second shows the trim in process. Remember try not to cut into the foliage. Click on each photo for a larger view.
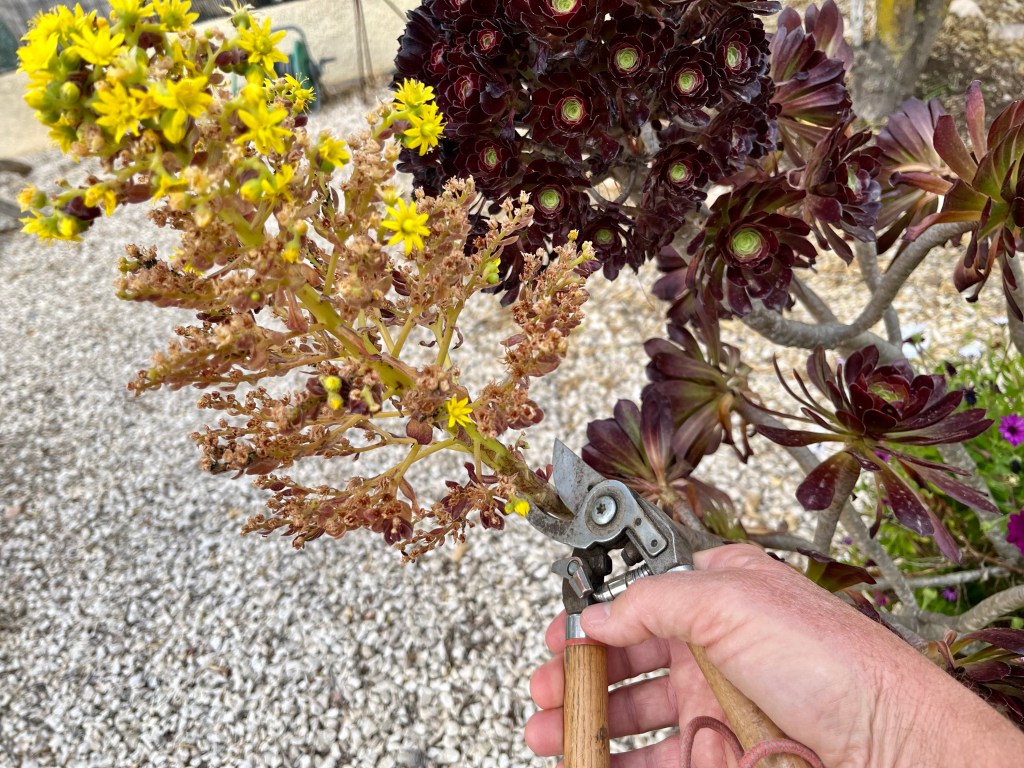
Aeoniums. These are plants that provide year round interest in Spain. They are undemanding, and unpretentious yet in a subtle way quite showy. In my garden I have the two basic types the Verdi (green one) and the swartzkopf (chocolate). For most of the year these plants will provide structural interest in your garden, then suddenly they turn from ugly duckling to society beauty by throwing out a lovely yellow flower spike. See photo below.

Once these flower spikes have started to fade you need to cut them off from the stem. This is quite simple, all you need to do is look under the fading flower and you will see that the stem has begun to narrow in some cases quite dramatically. What is happening is the plant is getting ready to shed the flower by starving it of nutrition thereby encouraging it to drop off. All you need to do is cut the stem with your secateurs just below the narrowing part of the stem and that is it. The plant will seal the cut and carry on growing. See photo below.

Ornamental grasses. Ornamental grasses are often chosen by gardeners because they assume that as they are grass they will provide problem free plants. But this is not always the case. Grasses need a lot of water in Spain. They also suffer from dead centres and have to be separated every 5 years or so. Lastly, they need to have last years dead grass cleaned out or it will choke this years growth and look unsightly.

This is a simple process, you just need to put your garden gloves on and pluck away at the dead grass with an upward sharp tug. The properly dead grass will come away and leave you with growing space that lets in light and air for your new growth. The photos below show me happily plucking away at some of my grasses. Click on each photo for a larger view.

Restructuring my garden with chicken demarcation zones. From the introduction to this post you can see that I have been having major problems with Cruella (my wife) and her chickens, all of which have suddenly come to a head. Regular readers of this blog will know that Cruella and her 4 chickens have wreaked havoc on my garden.

This has caused arguments, tears, threats of violence and witchcraft. Cruella has regularly cited international bodies that are on her side, in the past this has included the EU, the UN the ECHR and even NATO. Recently she said that we should be spending at least 2.5% of our income on her chickens she quoted NATO and Rushi Sunak.

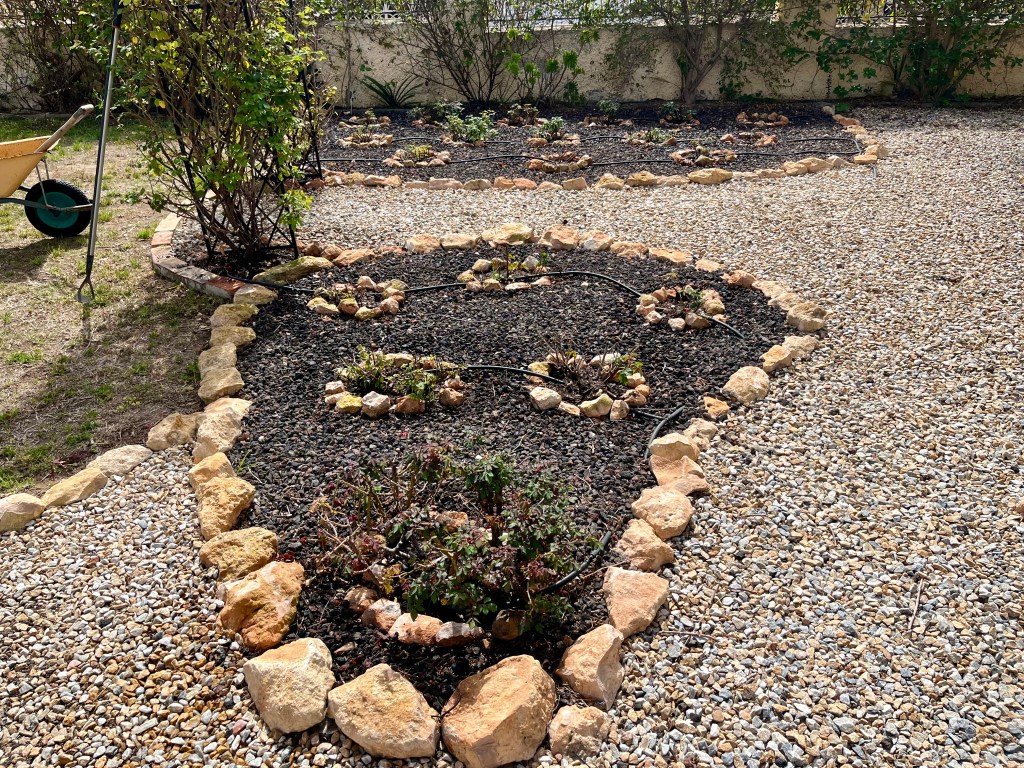
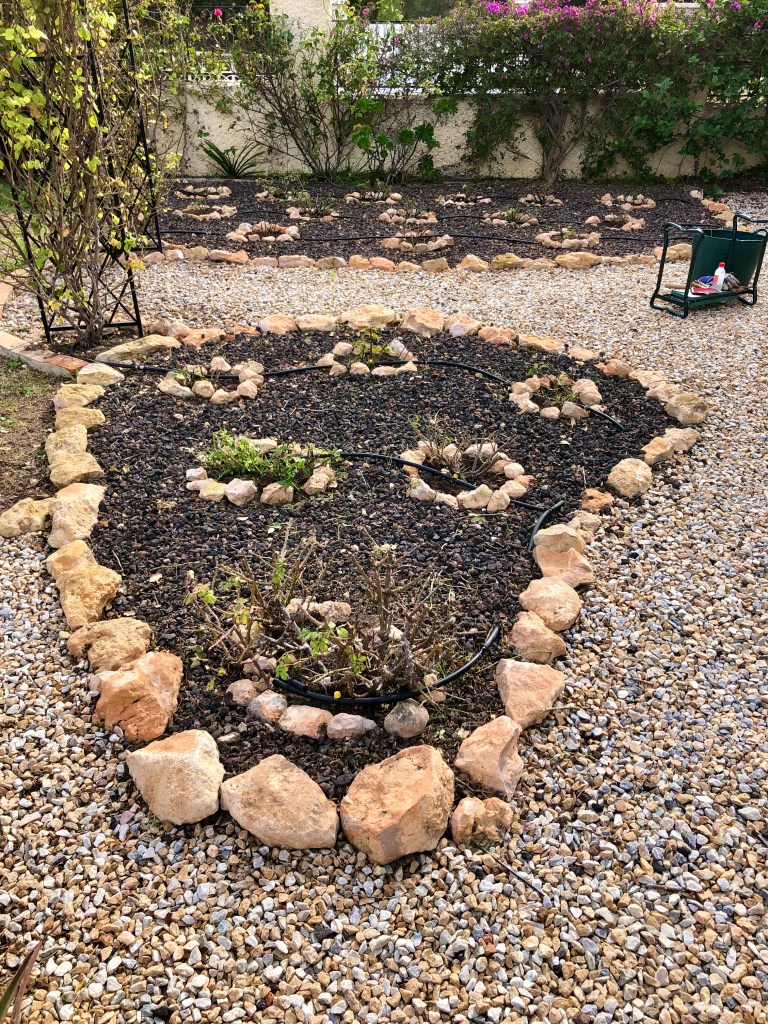
The end result of protracted wrangling is that I eventually prevailed upon Cruella and her chickens that we needed clear demarcation zones in the garden where the chickens can peck (destroy). All of this only came about as our previous two smaller lawns had been picked up by NASA satellites as expanding areas of desertification. The photos below are worth a thousand words. Click on each photo for a larger view.

I started by marking out the areas that would be returned to gardening and two clear zones where the chickens could peck. To say this was controversial is an understatement. Every time I marked out an area Cruella and the chickens would protest and mark out a much larger area. Further days were lost by lines being marked and then crossed out overnight. Cruella and the chickens even staged sit-ins at various times to stop me getting on. When I tried to move them they all went limp and made me drag them out of the way, and as I moved each one the others rushed back in. The photos below shows some of the chaos. Click on each photo for a larger view.

I am only telling you all this not because I am seeking your sympathy, but rather because there is a good gardening point here. Too often in Spain people cover their garden with acres of unsightly gravel, for the practical purpose that it makes it all easier. However, this turns many gardens in Spain into what looks like giant car parks. You don’t have to do this, and even if your garden is already like this, then why not take the opportunity to brighten and refresh your garden with island planting.

At its simplest island planting means creating beds of greenery within your gravelled areas. The benefits of this are so obvious I am not even going to make the point. Instead, if you want to create islands of greenery then this is how to do it.

There are 6 key stages to creating islands in gravelled areas.

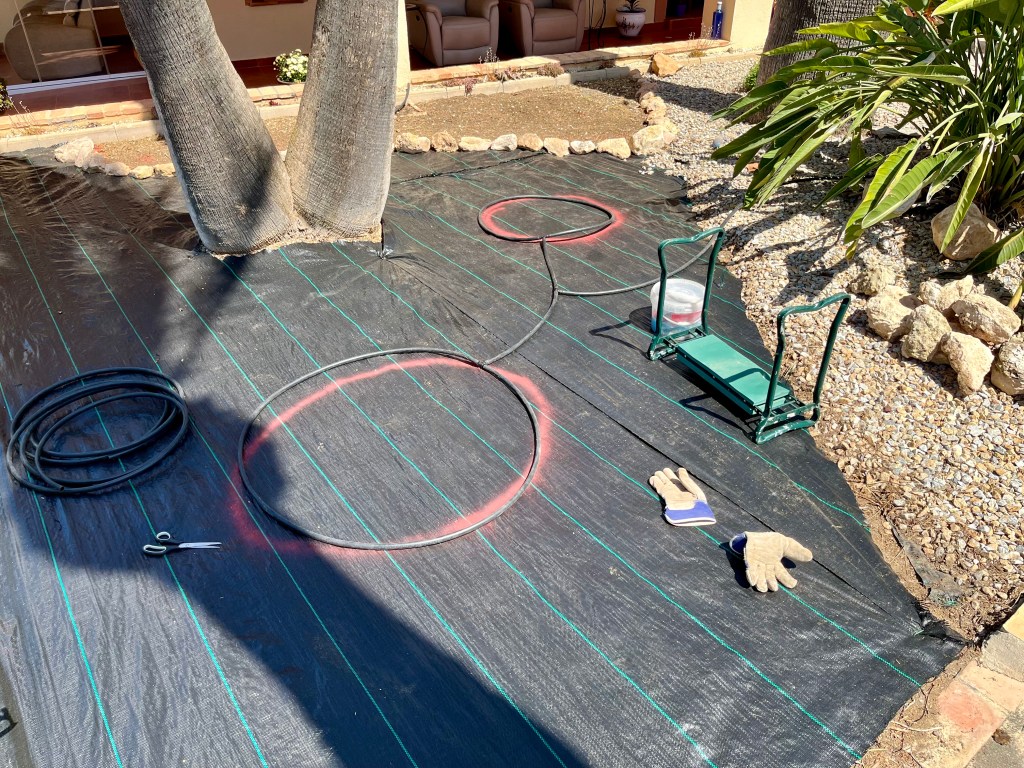
  • Mark out the overall area with ground spray paint
  • Apply weed suppressing membrane
  • Mark where you want your island beds directly onto the membrane
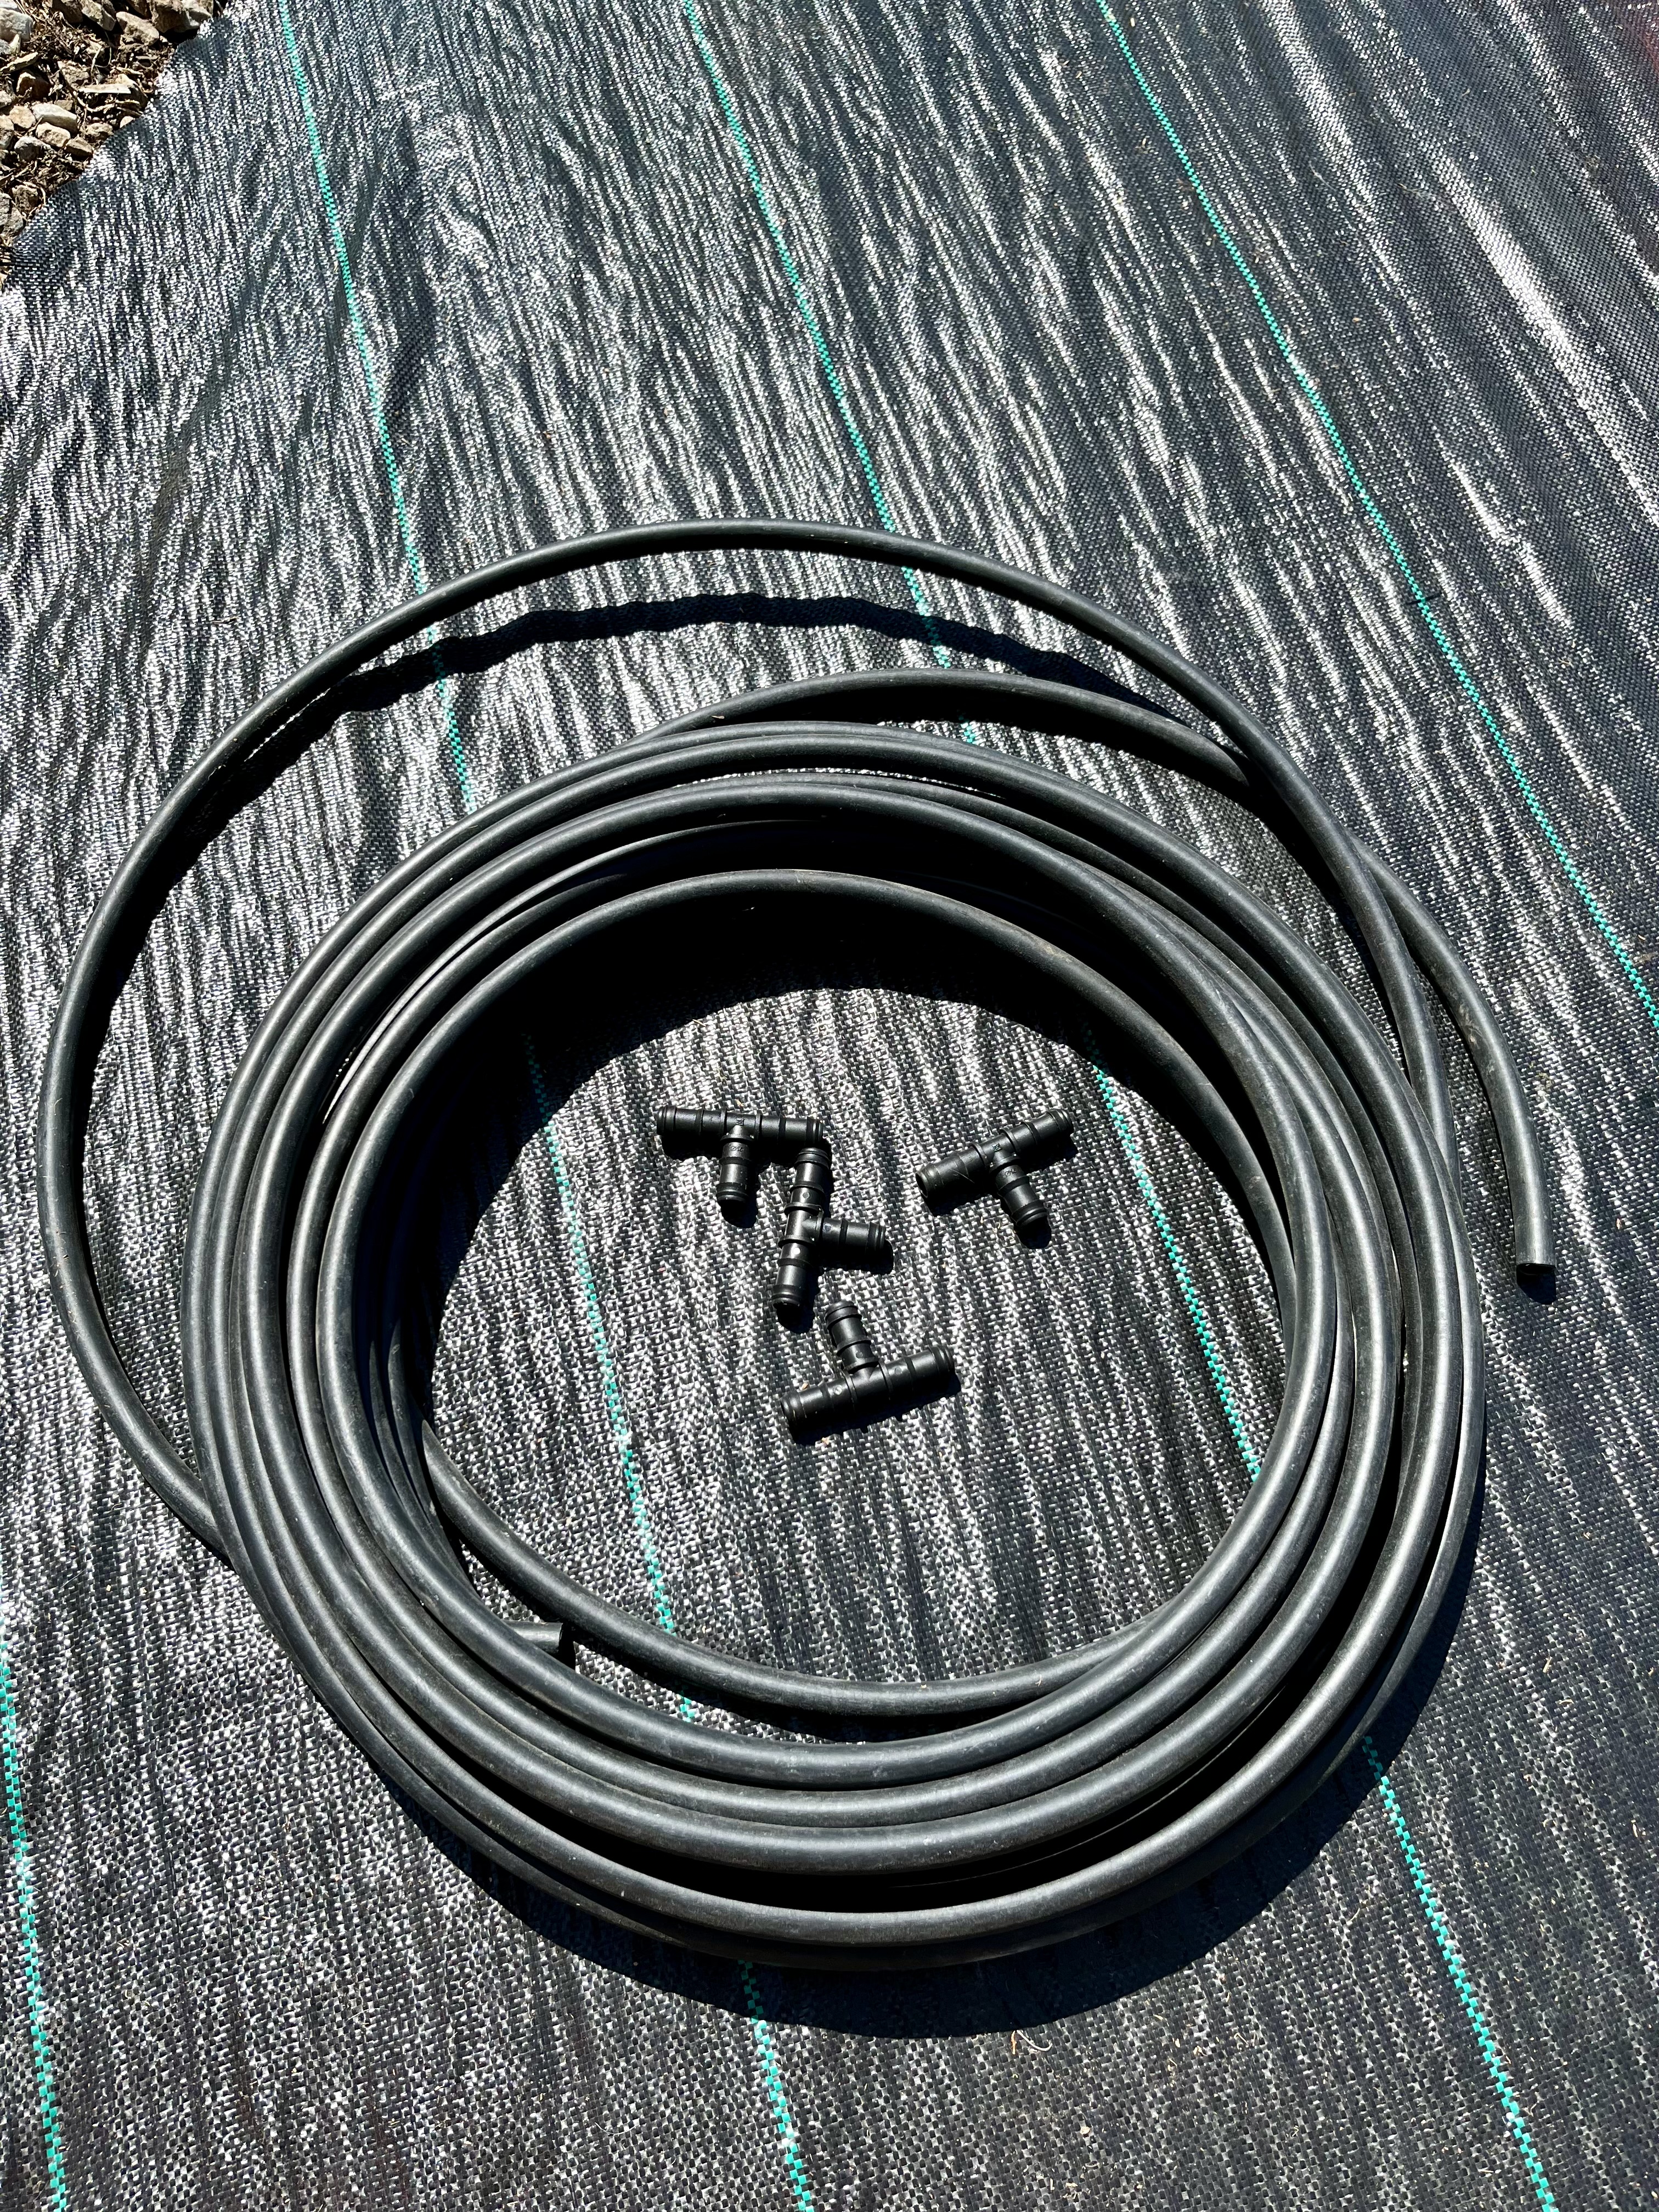
  • Connect up irrigation if appropriate
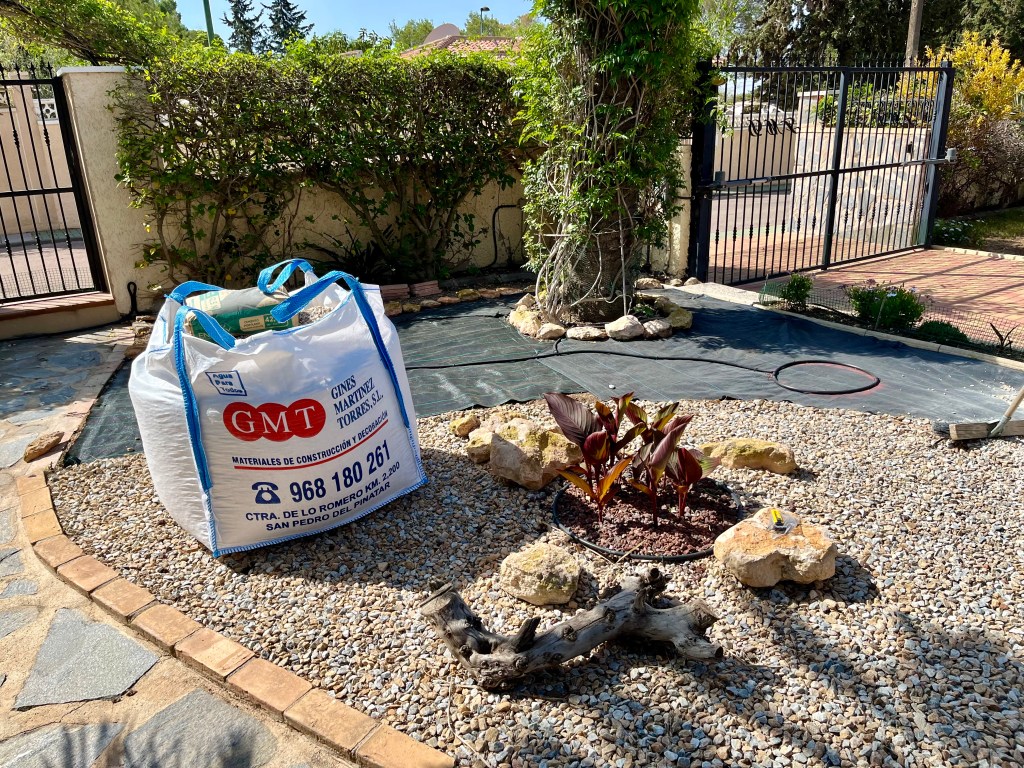
  • Cover with gravel; or push back existing gravel
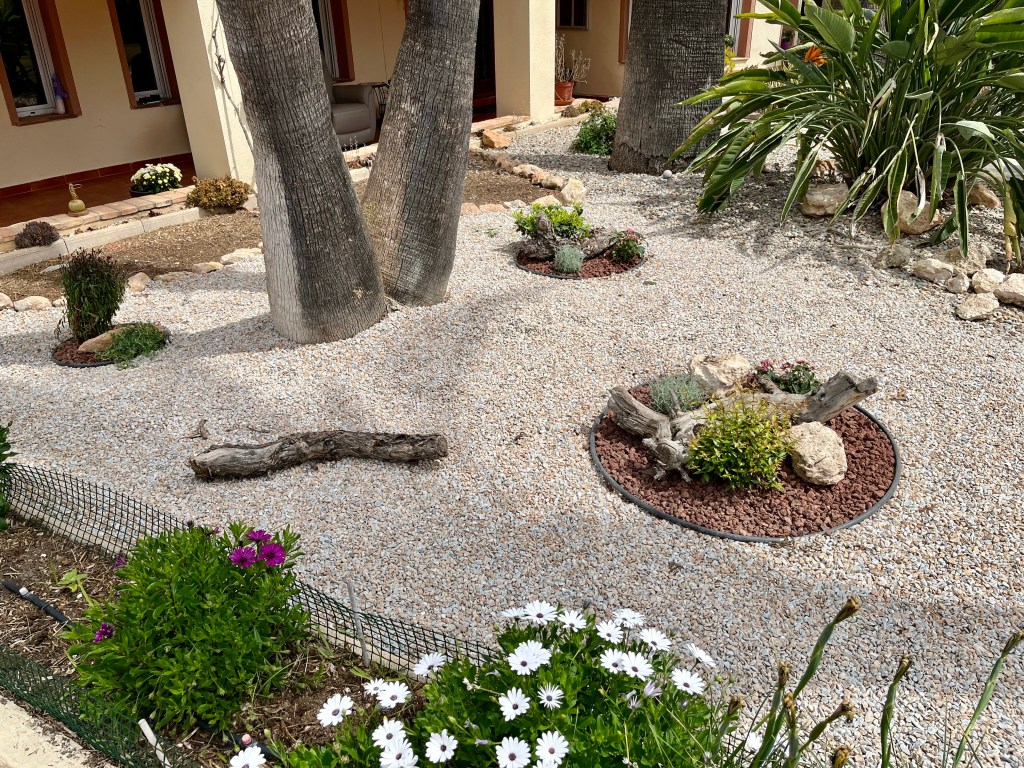
  • Cut through membrane to create beds and plant up

Mark out the overall area. Think carefully about the size of area you are going to gravel as you will have to live with it. The photos below show the tools for the job, plus early attempts at agreeing area size. Click on each photo for a larger view.

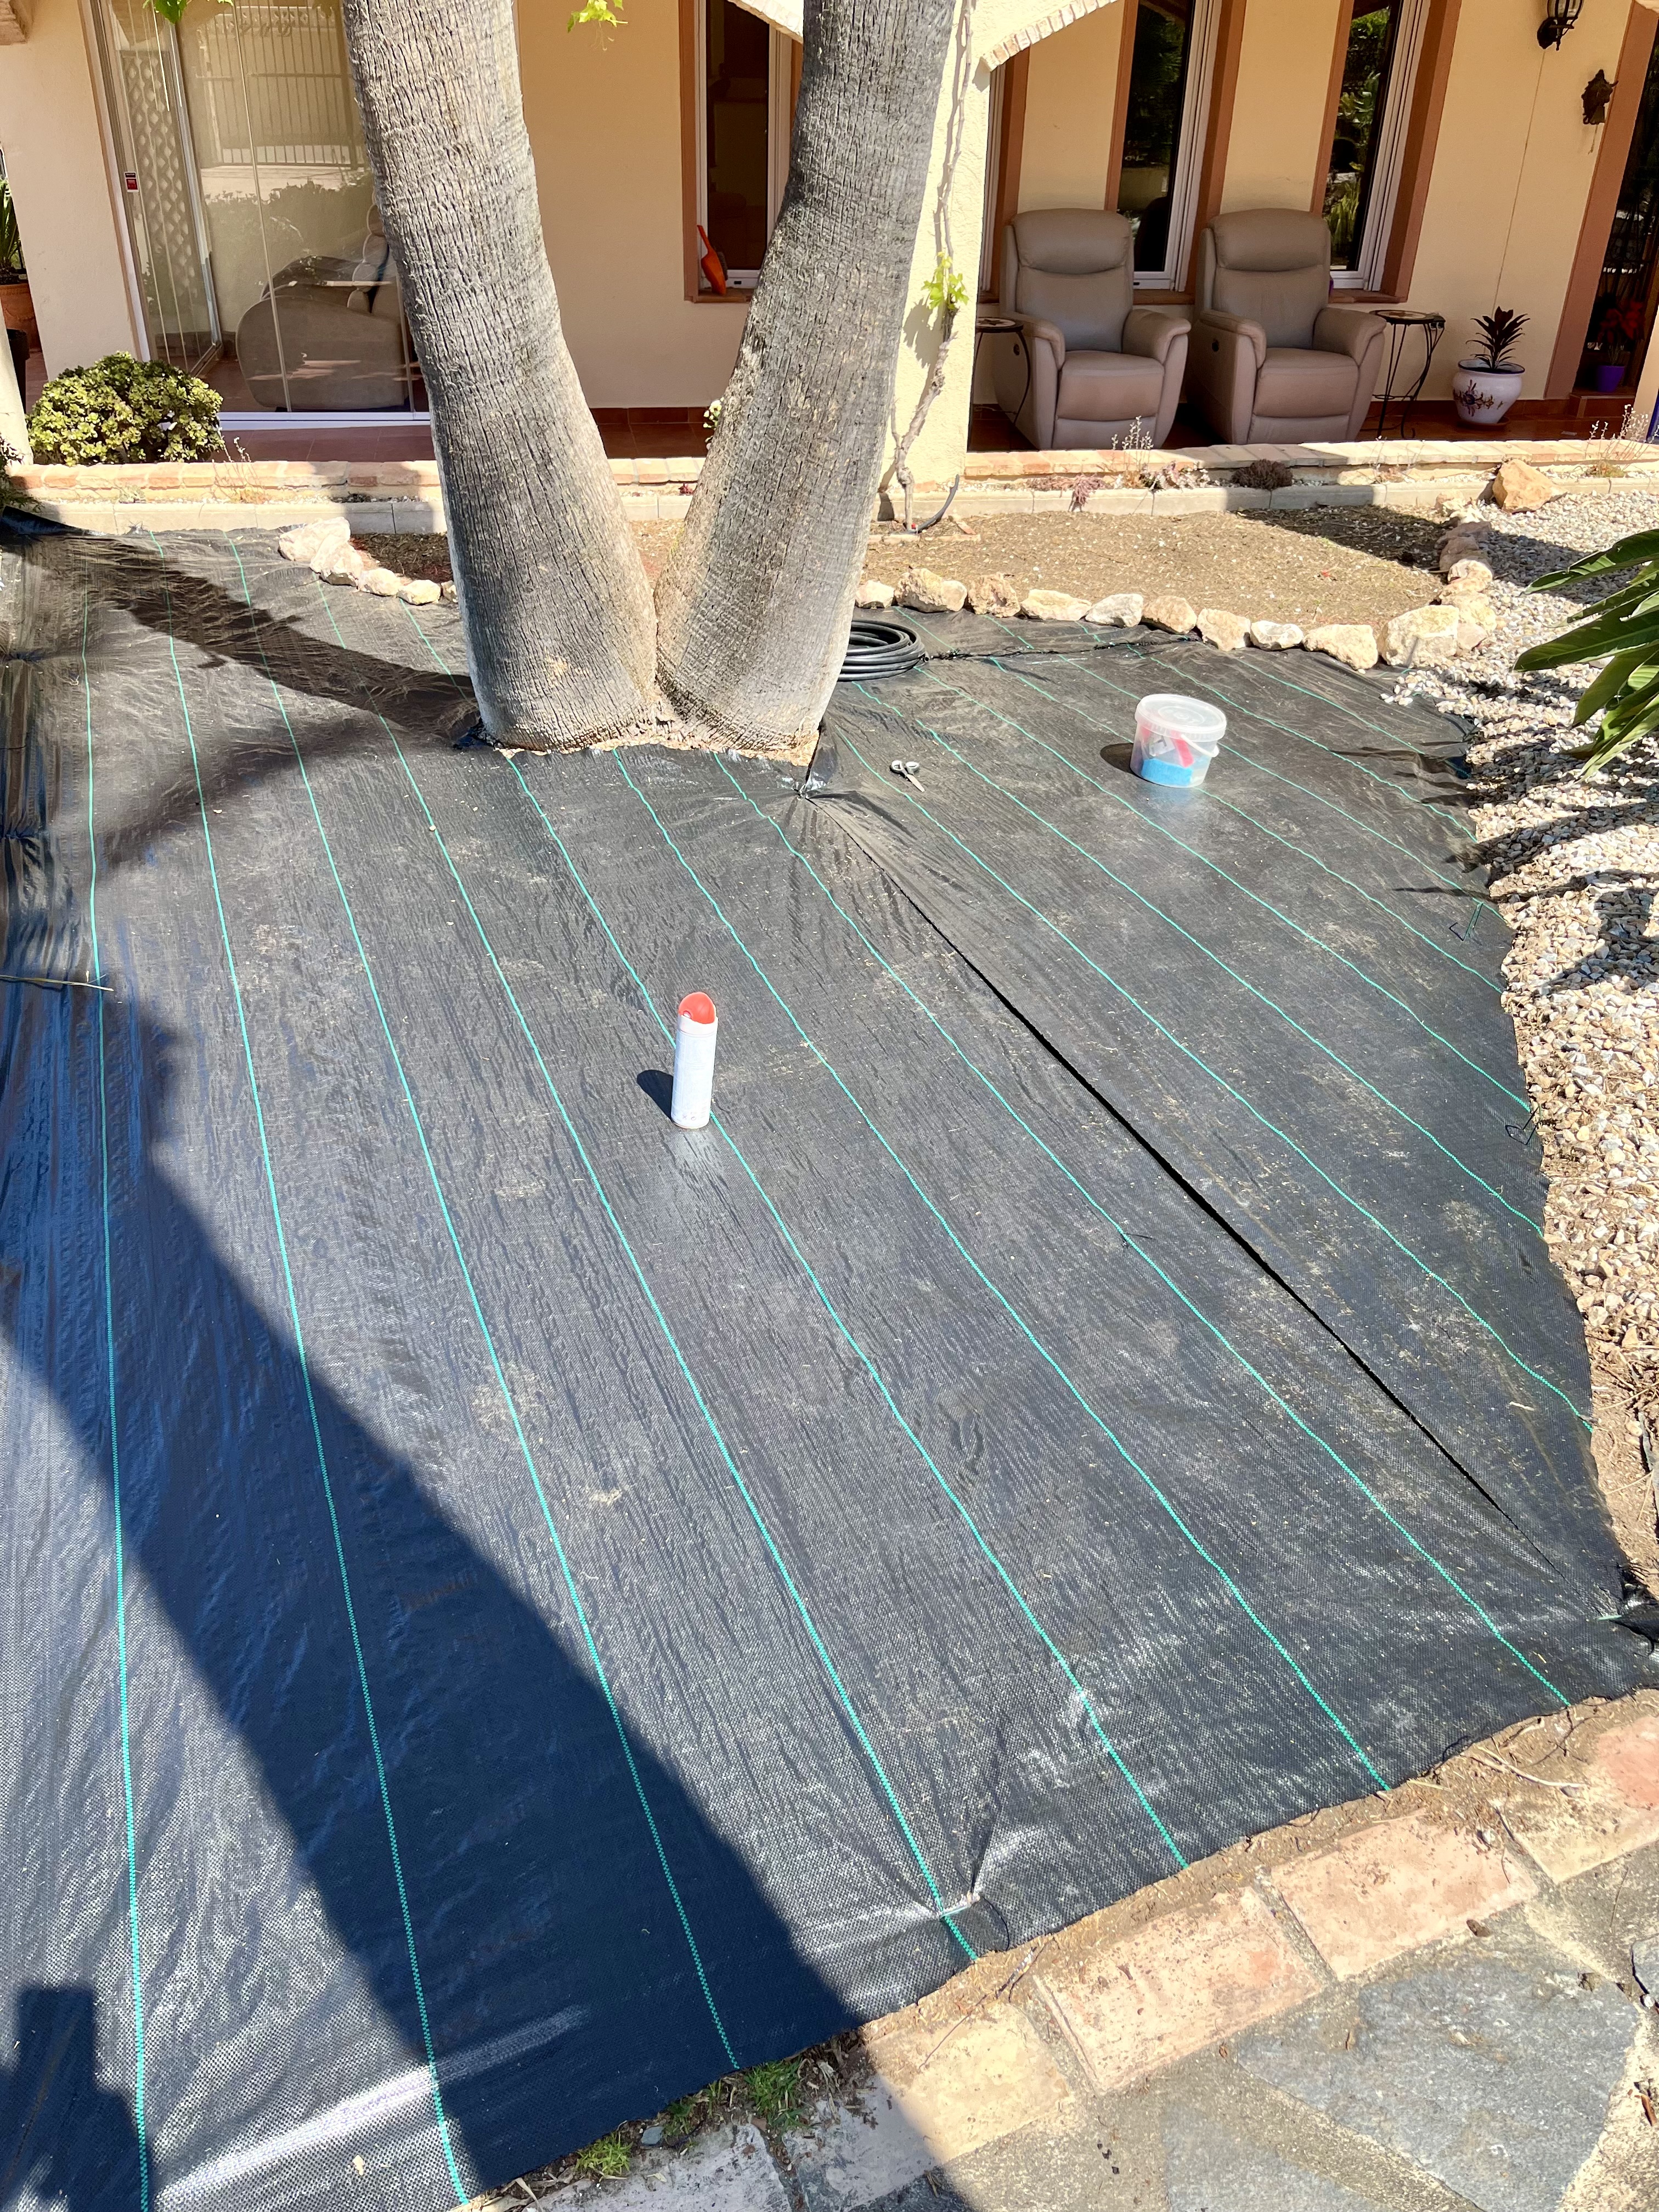
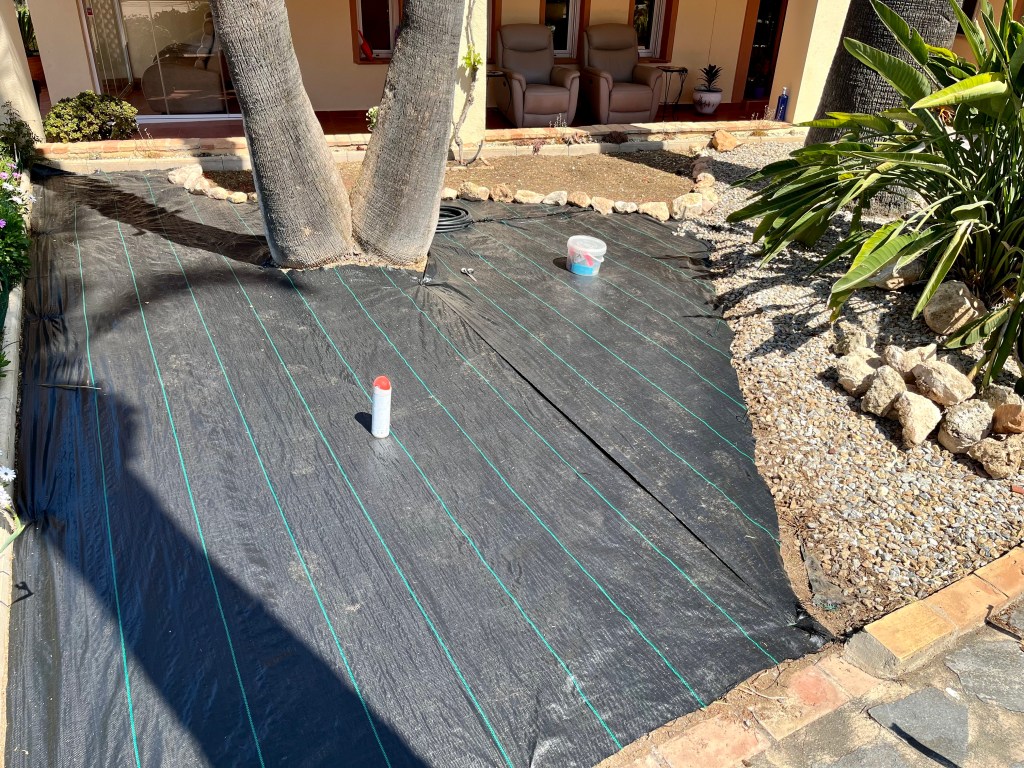
Apply weed suppressing membrane. It is important that you buy good weed suppressing membrane. You are hopefully only going to do this once so make sure you don’t buy cheap stuff that tears and splits. The photos below show various stages of applying the membrane. If you are planting beds in existing gravelled areas then make sure you pull the gravel much further back than your island beds, so that you can pull it back when you are finished. Click on each photo for a larger view.
Mark where you want your island beds directly onto the membrane. This is an important stage so it is worth not only thinking carefully about it, but marking and then waiting 24 hours to think again. Using the ground paint mark out the shape you would like for your island beds. In my case I wanted different sized circles. It is also useful to place objects where you think you want your beds and then walking around and looking at them from different angles to make sure your happy with your sight lines. The photos below show this process in action. Click on each photo for a larger view.

Connect up irrigation. If you are going to use irrigation then now is the time to set your pipe work in place. If you already have gravel then try and connect up to your existing system. The photos below show my artistic connections. Click on each photo for a larger view.

Cover with gravel; or push back existing gravel. Whatever your choice of gravel you will need to allow for coverage of about two inches. This is necessary to ensure you don’t get bare patches opening up as you walk around. Gravel is exceptionally heavy and is hard work to distribute, so if you can get help or use professionals. I had no help, Cruella and her chickens just sat back eating posh snacks whilst I laboured in the Sun. When I asked them for some help they all started chanting slogans about not taking part in their own oppression. The photos below show the extent of my challenge. Click on each photo for a larger view.

Cut through membrane to create beds and plant up. This is the most enjoyable part as you begin to see the fruits of your efforts. I have covered the issue of planting through membrane before, but just in case your new to this the process is simple.

Start by cutting an X shape in your membrane and fold back the flaps of your X. The soil under gravel will normally be quite impoverished and dry so it is necessary to enrich the planting hole. First dig a planting hole slightly larger than your plant. Fill this with water and let it drain, then enrich the hole with good compost digging around to ensure the existing soil is loose.

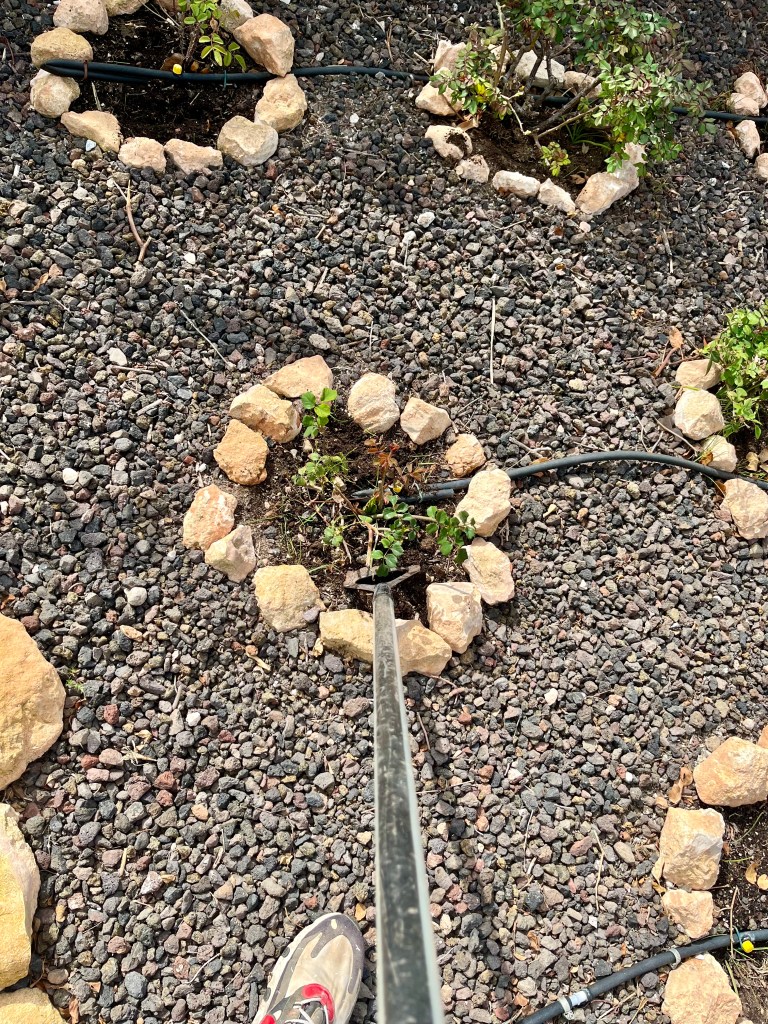
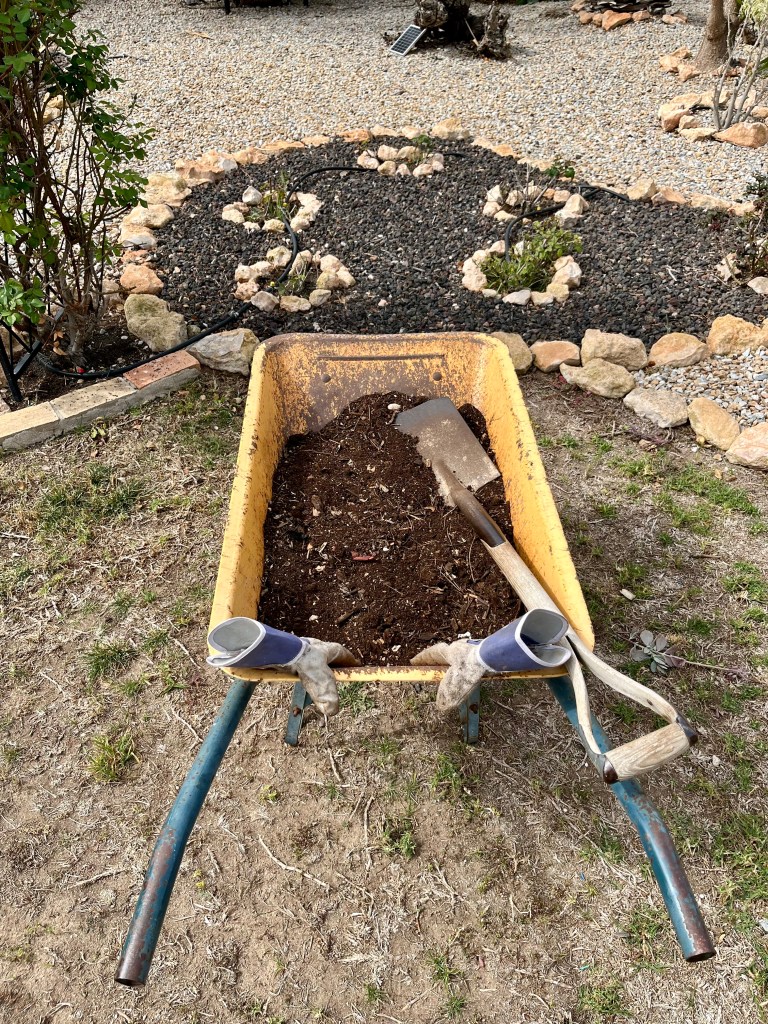
Place your plant in its new home and make sure to firm the soil around it before folding back the flaps of membrane and then watering profusely. It is a good idea to fill the area around your plants with a different colour gravel. This gives added interest to your planting scheme and also provides contrast in the winter when your plants have died back. The photos below show my finished effort. Click on each photo for a larger view.

I was just sitting down having a well earned cup of tea when Cruella (my wife), approached me accompanied by her chickens. She began reading from a piece of paper which she said had just arrived from NATO claiming that a military drone had noted that my planting and gravel were in breach of the Geneva Convention. She went on to say that they demand that the land should immediately be returned to its intended use as a Chicken designated zone of special scientific interest.

I told her I didn’t believe her as the back of the piece of paper was headed Church Sunday School. She started crying, the chickens all started cackling in Chickenese and they all stormed off shouting about lawyers. Hey Ho.

Trees, bees and bereavement

What about the above for the headline of a blog post. It has everything alliteration, drama and a hint of menace. However, now that we are swinging into summer there are a number of things you should be doing, and a number of things you should stop doing. So this is what I will be covering in this post.

  • What you should be doing with your citrus trees and other fruits
  • Dealing with seedlings
  • Time to give roses a feed and mulch
  • Check your irrigation system and timers
  • The final days of the big Agave Attenuata
  • I am getting bees

6th April 2024 Things I have been doing lately.

What you should be doing with your citrus trees and other fruits. By now all of your citrus trees should be in full bloom. So it is time to stop messing around with them and just let them get on with it. Don’t cut, don’t prod, don’t replant, just leave them alone. There are however, three exceptions.

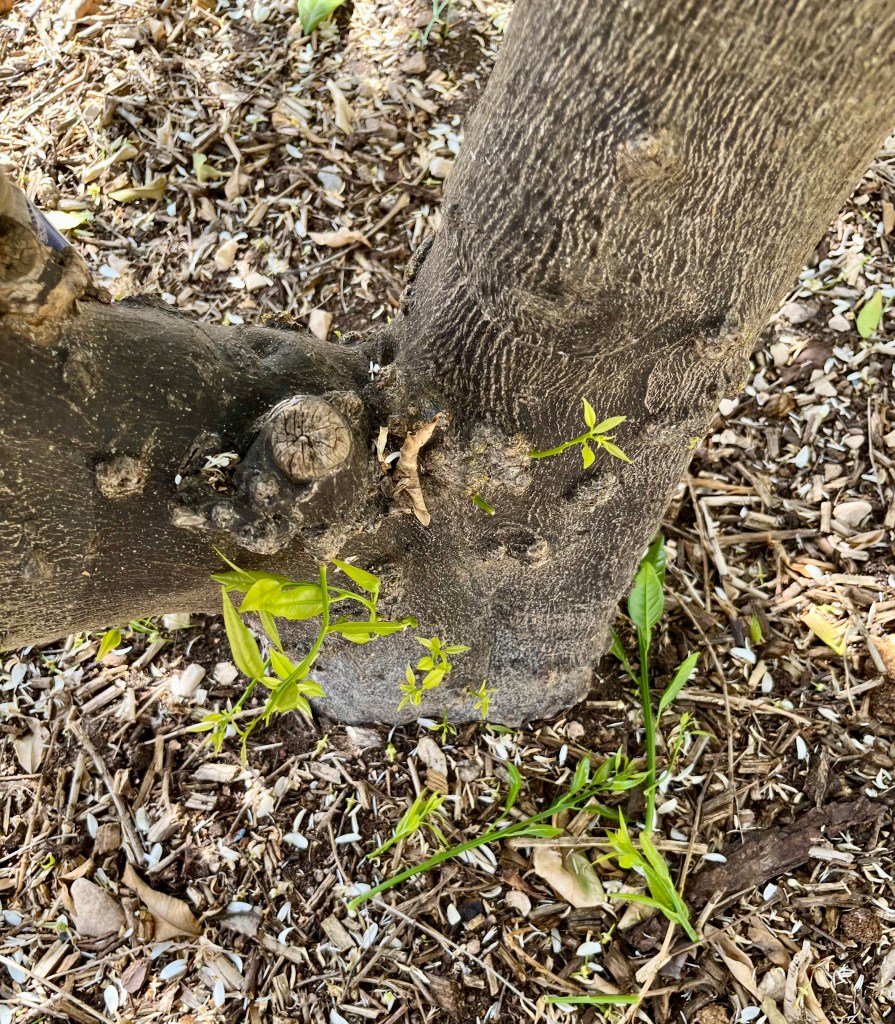
Firstly, make sure that you remove any suckers that are growing on the trunk of your trees. Suckers are bright green, pliable small shoots that have a habit of popping out on your tree trunks this time of year (especially on older trees). Suckers take away the goodness from your tree before it gets to the leaves and fruit. Especially deleterious are suckers growing from below the earth at the foot of the trunk as these will often be growing from below the graft and will probably be root stock. The photos below show examples of suckers on my trees. Click on each photo for a larger view.

The simplest way to deal with suckers is to don your gardening gloves and go around pulling sharply down on each sucker. If you catch suckers early they will come away very easily. However, if they have been left for a while they will have hardened to wood, in this case you will need your secateurs, and need to cut as close to the trunk as possible. If you leave a spur it will grow back.

Secondly, go around each of your trees and look for branches that are absolutely dead – no leaves and definitely no blossom. By now these are definitely dead so you can cut them right back. This process lets air and light into the tree; but remember no other cutting. The photo below shows me actively hunting dead branches.

Thirdly, you should have been actively feeding your citrus from January; so if you haven’t been, get on with it. There are a variety of feeds you can use whether pelleted or liquid, but you must always use a citrus feed rather than a general purpose feed. I also find it helps if you can give them a glug of iron. The photo below shows some of the feeds that I use.

In addition to feeding citrus trees you can start feeding other fruiting trees and vines. In this case do not use citrus feed, but another specialist feed for fruiting plants. The feed second from the left in the photo above is the one I use.

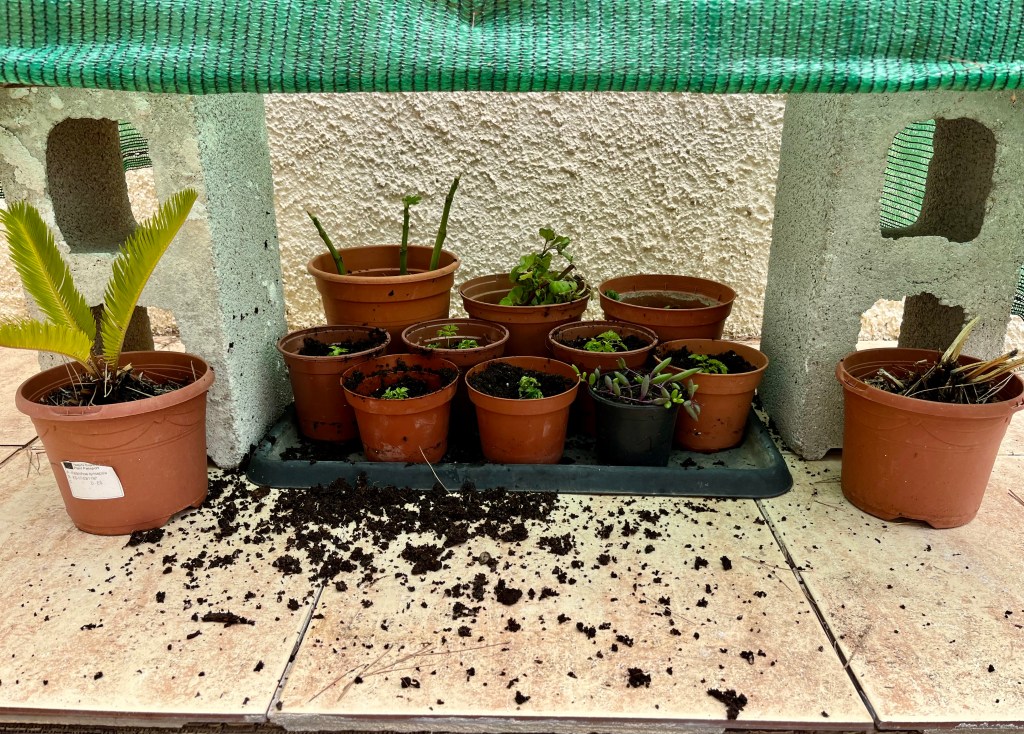
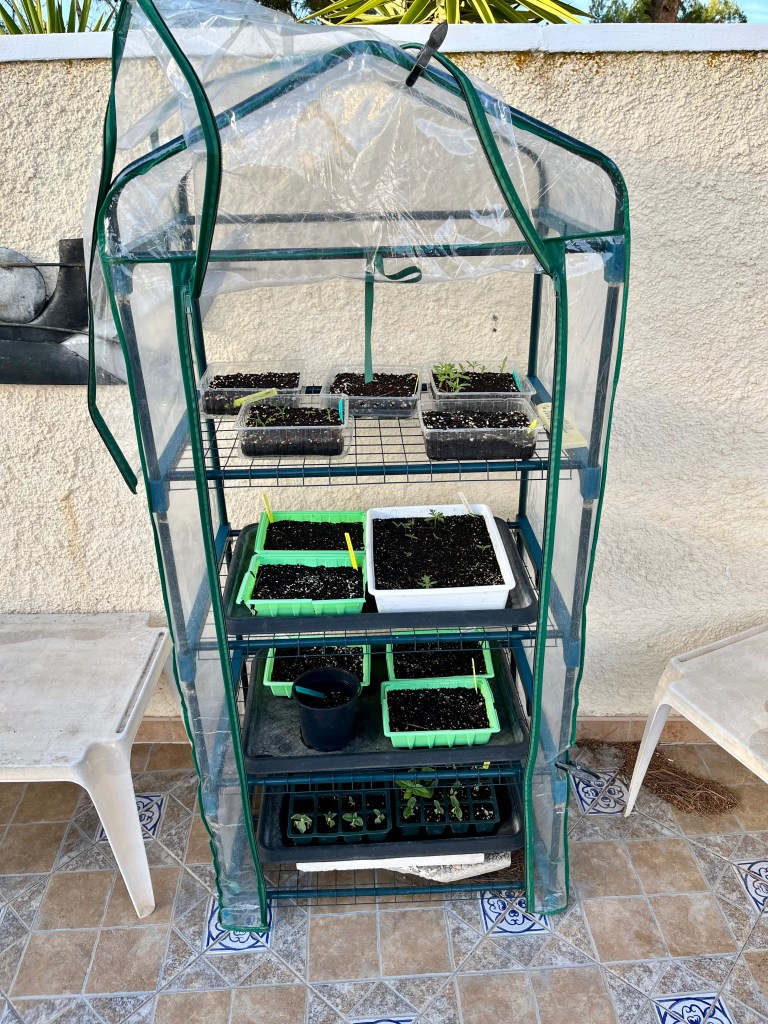
Dealing with seedlings. Normally by this time of year I have a potting bench full of seedlings ready for pricking out and potting on. However, this year has been a disaster. Apart from the chicken vandalism; which I mentioned in my last post, whereby the chickens threw over my mini greenhouse and killed all my first seeds. I resowed them all and then inflicted another disaster on myself. Because of the changeable weather I left all my seedling trays in my mini greenhouse for the day whilst I was out, but unfortunately the sun came blazing back and by the time I got home all my seeds had been baked..

The photos below show the various stages of disaster with my mini greenhouse. I have tried to rescue what I can but as you can see very few seeds have germinated. Don’t let this put you off planting seeds, they are normally a fantastic way to stock your garden and improve your gardening skills. You can still plant seeds now, but make sure you do not put them in a mini greenhouse, but instead make sure they are out of the sun for the fiercest part of the day. The one consolation I have is that my cuttings and bare root plants are coming on fine. Click on each photo for a larger view.

Time to give roses a feed and mulch. Roses grow surprisingly well in Spain, but it is time now to mulch them and feed them to get the best blooms this summer. Before feeding I highly recommend that you mulch. This is a simple process involving 3 stages.

  1. Hoe all around your roses to remove all weeds, you can do this by hand but it can be a bit prickly.
  2. Water your roses profusely.
  3. Apply a thick mulch of about two inches using either bark or compost.

Once you have mulched then you can start to apply feed. Roses are hungry feeders so I feed once every month. The photos below show the mulching process followed by a photo of the feed that I use (others are available). Click on each photo for a larger view.

Check your irrigation system and timers. Irrigation and timers are essential in the Spanish garden. I know you think you will remember to water your plants, but you will forget and they will start to die. However, irrigation timers are no good to you if they have run out of battery or your irrigation pipes are leaking all over the place.

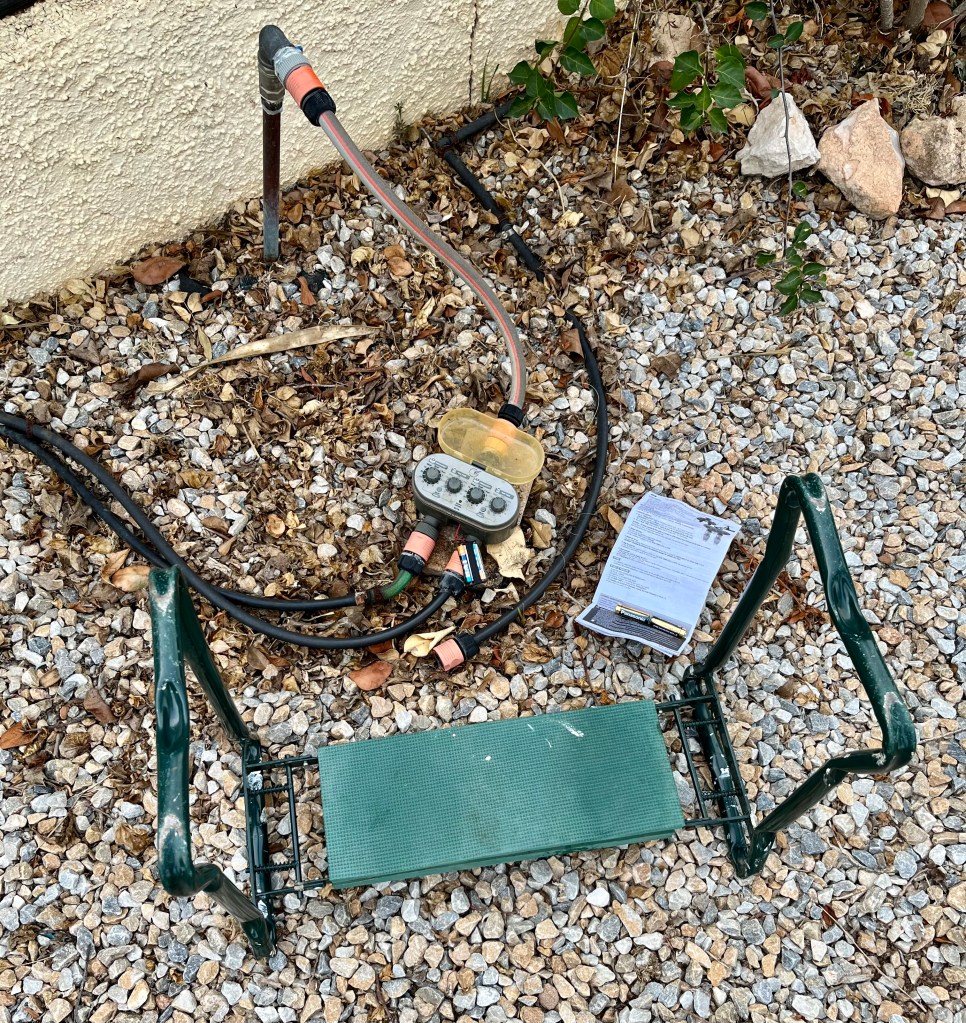
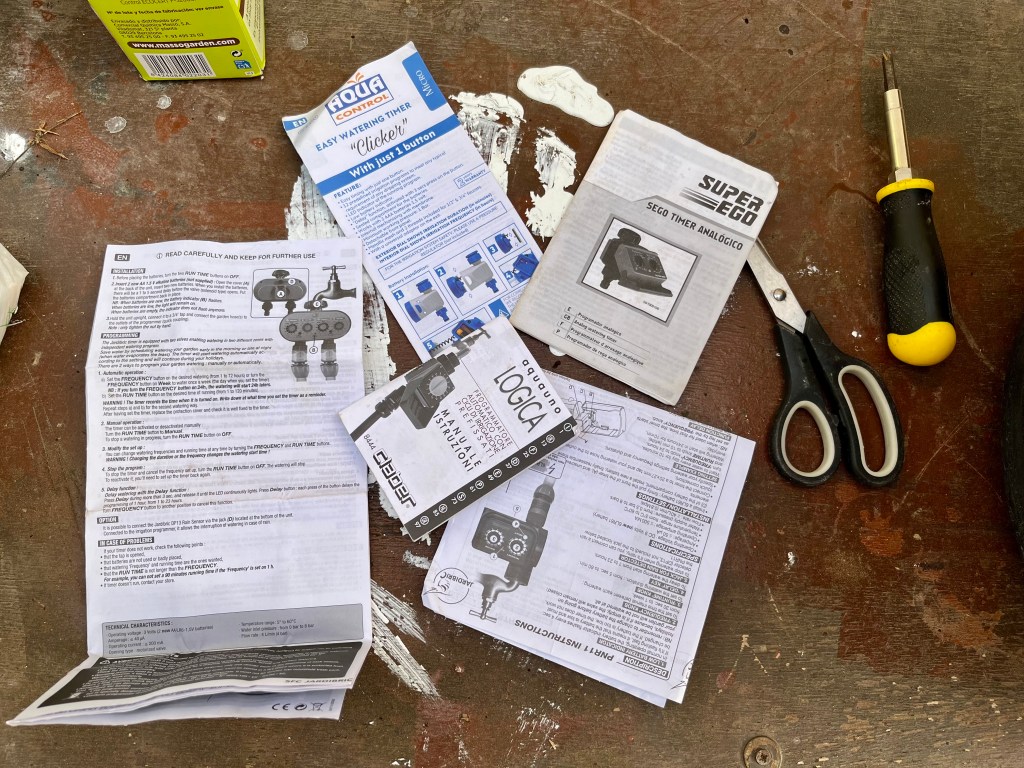
I have 6 separate irrigation timers in the various parts of my garden and a couple of hundred yards of irrigation pipe. Now is the time to go around and change all the batteries in your timers. Once you have changed your batteries, turn your irrigation on (one at a time) and wander round checking for leaks. The photos below show some of my irrigation issues, including all the various instructions for my many and varied timers and a few leak issues. Click on each photo for a larger view.

The final days of the big Agave Attenuata. Regular readers of this blog will know that one of my large Agave Attenuata has flowered spectacularly and is now dying. As a mark of respect for the dying plant I spend days in quiet contemplation and discussion with the plant as the end comes near. We talk about all the good times when she was a mere pup and laugh about how she kept bending the wrong way when I wanted her to grow in another direction. She is obviously concerned for her pups but I have reassured her and promised I will always look after them.

Sadly the end is here. We always spend the last few hours singing her favourite arias. We have been singing Madame Butterfly with her taking the part of Cio-Cio-San (Madama Butterfly), whilst I reluctantly play the part of Lieutenant Pinkerton. We end with the tragedy of Cio-Cio San’s suicide whilst singing “Con onor muore”. I asked Cruella (my wife) to take some photographs during the aria so that I could keep her memory alive for her pups.

The photos below show us singing. Her final words were “Io muoio con onore”; if you look carefully you can see that I am crying. Cruella just laughed and said she couldn’t hear the plant singing and all the neighbours think I am mad. I told her she can’t hear the plant singing as it requires a soul. Click on each photo for a larger view.

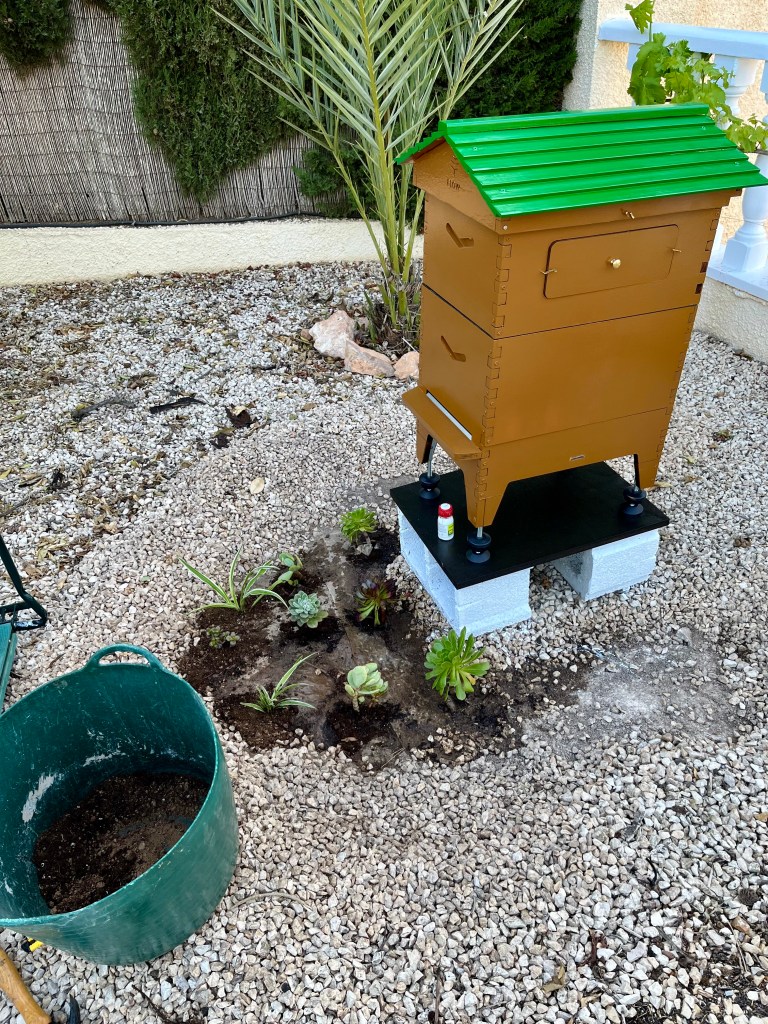
I am getting bees. I must confess I was a little bit down for a few days after the Agave death. Even Cruella was worried about me and decided to ask me what I wanted for my birthday, I said no it’s ok. But she insisted, saying go on I will get you anything you want. And that’s how I am getting bees. Watch this space. The photo below shows my hive ready assembled for their arrival at the end of the month. I have even planted them a little flower bed to welcome them.

It’s mulch wars and I am forced to pay a maggot ransom

Hooray it’s Spring, Cruella (my wife) has flown off to our English house and I am free to merrily prepare the garden for summer unhindered. I started going about my tasks with joy in my heart a spring in my step and a glint in my eye, but unfortunately things soon took a dark turn and I have become a victim of serious garden chicken crime. Anyway more of that later, on with the gardening.

11th March 2024. Things I have been doing lately:

There are a number of jobs we need to be getting on with in Spring.

  • Lift and separate Cannas
  • Guarding against Palm Weevils
  • Applying mulch to flower beds
  • Fighting and losing the mulch wars

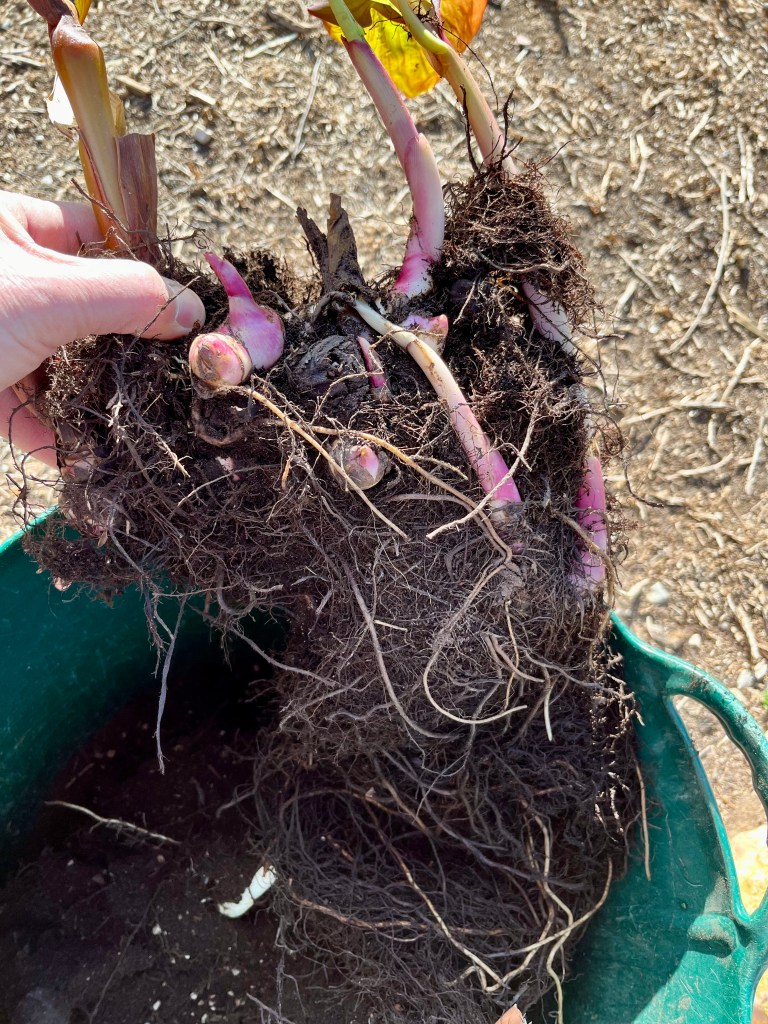
Lift and separate Cannas. I call this the Wonderbra treatment – I recognise this is both accurate and sexist. If you grow cannas then you will know that they are delightful plants that provide wonderful flower spikes that add height and drama to any garden. Unfortunately here in Spain drought is taking a toll on canna rhizomes (ugly bulbs) as they are drying up and failing to thrive. Normally you can happily leave cannas in the soil and the rhizomes will gradually multiply and provide you with more plants.

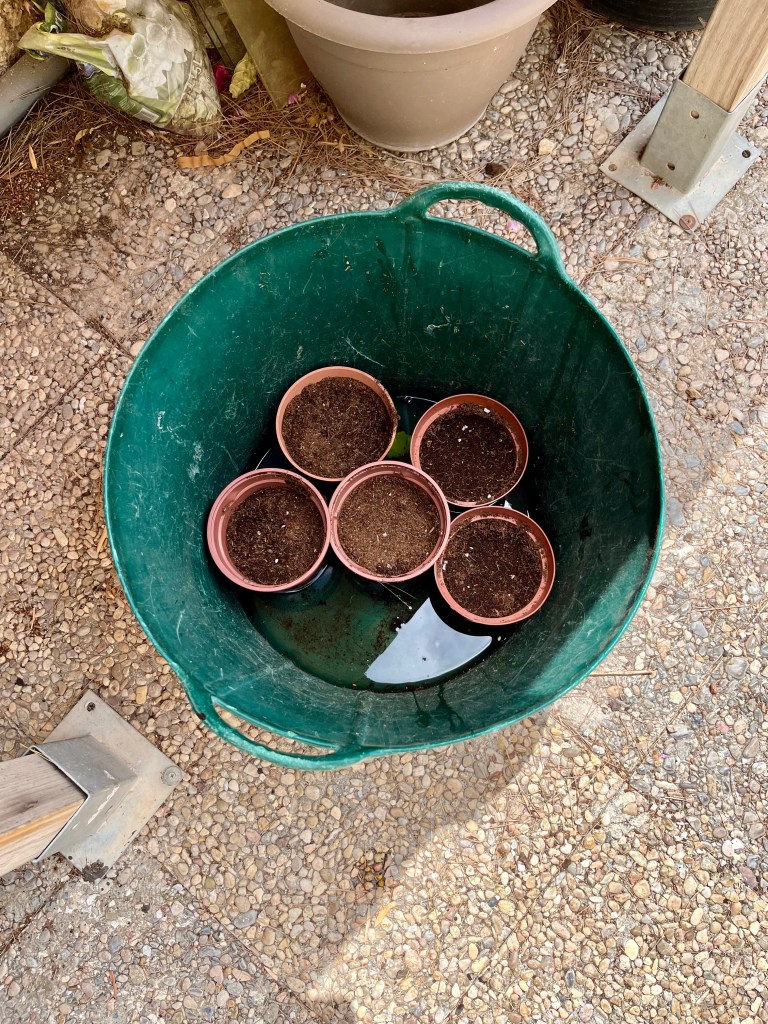
However, by this time of year I should have been seeing the first shoots of my cannas poking through, but when they failed to reveal themselves I have had to dig them up, separate them and give them a good drink before replanting them. Luckily my friend Pip has regifted back to me some cannas I had previously given to her, so I was able to replenish my stock. The first photo shows my cannas ready for some work followed by them having a drink by soaking for 24 hours in a trug before replanting. Click on each photo for a larger view.

When replanting canna, they need to be planted shallowly in rich but free draining compost. Where there are shoots from the rhizomes these need to be left poking from the soil. The photos below show the planting process. Click on each photo for a larger view.

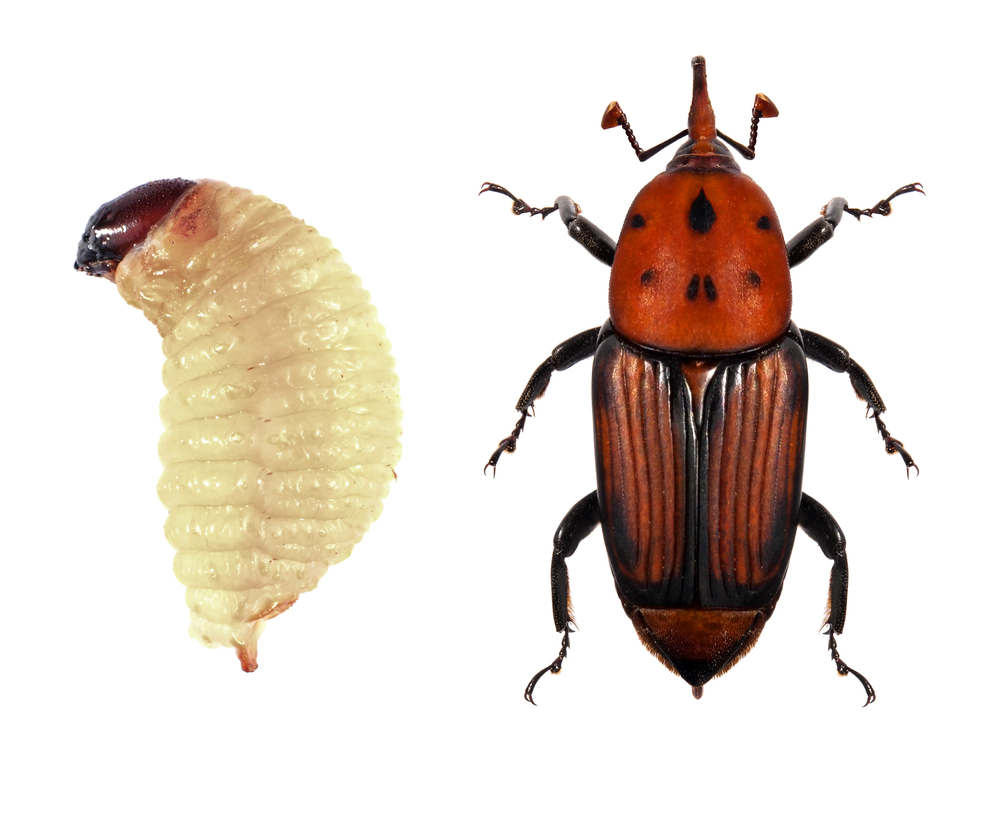
Guarding against Palm Weevils. The problem of Palm weevils won’t really mean that much to those of you who don’t live in Spain. But, if you live in Spain and you have Phoenix palms, then you dread the advent of palm weevil season. For those of you who are mere disinterested bystanders the photo below shows the culprit together with its malignant grub.

The modus operandi of this weevil is to lay its eggs at the base of Phoenix palm fronds. When hatched into grubs, they merrily chomp their way up inside the fronds and in most cases destroying the tree. The weevil can be treated by spraying the crown of the palm with a proprietary chemical, but there are two main problems with this. Firstly, unless you know what you are looking for, the weevil grubs can remain undetected until it is too late. Secondly, many palm trees are much to tall for the normal gardener to reach the crown and therefore require specialist contractors.

You can guard against Palm weevils. The easiest way is not to cut your palms between the end of March and October. The adult weevil flys only in the hot months, and I am assured by experts that it can smell a cut palm frond from a very long distance.

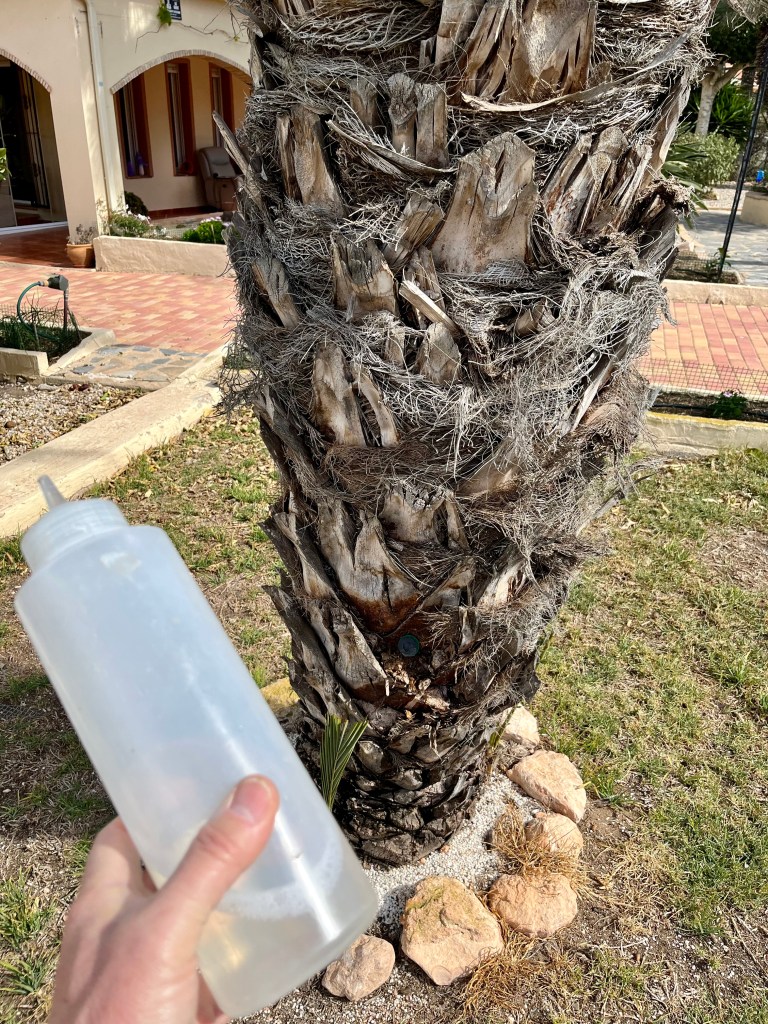
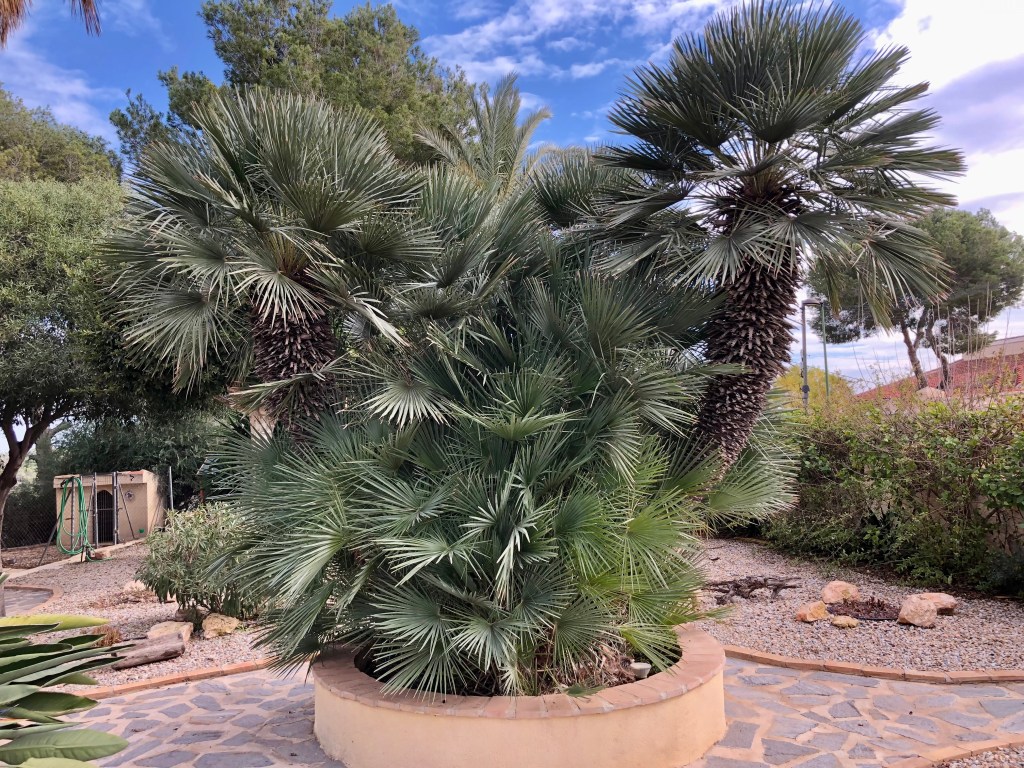
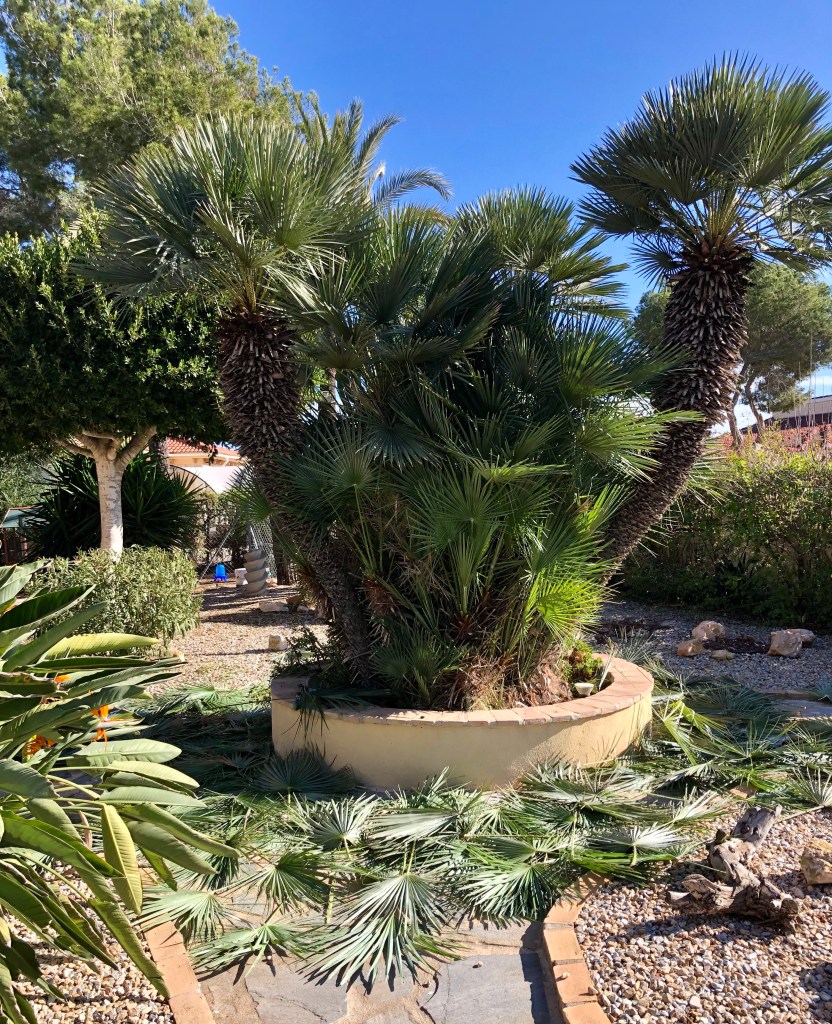
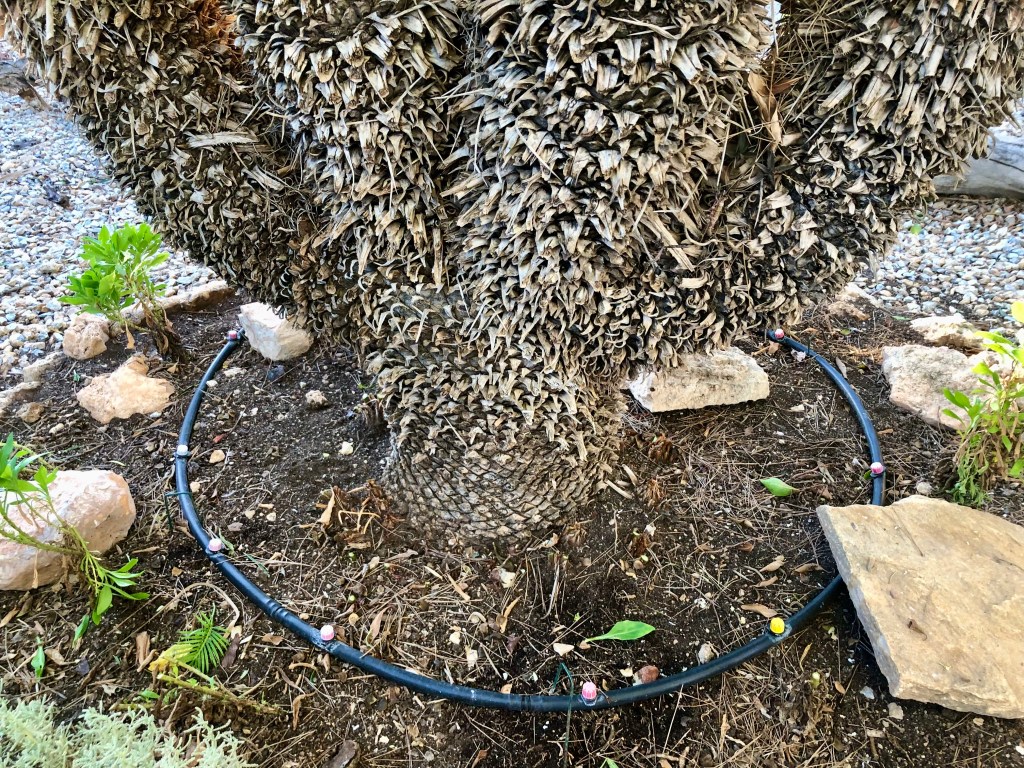
In addition to not cutting my palms at certain times, I have drilled holes into the centre of my very large palms into which I drip a chemical during the summer months which allows the sap to take the chemical to the palm crown making it a poisonous environment for Palm weevils. If you want to find out more about this method then just use the search bar on this blog to search for Palm weevils as I have covered this in detail in past posts. The photos below show my poisoning technique in action, followed by some photos of some of my newly cut palms. Click on each photo for a larger view.

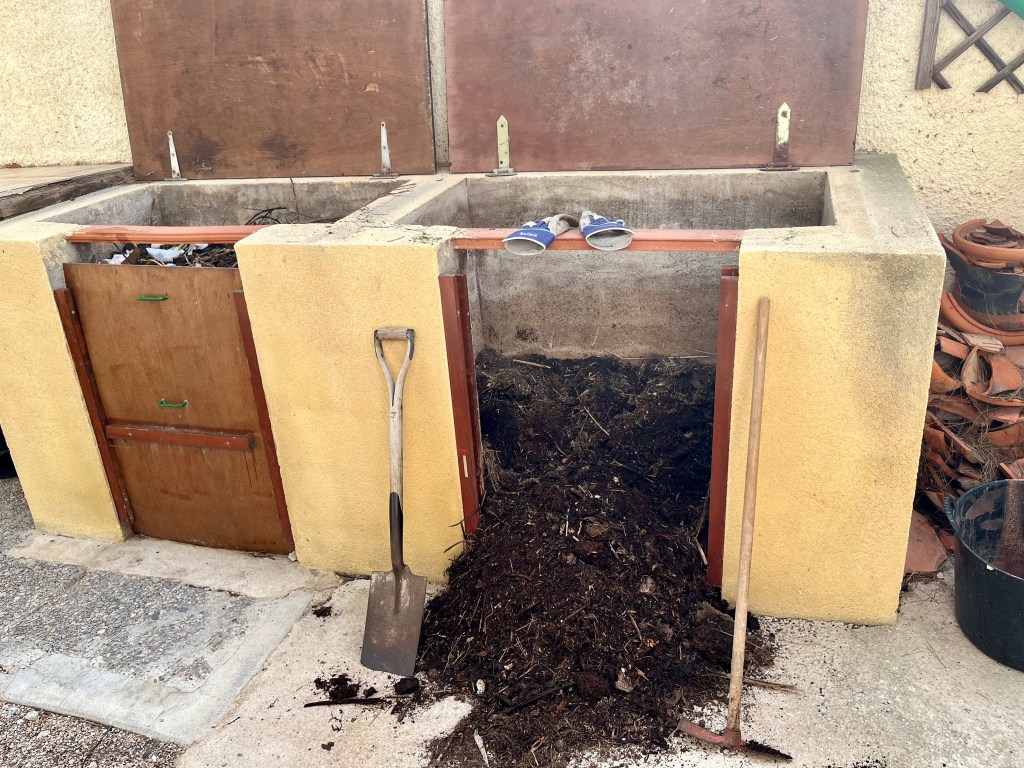
Applying mulch to flower beds. I have waxed lyrical in the past about the importance of compost to the soil of all Gardens. A good friable soil rich in nutrients and natural enzymes is the perfect medium in which all plants will thrive. Compost bought from garden centres will have been violently heat treated to kill off weed seeds, which in turn can damage or destroy the micro nutrients. So if you possibly can set yourself up a compost bin or two. The photo below shows my compost bins in action.

Applying a deep mulch to your flower beds at this time of the year will remarkably improve even the most depleted of soils. There are three basic stages to mulching:

  1. Hoe the flower beds to remove all weeds
  2. Water profusely
  3. Apply a thick mulch of compost at least 2 inches thick

If you haven’t got your own compost then buy a good one from a garden centre, or if you prefer use shredded bark (though this will not instantly improve the soil). The photos below show my flower beds in the process of being mulched. Notice in the last photo some of the big fat worms from my compost making their way into the soil, you only get this benefit by making your own compost. Click on each photo for a larger view.

Fighting and losing the mulch wars. Who would have thought that an innocent activity such as mulching could be the cause of so much grief. I mentioned earlier that Cruella (my wife) had flown off to our English house to continue her nurturing of our idiot son. I had been left in charge of Tango the lonely blind Labrador and the bloody chickens.

As you can imagine this caused immense resentment by the chickens who refused to accept my authority, wouldn’t go to bed at night, ate junk food and continually swore at me in Chickenese (or at least I think they were). Cruella also insisted that I left my IPad in their coop on FaceTime so that she could could converse with them at all times.

At first this didn’t bother me I happily got on with mulching around all my fruit trees accompanied by Tango the lonely blind Labrador. The photo below shows all my trees lovingly mulched.

However, no sooner had I completed the mulching and retired indoors for a nice cup of tea, when I heard loud chicken squawking. I emerged to the terrible sight of the chickens frolicking under the trees and kicking my newly completed mulch all over the place. The photos below show the extent of the venal criminality. Click on each photo for a larger view.
I managed to scare them off with my water pistol (which is in breach of the restraining order Cruella took out against me) I was assisted by Tango the lonely blind Labrador who did his best running around barking and banging into trees. I could see the seething resentment in the chickens little eyes and I knew this wouldn’t be the end of it.

What happened next is like something from a horror film. The next morning I emerged to find that my mini greenhouse had been knocked over and all my lovingly planted seedlings had been destroyed. The photo below fails to convey the anguish and sense of loss; it was so bad that I even mentioned it in Church at the end of a sermon. Anyway I knew it was them as there were feathers everywhere.

I phoned Cruella (my wife) straight away to confront her but she completely refuted any suggestion that her girls were involved. She then asked for privacy so that she could have a FaceTime conversation with her girls. They all trooped off to the coop and emerged smirking 10 minutes later (I’ve told you before chickens really can smirk). A few minutes later the phone rang and it was Cruella (my wife) she told me that her girls had denied any involvement, but they had said that if I would supply them with maggots from the compost bins then they would keep an eye on my mini greenhouse to ensure nothing happens in the future. I complained that this was blackmail but she merely replied that this was “mulch ado about nothing” which she thought was hilarious.

The upshot of all this is that I have been paying a ransom of maggots every day since. If ever I forget to give them some, then one of them goes up and makes a big show of just bumping into the mini greenhouse ‘by accident’. The photos below show me paying the daily ransom. Click on each photo for a larger view.
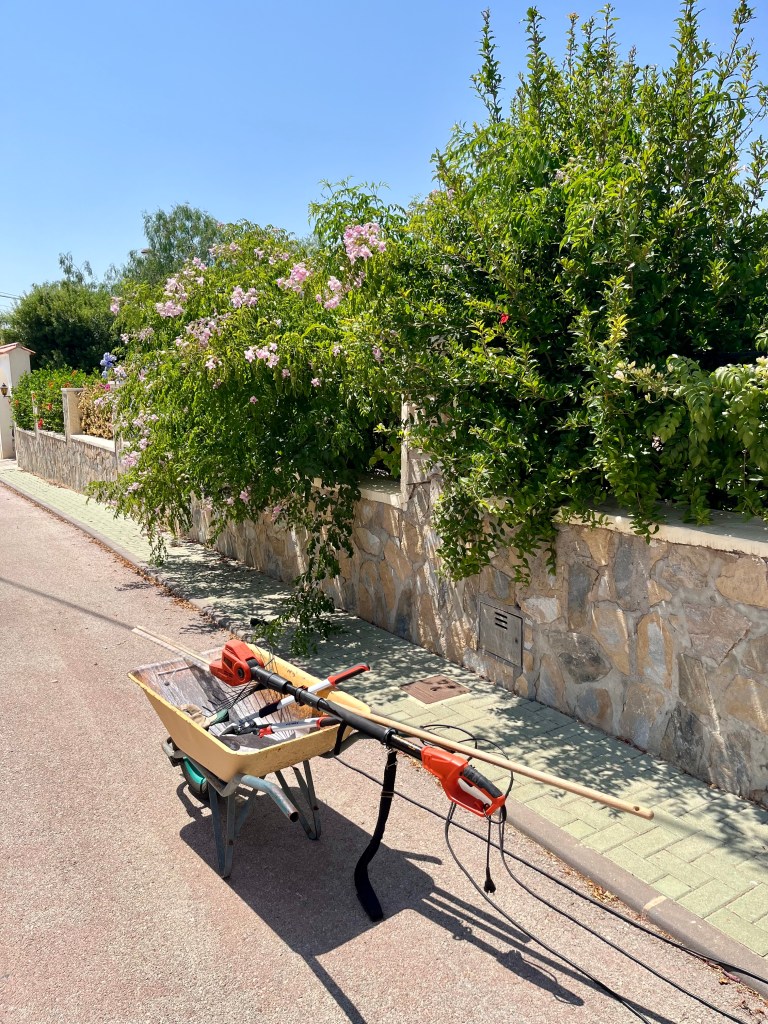
It’s time to sow, I sing to the dying Agave and have a bad Valentine’s Day

It’s warming up, there is a hint of buds and we gardeners are waking from our winter torpor, it’s almost Spring, and you know what Spring means – seeds! Yes, it’s time to start thinking about how you will fill your Summer garden with floriferous beauty, and there is no better way than to grow your own garden from seed. I know that lots of you love to rush off to the Garden Centre and stack your trolley high with all sorts of unsuitable plants. But think how much more fulfilling it will be if you can grow your own garden.

Now I am not being a purist, of course you can buy plants, but why not give seeds a chance (start with a couple of easy to grow packets) once you start it is addictive and may I say a lot cheaper. As you can tell from my enthusiasm I have already got things underway. I was so filled with the joys of gardening that I rushed out and got Cruella (my wife) a Valentines Day gift. Sadly it all went wrong as the chickens deliberately sabotage my efforts. Anyway on with the gardening.

24th February 2024. Things I have been doing lately:

  • Harvesting self sown seedlings
  • Sowing the first seeds
  • Harvesting and sowing Chilli seeds
  • Preparing for the death of Agave Attenuata
  • Regretting my Valentines Day purchase

Harvesting self sown seedlings. One of the best way to get your garden going in Spring, is to take a look around your flower beds and check for any self sown seedlings that your summer flowers may have left you as a gift. One of the most prolific self sowers in Spain is the Maragaritte Daisy/Osteospermum. These lovely long flowering Daisies will drop hundreds of seeds which by now will have formed into little seedlings. The photo below shows just one part of my garden with thousands of seedlings.

But the trick is not to leave the seedlings where they have self sown, instead you need to harvest them and pot them up to let them grow on a bit before planting them out where you want them. The photos below show me harvesting the seedlings by gently prising them out of the soil with a trowel before placing each seedling into individual seedling trays. Note the close attention from big Bertha. (she has reverted and is no longer known as Bert, it was something to do with the chest binders that Cruella bought from John Lewis). Click on each photo for a larger view.

Sowing the first seeds. There is nothing better than contemplating the seeds you harvested from last year and deciding which order you are going to sow them. The photo below shows my preparations and the delight of contemplating things to come. Click on each photo for a larger view.

Before you get carried away with sowing seeds there is some basic preparation you need to undertake. If you are sowing into pots or seed trays you have used before, then it is important that you thoroughly wash them inside and outside. The last thing you want to do is carry over viruses and pathogens that are lurking in the residue of last year’s soil. All that is basically required is that you use a powerful hose jet to wash away any soil residue. The photos below show some of my seed trays after their annual ablutions. Click on each photo for a larger view.

Once you are ready to sow your seeds then you need to mix a good compost (not from China shop) together with Perlite to form a nice free draining medium that will not leave your little seeds waterlogged. Most seeds mainly require sprinkling on the surface of your compost then covering with a light sprinkling of compost.

Once you have lightly tamped down the surface to ensure seed and soil contact, then you need to place your seeds trays in a light warm area such as a window sill, or greenhouse. Be careful of fierce sun as this will dry the compost out to quickly. I buy a cheap little mini green house and use it for 2 or three years and then discard and start again. You will only need it for a couple of months at the most. The photos below show my seed sowing activity followed by my seed trays resting in their new home. Click on each photo for a larger view.

Harvesting and sowing Chilli seeds. Chilli plants are a joy to grow as they are so prolific. I leave my chilli plants to fruit over a two year period with just a chop back at the end of the year. The third year I remove the old plants and sow new seed in lovely fresh compost. By doing this I am getting rid of the old tired compost and creating a whole new generation of plants. The first photo below show my tired old plants heading for the compost heap, followed by the ripe seed pods that I have left on the plants and which will form my next generation.
Click on each photo for a larger view.
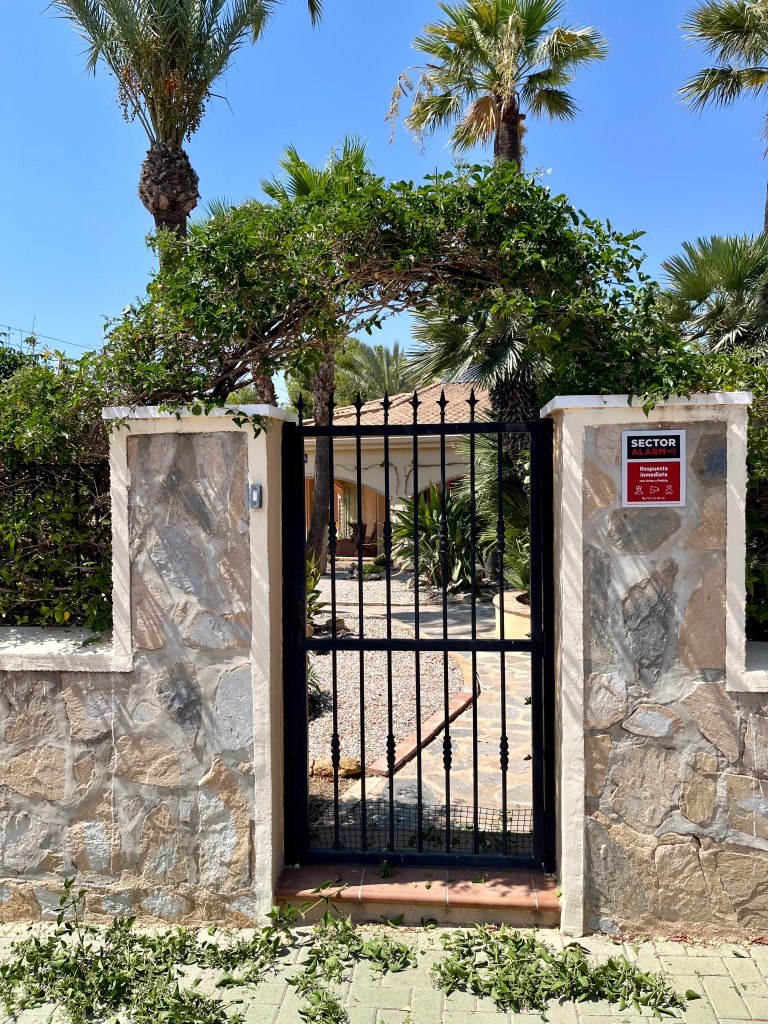
Getting the seeds is very simple. Using a scalpel, or very sharp knife, slice carefully down the side of the dried seed pod and carefully tease out the seeds that will be there waiting for you. The photos below show my scalpel work, together with the gathered seeds. The final photo shows the seeds scattered evenly across a seed tray before being lightly covered with compost. Click on each photo for a larger view.
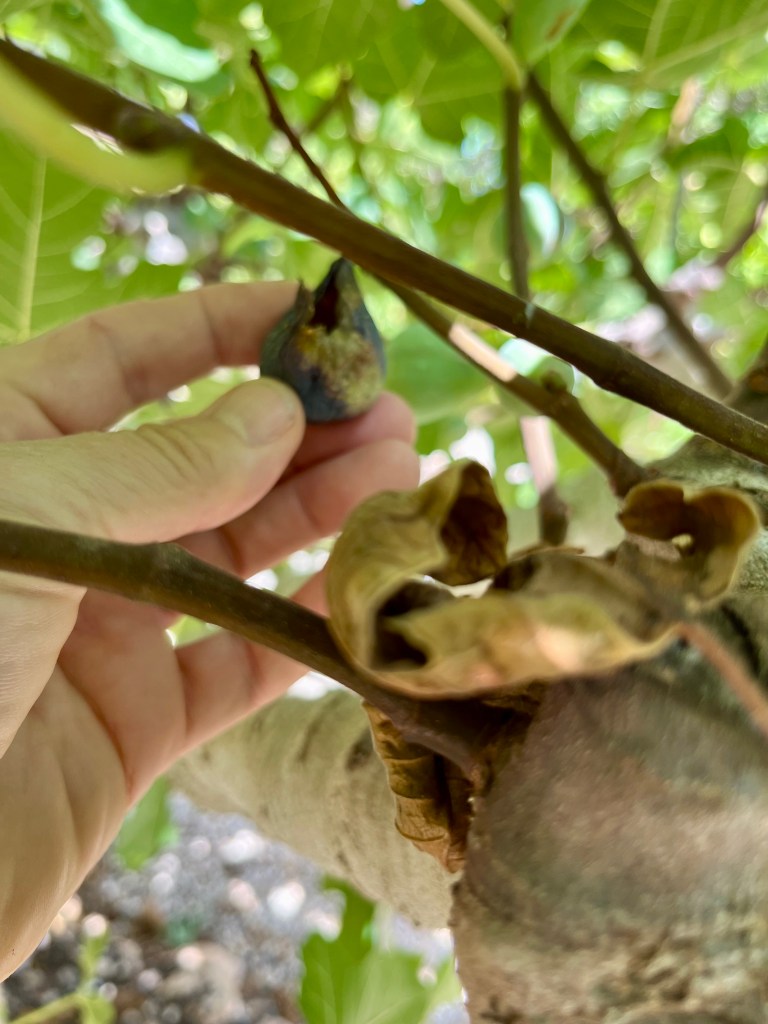
Preparing for the death of Agave Attenuata. Losing any plant is a dreadful experience for us gardeners. We tend them, nurture them, watch them grow day by day and experience joy when they flower. That makes it all the more poignant when you lose an Agave Attenuata.

These lovely plants are very popular in Spain as they are one of the few “unarmed Agaves”, by this I mean they neither have teeth or spikes so won’t stab or cut you. They also have a charming habit of creating lots of pups which eventually surround them like a loving family. They take a long time to flower (12-20 years) and like lots of Agaves, when they do, they die leaving only their orphaned pups to cope on their own. The photo below shows a family of orphaned pups who lost their Mum about 5 years ago.

Eventually one of the orphans will go on to adopt the role of mother but it can take a long time. I think the one at the back right is shaping up to be Mum.

Regular readers of this blog will know that I have been lucky enough to see a number of my Attenuata flower. It has always been a painful process made much worse by the mockery of Cruella (my wife) who constantly heckles me in my sorrow by shouting “it’s only a plant, get over it”. On one occasion she proposed what she termed “assistant plant dying” and said that both me and the plant should go off to Dignitas!

As always on these occasions I conduct myself with dignity and commit my evenings to sitting by the plant as it flowers. We talk over old times, when it was just a little pup and I reassure her that all her pups will be taken care of when she goes. The photos below show my cherished Agave developing her flower spike. The beauty of the flower spike is marred by the tragedy of her oncoming demise. Click on each photo for a larger view.

As her flower spike gets taller so she gets weaker, and this is when I start to sing. All Agaves have a tendency for classical opera, so I tend to sing arias mainly from Puccini and especially La Bohéme.

We start early on when she has accepted she is going. I hold her flower spike and sing “Che gelida manini”. As we progress she takes on the part of Mimi and I Rodolfo as she coquettishly sings “Sì, mi chiamano Mimì”. We both then finish the day with “O Soave faniculla” the pups act as the chorus and as she finishes on the famous high “C” we are all in tears. I am dreading the future. The photos below show us singing the first act, if you look carefully you can see the pups leaning into the chorus whilst visible signs of decay can now be seen on their mum. We shall sing the famous deathbed scene of Act 4 in a couple of weeks, in the meantime I am giving bereavement classes to the pups. Click on each photo for a larger view.
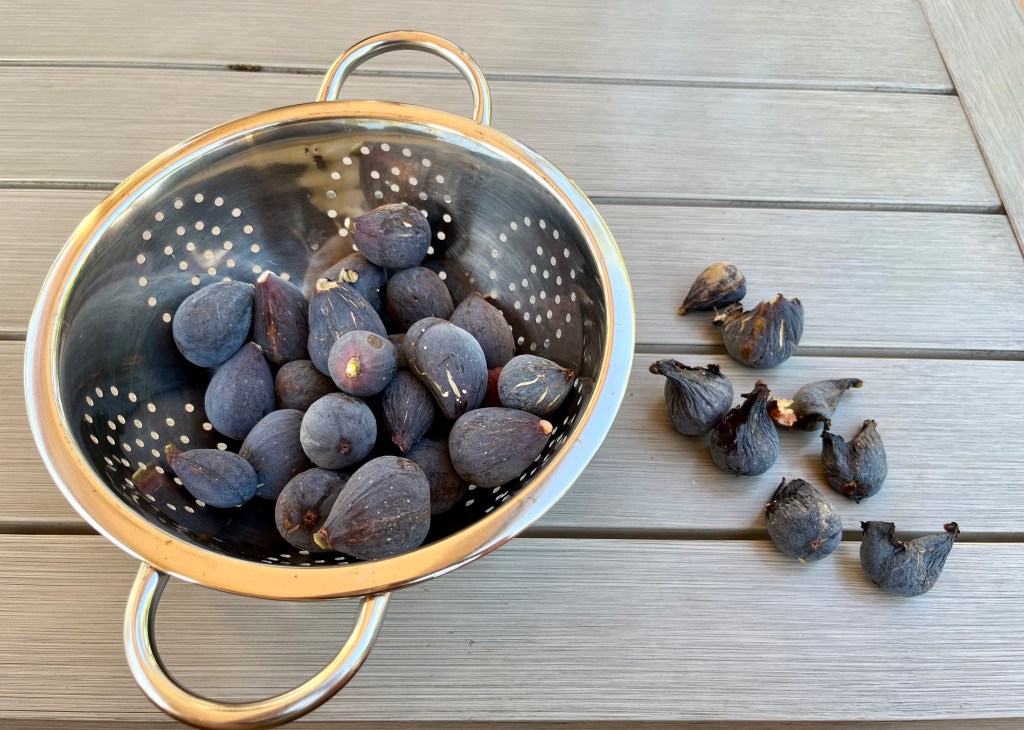
Regretting my Valentines Day purchase. As if things weren’t bad enough with my poor Agave, Cruella (my wife) had demanded that I make an effort for Valentines Day and get her something romantic. I racked my brain for days and eventually came up with the perfect present that was both practical, stylish, and suited to her personality. At great cost I bought her a new titanium based, multi positional short take off and landing broom. The photos below show this wonder of modern technology in both its extended long take off mode and its shortened take off mode.

Given that most of her current brooms are what you would term shoddy, I thought she would be delighted. She took one look at it and proclaimed “I wouldn’t be seen dead on that modern crap”. She stormed off in a huff and spent all of Valentine’s Day with her chickens murmuring darkly in chickenese whilst occasionally giving me black looks. The upside was that I could get on with sowing seeds!

The big winter cutback Part 4: The terror of trees and I am referred to a Tribunal accused of making the sky fall in!

So this is it we have finally reached the end of the big winter cutback. It has taken about a month and I have left the worst till last. Regular readers of this blog will know that I always finish the cutback by tackling my large Ficus tree. I cut out the centre of this tree about 10 years ago to make a pleasing donut shape, but the tree has never forgiven me and takes every opportunity to do me harm. To be honest it comes second only to Cruella (my wife) in threatening my existence. I have fallen out of it, had branches fall on me, it has made me bleed, bashed and concussed me on numerous occasions.

And now you know why I leave this task to the very end. I have to work up my courage through extra physical exercises, primal scream therapy and I channel my inner Robert De Niro every time I look at the tree by shouting loudly “you looking at me…”. But it knows I am afraid despite all my braggadocio, I can see it smirk.

Anyway as if all that wasn’t bad enough Cruella (my wife) confronted me after my struggles with the tree and presented me with what she said was a writ, which she later said was a warrant. Anyway, whatever it was she just flashed this piece of paper in front of me and said it was official. But to be honest all I could see was some gobble-de-gook in her handwriting with a drawing of a chicken in the corner. Hey-ho more later, on with the gardening.

6th February 2004. Things I have been doing lately

Reshaping the little Weeping Fig. By way of warming up before the battle with the big Ficus, I decided to reshape my little weeping fig tree. Lots of people in Spain have these variegated weeping figs in their garden. They are lovely little trees that give colour and interest to even the smallest garden. However, because they are slow growing they can just sit there and be forgotten about.

To make them interesting you should consider cloud pruning them in to various shapes. Remembering that they are slow growing so don’t be too drastic and do it over a few years. The photo below shows the little fig with its trunk exposed (which I did a few years ago).

As it was time for its annual prune and I decided to prune back the lower growth with the eventual aim of having two pom poms of leaf with exposed trunk below and in the middle. The photo below shows the end result. I think it is quite fetching.

The battle with the big Ficus. The trouble with this annual battle is that I am getting older, smaller and weaker, whilst the tree is similarly getting older, but at the same time getting bigger and stronger. How long I can continue I don’t know, but I do know that if you show fear to rabid dogs or large trees then you are finished.

I always start this task the same way; I get Cruella (my wife) to take various picture of me posing in bravura poses in and around the tree. Then I assemble the various tools that I will need and leave them close to the tree to try and psyche it out. The photos below show the big tree in all its malevolence followed by my efforts at psyching it out. Click on each photo for a larger view.

I start the process by using my long reach electric trimmers to walk around the circumference of the tree gradually bringing the sides back into shape. The tree of course responds with ill will by continually dropping things onto my head and into my eyes. I keep my spirits up be singing hymns as I march round and round – onward Christian Soldiers is a favourite. The tree responds by moaning “the trees of the field”. The end of the first phase can be seen in the photos below. Click on each photo for a larger view.

The next, and most dangerous phase, involves climbing up into the tree, pruning the top flat and redefining the central donut. The photos below show me in the tree, this time I’m singing “nearer my God to thee”. The tree was singing “the fall of man how deep and great”. Click on each photo for a larger view.
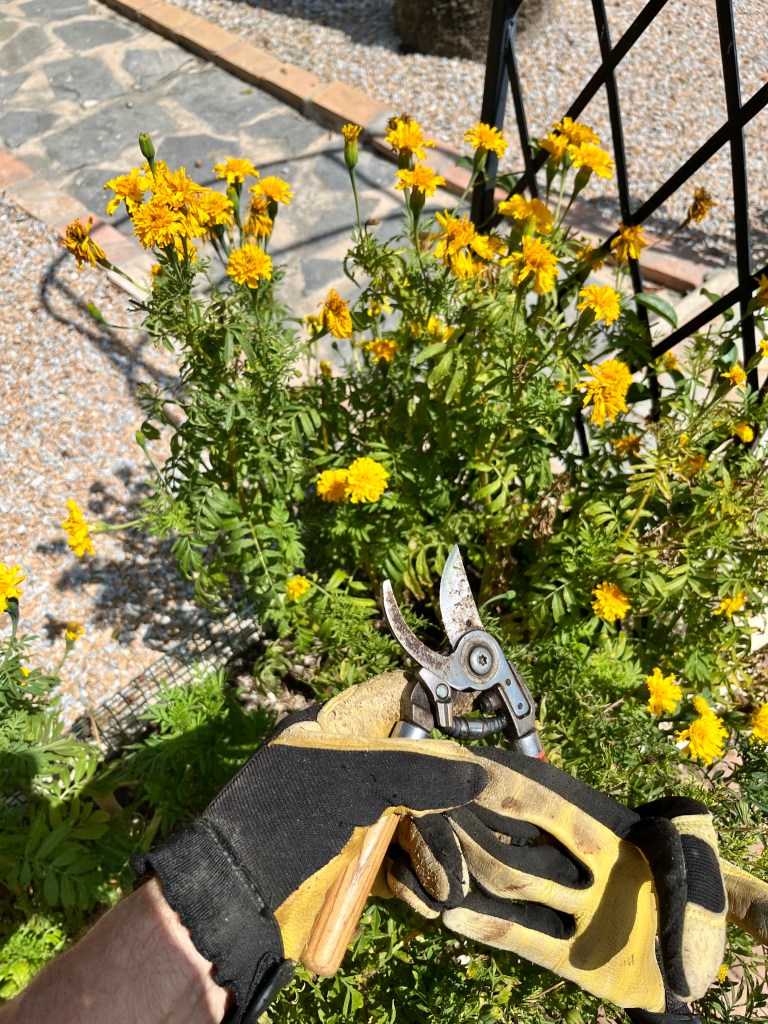
After it was all over my final act is to place the Cheshire Cat back into the centre of the tree.

The Cheshire Cat smiles for another year.

My appearance before the Tribunal. After all the highs and excitement of conquering the big tree for another year, you can only imagine my disappointment at being confronted by Cruella and her supposed writ/warrant. What it all came down to was that her chickens had complained that my activities in the big tree was making the sky fall in as things kept landing on their heads. To back this up she showed me the photos below as evidence. Click on each photo for a larger view.

When I complained that she had been reading her chickens the bedtime story of Chicken Licken which has exactly the same plot when the sky supposedly falls in on Henny Penny. She drew her self up to her full height thrust her hand out into my face and shouted loudly “always believe the chicken and not the hetro-normative establishment”.

Anyway she insisted there had to be a trial. Her jury consisted of the chickens. I was not allowed to call any witnesses in my own defence. When I tried to call big Bertha her biggest chicken as a witness on my behalf, there was a sudden cacophony of noise from all the chickens (in chickenese of course). Cruella then accused me of dead naming Bertha who now goes by the name Bert. As I looked across at Bertha I knew I had messed up as she was now sporting a waistcoat and smoking a pipe.

Well it was all down hill from there. Cruella called a whole range of witnesses including: Cocky-Locky, Ducky-Lucky, Goosey-Loosey and Turkey-Lurkey all of whom damned me in no uncertain terms. The end result is that I have been found guilty of a hate crime and sent into exile at our English house for a few weeks.

The big winter cutback Part 3: and I am referred to a Tribunal accused of making the sky fall in!

Well by now most of you should have just about completed your big winter cutback and this is my penultimate instalment of my marathon effort. This of course only applies to those of us who don’t have frosts, some of you might not even have started yet – good luck.

This post covers the following areas and plants of my garden:

  • cutting back trailing lantana
  • pruning grape vines
  • cutting palms
  • bringing hedges back into shape

31st January 2024. Things I have been doing lately:

Cutting back trailing lantana. I use trailing lantana and other trailing plants in many areas of my garden as part of island planting which I use to break up and add interest to areas of stones and gravel. The photos below show some of my lantana islands. Click on each photo for a larger view.

When cutting back lantana it pays to be brave. Using your secateurs cut back hard to just above a leaf juncture. By taking it back this far you will be removing most of the old wood and encouraging strong new foliage in just a few weeks. When you do this the plant itself will actually get larger each year as you are cutting it back on much larger root stock.

When cutting back low growth plants at this time of year be sure to wear your garden gloves. Snakes and all sorts can be happily hibernating under your plants and they don’t like being disturbed. The photos below show my lantana happily cutback together with a large toad sleeping away. Click on each photo for a larger view.

Pruning back grape vines. When pruning grape vines you are looking to just take off the side shoots to leave a small stump for the new fruit growth. Do not cut the main stem! the aim is to leave this to thicken and lengthen over the years to act as a superhighway for the sap for the whole vine. The photo below shows the best place to cut.

Don’t be tempted to cut right to the stem as you will lose the fruit.

I have three grapevines: one runs along the front of the house and two grow through balustrade at the side of my pool. The photos below show my grapevines prior to pruning, you can also see that I have encouraged one of my vines to grow up and through a Euphorbia. Click on each photo for a larger view.
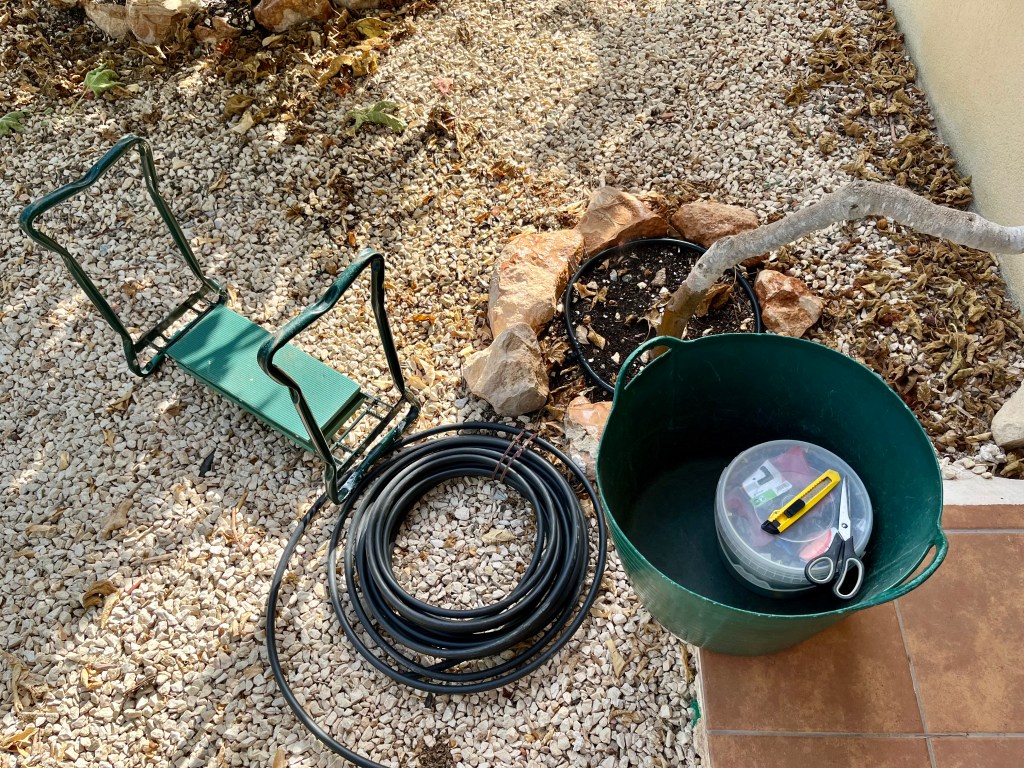
Finally some of my handiwork. These vines will start sprouting within a month and off we go again. With correct pruning the vine will get stronger each year and eventually before you know it you will be making your own wine. Click on each photo for a larger view.

Cutting palms. Now is the time to prune and tidy up your palms as the sap will be down, the palm weevil will not be flying and most viruses will be dormant. However, do not be tempted to climb large palms and hack at them. You will probably fall off the ladder or cut yourself and bleed profusely. Leave it to the professionals.

The only palms I cut myself are Sago Palms and European Fan Palms, both of which I can reach from the ground with long lopers. I dealt with cutting sago palms earlier in the big cutback so I was left with my stand of fan palms. These consist of four main palms and their multitude of pups which grow in a small redonda we have created in a pathway. The photo below shows the palms prior to their cutback.

From the photo you can see that it is becoming an important feature of the garden. To stop it dominating and overwhelming this part of the garden it is necessary to thin it, reshape it and lift the crown of each palm.

Using long lopers I first go round the edges of the palms cutting out wayward fronds that are ruining the round shape. For the bottom growth I am not so worried about keeping the symmetry of the palm I am more interested in keeping the lower growth within the redonda.

Once I am happy with the lower shape I then use very long extended lopers to take the top growth of each palm back to just two rows of fronds. The two row bit is important as I will always have a spare if something happens to one of them. The photos below show the resultant frond massacre. Click on each photo for a larger view.

Bringing hedges back into shape. Hedges are an important part of my garden as they mark boundaries so much better than fences, and they flower, which fences never do. I have about 200 metres or more of hedges all tightly packed and encouraged to fight to earn the right to flower. These include:

  • Bignonia
  • Plumbago
  • Trumpet vine
  • Jasmine
  • Roses
  • Bower vine
  • Bougainvillea
  • Hibiscus

In addition to all of the above I have two self seeded trees that have found their way in: a white maple and pomegranate both of which add a bit of contrast in height. The rule with hedges is very simple; everything is cut back drastically to the same height, with the edges taken back straight to encourage light into other areas. The photos below show my hedges before, during and after their prune. Click on each photo for a larger view.
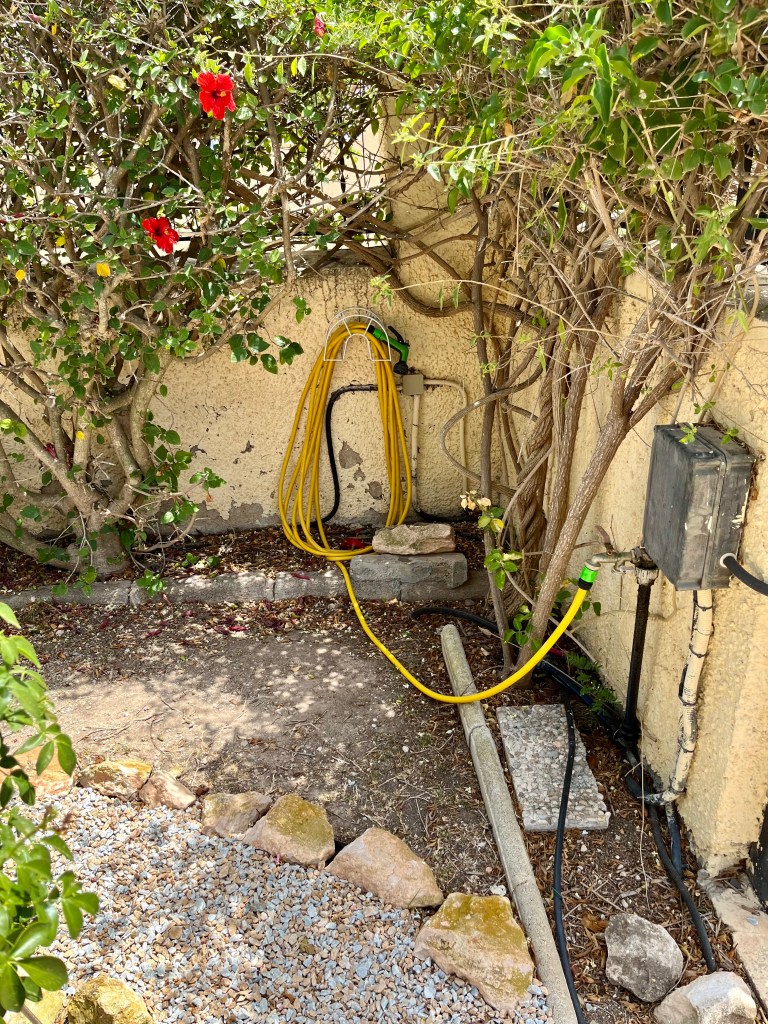
The final act of hedge pruning is to shred the thicker stems from the maple and the pomegranate and use them as mulch under other trees. Click on each photo for a larger view.

I am referred to a Tribunal. I am too upset to cover this item in this post, and also I have to prepare my defence against accusations of making the sky fall in. Hopefully, I will be able to talk about it in my next post.

The big winter cutback Part 2: Figs and Roses + Grass

Who knew that gardening could be so Rock and Roll; I always thought Guns and Roses was a stupid name anyway. If you have roses and figs, then now is the time to get them pruned back. Add a little bit of grass for you old hippies and we are really rocking. To think that Cruella (my wife) thinks that gardening is boring. Without further ado, let’s get on with the big cutback .

17th January. Things I have been doing lately:

Pruning Roses. People sometimes make out that there is a lot of mystique about the timing and methods of pruning back roses. But roses are very hardy and can take quite a lot of rough handling. The photos below show some of my roses ready for their annual prune. Click on each photo for a larger view.
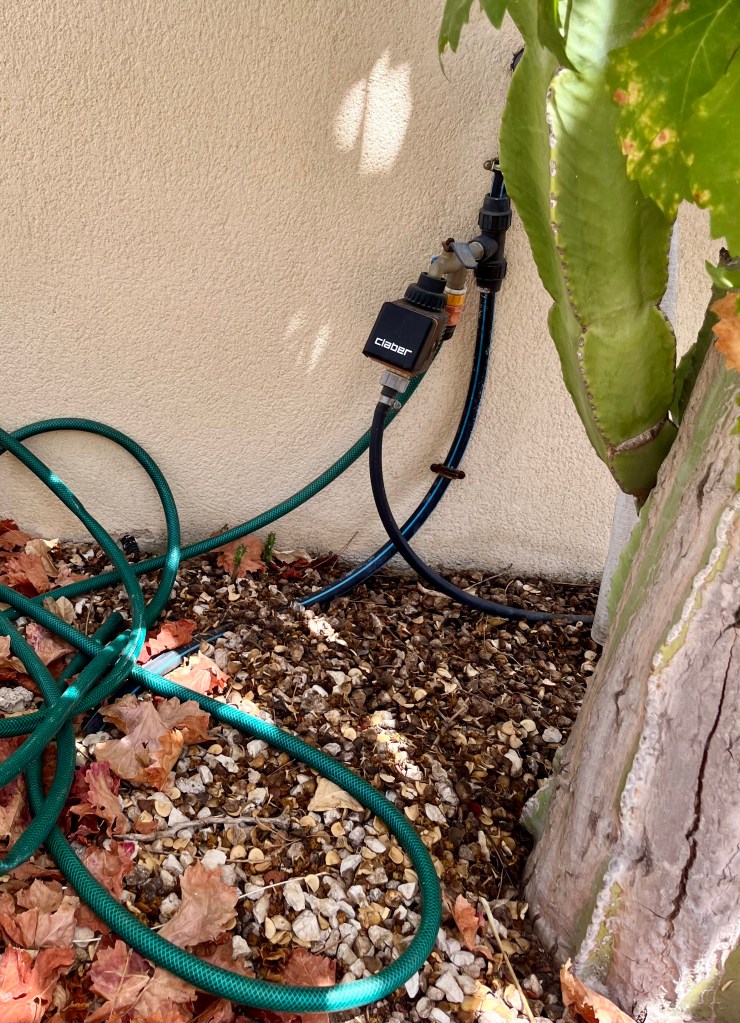
It is important to remember that climbing roses are pruned differently to bush roses. With climbing roses I recommend running hedge trimmers lightly up the length of the plant just removing excess side growth without cutting the upward stems. In this way you will maintain height but get rid of bulk. The photos below show my climbing roses before and after their trim. Click on each photo for a larger view.

Now if like me you have lots of roses (I have 30) then pruning can be quite a time consuming process, so I recommend that you do it in two linked stages. First, be brave and get out your hedge trimmer or shears and just prune back all your roses to the required height – I recommend taking off at least two thirds of the height.

Second, get on your knees and prune each individual plant as follows. With bush roses the simplest method is to prune back by about two thirds to the nearest outward facing bud joint. As part of this process take out any crossing or diseased stems to leave a nice open centre to the plant a bit like a wine glass. The photos below show my roses pruned. Click on each photo for a larger view.
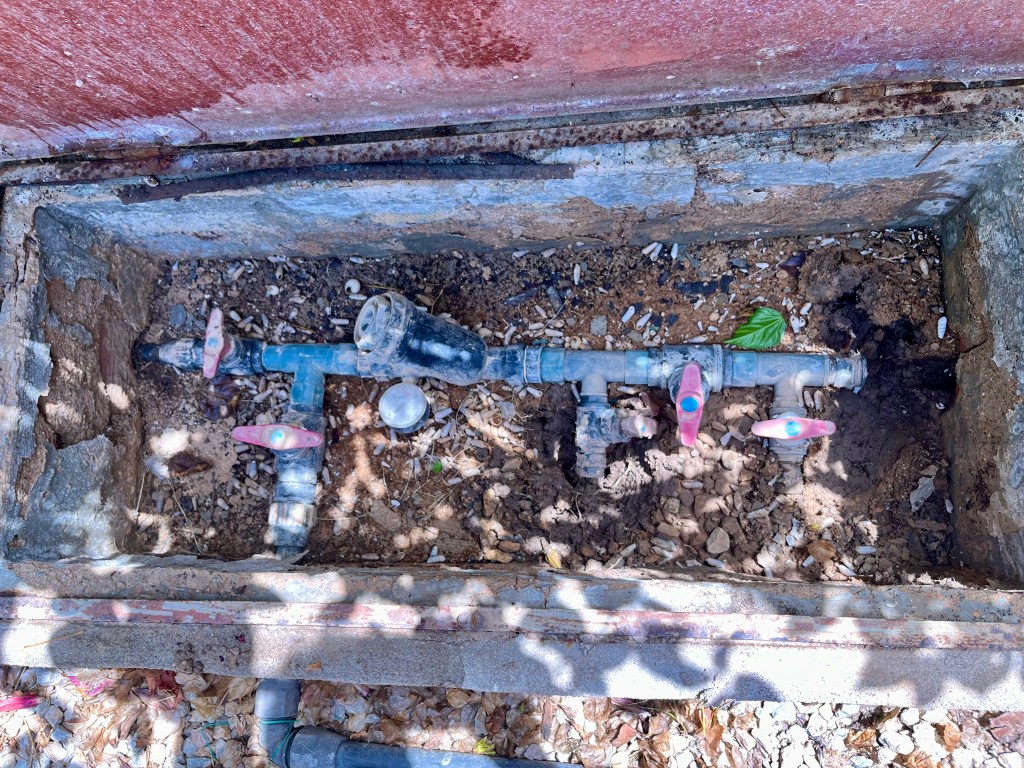
The more perceptive amongst you will note that the final photograph shows that you can barely see the pruned rose from the leaf debris and grasses growing through. I am sorry to tell you that this is when it gets difficult and when the real hard work starts. Oh and unfortunately you will lose a lot of blood. Using a pointed trowel you need to get under each rose and remove all the leaf debris and dig out the weeds and grasses. The rose thorns will get you no matter how good your gardening gloves and you will bleed quite a lot.

This is the important part so please pay attention. Sepsis though rare affects a number of gardeners each year. If you cut yourself – and you will – then it is important that at the end of your pruning blood bath you wash your hands and then bathe your cuts with an alcohol solution to ward off infection. The photos below show my lovely rose beds all restored and ready for this year’s growth. The final photo shows the all important alcohol to sterilise your many cuts. Click on each photo for a larger view.
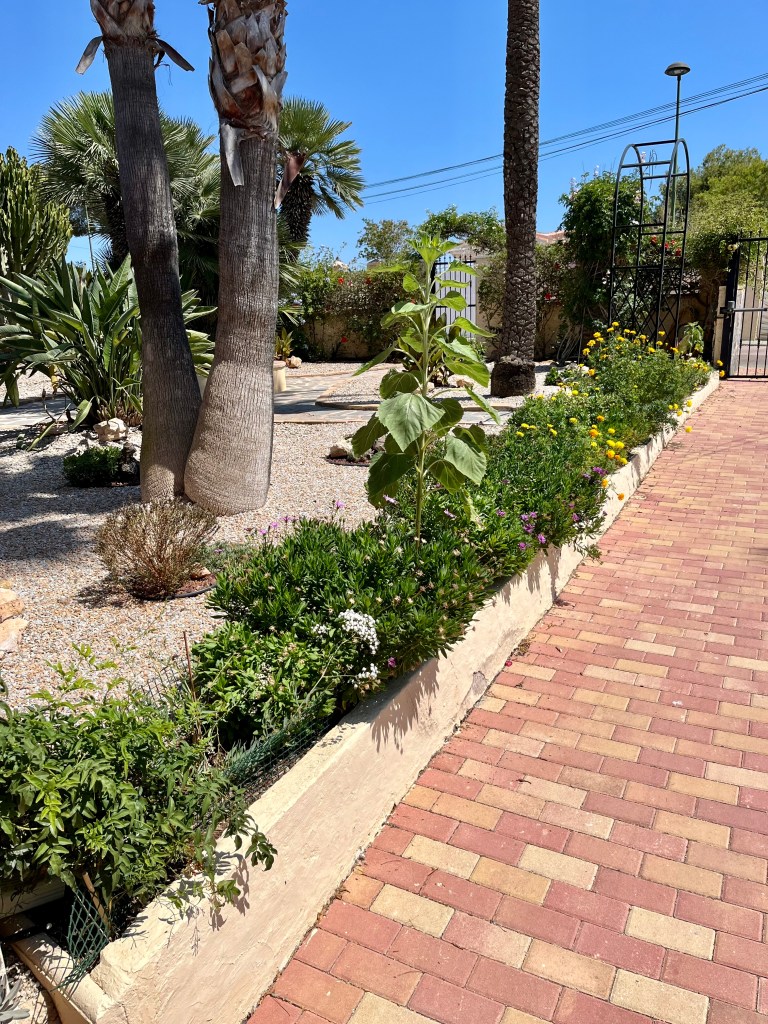
Pruning fig trees. Most fig trees in Spain are allowed to grow into giant behemoths sprawling over gardens like something conjured up by Gandalf. Their fruit is often too high to harvest and they shade out other plants nearby. I have two fig trees: an espalier and a free standing tree. As a lover of figs both of my trees are cosseted. They are fed, netted and pruned at exactly the correct time, and in return they provide me with abundant fruit. My trees are shown below in their unpruned state. Click on each photo for a larger view.

You should only prune figs when you are sure the sap has returned to the roots as figs have a caustic sap which can inflict quite severe burns if you foolishly cut any branches during the growing season. There are many ways to prune figs, but whatever your chosen method there are two key elements.First, ensure that you have trained your tree so that you can easily reach the fruit at the height of the growing season. Second, prune to achieve an open aspect at the centre of the tree to let in maximum light and air.

The pruning method I have chosen for my free standing tree is to pollard it back to six main branches each of which have numerous stems during the growing season. For the espalier fig, I just remove perpendicular side shoots to encourage lateral growth along wires. The photos below show you both trees after their prune. Click on each photo for a larger view.
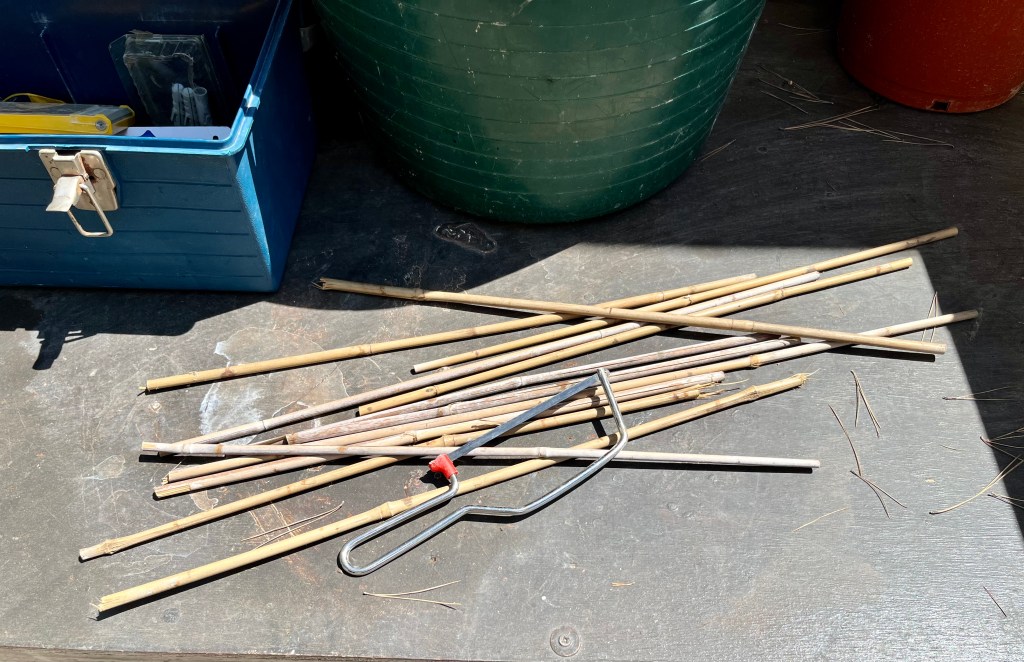
If you want to propagate your trees either to have more, or to give to friends, then this is the ideal time. Many of the branches you have pruned off will have buds just waiting to spring into growth. Choose some of the best of these; I always look for healthy strong branches with multiple buds at the end. Cut them back to about 30cm just below a growth node then dip the ends into growth rooting hormone (don’t worry if you don’t have this it probably will still work). Pot them up in free draining compost and leave them in the winter sun. With a bit of luck you will have some new trees in the late springtime.

The first photo below shows my choice of potential cuttings. This is followed by an indication of where to cut. Then the process of dipping into hormone rooting liquid. My free draining mixture one part compost to four parts soil is shown as an action photo of a trug. Finally my little cuttings ready to get going. Click on each photo for a larger view.

Cutting back Fountain grass. I have one large Fountain grass which unfortunately had died in the middle as most grasses will do over time. I split it just over a year ago and replanted 3 into my own garden and gave some to my friend Camilla who is making a new wonderful garden. Anyway, now is the time to cut back grasses. The simplest way to cut back grasses is just to use your hedge trimmers to gently trim around the plant to make a small mound shape. Do not be tempted to square the grass off (as Ayuntamientos have a habit of doing) this guarantees a short life before the centre dies back. By creating a mound you maximise the light and air to the plant.

The photos below show my little transplants before their cut back and finally how it should look after cutting. Each mound will get bigger each year until eventually the splitting process takes place again. Click on each photo for a larger view.
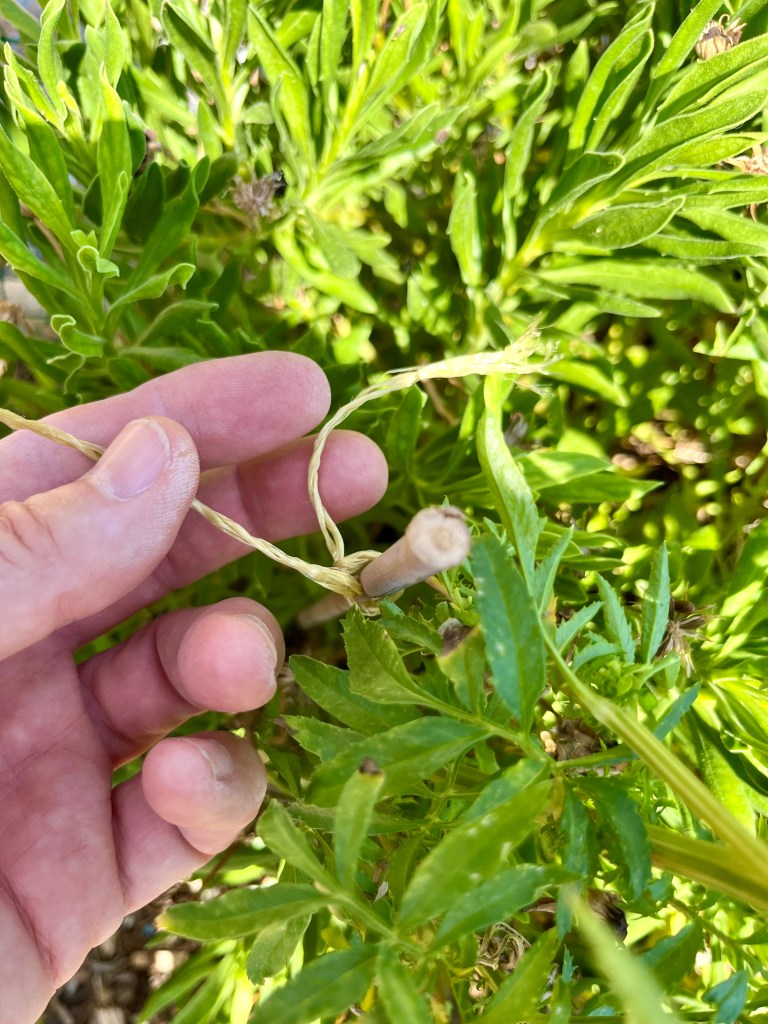
It’s time for the big winter cutback Part 1, and the chicken whisperer returns

Yes, it is that time of year when we gardeners have to get out there and cut everything back. Failure to take action now will mean that your garden will not fulfil its potential this Summer. Over the next few weeks I will be pruning, cutting back and generally getting my garden into shape for the coming summer. I will be working with the types of plants you have in your Spanish gardens, so just follow what I do over the next few posts and we can guarantee a lovely garden this summer.

Unlike most of you I have certain hindrances whilst doing my garden, namely: Cruella (my wife), her brood of chickens from hell, and as a special treat the idiot son has come home for a holiday and Cruella has declared him a chicken whisperer. Anyway, let’s get on with the gardening.

10th January 2024. Things I have been doing lately:

Over the next few posts I will keep you up to date with the big winter cutback, but this particular post will cover the following:

  • Pollarding Peruvian False Pepper trees
  • Pruning Sago Palms
  • Cutting back Dame de Noche
  • Pruning climbers
  • Dealing with the chicken whisperer

Pollarding Peruvian False Pepper trees: This tree can be found in many Spanish gardens. Its weeping willow type foliage and lovely little red peppercorn fruits provide an attractive tree that can grow up to 15 metres tall. However, too often the false pepper is allowed to grow into a huge behemoth that whips around in the wind and covers you terraces in discarded foliage and blocks your swimming pool skimmers. The photo below shows my tree before pollarding.

Left to grow this tree canopy would double in size over the next few years.

The secret to keeping the false pepper as a useful part of your garden landscape is to ensure that you pollard it every 5 years or so. Pollarding involves radically pruning back the main branches which reshapes the tree and encourages secondary growth that will stay manageable for a few years. When pollarding you need to use a chain saw or bow saw to cut each of the main branches about 6 inches from the base of the branch. By keeping the correct distance from the base of the branch you will not damage the branch “collar” which contains the growth instructions for the branch.

Luckily the idiot son was visiting so I persuaded him to help me pollard the tree. I had to promise him copious quantities of beer and Cruella insisted that I held the bottom of the ladder at all times. The photos below show the idiot in action with the final photo showing the finished pollard. Click on each photo for a larger view.

The final pollard will last at least five years

Pruning Sago Palms: The slow growing sago palm is another perrenial favourite in most Spanish gardens. These can be majestic if pruned correctly, but if just left to their own devices, they are just another green lump in your garden. There are two schools of thought on pruning sago palms. The first says that you must leave the fading yellowing fronds on the plant as they provide nutrients. The other says keep it pruned and tidy and if necessary give it a feed. I support the latter process and always prune mine back to two rows of fronds from the top. Two rows is important as if you left just one row and then these became diseased then you could lose the plant. I have two main sago palms; one is in the ground and the other in a pot. Both are shown below. Click on each photo for a larger view.

From the photos above you can see that both are due a trim. Using long handled lopers I gradually move round the trunks taking off rows of fronds until I am left with just two rows on each stem. The photos below show my handiwork.

The final stage in pruning the sago palm is to remove any pups it has thrown from the base of its trunk. These look like mini sago palms that are emerging, and you can pot these up, but that is for another days post. Today we just need to take them off to tidy up the plant. The first photo below indicates the pups circled in red. You just need to remove these with your secateurs or lopers and then the plant is left nice and tidy for the summer.

Cutting back Dame de Noche. The lady of the night which is a night scented Jasmine needs to have its final cut back now if you are to enjoy its lovely scent in the summer. You should have already cut the plant back by a third after its first flowering to allow a second flush of flowers. This final cutback can be quite drastic to encourage a healthy shapely growth. Depending on the age of your plant you can take it back to 6 inches.

The first two photos below show my dame de Noche looking straggly and ready for its cutback. Notice that I have planted my dame de Noche close to our outside seating and eating area so that we can benefit from the beautiful night scent. Click on each photo for a larger view.

The next photos show the plant cutback and ready for its final pruning. To finish the prune use your secateurs to open up the centre of the plant to take out crossing stems and let light and air in.

Pruning climbers: The trick with pruning climbers is that you do not want to lose height but you do want to reduce bulk so that you can let light into the plant. So in effect what you need to do is remove side shoots. The simplest way to do this is to run your electric hedge trimmers up the front of the plant aiming to stay away from the upward growth. Lacking hedge trimmers just use garden shears to achieve the same effect.

So far I have cut back the Solanum that grows up the side of my outside kitchen and dining area and also my column of plants that I trained up a palm trunk. The photos below show that all that is needed is to just take away bulk and bring back shape. Click on each photo for a larger view.
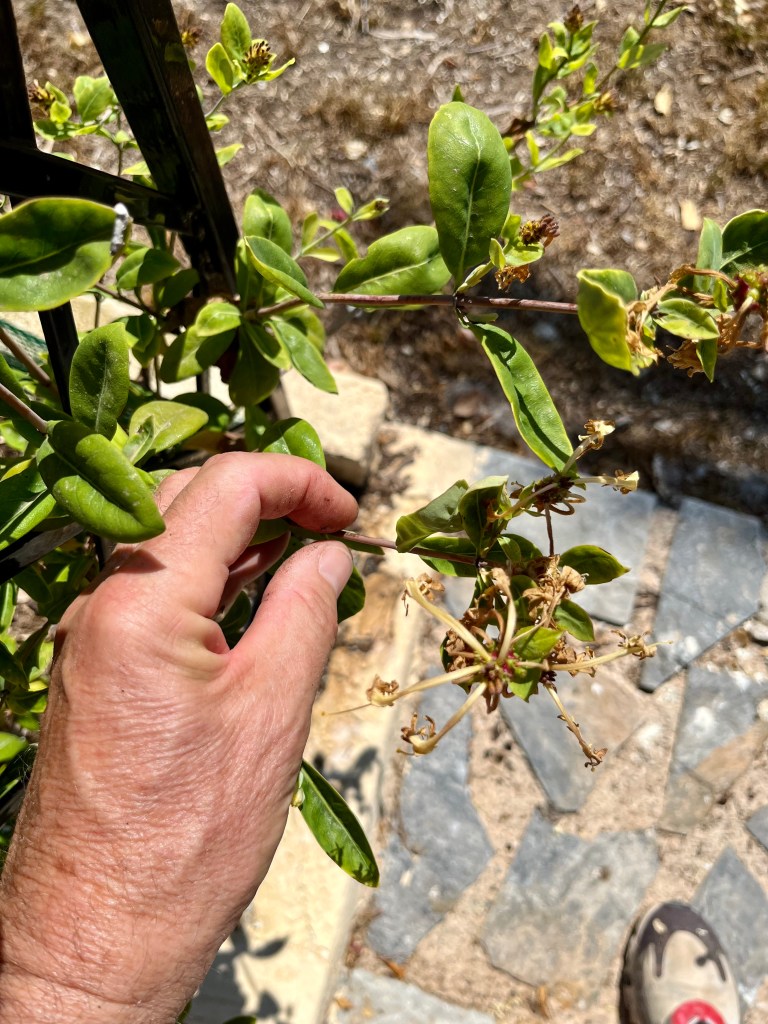
Finally, don’t be tempted to feed or overwater the plants you have pruned. Wait a couple of months till you see new leaf growth and then give a light feed.

Dealing with the chicken whisperer. Whilst I have been dealing with the start of the big Winter cutback, Cruella (my wife) has been training the idiot son in the art of chicken whispering. She is trying to convince him to leave the world of Finance and become her rightful heir, or as she calls him “Prince of Chickens”. So far he is holding out, but she is making him follow a strict curriculum of chicken studies. This includes lessons in Chickenese every morning followed by hands on work with the chickens in the afternoon. Early evening is spent in the so called art of chicken whispering. The later evening is spent in the rites and mysteries of putting the chickens to bed, but I can’t tell you anything about this as I am not allowed to see what goes on.

The photos below give you an idea of what they get up to, I did have some others but Cruella made me delete them! I am only allowed to show you these ones as Cruella is using them in his graduation album. Click on each photo for a larger view.

A Christmas greeting to all gardeners

It’s time to make your beds, and Cruella invents a chicken heroine

Yes, it’s that time of year again when you begin the work to build your garden for next year. The idea is that over the next couple of months we bring the garden back into shape ready for next year’s growth. Remember this is a staged process so don’t rush out now and chop everything down. Let nature take its course, let leaves fall, stems wilt and sap descend to roots. Cut back too soon and you damage the potential for next years growth. The starting point is always your flower beds. All the annuals should have more or less died back and the perennials are in need of a trim. Needless to say I have been doing all this under a continuous state of siege as I am harried by chickens at every turn. More of this later; on with the gardening.

2nd December 2023. Things I have been doing lately:

Cutting back Canna. If you have followed my instructions – and I am sure you have – you will have left your Canna to wilt and wither to ensure that all the sunshine can be gathered from the dying stems and taken back into the rhizomes (ugly bulbs). The photos below show a selection of my dead and dying cannas. Click on each photo for a larger view.

To be honest it has not been a good year for Cannas they suffered from the lack of rain, so by cutting back now we can hopefully have a better flowering next year. The secret to cutting back Cannas is not to cut them right to the ground. If you do, then you are in danger of letting water and eventually rot get down into the rhizome. Instead cut the stem about 3 to 5 inches from the ground and just leave them. The cut stems will mainly dry off and can be plucked out next year, whilst new stems will grow from other “eyes” in the rhizome. The photos below show some of my cannas cutback. Click on each photo for a larger view.

Clearing Marigolds. By now most of your beds will have been cleared as you will have deadheaded and removed spent plants throughout the summer. You should just be left with stubborn annuals and perennials. I have been selectively saving Marigold seeds over a period of about 10 years so consequently I can have quite large Marigolds flowering all the way from March to December. But now is the time to take out the survivors. The photos below show my by now deshabille Marigolds. But I love them and we always say a prayer of goodbye when it is time for them to go. Click on each photo for a larger view.
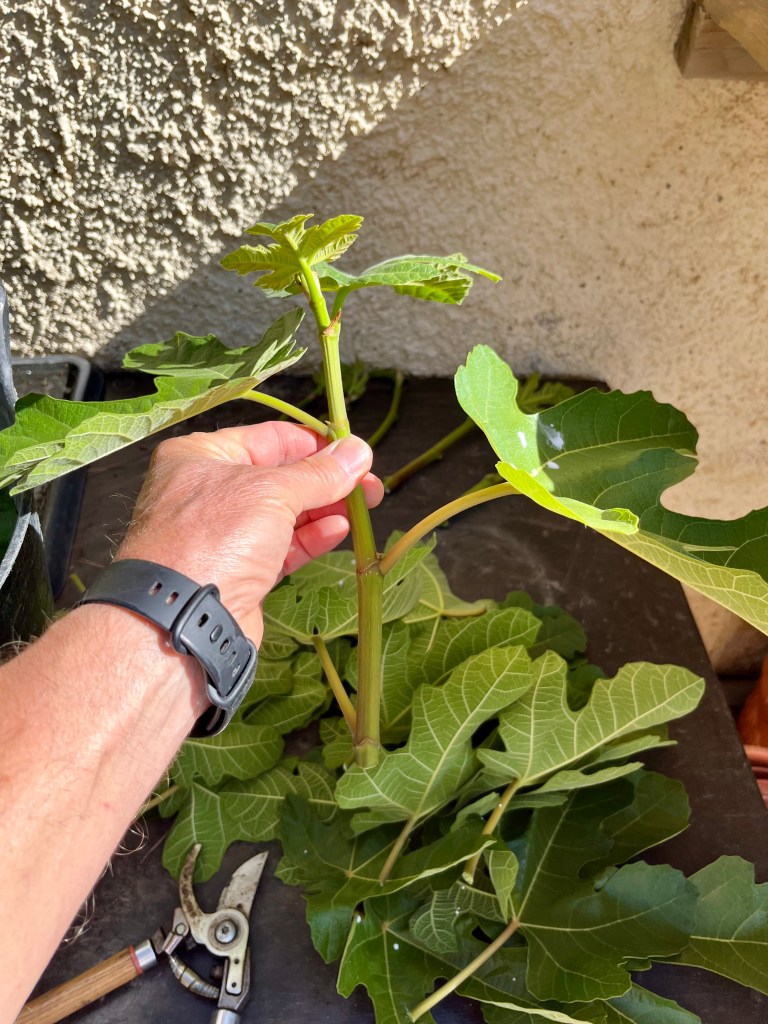
Reshaping Osteospermums. These daisy type plants are real garden troopers. They will flower all summer and then put up with the harshest of cutbacks at the end of the season. I generally cut back to new leaf growth at about between 3 to 5 inches using secateurs. But where I have massed plants I quite happily get my garden hedge trimmer out and go at them with a will. The photos below show my overgrown Osteospermums before and after their drastic trim. Click on each photo for a larger view.
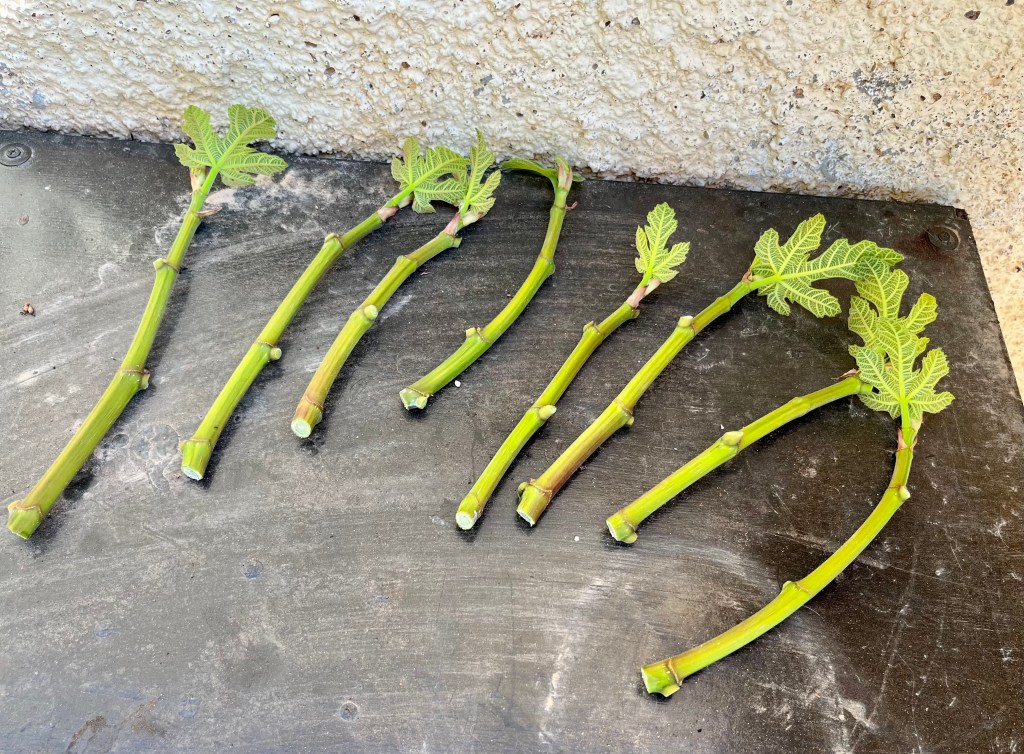
The main benefit of cutting back Osteospermums now is that they are prolific self seeders. By cutting back you are letting air and light get to the soil and this will encourage the hundreds of seeds under the plants to begin to come to life. I will begin to see tiny seedlings spring up over the next month or so. I then remove these and pot them up in seed trays ready to plant out in February. In this way I get all the benefits of the self seeding plant, but, I get to put them where I want them.

Weeding around emerging bulbs. Another important reason for clearing your flower beds is that if you have lots of bulbs then you might begin to see the early flowerers beginning to emerge. If you are not a knowledgeable gardener (and I don’t mean you of course), then there is always a danger of cutting off new bulb growth in the mistaken belief they are weeds. To stop this happening you need to get back to old fashioned gardening, get on your knees and hand weed.

New bulbs will often emerge surrounded by grass and other weeds. To differentiate the bulb stems from weeds you just need to take off your gardening gloves and feel the stems. Bulbs stems will be rounded, whilst grass will be in thin flat blades. If the grass is too close to the bulb stem to remove it with your trowel, then just pluck out the blade of grass. Do this weekly and it will eventually kill off the grass, or at least keep it at bay until the bulb growth can shade it out. The photos below show my poor bulbs surrounded by grass, then how to differentiate between the two, and finally the resulting weeded area. Click on each photo for a larger view.
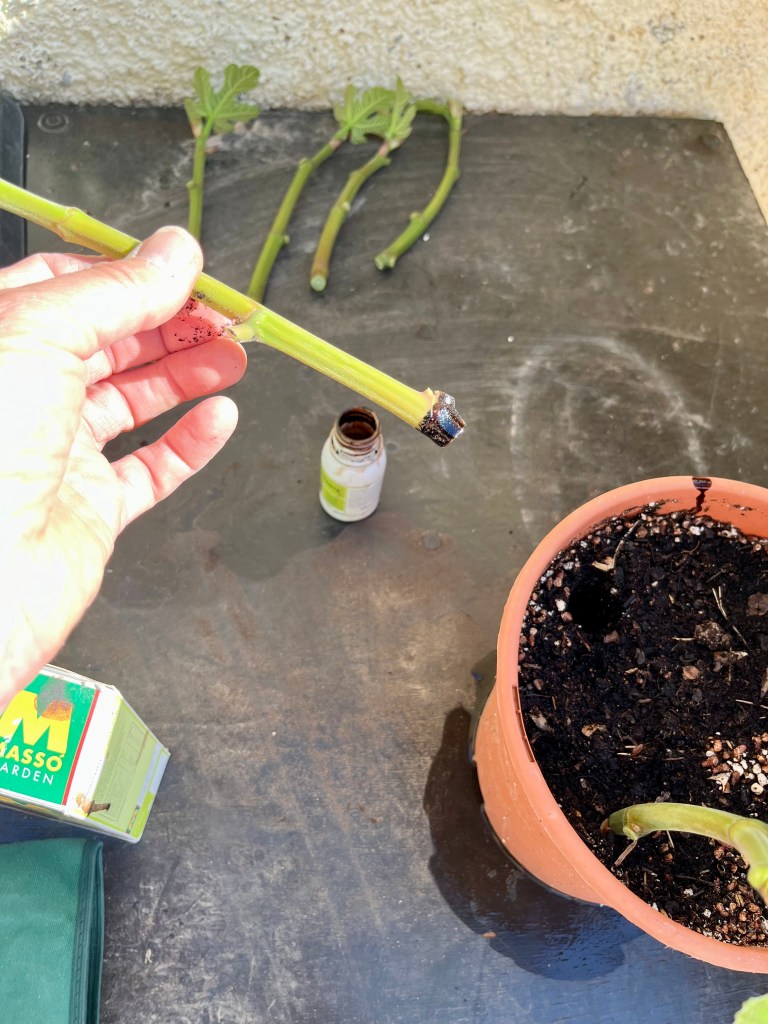
Keeping my chicken defences up. Regular readers will know that I have had to erect small mesh fences around my flower beds to stop Cruella’s (my wife) chickens from marauding through them and digging up plants. I will be honest with you it has been very stressful working on the flower beds. It is like being a dying man watched by vultures. They have hung around me, watching and waiting for any gap in my defences. The photos below show my finished flower beds and the problems I have faced. If you look carefully in the photos you can see lurking chickens. The last photo shows Big Bertha brazenly eyeing up the newly weeded flower beds. When I protested to Cruella she said “what’s the matter with you she’s only looking”. Click on each photo for a larger view.

Cruella invents a chicken heroine. The whole flower bed issue was so stressful that I complained to Cruella that her chickens should be kept in their coop and not allowed the run of the garden. Cruella flew into a rage denouncing me and the Patriarchy saying that I have male privilege and that she and her girls are oppressed. She stormed off shouting that “the counter culture fight back starts here”.
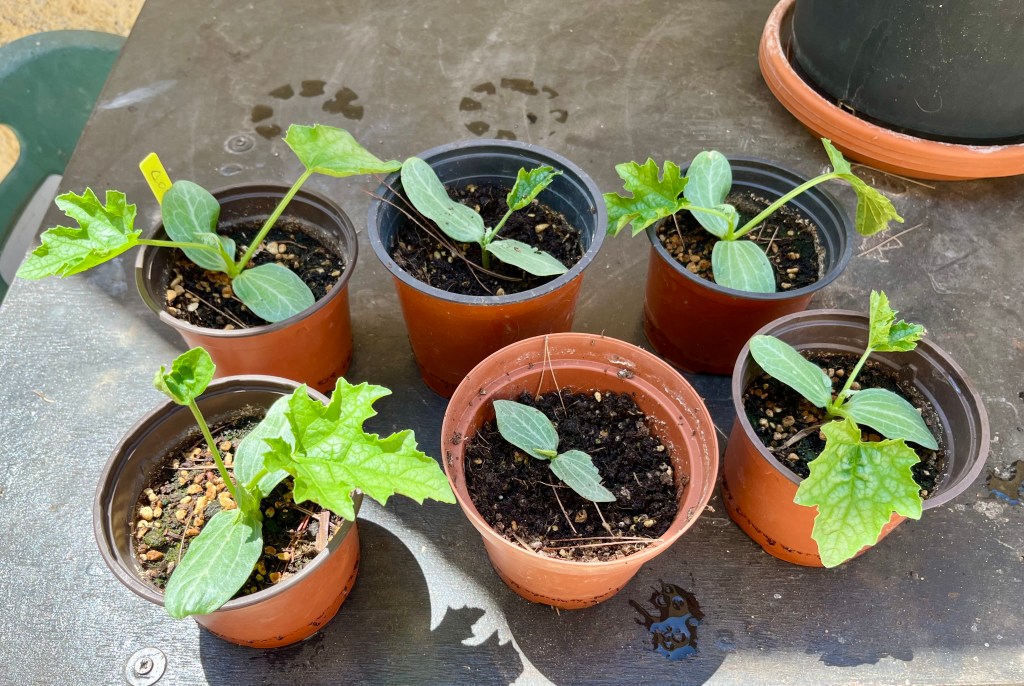
Anyway, the outcome is that she has invented a chicken heroine and is writing a self help “chicken power manifesto” along with a positively reinforcing novel for her girls. The heroine in her novel is called “Clara Cluckles” who although born in a lowly chicken coop, eventually rises up against the patriarchy , becomes a super heroine and performs a series of vengeful liberating acts against male privilege using her super powers. It appears that the arch villain in the novel is an evil gardener called ““Malevelo”. When I complained to Cruella. That this was demonising gardeners and smacked of cultural appropriation, she called me a privileged Prat and swore at me in chickenese (at least I think she did).

Since Cruella issued her Chicken Manifesto things have moved very fast. She has made herself a Clara Cluckles costume so that her girls can visualise the struggle. She has written to Disney floating the idea of a film to be called “The Eggventures of Clara Cluckles”. She has also suggested a Theme Park ride to be the main attraction in “Cluckles World”. She is making all her girls Clara costumes for Christmas and reads them the Eggventures of Clara Cluckles every night before bed. Unfortunately you won’t be able to buy it in the shops yet as the first edition is only in Chickenese. The photos below show Cruella in her Clara costume and the chickens lining up for their evening story. Click on each photo for a larger view.

It’s time for winter projects. Cruella gets a cockerel and the chickens get sex lessons

It is that time of year again when you are clearing out the last of the summer flowerers, but is not yet time for the big winter cutback. Gardeners often complain to me that they have little to do during this period, but I scoff at their ennui and lament their lack of enterprise; on the contrary this is the time for enterprise, imagination and gardening brio. Yes, it is time to look around your garden and start working on your winter projects.

No matter how good your garden is, and how well planned, there is always room for improvement. This is especially the case in Spain. Too many gardens are covered in acres of unrelenting gravel and paving, to the extent that they look more like car parks than gardens, what Americans would term “a yard”, no offence to my USA readers. When I ask people why they have gardens like this they always come up with the same two reasons: 1. it was like this when I bought the house. 2. It makes it easy for upkeep. Now if you are happy with that fine, but if not now is the time to take action.

The starting point for winter projects is to stroll around your garden with a critical eye and ask yourself what can I do to change, improve and alter my garden so that it will bring me more joy and be pleasing to the eye. To assist you in your endeavours I have included in this post some ideas from my own garden and ongoing projects.

Unfortunately this blog cannot just be about gardening as Cruella and her chickens are intent on inflicting more damage to my garden and my psyche. But, more about that later, let’s get on with the joy of winter projects.

6th November 2023. Things I have been doing lately:

  • redesigning my little water feature
  • constructing planting islands in gravel
  • cloud pruning and making trees interesting
  • chicken sex lessons

    Redesigning my little water feature. A number of years ago I designed and built a little water feature that would burble away whilst I swung backwards and forwards in my adjacent hammock slung between two palm trees. It also served to alleviate the sameness of gravel, by introducing planting and different colour gravel. Unfortunately, this was BC3 (before chickens). Since then my hammock has been removed a fenced area installed and a chicken coop erected in my previous paradise. This has meant that my little water feature has been neglected, and anyway the previous lavender plants never worked out. The photo below shows the state of neglect.
I know it looks pathetic but the lavender never quite took and pine needles kept getting stuck between the plants.

There were a number of stages in reviving this area. First, I had to take out and bin all the existing plants. Then I decided to rework the water feature element to make it simpler and more pleasing to the eye. I then had to decide on the type of planting I wanted around the water feature. I was looking for long stems that would not trap the pine needles and a no nonsense plant that would add interest without being needy.

Looking around my garden it had to be Aeonium of which I had plenty from which to take cuttings. The next stage was to cut through the existing membrane to plant, but only after dipping in hormone rooting liquid to give them a better chance of rooting. Finally I planted alternative Aeonium Schwartzkopf (black head) and Verdi the (green head) to give interest. The photos below show the various stages, I will let you know how it develops in future posts. Click on each photo for a larger view.

I think this will look lovely when mature.

Constructing planting islands in gravel. By introducing some plants and different types/colours of gravel you can begin to alleviate the sameness of acres of gravel and paving. I have followed this strategy over a number of years in areas where grass or similar is unsustainable. The photos below, which are all taken from my garden, show how a bit of island planting can enliven gravelled areas.

The photo below shows my rose beds which are planted in different coloured gravel which ensures differentiation even during winter. Click on each photo for a larger view.

The examples below show other areas of island planting that bring greenery into gravelled areas. Don’t be afraid to follow the same strategy in paved areas. You just need to lift a few paving slabs in strategic areas and you will alter the whole feel of your garden. If you are worried or don’t have the skills just get a builder in and it will take about half an hour. The final photo shows my larger water feature which fulfills the same function of being a focal point in an area of the garden. Click on each photo for a larger view.

From all of the above you can see how little projects done over a longer period of time can begin to bring life to gravelled areas.

Cloud pruning and making trees interesting. Trees like gravelled areas, are aspects of Spanish gardens that are often left as uninteresting lumps punctuating uninteresting gardens. But you don’t have to settle for this. Just because you inherited this behemoth of a tree, or, you just let it get out of control doesn’t mean you have to leave it like that. Cloud pruning and shaping your trees will bring amazing levels of interest to your garden. If you are worried about getting up a ladder then just call in the professionals and tell them your ideas.

The photos below show some examples of my various trees that I have shaped or cloud pruned to bring interest. Click on each photo for a larger view.

Chicken sex lessons.This section of the post could easily degenerate into smuttiness, so it will require everyone to be adult. It all started when Cruella said she thought her girls were growing up and they might have unmet needs. When I asked her what she meant she said she needed a “Cock”!. Putting aside the double entendres that the less educated of you may have reached for, she explained that her girls where no longer girls and where young woman with normal urges.

Anyway, it turns out that she was going to start a programme of sex lessons for her girls to gradually introduce them to the facts of life. Aware of her girls sheltered upbringing, she pointed out that they had never seen a male apart from me and Tango the lonely blind Labrador, he is neutered, and she has often expressed the wish that I was. She said she was going to start gradually and purchased a painting of a Cock – stop it! Using the painting of the Cock she has been holding a series of closed women only sessions in the Chicken coop where she is explaining the “facts of life” in chickenese to her girls. The photo of the Cock is shown below.

I have crept up and listened in a number of times, but obviously I don’t speak chickenese, but the clucks, pucks and shrieks, speak volumes. At the end of the 6th session which covered foreplay and the actual mating, a vote was taken. It turns out they have all voted against the Cockerel and have decided to remain “old maids”. Cruella is overjoyed and says it’s for the best as she feels that as well brought up young ladies her girls should not be sullied by brute male company. However, I have noticed her browsing “adopt a chick” on the internet. The photo below shows the end of the 6th session when all the chickens turned away in horror.

You can’t see the little brown chicken as it is hiding in the coop with its wings over its ears.

I continue the Autumn tidy up and the chickens get a shoe fetish

Cruella (my wife) has been away visiting our idiot son which means I have been able to get on with all the autumnal jobs I need to do in the garden. But it hasn’t been easy, the chickens follow me everywhere and just stand there staring at me. To make matters worse they have developed a shoe fetish and I think they need counselling. Anyway more of this later, on with the gardening:

24th October 2023. Things I have been doing lately.

  • repairing the lawn
  • dealing with the end of the soft fruit season
  • repotting plants
  • tying up Canna and relentlessly deadheading
  • dealing with the chicken shoe fetish

Repairing the lawn. I know that most of you do not have lawns, as only an idiot would have a lawn in Spain – I have to hide from Cruella every time the water bill arrives. Anyway if you have a lawn now is the time to repair it. The heat of the summer has gone, but it is still warm and there is the odd chance of rain to encourage your new seeds.

Begin by getting everything together that you will need to successfully complete your lawn repairs. The photo below shows everything you will need all loaded into my wheelbarrow. This includes:

  • sifted compost mixed with soil
  • good quality grass seed
  • garden protective fleece and ground staples
  • antpowder

Once you have assembled everything, then you need to cut the lawn quite short and rake over the patches you are going to repair. Once you are happy that you have raked sufficiently to bring the soil to the surface, spread your new mixture of soil and compost in heaps over the repair area. Next you will need to evenly rake your soil over the proposed repair area and roll it to ensure it engages with the surface of the lawn. Once you have rollered you should gently rake the new patch with a garden tined rake. Next sow your new seed by sprinkling left to right and then up and down to give you a nice even spread. Finish the sowing stage by rollering once more to ensure the seed has good contact with the soil and is slightly embedded.

That is it, you are finished; just make sure you never let the seed dry out. And if you left it there, then tomorrow when you come out to inspect your work there would be absolutely no grass seed left – not even a tiny bit. And that is because the birds and the ants are both stocking up for winter and your lovely expensive grass seed is very nutritious. So you have to protect your work. First by covering the seeded area in a garden fleece that will stop the birds, and then by sprinkling ant powder in a continuous line all around the fleece edge – leave one little gap and the ants will be in. The photos below show the whole process in action.

Dealing with the end of the soft fruit season. We are nearly at the end of the soft fruit season and we are about to enter the citrus season. And there are a few final things you need to be doing. Firstly keep picking fruit on a daily basis. Where fruiting has finished then it is time to remove your nets. My advice is not to try and save your nets for next year, you will cause more damage to your plants. Instead just get a pair of scissors and cut your old nets off. Finally, if you have espalier plants then you need to tie them in to ensure the correct growth. The first two photos below show my daily fruit pick. The next photos show my net removal technique and espalier tying in.

Repotting plants. Most of your pot plants should be almost dormant by now, so if necessary, this is the best time to repot those of them that have outgrown their pot. The first thing to do is to select a pot that is just one size up from the existing pot. If you go for a much bigger pot then there is a danger of a virus infecting the empty soil that has yet to be filled by roots. Place your plant into the new pot whilst it is still in its existing pot. Then fill around the old pot, ensuring you tamp the new compost firmly around the old pot. Wiggle the old pot around and then remove, leaving a pot shaped space in the compost for the plant to be replanted into. The photos below show this first stage.

You now need to remove your plant from the old pot. If it is a plastic pot, then you can normally remove the plant safely without damage. However, if it is a terracotta or clay pot, then it is better to give up on the pot and just smash it as this will cause less damage to the roots. The photos below show the journey from old smashed pot to nice new home.

Tying up Canna and relentlessly deadheading. Most flowering plants will have finished by now, though I have to say my Marigolds have been flowering unstoppably since March and are still going strong. The secret to my long flowering Marigolds is daily deadheading, ruthless removal of spent plants and propping up those left. The photos below show the valiant veterans gallantly flowering on into November.

Most bulb based plants can have all their top growth cutback now. However, the big exception is Cannas. Do not cut Cannas back yet, instead tie them up and leave their top growth to die back ungracefully. it doesn’t matter if your plants end up looking like a gang of drunks on a night out. By leaving the top growth to die back all of the goodness will be passed back down into their rhizomes, thereby ensuring powerful growth next Spring. The photo below shows my Cannas dying disgracefully.

Dealing with the chicken shoe fetish. It all started the very day Cruella flew off. I remember it well because she hit the top of the Mulberry tree on take off. No sooner had she vanished over the roof tops than the chickens started following me around. They didn’t actually do anything, they just followed me staring all the time, it was quite intimidating.

I phoned Cruella that night and told her about the problems with the chickens, she instantly said “what did you do to them” she then asked me to put them on the phone. I gave the phone to Big Bertha -their leader – and she squawked away in Chickenese to Cruella. When Cruella came back on the phone she said that her girls were suffering from separation anxiety and needed to be kept calm. She went on to say that she would arrange counselling when she got back!

Anyway when it came to putting them in their coop at night I found them all crowded around the shoes that Cruella wears when she goes out to their coop. I tried to shoo – no pun attended- them into their coop but they refused to move. In the end I had to carry one of Cruella’s shoes and place it in their coop. They all followed me clucking and eventually went up. Things are a lot better now as Cruella has sent me recordings of her singing all their favourite songs in Chickenese. I play these at night and during feeding times. So far it’s working; their favourites are “the ugly duckling” and “the chicken dance”; you should see them dance around to the chicken dance. The photo below shows the start of the shoe fetish.

Cruella kills the garden, I try and rescue it, and the chickens are on the Hollywood Diet

I’ve been away, not for long, but long enough for Cruella (my wife) to try and destroy the garden. Despite the fact that I leave copious instruction notes she still manages to kill things. On top of all that her bloody chickens are now on the worlds most expensive diet. I think it is all becoming too much for me, I may abandon the garden and take up stamp collecting. On with the gardening; for now, including:

  • Repairing the garden
  • Dealing with plant disease before winter
  • Reshaping my olive tree
  • Dealing with fruit issues
  • Coping with Prima Donna chickens

6th October 2023. Things I have been doing lately:

Repairing the garden. When I left for my short absence the garden was in superb condition. However, upon my return there was neglect and decay everywhere. I honestly thought of calling up the RHS helpline to report Cruella and hopefully get her a lifetime ban from ever owning a garden.

One of the main problems was the lawn. Cruella had allowed it to grow feral as she claimed that her girls prefer long grass. The photos below show the lawn before and after I cut it all back.

Perhaps the worst item of neglect was the death of my poor little advocado cutting. I had been growing this on for two years from a stone, and I was thinking of planting it in the ground in the autumn. The photo below shows what is left of it.

Dealing with plant disease before winter. Now is the time to go round and inspect all of your perennial plants before winter. This is an important process before the plants go into hibernation for the winter season. Any disease that your plant is harbouring will go on causing harm when the plant is in hibernation, and in many cases can be fatal. My inspection found me two typical cases that needed dealing with.

The first involved a lovely Dipladenia that had been happily growing up a trellis for a couple of years. It had got itself a severe case of Mealy Bug, which with its sticky honeydew droppings had caused considerable leaf drop. I had sprayed a couple of times to no avail, so now it was time to take drastic action and cut back. Don’t be afraid to cutback plants to near the ground to get rid of pests. In most cases this will invigorate your plant and give it a fresh start. The photos below show the Dipladenia in its diseased state and then with its new start in life.

My second disease problem was on a lovely Jasmine which grows up the corner of my house on wires. This stalwart reliable plant got itself a bad case of mildew. Now Jasmine normally die back and look a bit dead this time of year, but in this case the leaves were not dry and crisp, instead they were powdery and limp. This was obviously caused by the high humidity this year, and can normally be cured by spraying, but it was too far gone and too late in the year, so it had to be drastically pruned. If you have to do this don’t worry, Jasmine doesn’t mind being taken back to the ground every few years. The photos below show the Jasmine before and after.

Reshaping my olive tree. Once you have cloud pruned olive trees into the shape you want them, then you need to trim them up about three times a year to keep them sharp. The photos below show my olive tree before and after it’s smartening up.

Dealing with fruit issues. This year has been fantastic for fruit, and there is still a bumper crop of oranges and lemons to come. However, in the meantime keep picking and processing fruit on a daily basis. I still have lots of figs and persimmons galore, with pomegranates yet to come. The first photo below shows my daily haul of figs, the second shows my little persimmon tree with its final fruits and lastly my pomegranates waiting to be harvested. Remember, if possible leave your pomegranates till they go red. Don’t worry if they split a bit, as these are one of the few fruits you can still eat after splitting because of their compartmentalisation.

Sadly, I have to report the only fruit I have had a problem with this year is my little white peach tree. I have grown this from a cutting and this would have been it’s first year fruiting. There was an abundance of fruit on the tree and I was looking forward to a bumper harvest. But unfortunately the heavy rain last month caused the fruit to swell and split its skin. The first photo below shows my little tree bursting with fruit, but as you can see in the second photo, all of it split. Oh well that is gardening, there is always next year; God willing.

Coping with Prima Donna chickens. While I was away Cruella (my wife) has become even more indulgent with her chickens. When I returned she explained that her girls were now on a new expensive diet which she said had been recommended by a Hollywood Chicken influencer (I didn’t know there was such a thing). This diet consists of individually roasted insects which come in very expensive little packets. When I queried why I still only got porridge and Tango the lonely blind Labrador is still fed Chappie, she accused me of trying to give her girls food issues.

The new food was only the start, she then confessed that the chickens have been having exercise classes with a personal trainer. She explained it was called Tai Chicken and was a variant of Tai Chi specially for chickens (I didn’t know there was such a thing). When I said that sounded like Thai Chicken she burst into tears. Anyway, the end result is I have no money left and the chickens are strutting around in designer leggings feeding on designer chicken insect caviar. The photo below shows the chickens and their insect buffet; if you look closely you can see their leggings.