

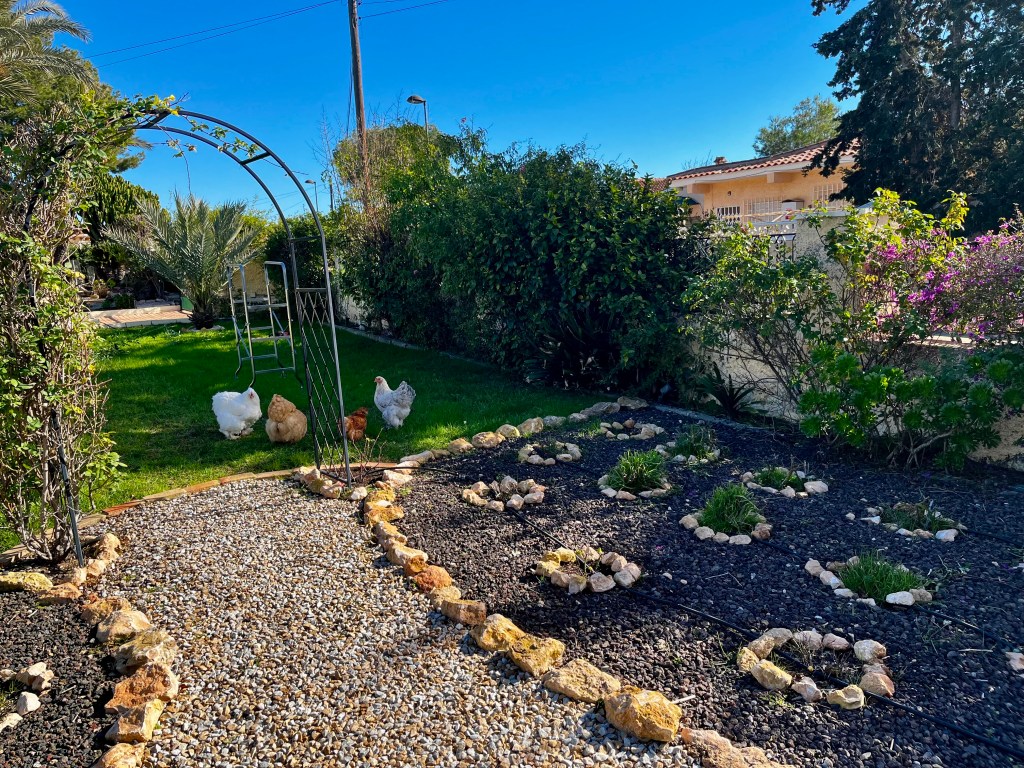
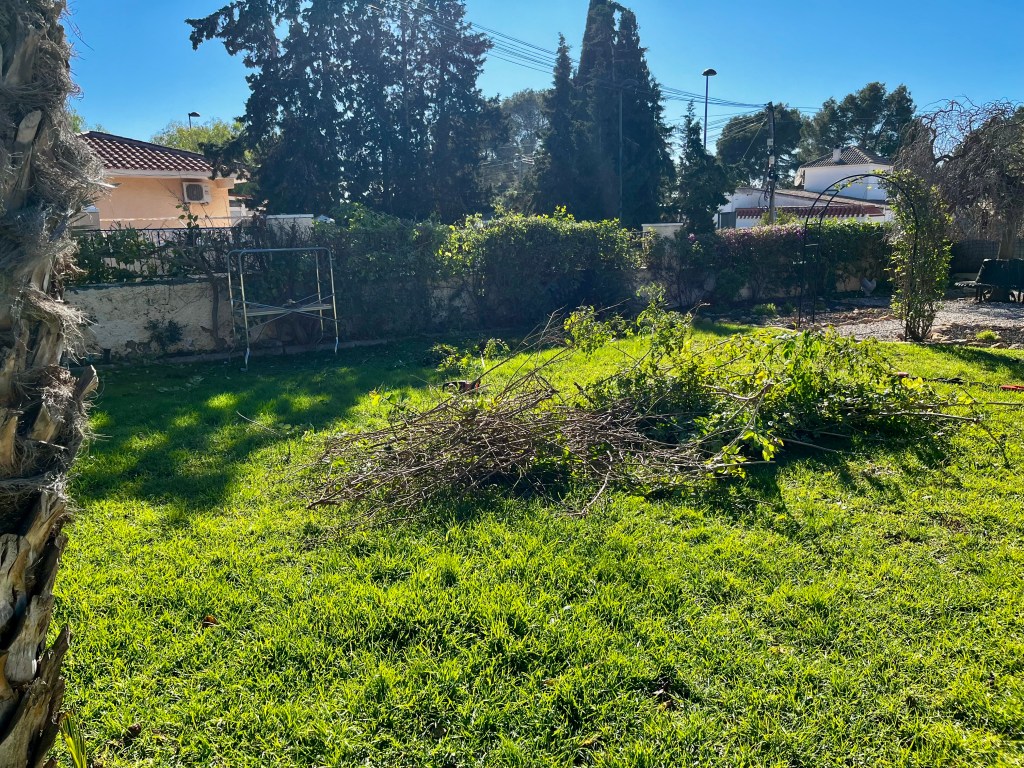
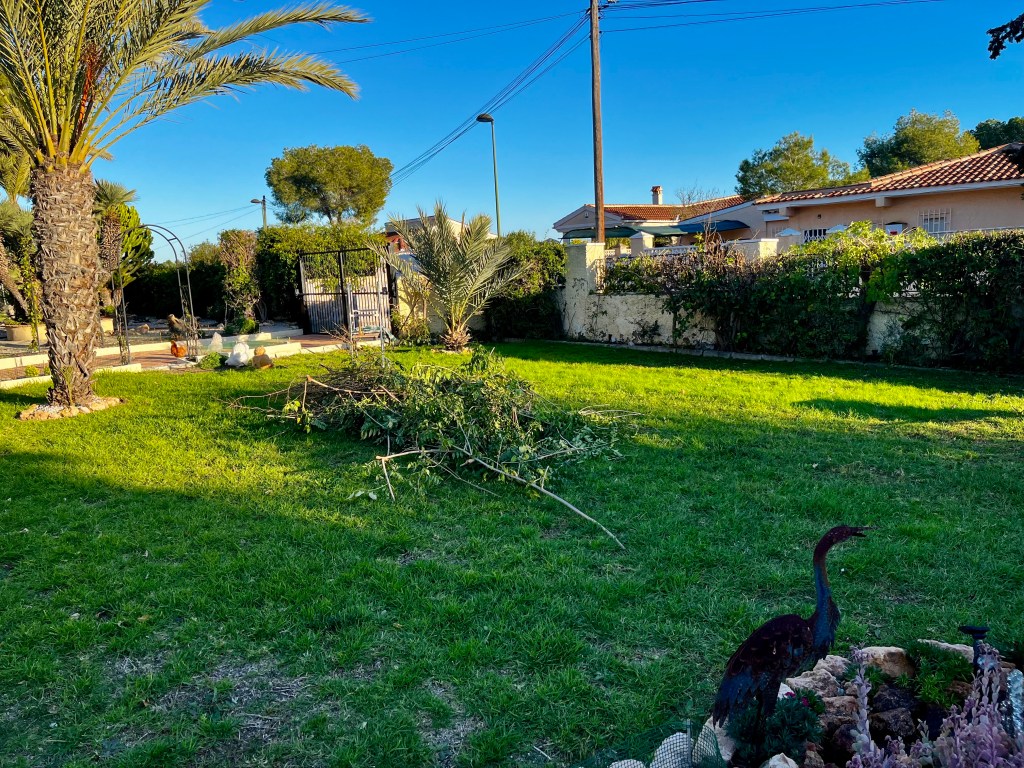
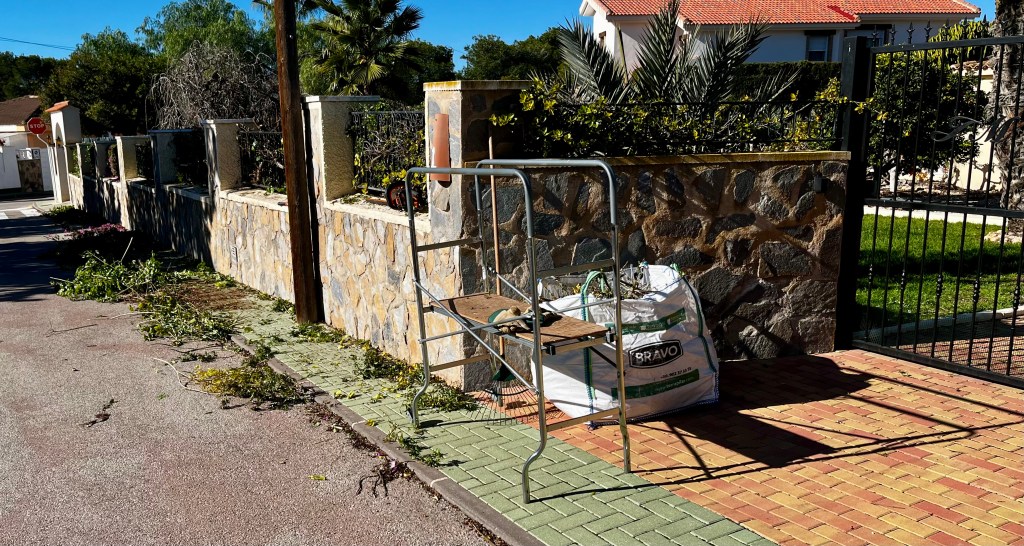
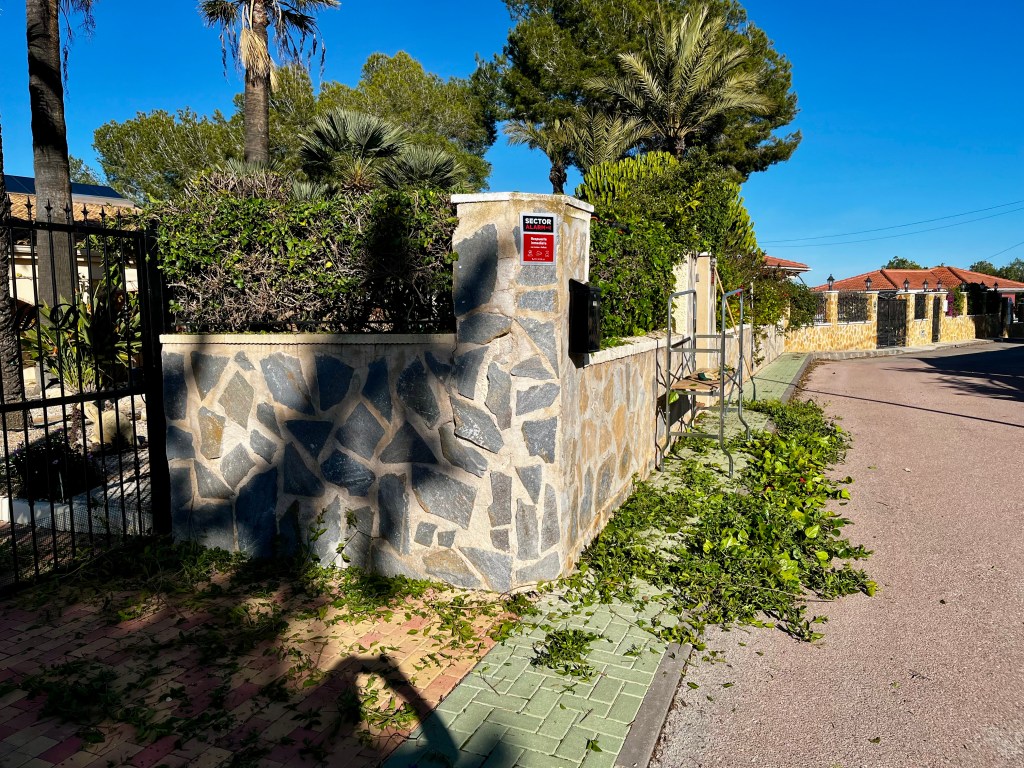
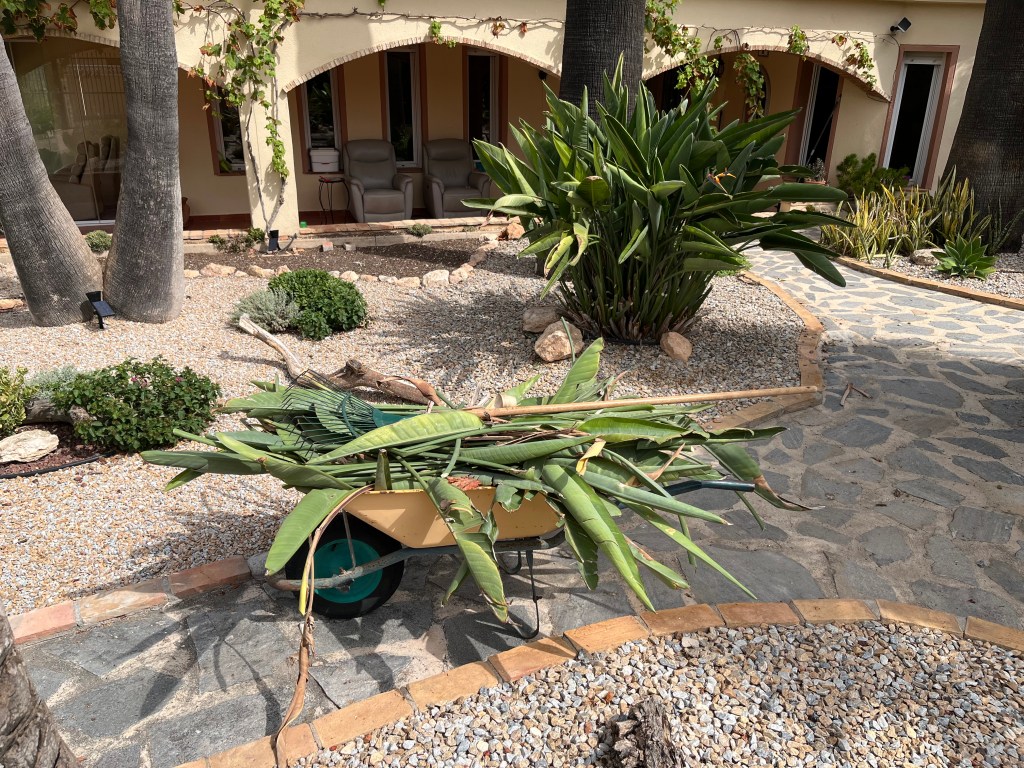
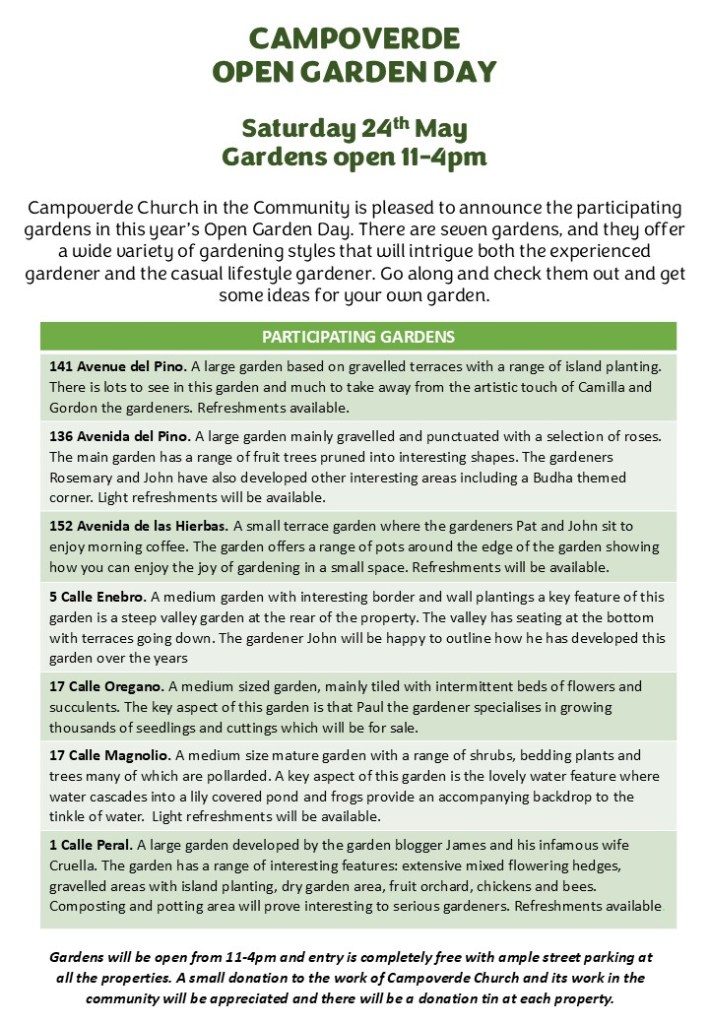
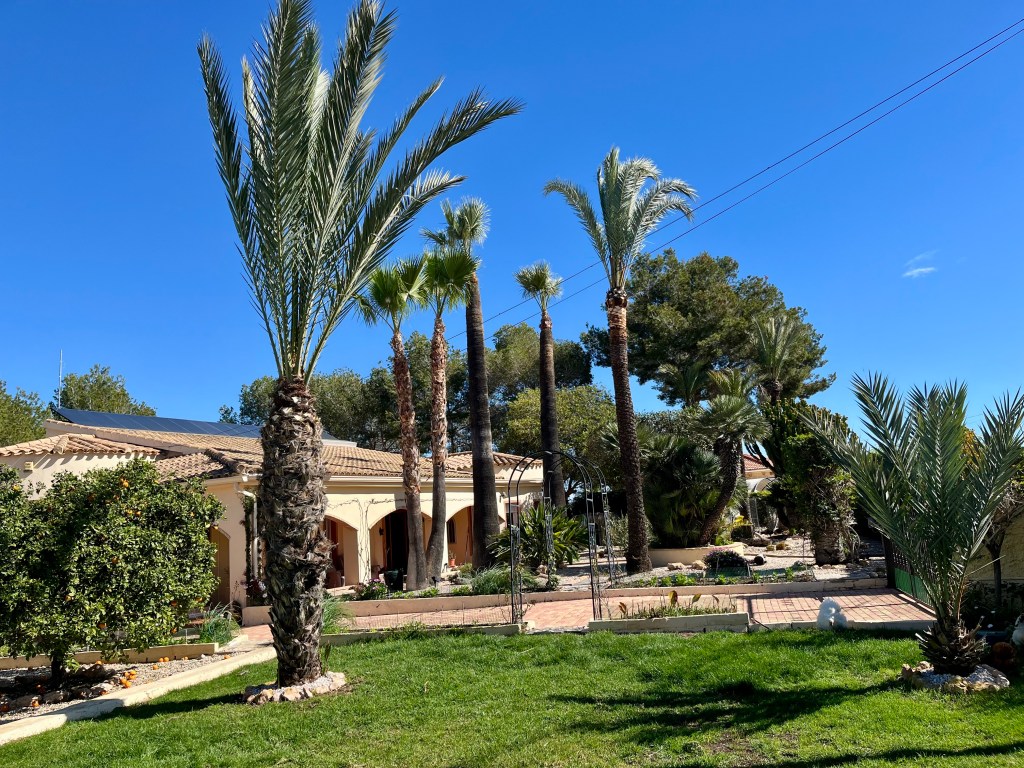
The big winter cutback is now complete. Normally at the completion of the big cutback I stand back and survey the garden with quiet satisfaction, but this year has been marred by controversy.
Pruning my big Ficus tree is normally the last item on the cutback, mainly because it is a mammoth struggle between man and tree, resulting in the loss of much blood, severe bruising, sprains and spectacular falls from a great height. However, this year I did it differently resulting in hurtful insults from the tree accusing me of cowardice. To be honest I am a bit ashamed of my actions and don’t really want to talk about it, but more later, for now let’s get on with the gardening.
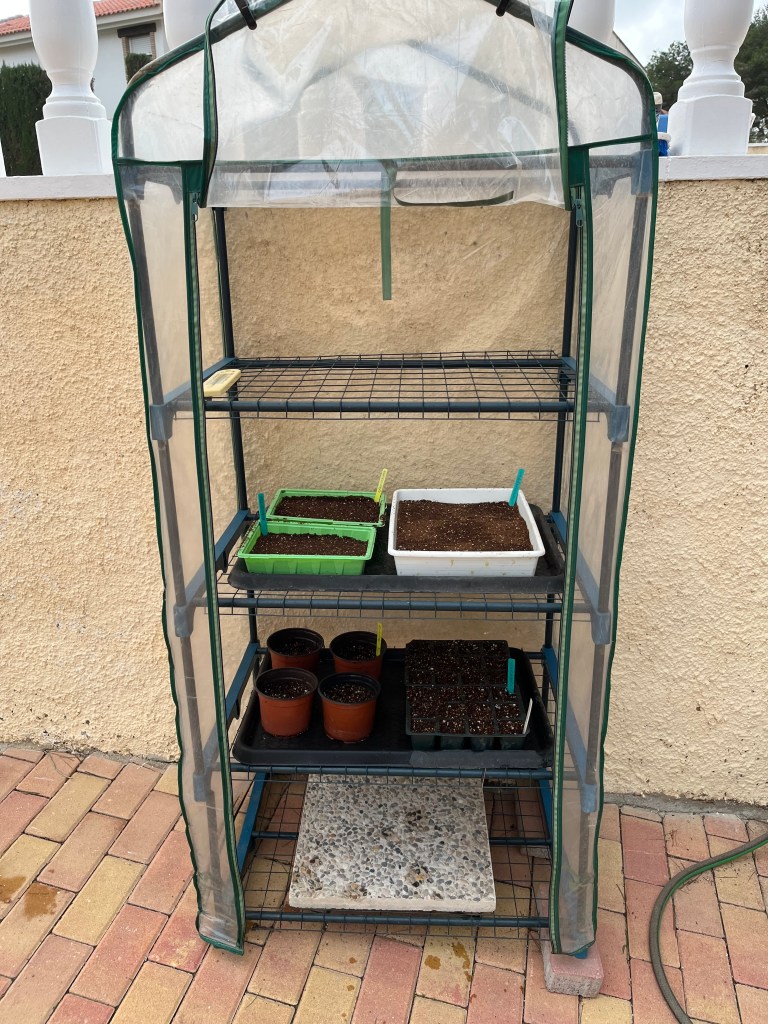
15th February 2026. Things I have been doing lately:
- Cutting back ornamental grasses
- Planting new trees
- Dealing with the big Ficus and accusations of cowardice
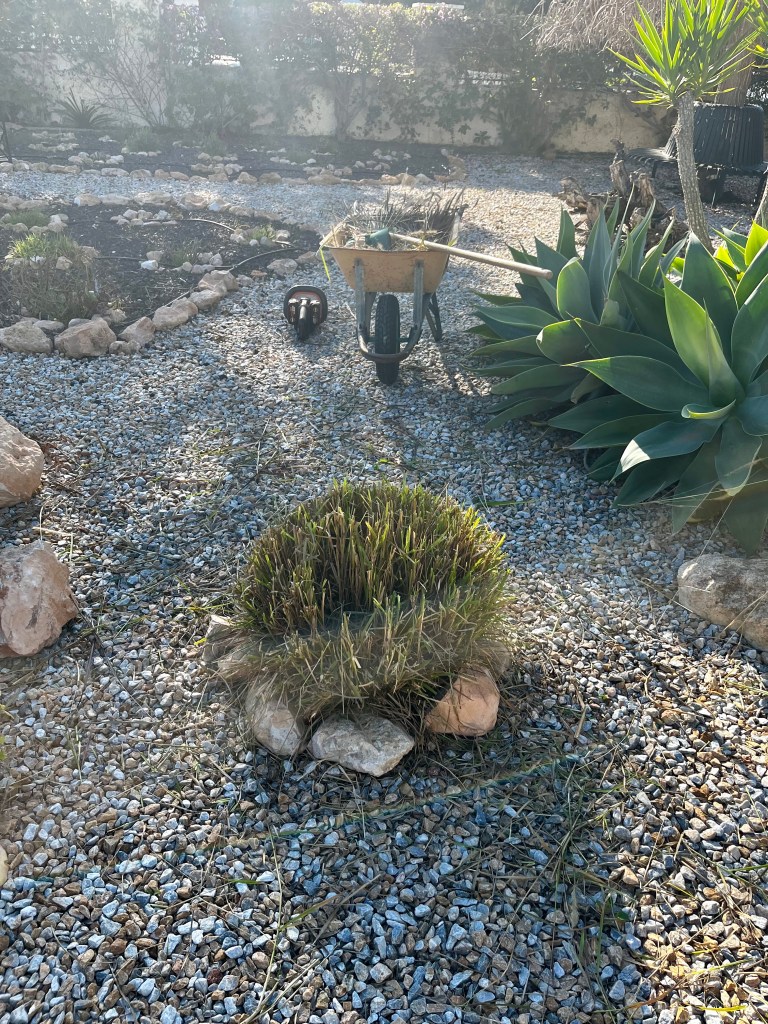
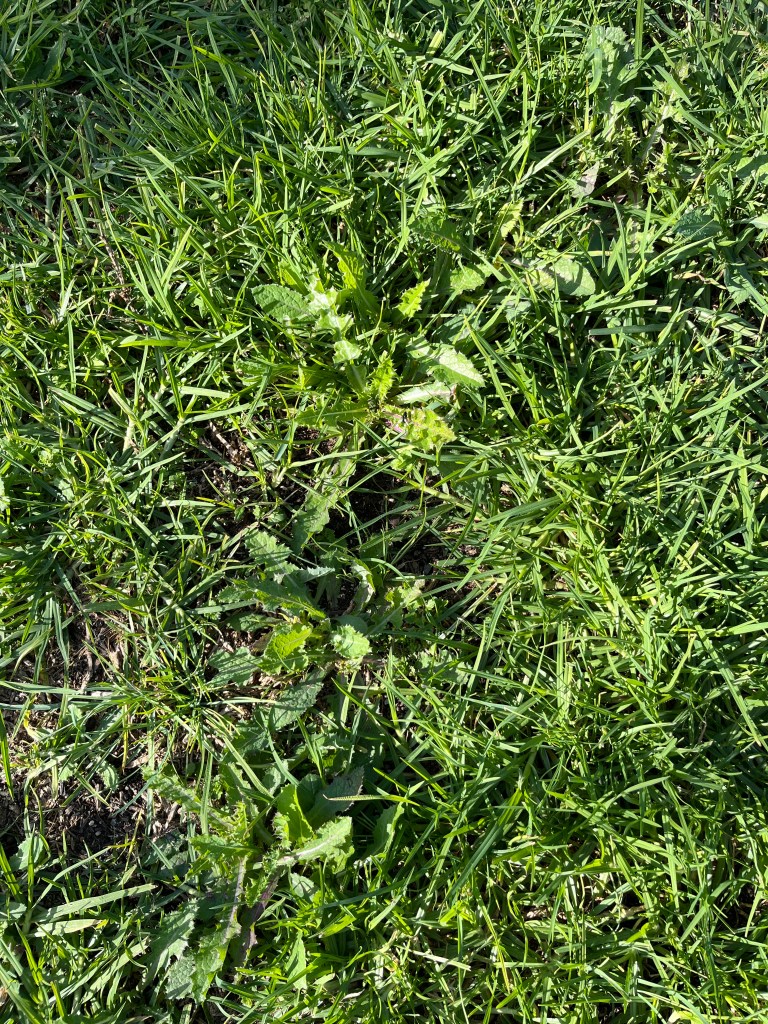
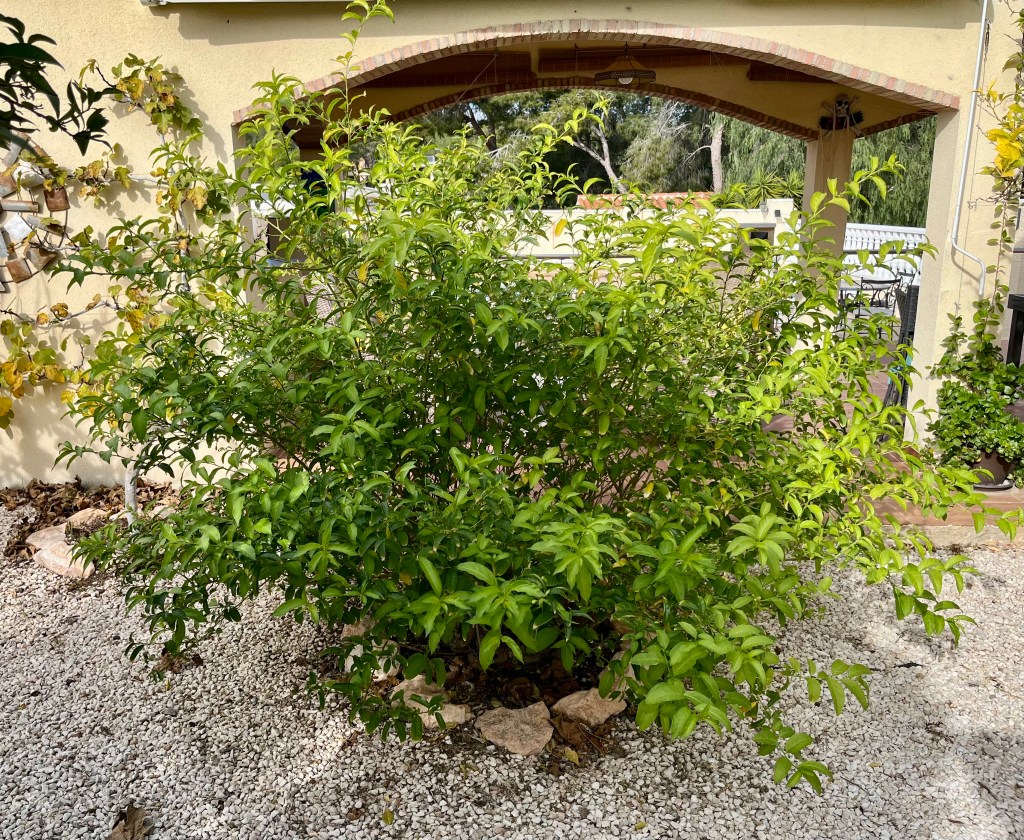
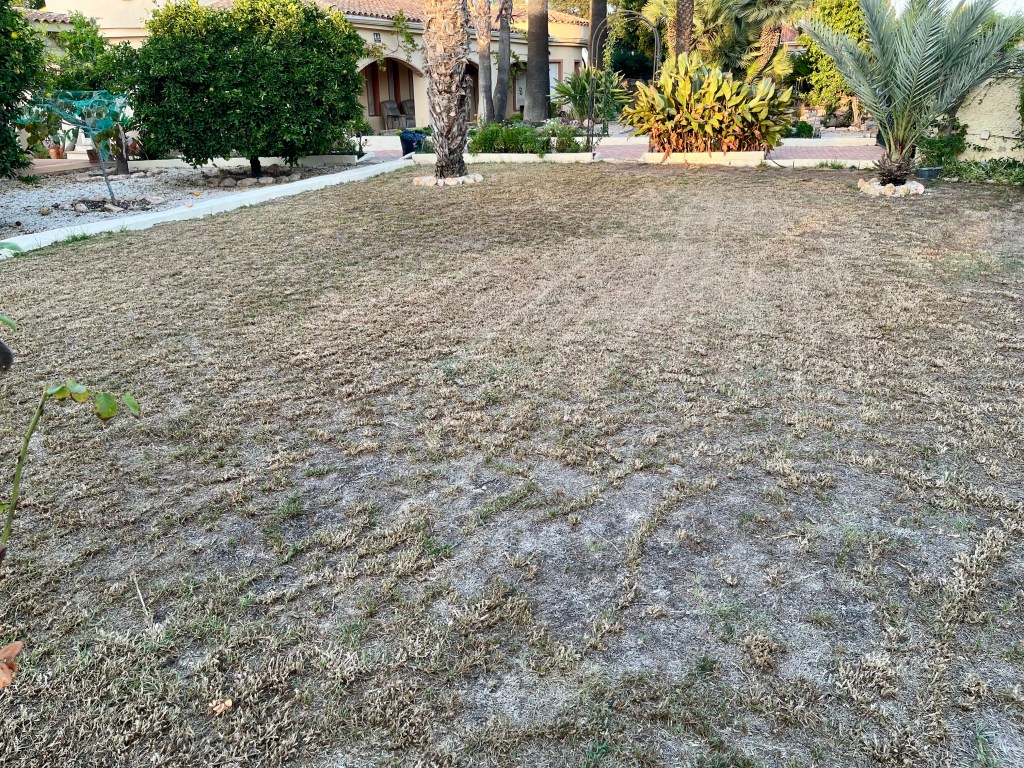
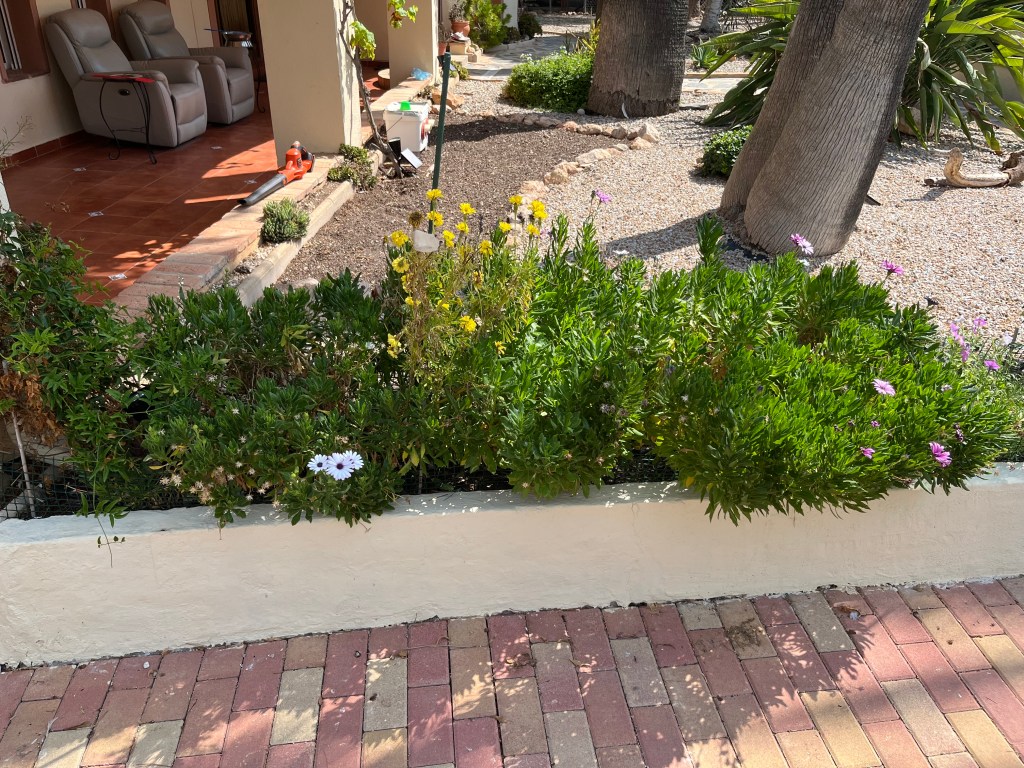
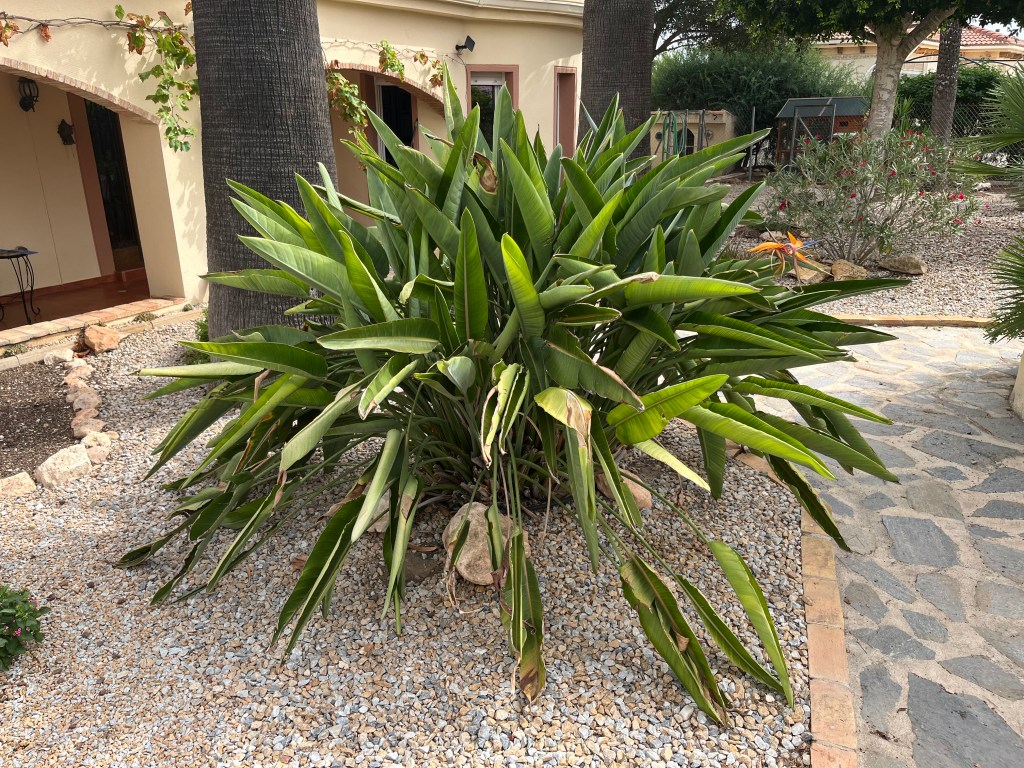
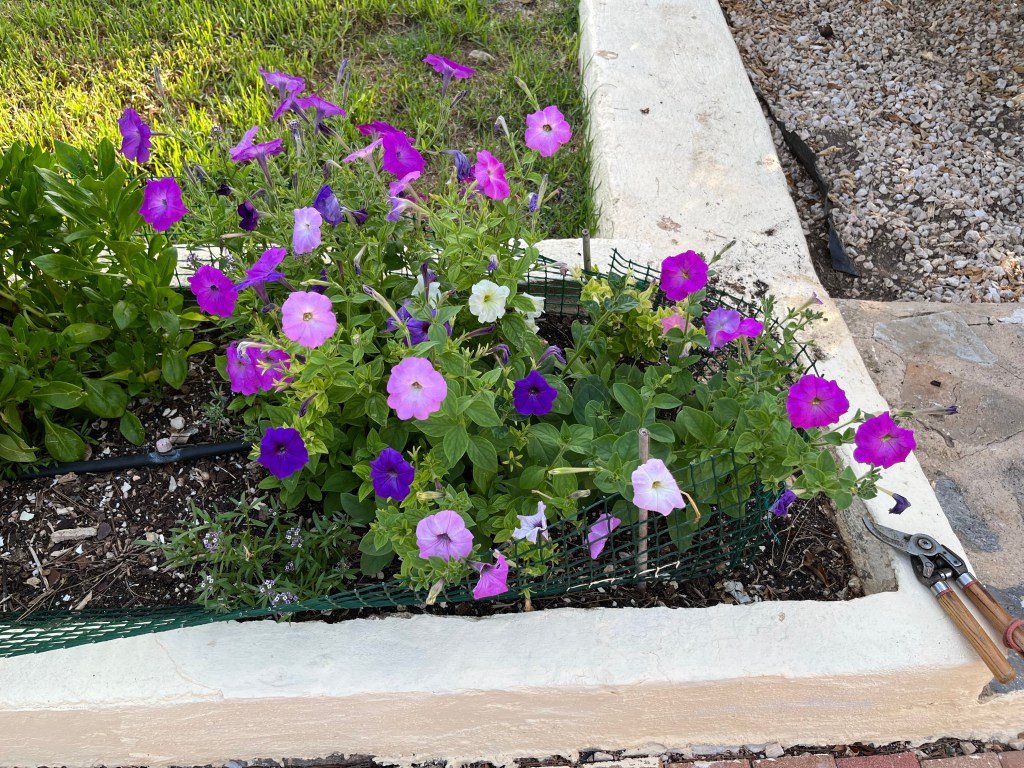
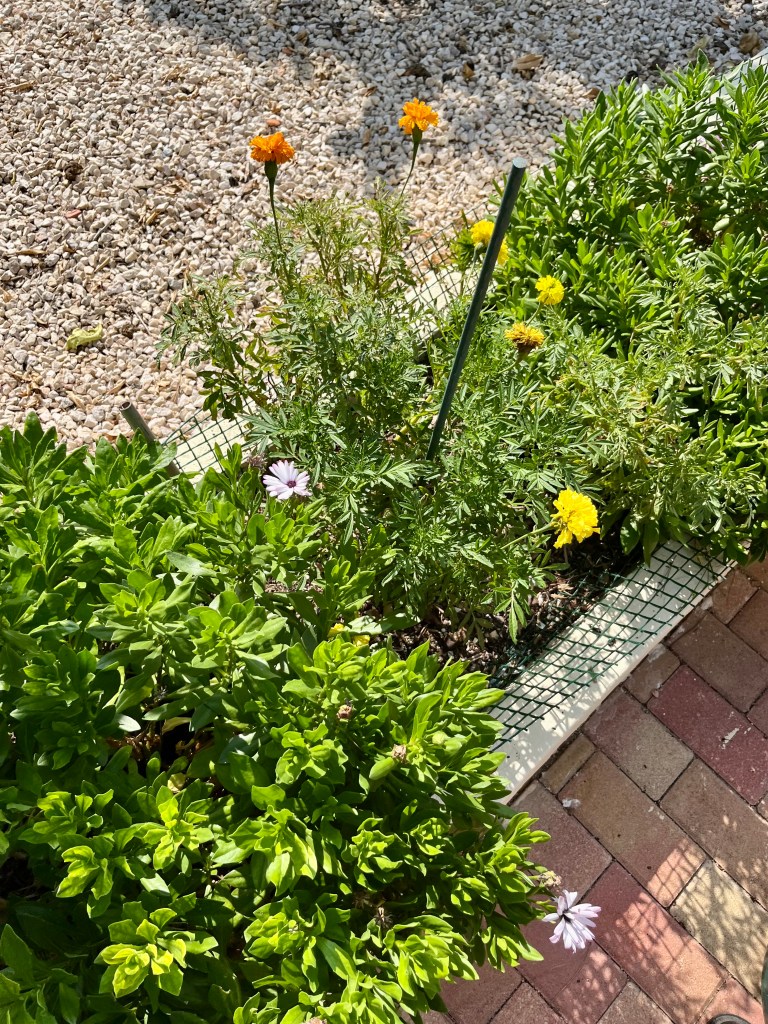
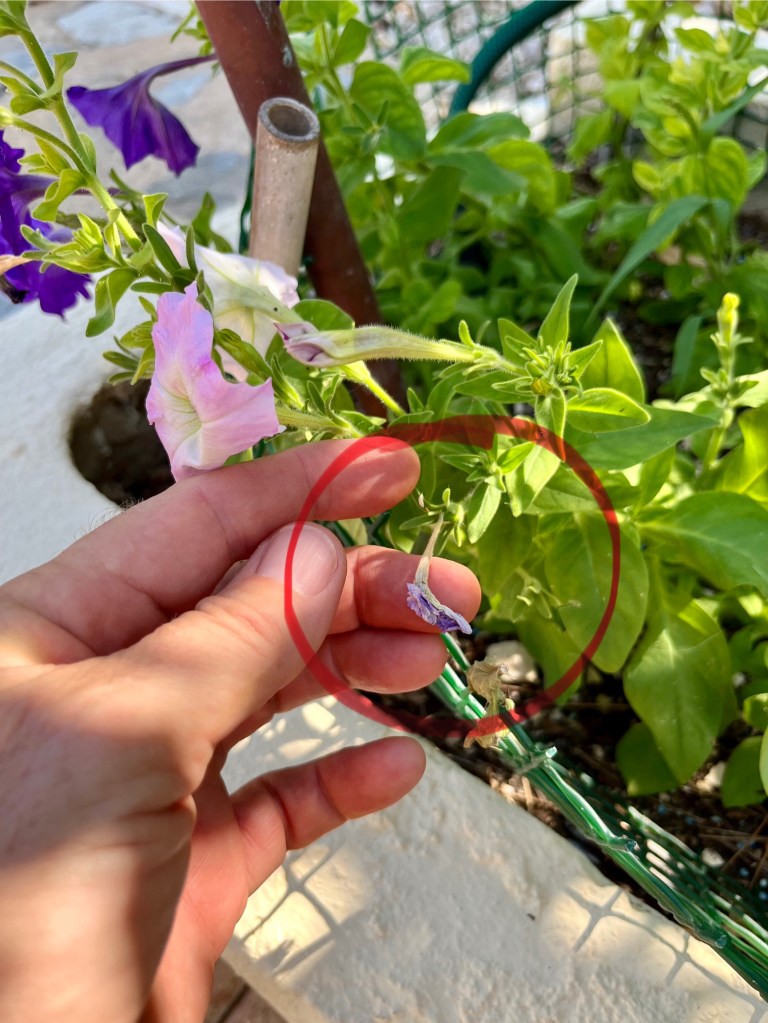
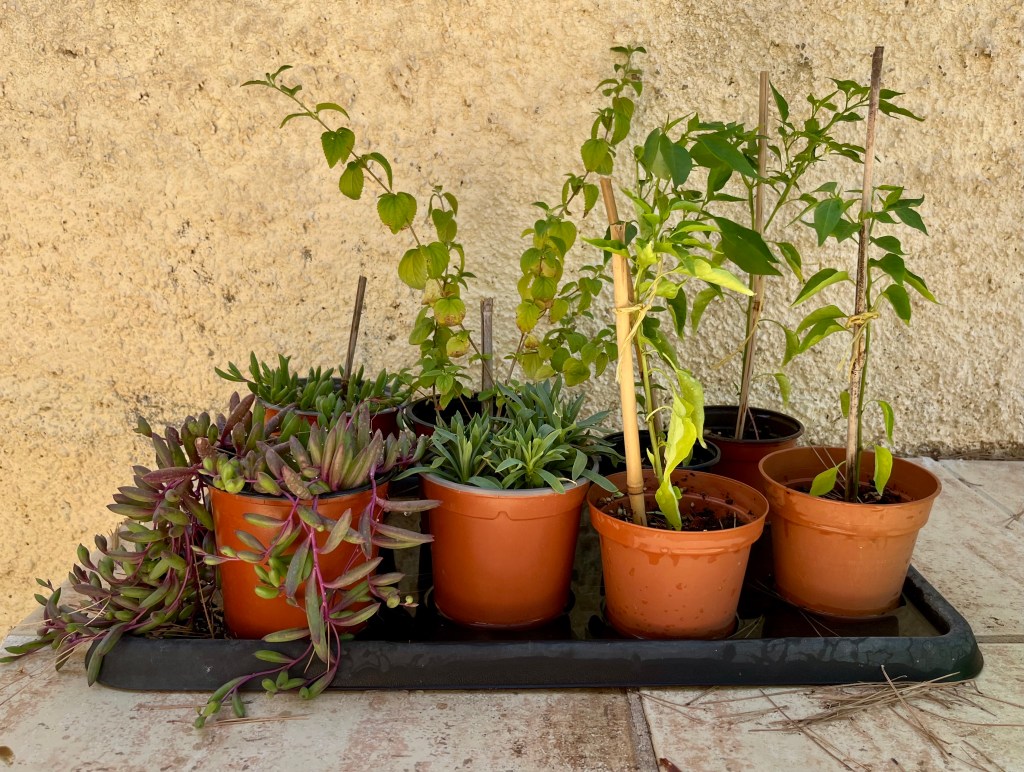
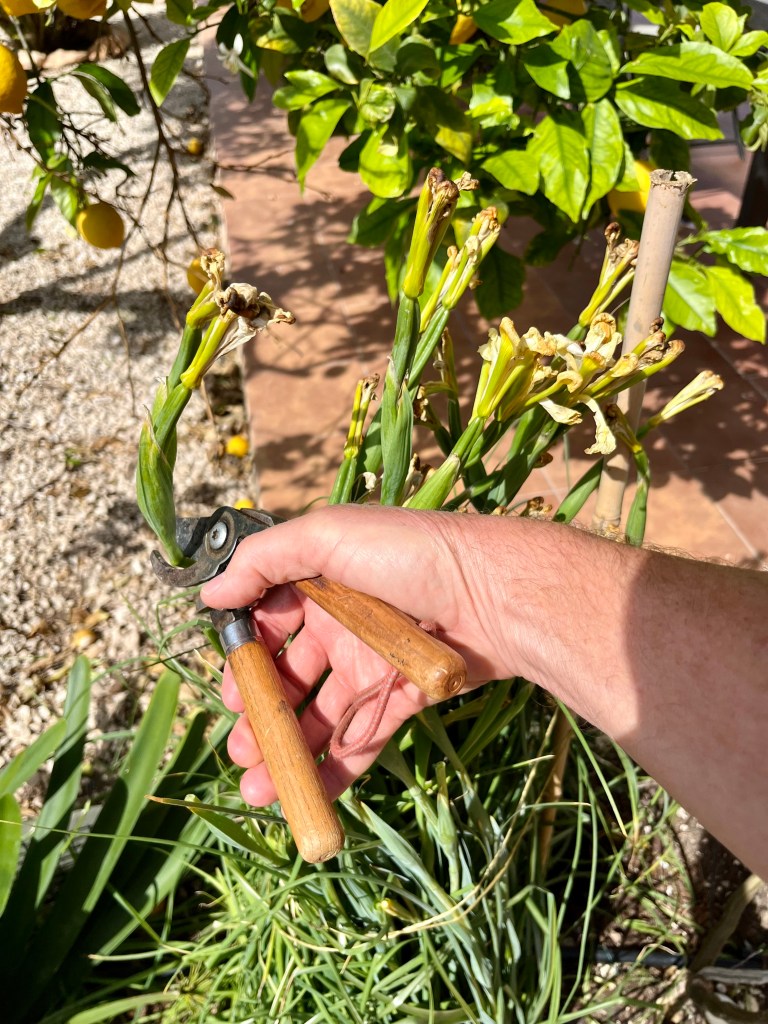
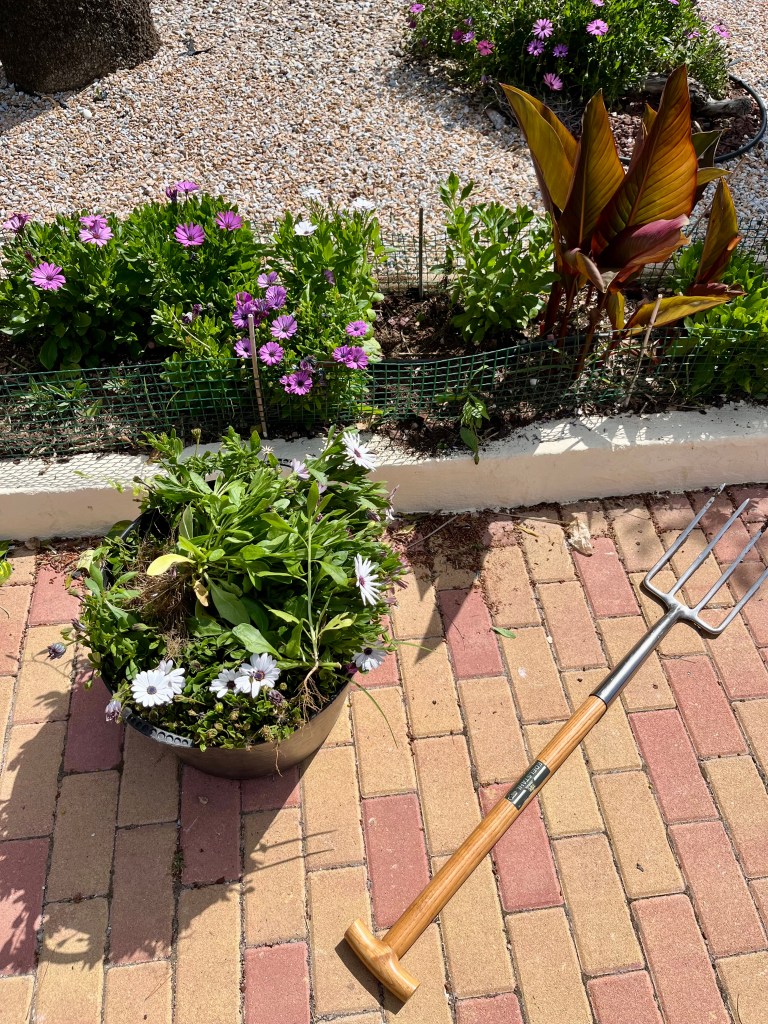
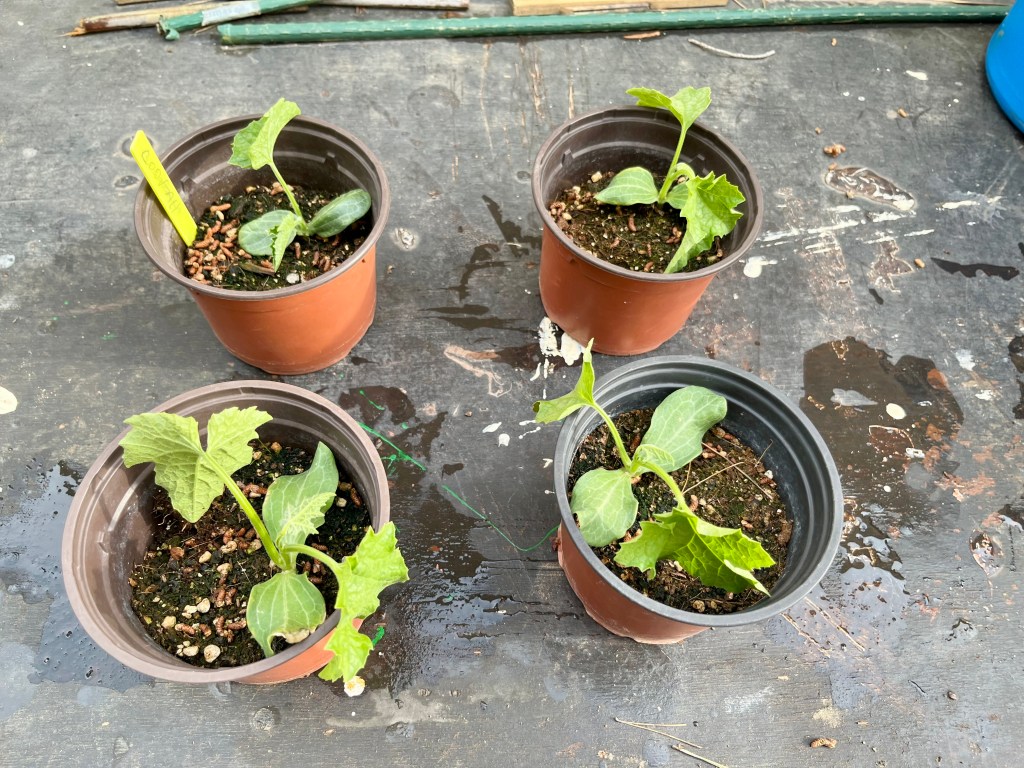
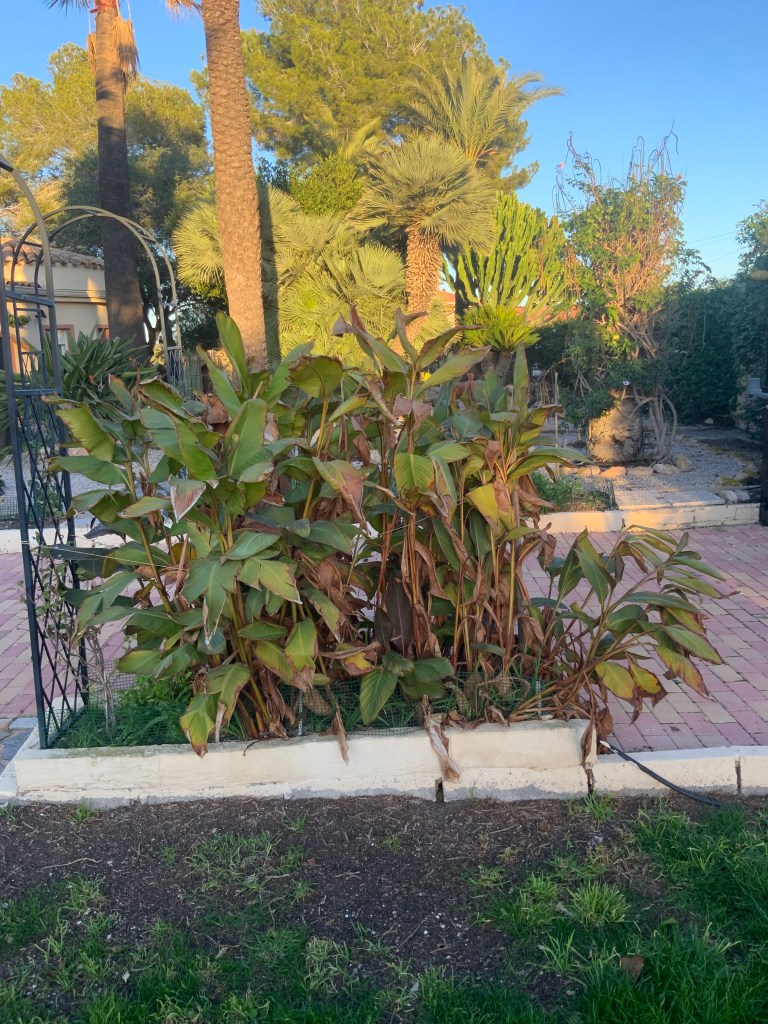
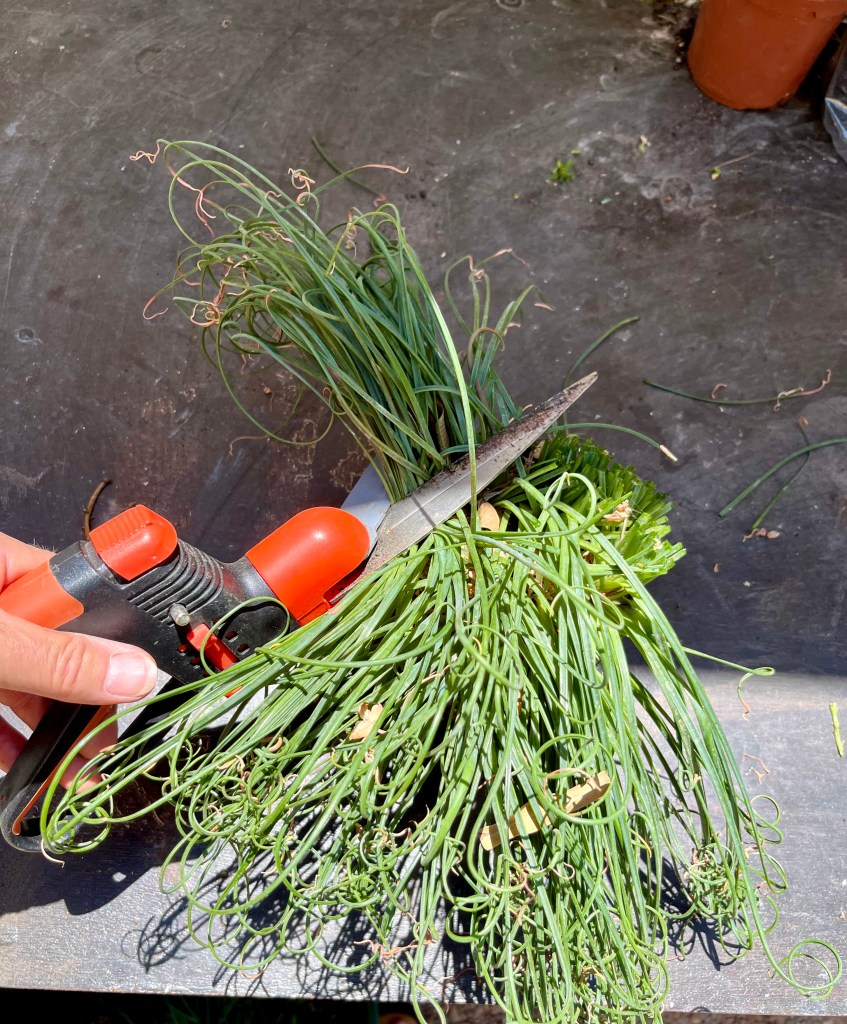
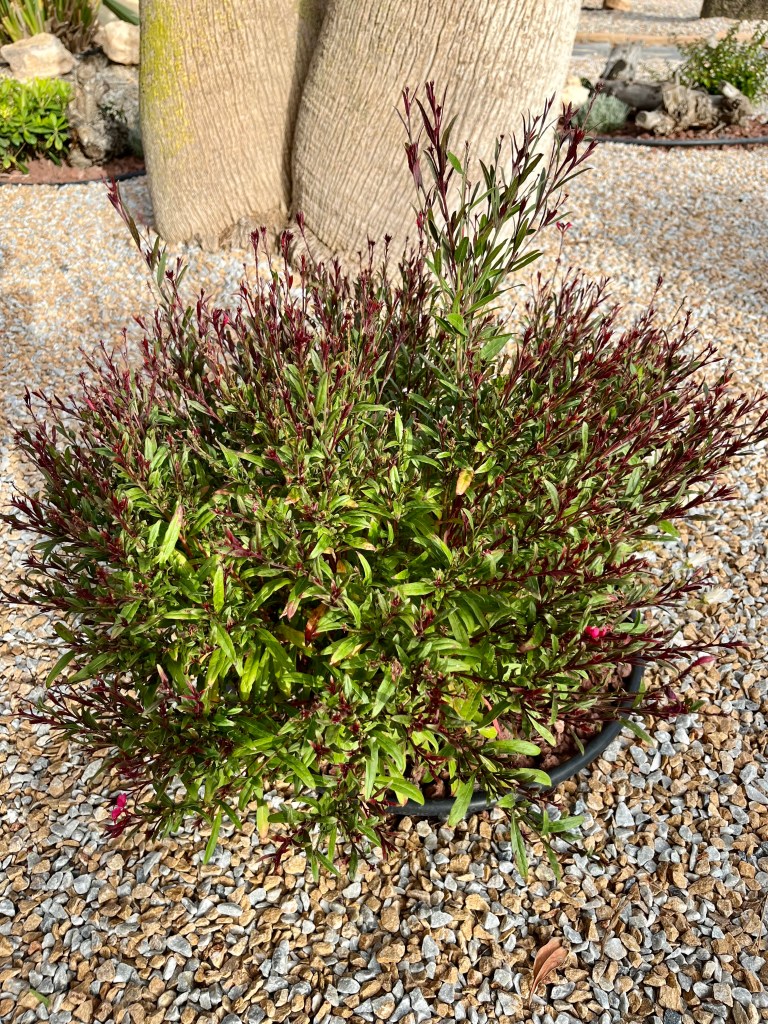
Cutting back ornamental grasses. If you have ornamental grasses then you know how lovely they look in the autumn and winter. Their long floating blades and fronds blowing in the autumn winds add movement and texture to the garden at a time when it can look a bit bereft and boring.
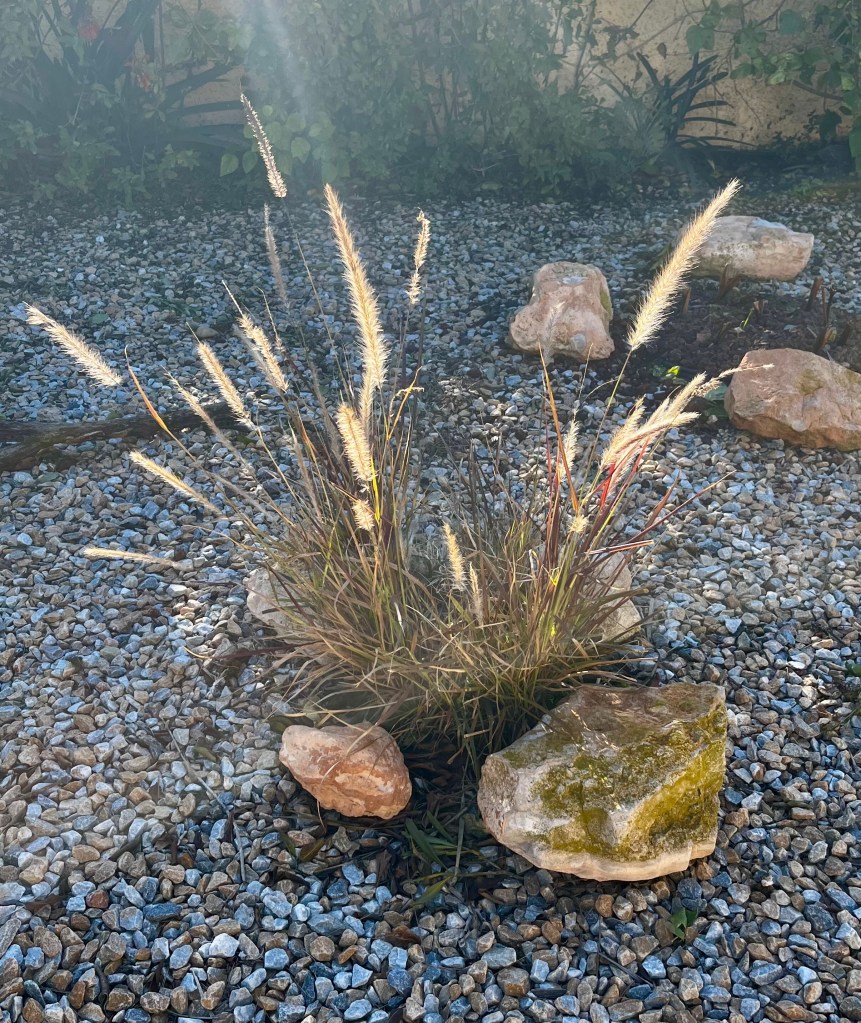
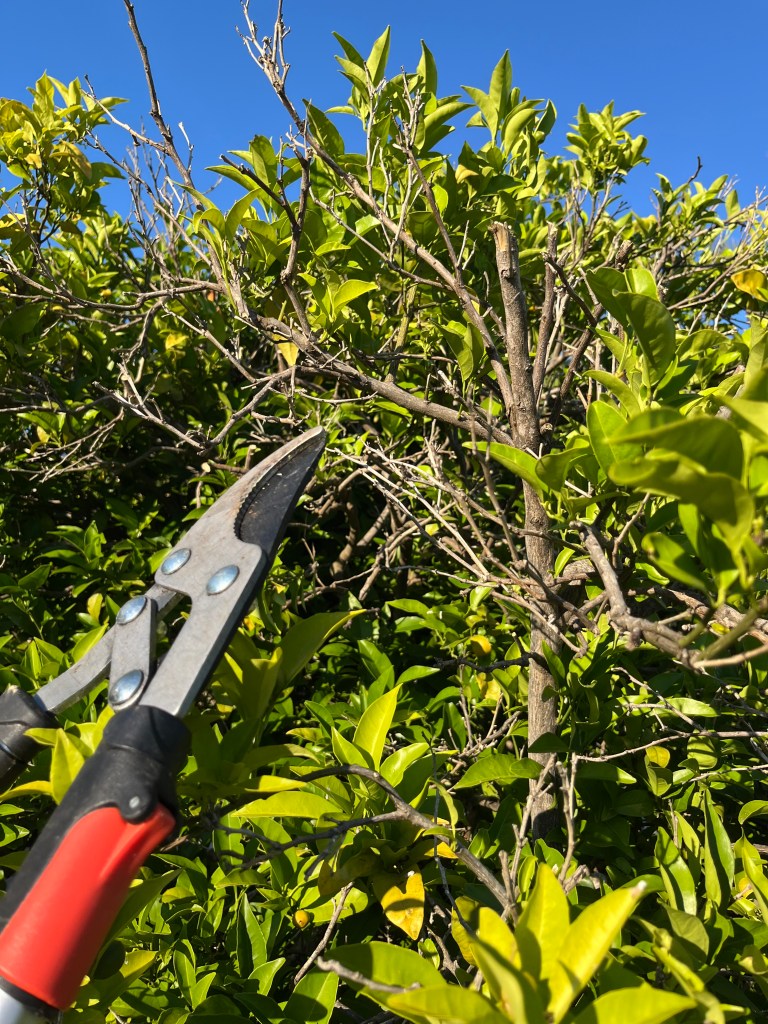
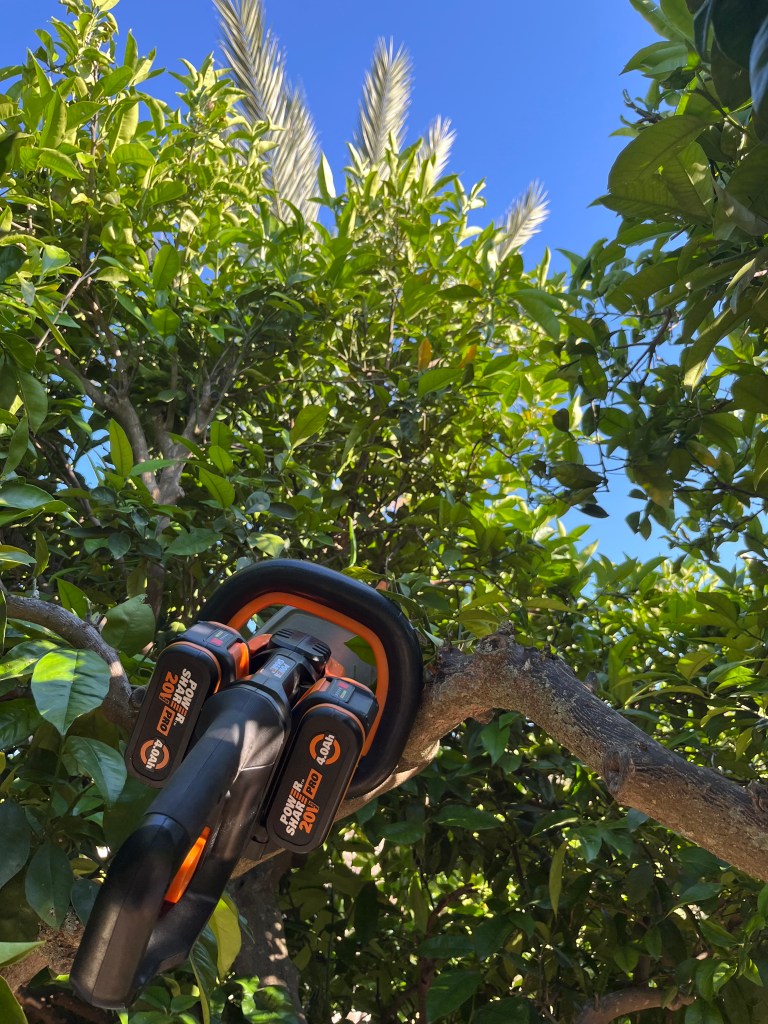
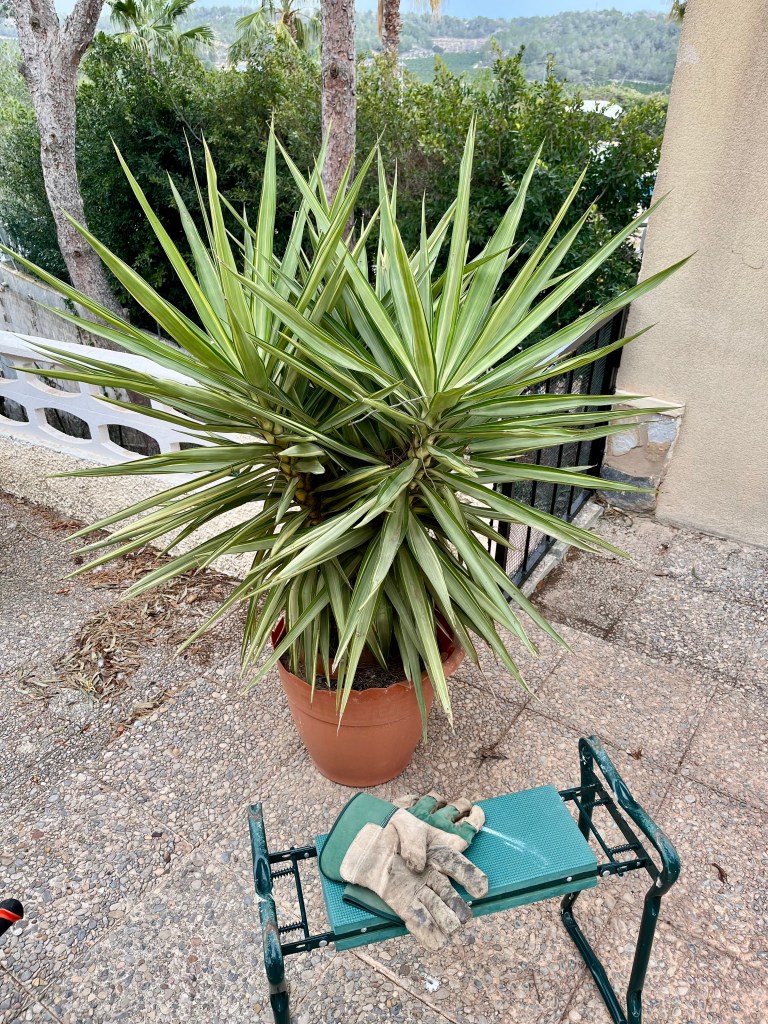
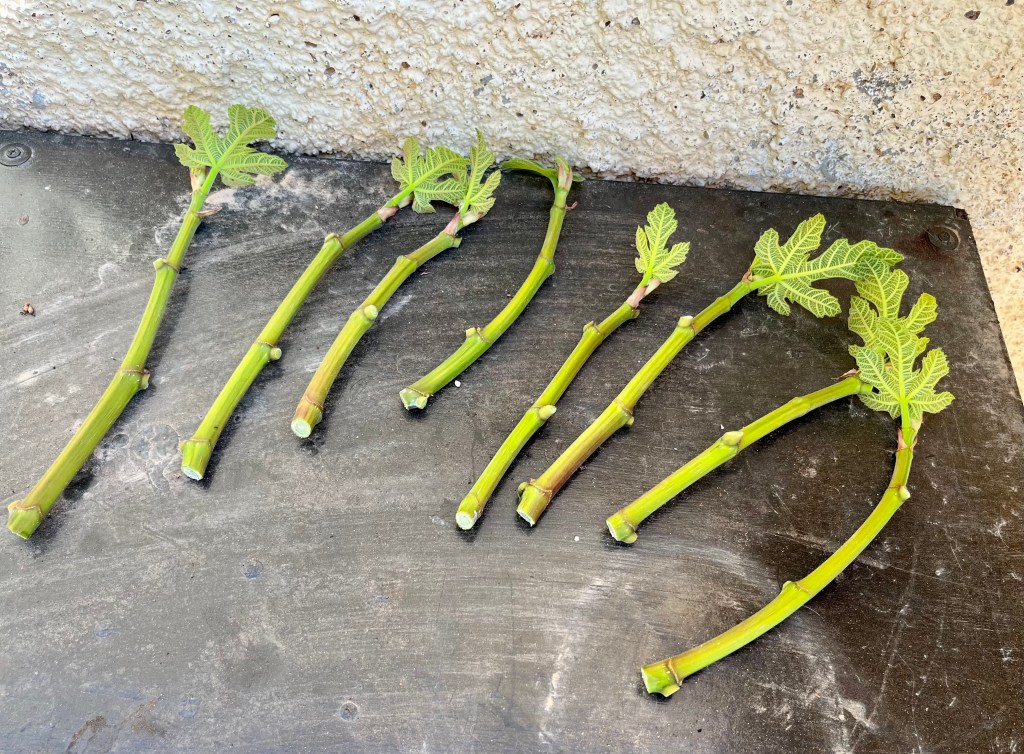
I mainly favour large Fountain grasses for their stately bronzed fronds, although I do have one smaller blue grass which has yet to reach its full potential. The photos below show my grasses before their trim.
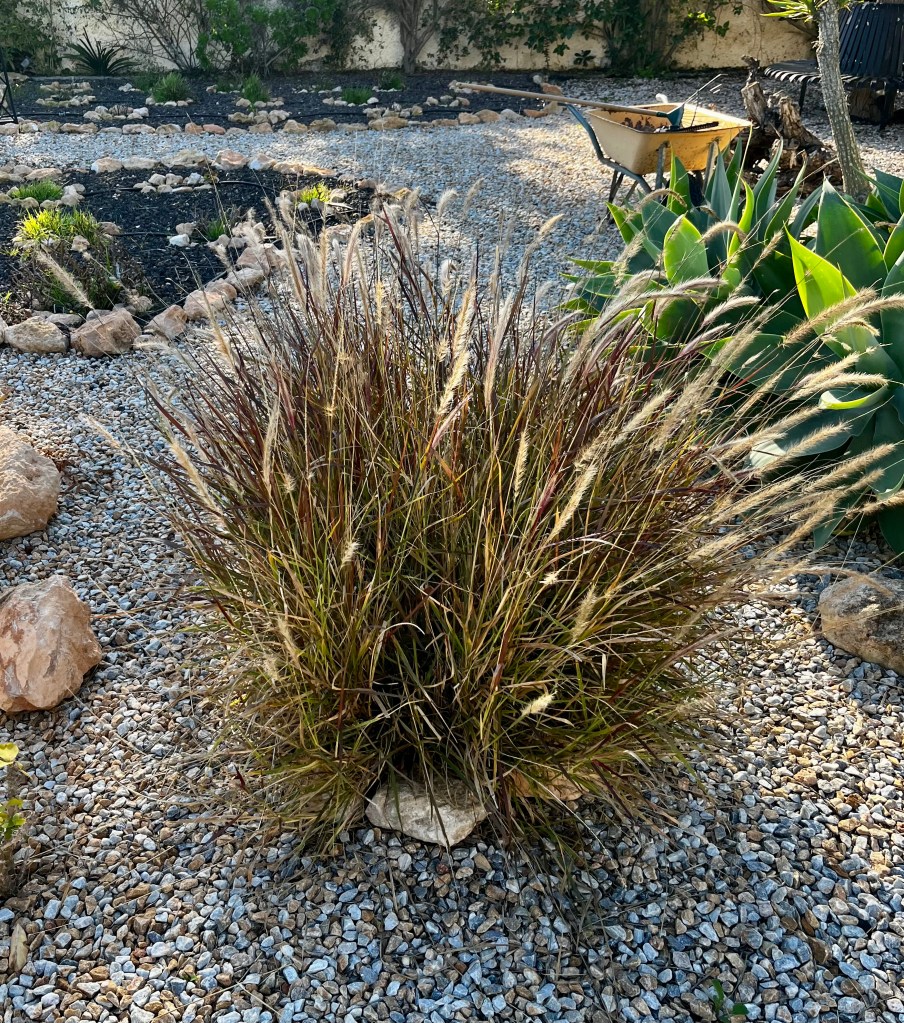
Most of my grasses are transplants from bigger plants that I have separated over the years and in the last few weeks they have looked lovely. However, if you don’t cut your grasses back now then they will become congested with old growth and you will hinder this years growth.
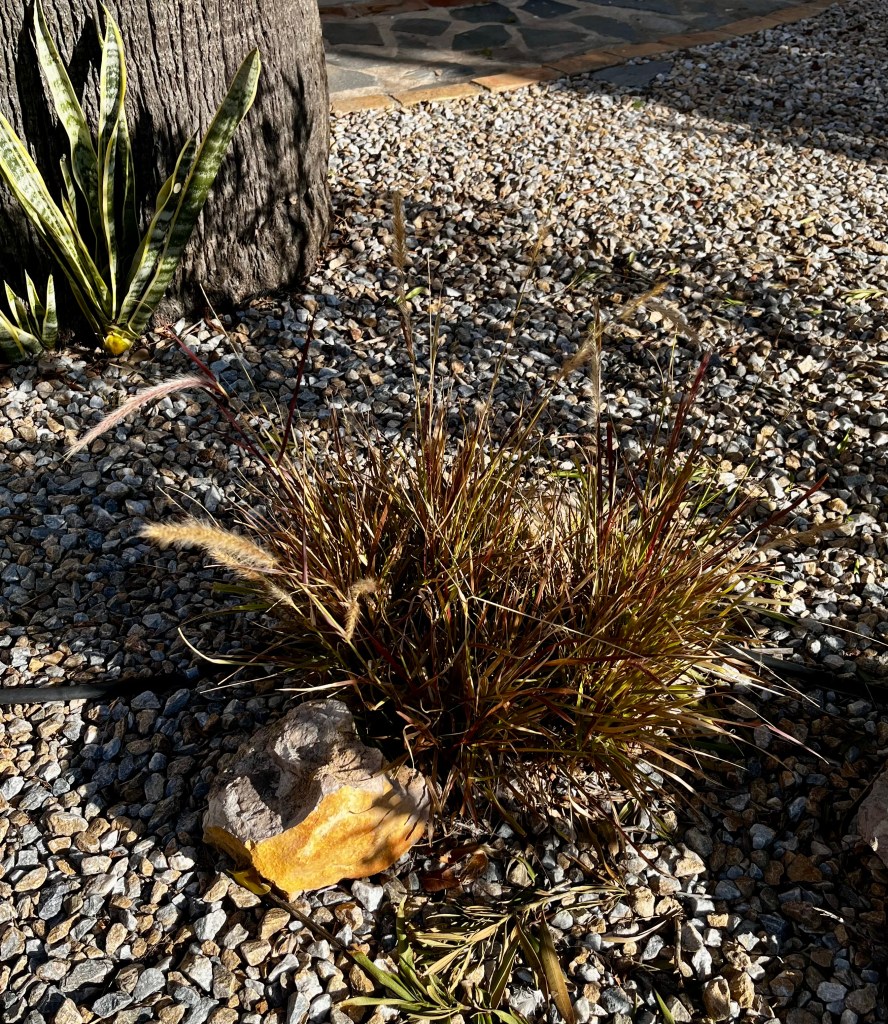
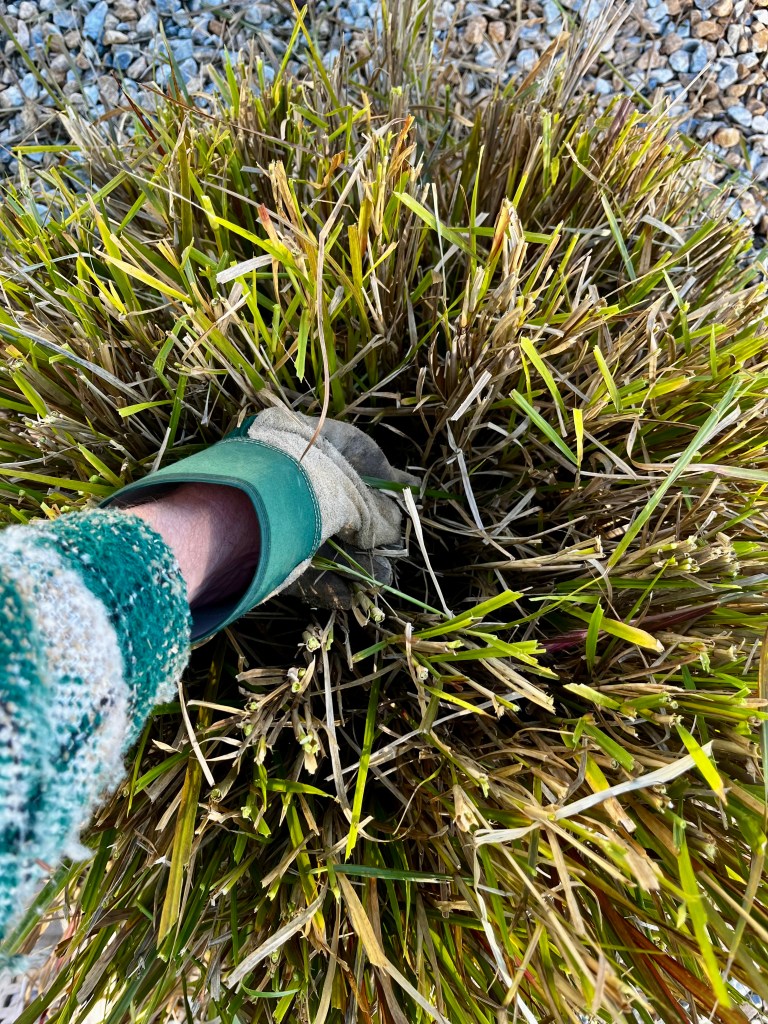
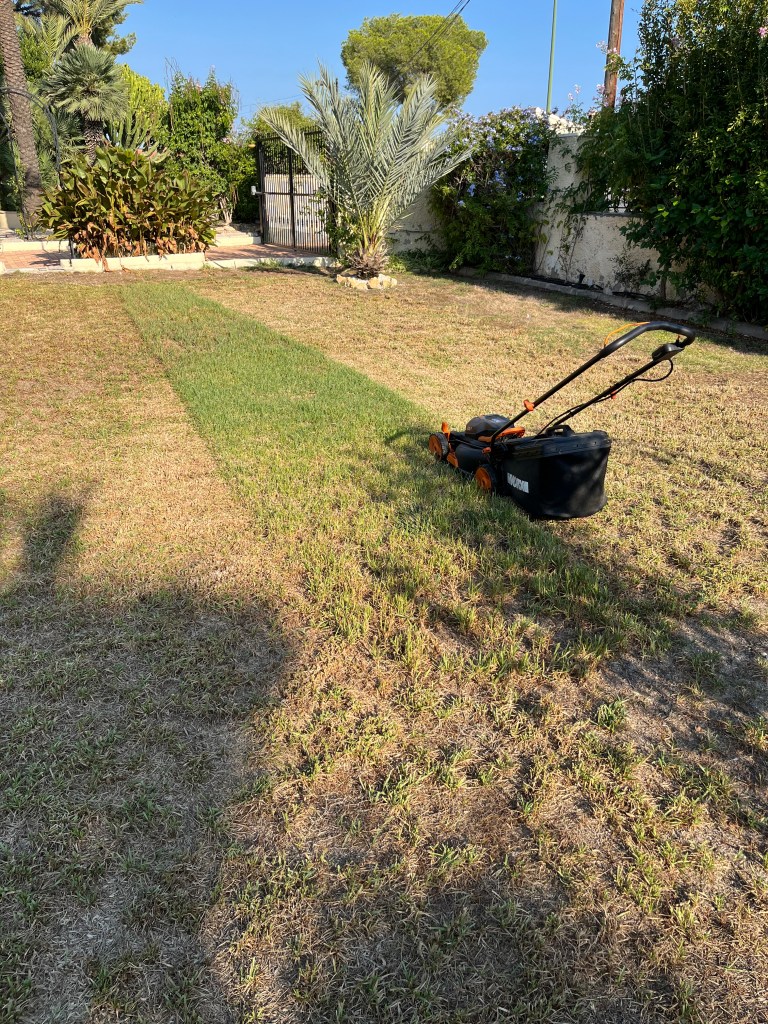
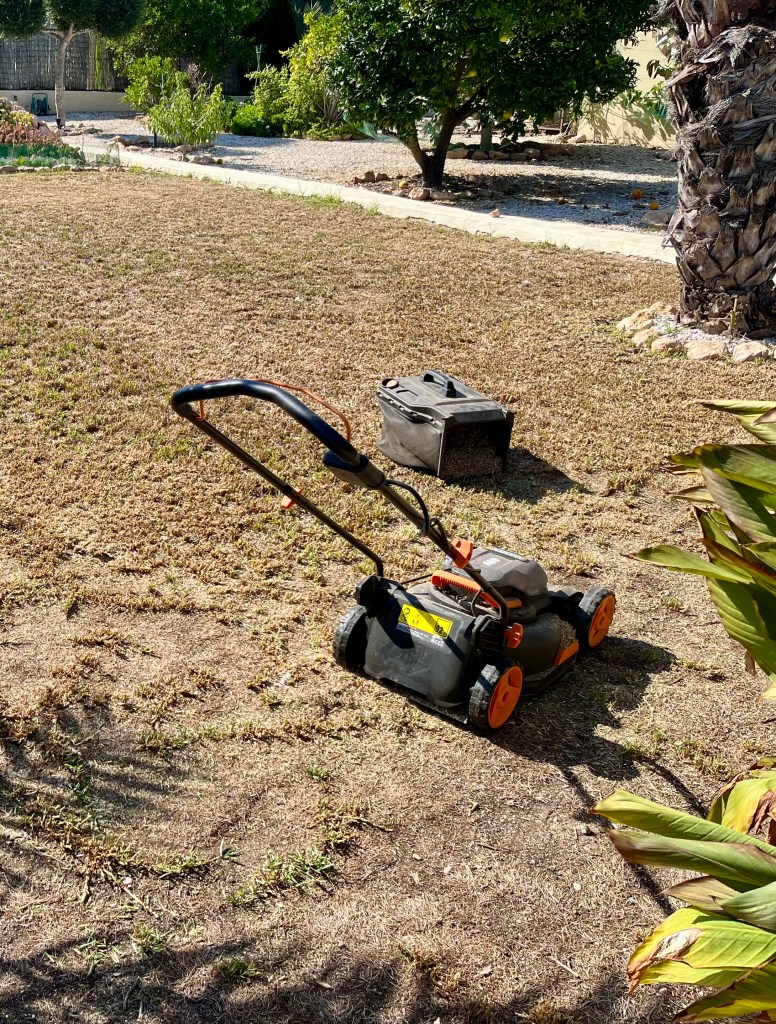
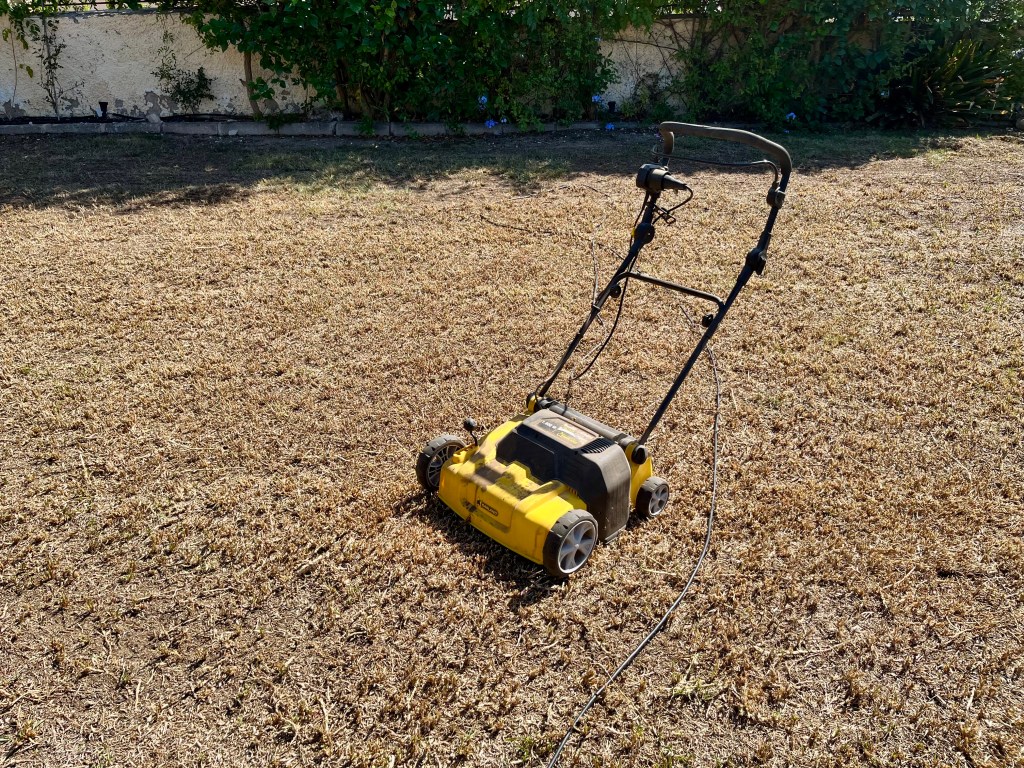
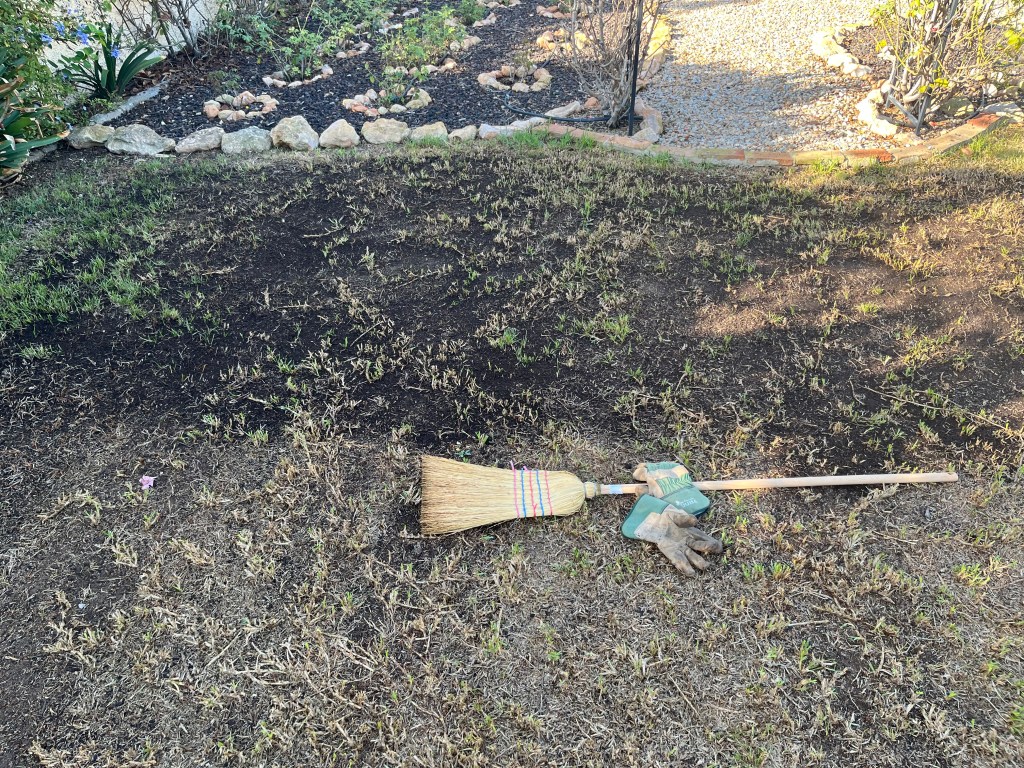
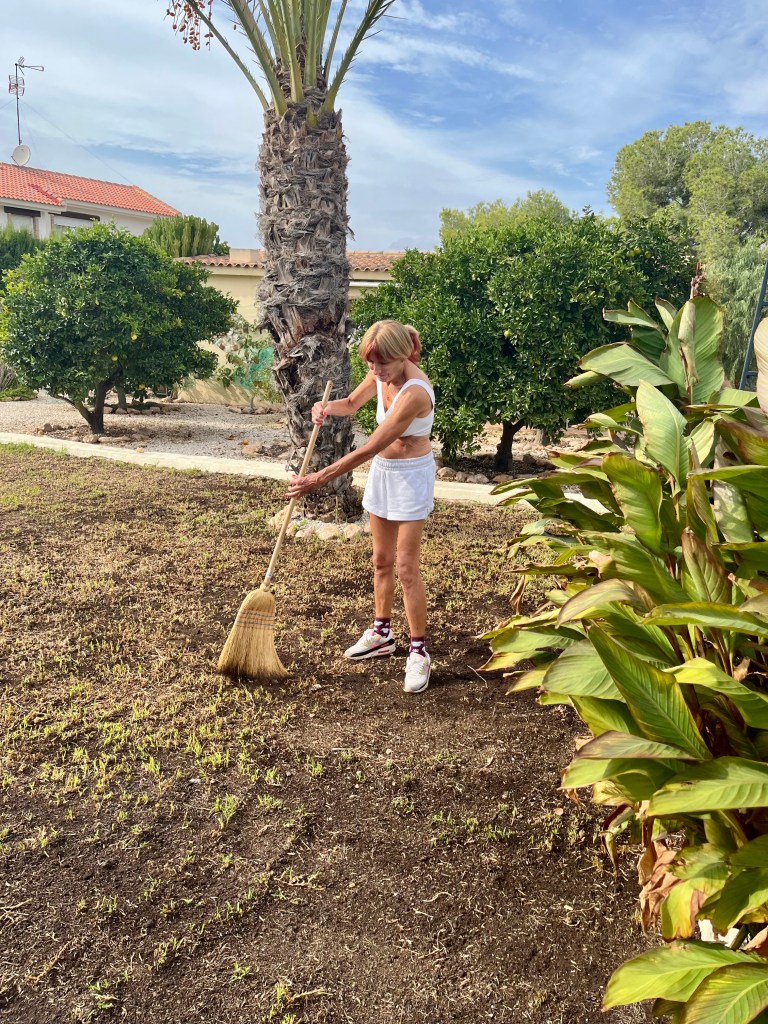
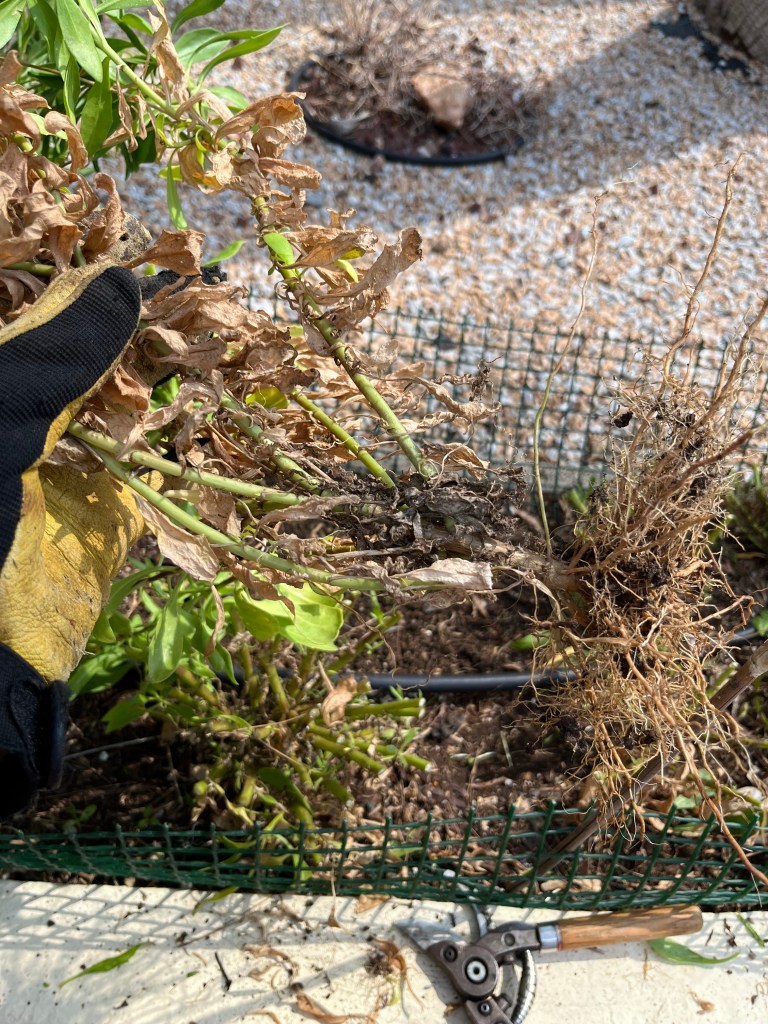
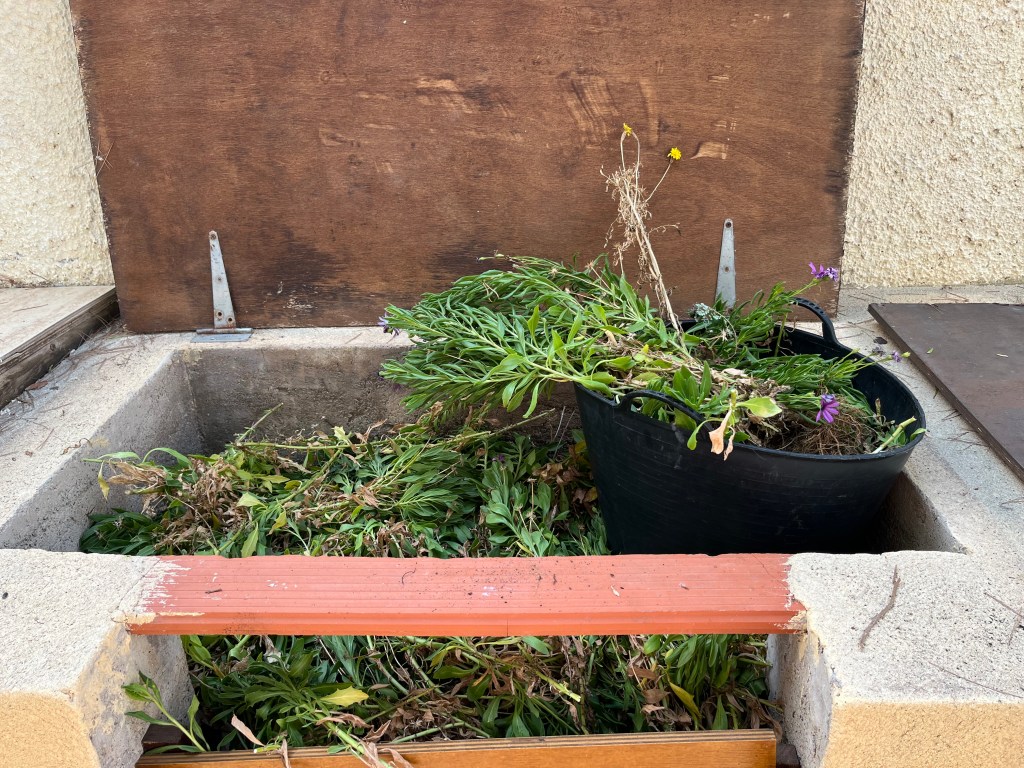
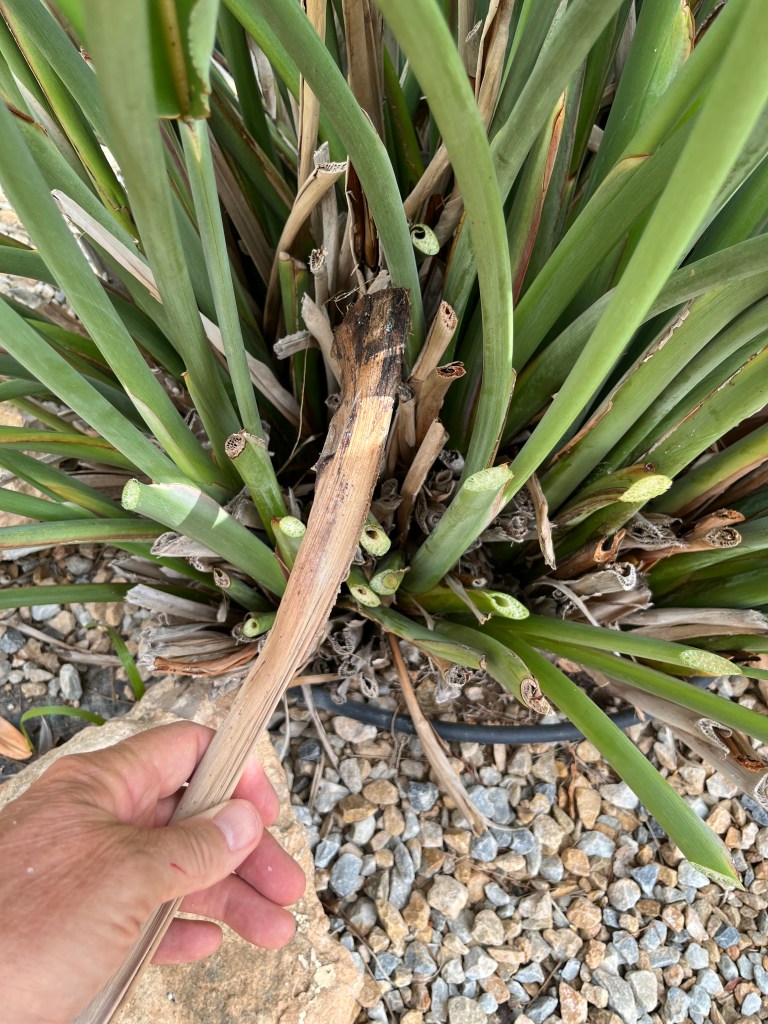
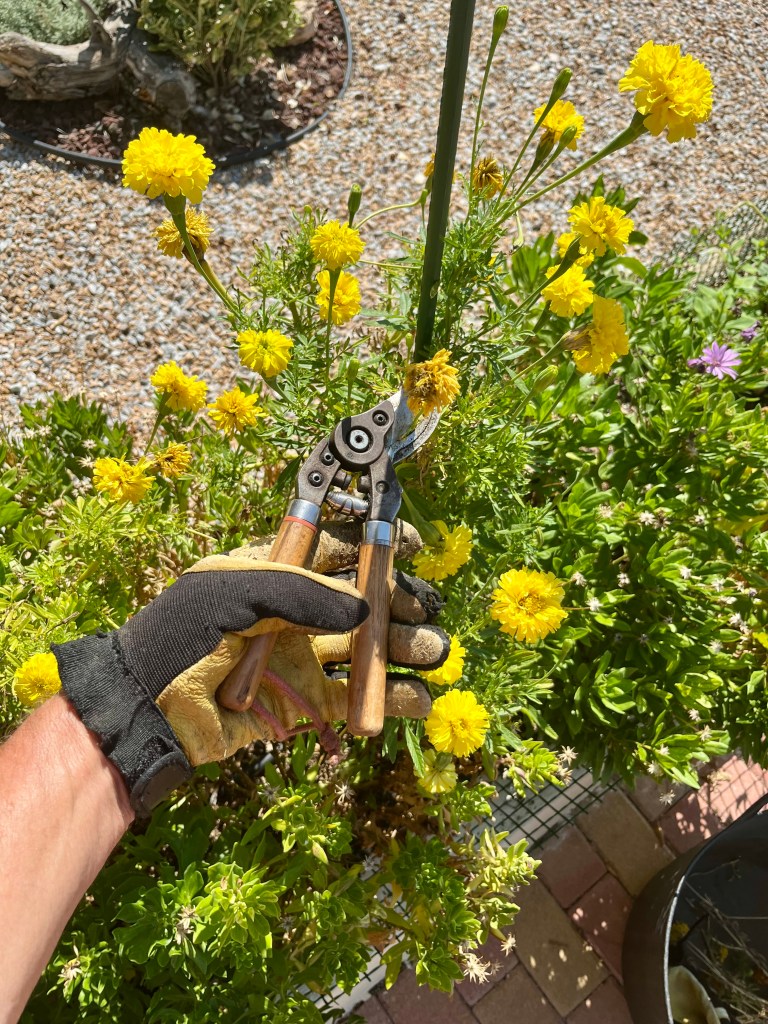
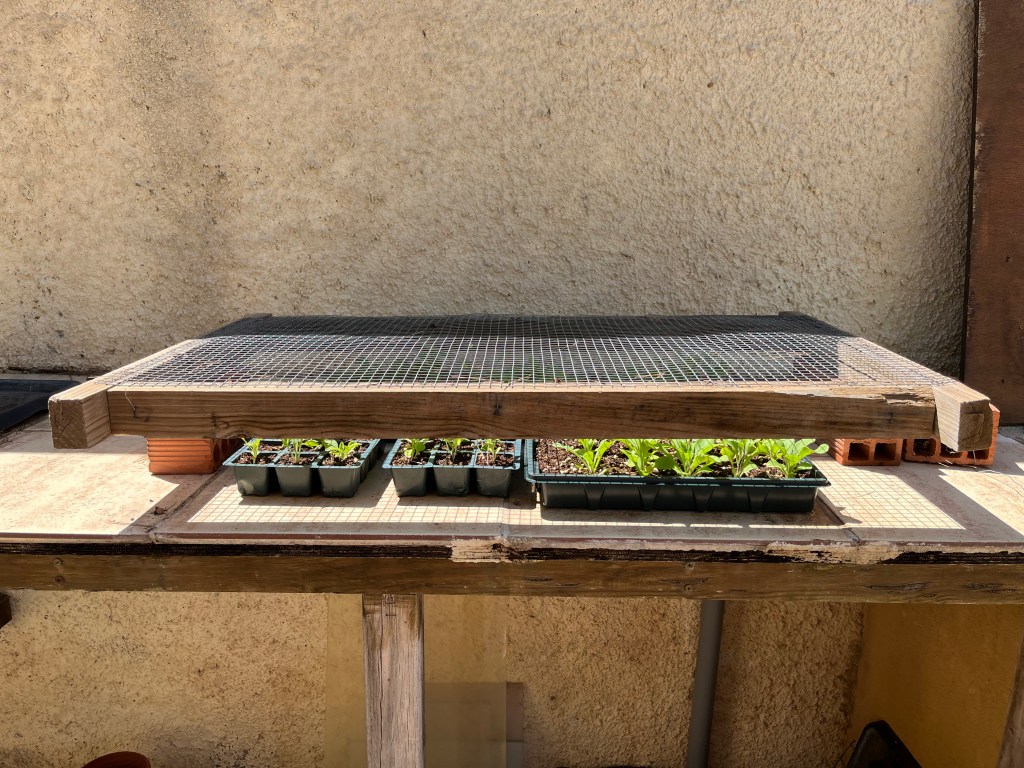
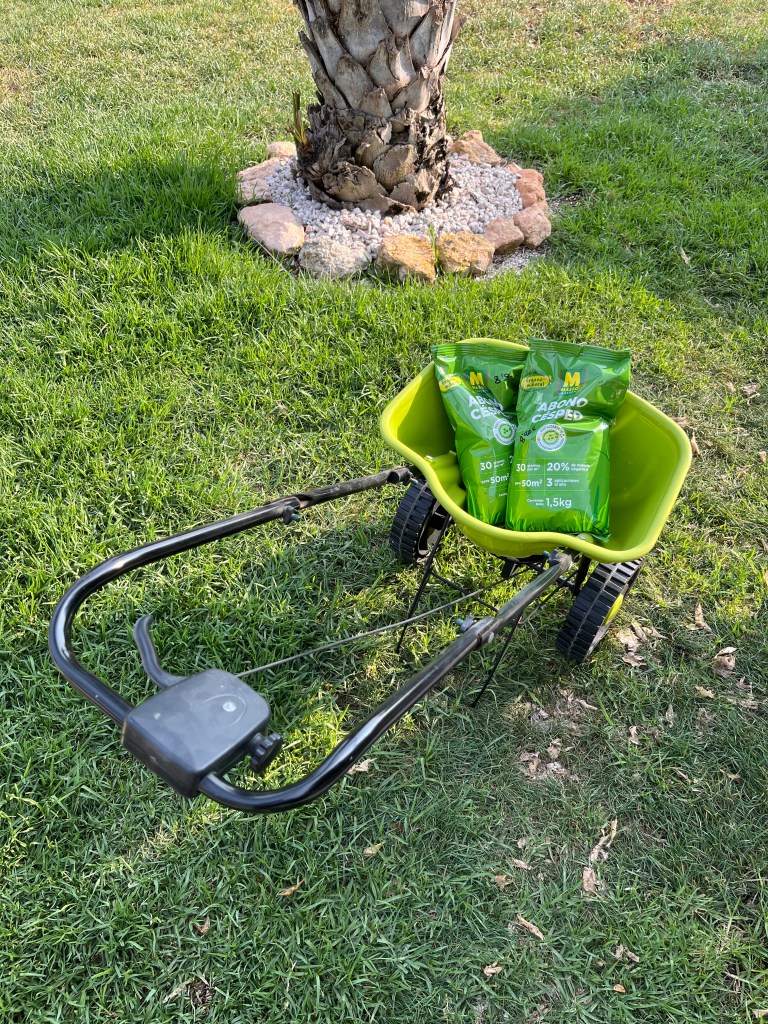
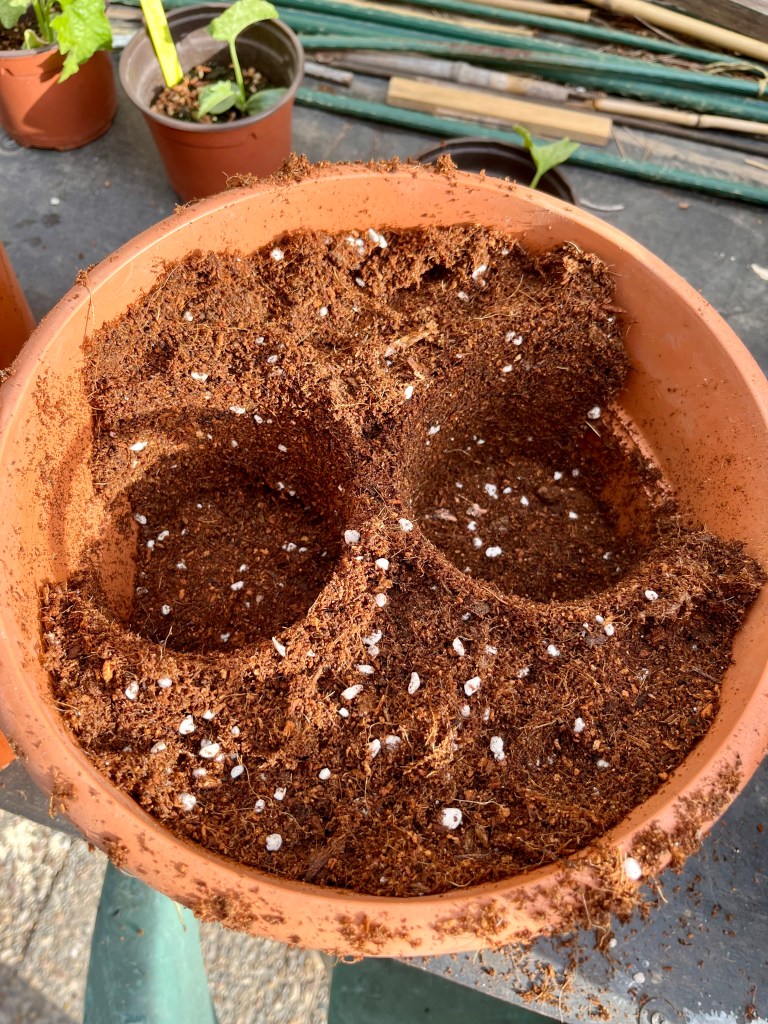
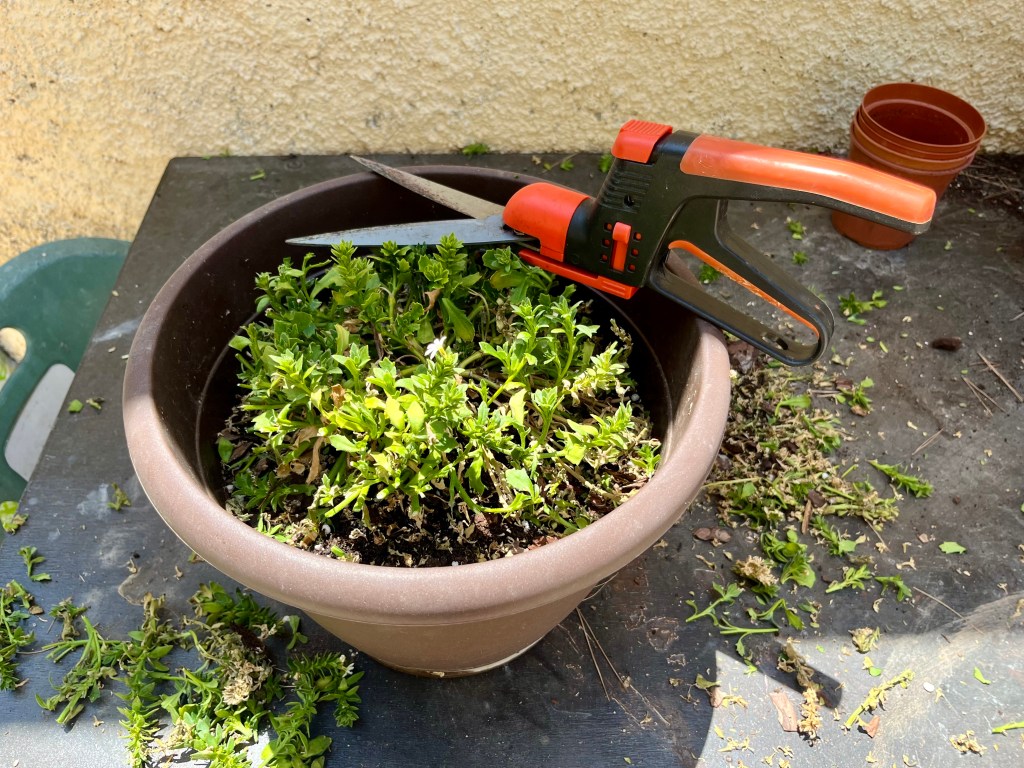
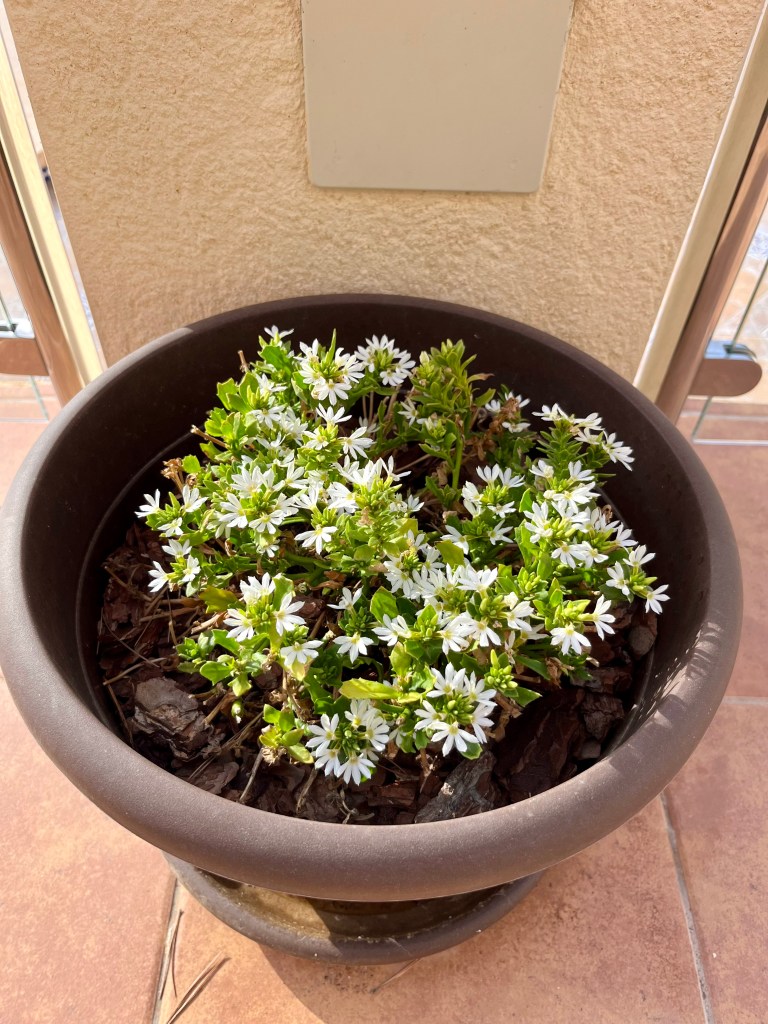
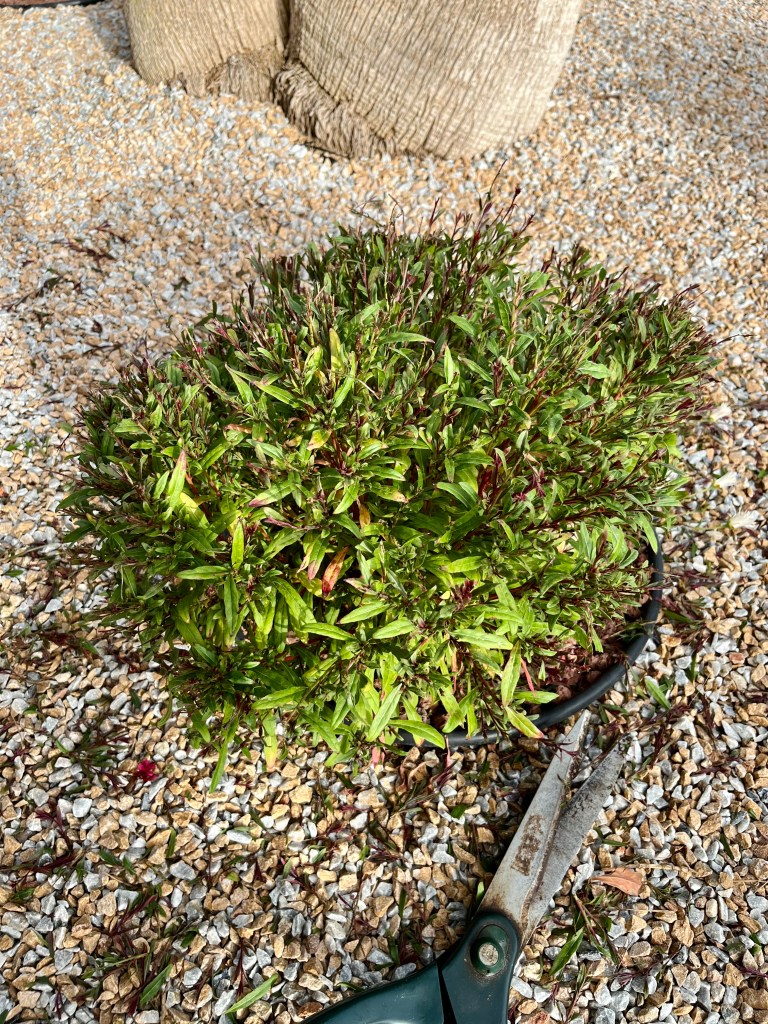
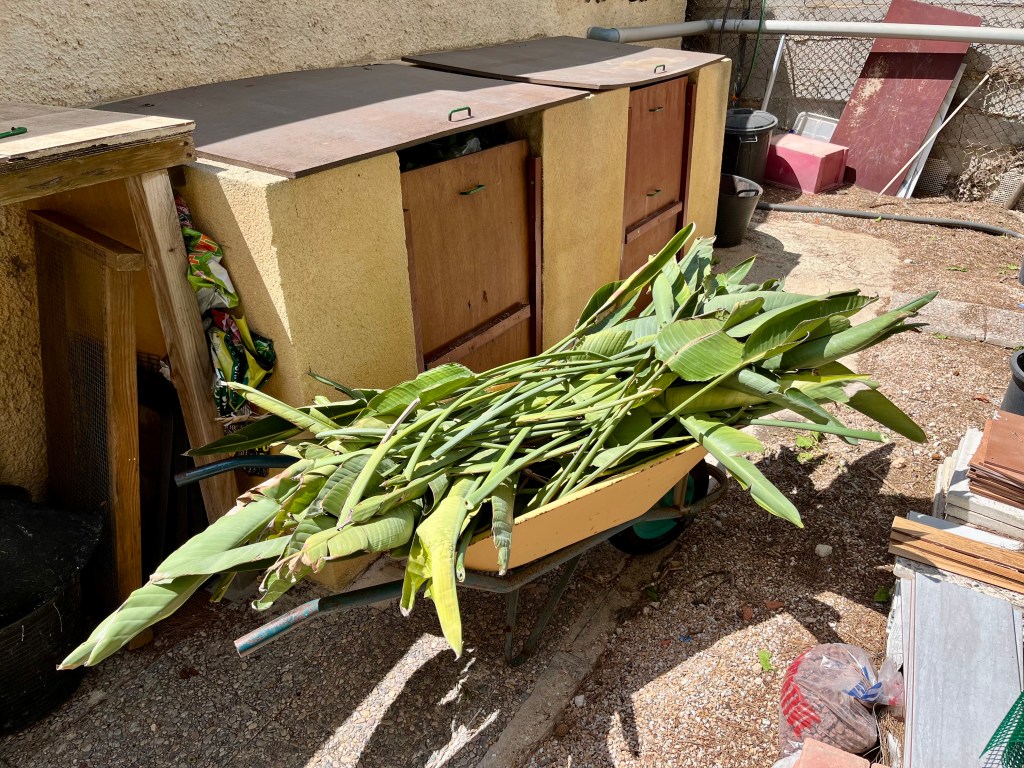
All you have to do is get your hedge trimmers or shears and cut the whole thing back to a small mound. Once you have the grass cut back then get your garden gloves on and pull out any dead grass from the centre of your plant. Gloves are important as grasses can be sharp. The photos below show my efforts at clearing the congestion at the centre of one of my grasses, and the finished and trimmed plant ready for new growth to bust through in about a month.
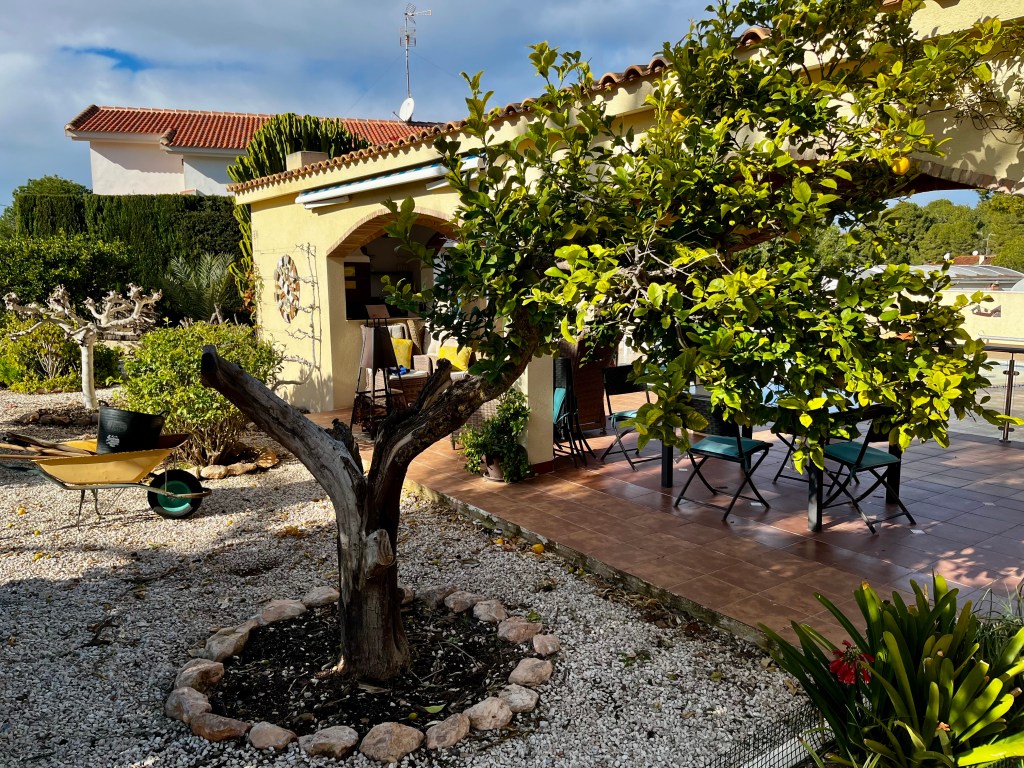
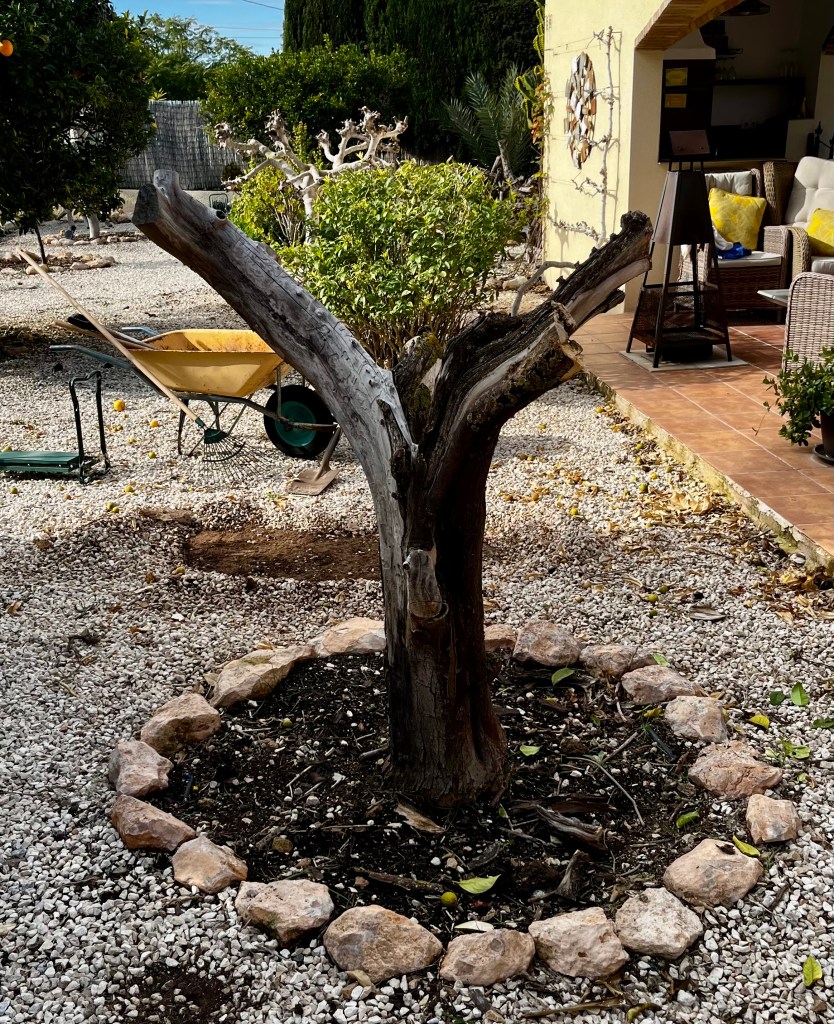
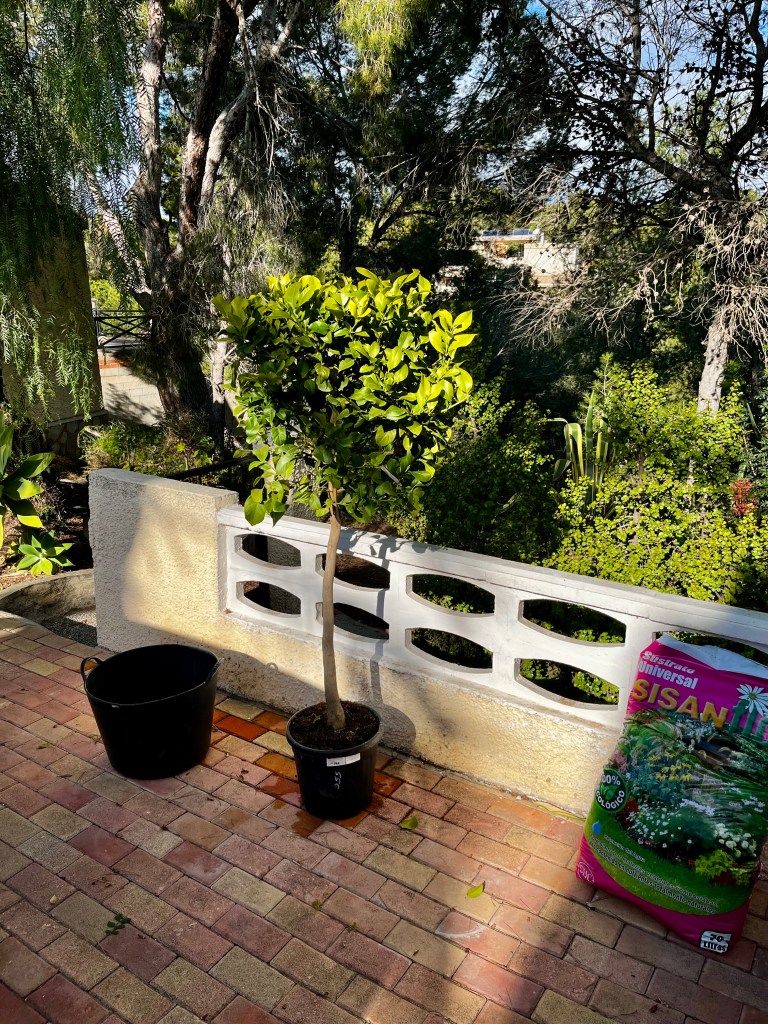
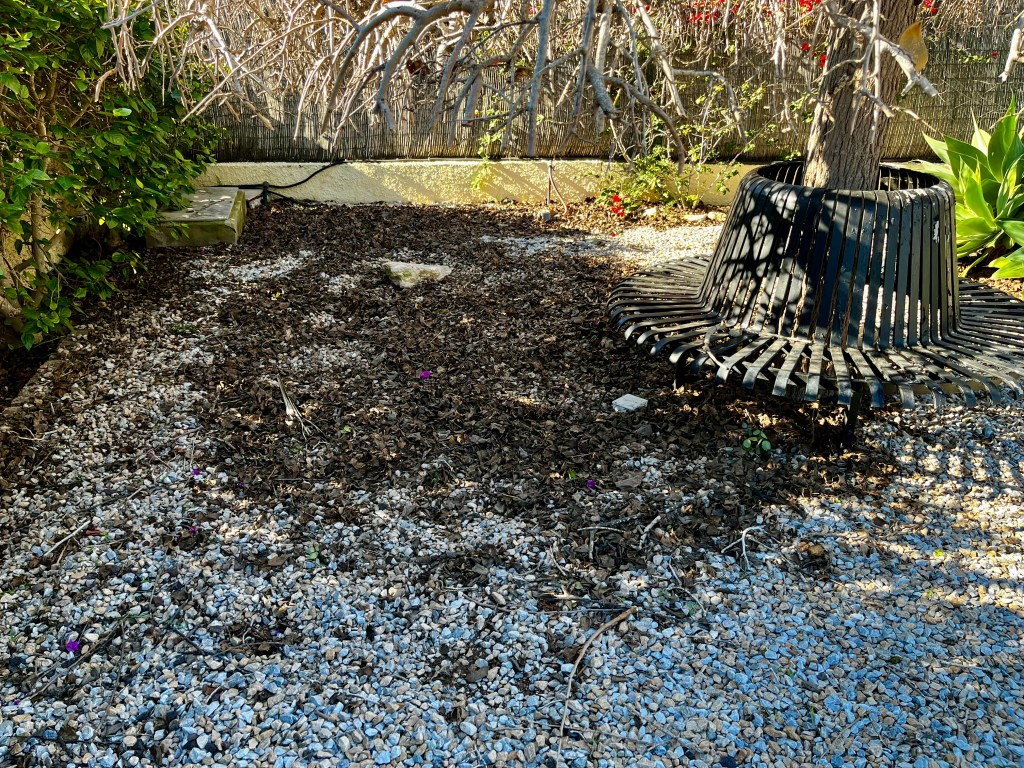
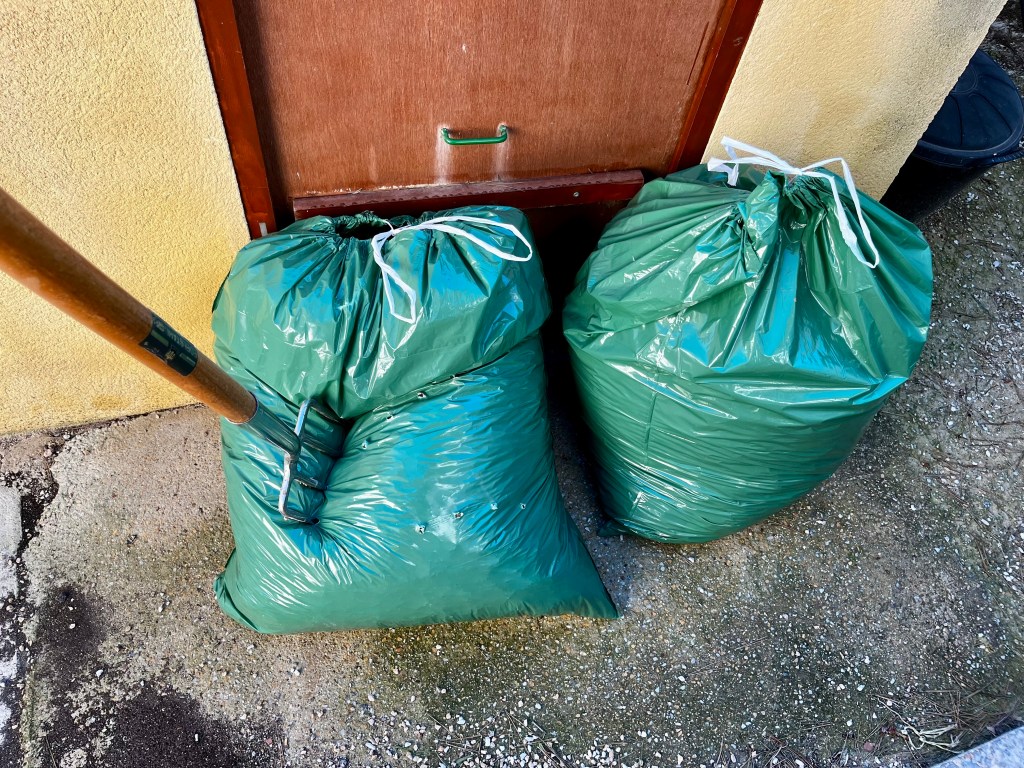
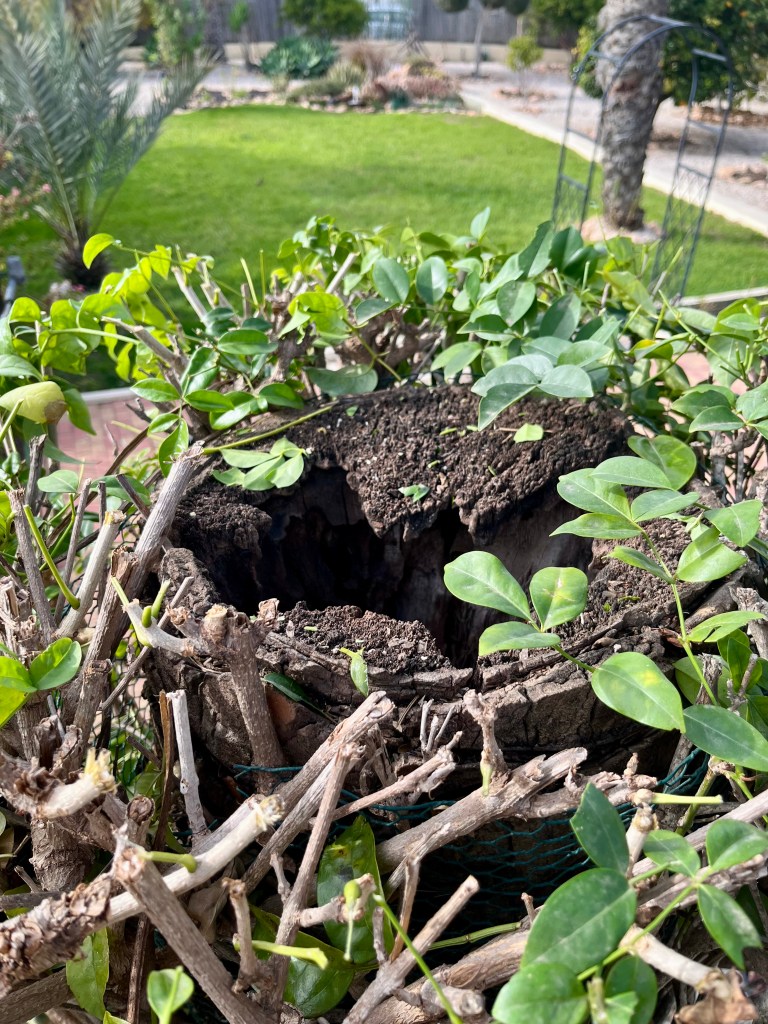
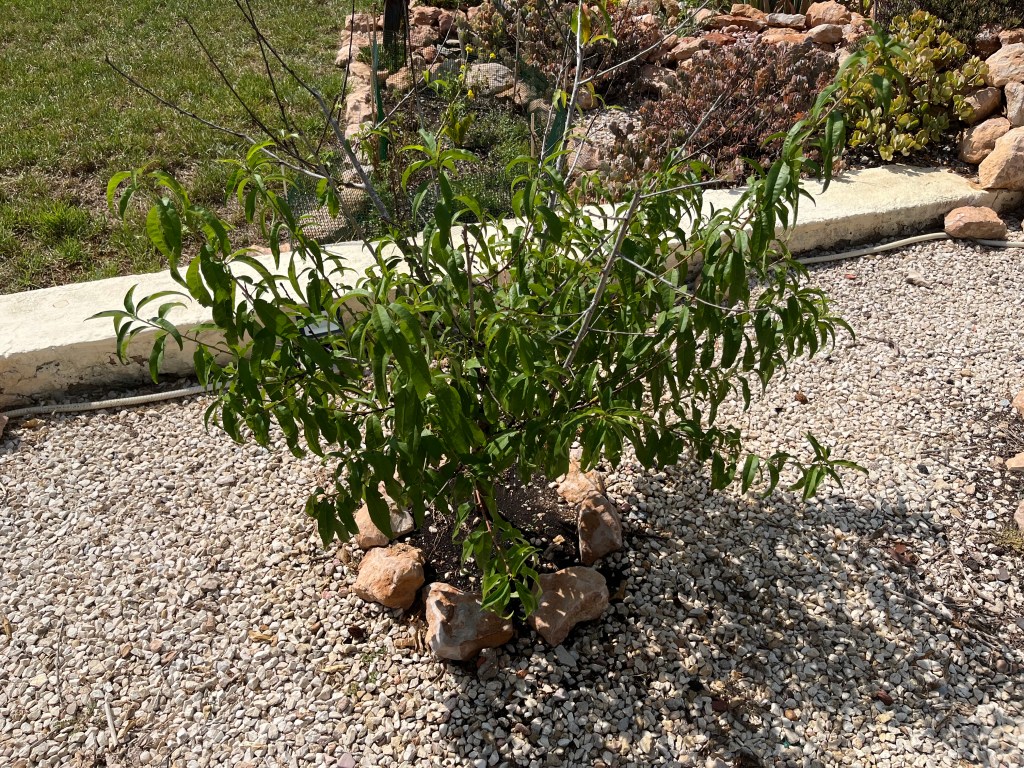
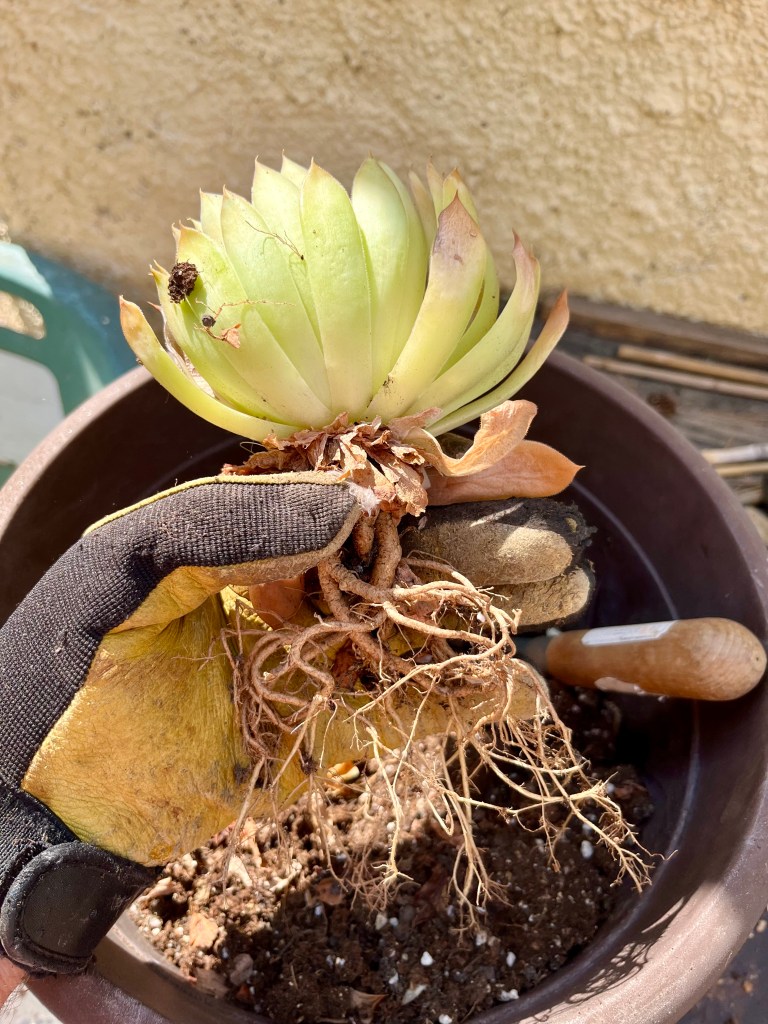
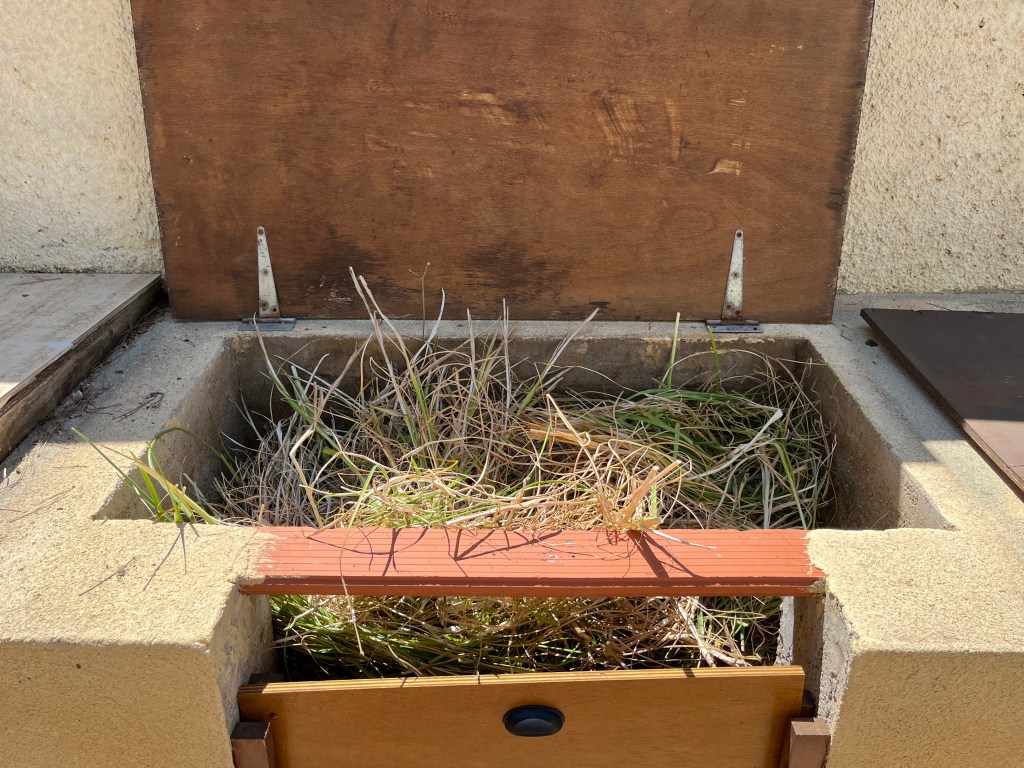
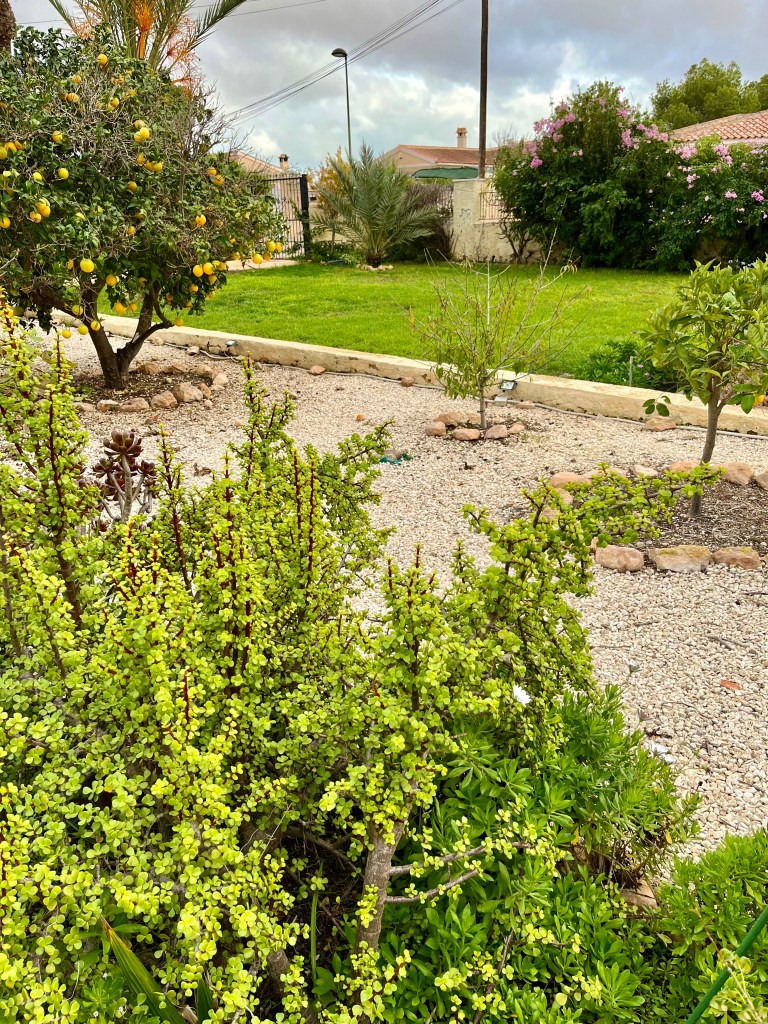
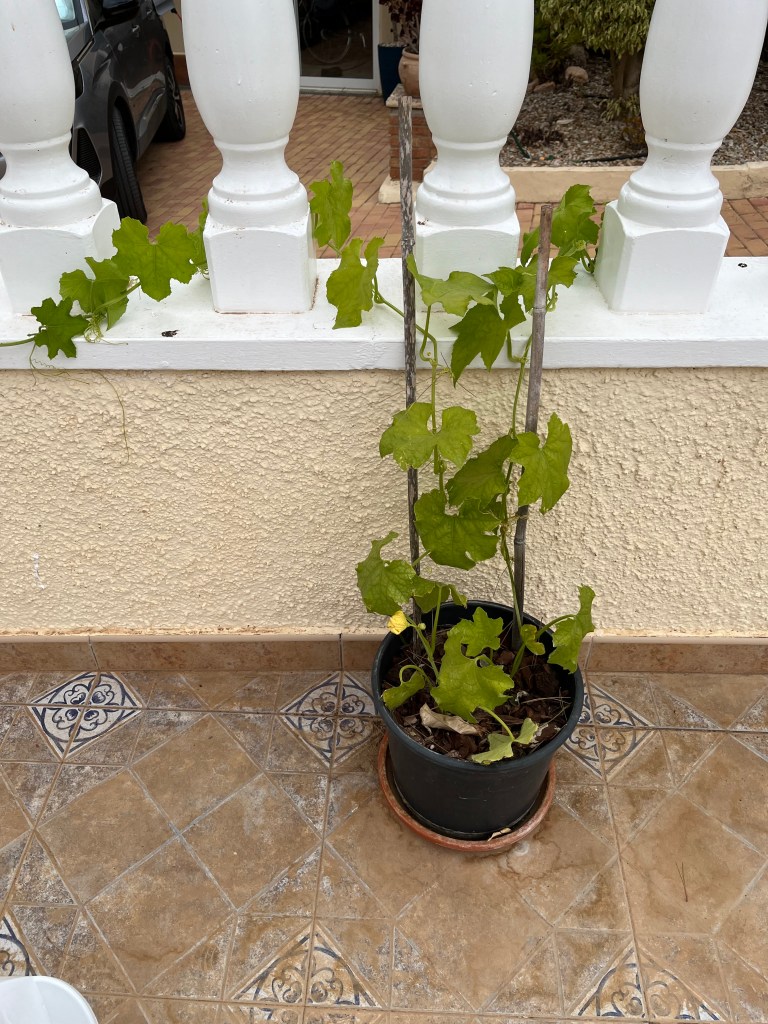
Planting new trees. My only lemon tree has been gracefully dying for about 2 years which has been a cause of great concern to Cruella (my wife) who relies on it for lemons for her gin. It is an old tree, and I have been carefully managing its decline. However, it has reached the end and it had to go, especially if I was to get a new tree in this year. The photos below show my old tree leaving this earth gracefully.
If you are going to plant new trees in the Costa Blanca area, then you only have a planting window between November and March to get your new tree into the ground. Any later than this then your new tree will have difficulty getting going in the heat. By getting it in whilst the soil is beginning to warm and there is some rain around but the sun is not too hot, then your new tree has a chance to set some root before the heat of the summer.
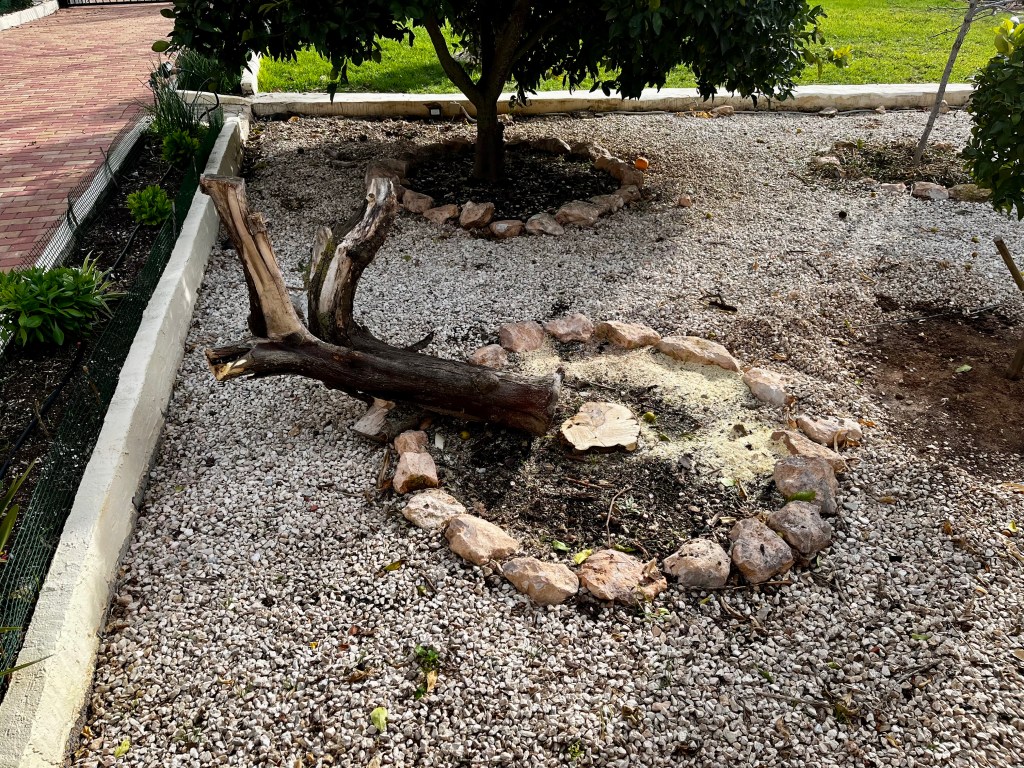
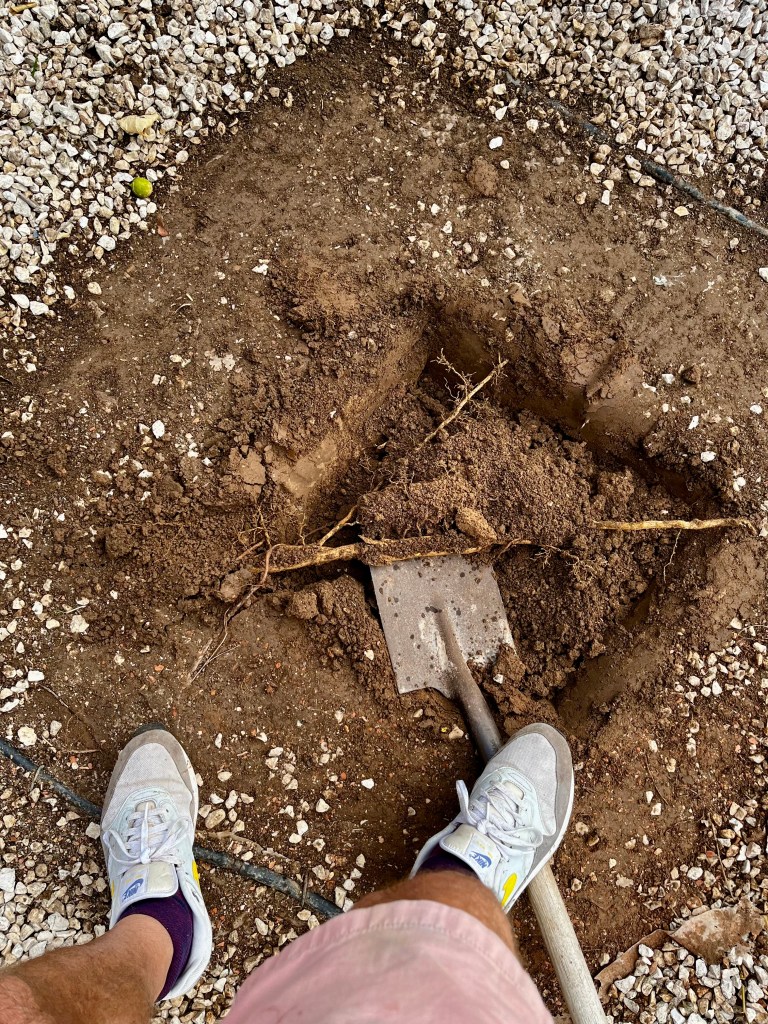
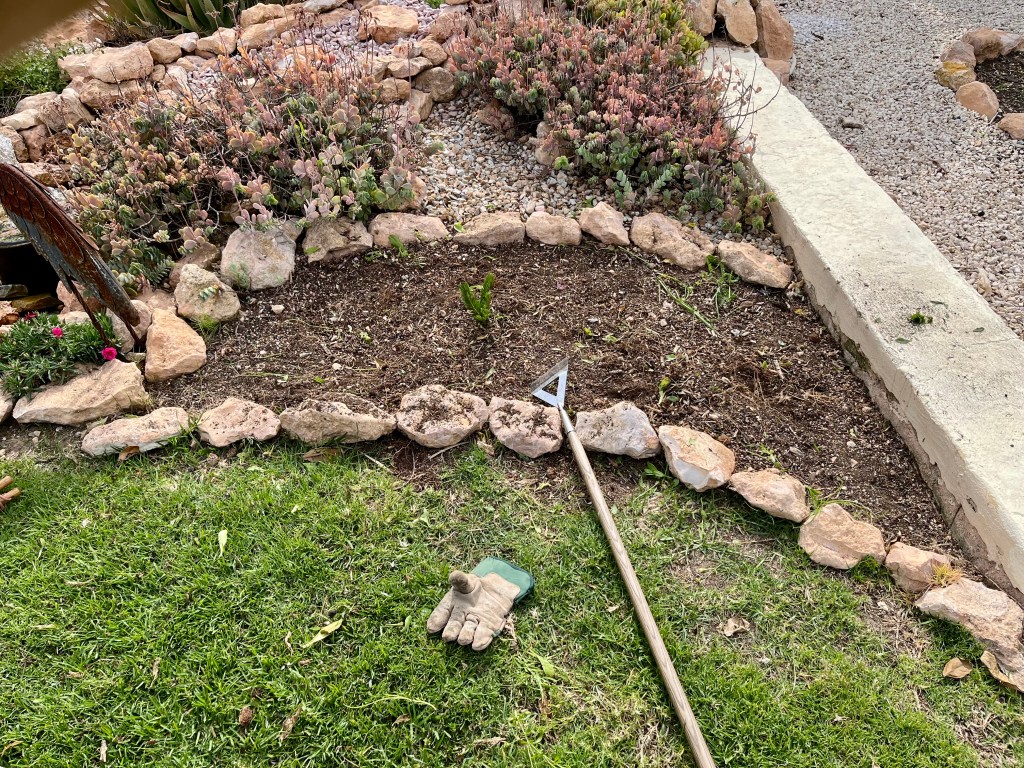
The first thing you have to decide is the position of your new tree. My fruit trees are in two parallel lines in a typical orchard style. In effect this means that my new tree will be in line, but essentially it needs to be at least 3 metres from the trunk of my old tree. The reason for this is simple. The soil around the old tree will be depleted and the roots of the old tree are still in the soil and won’t rot for a few years.
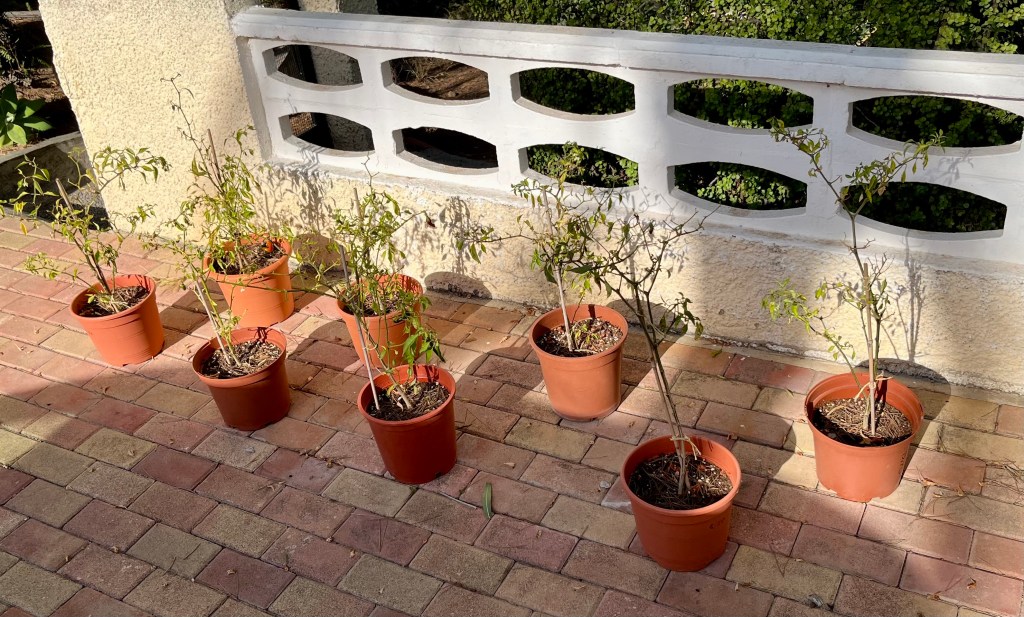
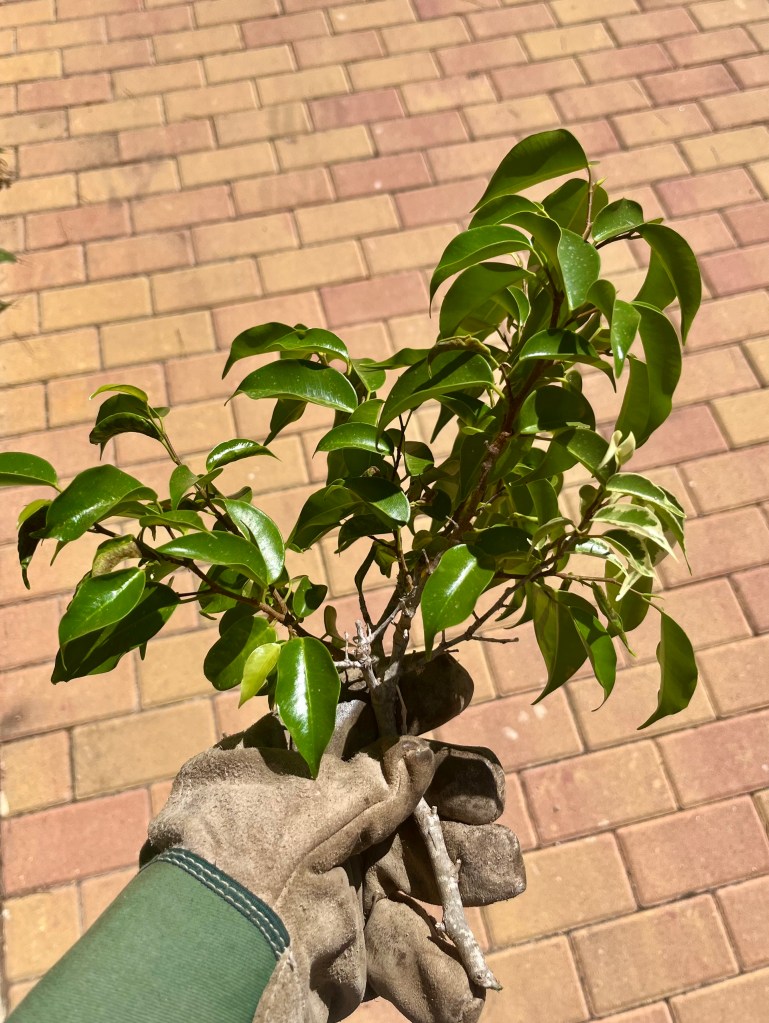
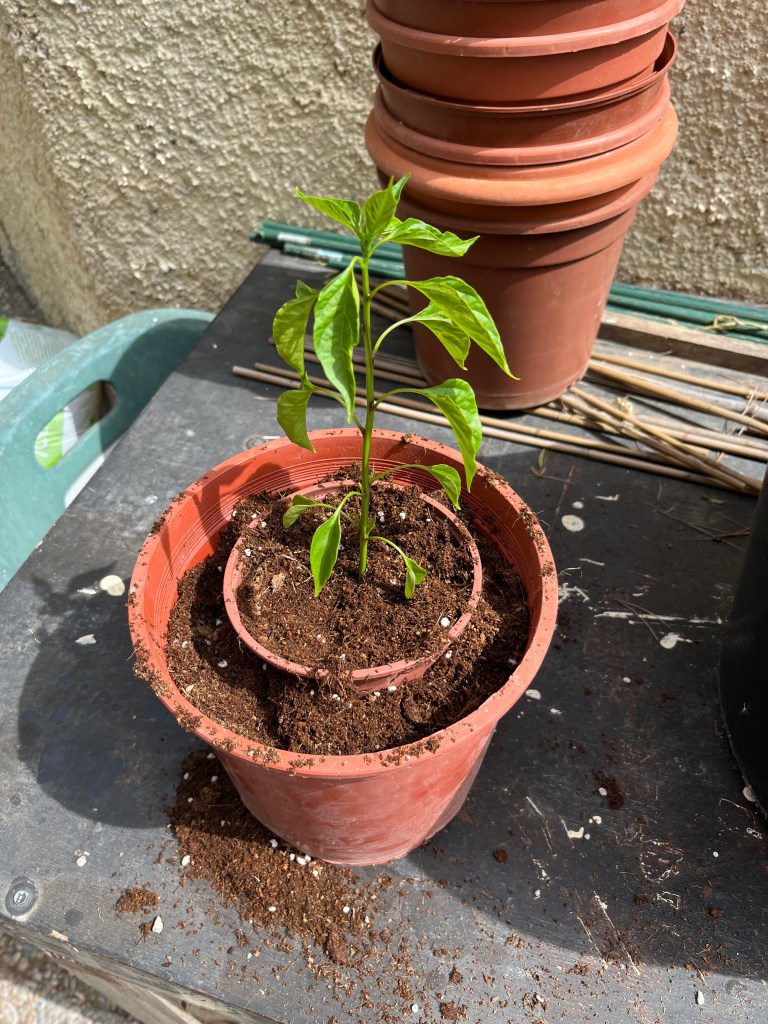
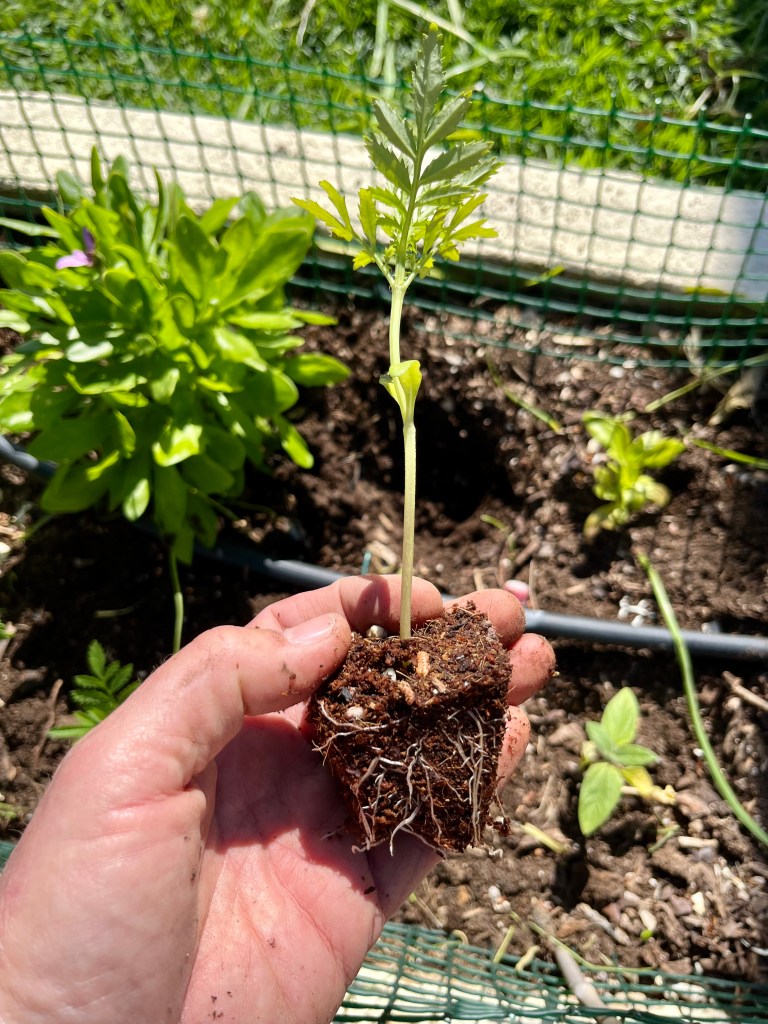
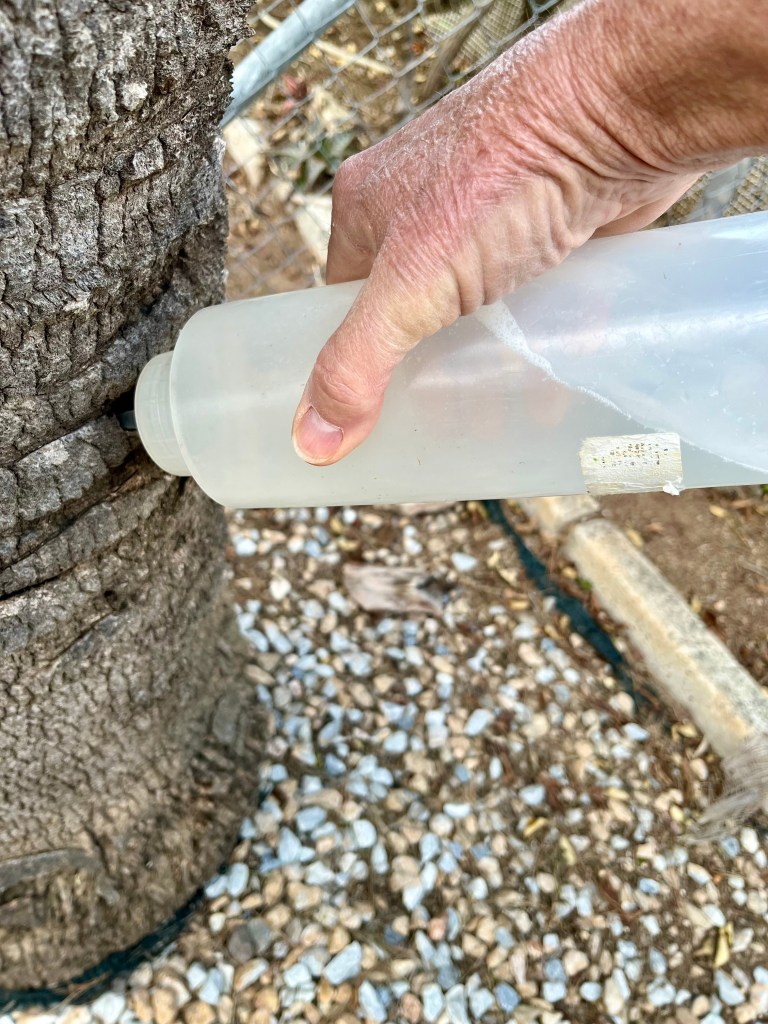
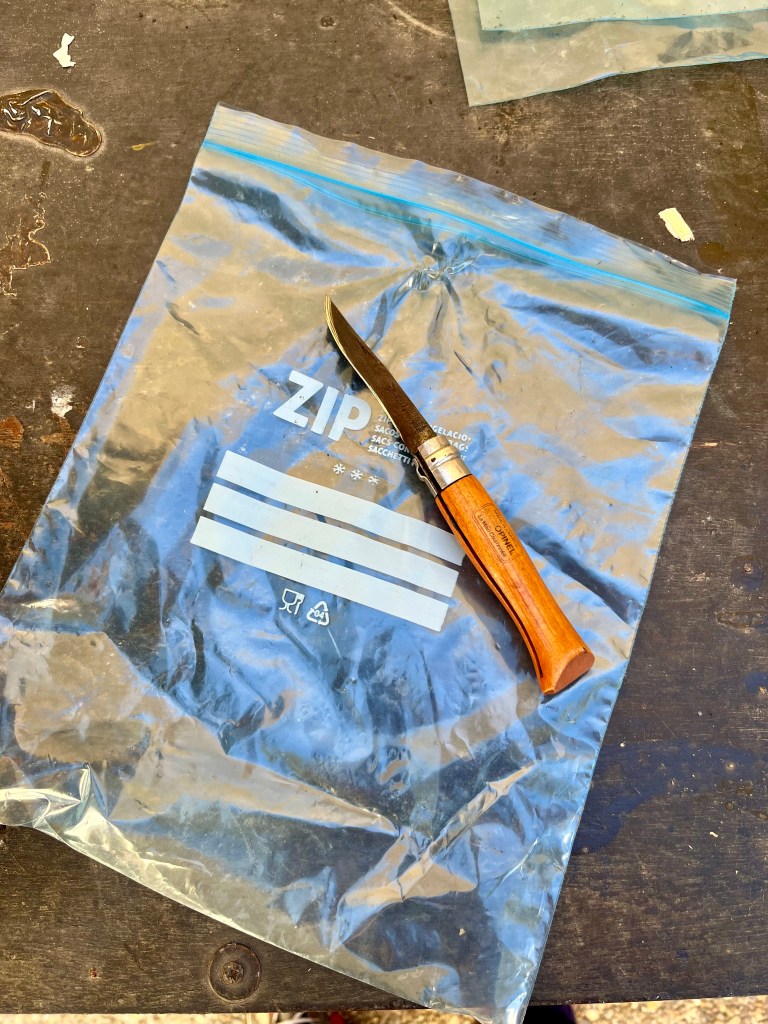
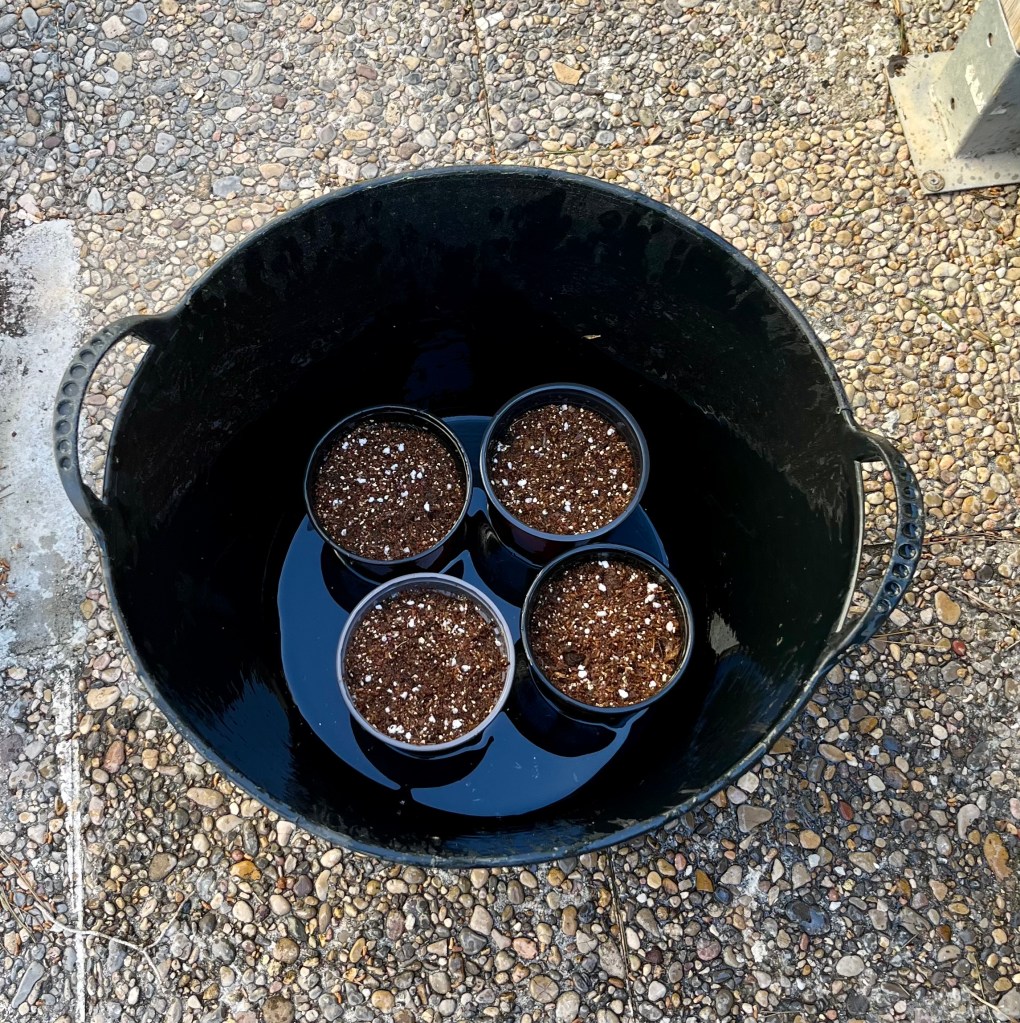
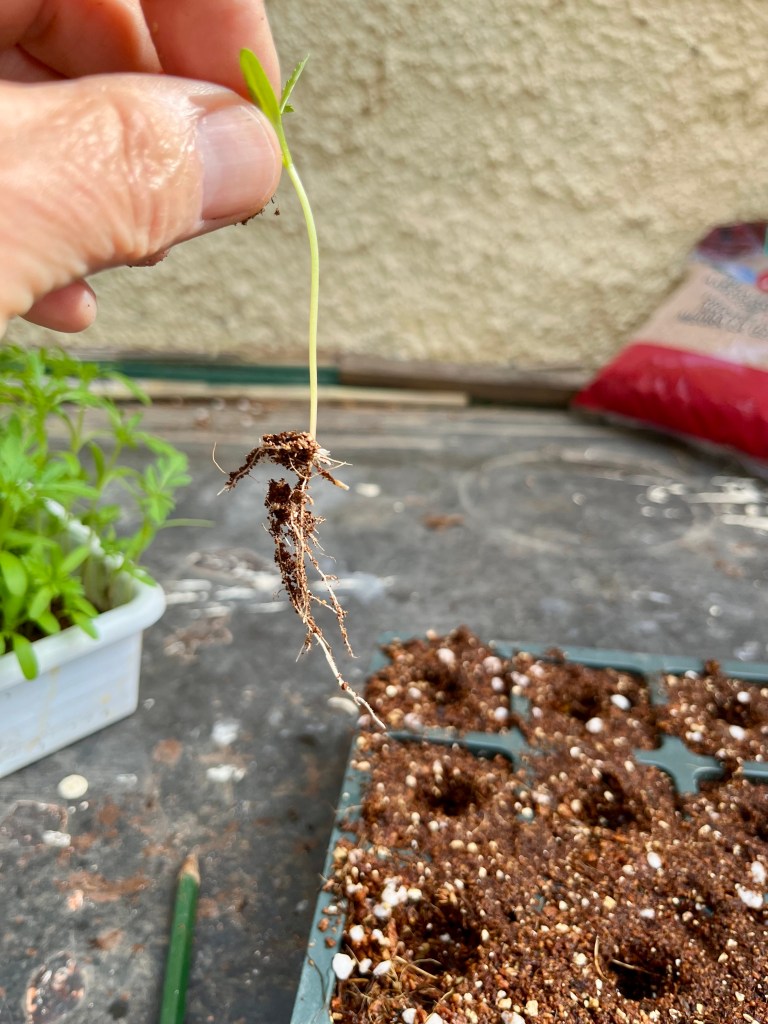
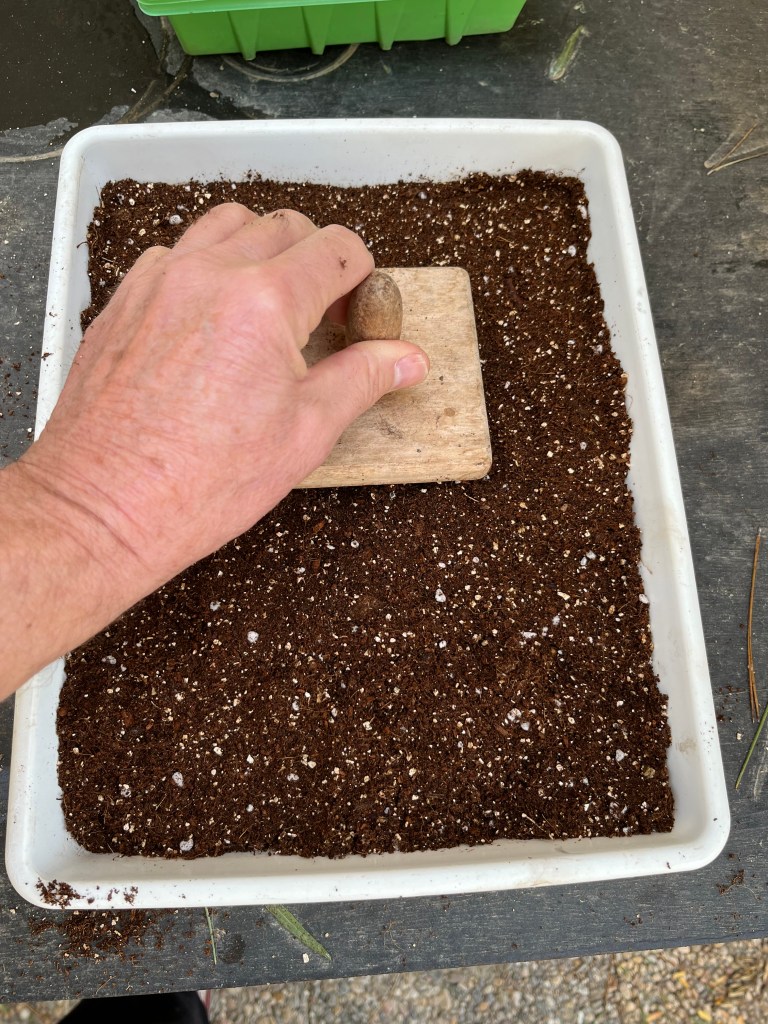
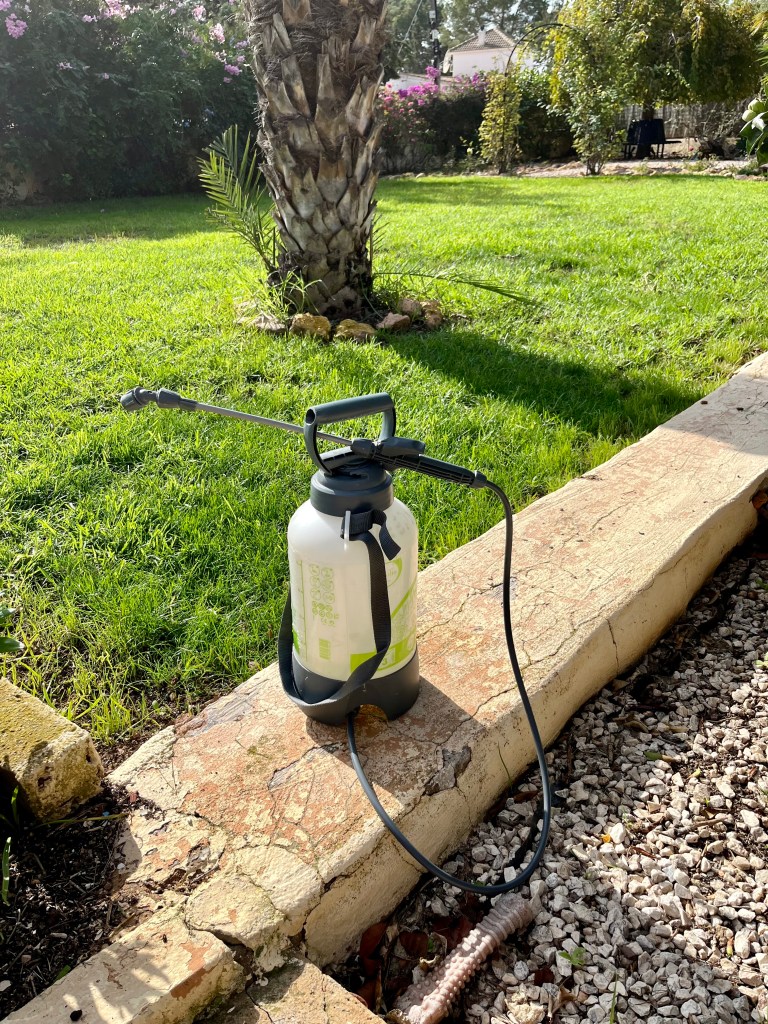
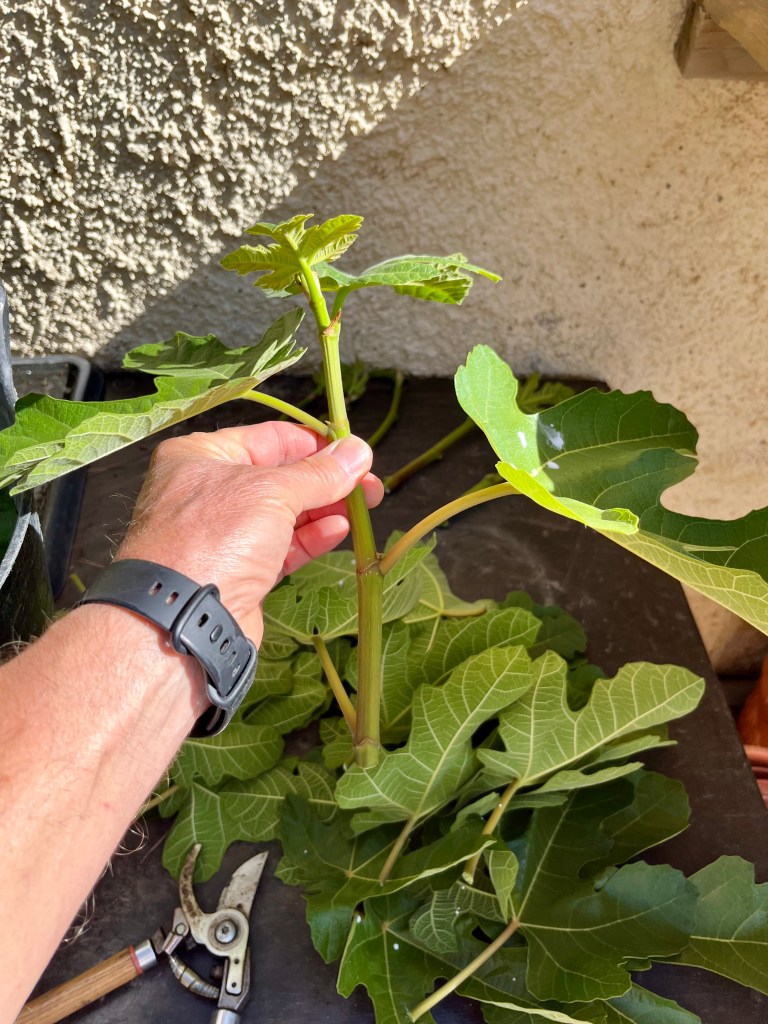
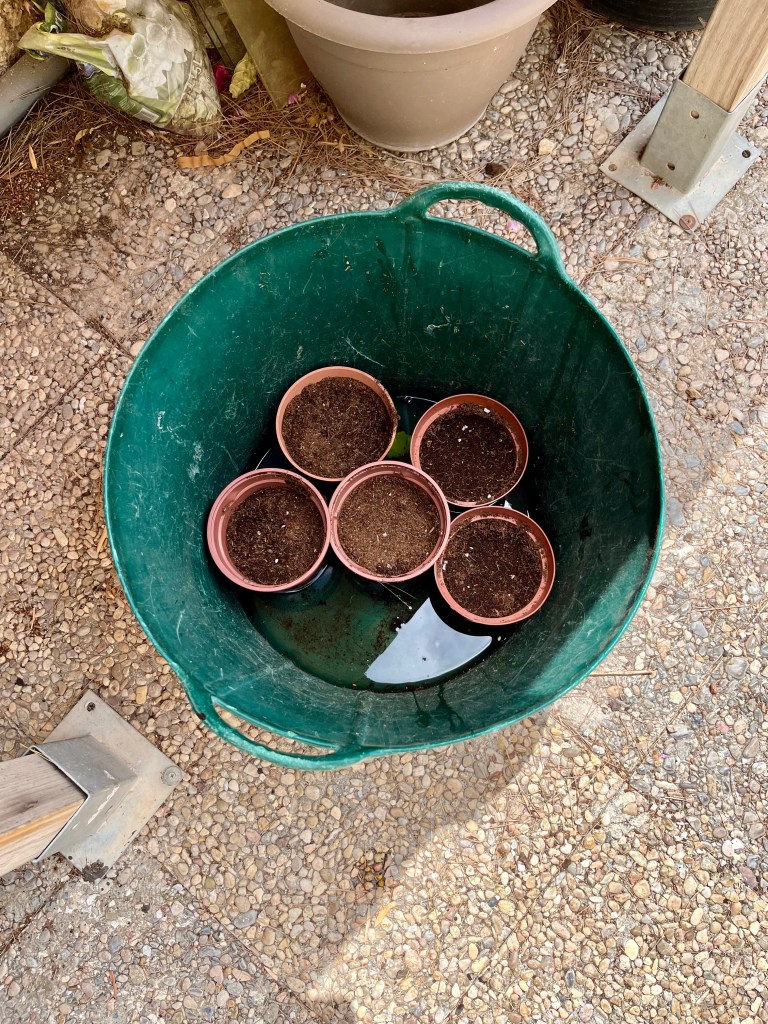
Your next decision is what type of new tree to buy. You can buy spindly things grown from seed, mid size trees grown on grafts, or cut down larger trees. I prefer mid size trees grown on grafts as they are relatively mature, won’t have the frailties of seed grown trees or the potential disease of cut down trees. Anyway, which ever you choose soak it in a bucket for at least three hours before planting. The photo below shows my chosen tree draining after its soak.
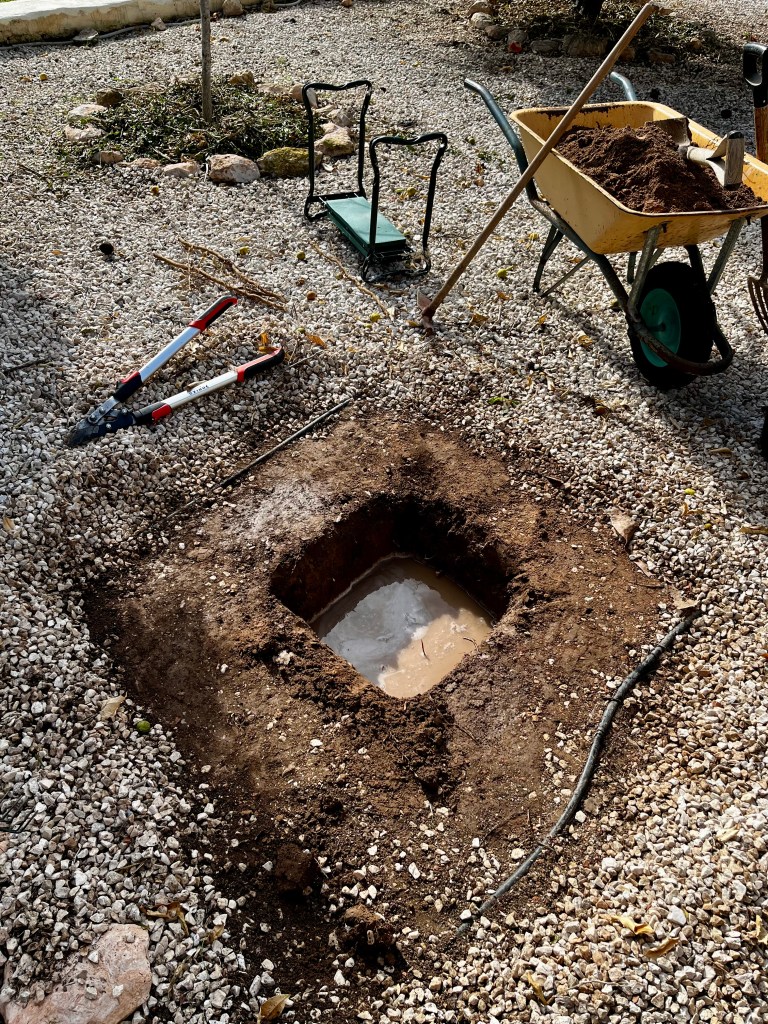
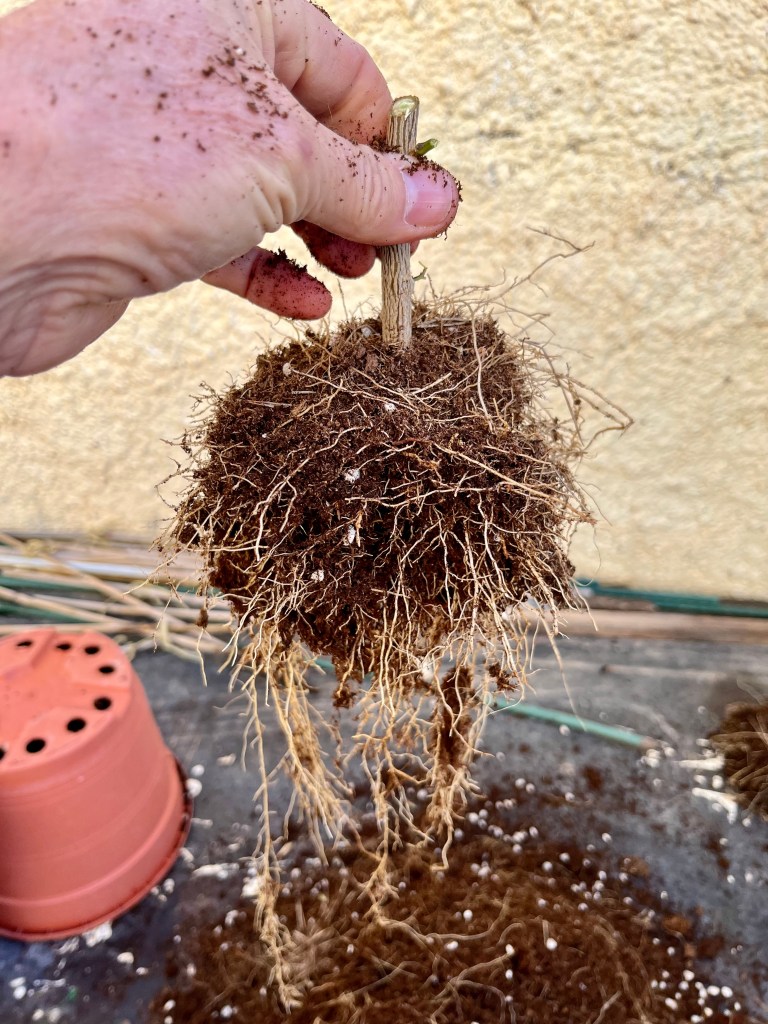
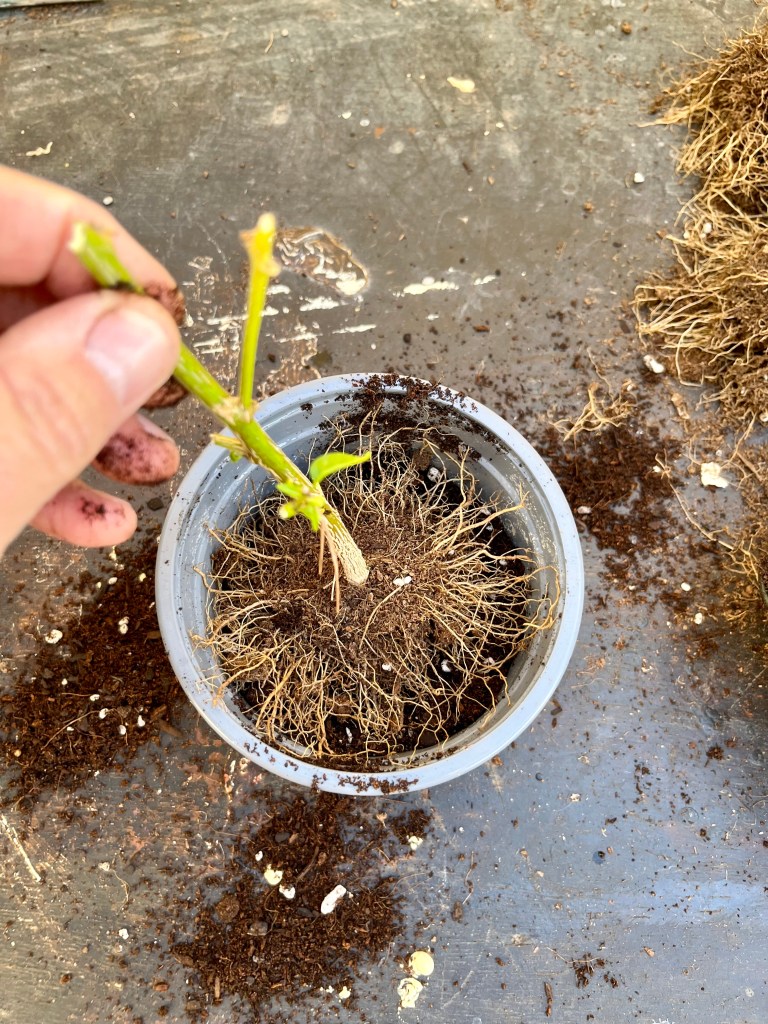
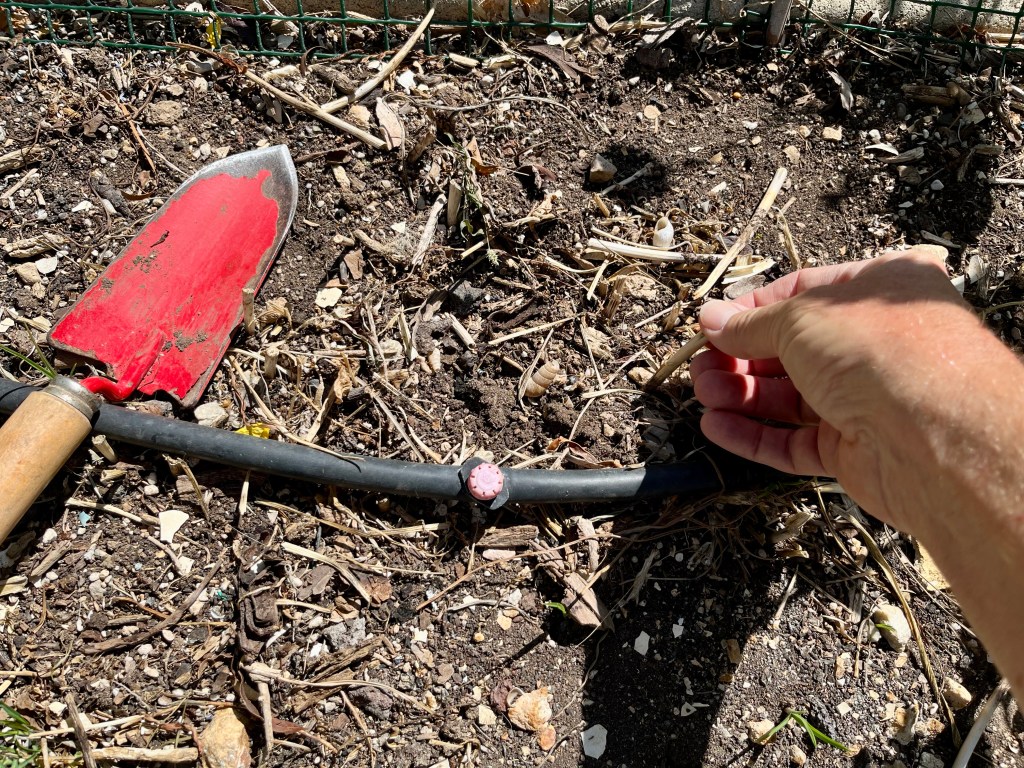
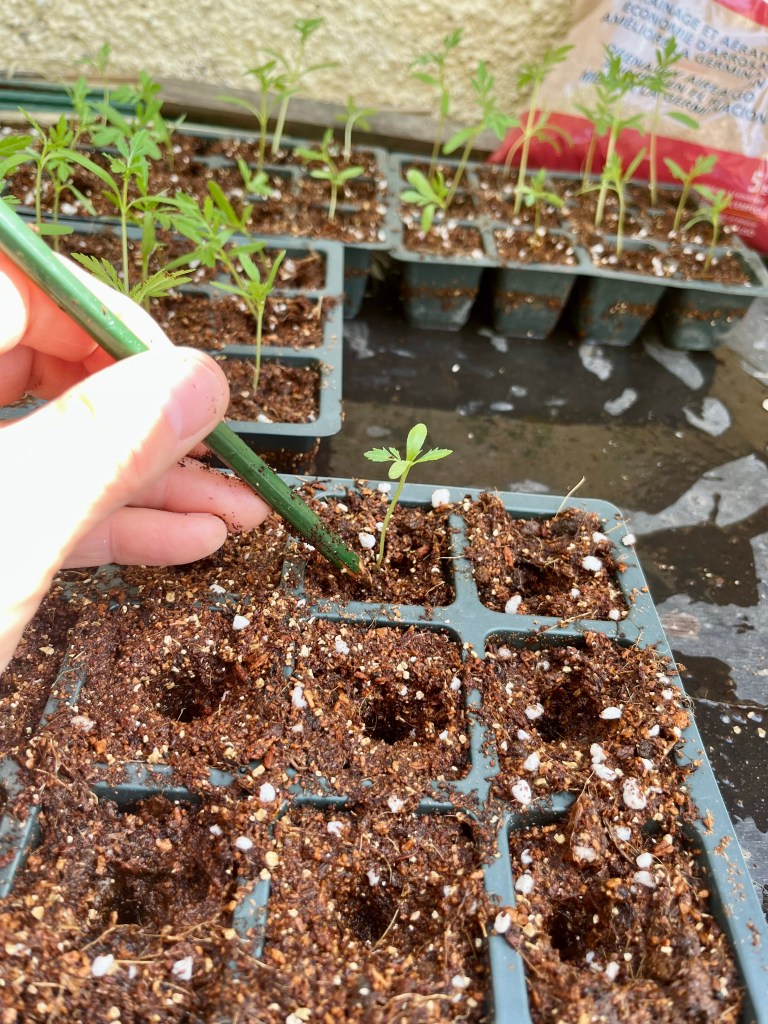
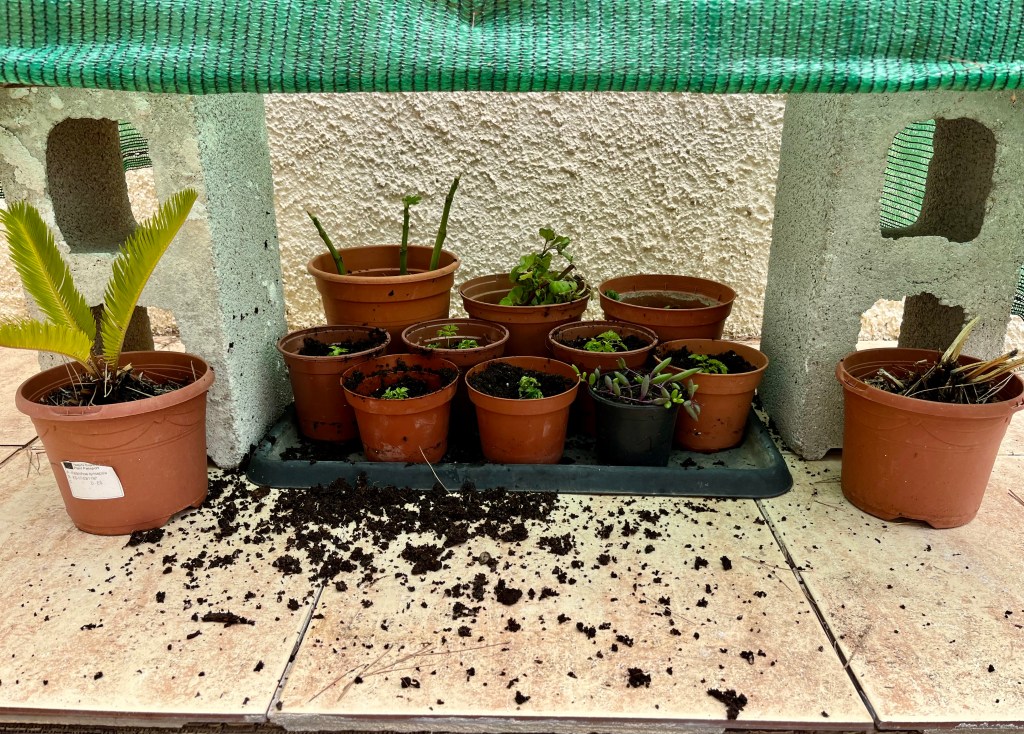
Once you have your tree it is time to get it into the ground. Dig a hole as big as you can, ideally twice the size of the root ball (but to be honest these days I am lucky if I can dig a hole). Chop out any roots you find from the old tree. When you are happy with your hole, fill it with water and let it drain. The photos below show my progress.
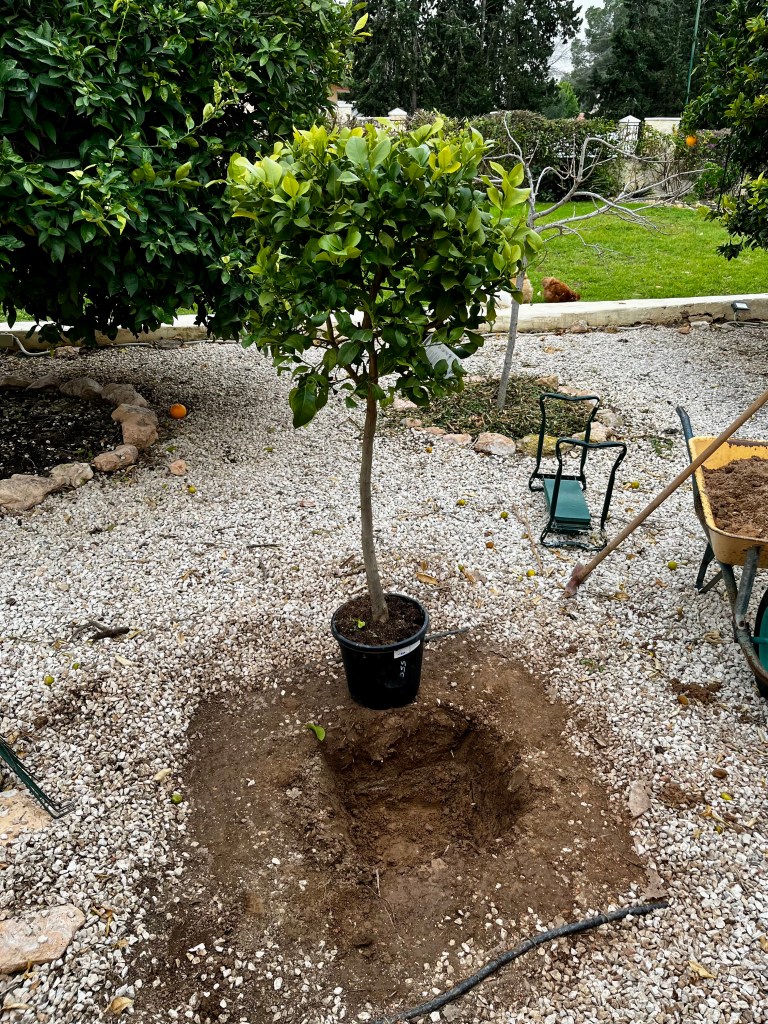
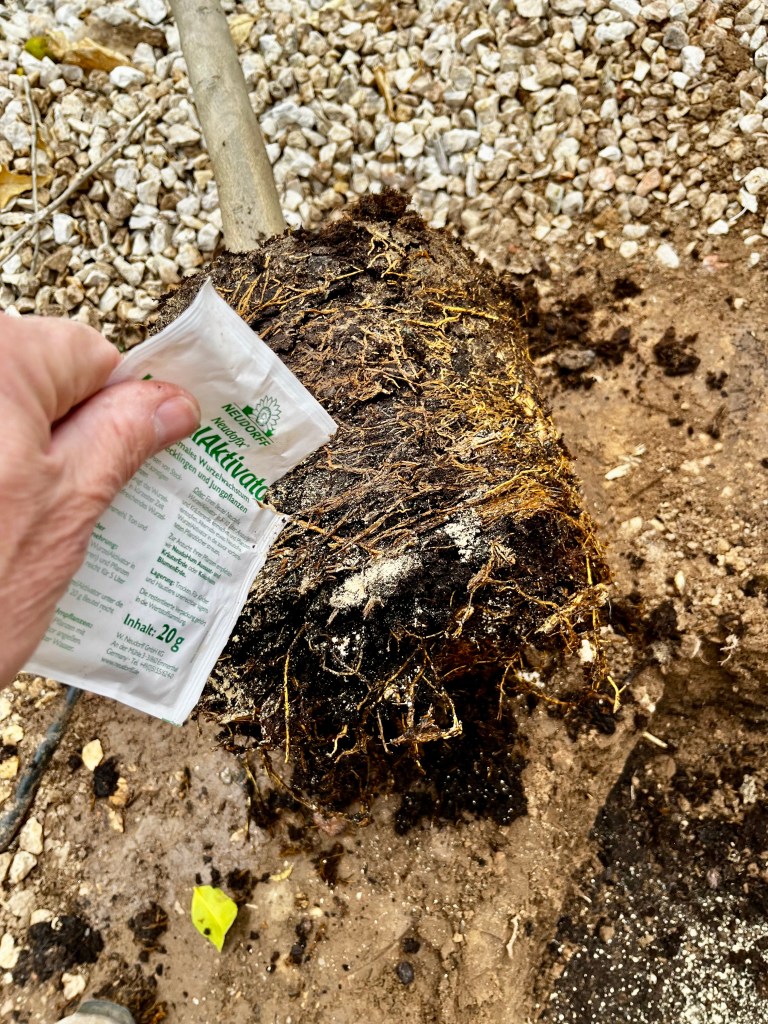
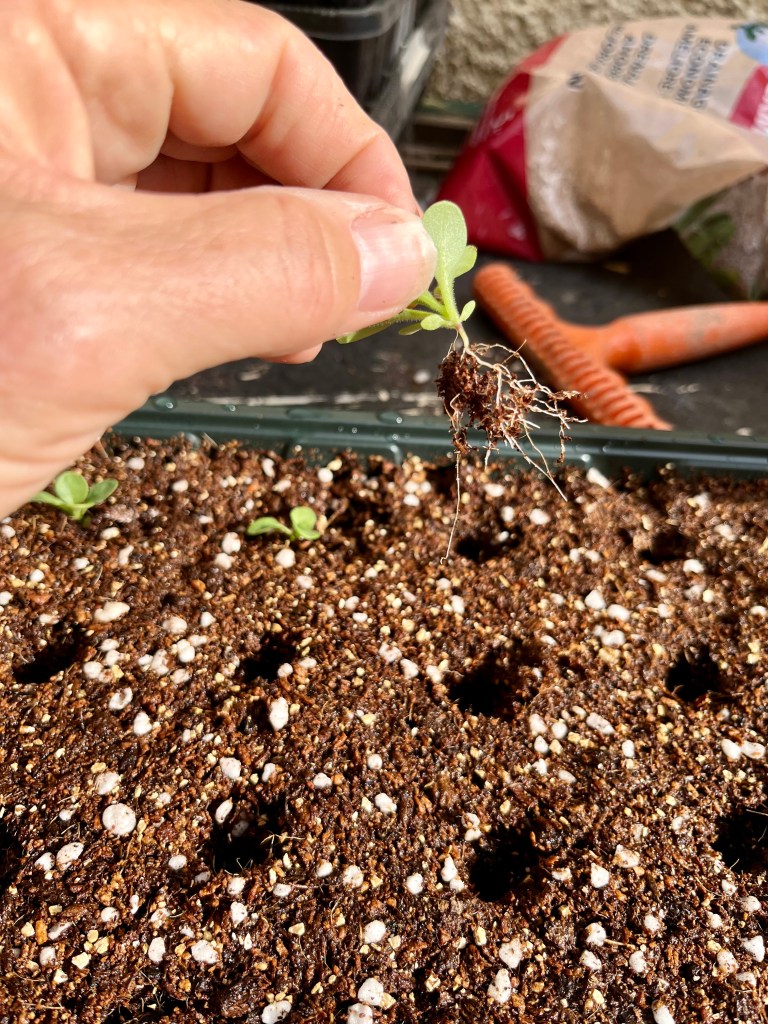
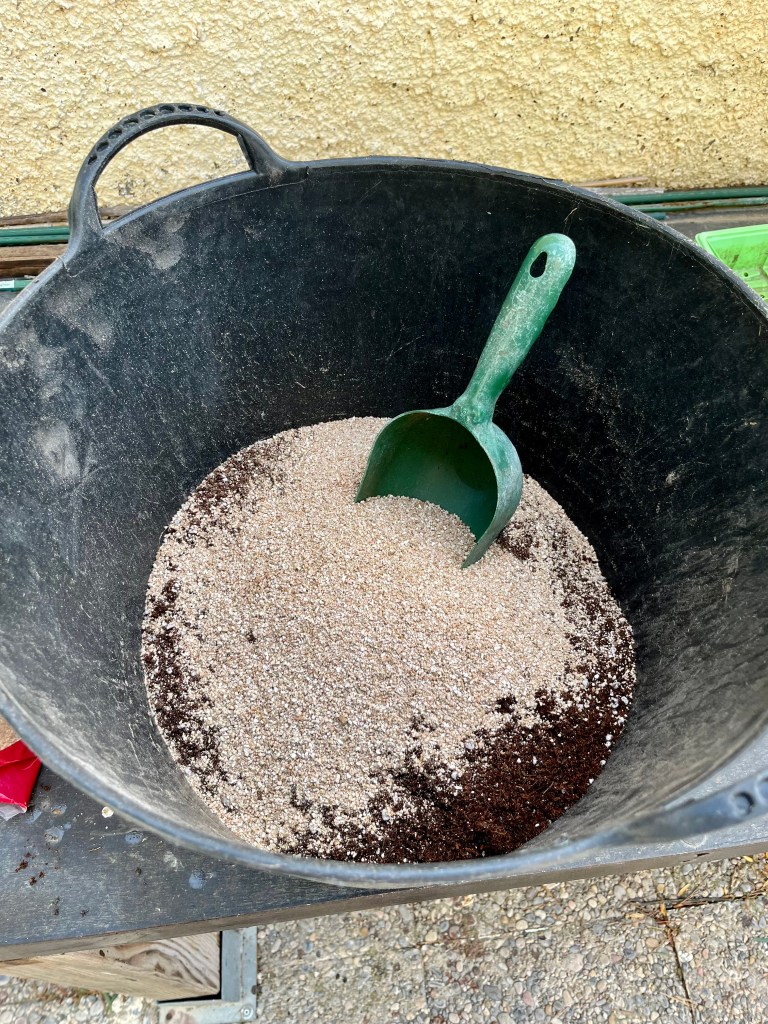
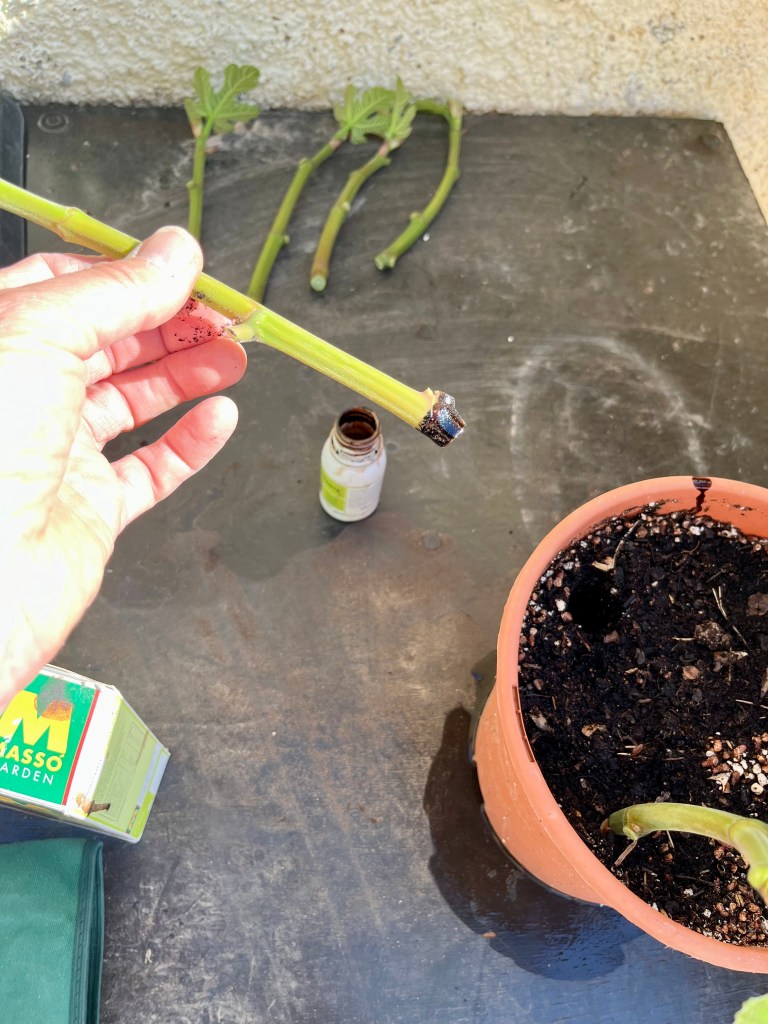
Now to the important part of planting your tree. Your aim is to give your new tree the best chance of survival, and that means careful preparation. First, ease your tree out of its pot and carefully spread the roots out of their pot shape. Next, sprinkle the roots with Mycorrhizal fungi to encourage root growth (you can buy this in most garden centres).
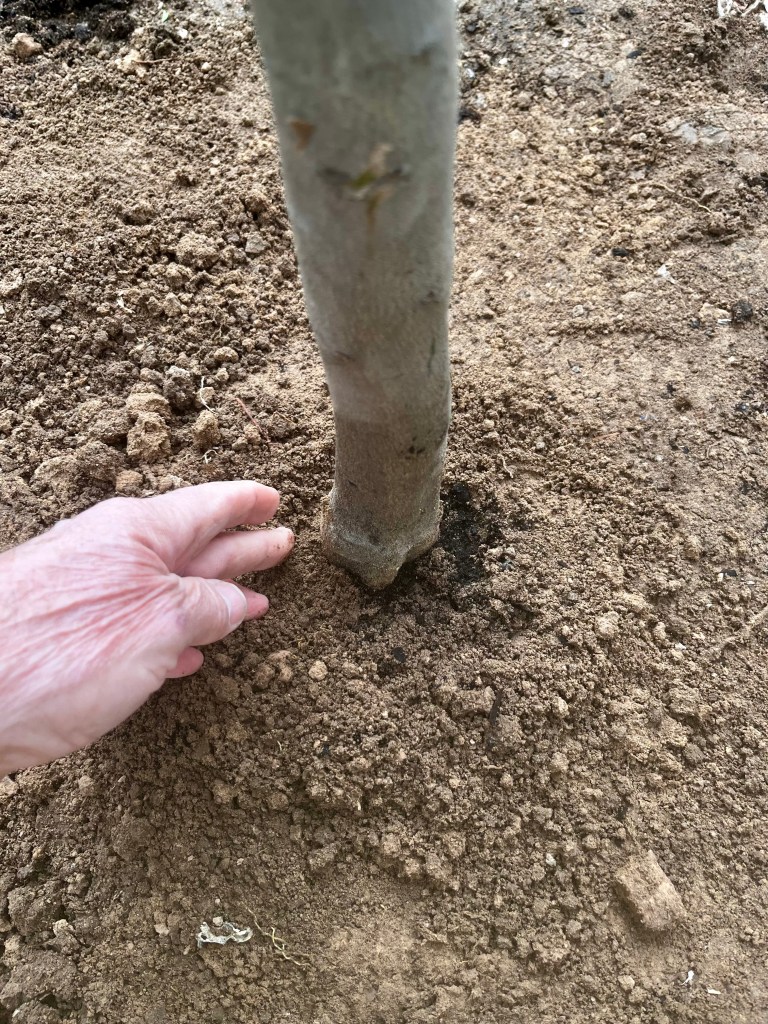
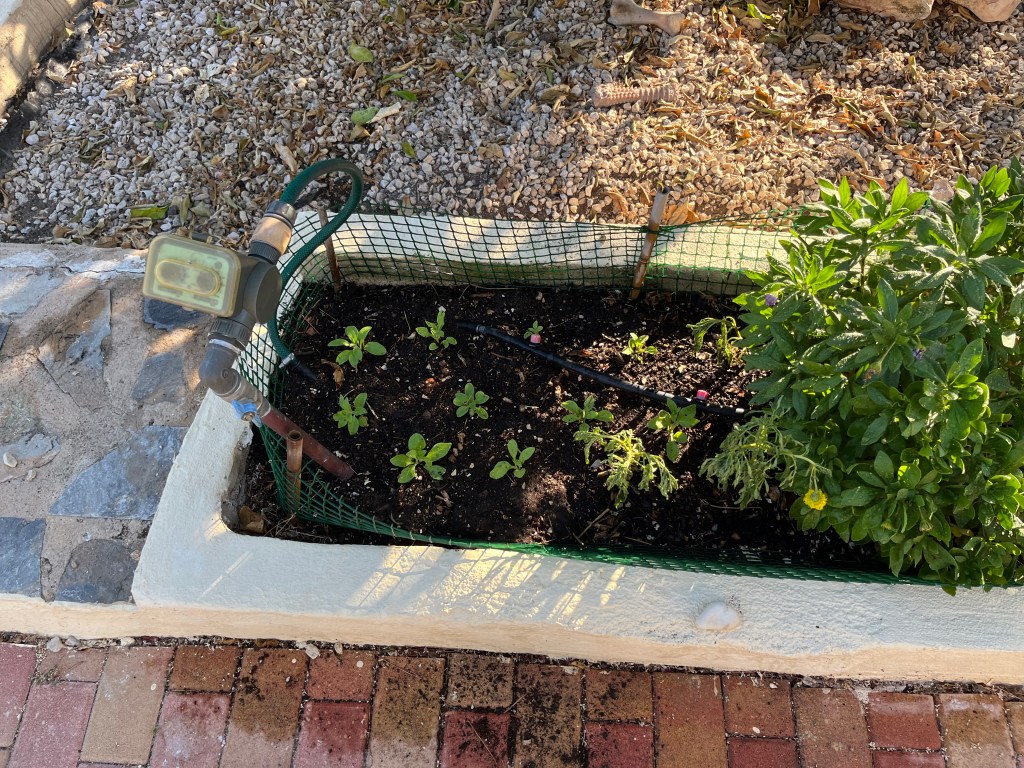
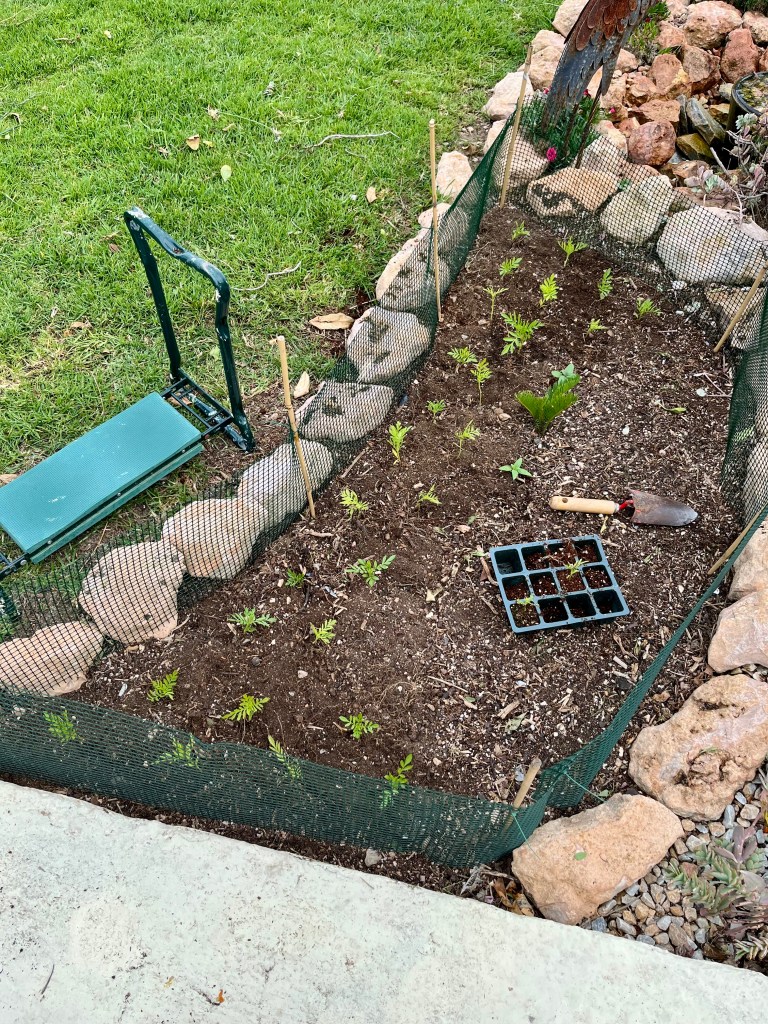
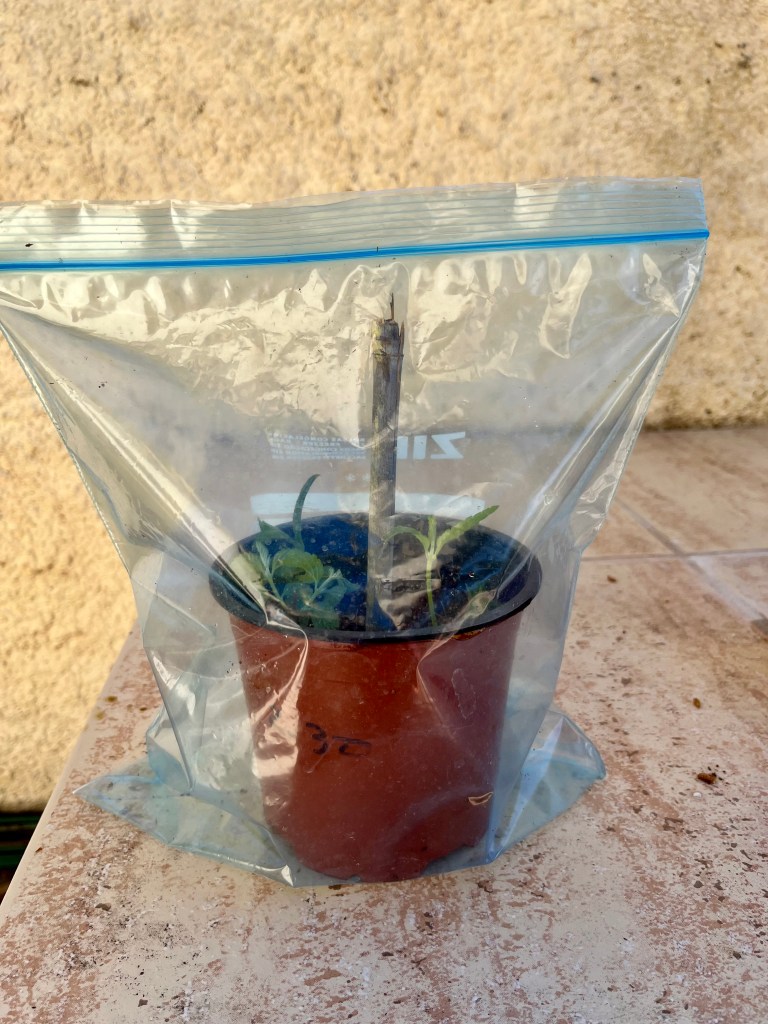
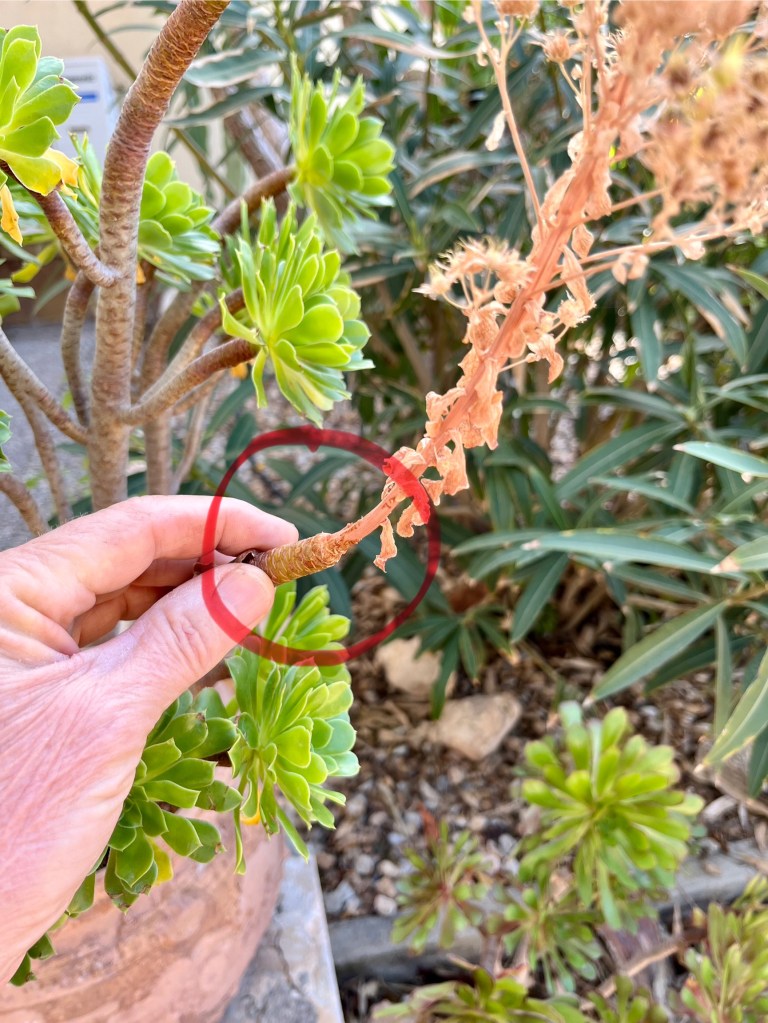
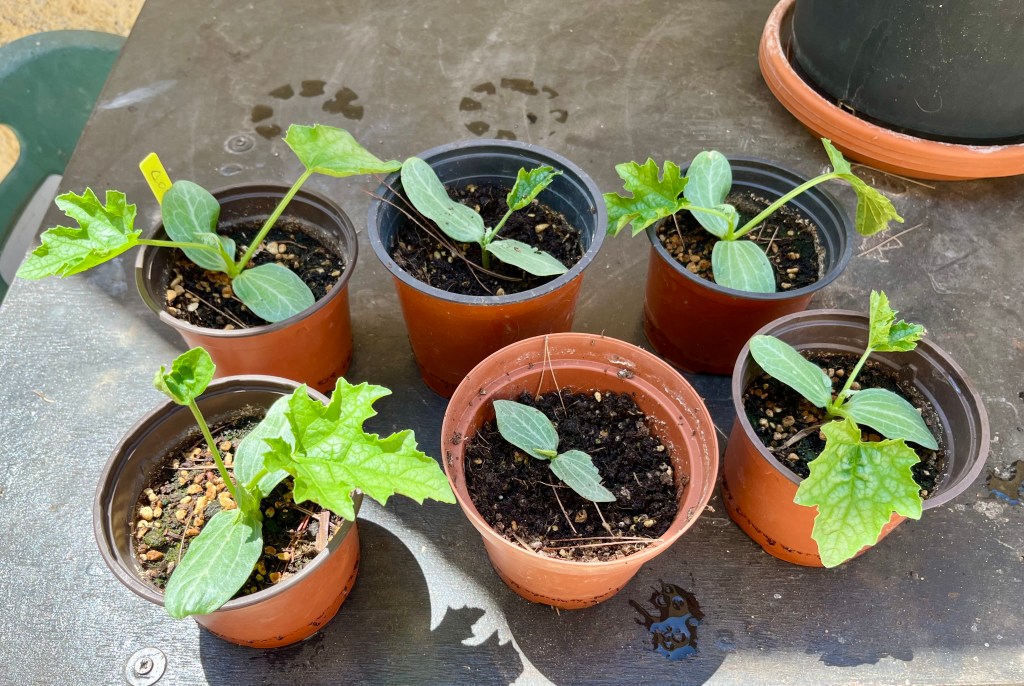
Now plant your tree in a 50/50 mix of really good compost and the existing soil, ensuring that you firm the soil well down by treading it in. It’s really important at this stage that you do not cover the the graft with soil. The graft is the swelling at the bottom of the trunk. If you cover this with soil you may get growth from the graft host. See photos below.
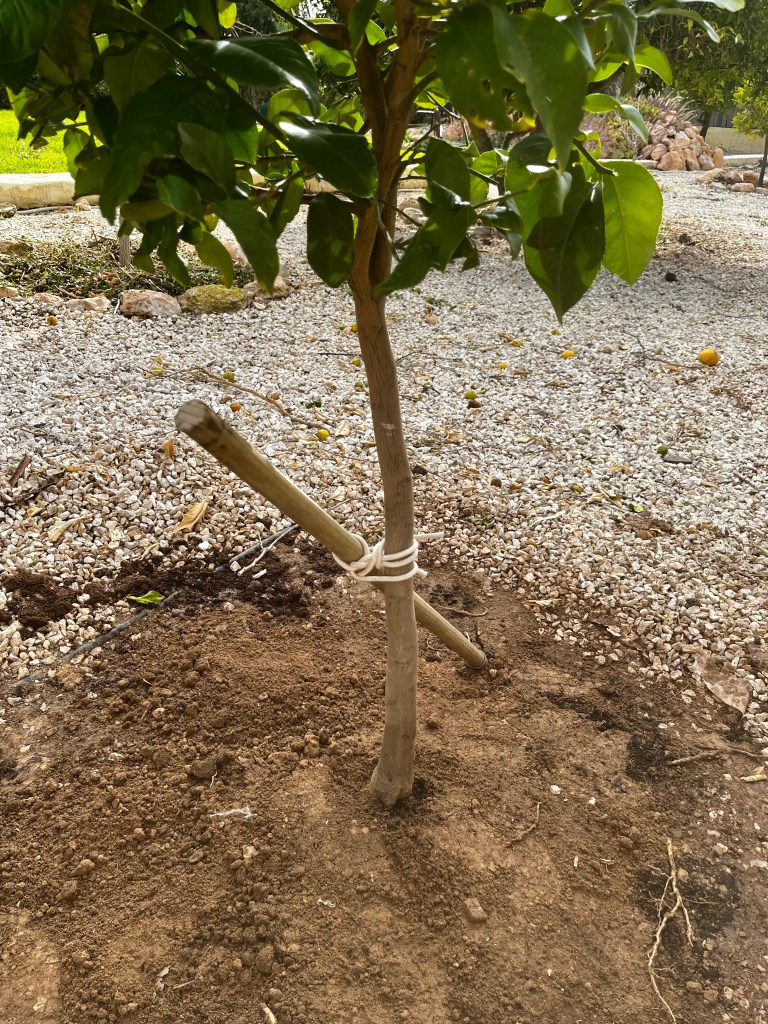
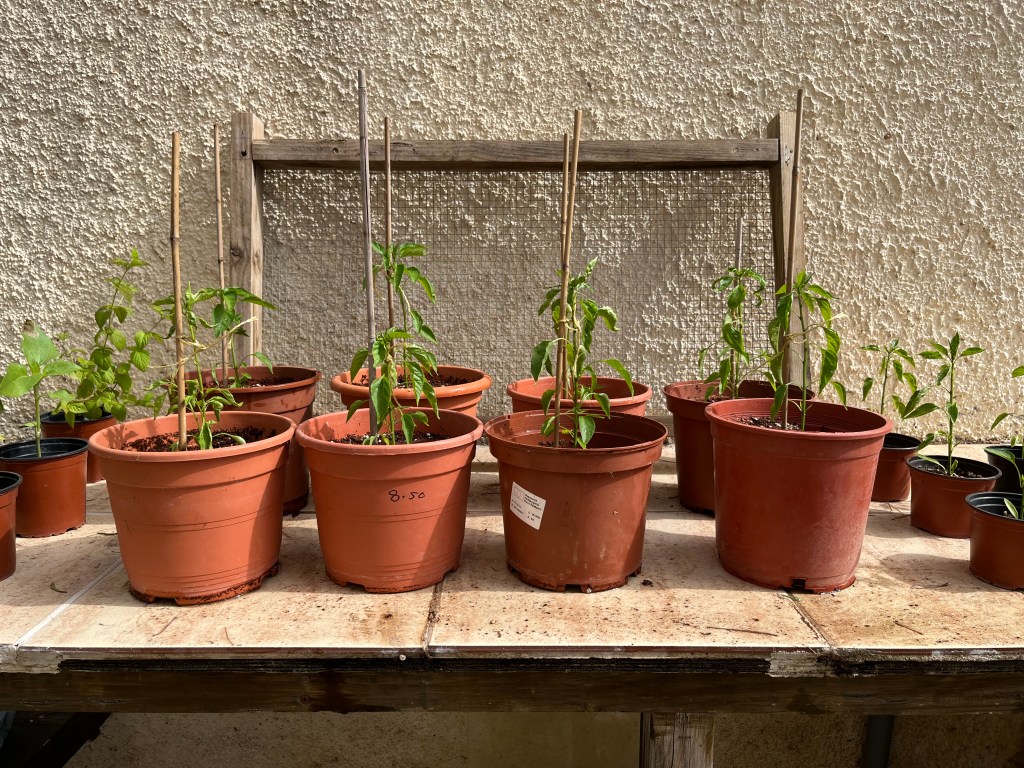
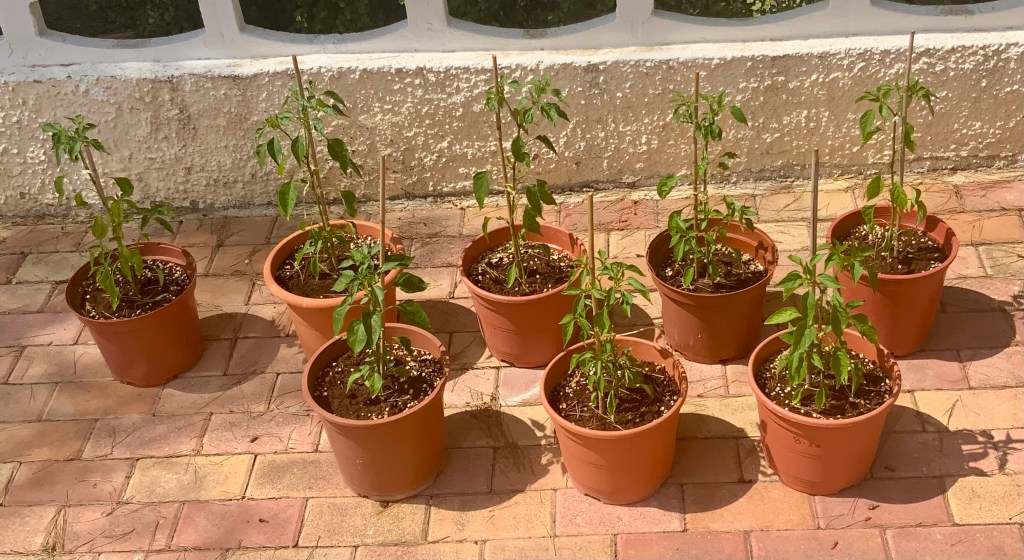
Finally, when you are happy with your little tree, you will need to stake it against “root rock” which can happen in high winds and stop your tree taking. All you have to do then is to water it profusely for the first few weeks and enjoy its first year of growth.
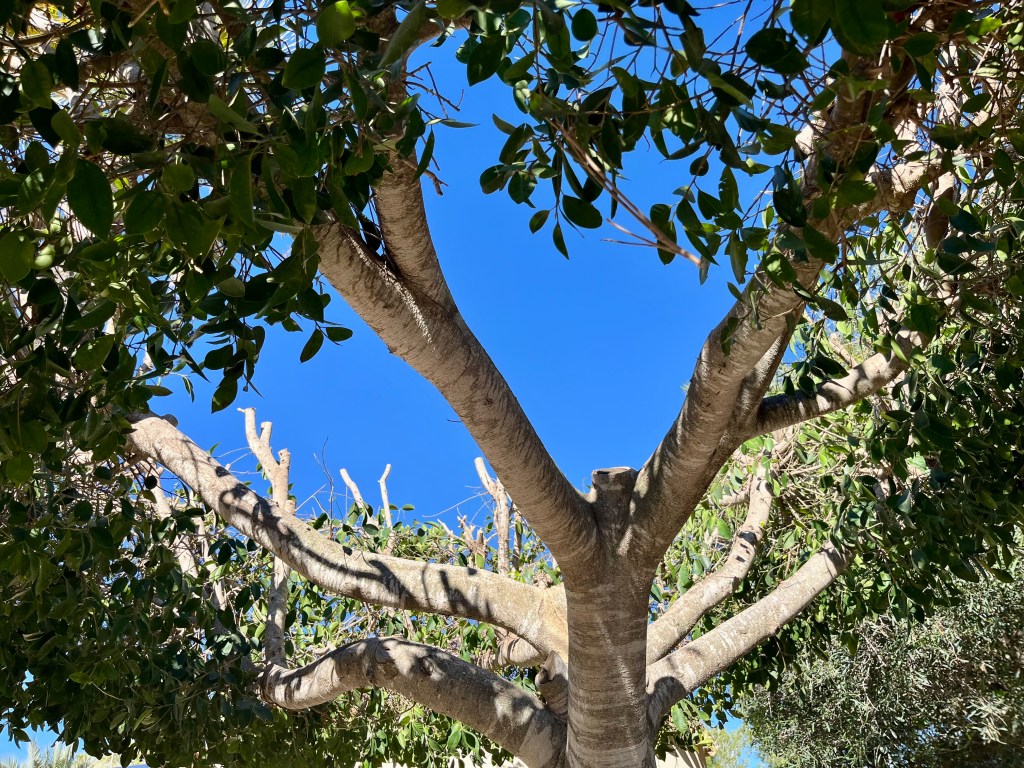
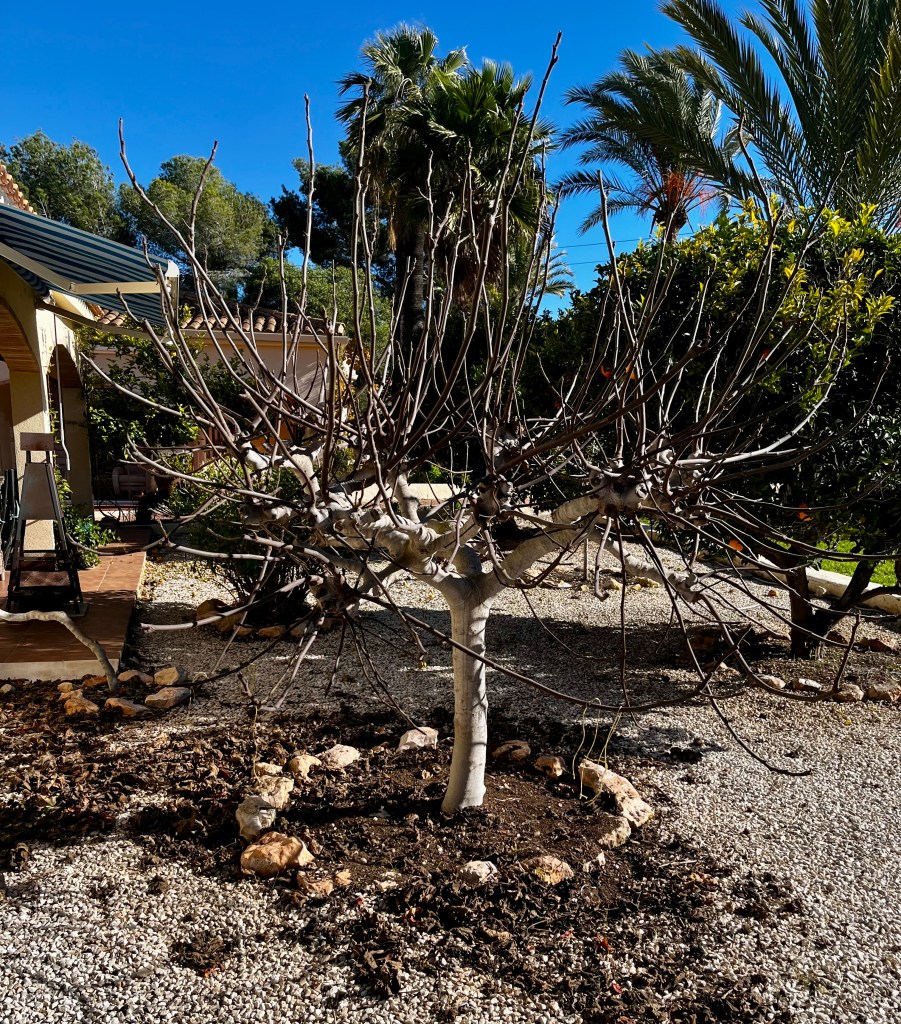
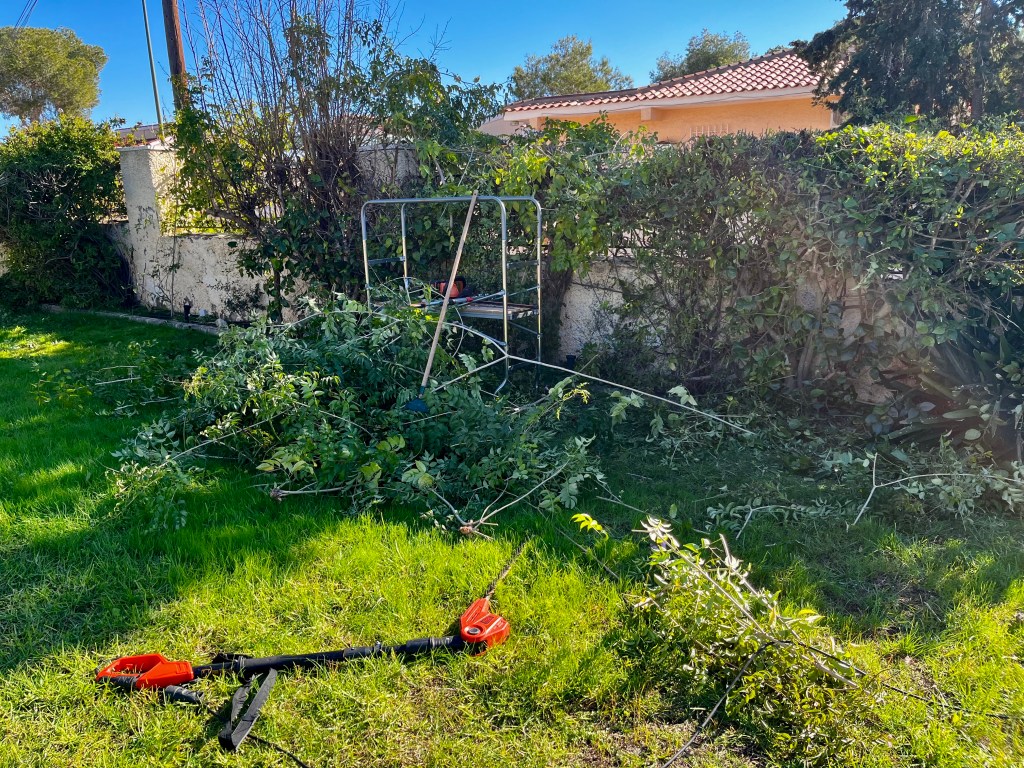
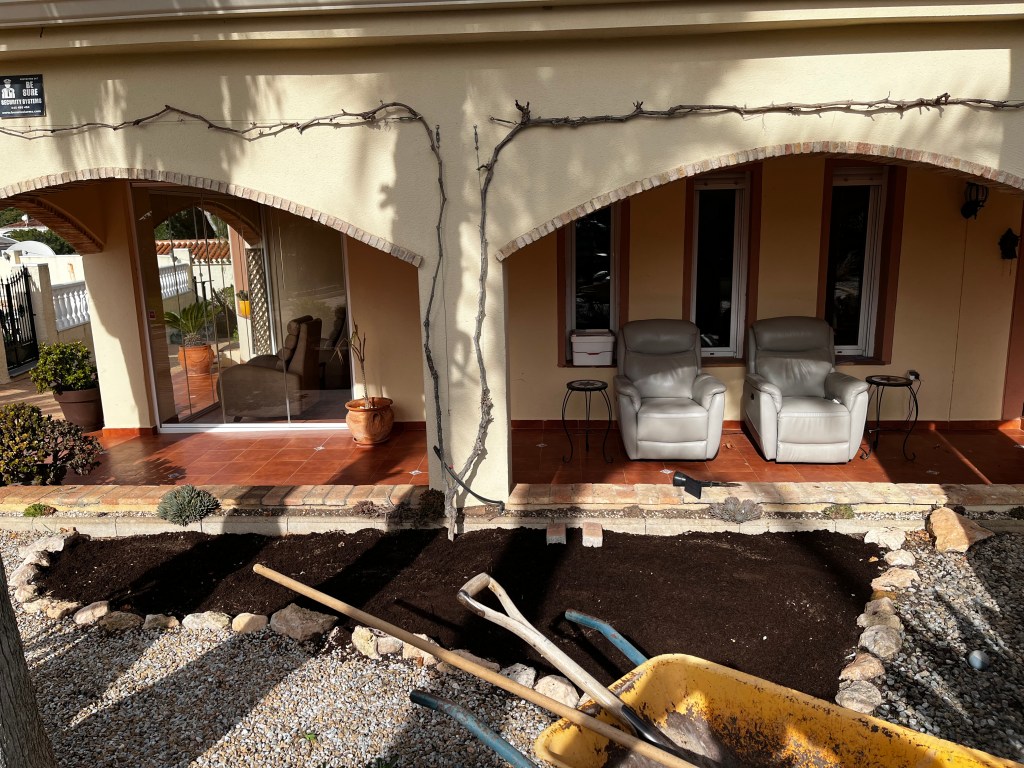
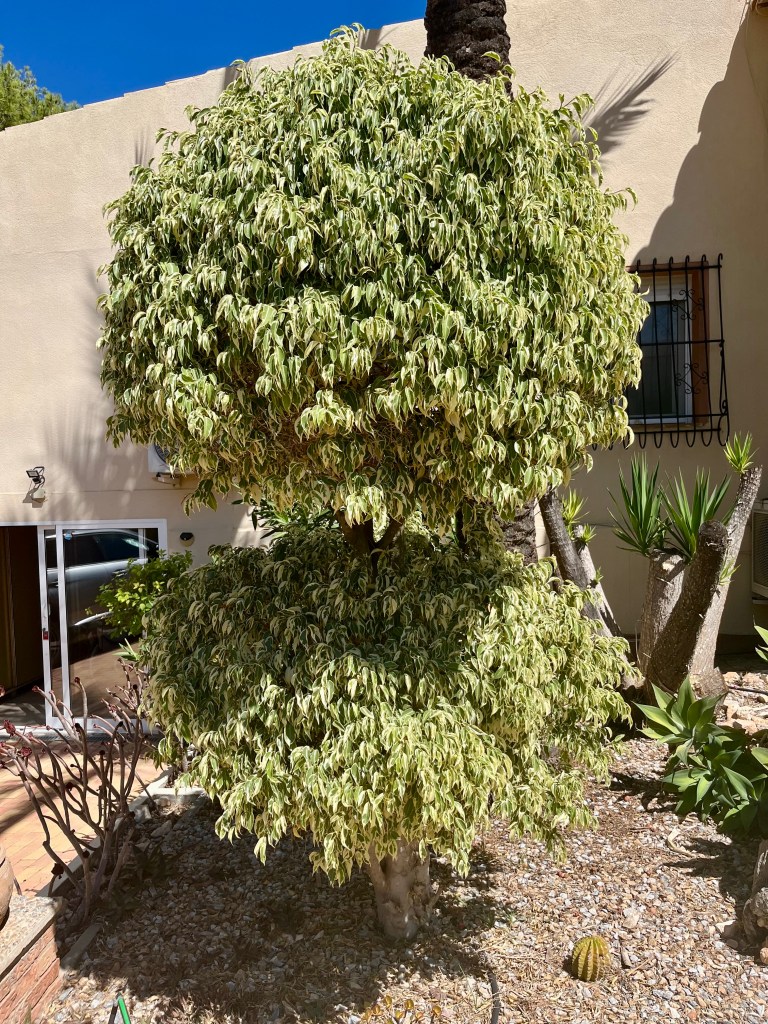
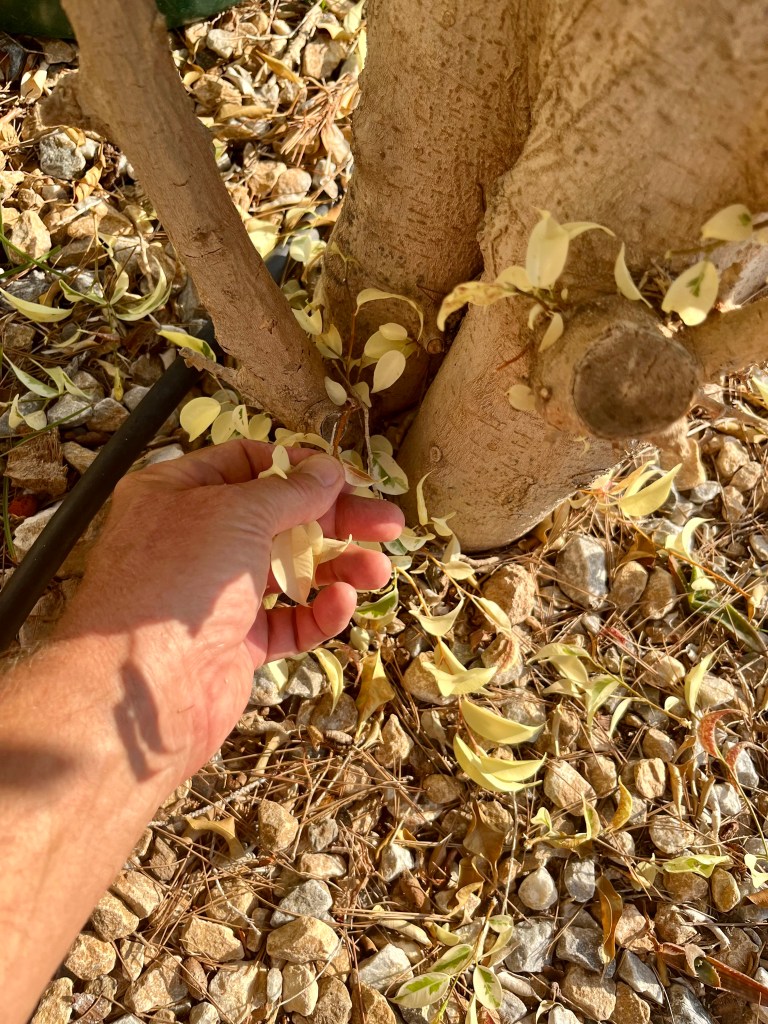
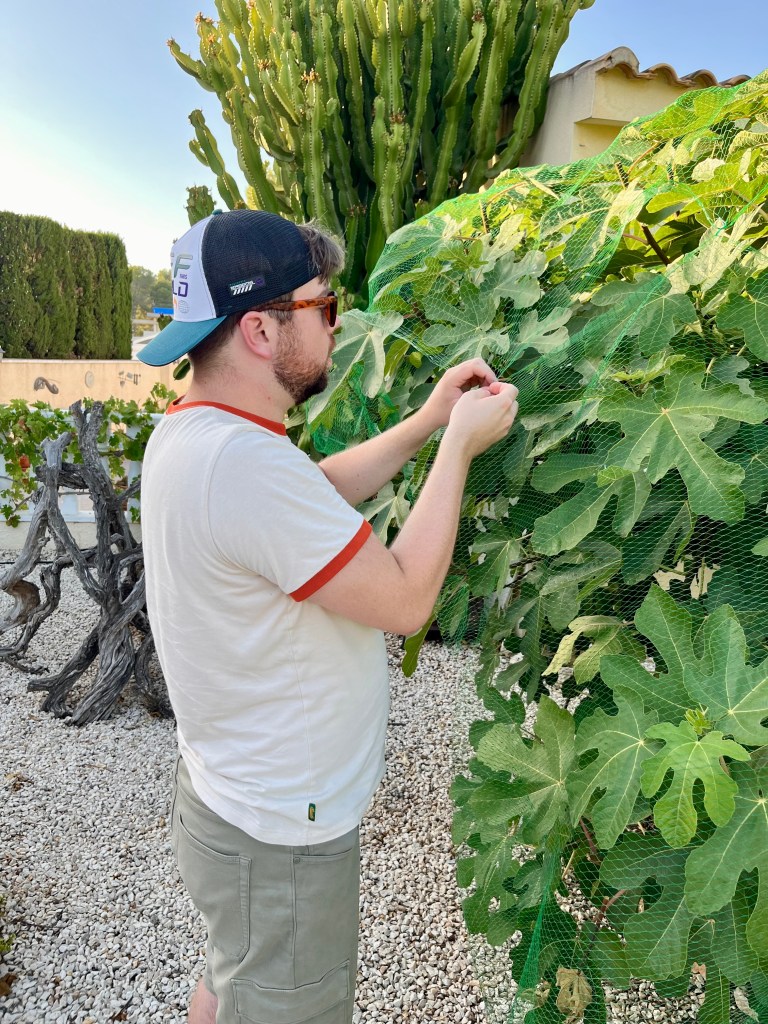
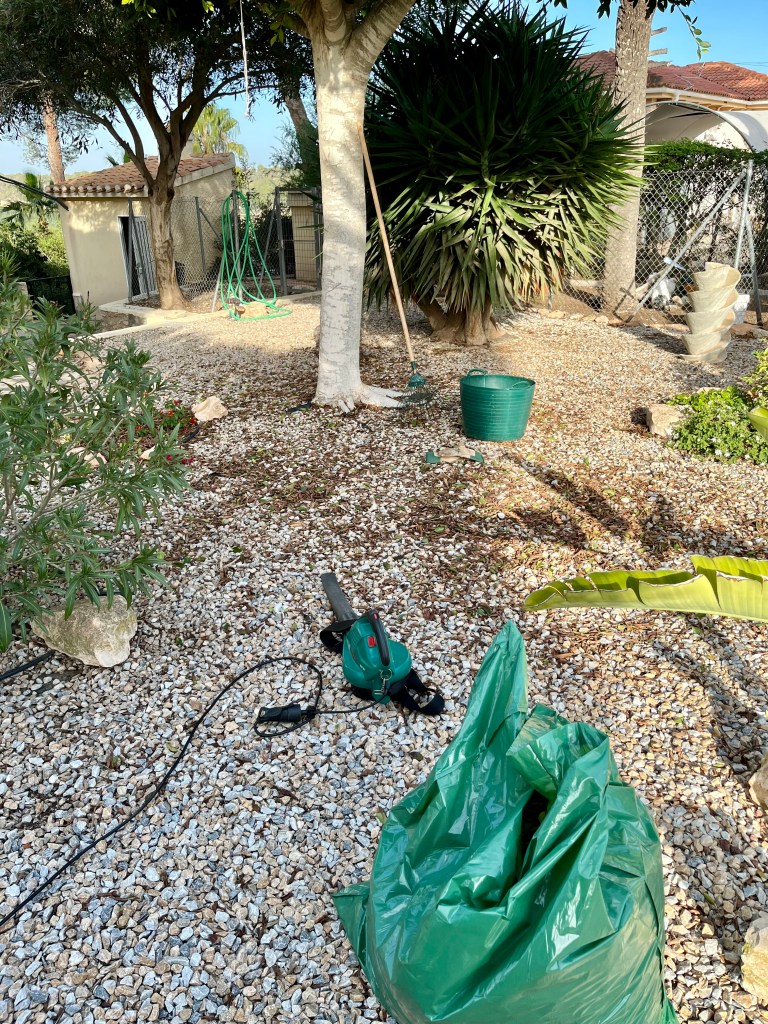
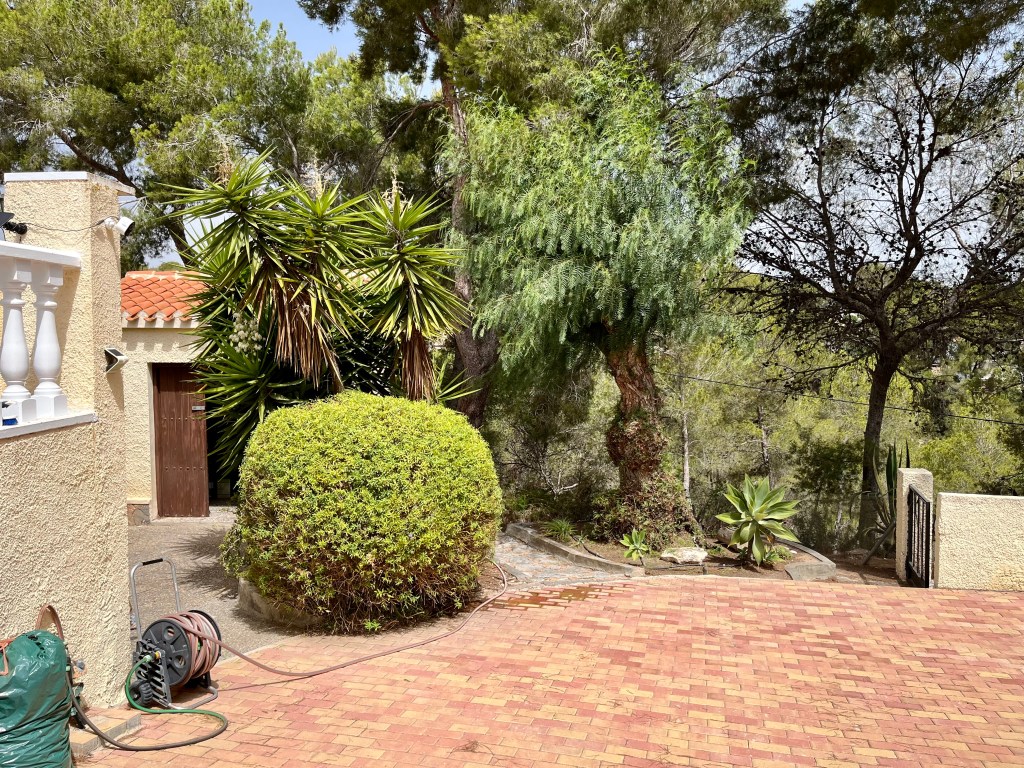
Dealing with the big Ficus and accusations of cowardice. Regular readers of this blog will know that I finish the big winter cutback by pruning my big ficus tree. Years ago I shaped this tree into a pruned donut shape by cutting out its central trunk. This meant that in the spring each year I had to prune and reshape the tree to retain its donut effect.
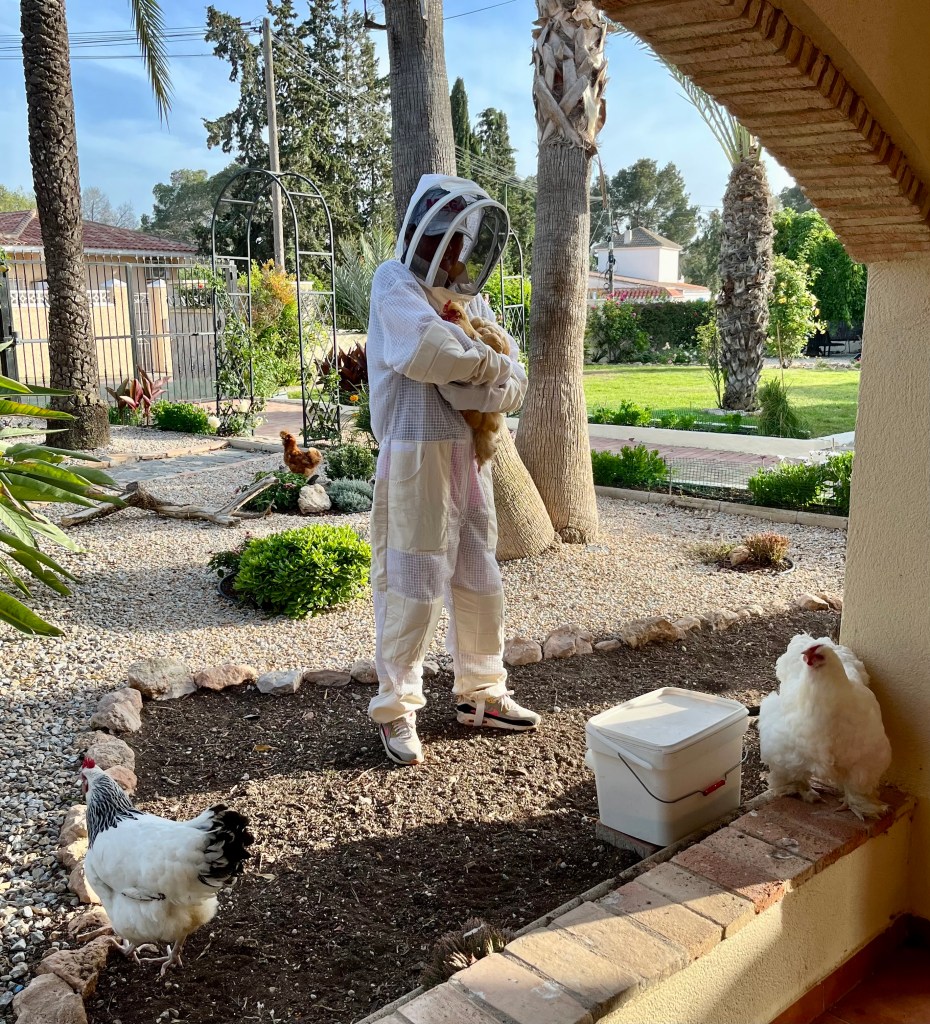
Some of you might envisage that this would seem to be a rather easy task. But no, the ficus is big and tall and has a vicious temper. It has never forgiven me for the original removal of its central trunk, and it takes every opportunity to smash, bash, cut and bruise me in our annual encounters. The photo below shows me mid battle in years gone past.

Normally I can feel it malevolently watching me as I go about all the tasks in the big winter cutback. Sometimes if the wind is blowing in the right direction I can hear its leaves rustling and whispering vicious threats of what it is going to inflict upon my body. Every year so far I have psyched myself up through a mixture of prayer, character building readings and a little yoga. But this year something just snapped. I couldn’t face it.
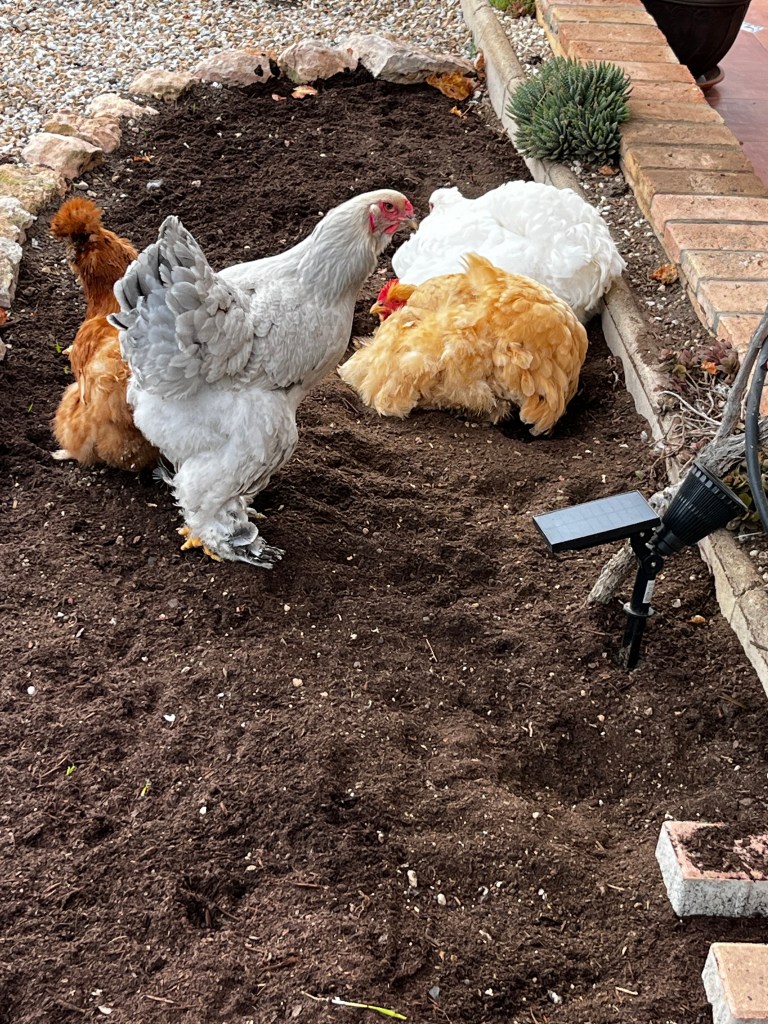
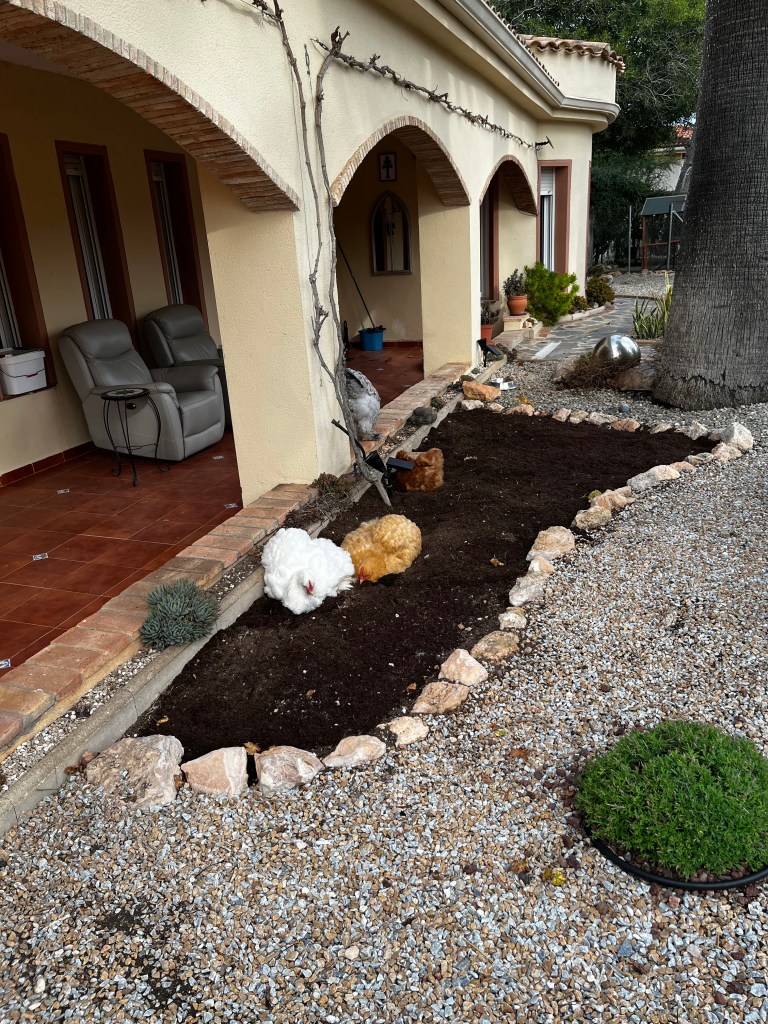
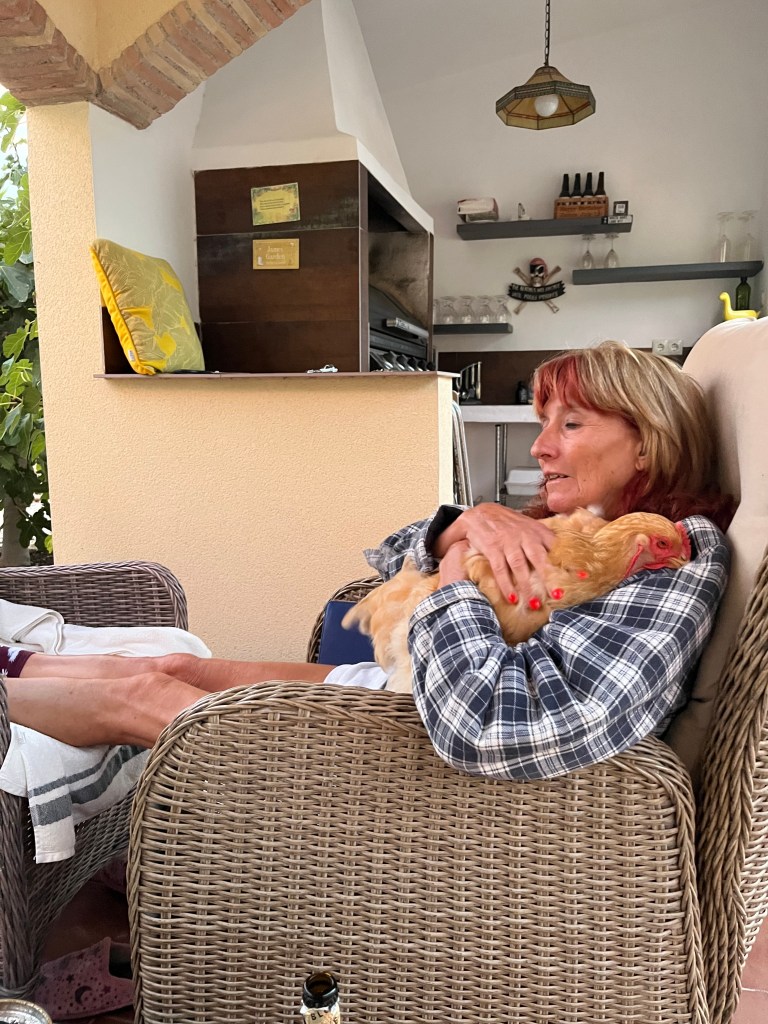
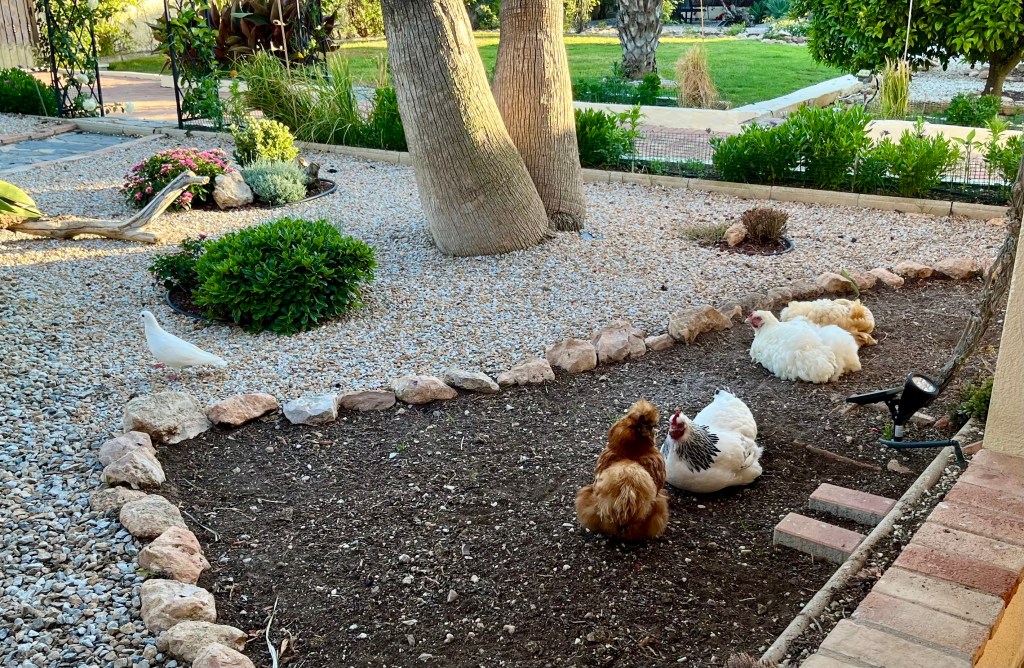
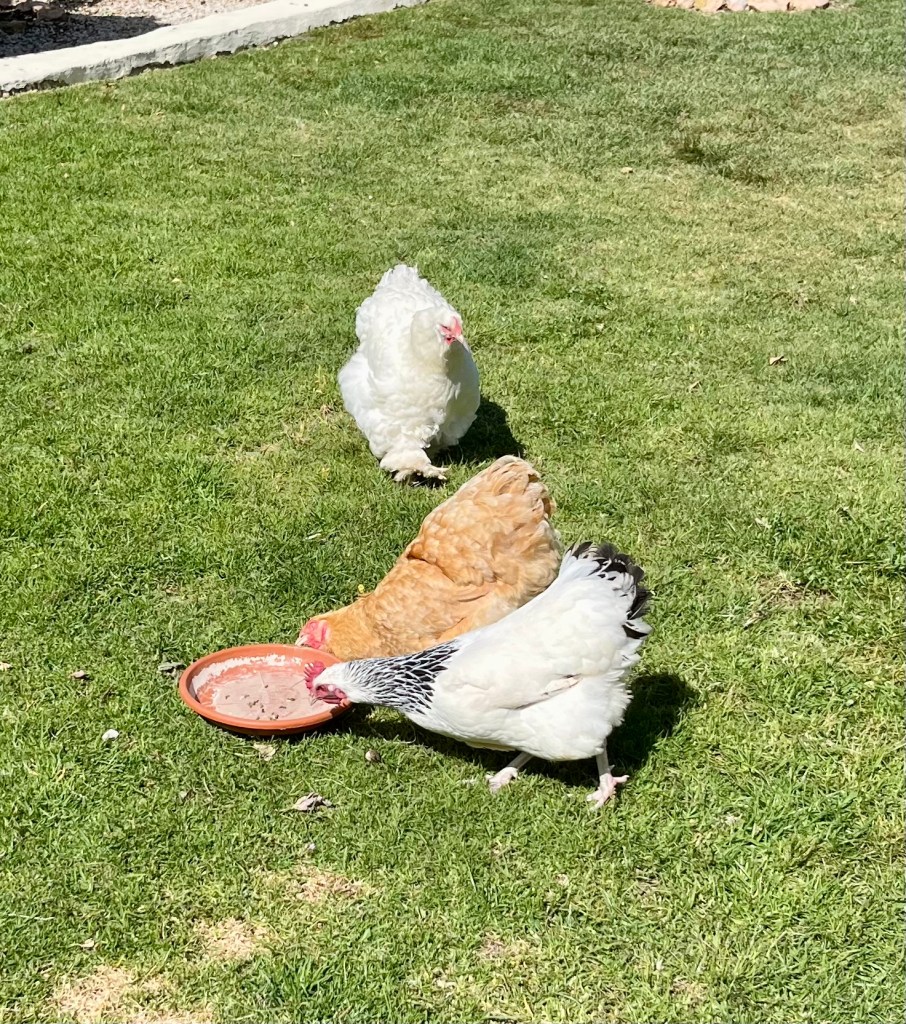
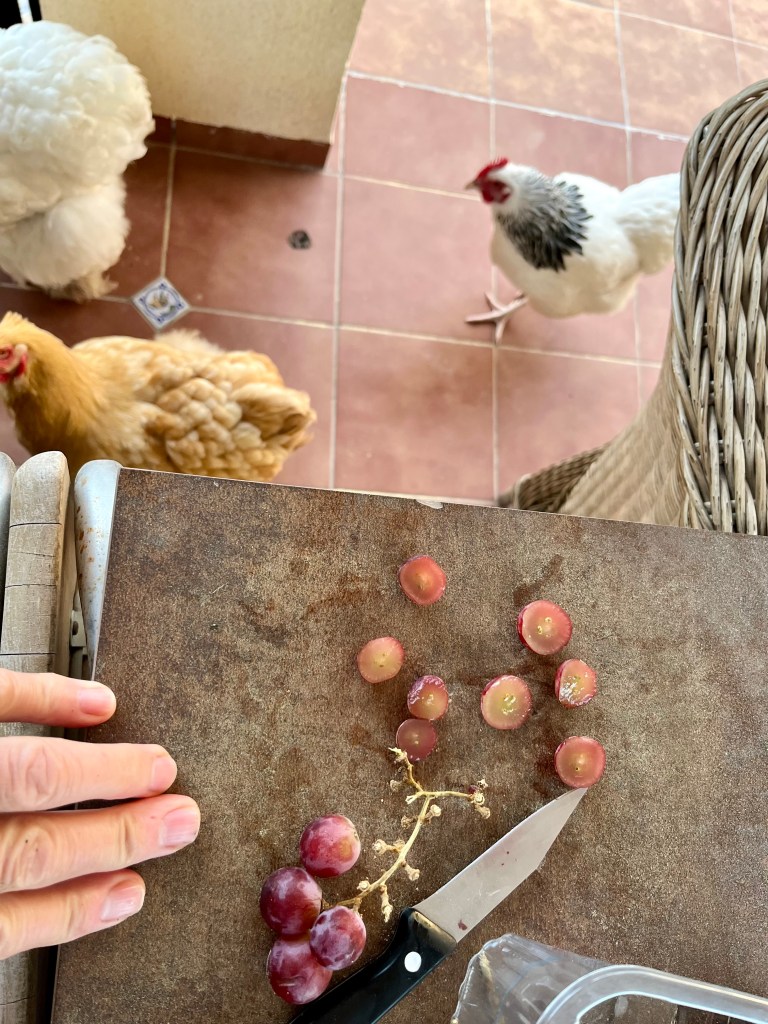
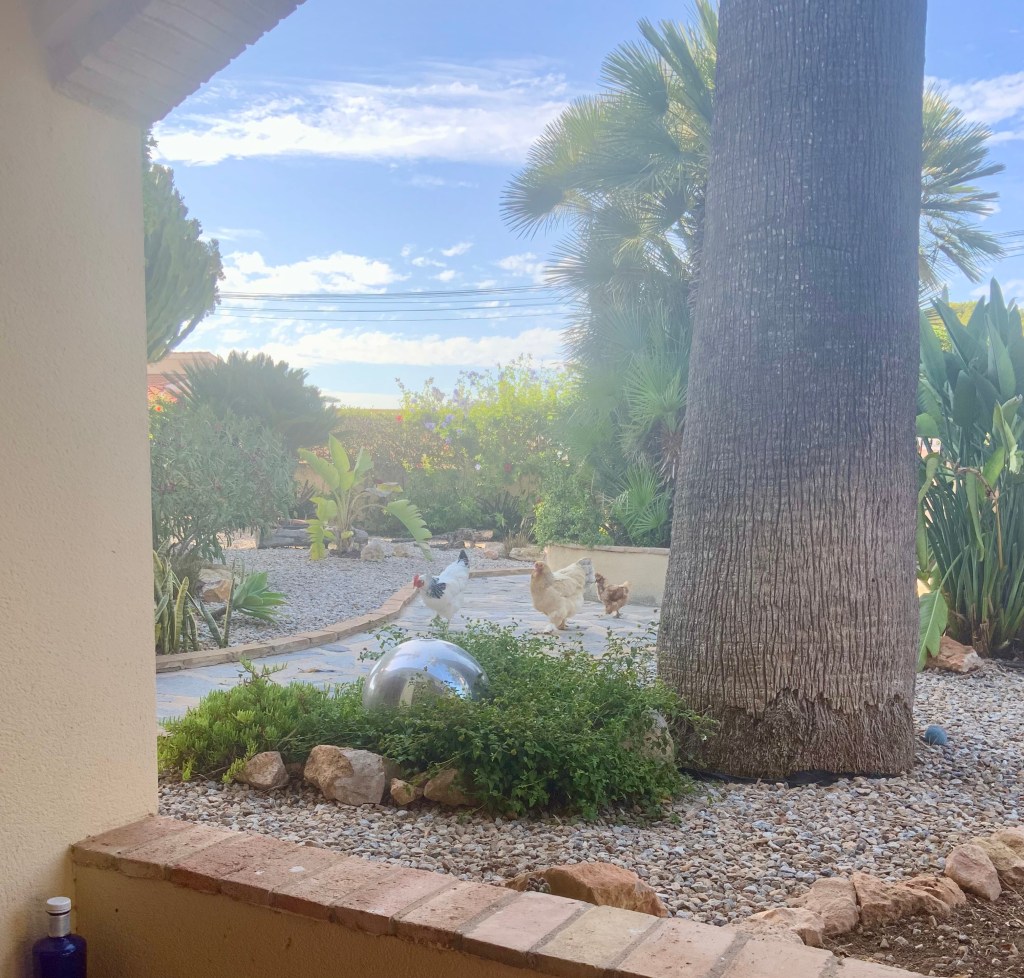
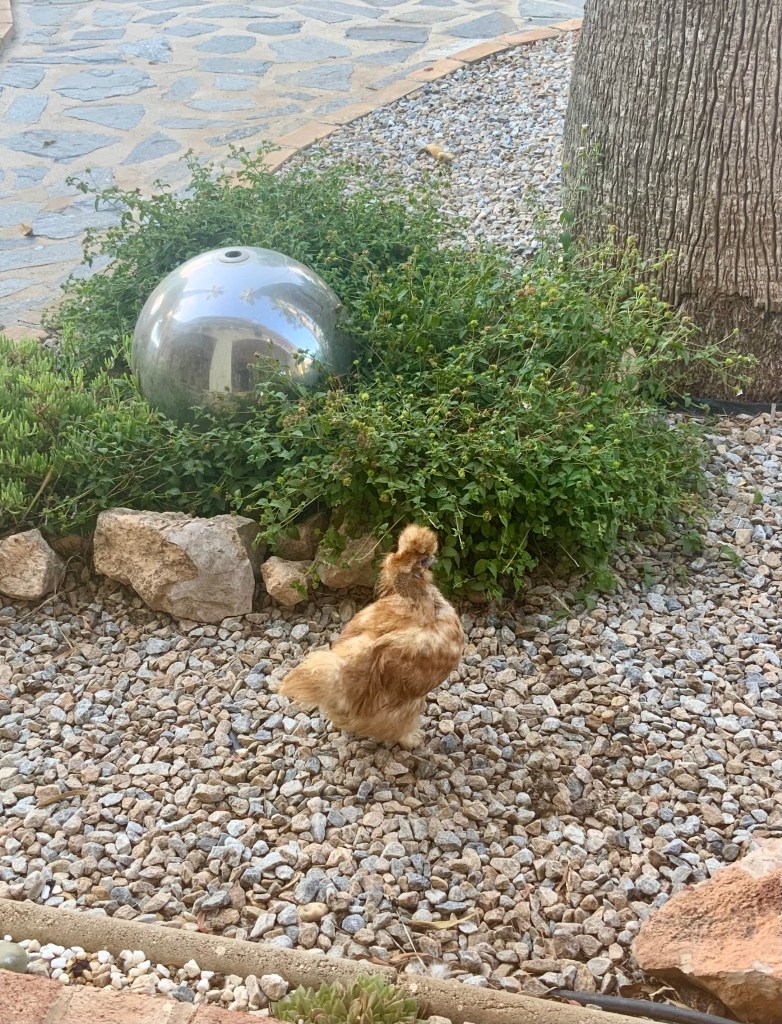
I blame the fact I had been softened up by the rest of the garden before this big encounter. The roses had made me bleed so badly I became anemic. Falls from and through the hedges bruised my body so badly that the police were called in and Cruella (my wife) accused of domestic violence. My back and bones hurt so much from digging that I am now a chiropractor case study. And all of this physical and mental damage whilst being constantly insulted and laughed at by chickens.
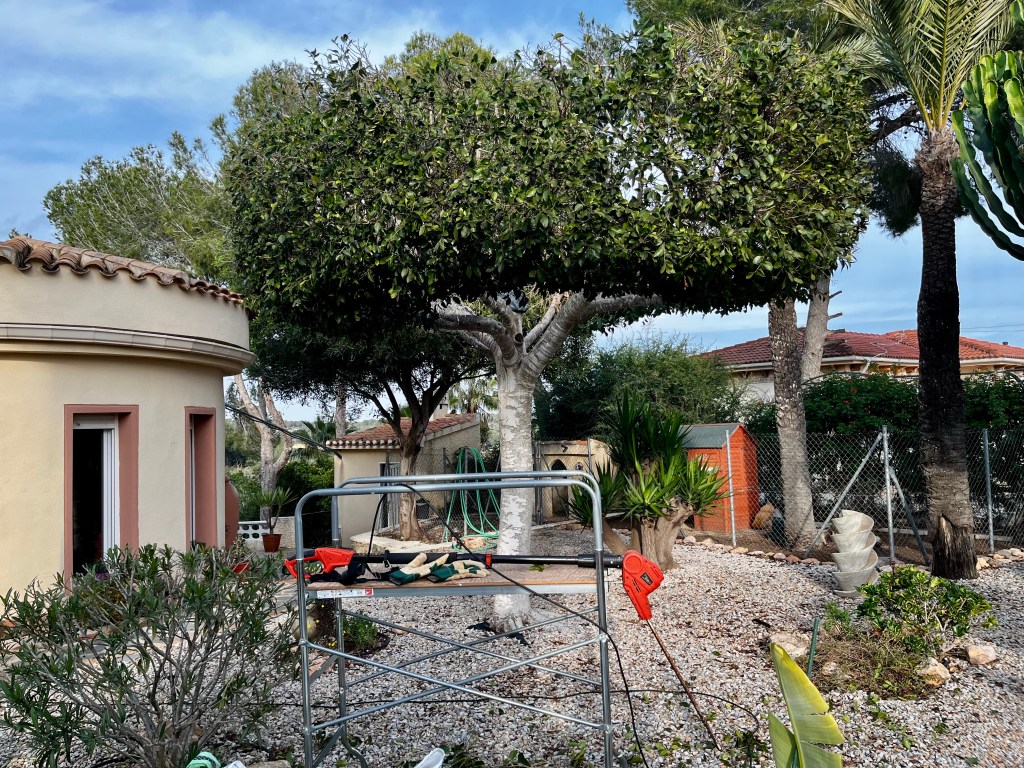
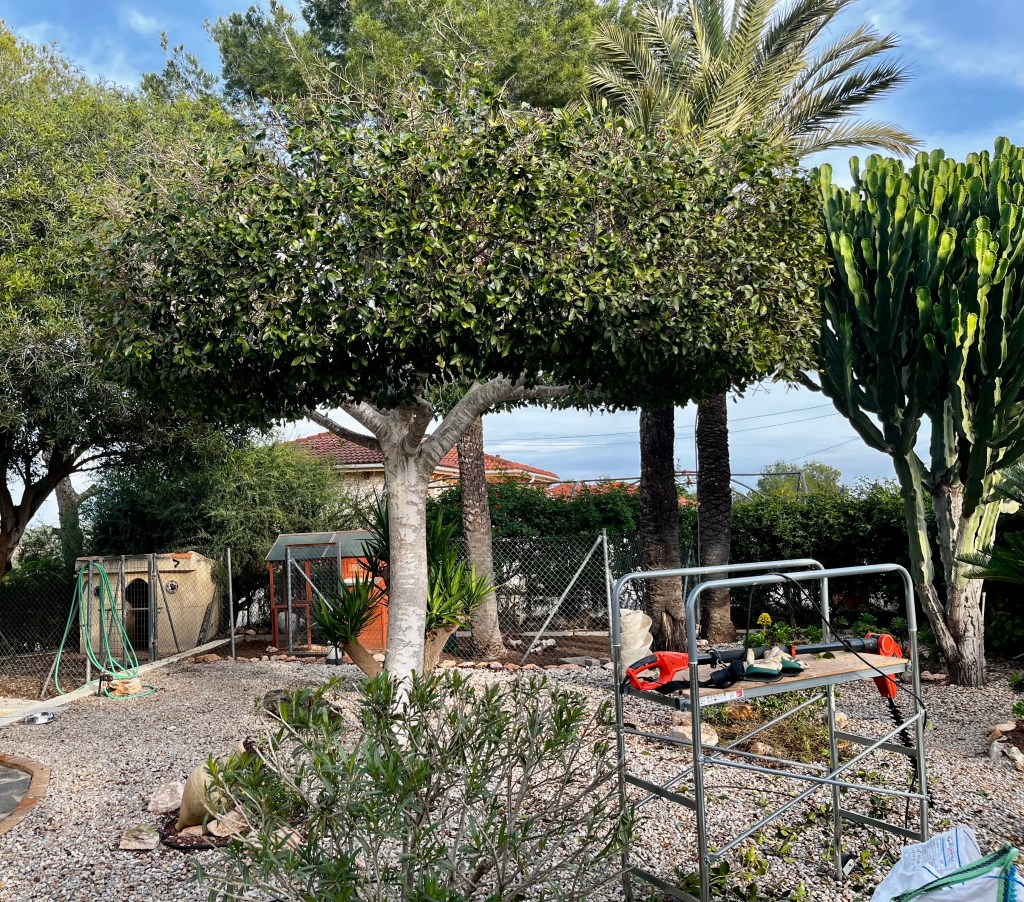
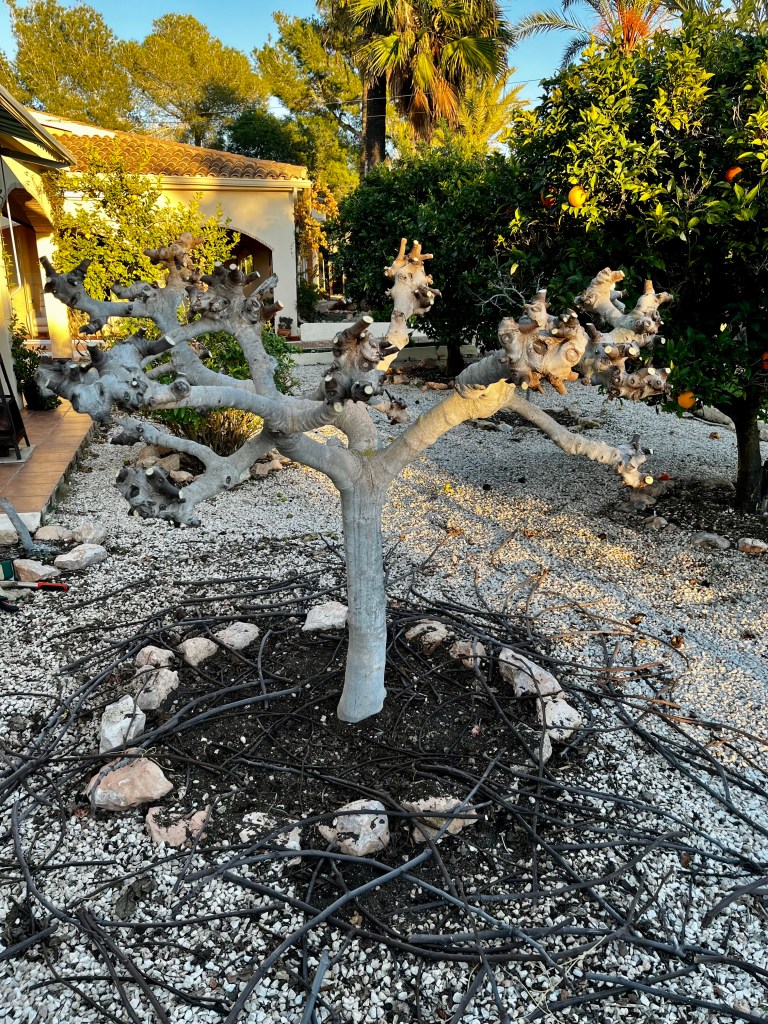
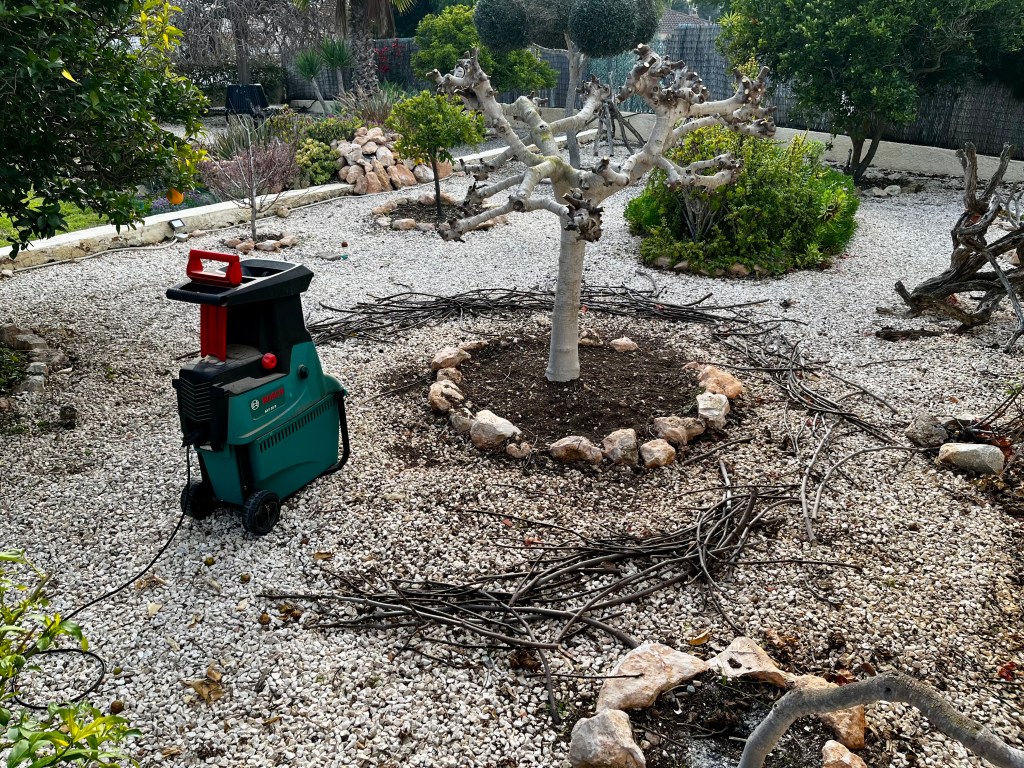
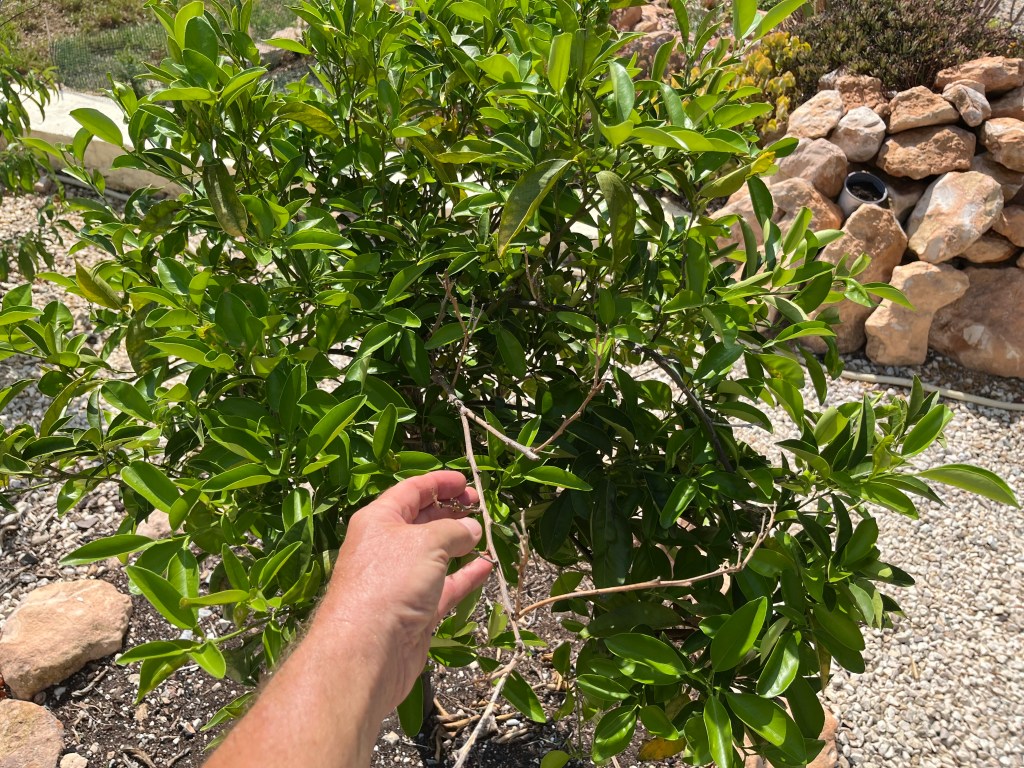
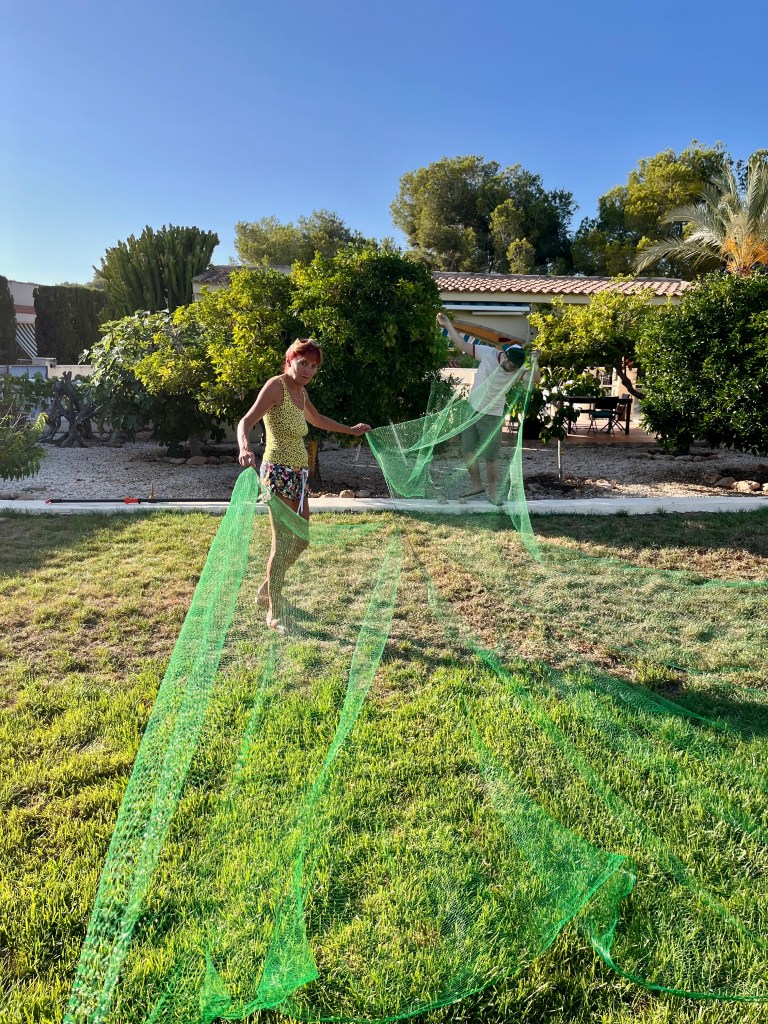
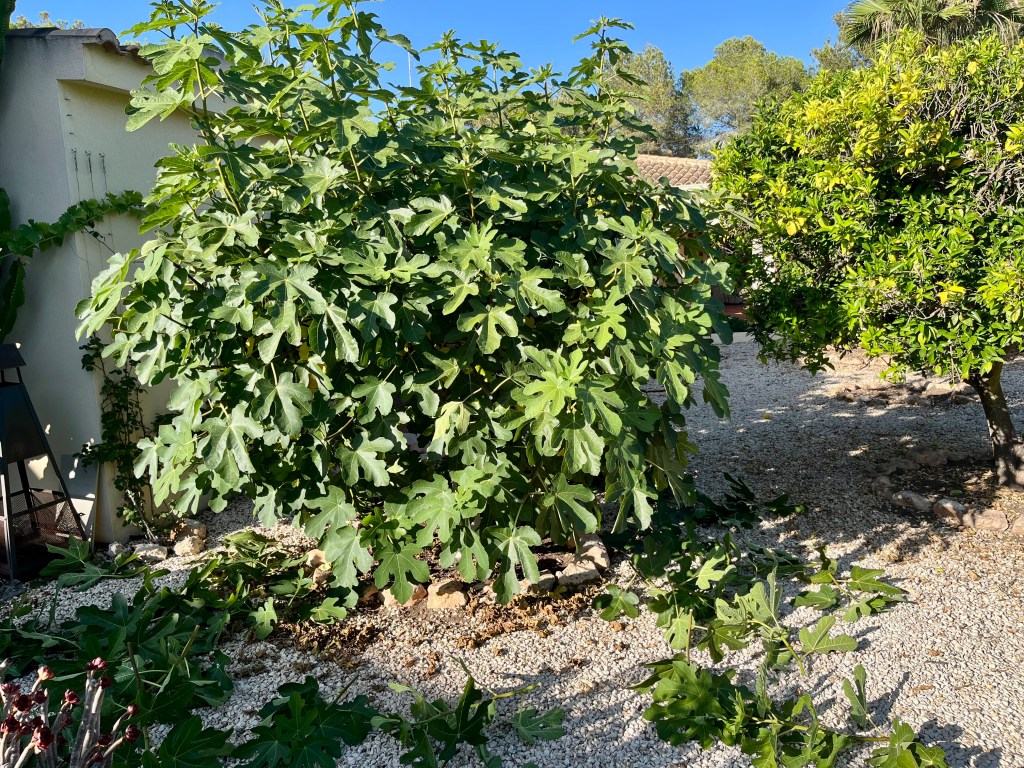
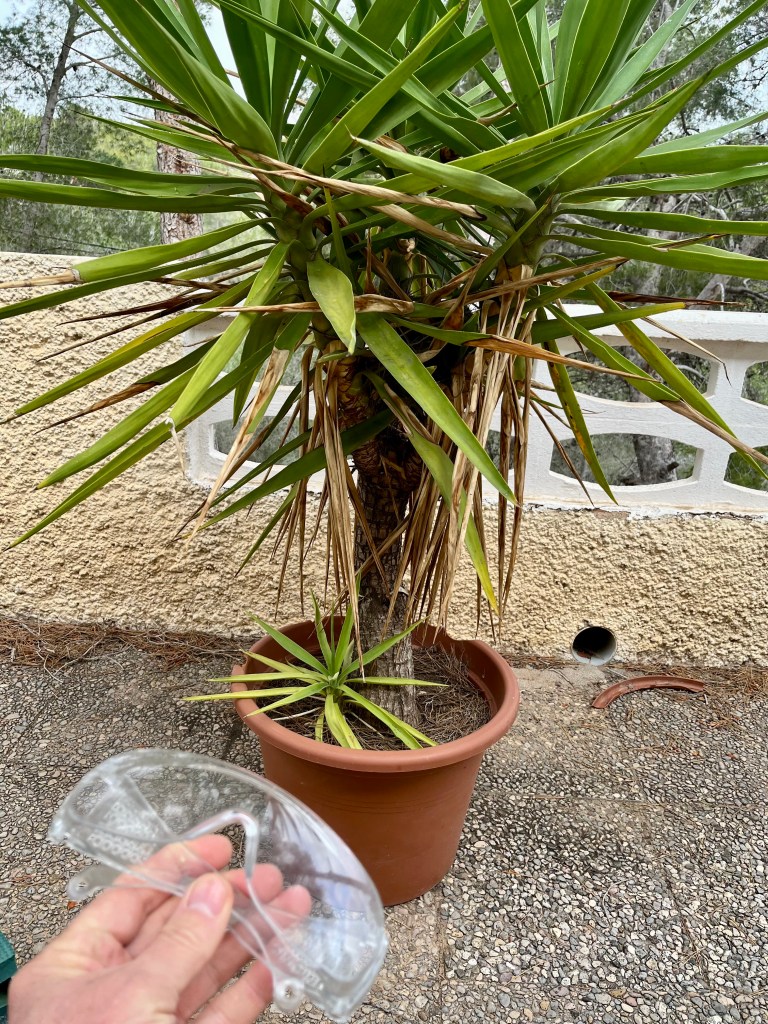
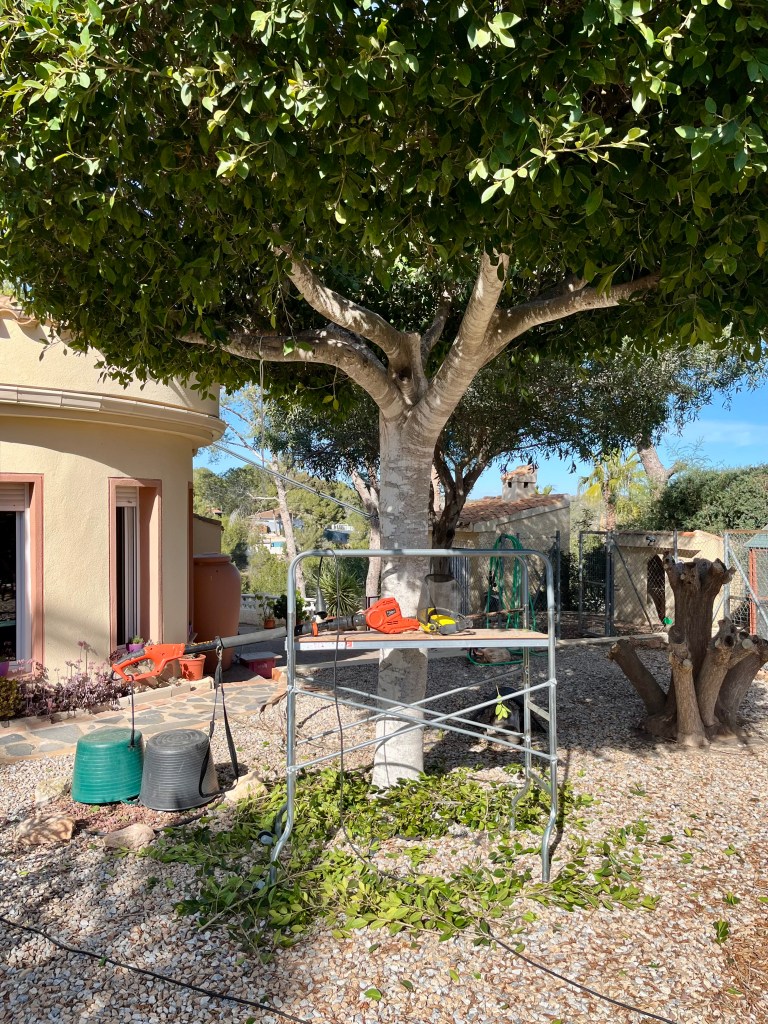
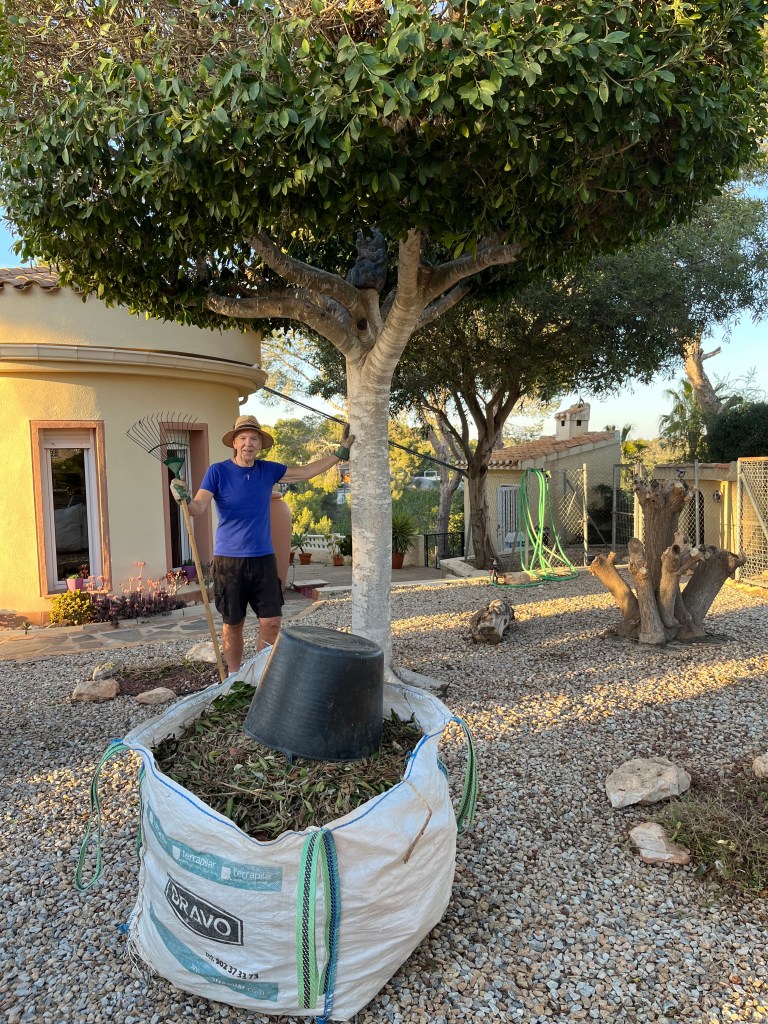
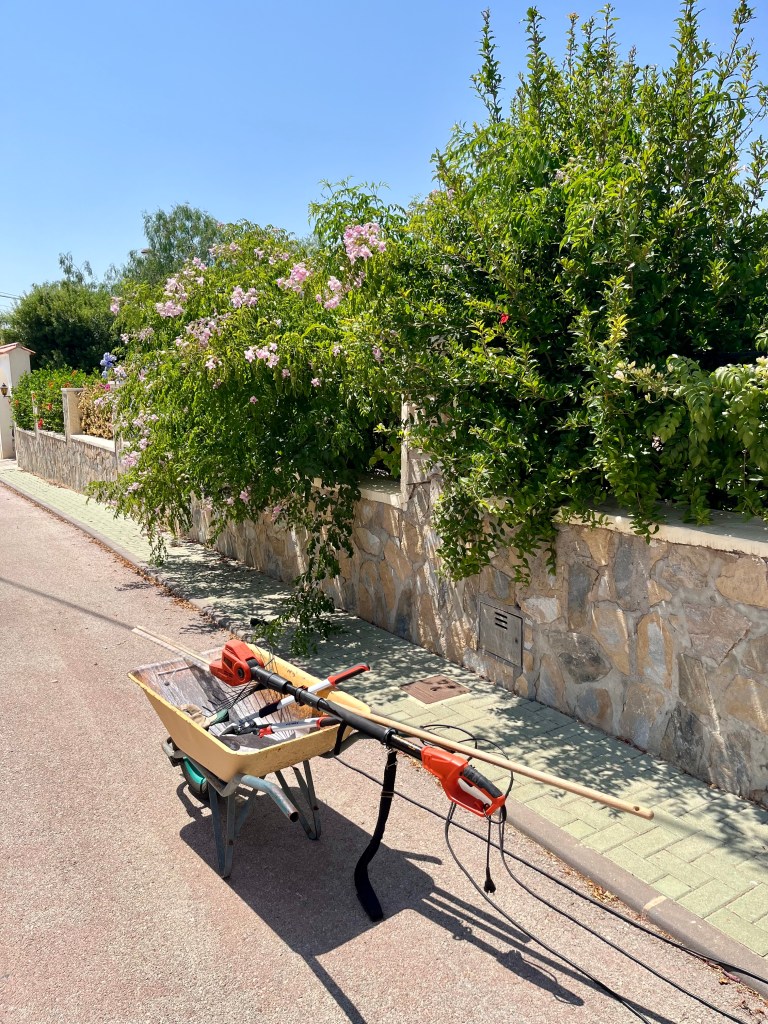
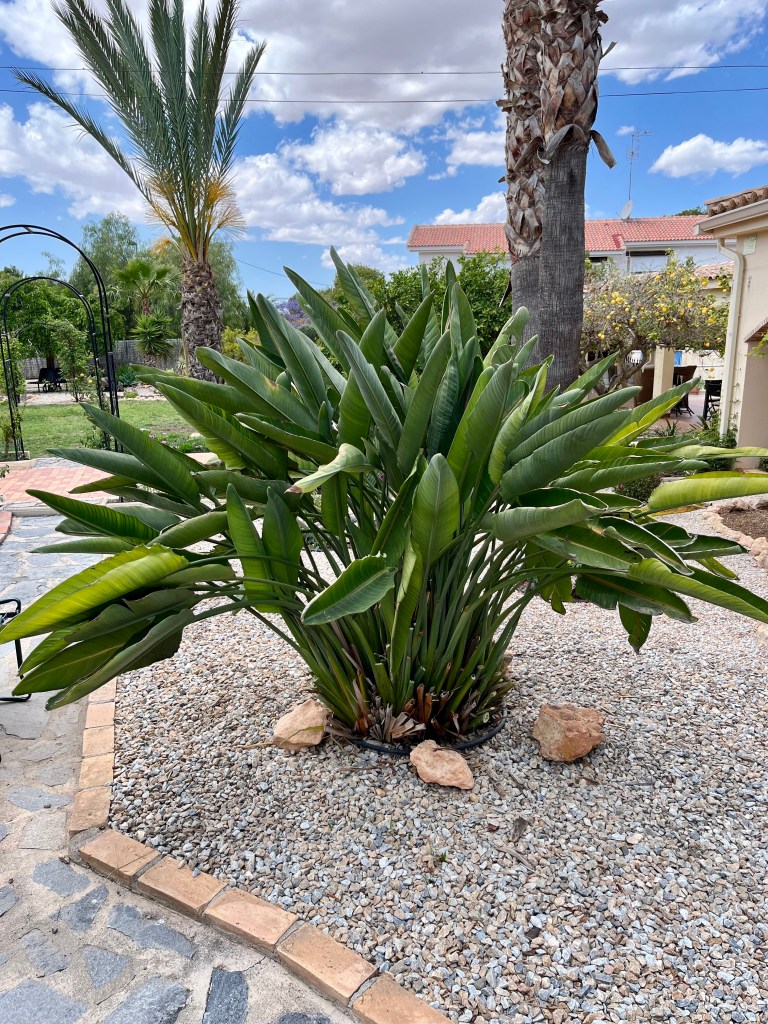
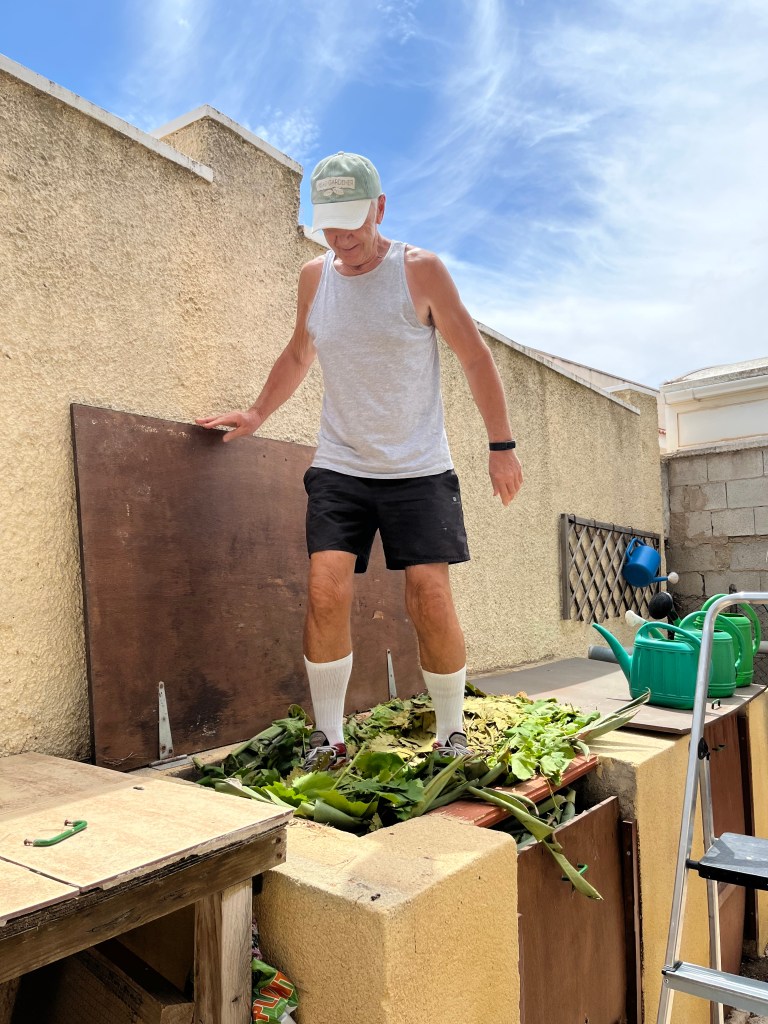
So the obvious happened, I called in tree surgeons to prune and cutback the big ficus. To be honest, they did a lovely job and pruned right back into shape. But that is not the point, since then the ficus has loudly proclaimed that I am a coward to all the plants in the garden. I lost respect amongst the plants and my authority was being questioned even amongst seedlings. I could barely look at the ficus with its knowing sneers and open contempt. The photos below show the big ficus after its professional prune.
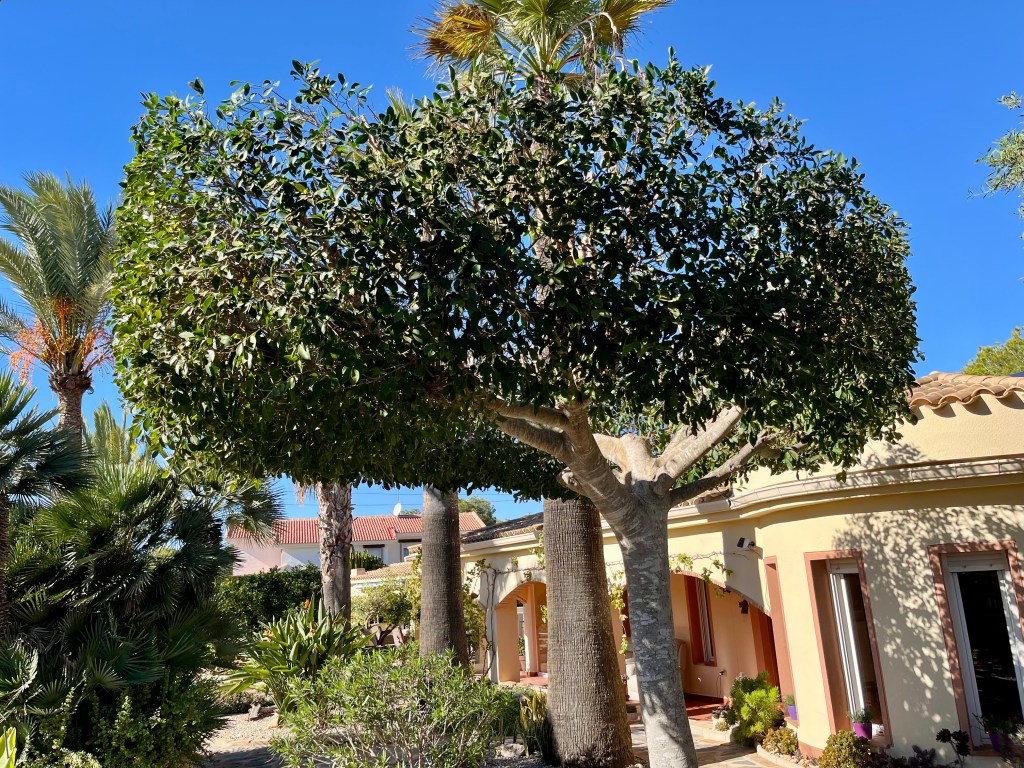
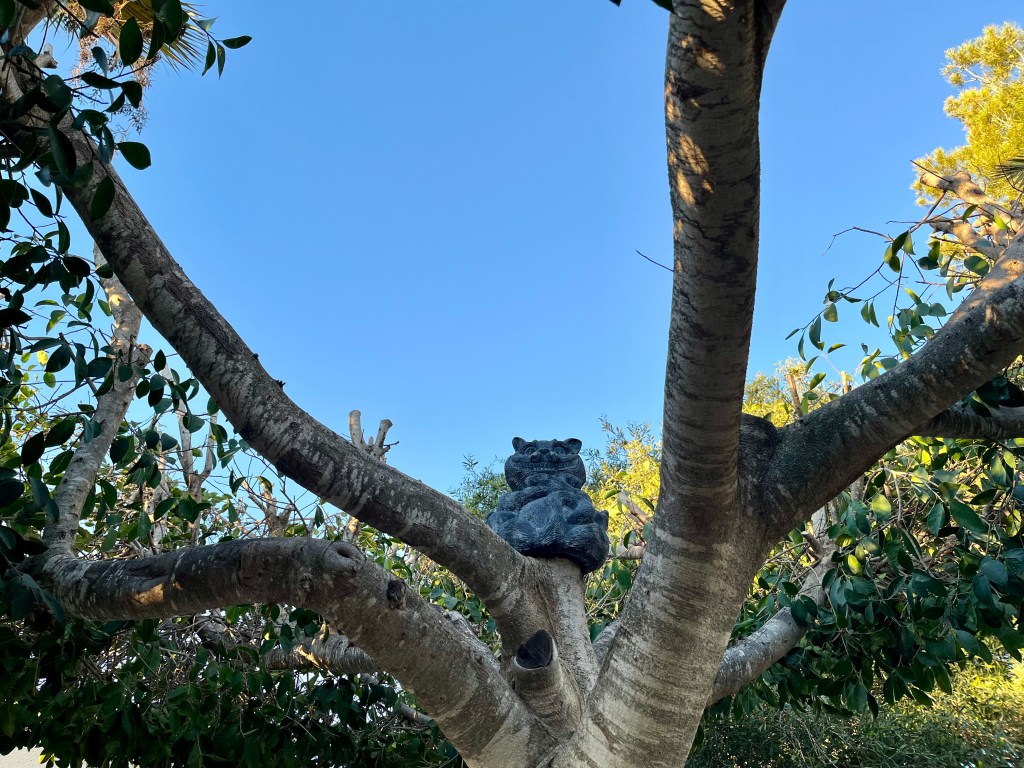
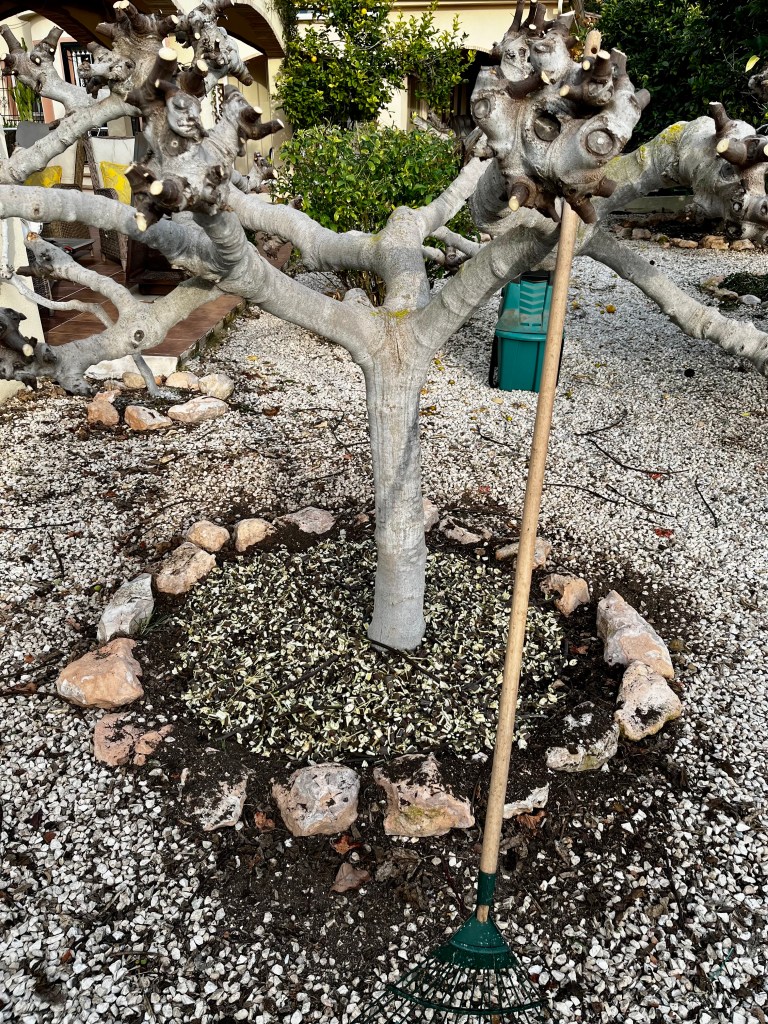
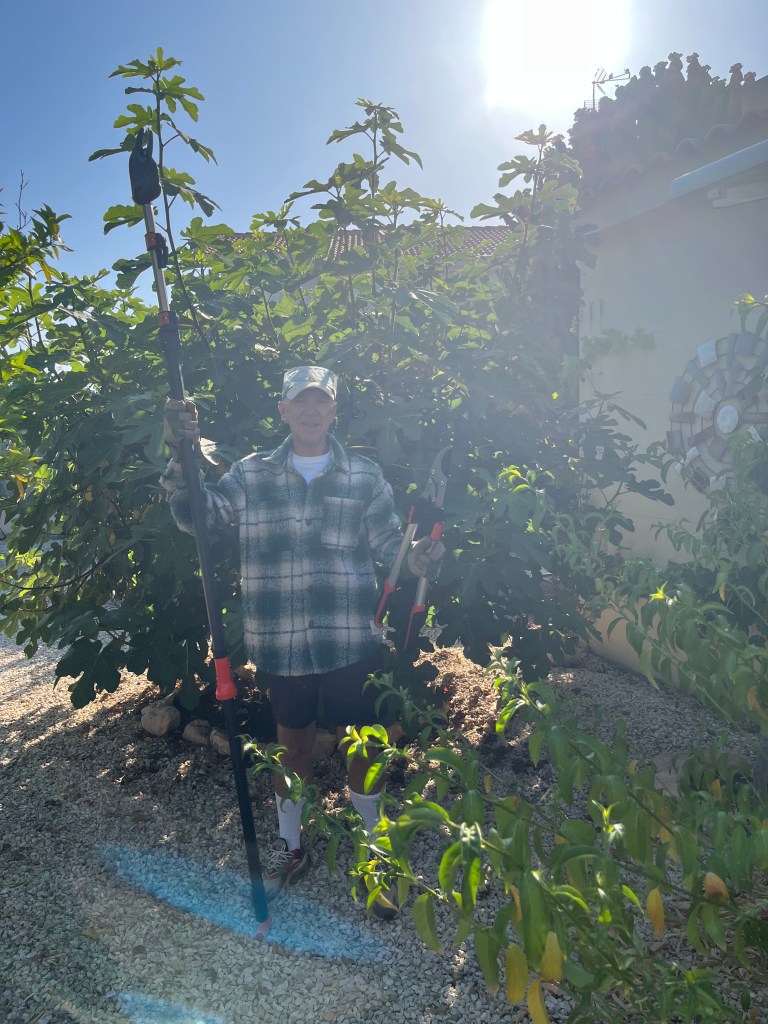
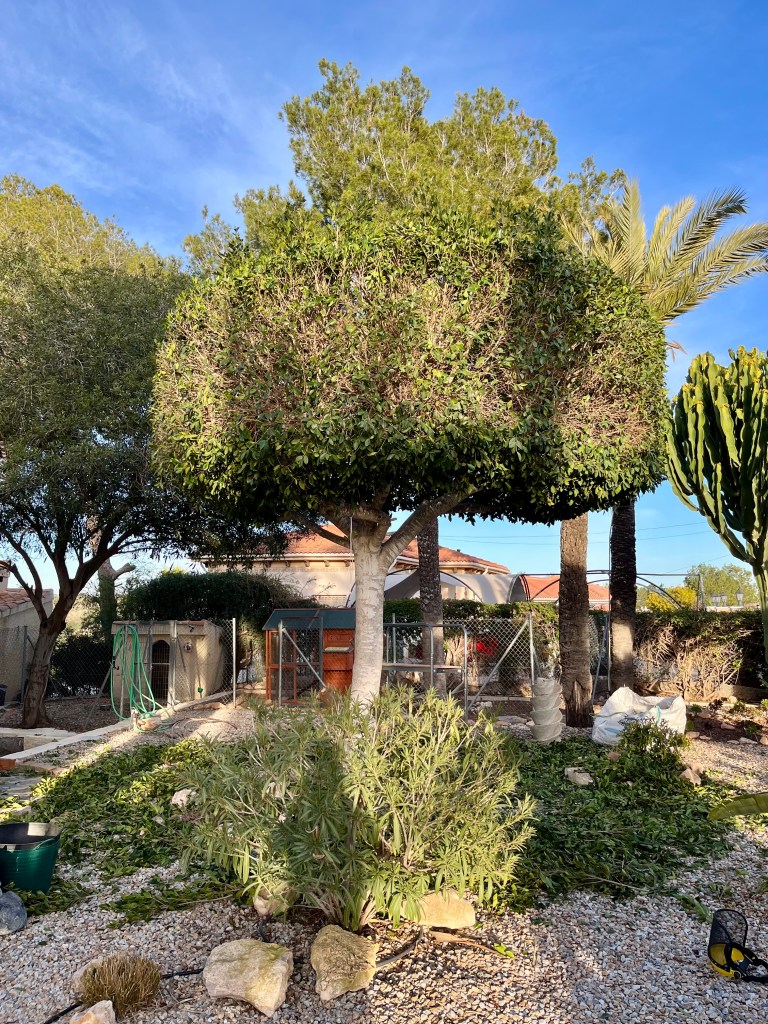
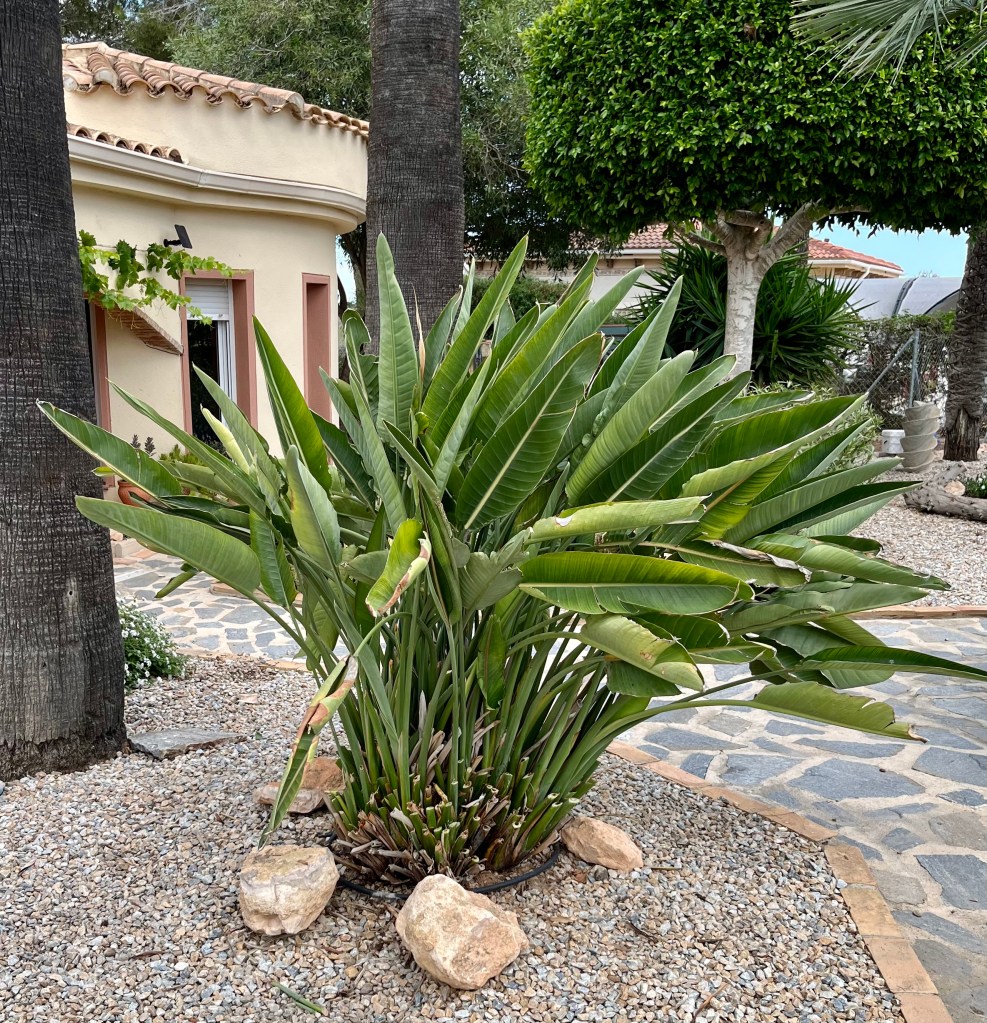
After days of torment and sleepless nights I knew I had to gain the respect of the garden or it would be all over. Suddenly it came to me. If you look at the first photo of the ficus above you will note that the left hand edge of the tree canopy is slightly higher than the right – the tree was lop sided and looked unbalanced. This was it, my opportunity to regain face and respect in the garden.
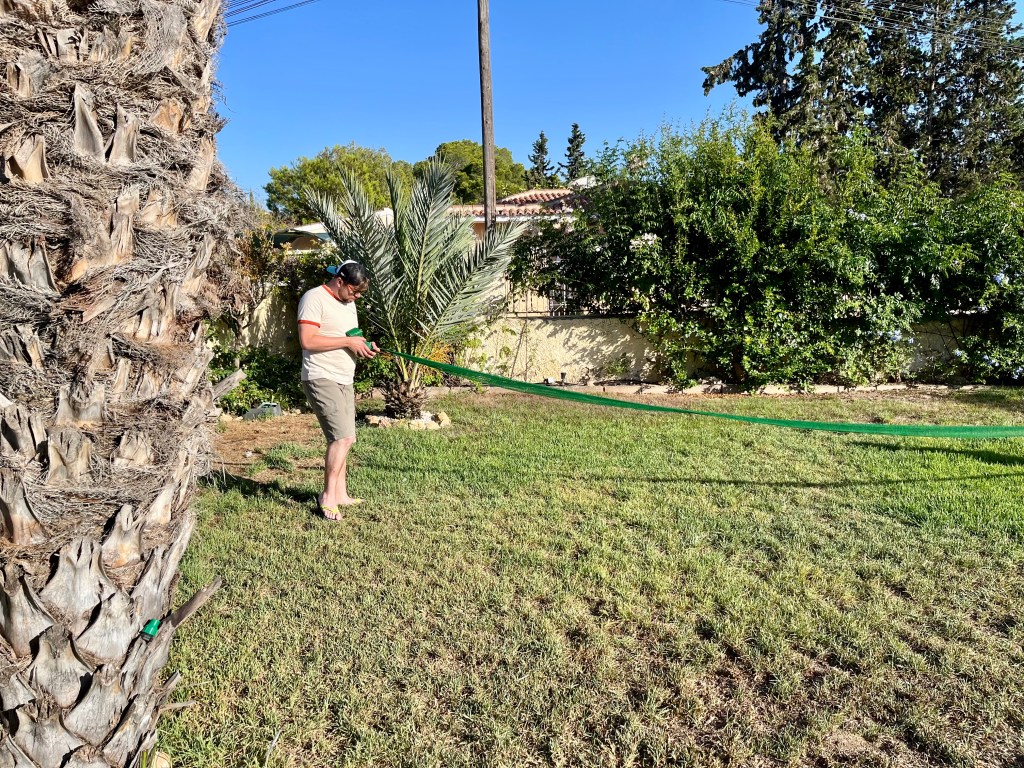
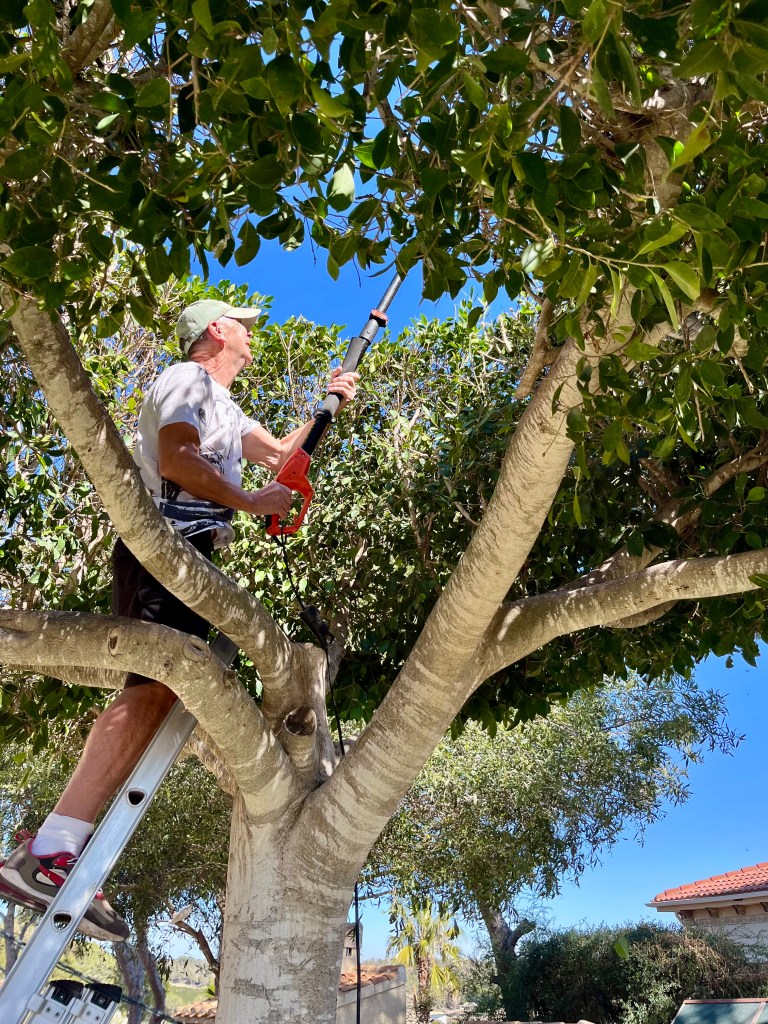
I boldly got out my ladders, platform and tools and with a great deal of ceremony and fuss began to re-trim the tree to give it a semblance of balance. As I worked the tree stayed silent, but I knew it was looking at me; at first with pitying hostility but as I proceeded it eventually melted into looks of understanding, trust and comradeship. The photos below show me at work.
Well I am pleased to tell you that it all ended well. After I had finished I sat in its boughs and we discussed past battles and skirmishes. We laughed and cried about our antics when we were both younger telling each other our favourite parts of our various battles. Eventually it was getting dark so I climbed down. But I am pleased to tell you that it doesn’t end there. We have agreed to collaborate on a book, we have a tentative title; “The Old Man and the Tree” what do you think, it has a sort of ring to it, Hemingway would love it.


You must be logged in to post a comment.