

I haven’t been able to blog for a few weeks as I have been locked in negotiations with Cruella (my wife) relating to the establishment of chicken demarcation zones in the garden. To be honest with you I am a mere pale shadow of myself, I have been the subject of constant vilification, I have had garden sit ins by angry chickens, I am not sleeping at night and Cruella has just told me I am to be the subject of an enquiry by the UN chicken rapporteur.
Anyway, let’s talk about some gardening, the chicken stuff I will explain at the end of this post.
30th April 2024. Things I have been doing lately:
- Spring deadheading
- Cleaning out ornamental grasses
- Restructuring my garden with chicken demarcation zones
Spring deadheading. We often associate deadheading with the height of summer, but in fact there is lots you can be getting on with now, but you have to do it the right way or you will not get the best out of your plants next year. The plants you should be looking to deadhead now, include:
- Roses
- Spring bulbs
- Ice plants
- Aeoniums
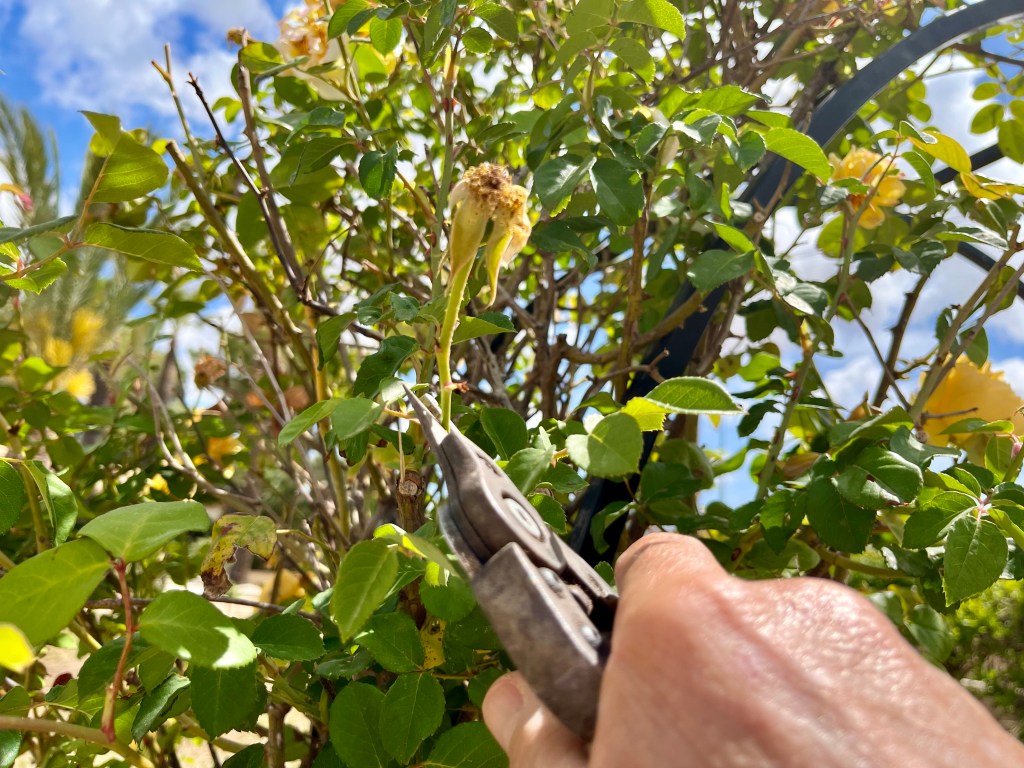
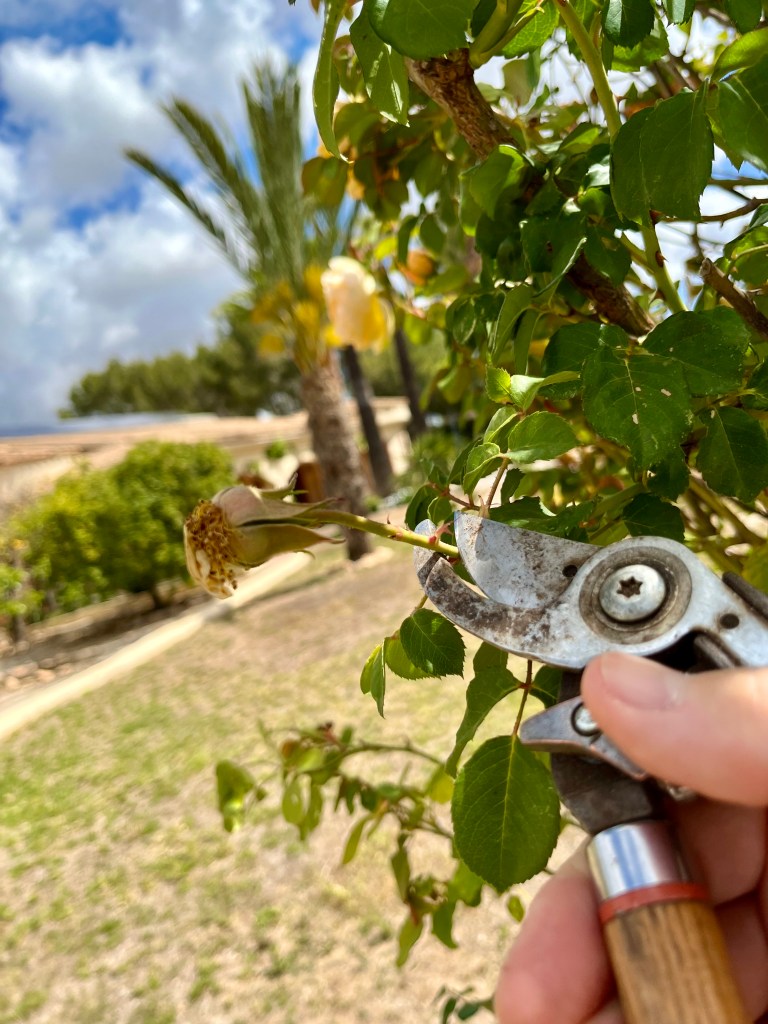
Roses. With roses even at this time of year you should be looking to deadhead on a daily basis. Regular deadheading will reward you with fresh flushes of roses (depending on the type of rose). With roses all you have to do is use sharp secateurs to cut just above the next leaf node on the stem with the spent rose. Don’t be tempted to cut just below the spent flower as you will leave dead stem that not only looks ugly but both hinders repeat flowering and can act as a vector for disease. The photos below show where to deadhead. Click on each photo for a larger view.
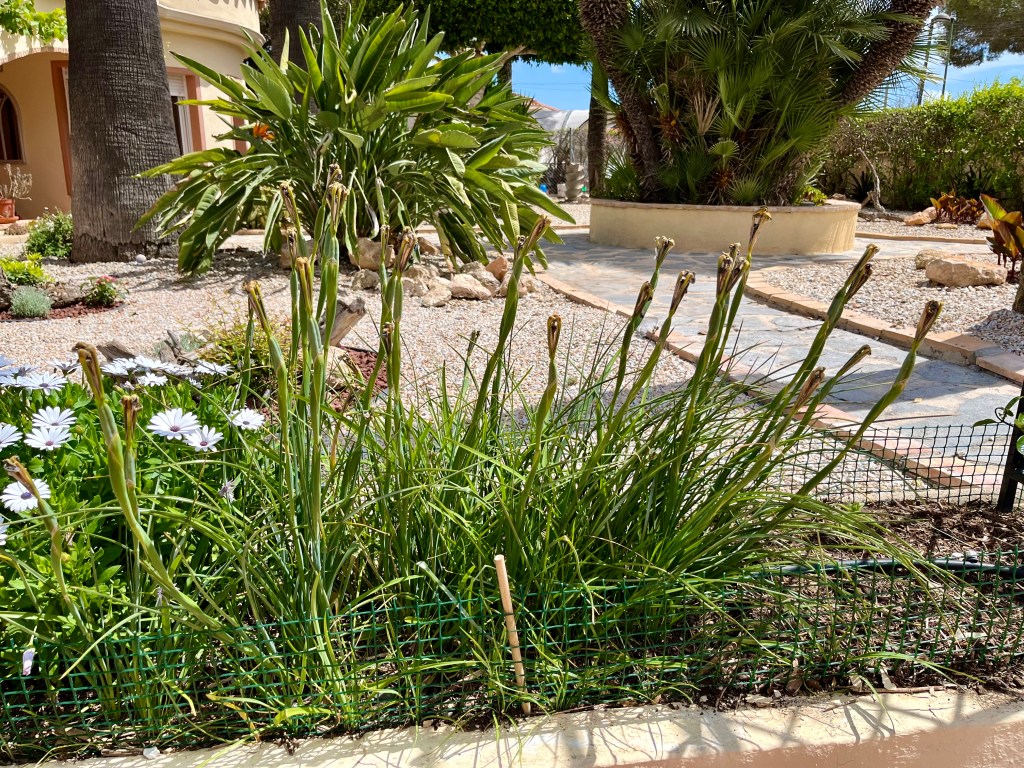
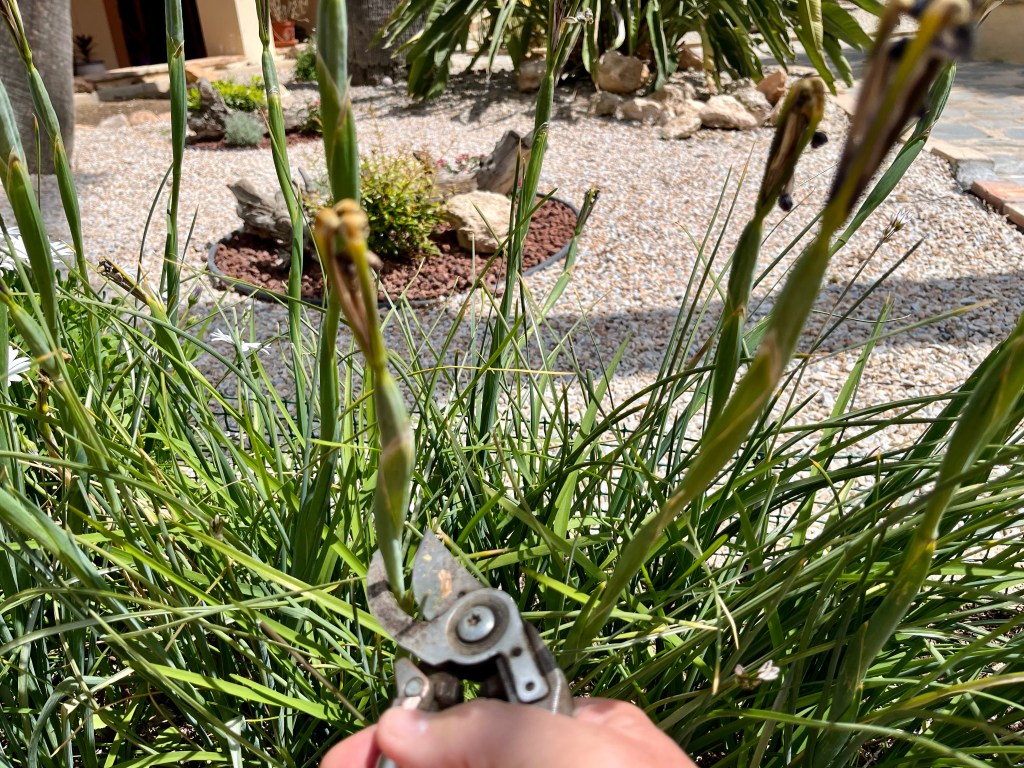
Spring bulbs. Most spring bulbs will have finished flowering by now and they need deadheading. With bulbs it is important that you leave the stems and foliage to die back naturally ensuring that they release their last bits of energy back into the bulb for next year.
The first thing you need to do is to cut off the seed head. This consists of the dead flower and the bulge just below it on the stem. When you have cut the flower off then you need to leave the foliage to die back till it goes nicely brown. This can look untidy for a few weeks, but it is worth it to plump up your bulbs. Do not be tempted to tie the foliage into a knot which became fashionable a few years ago. If you do this then you are effectively cutting off the supply to the bulb. In just a few weeks time you can cut the dried foliage off right to soil level and plant over the area.
The first photo below shows some of my Spanish Irises ready for deadheading. The second photo shows where to cut them and the final photo shows how they will be left for a few weeks. Click on each photo for a larger view.
Ice plants. Are a spring favourite here in Spain and their early blossoms brighten up the spring garden. If you want to encourage profuse flowering in your plant next year and possibly be rewarded with a new flush of flowers this year, then you need to deadhead now.
To deadhead Ice plants you preferably need to replace your secateurs with shears or single handed lopers. If you look at the plant you will see that you have hundreds of little round spent flowers. You need to carefully shear these off making sure – if possible – not to damage the foliage or the existing flowers. It is a bit like going to the hairdressers and having a light trim all over.
The first photo below shows some of the ice plants around my water feature ready for their light trim. The second shows the trim in process. Remember try not to cut into the foliage. Click on each photo for a larger view.


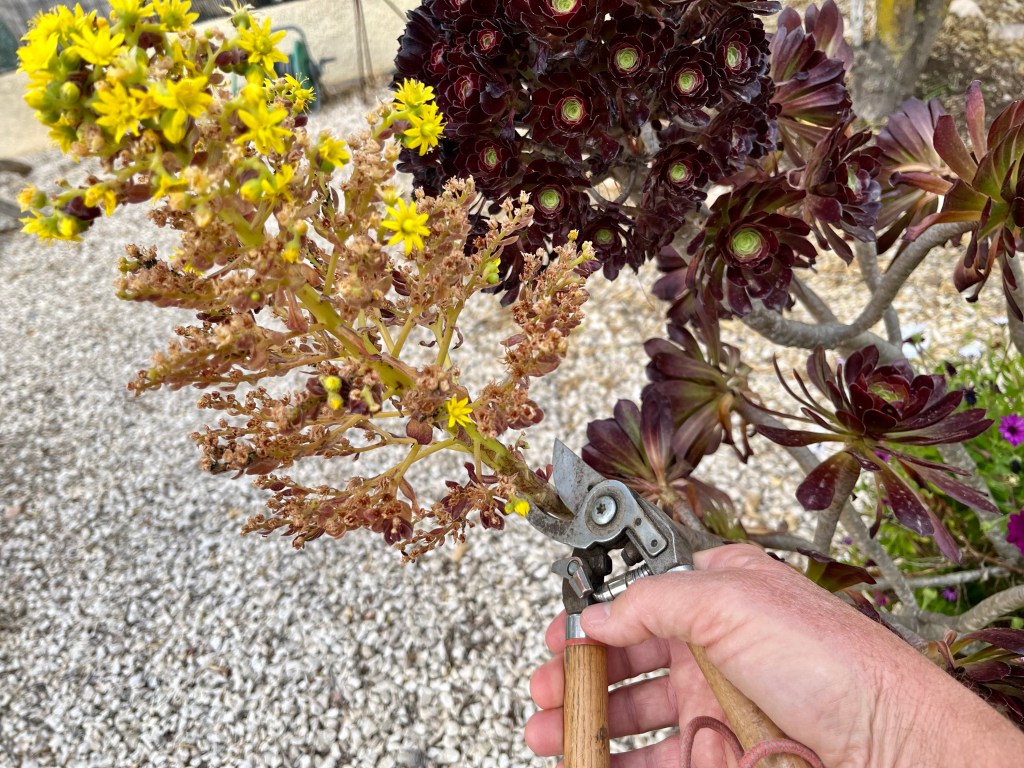
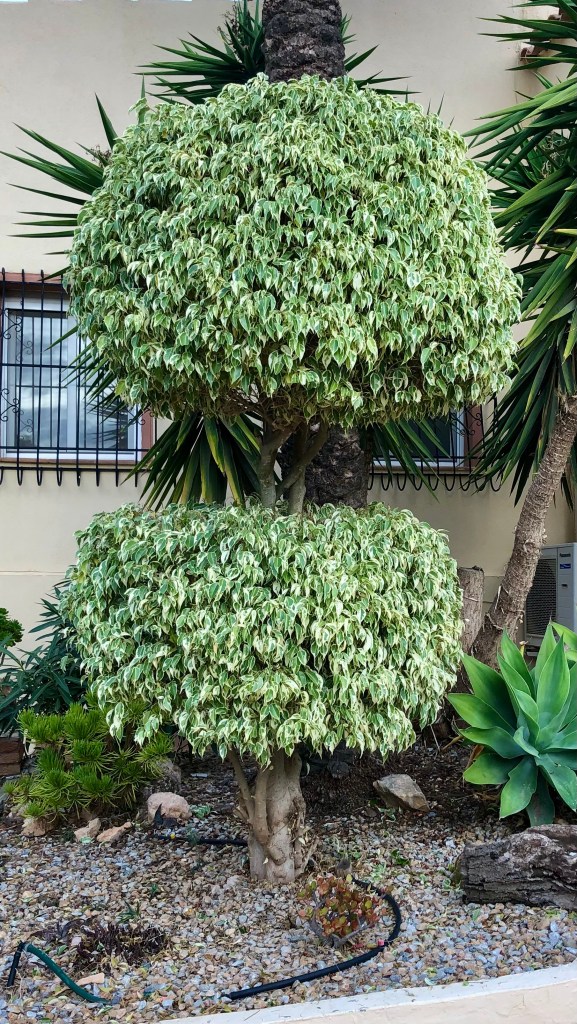
Aeoniums. These are plants that provide year round interest in Spain. They are undemanding, and unpretentious yet in a subtle way quite showy. In my garden I have the two basic types the Verdi (green one) and the swartzkopf (chocolate). For most of the year these plants will provide structural interest in your garden, then suddenly they turn from ugly duckling to society beauty by throwing out a lovely yellow flower spike. See photo below.

Once these flower spikes have started to fade you need to cut them off from the stem. This is quite simple, all you need to do is look under the fading flower and you will see that the stem has begun to narrow in some cases quite dramatically. What is happening is the plant is getting ready to shed the flower by starving it of nutrition thereby encouraging it to drop off. All you need to do is cut the stem with your secateurs just below the narrowing part of the stem and that is it. The plant will seal the cut and carry on growing. See photo below.
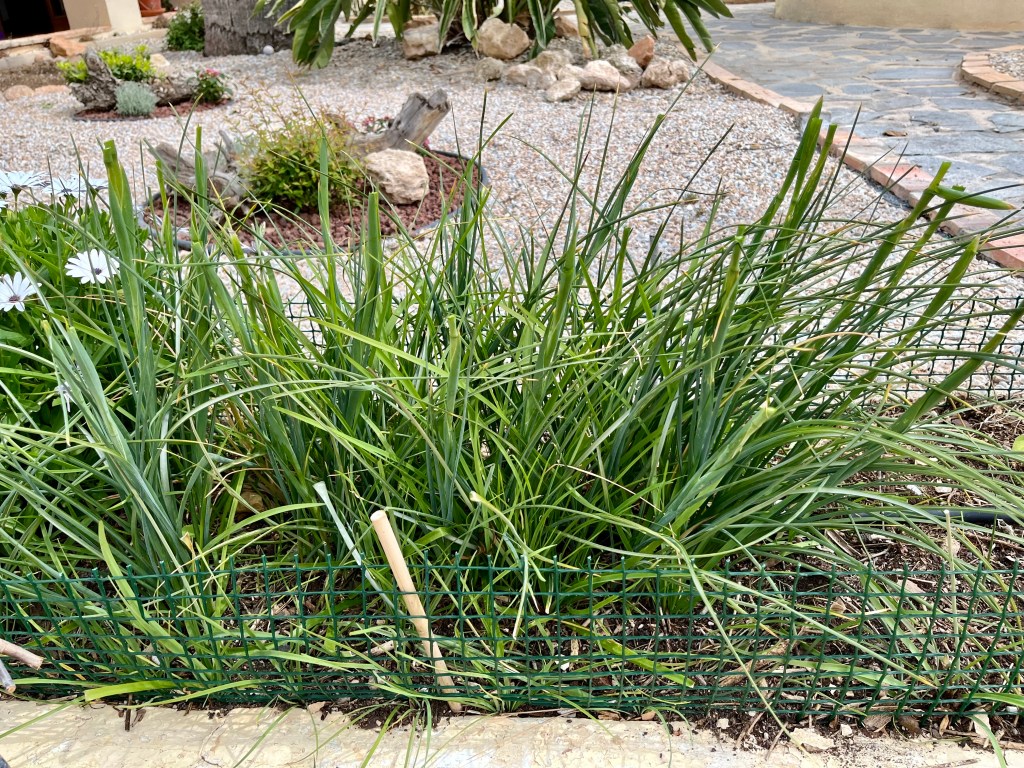
Ornamental grasses. Ornamental grasses are often chosen by gardeners because they assume that as they are grass they will provide problem free plants. But this is not always the case. Grasses need a lot of water in Spain. They also suffer from dead centres and have to be separated every 5 years or so. Lastly, they need to have last years dead grass cleaned out or it will choke this years growth and look unsightly.
This is a simple process, you just need to put your garden gloves on and pluck away at the dead grass with an upward sharp tug. The properly dead grass will come away and leave you with growing space that lets in light and air for your new growth. The photos below show me happily plucking away at some of my grasses. Click on each photo for a larger view.


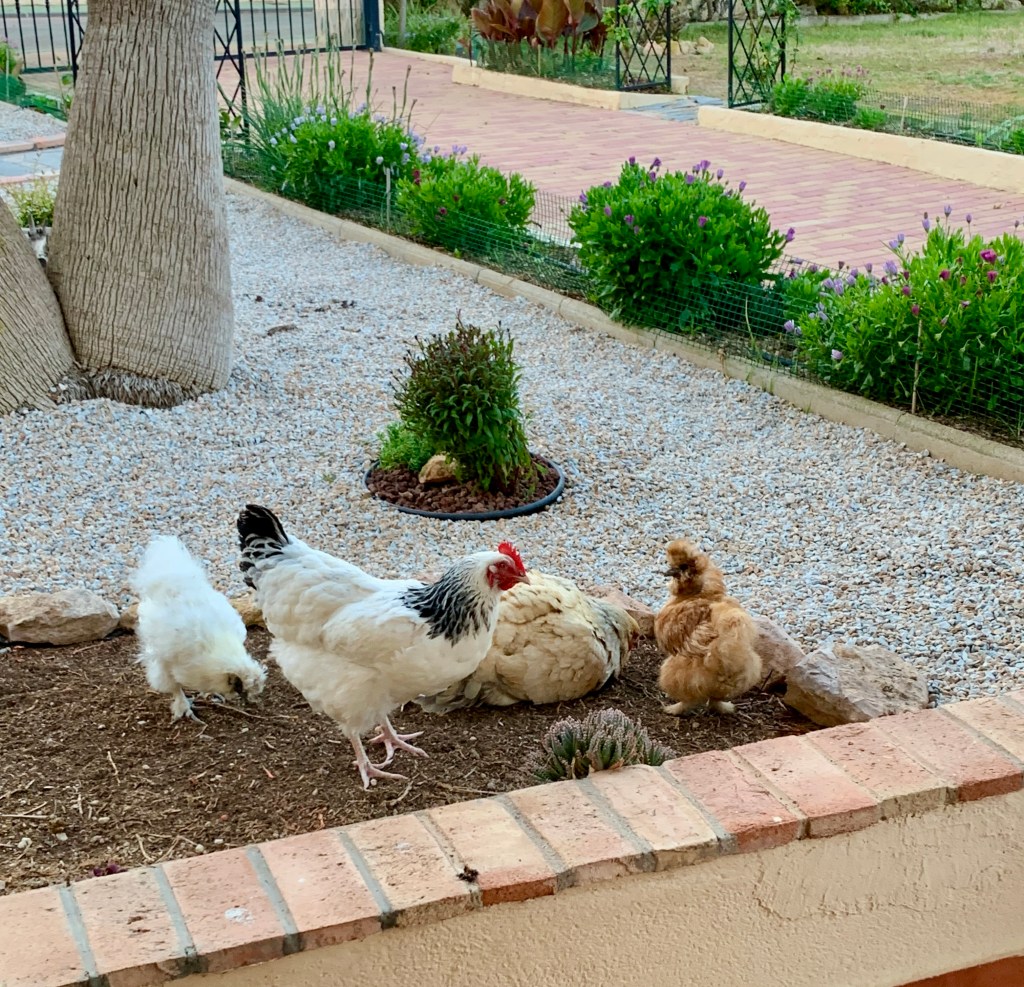
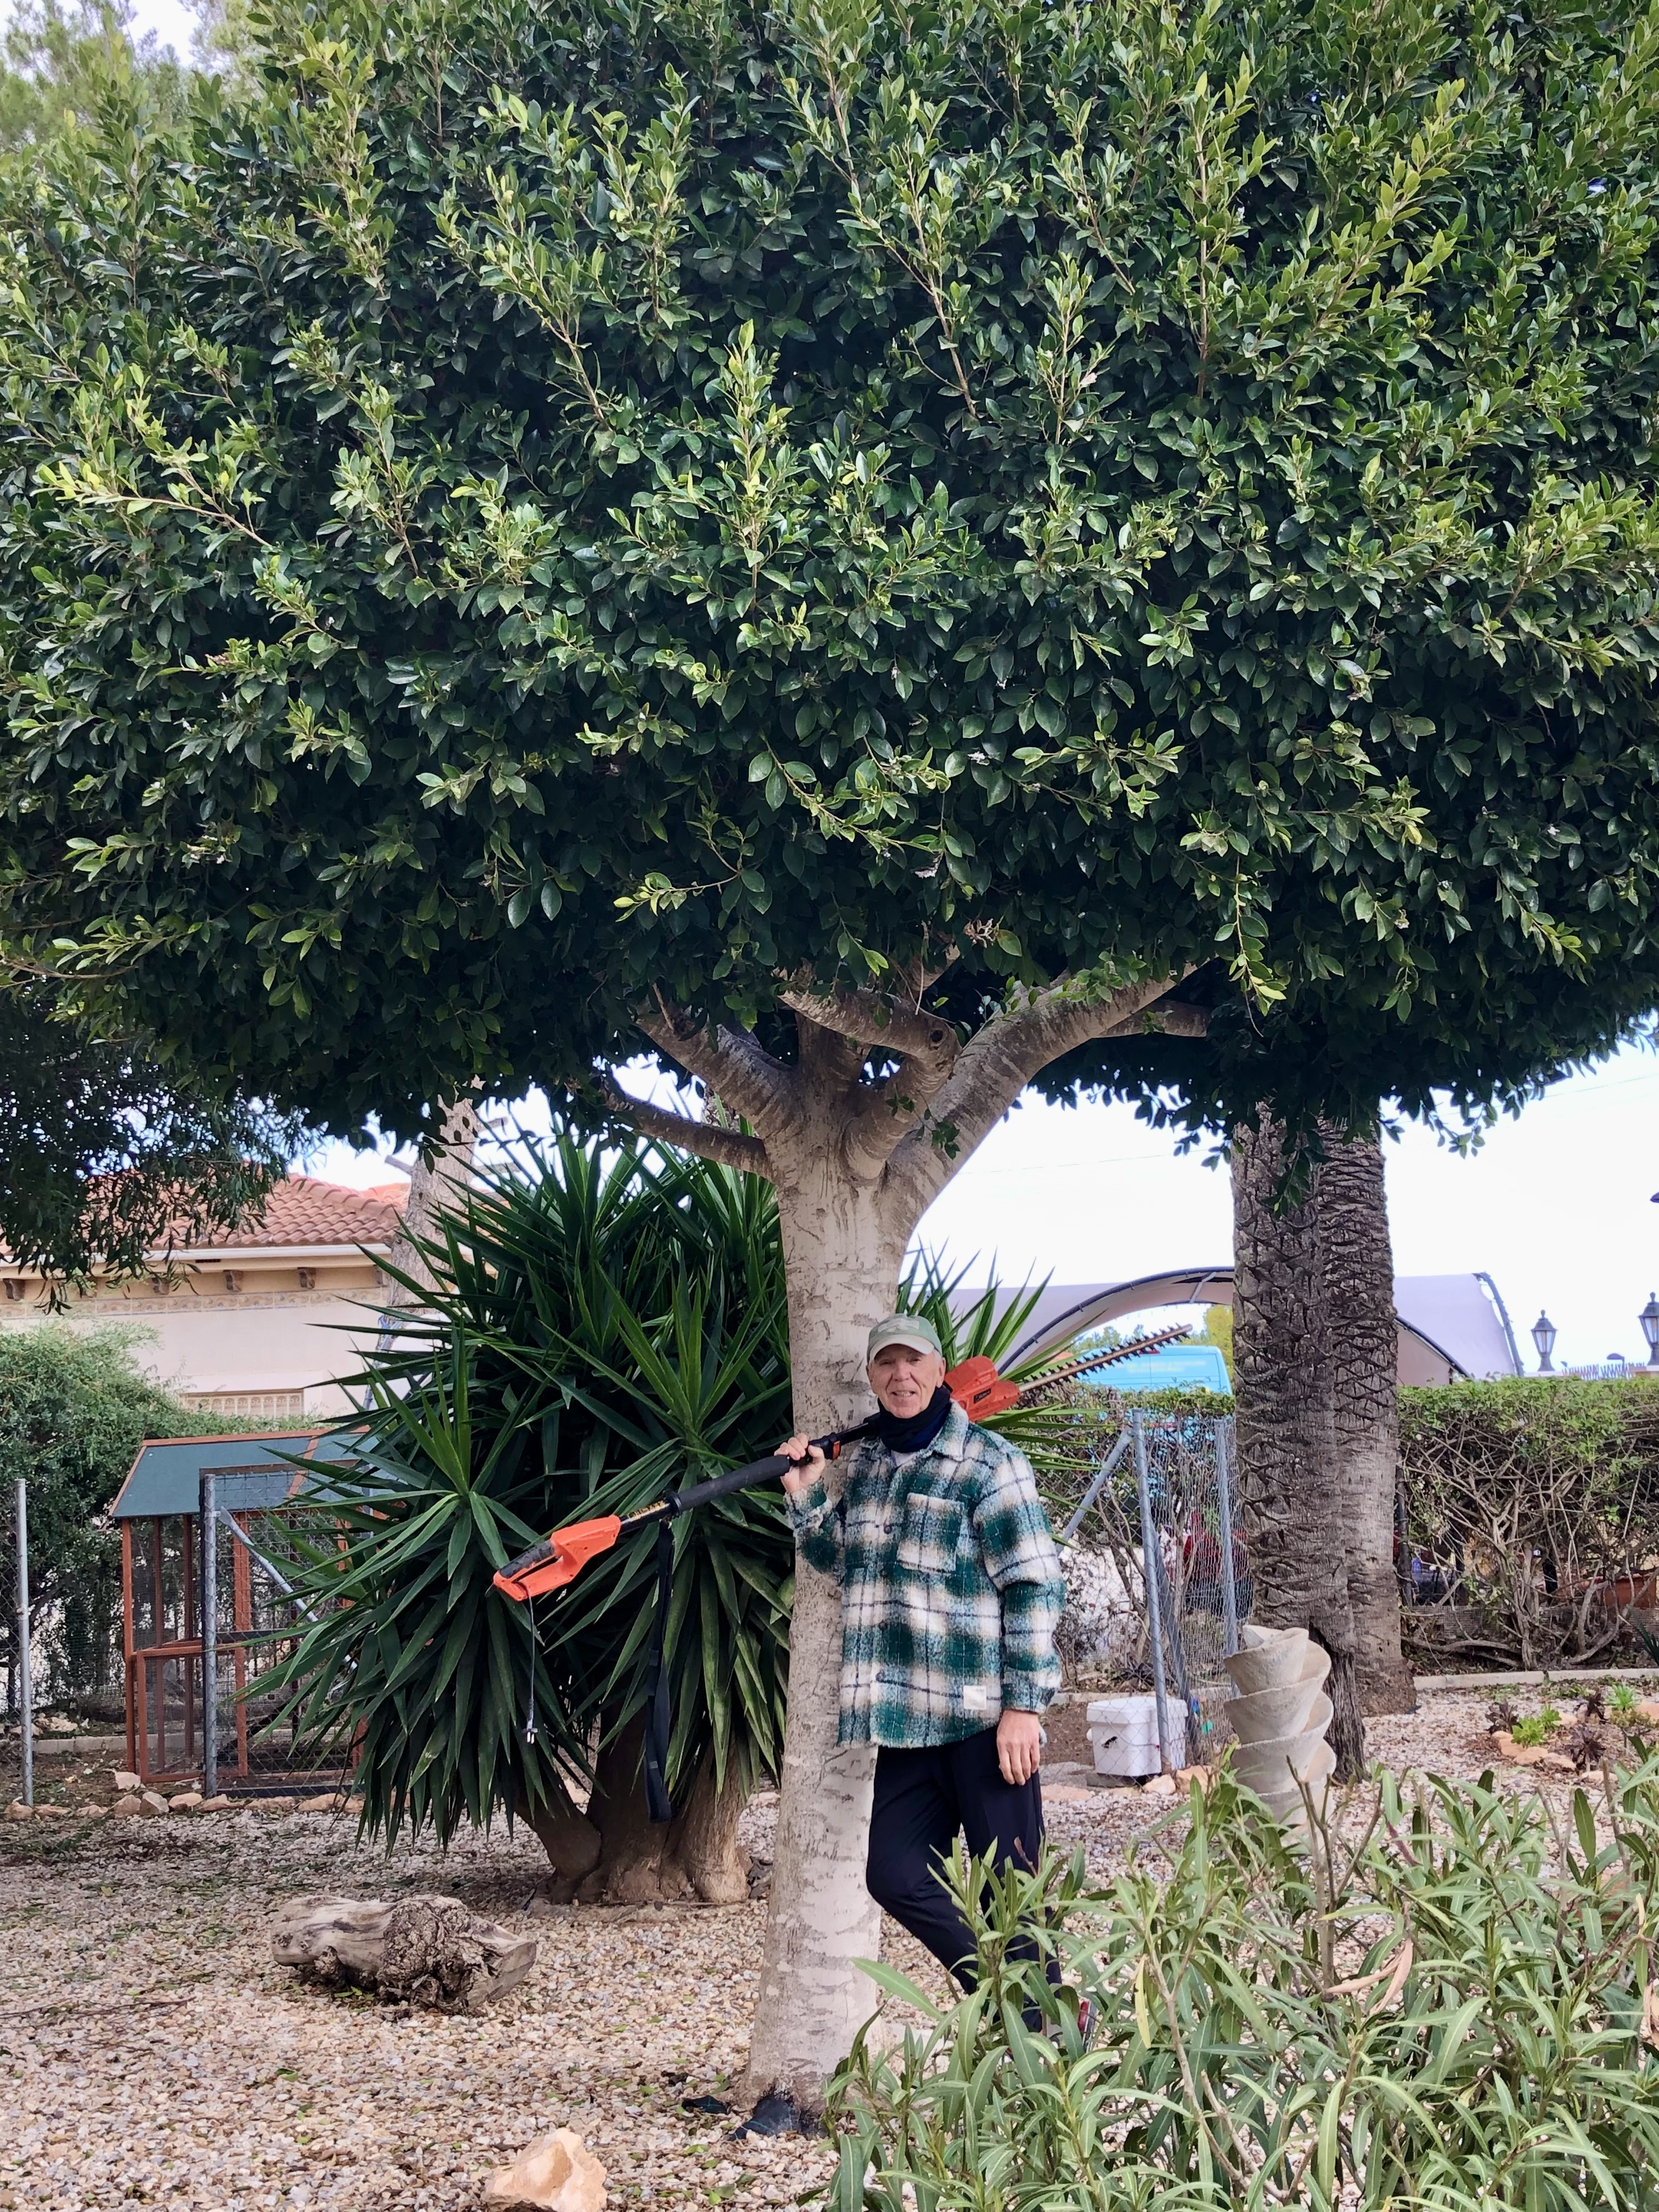
Restructuring my garden with chicken demarcation zones. From the introduction to this post you can see that I have been having major problems with Cruella (my wife) and her chickens, all of which have suddenly come to a head. Regular readers of this blog will know that Cruella and her 4 chickens have wreaked havoc on my garden.
This has caused arguments, tears, threats of violence and witchcraft. Cruella has regularly cited international bodies that are on her side, in the past this has included the EU, the UN the ECHR and even NATO. Recently she said that we should be spending at least 2.5% of our income on her chickens she quoted NATO and Rushi Sunak.
The end result of protracted wrangling is that I eventually prevailed upon Cruella and her chickens that we needed clear demarcation zones in the garden where the chickens can peck (destroy). All of this only came about as our previous two smaller lawns had been picked up by NASA satellites as expanding areas of desertification. The photos below are worth a thousand words. Click on each photo for a larger view.


I started by marking out the areas that would be returned to gardening and two clear zones where the chickens could peck. To say this was controversial is an understatement. Every time I marked out an area Cruella and the chickens would protest and mark out a much larger area. Further days were lost by lines being marked and then crossed out overnight. Cruella and the chickens even staged sit-ins at various times to stop me getting on. When I tried to move them they all went limp and made me drag them out of the way, and as I moved each one the others rushed back in. The photos below shows some of the chaos. Click on each photo for a larger view.


I am only telling you all this not because I am seeking your sympathy, but rather because there is a good gardening point here. Too often in Spain people cover their garden with acres of unsightly gravel, for the practical purpose that it makes it all easier. However, this turns many gardens in Spain into what looks like giant car parks. You don’t have to do this, and even if your garden is already like this, then why not take the opportunity to brighten and refresh your garden with island planting.
At its simplest island planting means creating beds of greenery within your gravelled areas. The benefits of this are so obvious I am not even going to make the point. Instead, if you want to create islands of greenery then this is how to do it.
There are 6 key stages to creating islands in gravelled areas.
- Mark out the overall area with ground spray paint
- Apply weed suppressing membrane
- Mark where you want your island beds directly onto the membrane
- Connect up irrigation if appropriate
- Cover with gravel; or push back existing gravel
- Cut through membrane to create beds and plant up
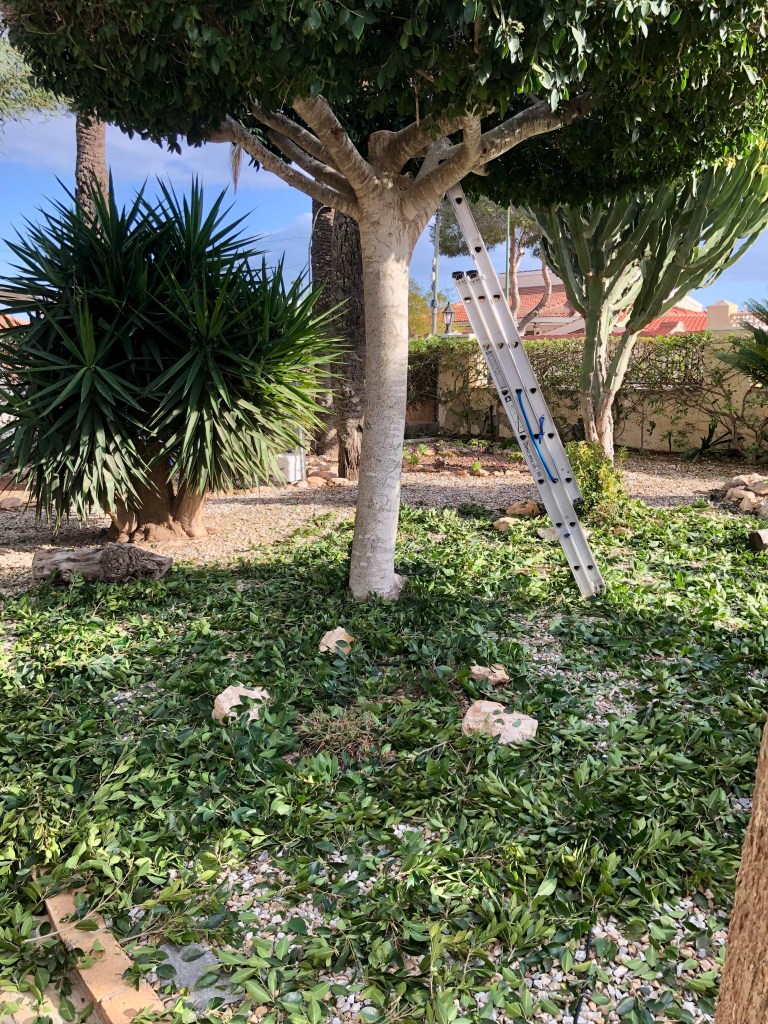
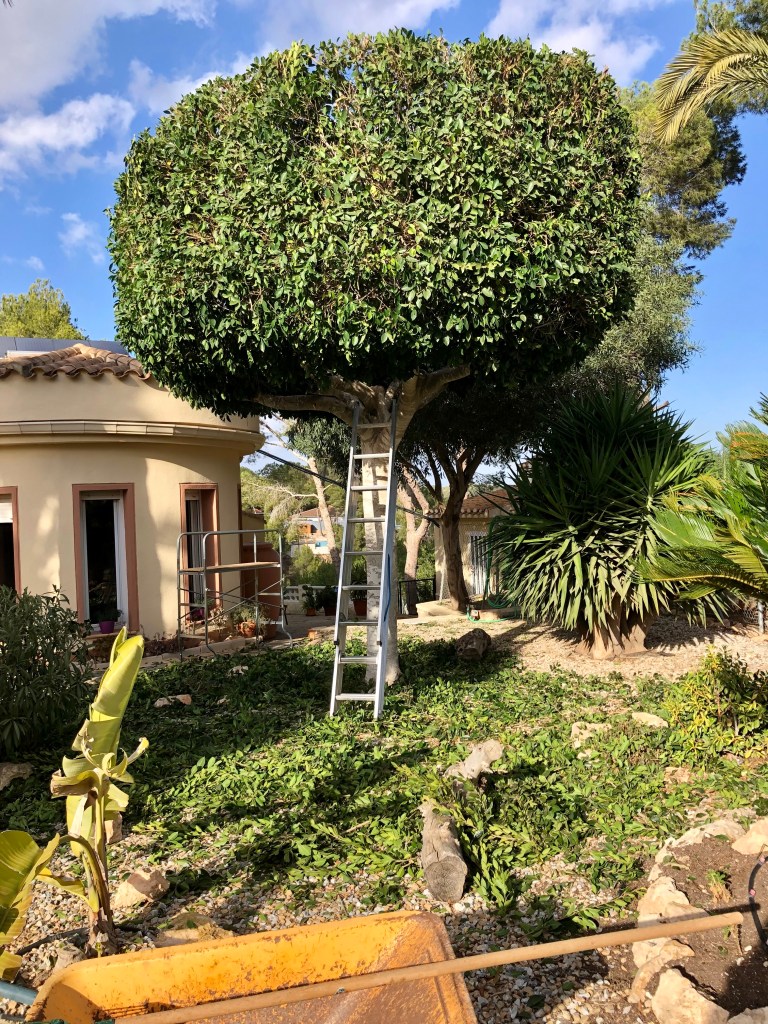
Mark out the overall area. Think carefully about the size of area you are going to gravel as you will have to live with it. The photos below show the tools for the job, plus early attempts at agreeing area size. Click on each photo for a larger view.


Apply weed suppressing membrane. It is important that you buy good weed suppressing membrane. You are hopefully only going to do this once so make sure you don’t buy cheap stuff that tears and splits. The photos below show various stages of applying the membrane. If you are planting beds in existing gravelled areas then make sure you pull the gravel much further back than your island beds, so that you can pull it back when you are finished. Click on each photo for a larger view.

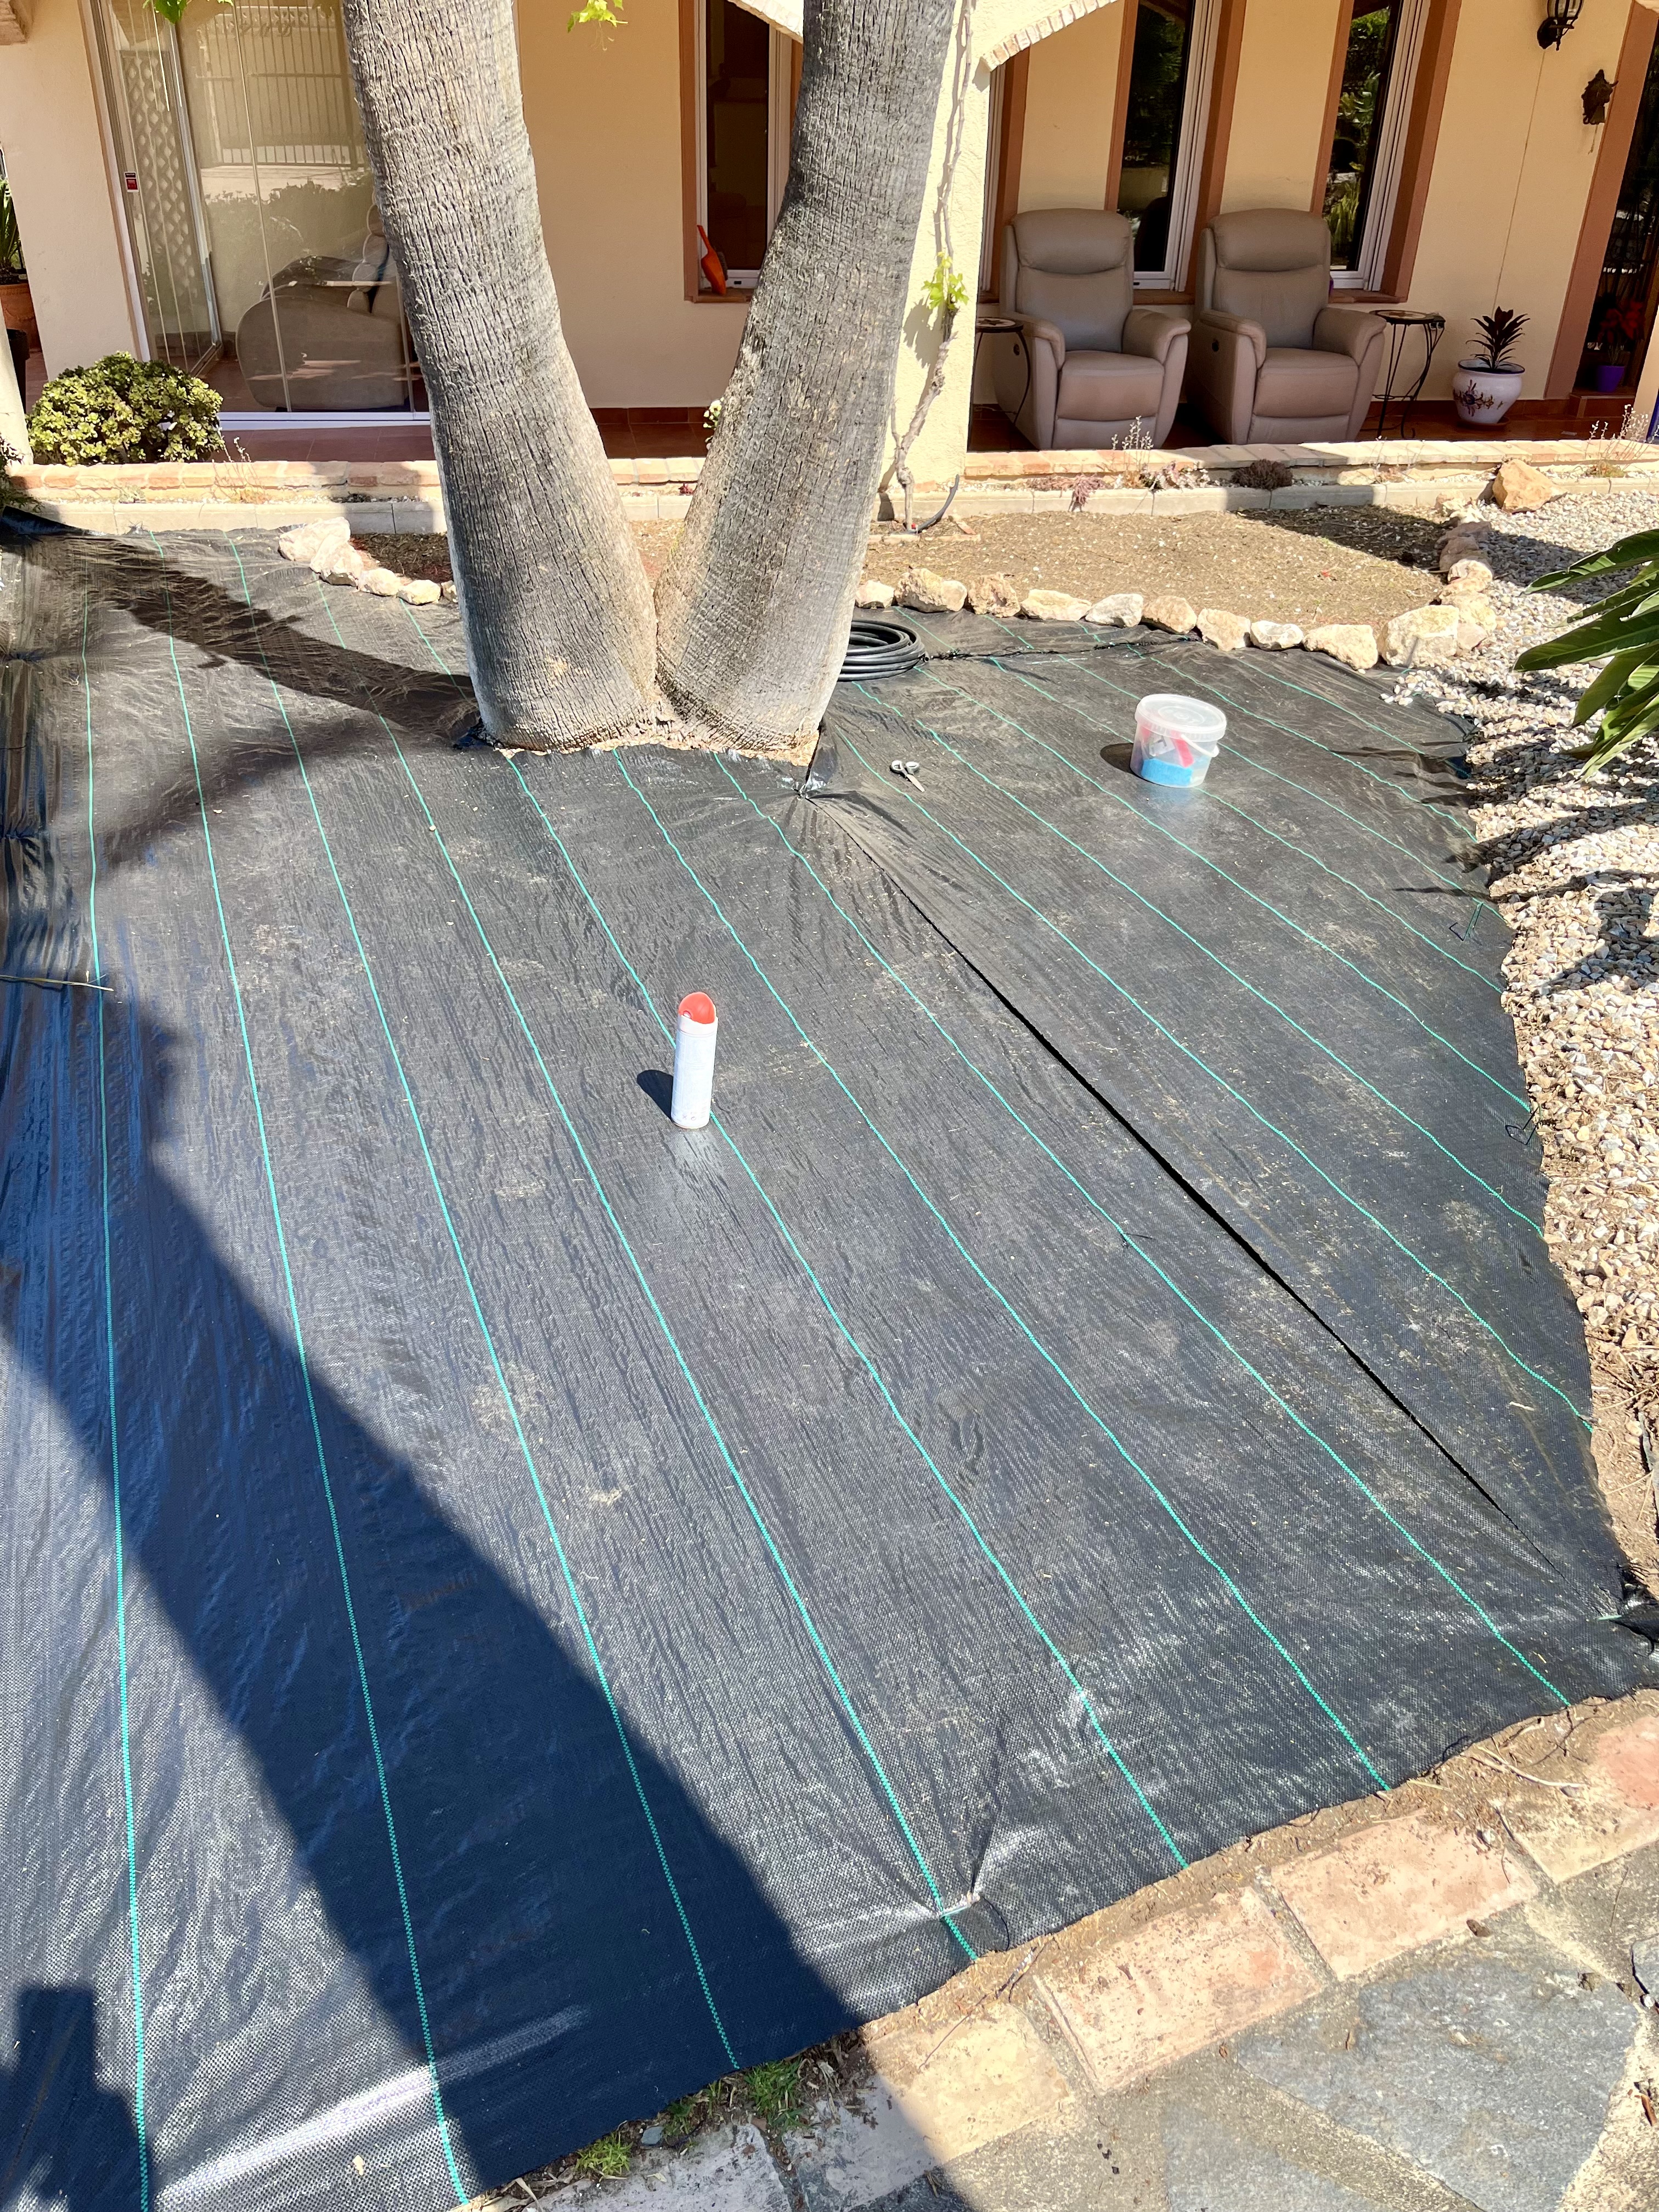

Mark where you want your island beds directly onto the membrane. This is an important stage so it is worth not only thinking carefully about it, but marking and then waiting 24 hours to think again. Using the ground paint mark out the shape you would like for your island beds. In my case I wanted different sized circles. It is also useful to place objects where you think you want your beds and then walking around and looking at them from different angles to make sure your happy with your sight lines. The photos below show this process in action. Click on each photo for a larger view.


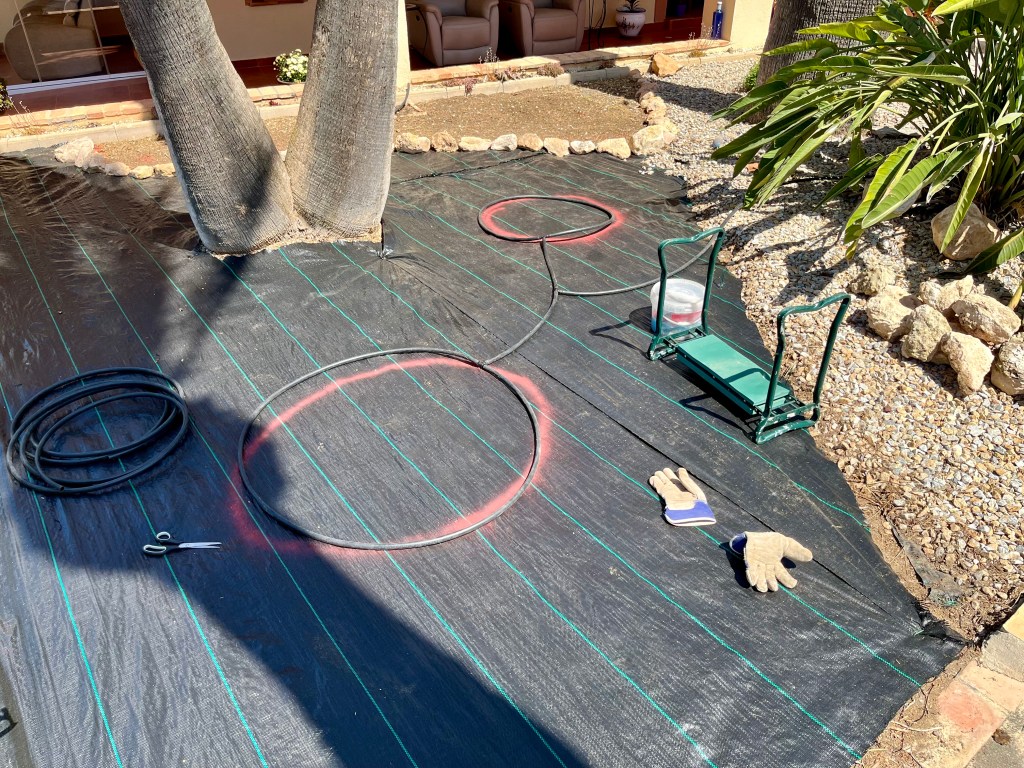
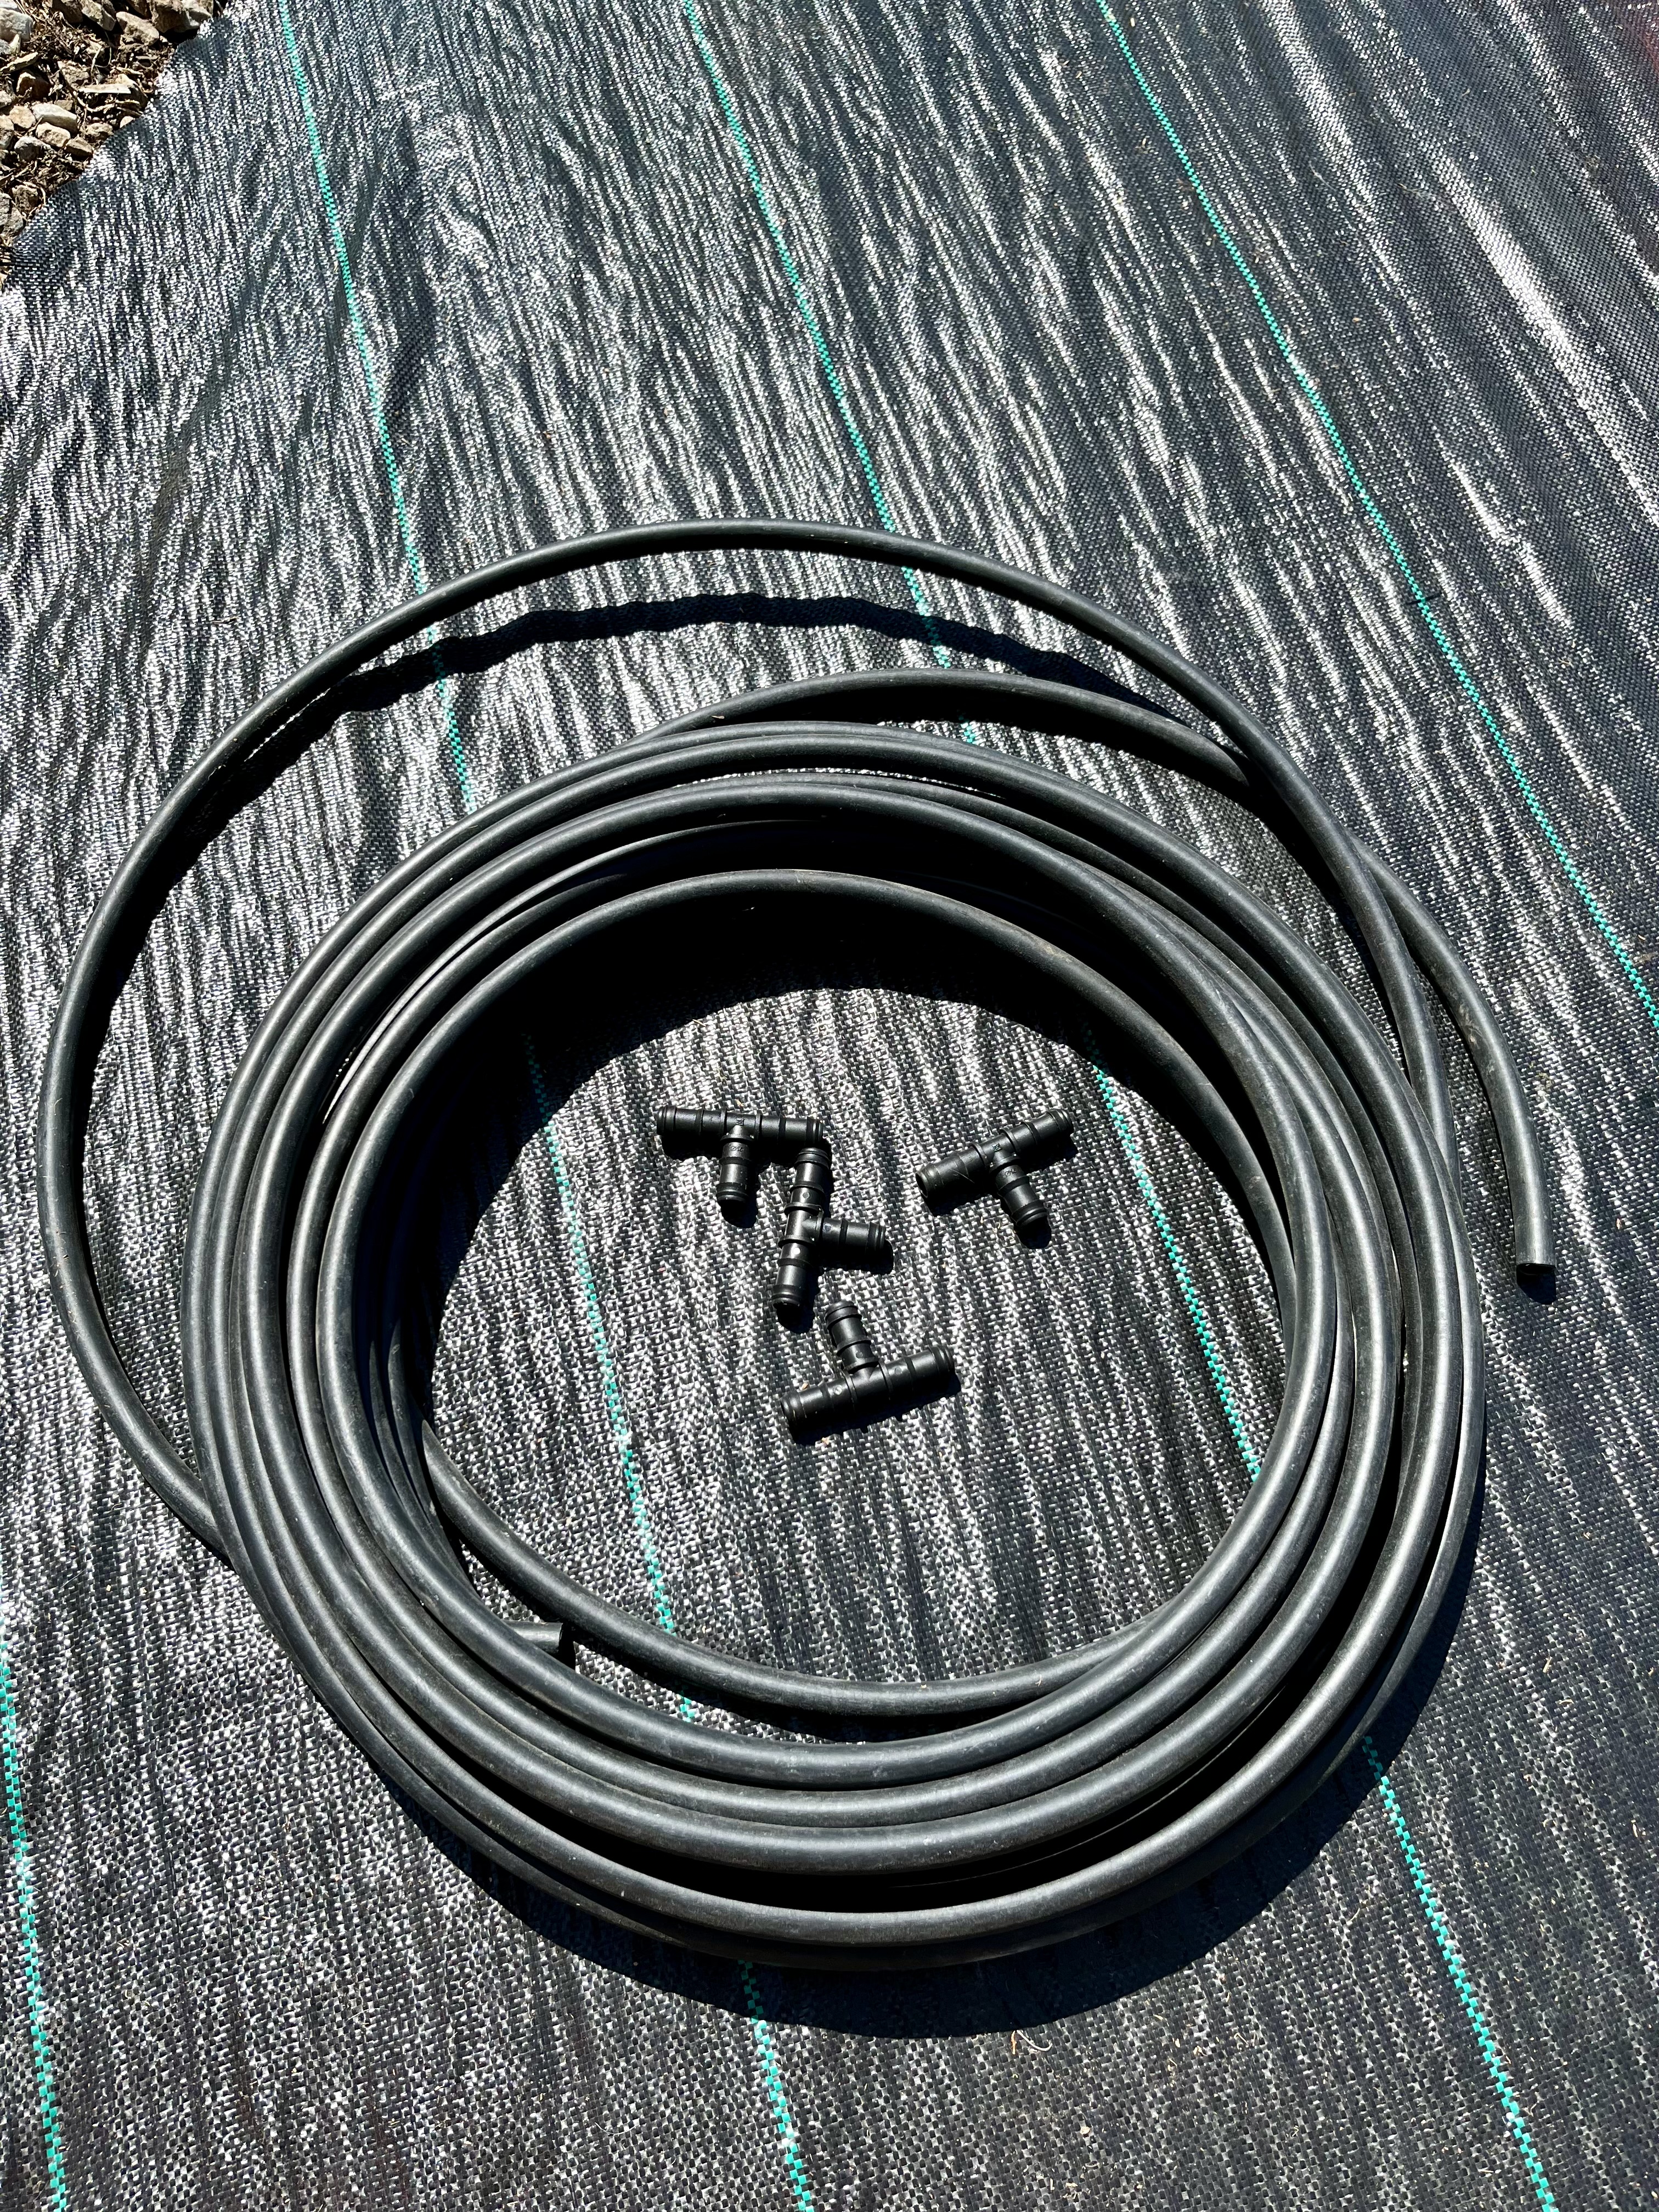
Connect up irrigation. If you are going to use irrigation then now is the time to set your pipe work in place. If you already have gravel then try and connect up to your existing system. The photos below show my artistic connections. Click on each photo for a larger view.


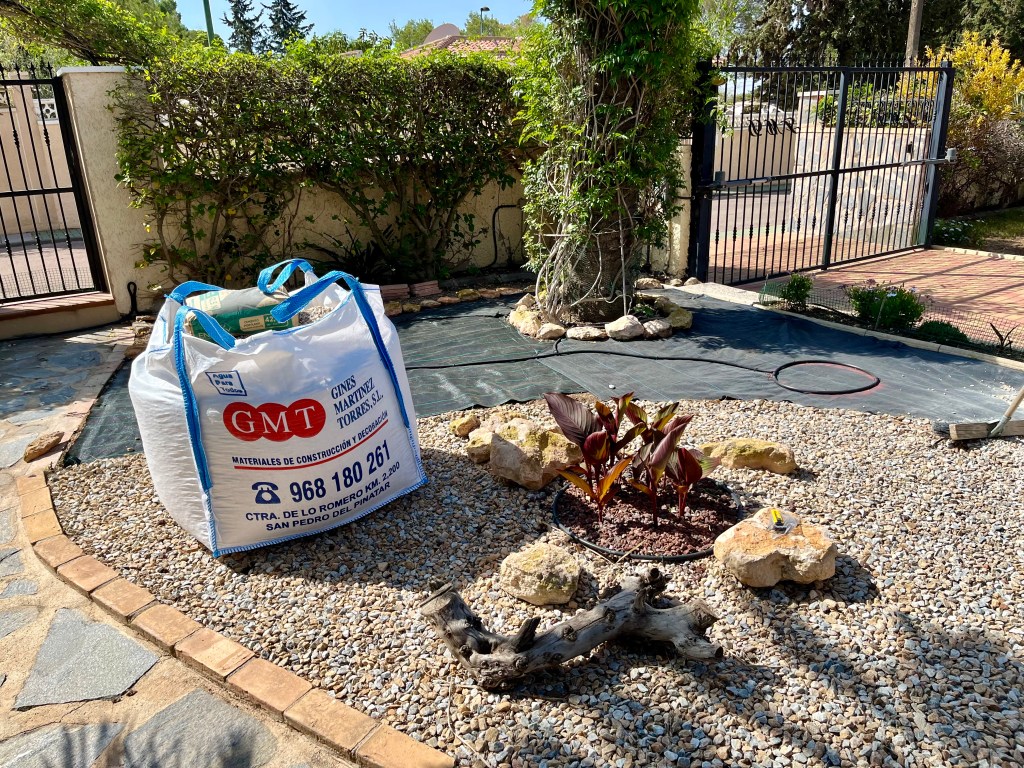
Cover with gravel; or push back existing gravel. Whatever your choice of gravel you will need to allow for coverage of about two inches. This is necessary to ensure you don’t get bare patches opening up as you walk around. Gravel is exceptionally heavy and is hard work to distribute, so if you can get help or use professionals. I had no help, Cruella and her chickens just sat back eating posh snacks whilst I laboured in the Sun. When I asked them for some help they all started chanting slogans about not taking part in their own oppression. The photos below show the extent of my challenge. Click on each photo for a larger view.


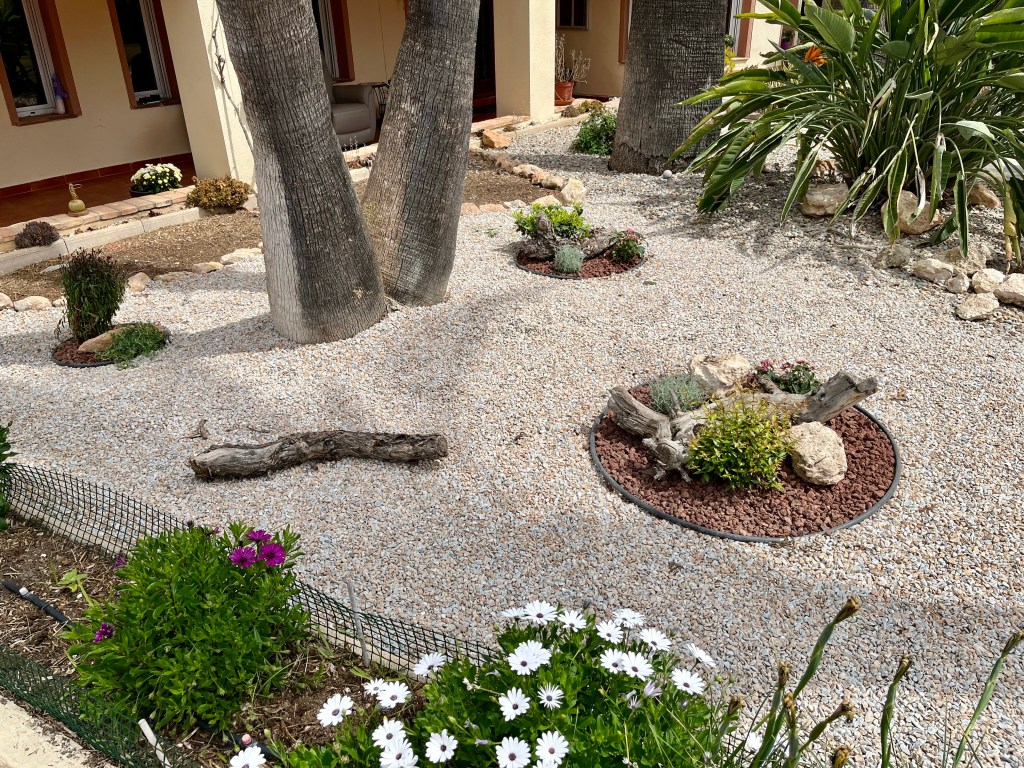
Cut through membrane to create beds and plant up. This is the most enjoyable part as you begin to see the fruits of your efforts. I have covered the issue of planting through membrane before, but just in case your new to this the process is simple.
Start by cutting an X shape in your membrane and fold back the flaps of your X. The soil under gravel will normally be quite impoverished and dry so it is necessary to enrich the planting hole. First dig a planting hole slightly larger than your plant. Fill this with water and let it drain, then enrich the hole with good compost digging around to ensure the existing soil is loose.
Place your plant in its new home and make sure to firm the soil around it before folding back the flaps of membrane and then watering profusely. It is a good idea to fill the area around your plants with a different colour gravel. This gives added interest to your planting scheme and also provides contrast in the winter when your plants have died back. The photos below show my finished effort. Click on each photo for a larger view.


I was just sitting down having a well earned cup of tea when Cruella (my wife), approached me accompanied by her chickens. She began reading from a piece of paper which she said had just arrived from NATO claiming that a military drone had noted that my planting and gravel were in breach of the Geneva Convention. She went on to say that they demand that the land should immediately be returned to its intended use as a Chicken designated zone of special scientific interest.
I told her I didn’t believe her as the back of the piece of paper was headed Church Sunday School. She started crying, the chickens all started cackling in Chickenese and they all stormed off shouting about lawyers. Hey Ho.


You must be logged in to post a comment.