

Well it has finally arrived, it is time for the big winter cutback. Depending where you are in Spain you have a maximum of two months (January and February) to get you garden in shape and to guarantee a healthy floriferous garden this summer.
The basic idea of cutting back is that you take out all last summers old growth, you take the opportunity to reshape plants that have become ungainly and you allow light to get into plants that have become congested. If you don’t cutback then you will not get the best out of your plants and your garden can end up as a brown messy jungle with no definition and few flowers.
But don’t worry, even if you don’t quite know what you are doing, as most plants apart from spring bulbs are dormant and you can’t do too much damage. So get out there, take your time, do it in weeks rather than days your reward will come in Summer.
13th January 2025. Things I have been doing lately:
- Reshaping Yucca
- Bringing climbing plants back into shape
- Cutting back Canna
- Pruning Dame de Noche
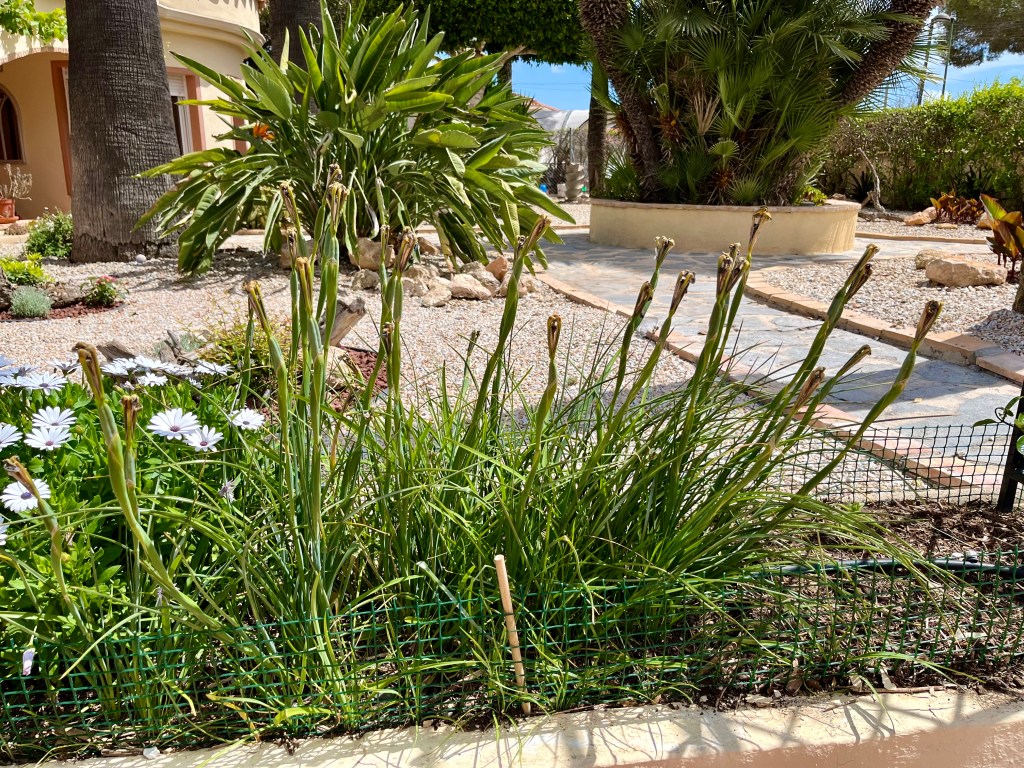
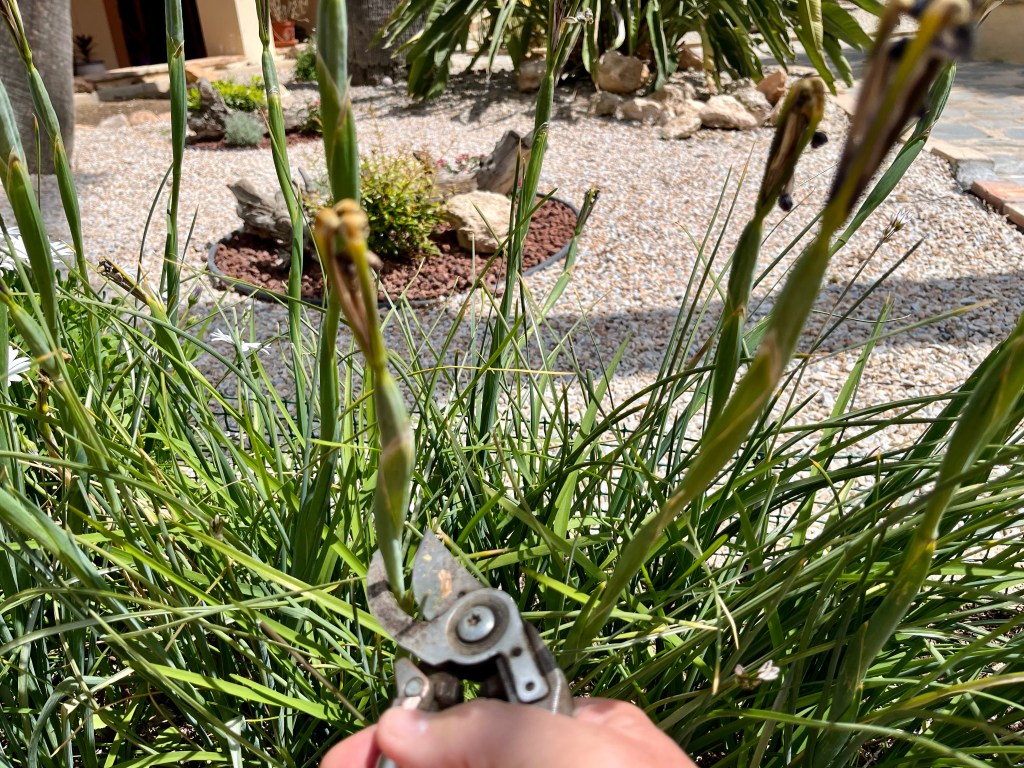
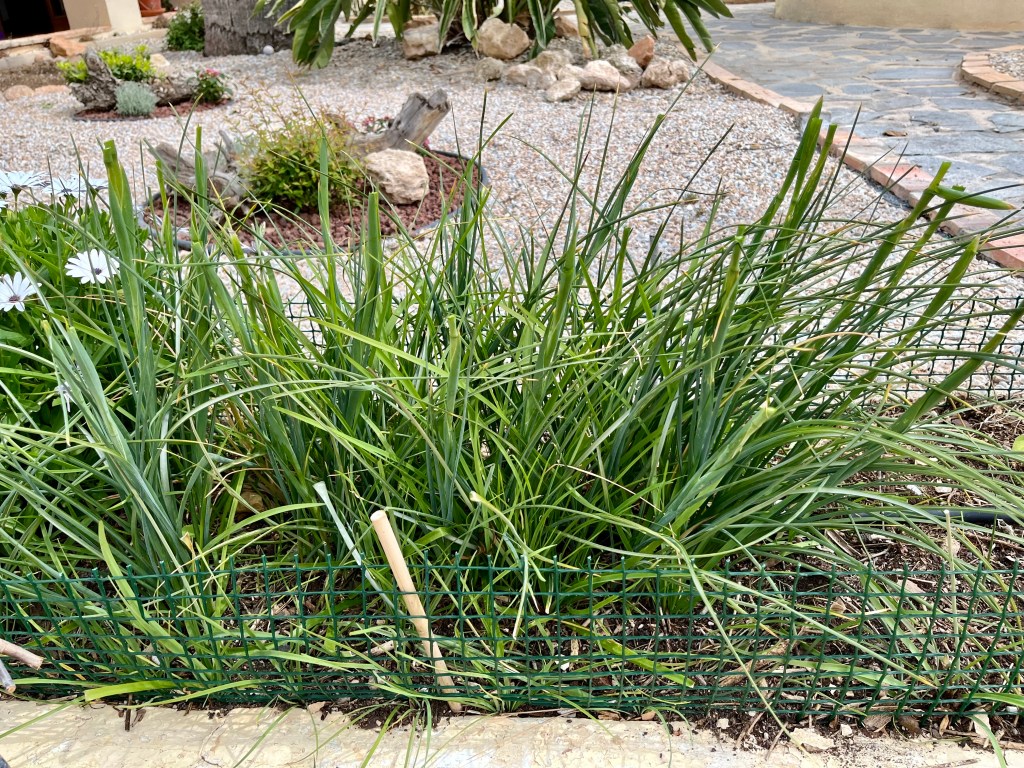
- Trimming grasses
- Dealing with the Chicken Prince
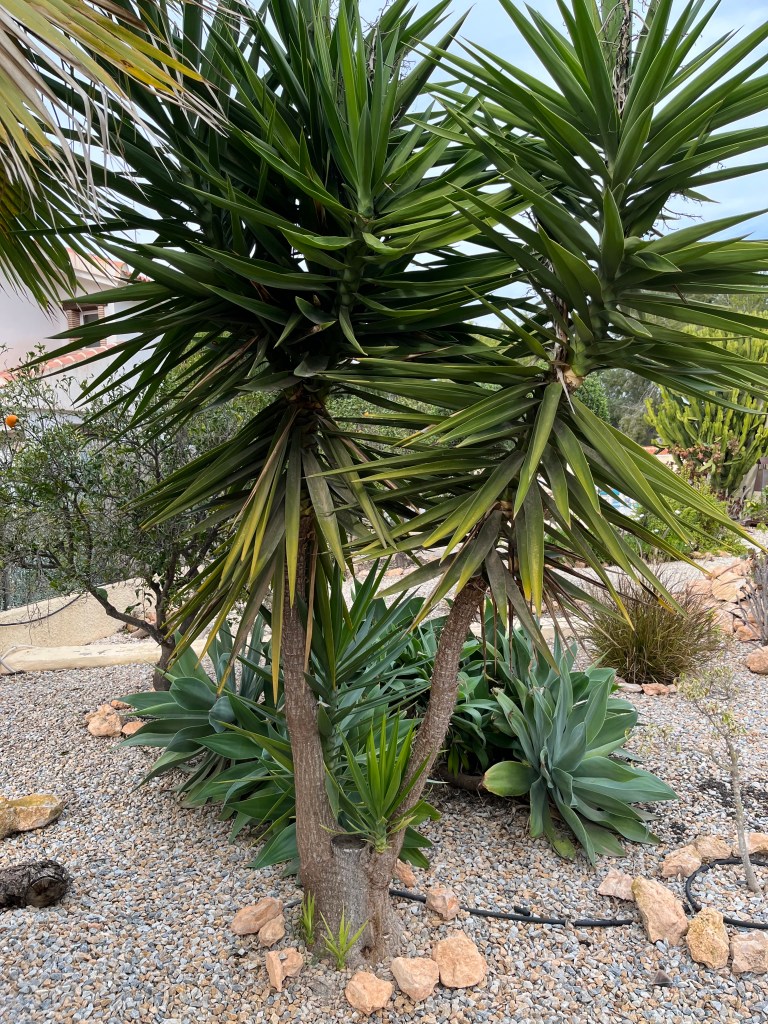
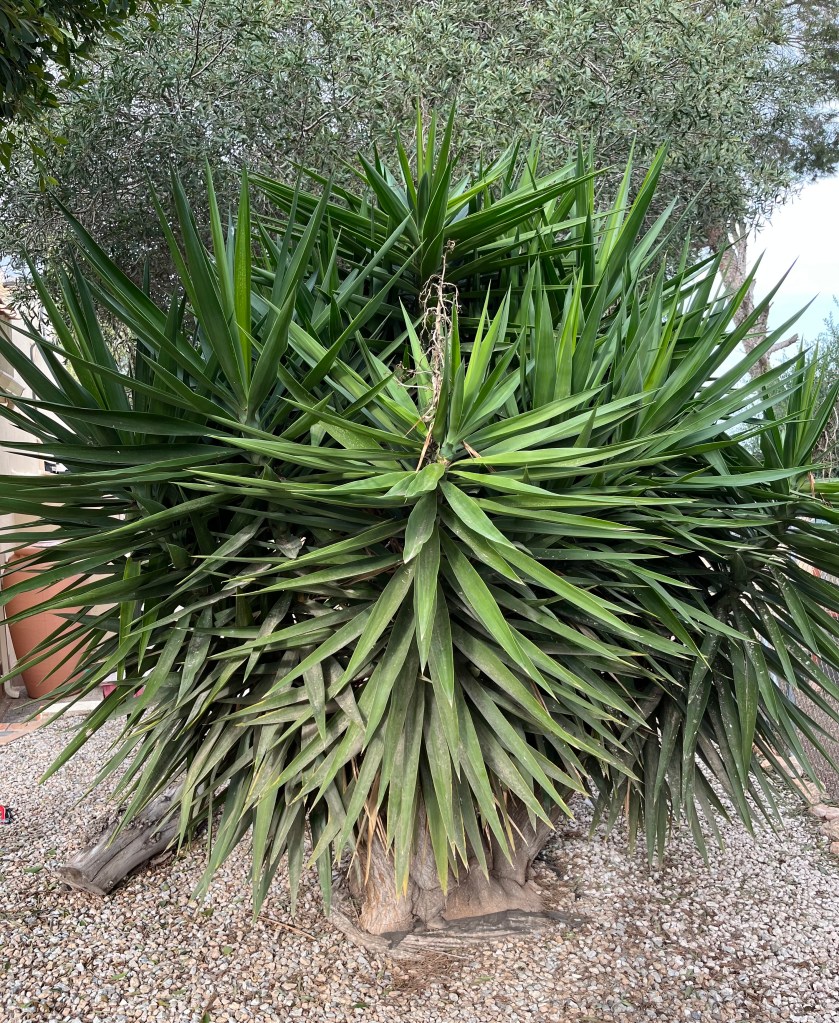
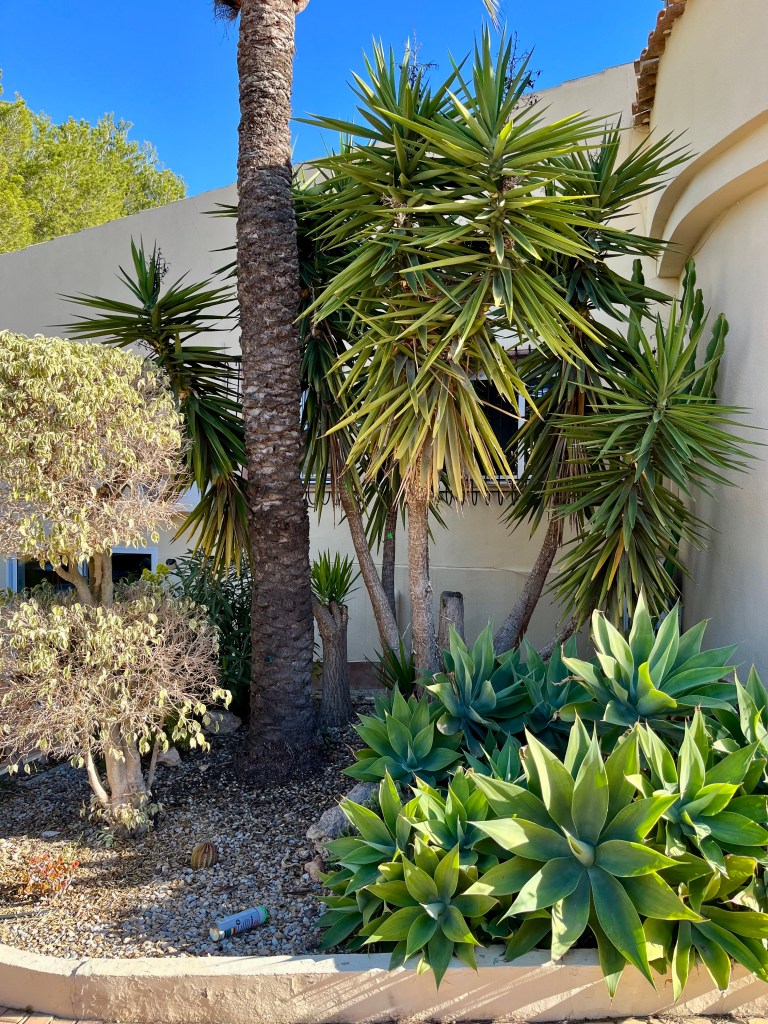
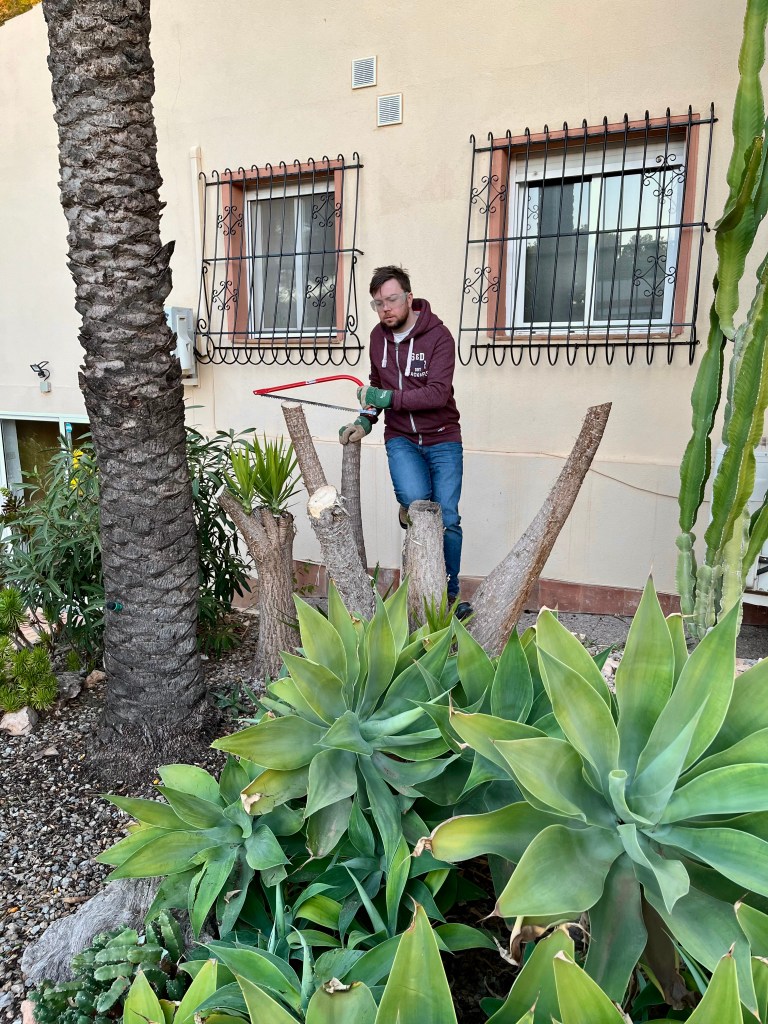
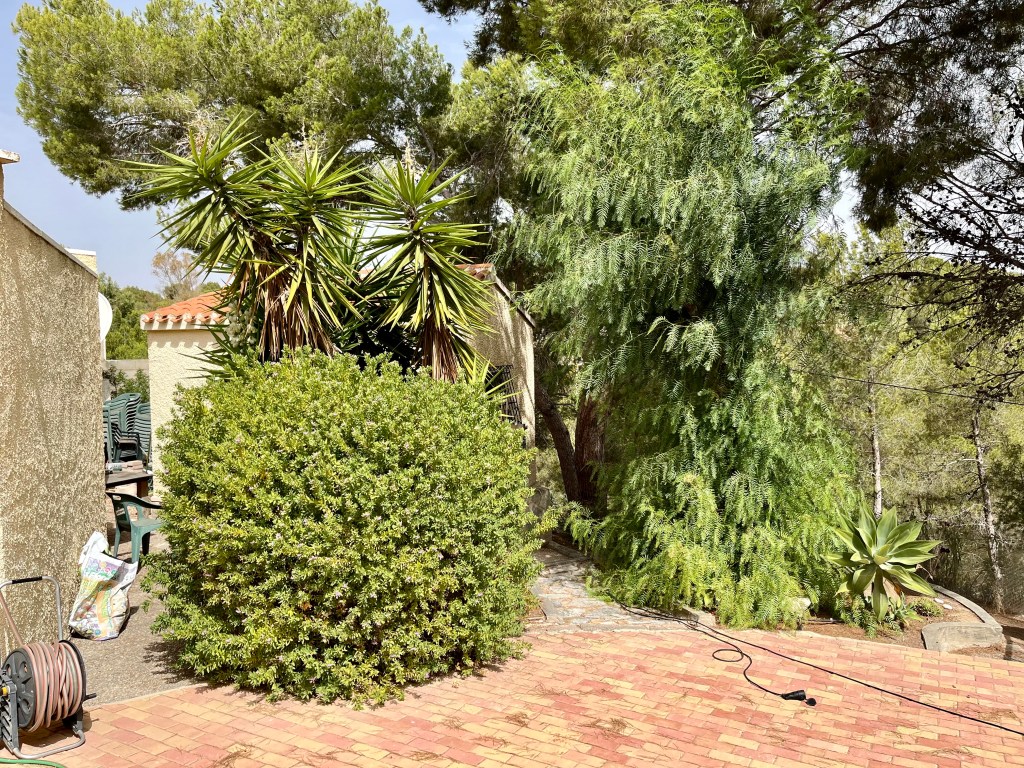
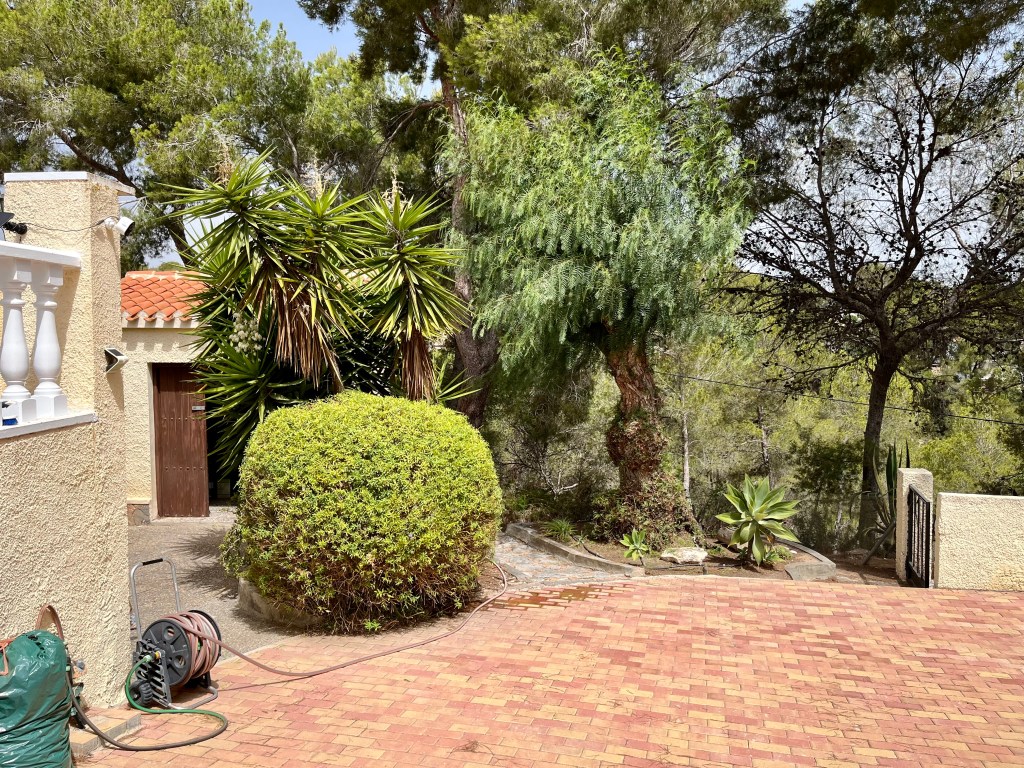
Reshaping Yucca. You may remember in my last post I talked about the need to bring Yuccas under control and cut back to a size where you can appreciate the flower spikes. I have now taken a month or so to look at my yucca and decide where I want to cut. So aided by the idiot son I set out to resize all my yucca.
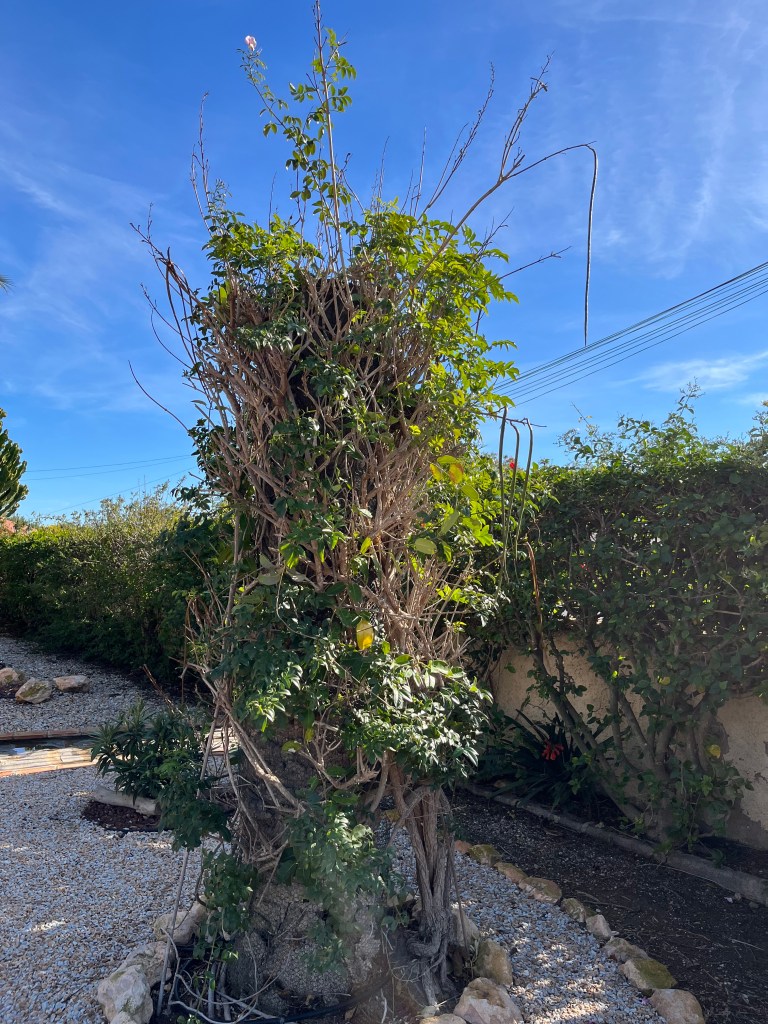
Yucca are a cane and not a tree as they are sometimes mistakenly called. In effect this means that you can cut the trunk back to almost any point, and the plant will regrow from there. You can use either a chainsaw, or more flexibly, a bow saw. Most plants will cut relatively easily, but you must wear eye protection and gloves or you will get a nasty spiking. In addition large yuccas will be very heavy, and just because they look light and spindly in the air, they are extremely heavy and will cause you serious damage if they fall on you. The photos below show my yuccas before their prune. Click on each photo for a larger view.
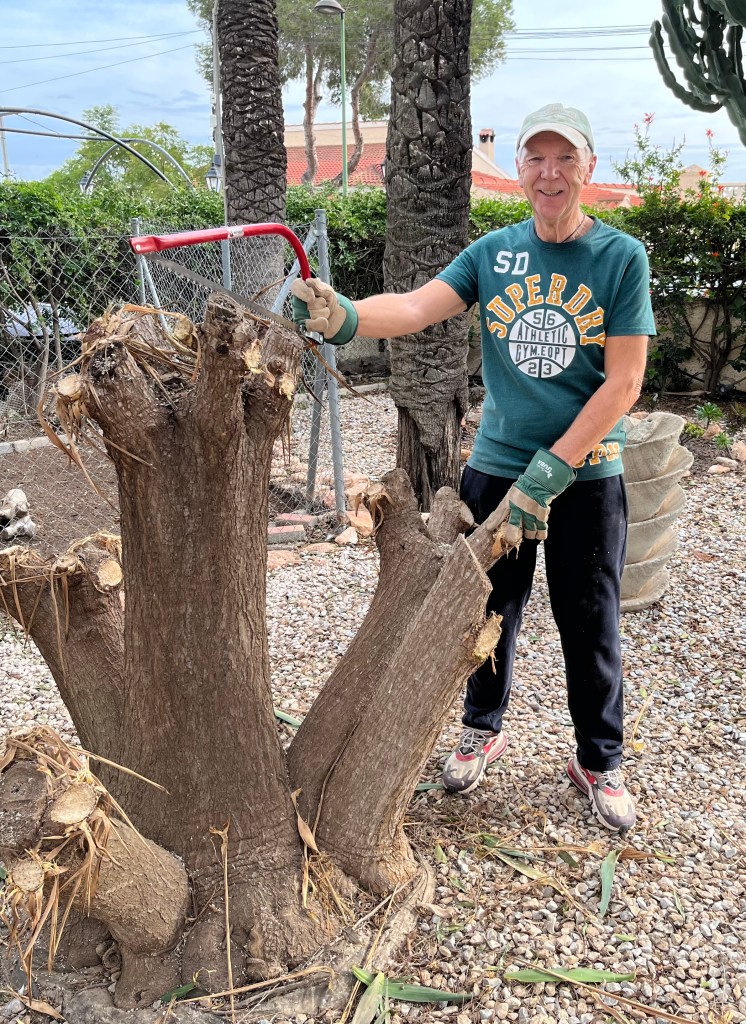
The photos below show the pruned yucca in the same order as above with the addition of the head gardener and idiot assistant.

Bringing climbing plants back into shape. Most climbing plants will climb for two basic reasons:
1. To escape competition at ground level from other plants.
2. To out compete other plants for sun by throwing out flowering side shoots.
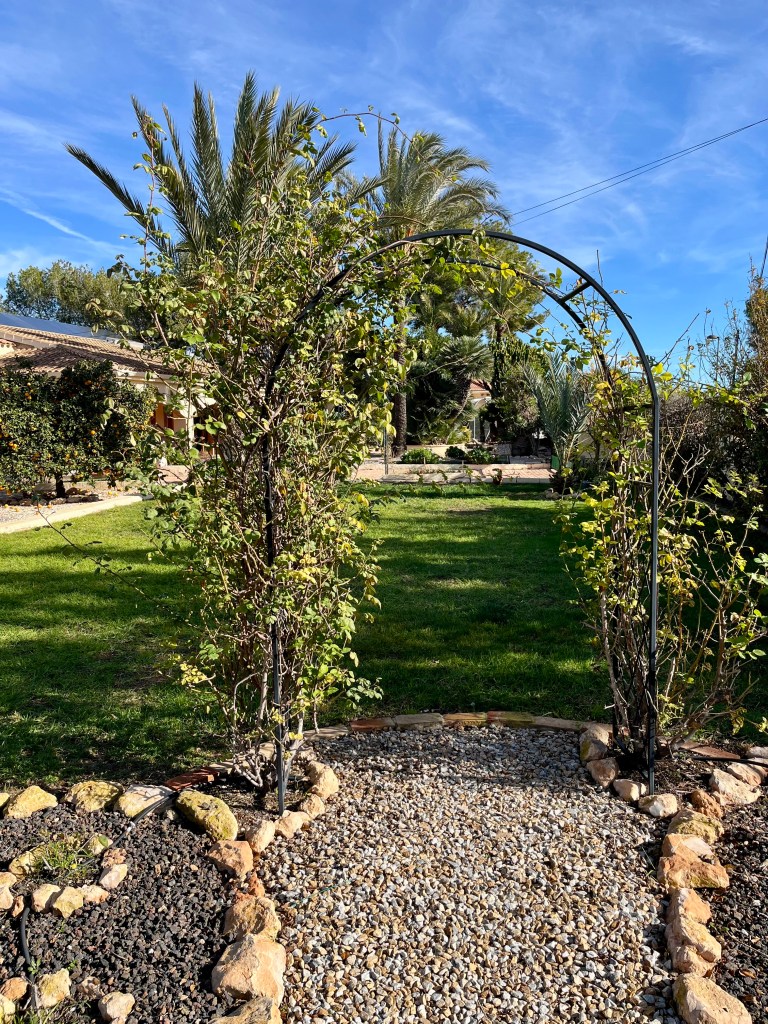
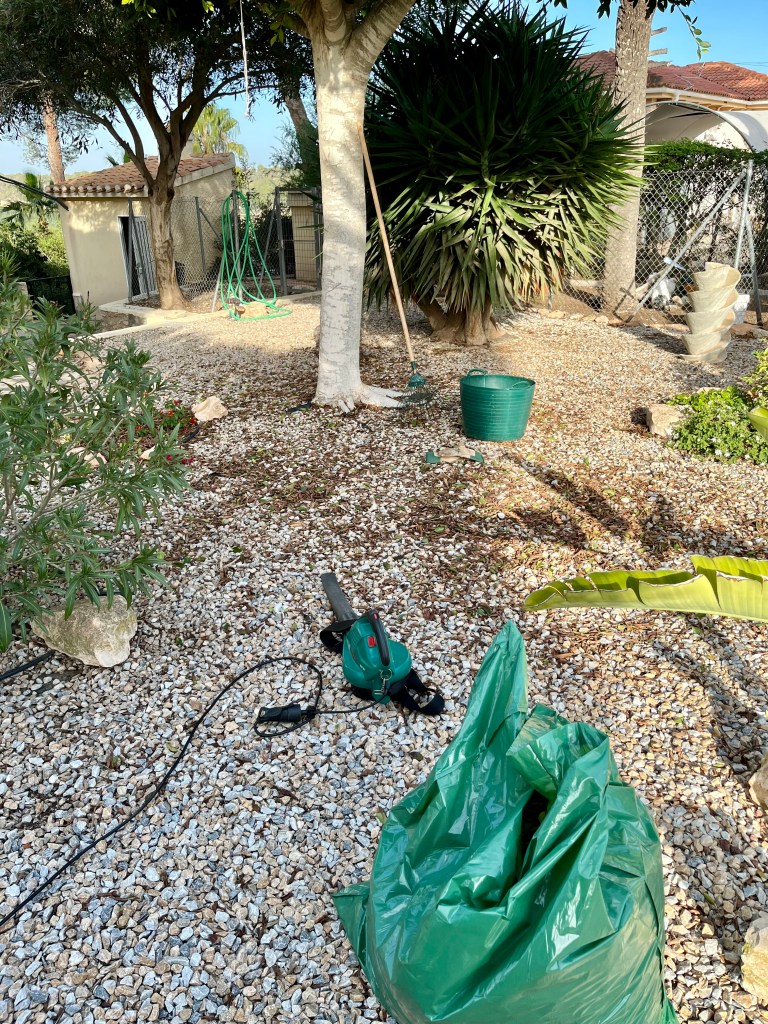
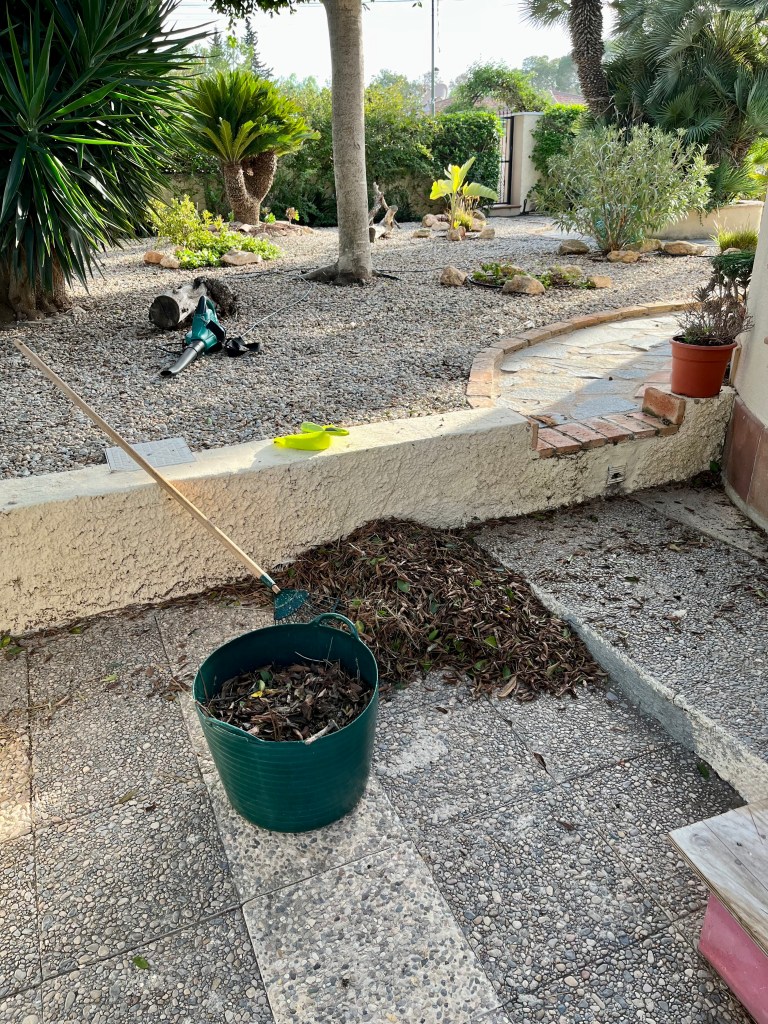
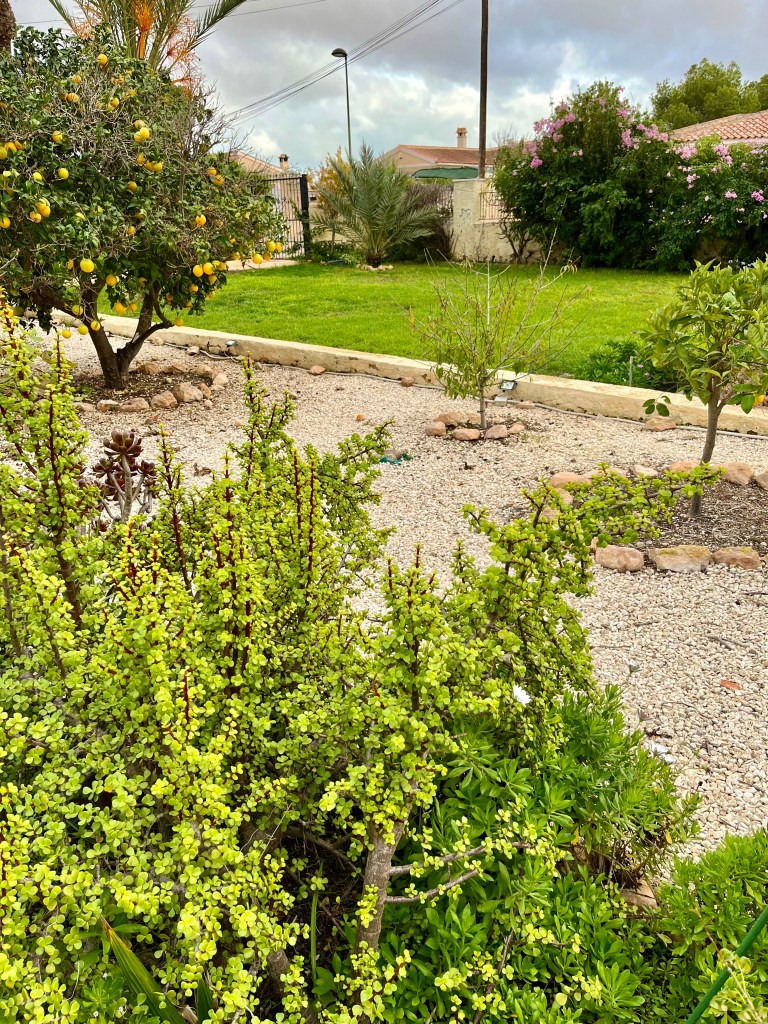
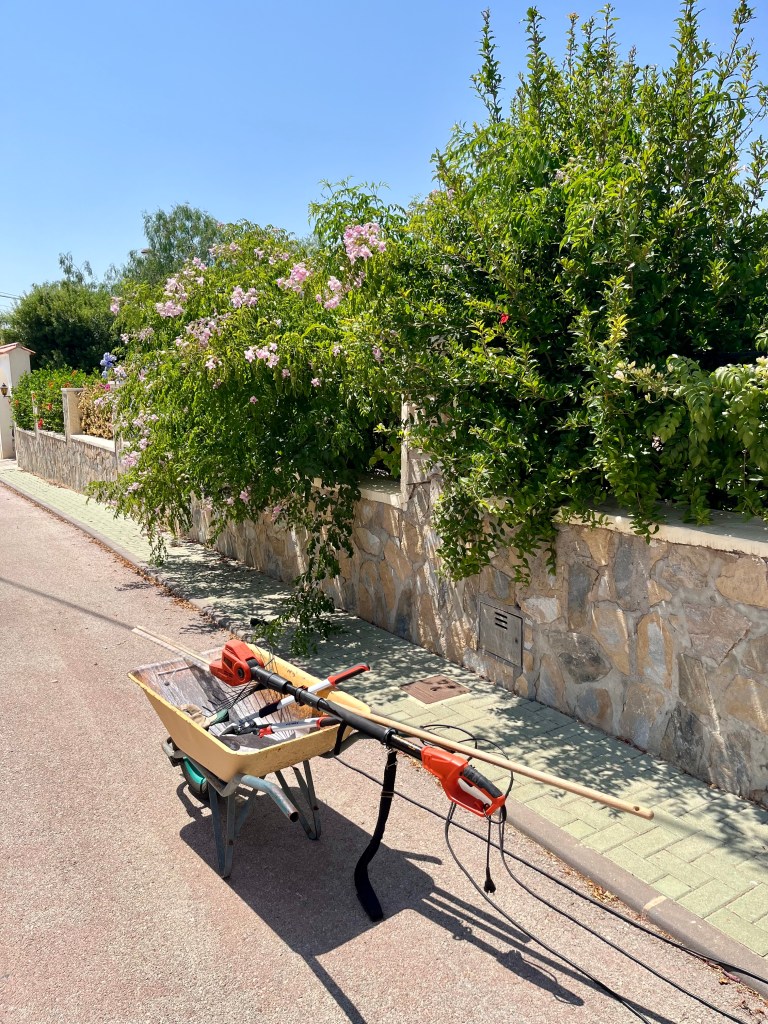
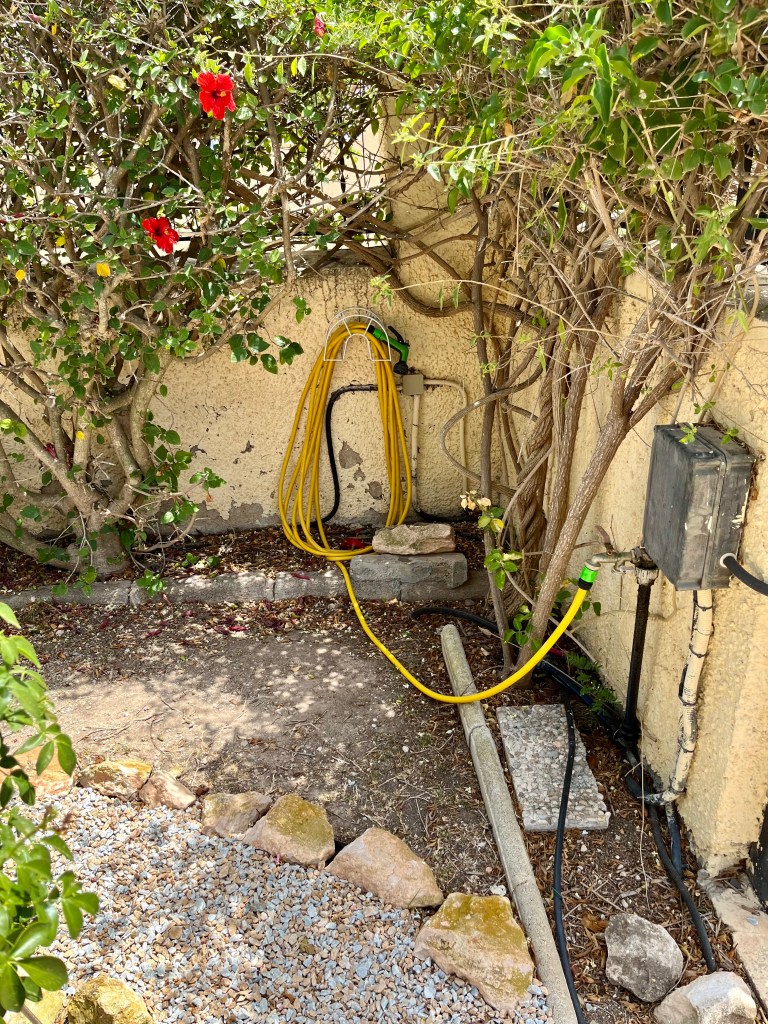
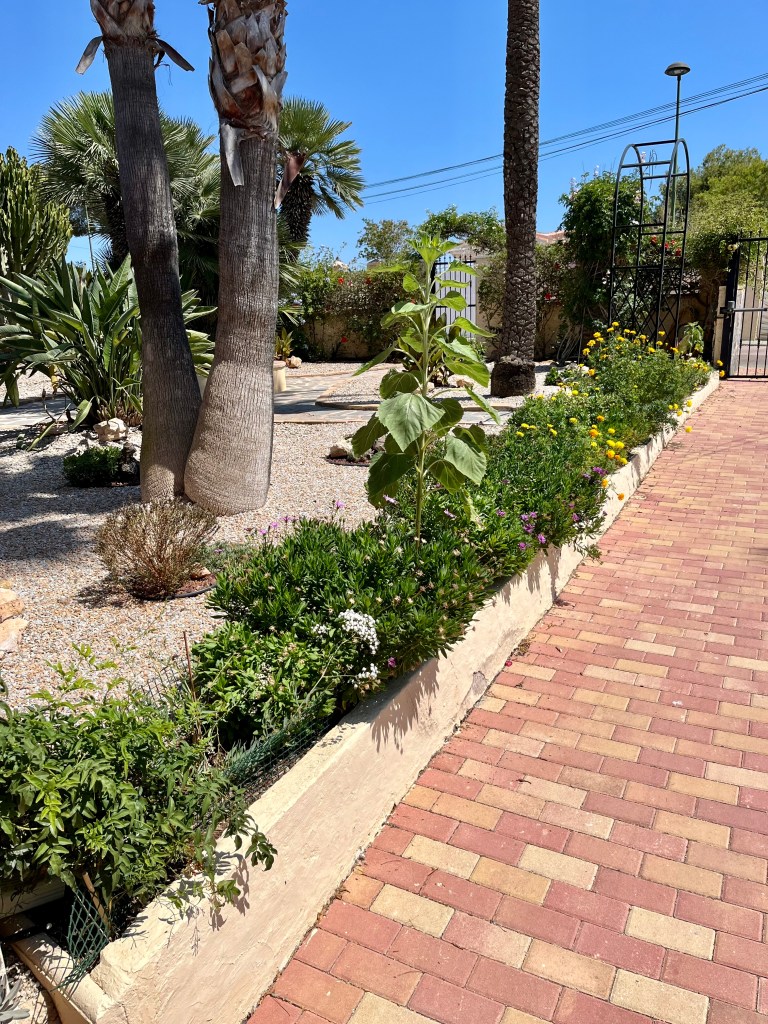
Because of this growing habit most climbing plants will require pruning at the end of every summer. Failure to do this will result in the plant becoming congested and normally flopping over itself and thereby killing off the growth underneath. The simplest and easiest way to prune most climbers is just take a hedge trimmer or shears and skim up the face up the plant shearing off last summers extended side shoots. This will keep your plants tidy and ready for next summer. The photos below show examples of climbers I have started to cutback. Click on each photo for a larger view.
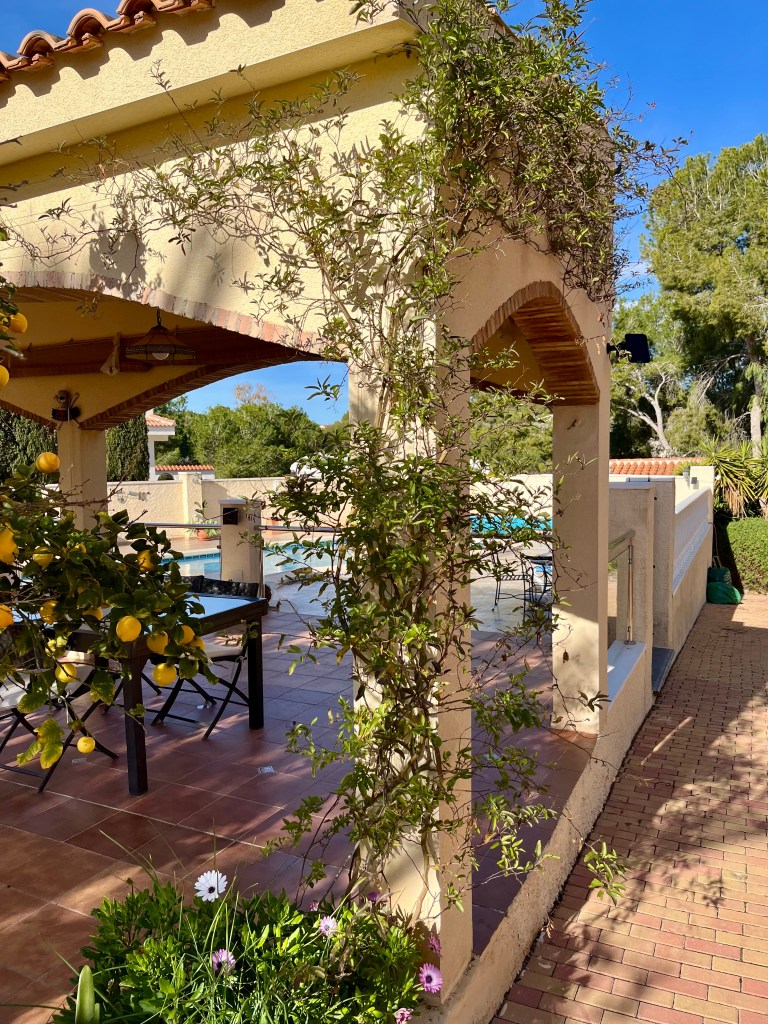

The photos below show an old palm tree trunk with various climbers growing up it. This includes: Trumpet Vine, Jasmine, Stephanotis and Bower Vine. I just run the hedge trimmers over it to tidy it up and it is ready for another year. The photos below show you before and after.

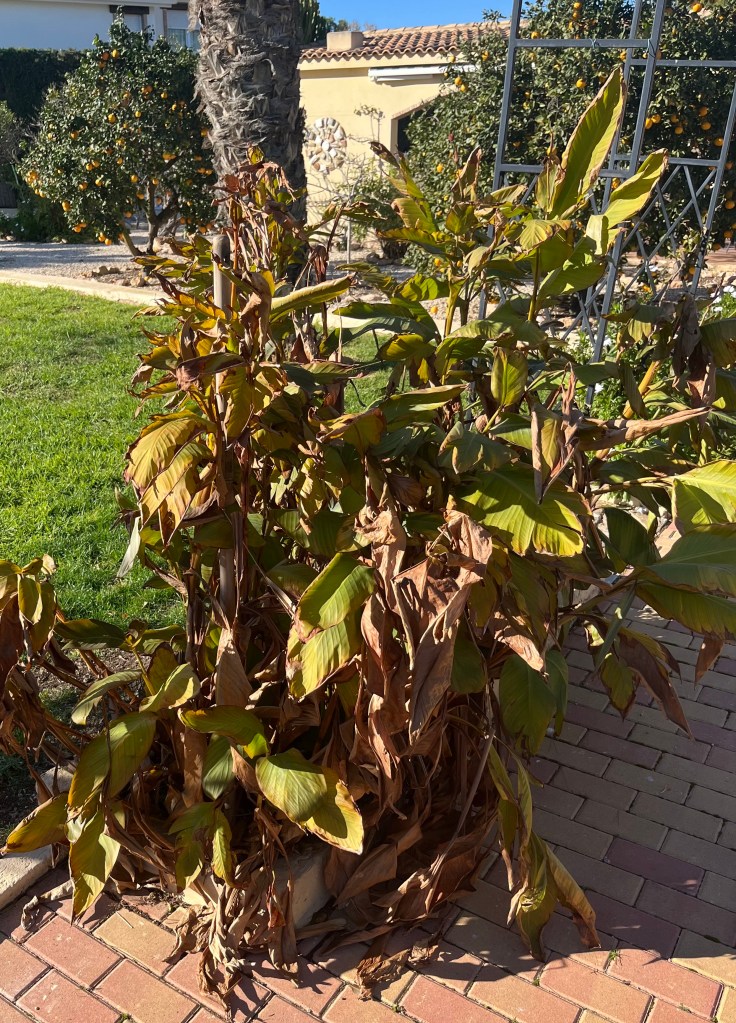
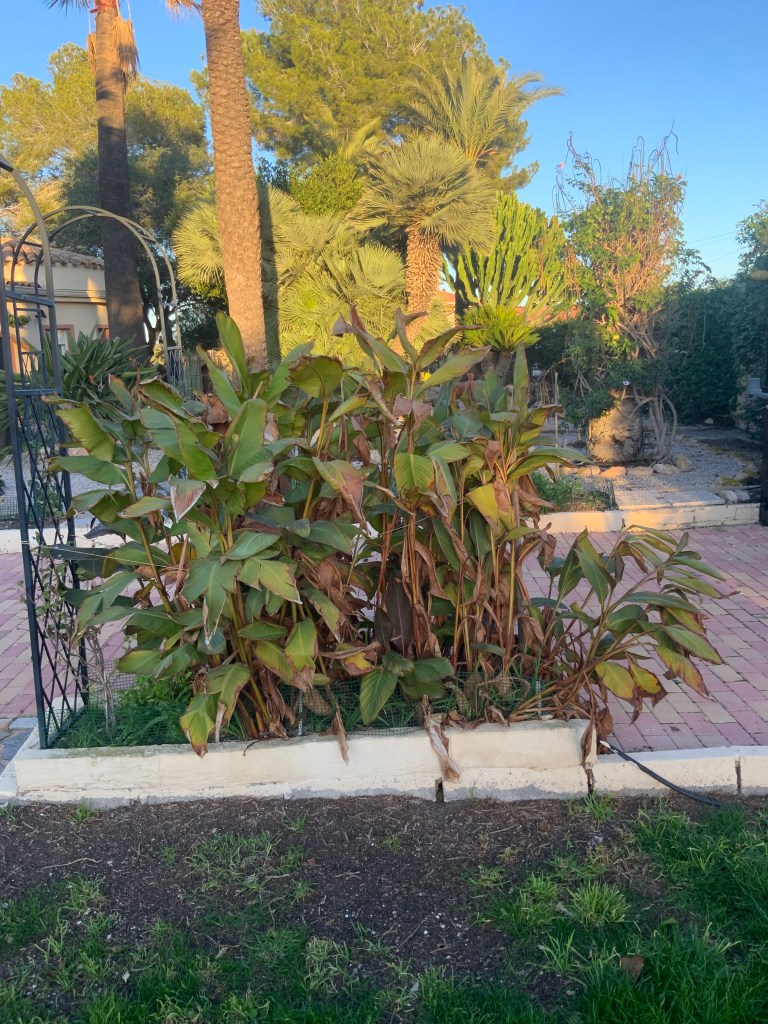
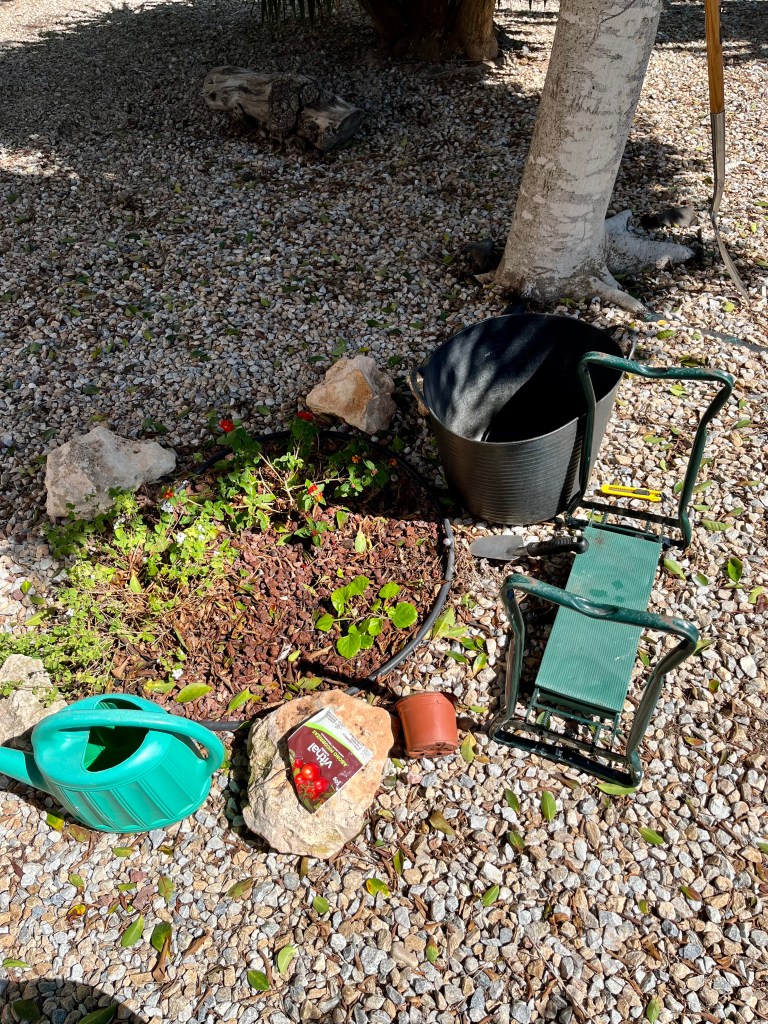
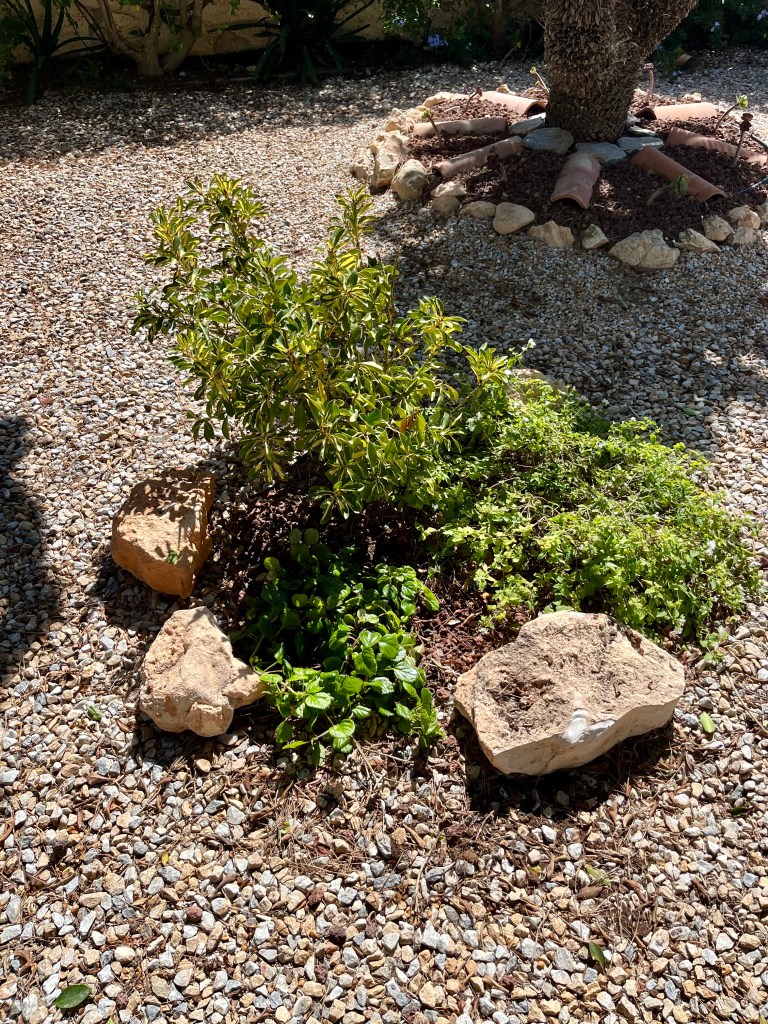
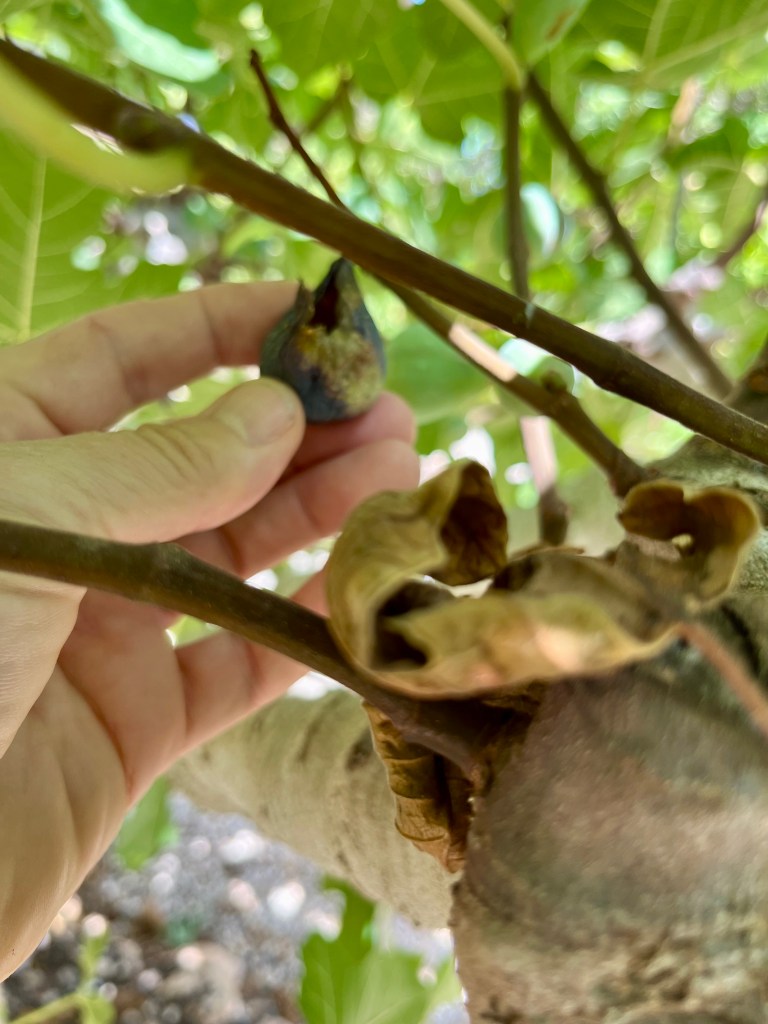
Cutting back Canna. Normally Canna are beautiful showy plants with exotic foliage and stunning flower spikes. However, this year has been a bit of a disaster. Because of a lack of early rain the rhizomes did not swell enough and most plants were half size.
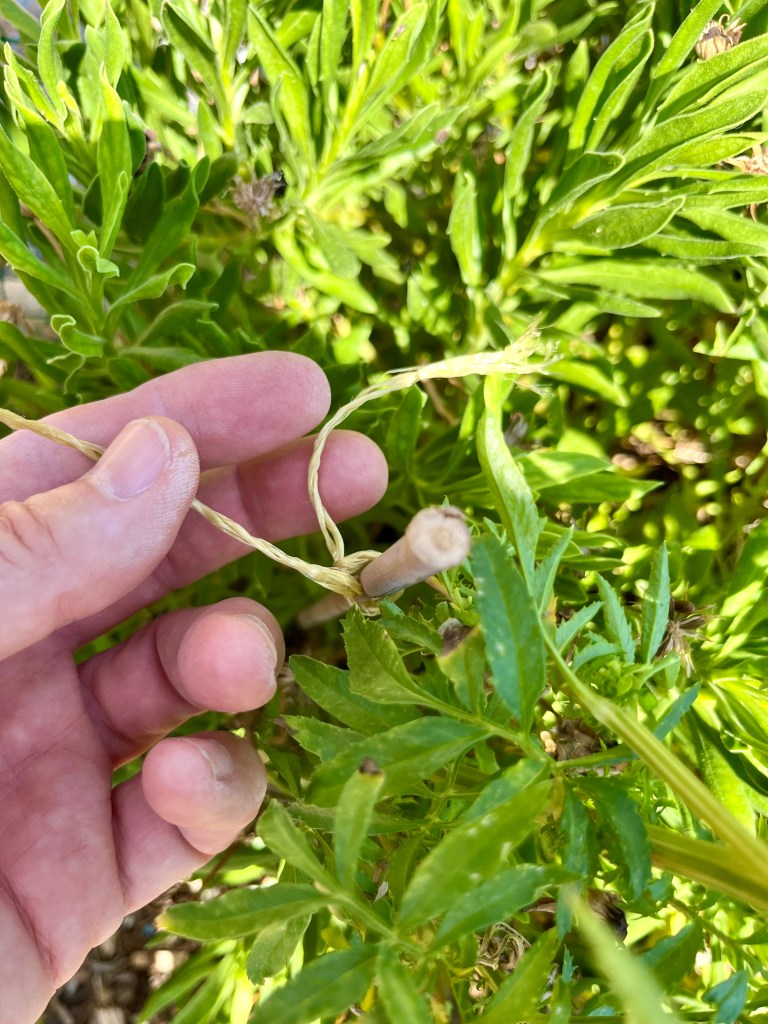
I have left my plants to die right back before cutting them down to just about 3 or 4 inches from the ground. By cutting back to this level you are telling the plant that there is no point trying to regrow this year and it might as well wait till the spring. Also, by leaving a small stalk you will stop rain water seeping into the rhizome and rotting it. The photos below show some of my disappointing cannas, followed by the correct level of stalk to leave. Click on each photo for a larger view.


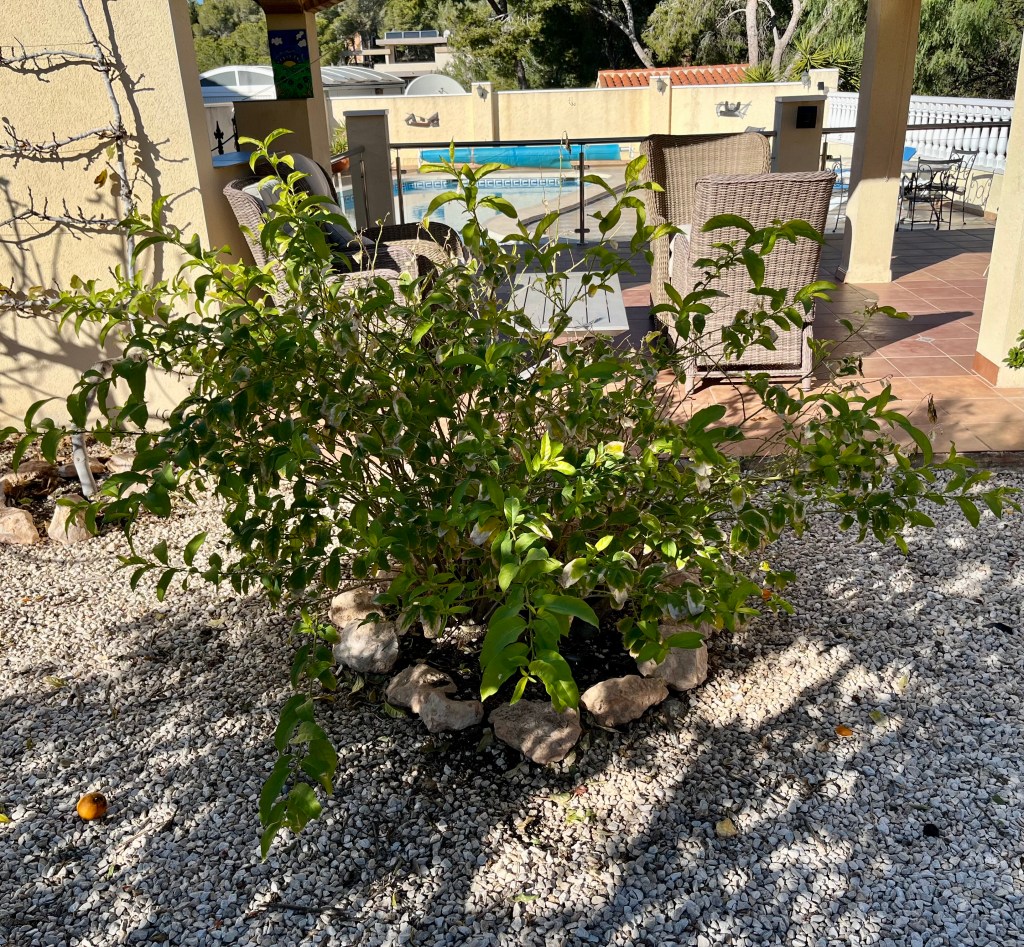
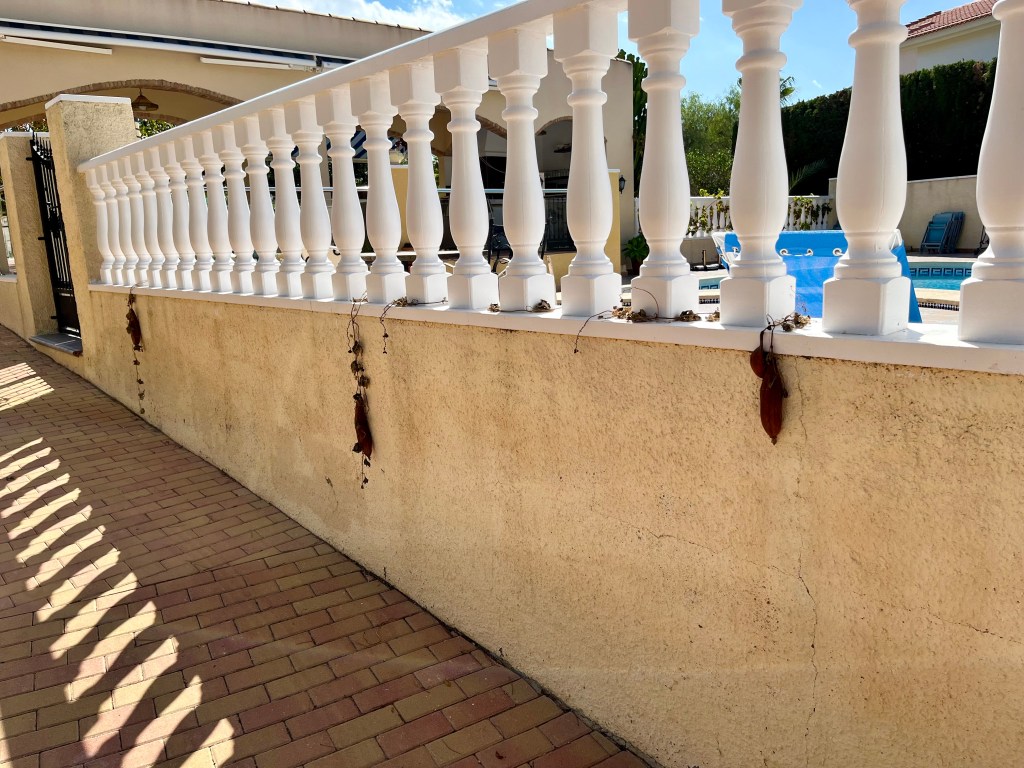
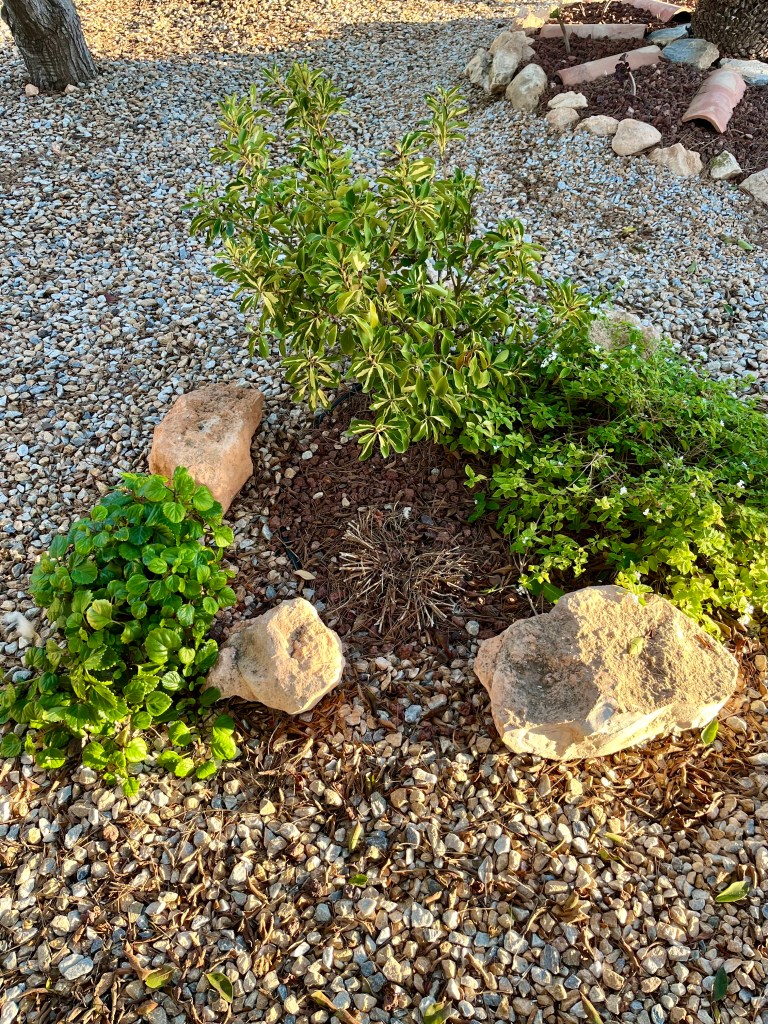
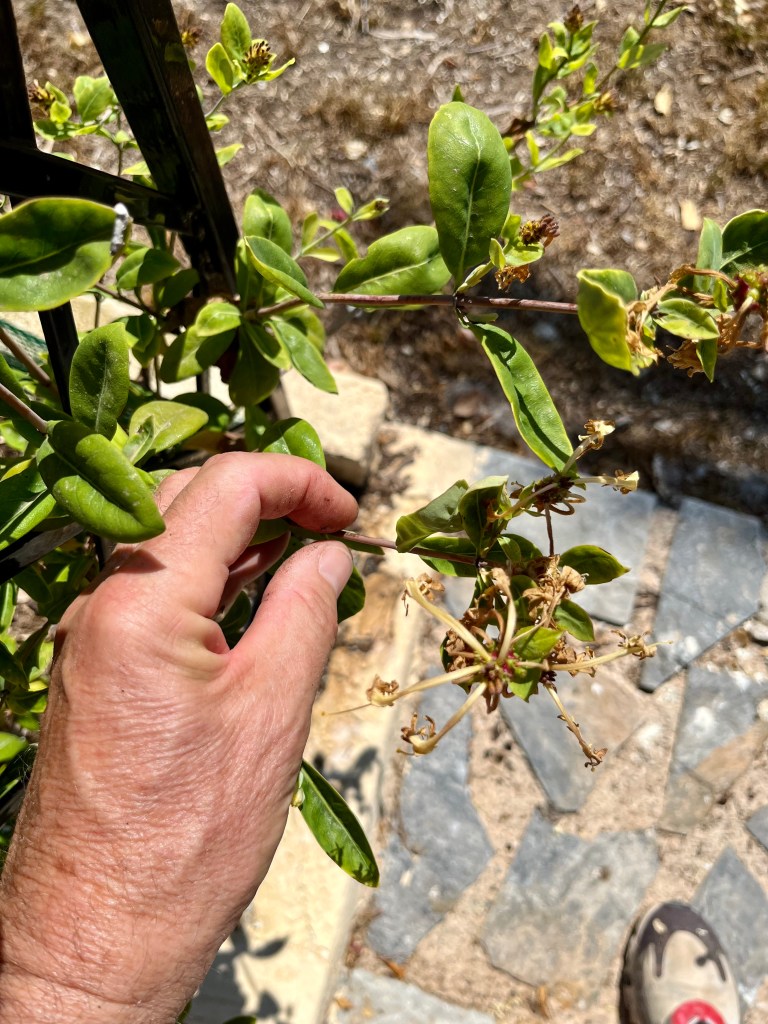
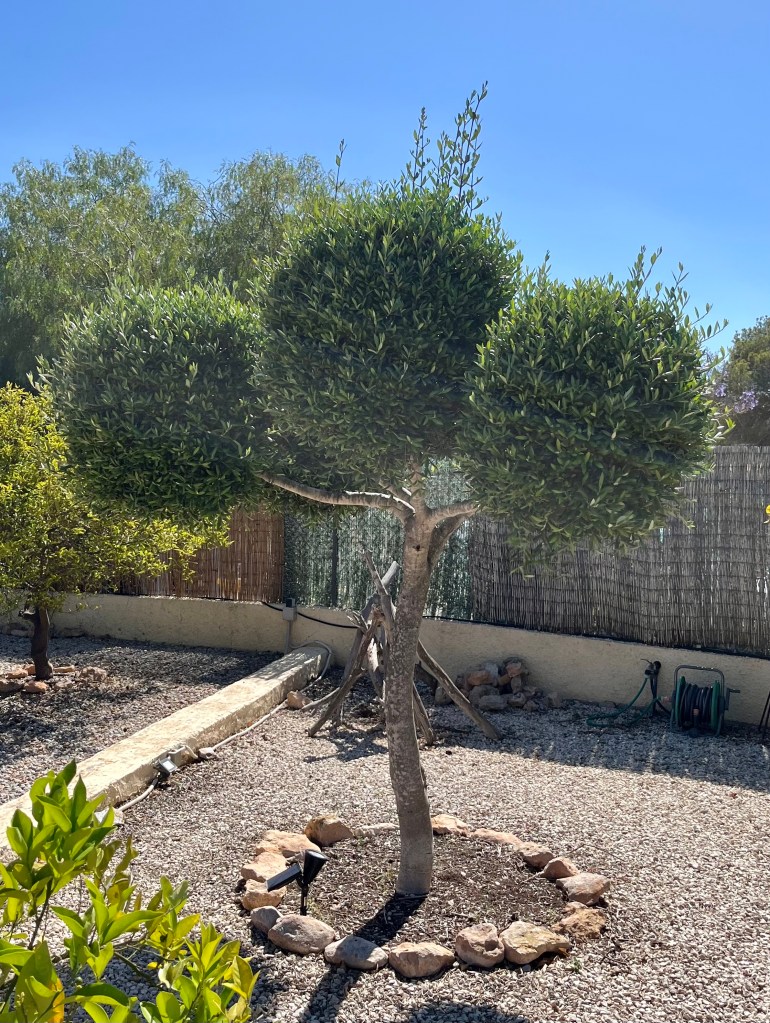
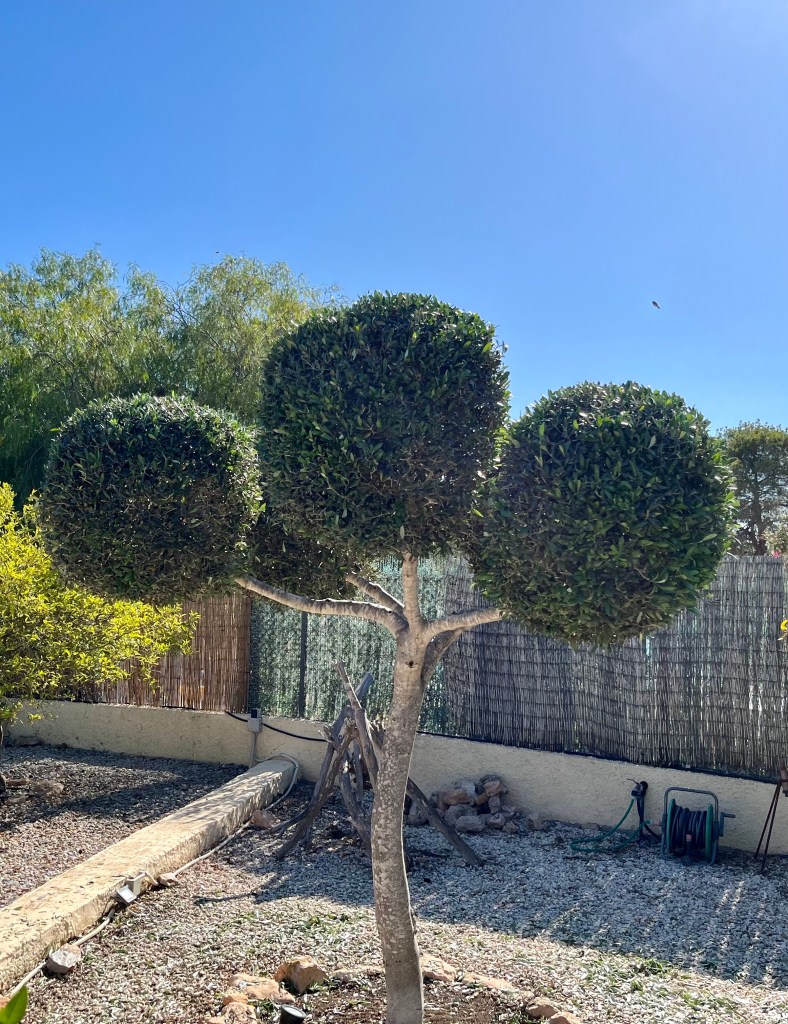
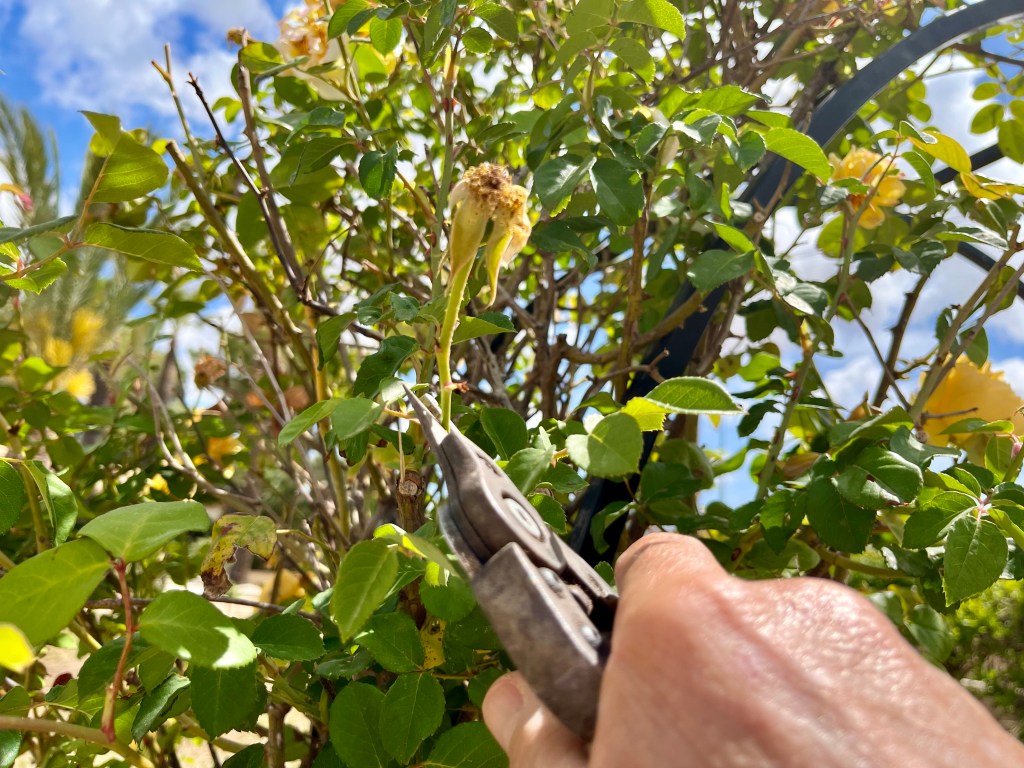
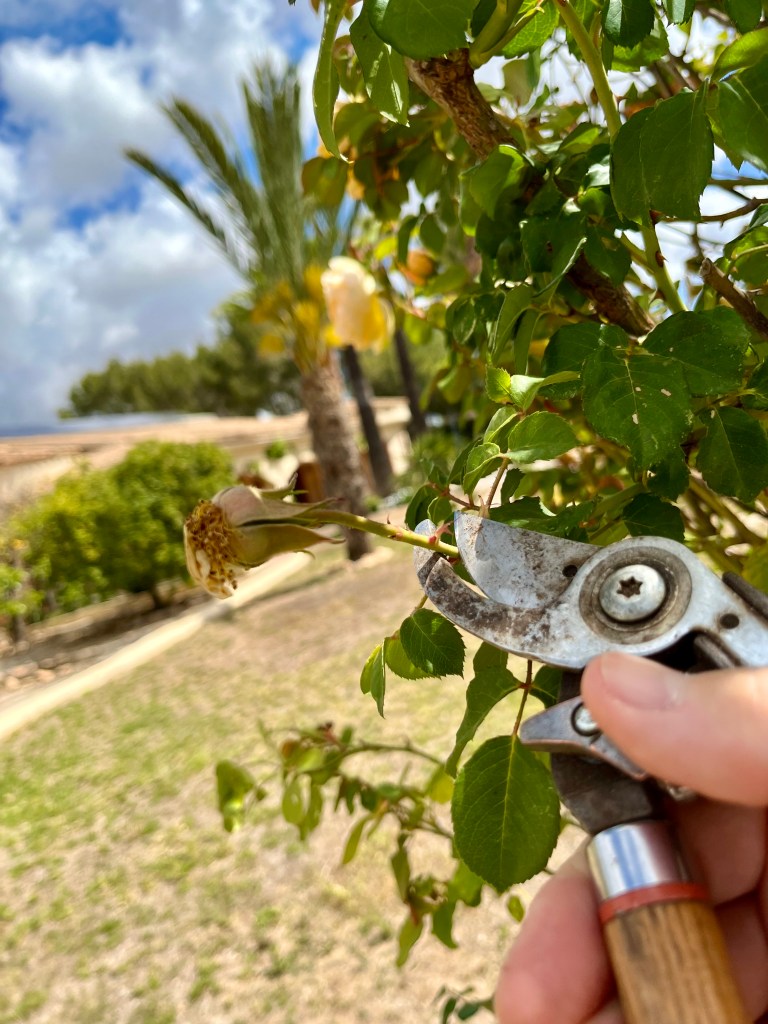
Pruning Dame de Noche. Now is the time to give your Dame de Noche their big winter cutback. If your plant is more than three years old then you can drastically cut back if you wish. Last year was not a great year for my plant so instead of taking it right back to 50cm or so, I am going to leave it a little bigger so that it gets a jump start in the Spring. The simplest way to prune Dame de Noche is by running hedge trimmers over them and shaping them into a mound. The photos below show my plant before and after its trim. Click on each photo for a larger view.

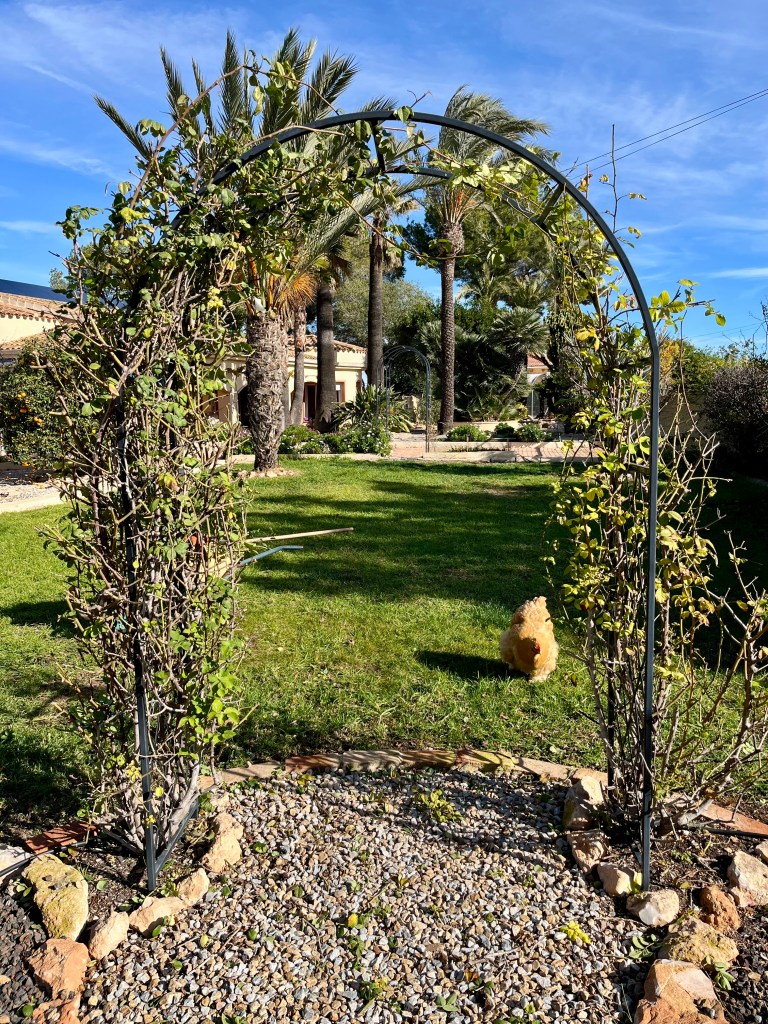
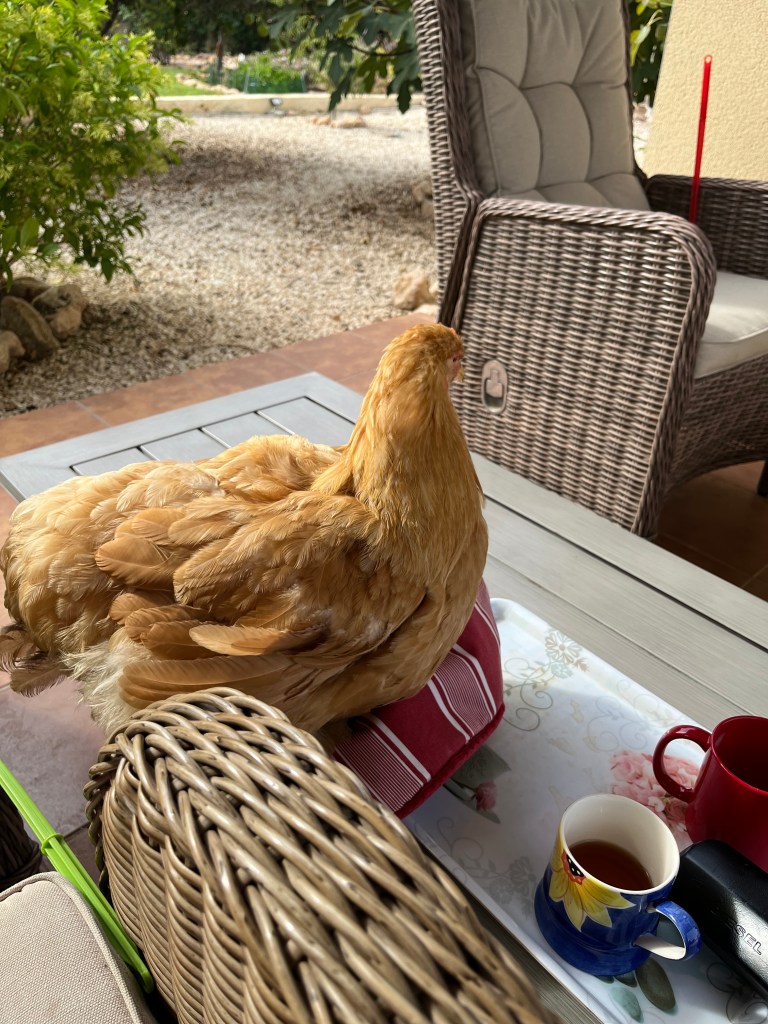
Dealing with the Chicken Prince. The idiot son duly arrived for Christmas and Cruella (my wife) immediately went into a frenzy of mothering. In many ways this suited me as I could start the big winter cutback without interruption. But it only lasted a day or two before she confronted me with a wide eyed manic look declaring “he is the one”, I knew the answer, but I had to ask who? “It’s him”she declared our son is the Chicken Prince.
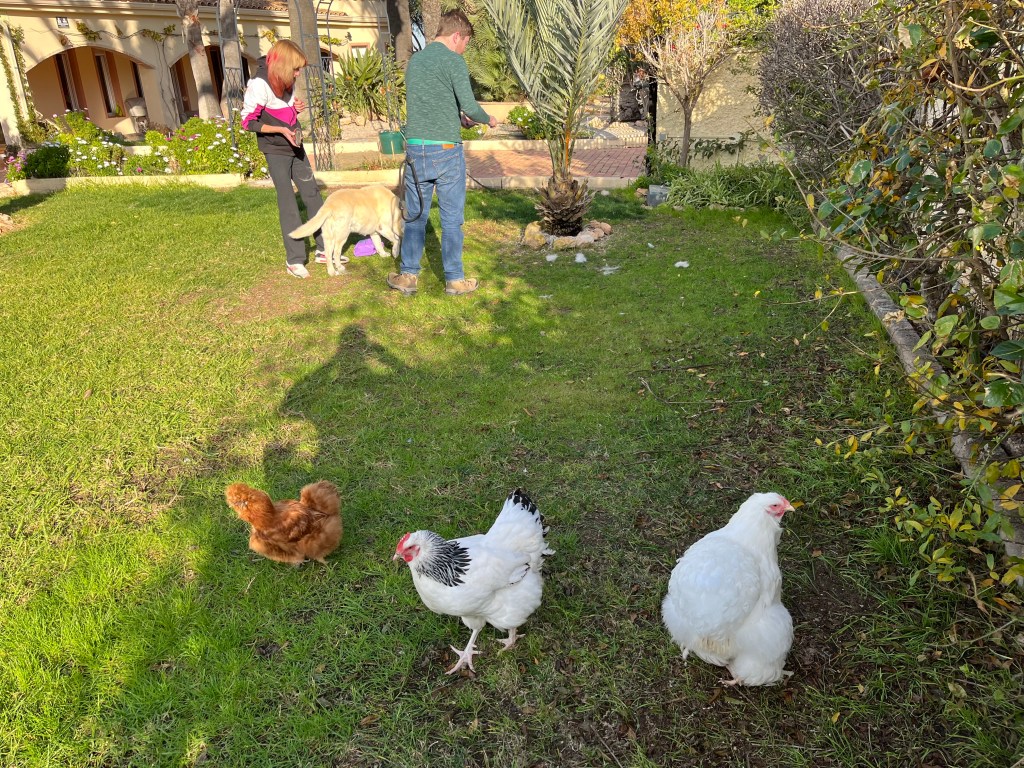
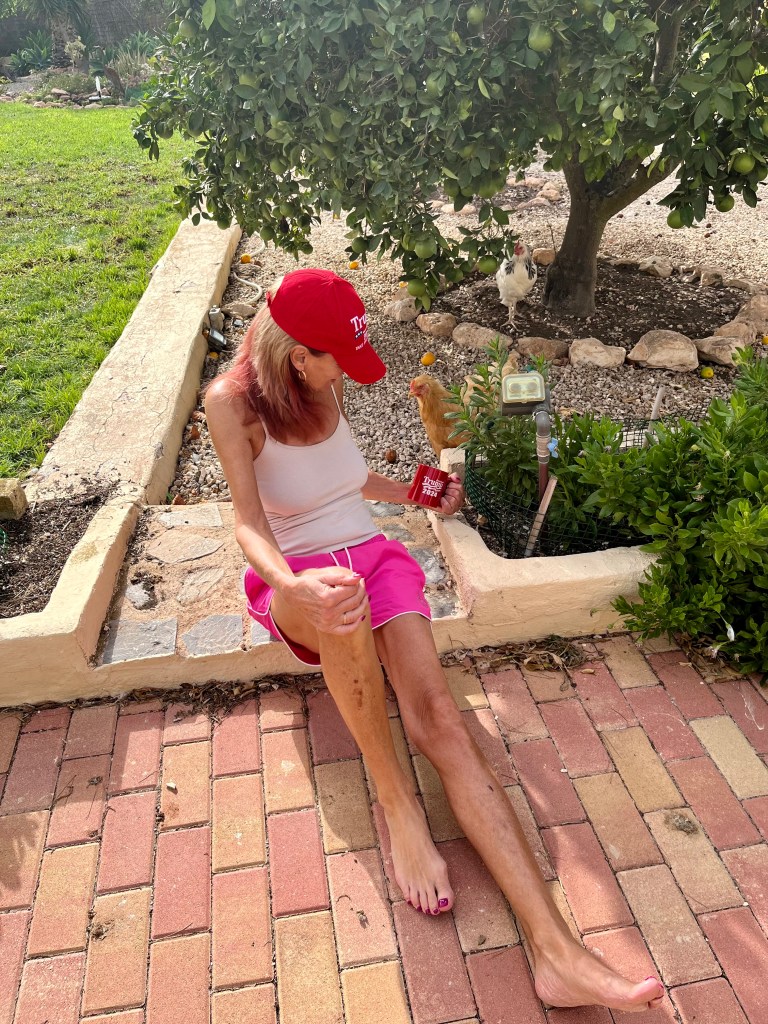
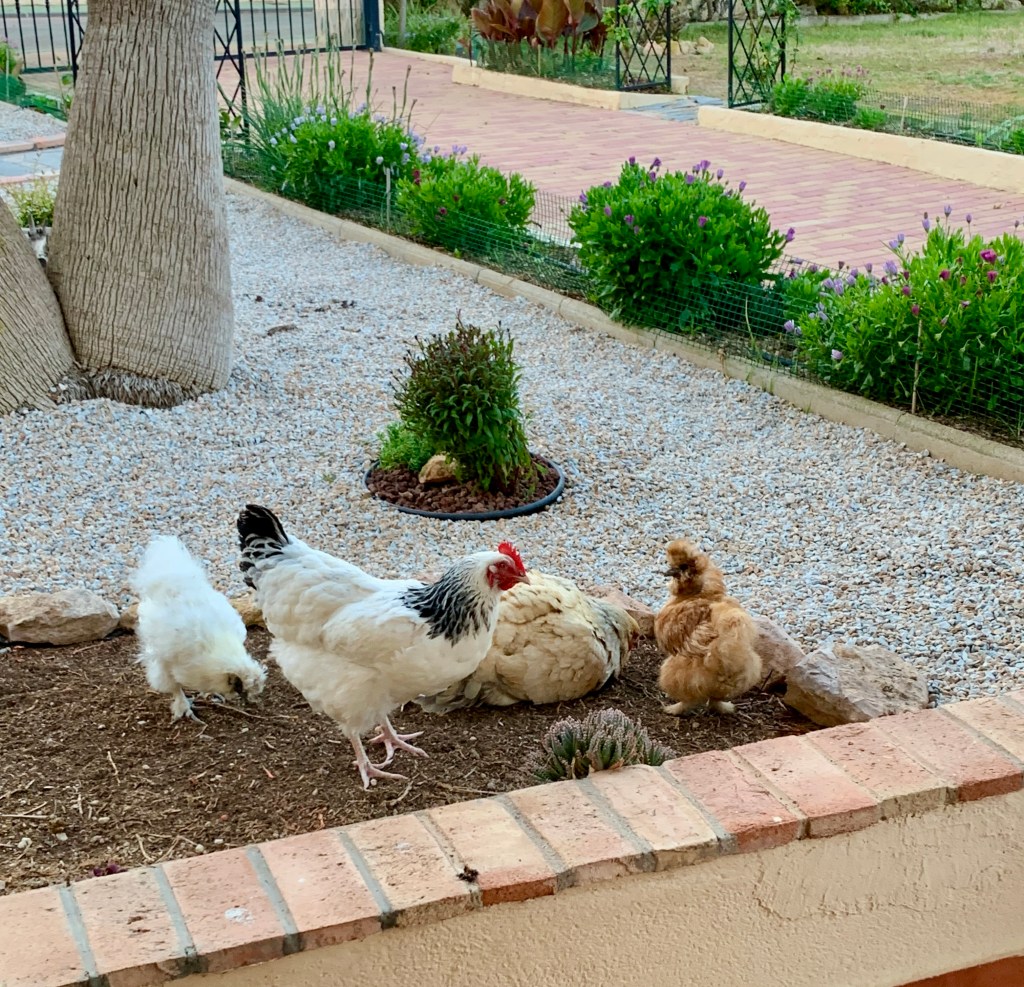
Anyway it turned out that she had decided that the idiot was a natural with chickens and therefore was now her rightful heir to the chickens. She hoped I wouldn’t be too upset at being usurped, but to be honest I didn’t know what she was on about. She then proceeded to regale me with tales of his expert chicken handling; as seen in the photos below. Click on each photo for a larger view.
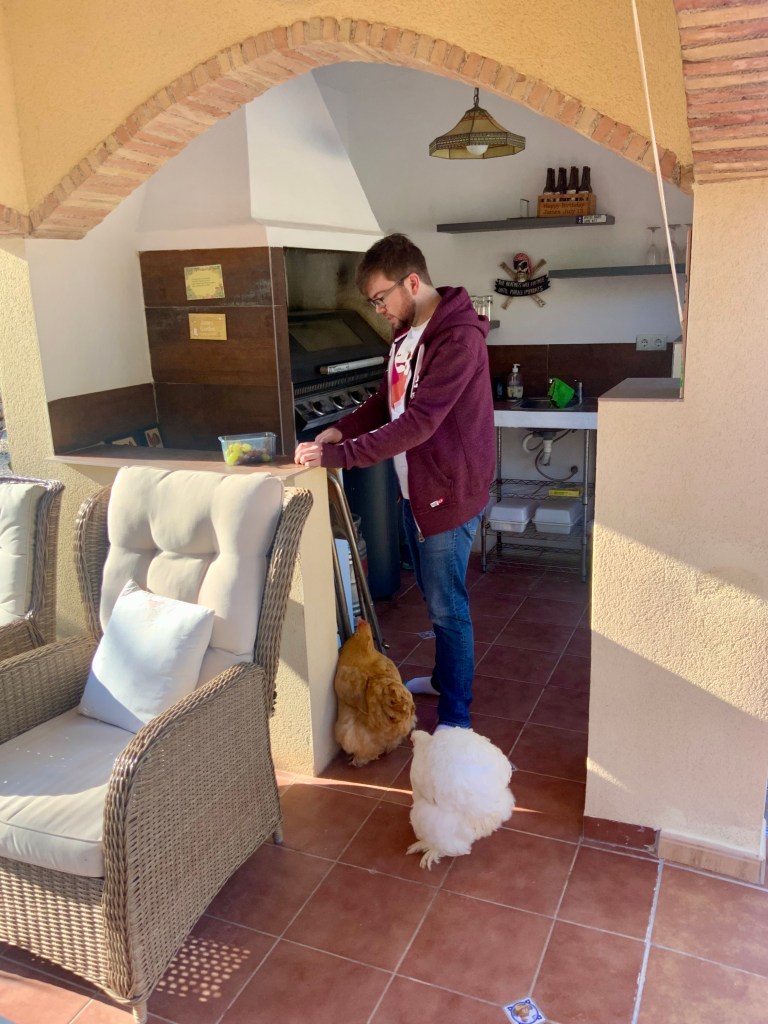


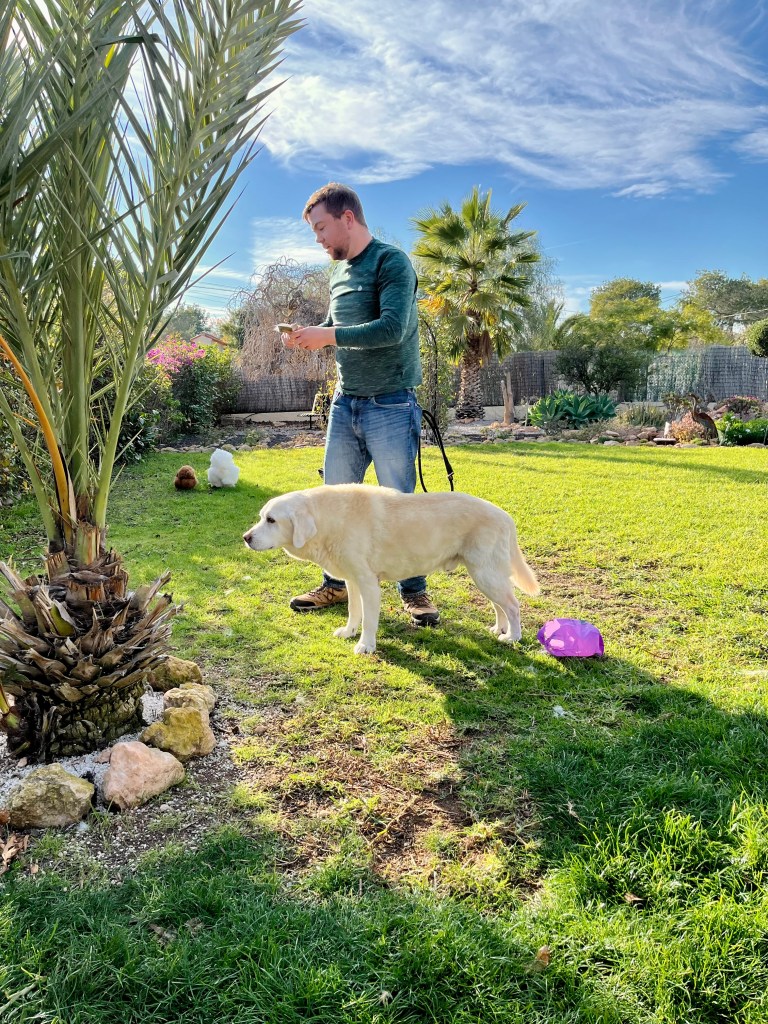
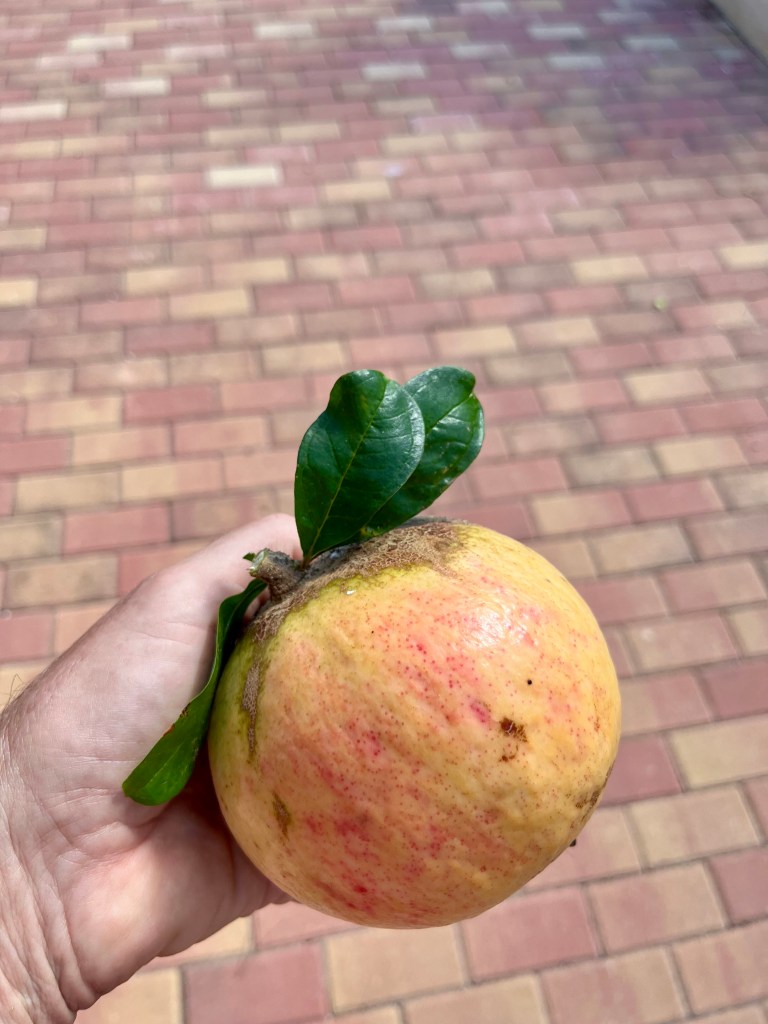
I explained if he fed me bloody grapes every day (see first photo) then I would sit on his knee. She ignored my protestations at the price of grapes and informed me he was now on an advanced course of Chickenese and grooming. As far as I know this involves lessons every day where they sit in a circle on the lawn and chat away in Chickenese. I think he is still at an early stage but it sounds a bit like this:
“Cluck!” “Cluck-cluck!” “Ba-kawk!” “Squawk!” “Brrr-cluck!”“Bawk-bawk!”
I insisted that if the chickens were to be groomed, then Tango the lonely blind Labrador should be involved. After much arguing she agreed. The photos below show them all lined up on the lawn for grooming. I insisted that Tango should be first.
They tried to rush Tango through but I insisted that as he was “special needs” they needed to spend extra time on him. The photos below show Tango being pampered. The sad thing was he gave little squeaks when they brushed him on his many bruises from bumping into things.

They spent twice as long on the chickens as they did on Tango, and to make matters worse they awarded a prize to Helga as the best groomed animal. The photos below show shows the awards ceremony.

Tango and I boycotted the ceremony and sat in the shed. I held a mirror up to him – even though he can’t see -and assured him how lovely he looked, but tears still fell from his little milky eyes. I didn’t tell him he came fifth!


You must be logged in to post a comment.