

Now that is what you call a title, no messing around or euphemisms, you know exactly what you are getting in this blog post. It is the last real post before we begin the big winter cutback, so there is still lots to do. Added to this I have had the problem of Cruella (my wife) preparing the chickens for a Ball. Anyway on with the gardening.
12th December 2024. Things I have been doing lately:
- Gathering seeds
- Composting leaves
- Last minute clean up jobs you need to do
- Planting out cuttings
- Cruella prepares the chickens for a Ball
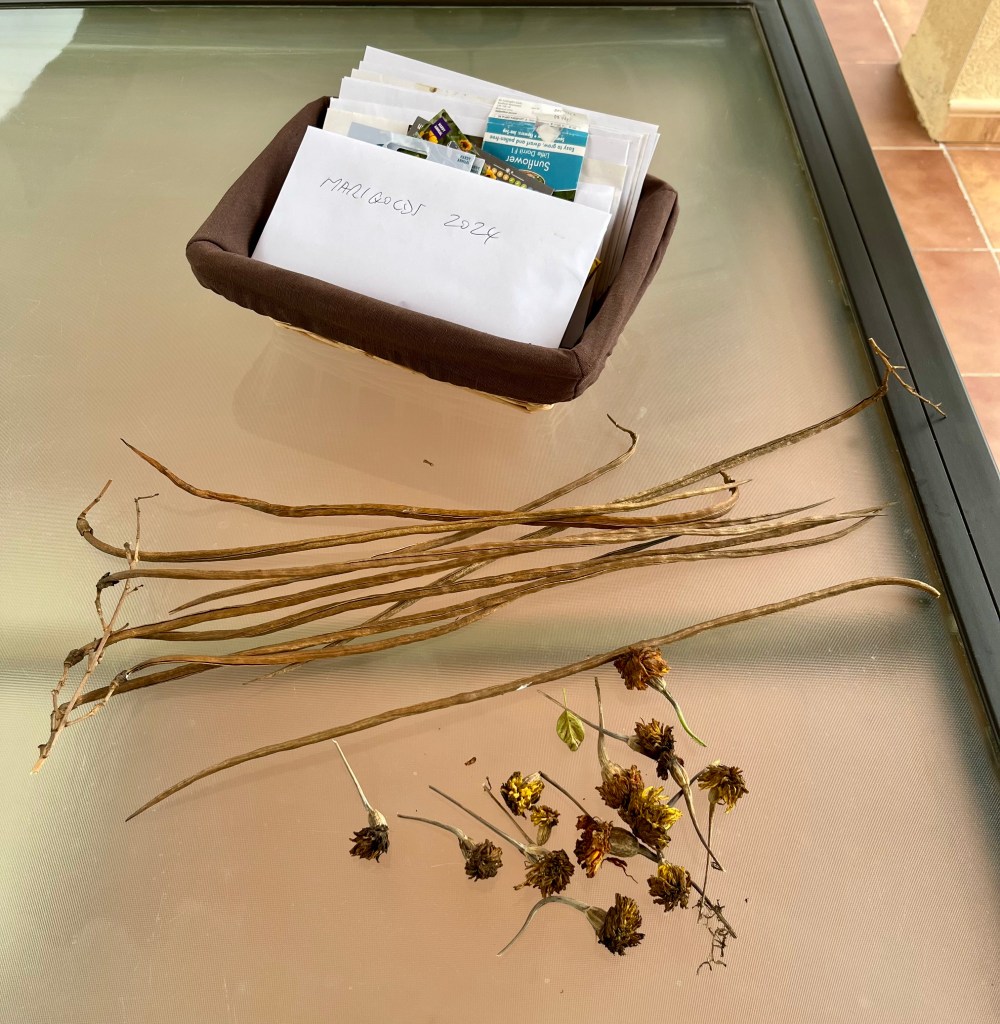
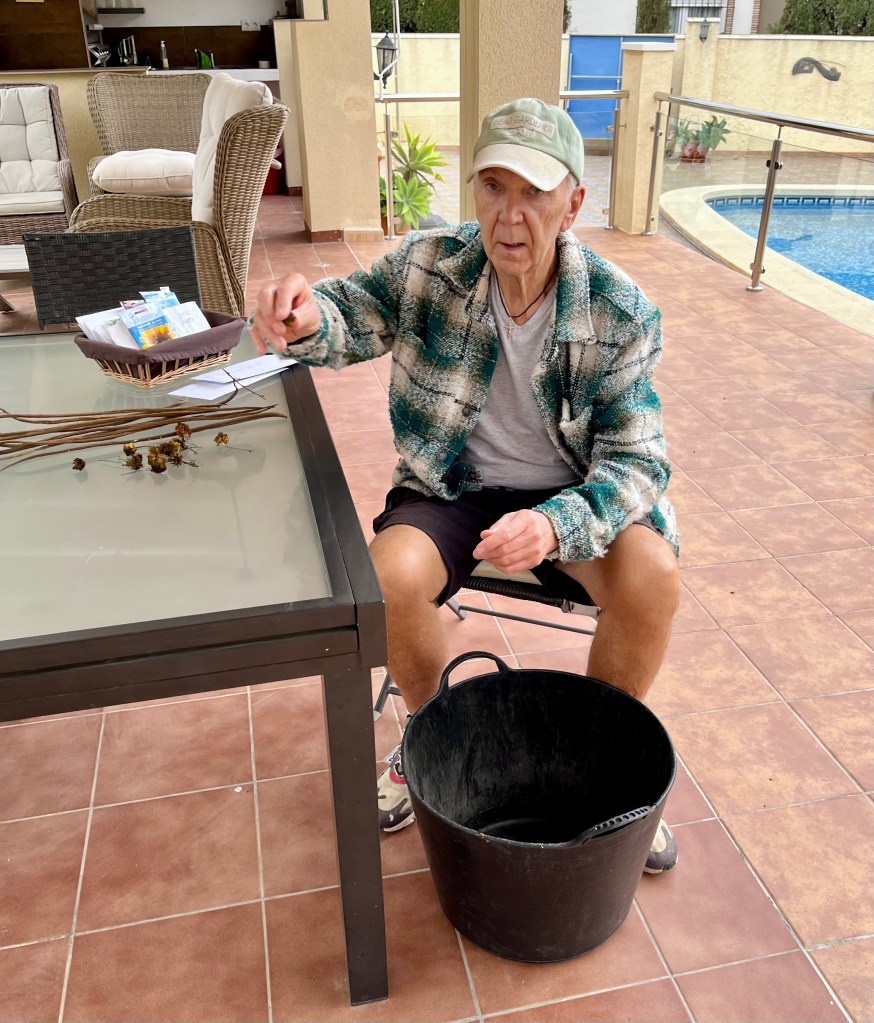
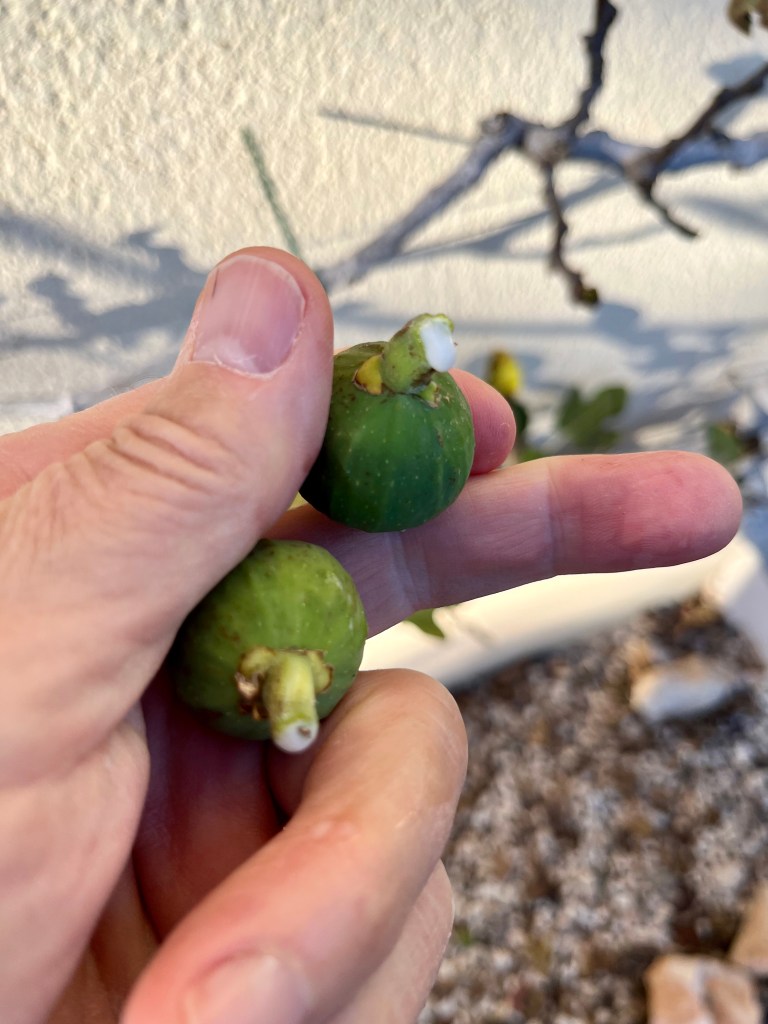
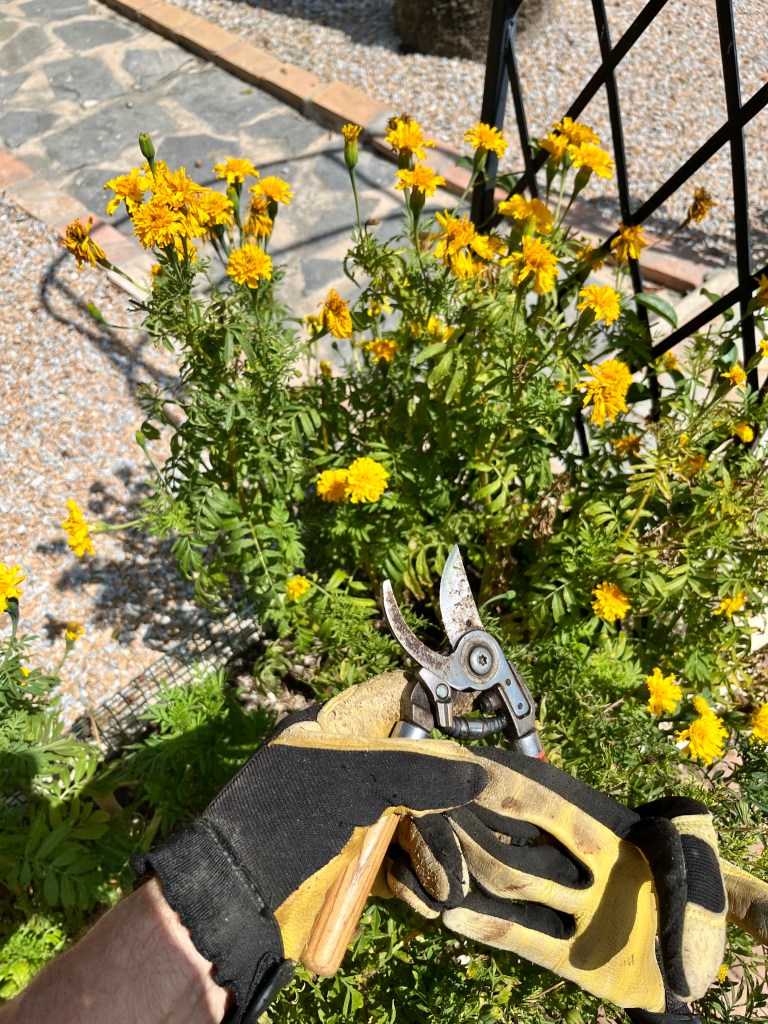
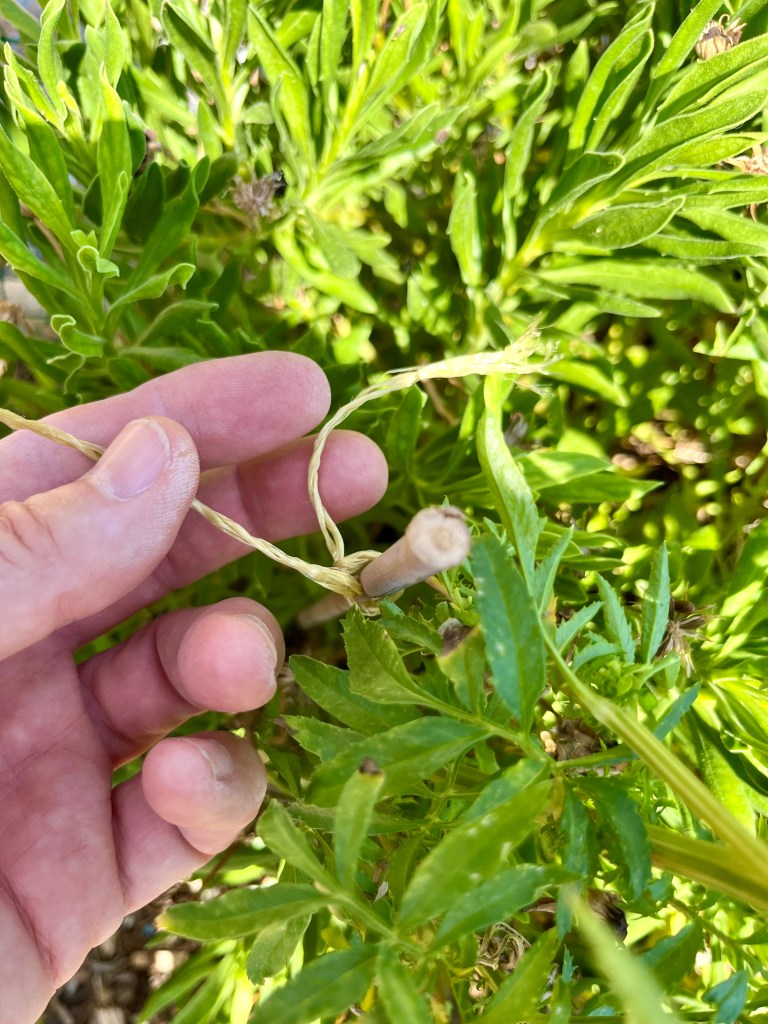
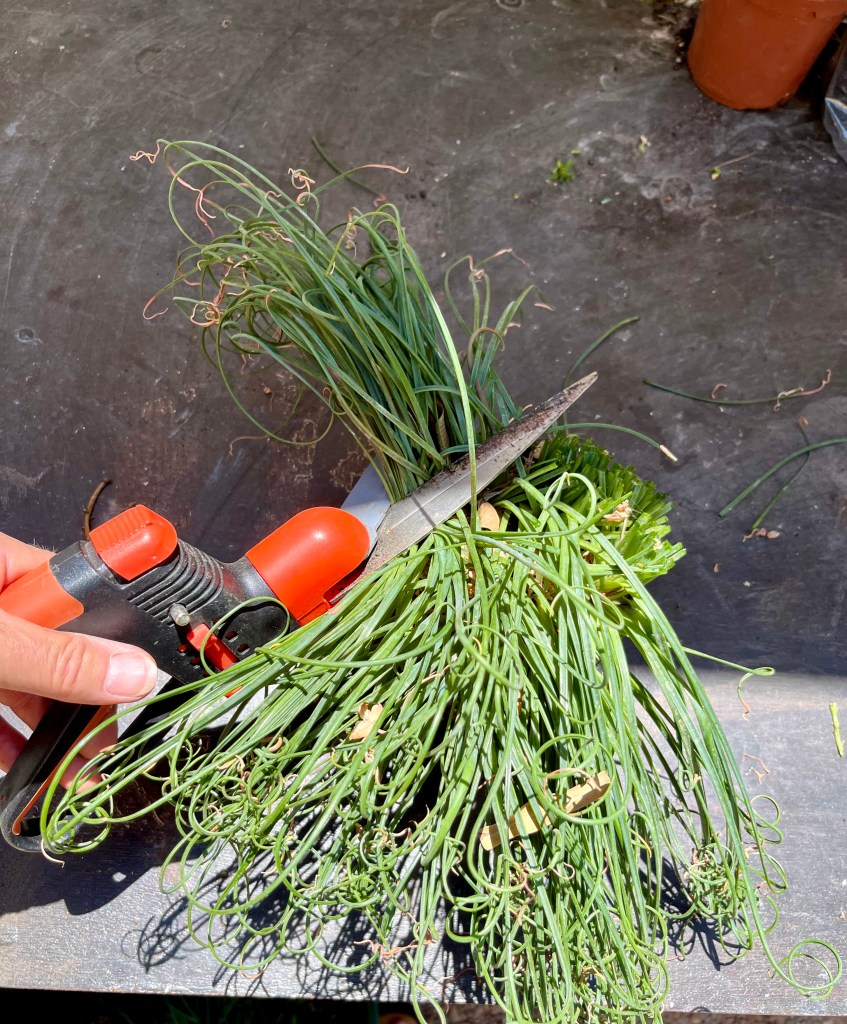
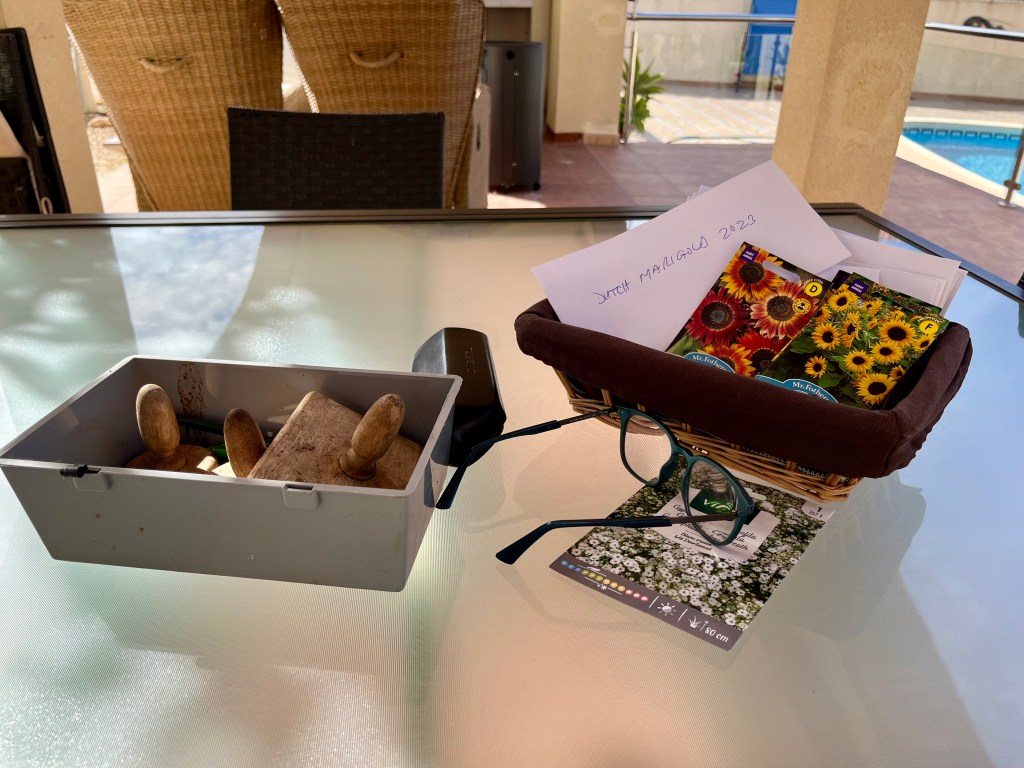
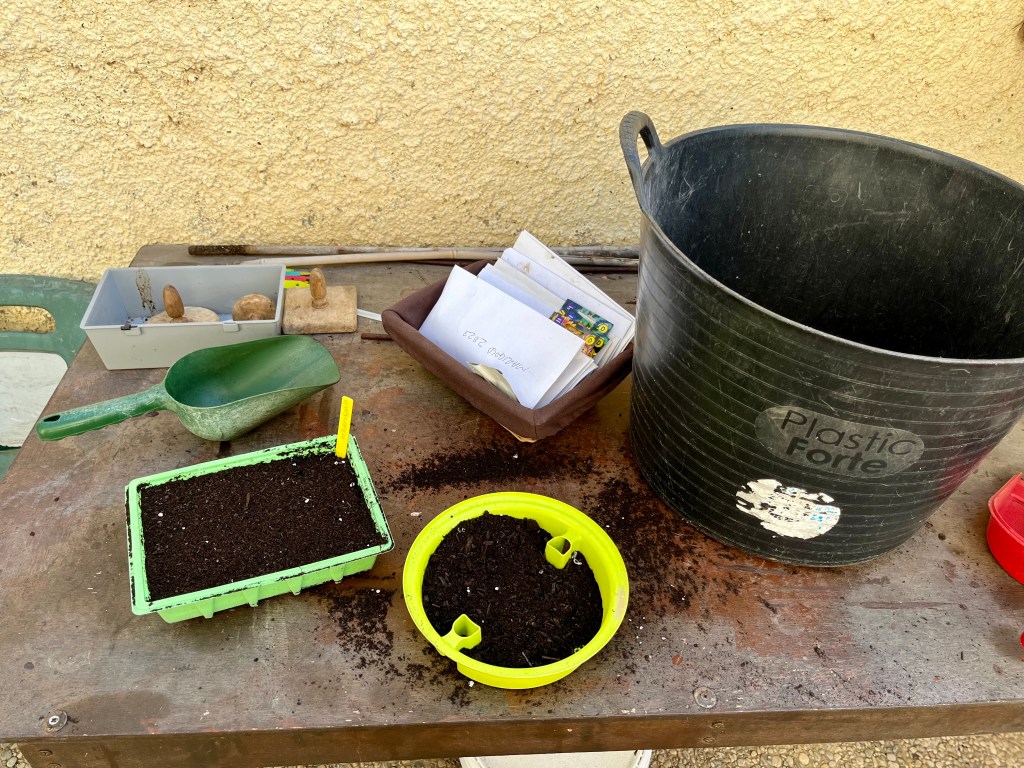
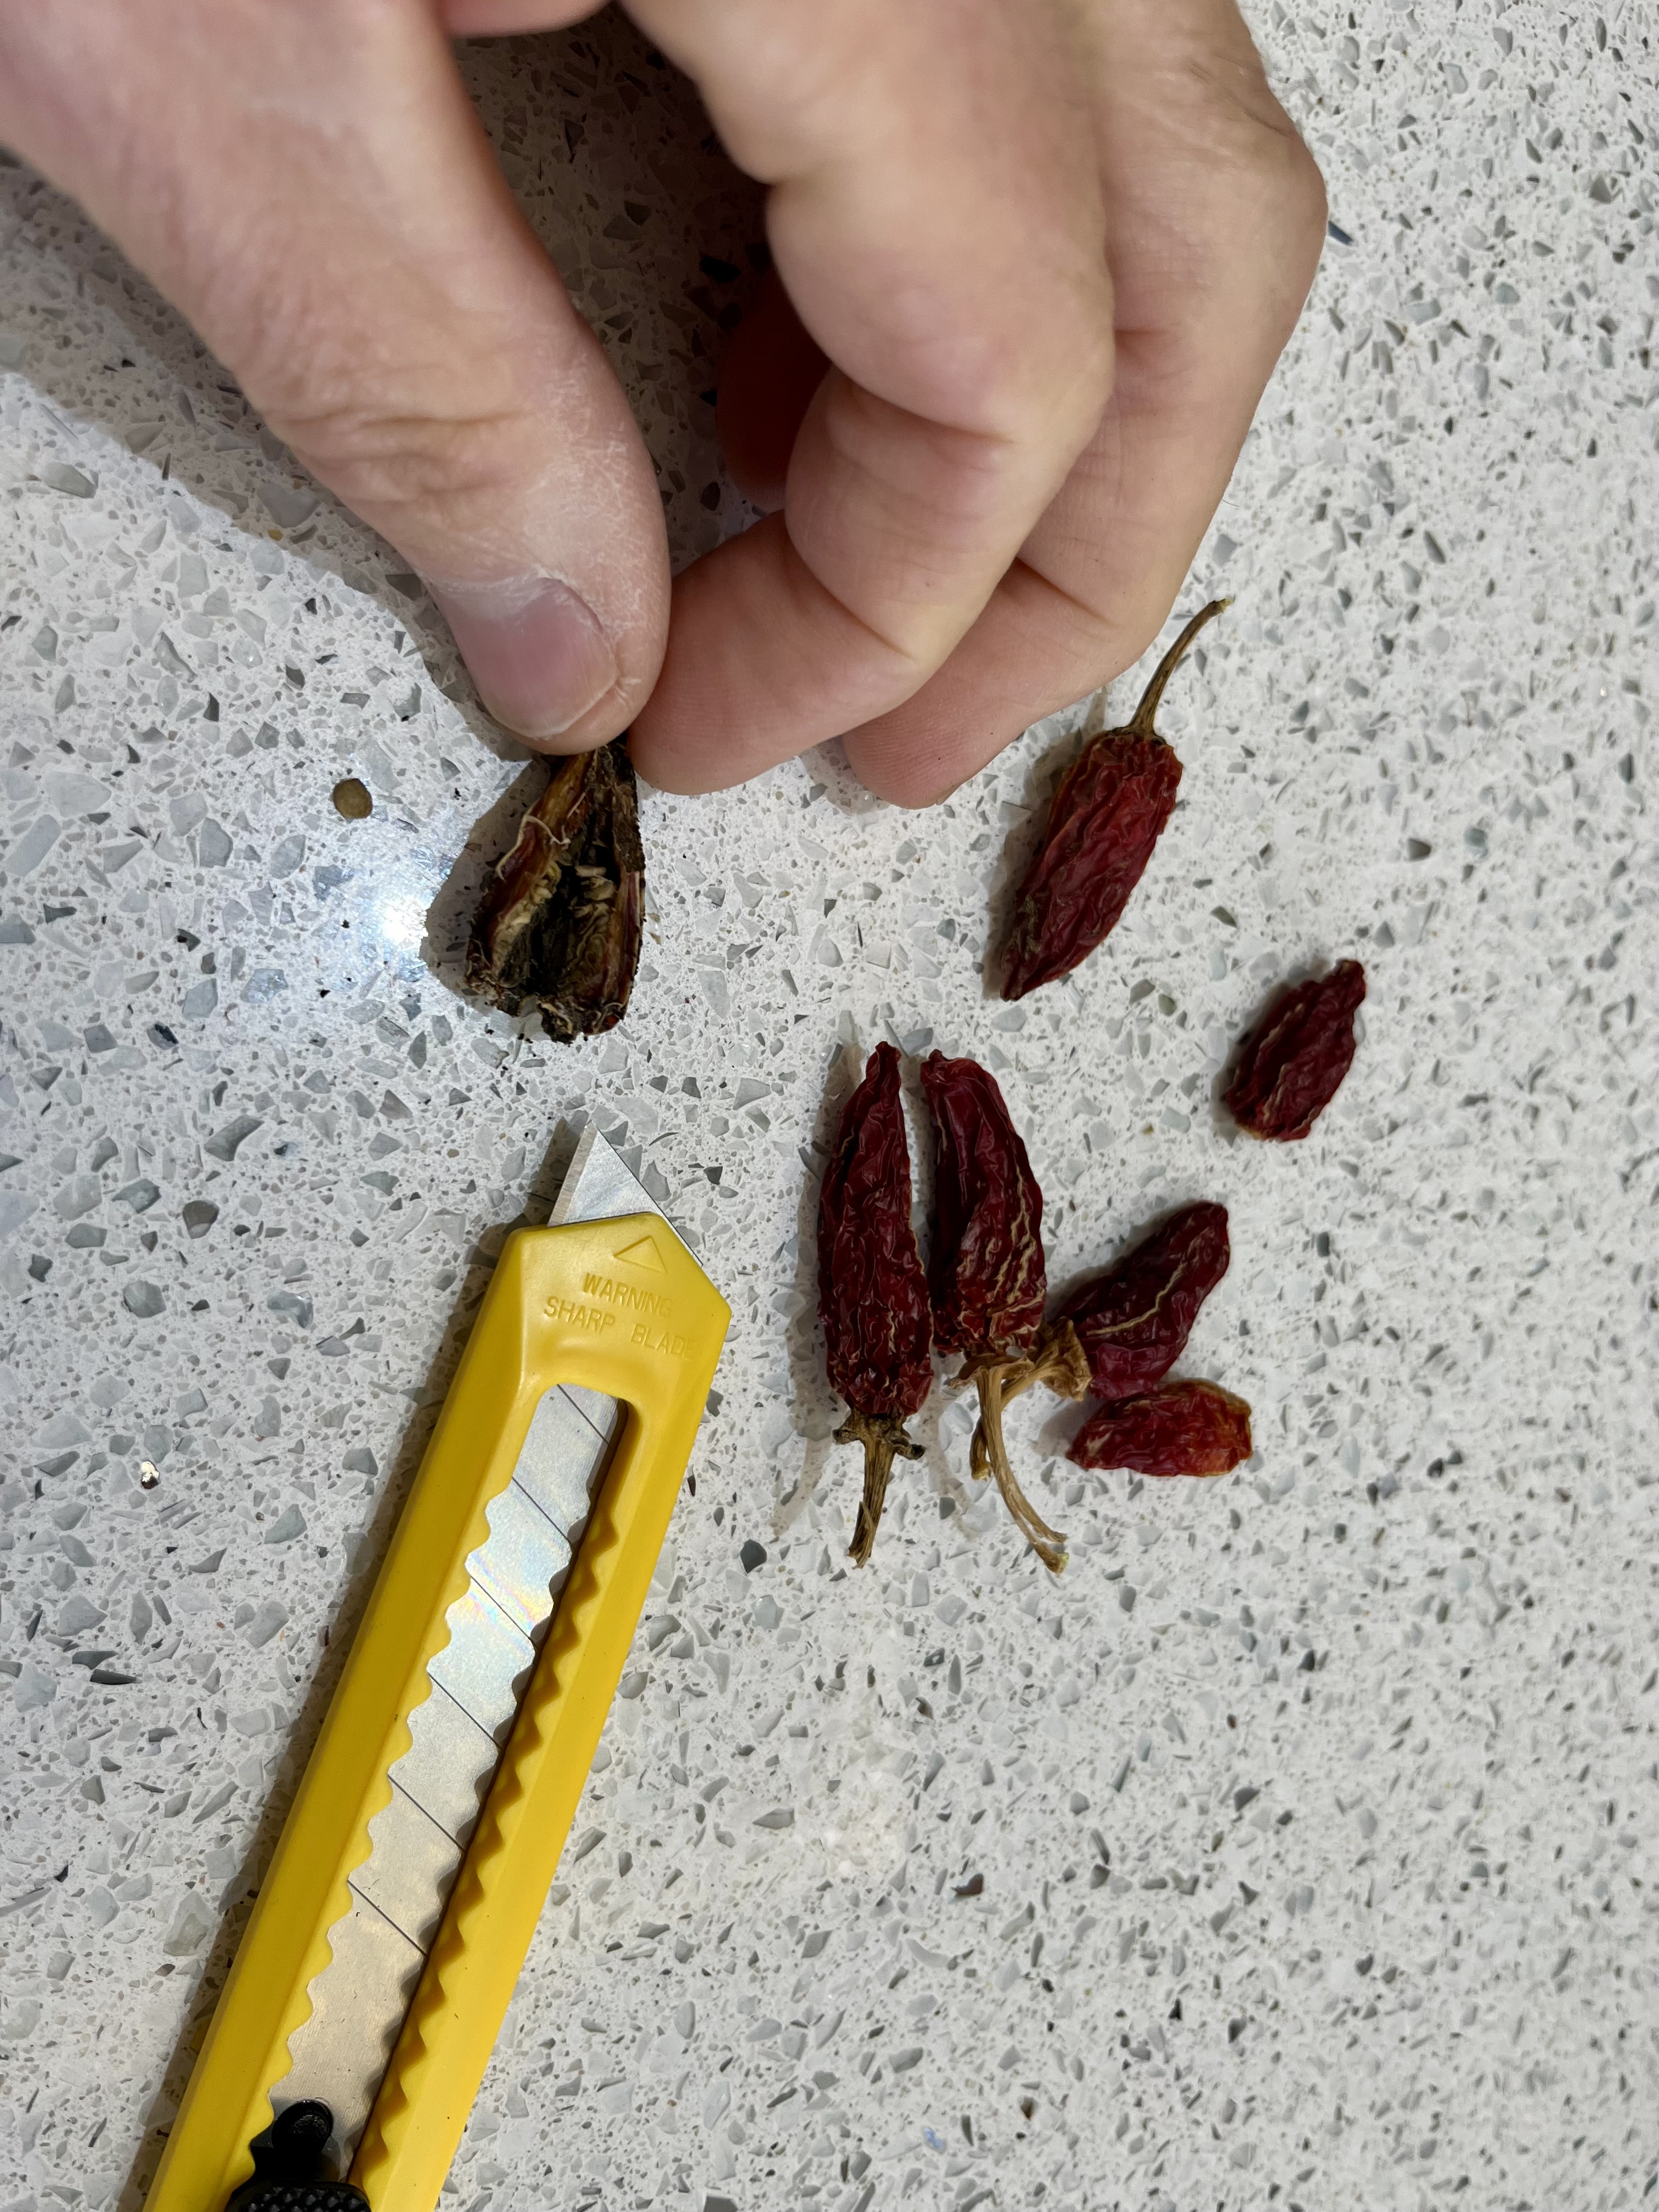
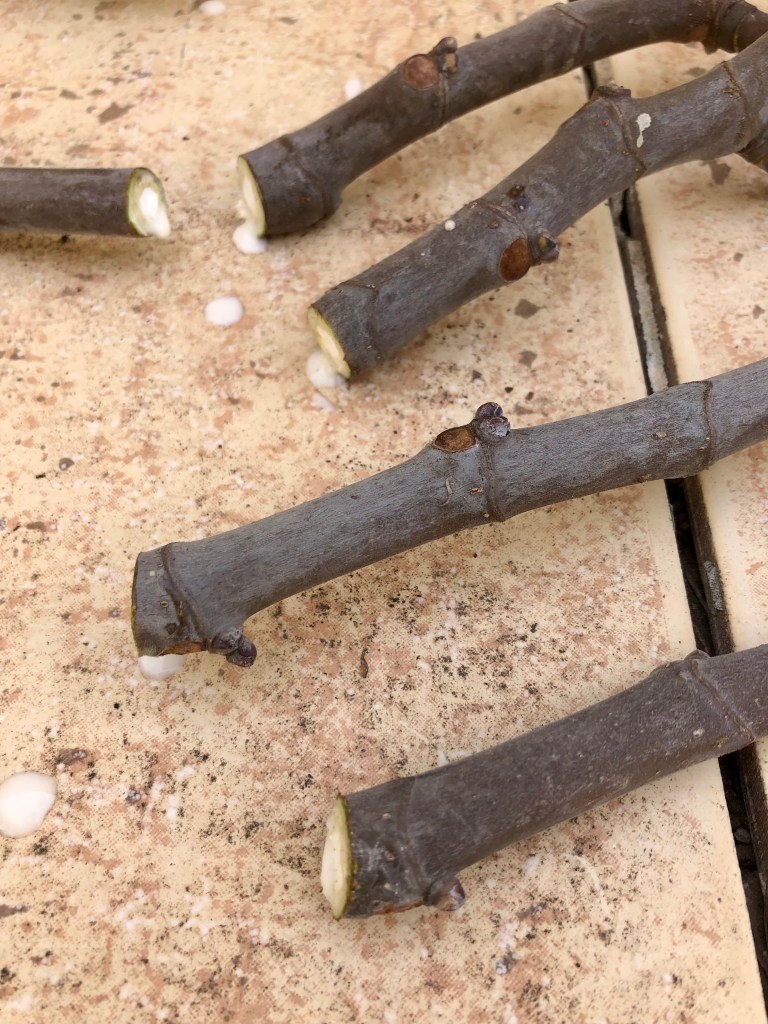
Gathering seeds. Take a look around your garden at this time of year and you will find lots of seed heads and pods ripe for picking. If you pick them off now, store them to dry, and plant them next Spring, then you will have lots of lovely new plants for free. But what’s more you will be on your way to being a gardener rather than a shopper for plants.
You will have lots of different seed heads in your garden of all different types, just waiting for you to harvest them. To process the seeds is very simple.
- Wait until your seed heads have completed their cycle, the flowers have died and fallen off and the seed pod that is left has gone fully dry and brown.
- Cut the seed head off with your secateurs and if possible leave a little bit of stem.
- Place the seed heads into a plain white envelopes, one for each type of seed, until you are ready to process them.
- Depending on the type of seed pod, the process is more or less the same; carefully remove all the outer casing of the seed pod till you expose the seed. Pour this into the palm of your hand.
- Gently blow across the seeds as you transfer them between your palms, this just removes any chaff.
- Place the seeds in plain white envelopes by type with the name and year clearly written on the envelope and store them in a cool dark place (a drawer is fine).
The process is shown for Marigolds and Trumpet Vine in the photos below. Click on each photo for a larger view.


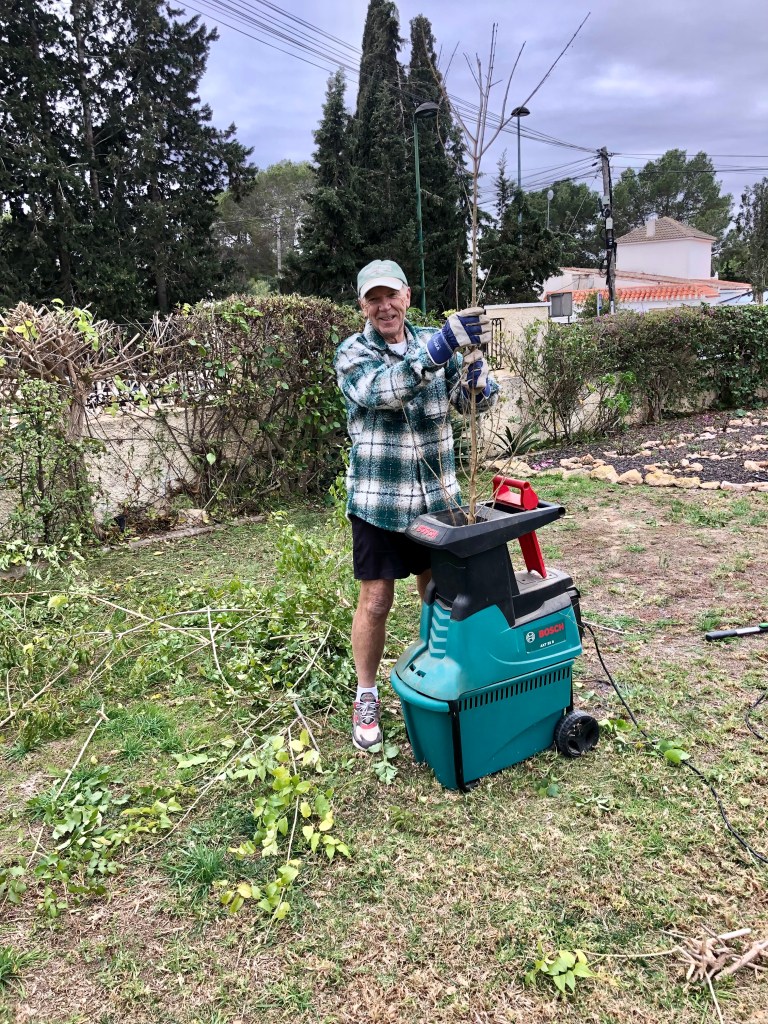
Composting leaves. Most gardens have a tree or two, and as we all know deciduous trees shed their leaves every Autumn. Now you can either see these fallen leaves as a mess that needs to be cleaned up, or, you can see the leaves as compost gold.
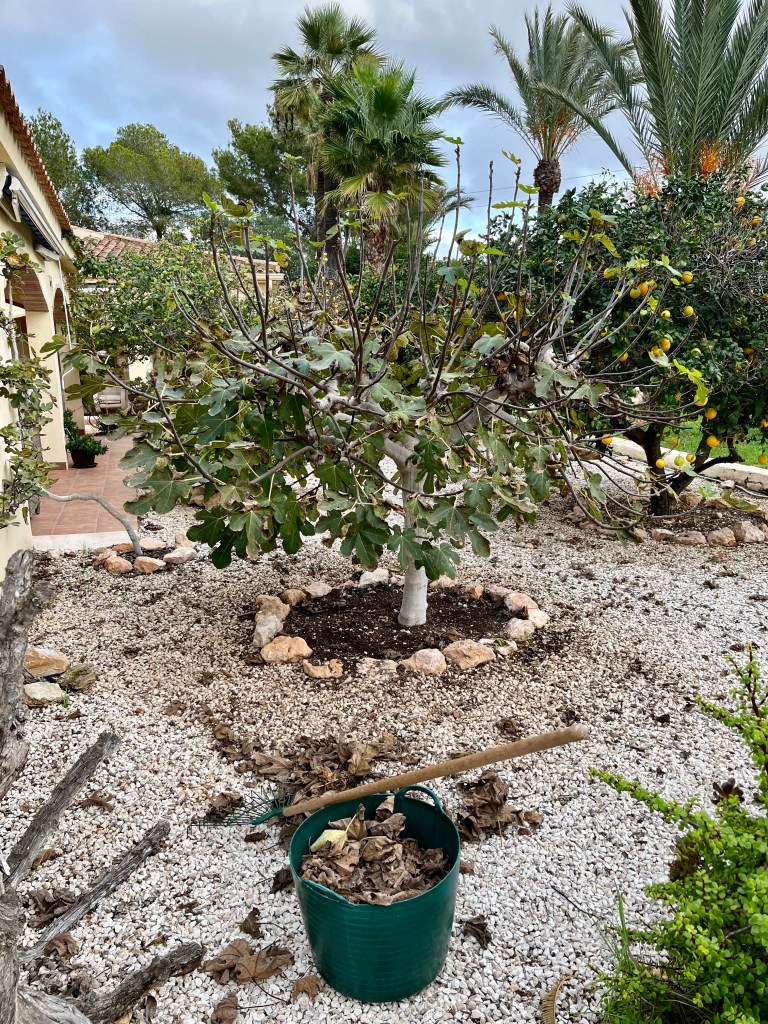
I have lots of pine trees, but their leaves whilst perfectly compostable over time, tend to produce an acid compost. So if you have lots of pine trees it is ok to add pine needles to your compost bin, but no more than 10% of each layer. However, if you have a deciduous tree, like my large Mulberry or even better a Fig with its large leaves then you are lucky. The photo below shows my Mulberry and one of my figs shedding their leaves. Click on each photo for a larger view.
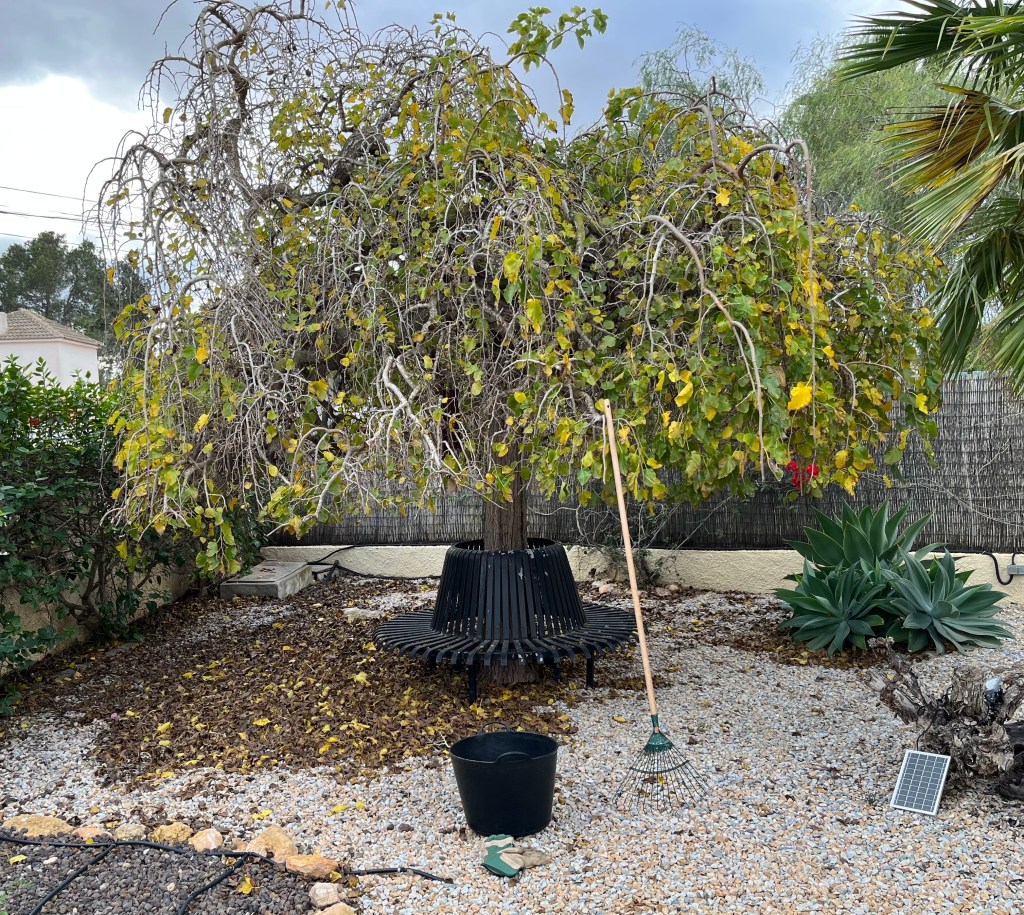
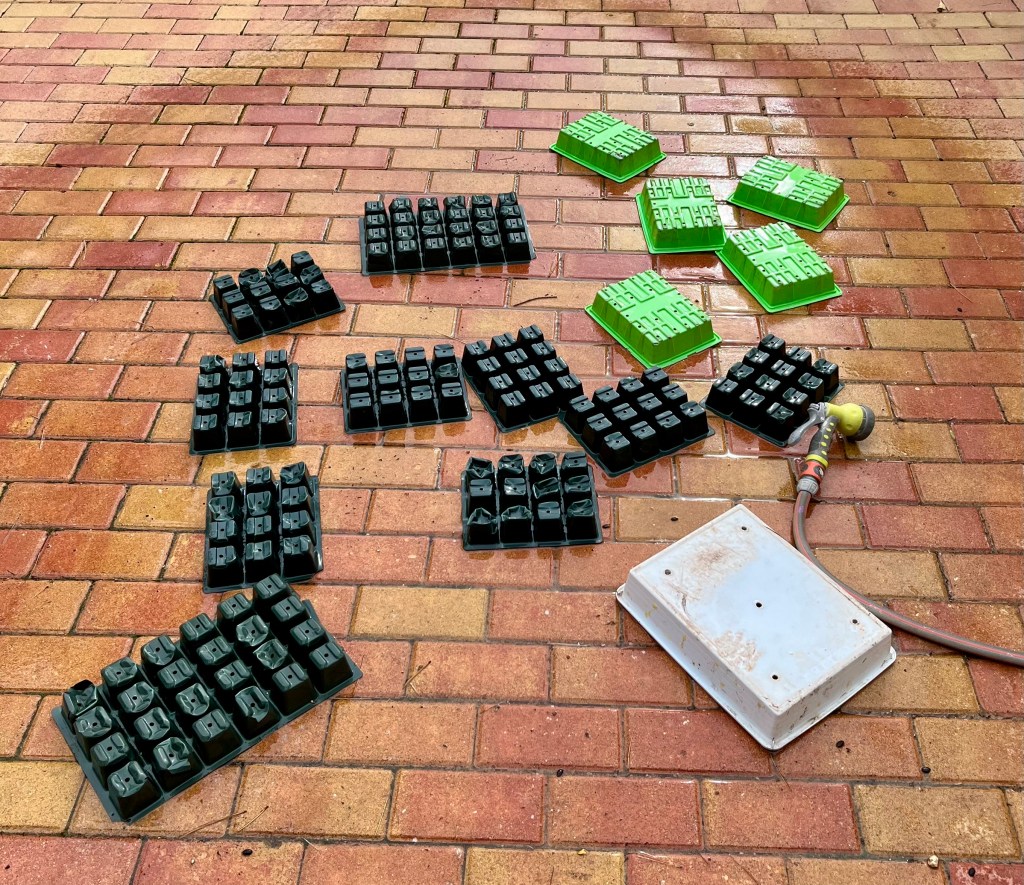
You don’t have to wait till all the leaves are off your trees. Instead get into the habit of clearing the leaves once every two weeks. Just rake the leaves up into piles and then store them in plastic garden sacks. See photos below.
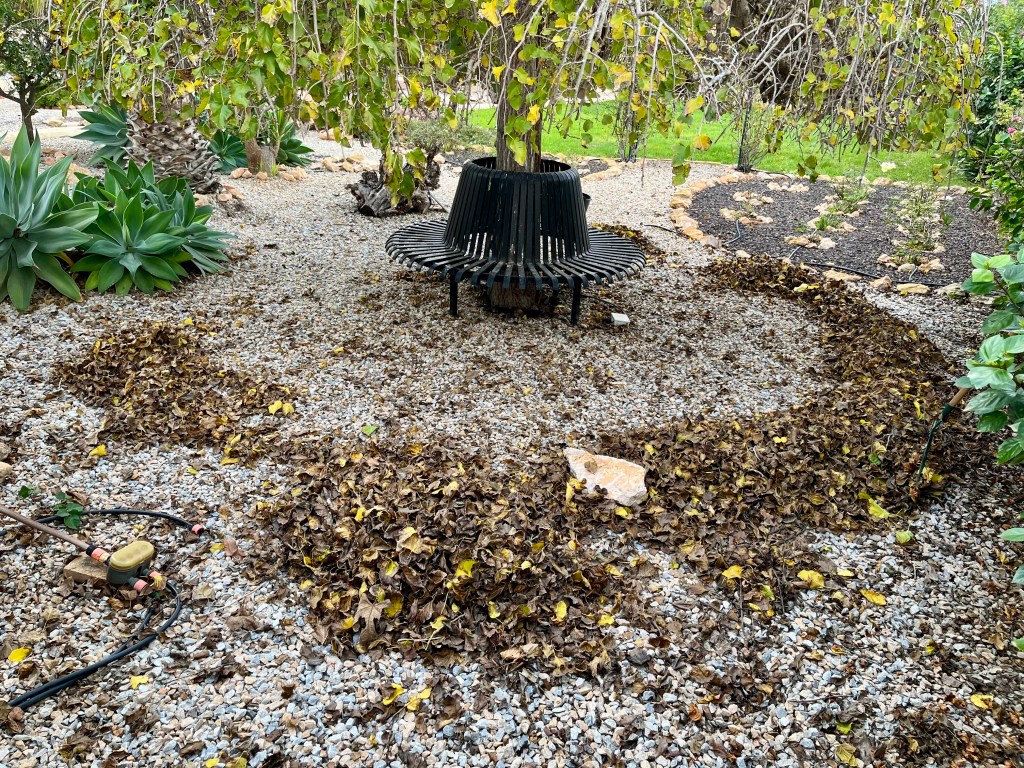

Leaves compost in a different way to normal compost, so don’t just add them to your compost bin. Store them in plastic sacks, but before you store them prick the sack with a fork in a number of places to allow for air circulation. You will need to store your sacks somewhere in your garden where they won’t be unsightly and where they do not get sun. See photos.


Your leaf compost will be ready in about a year, roughly the same time as you will be harvesting the next lot. You can cheat if you want. After about six months just pour the sack into your normal compost. It won’t be fully composted, but when you get to my age you go for quick wins.
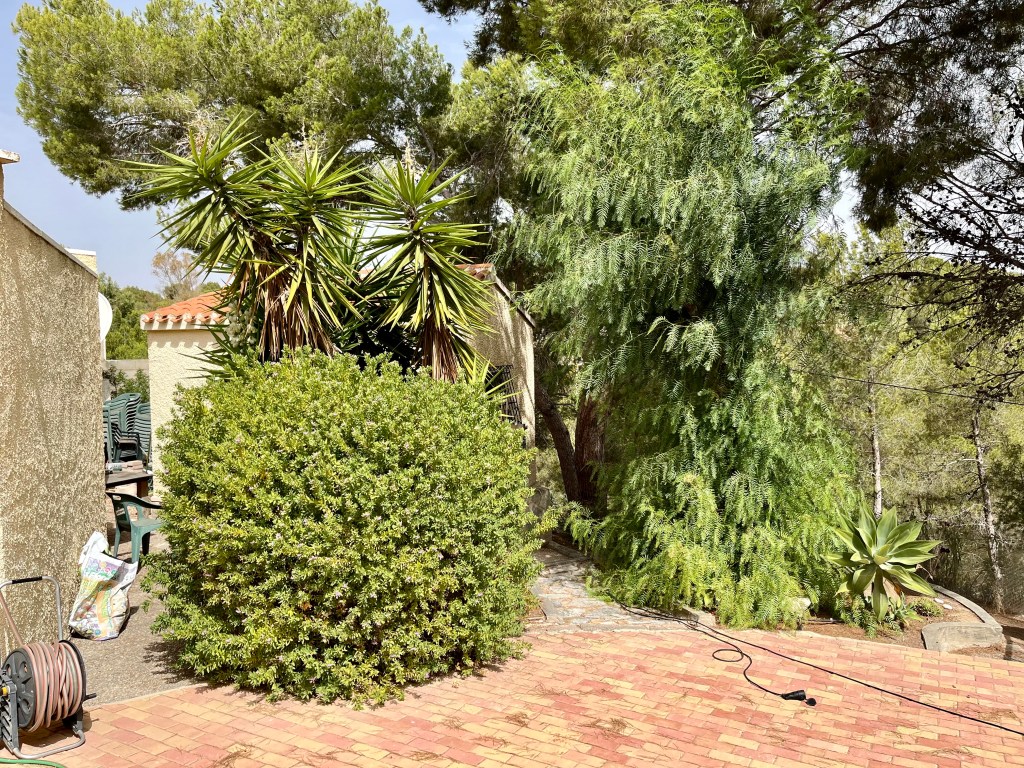
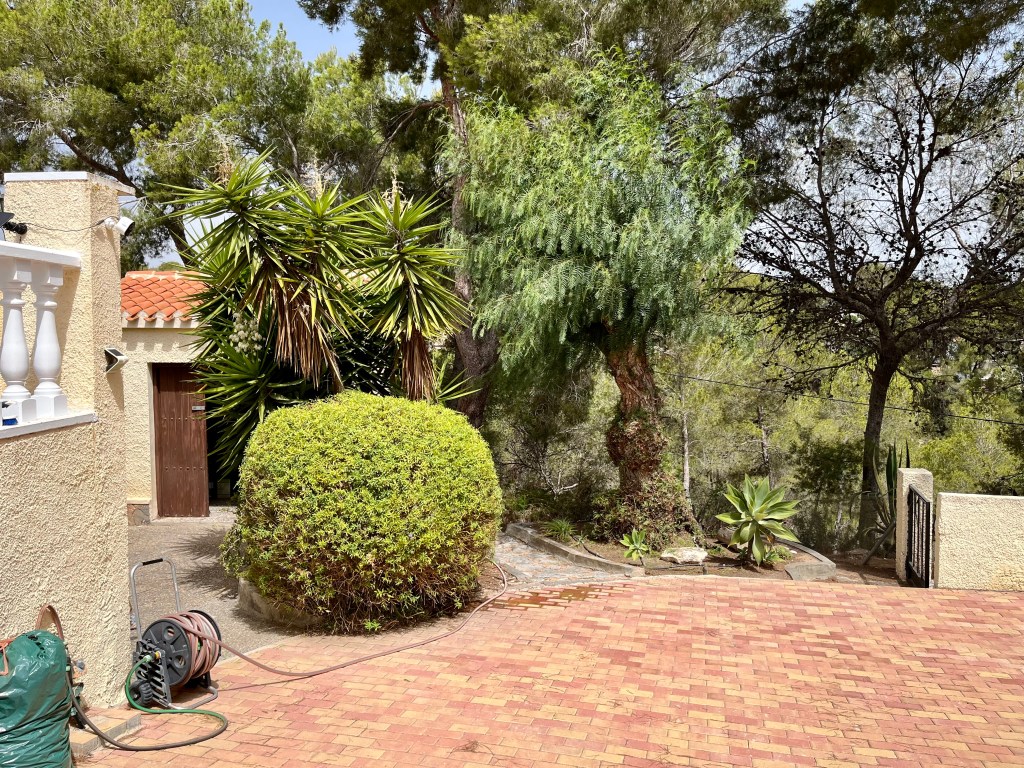
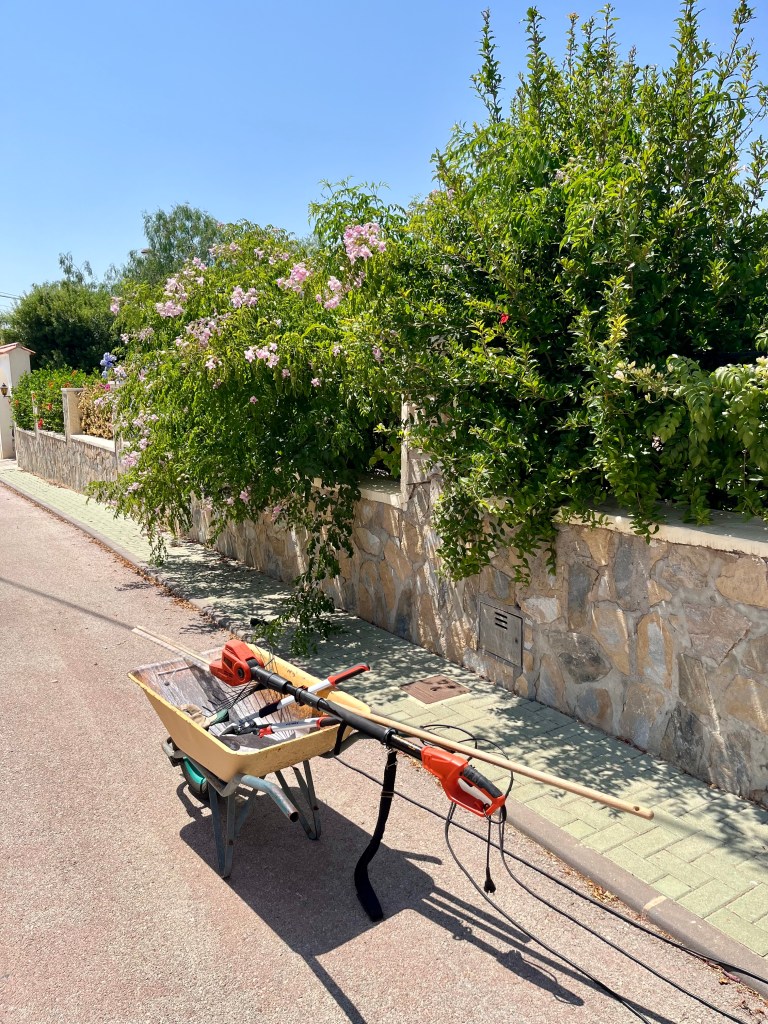
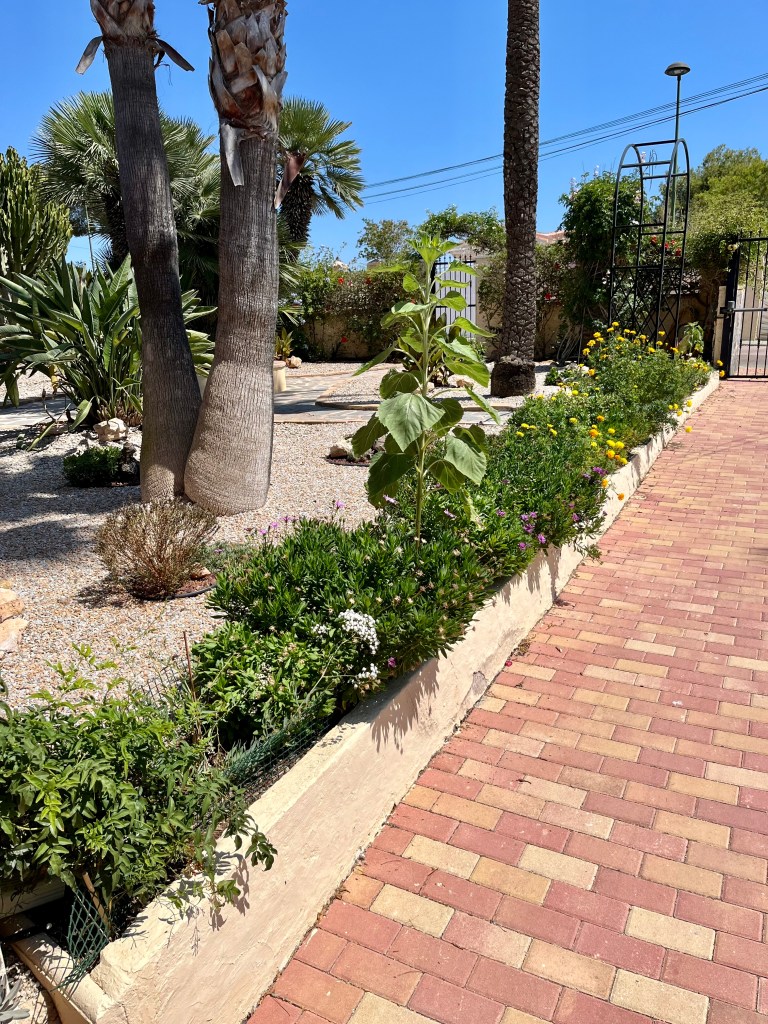
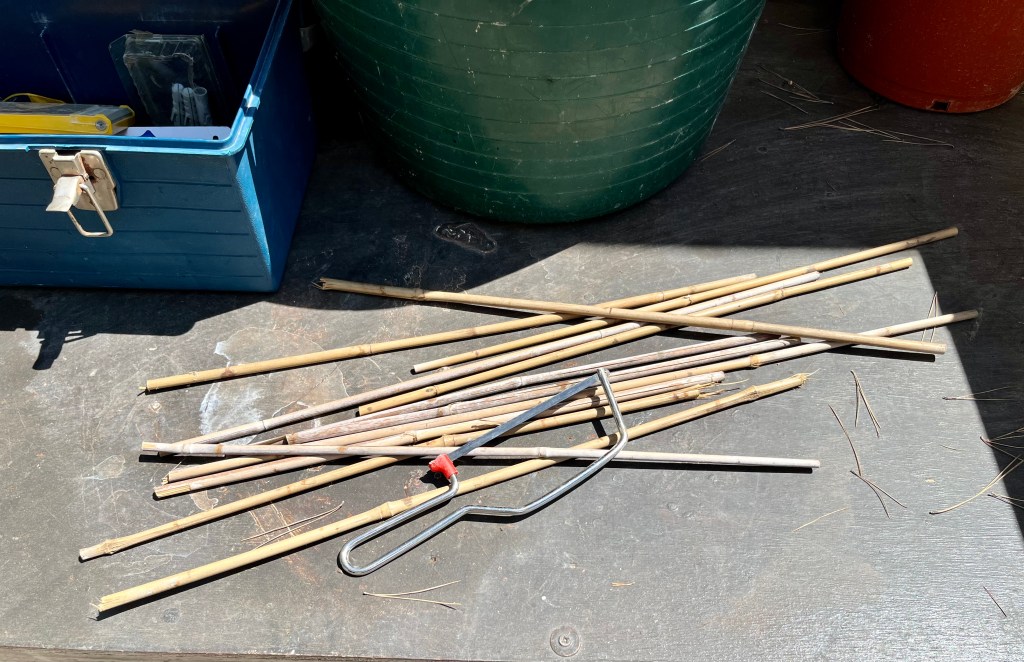
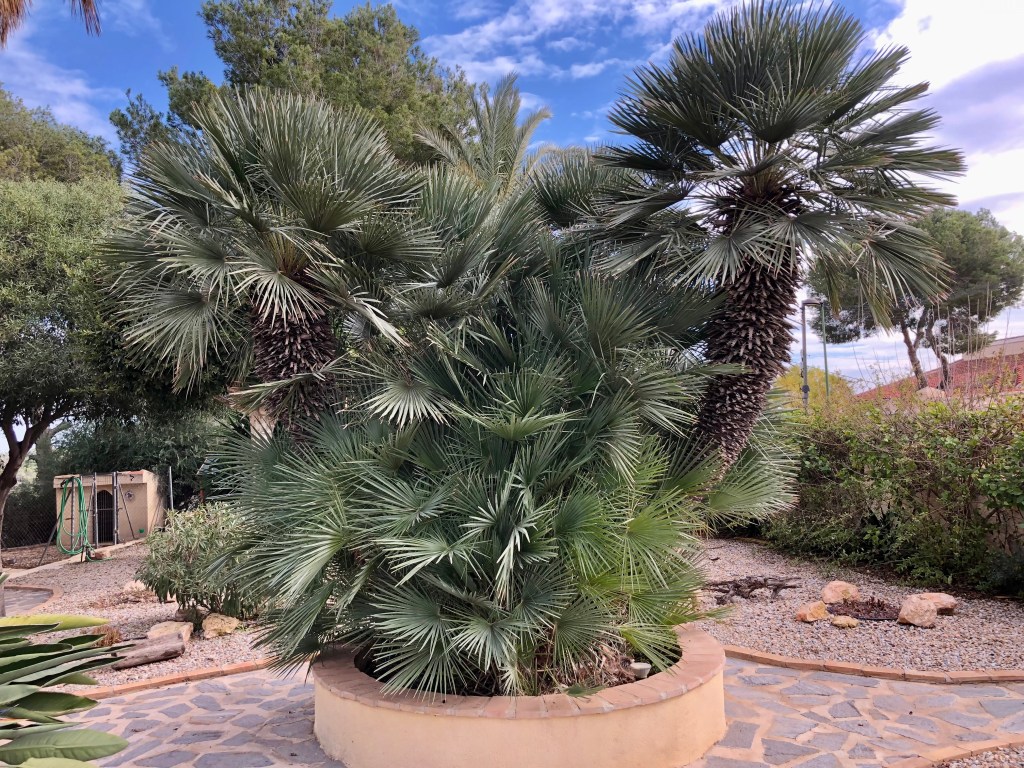
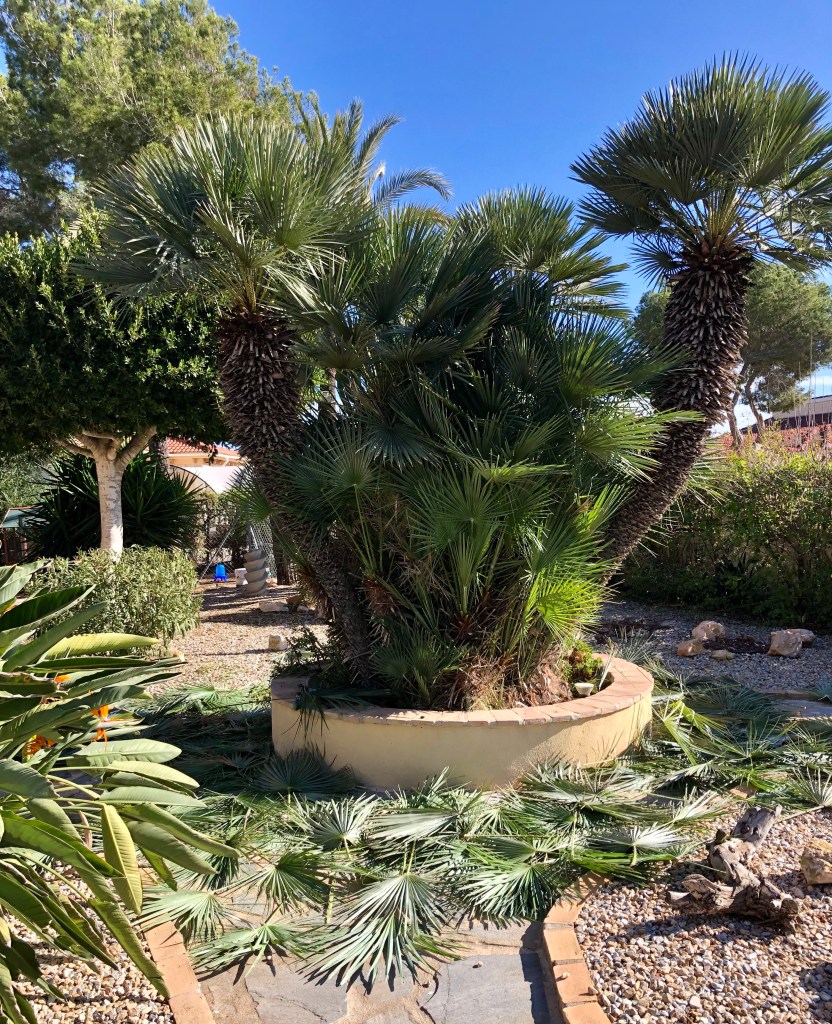
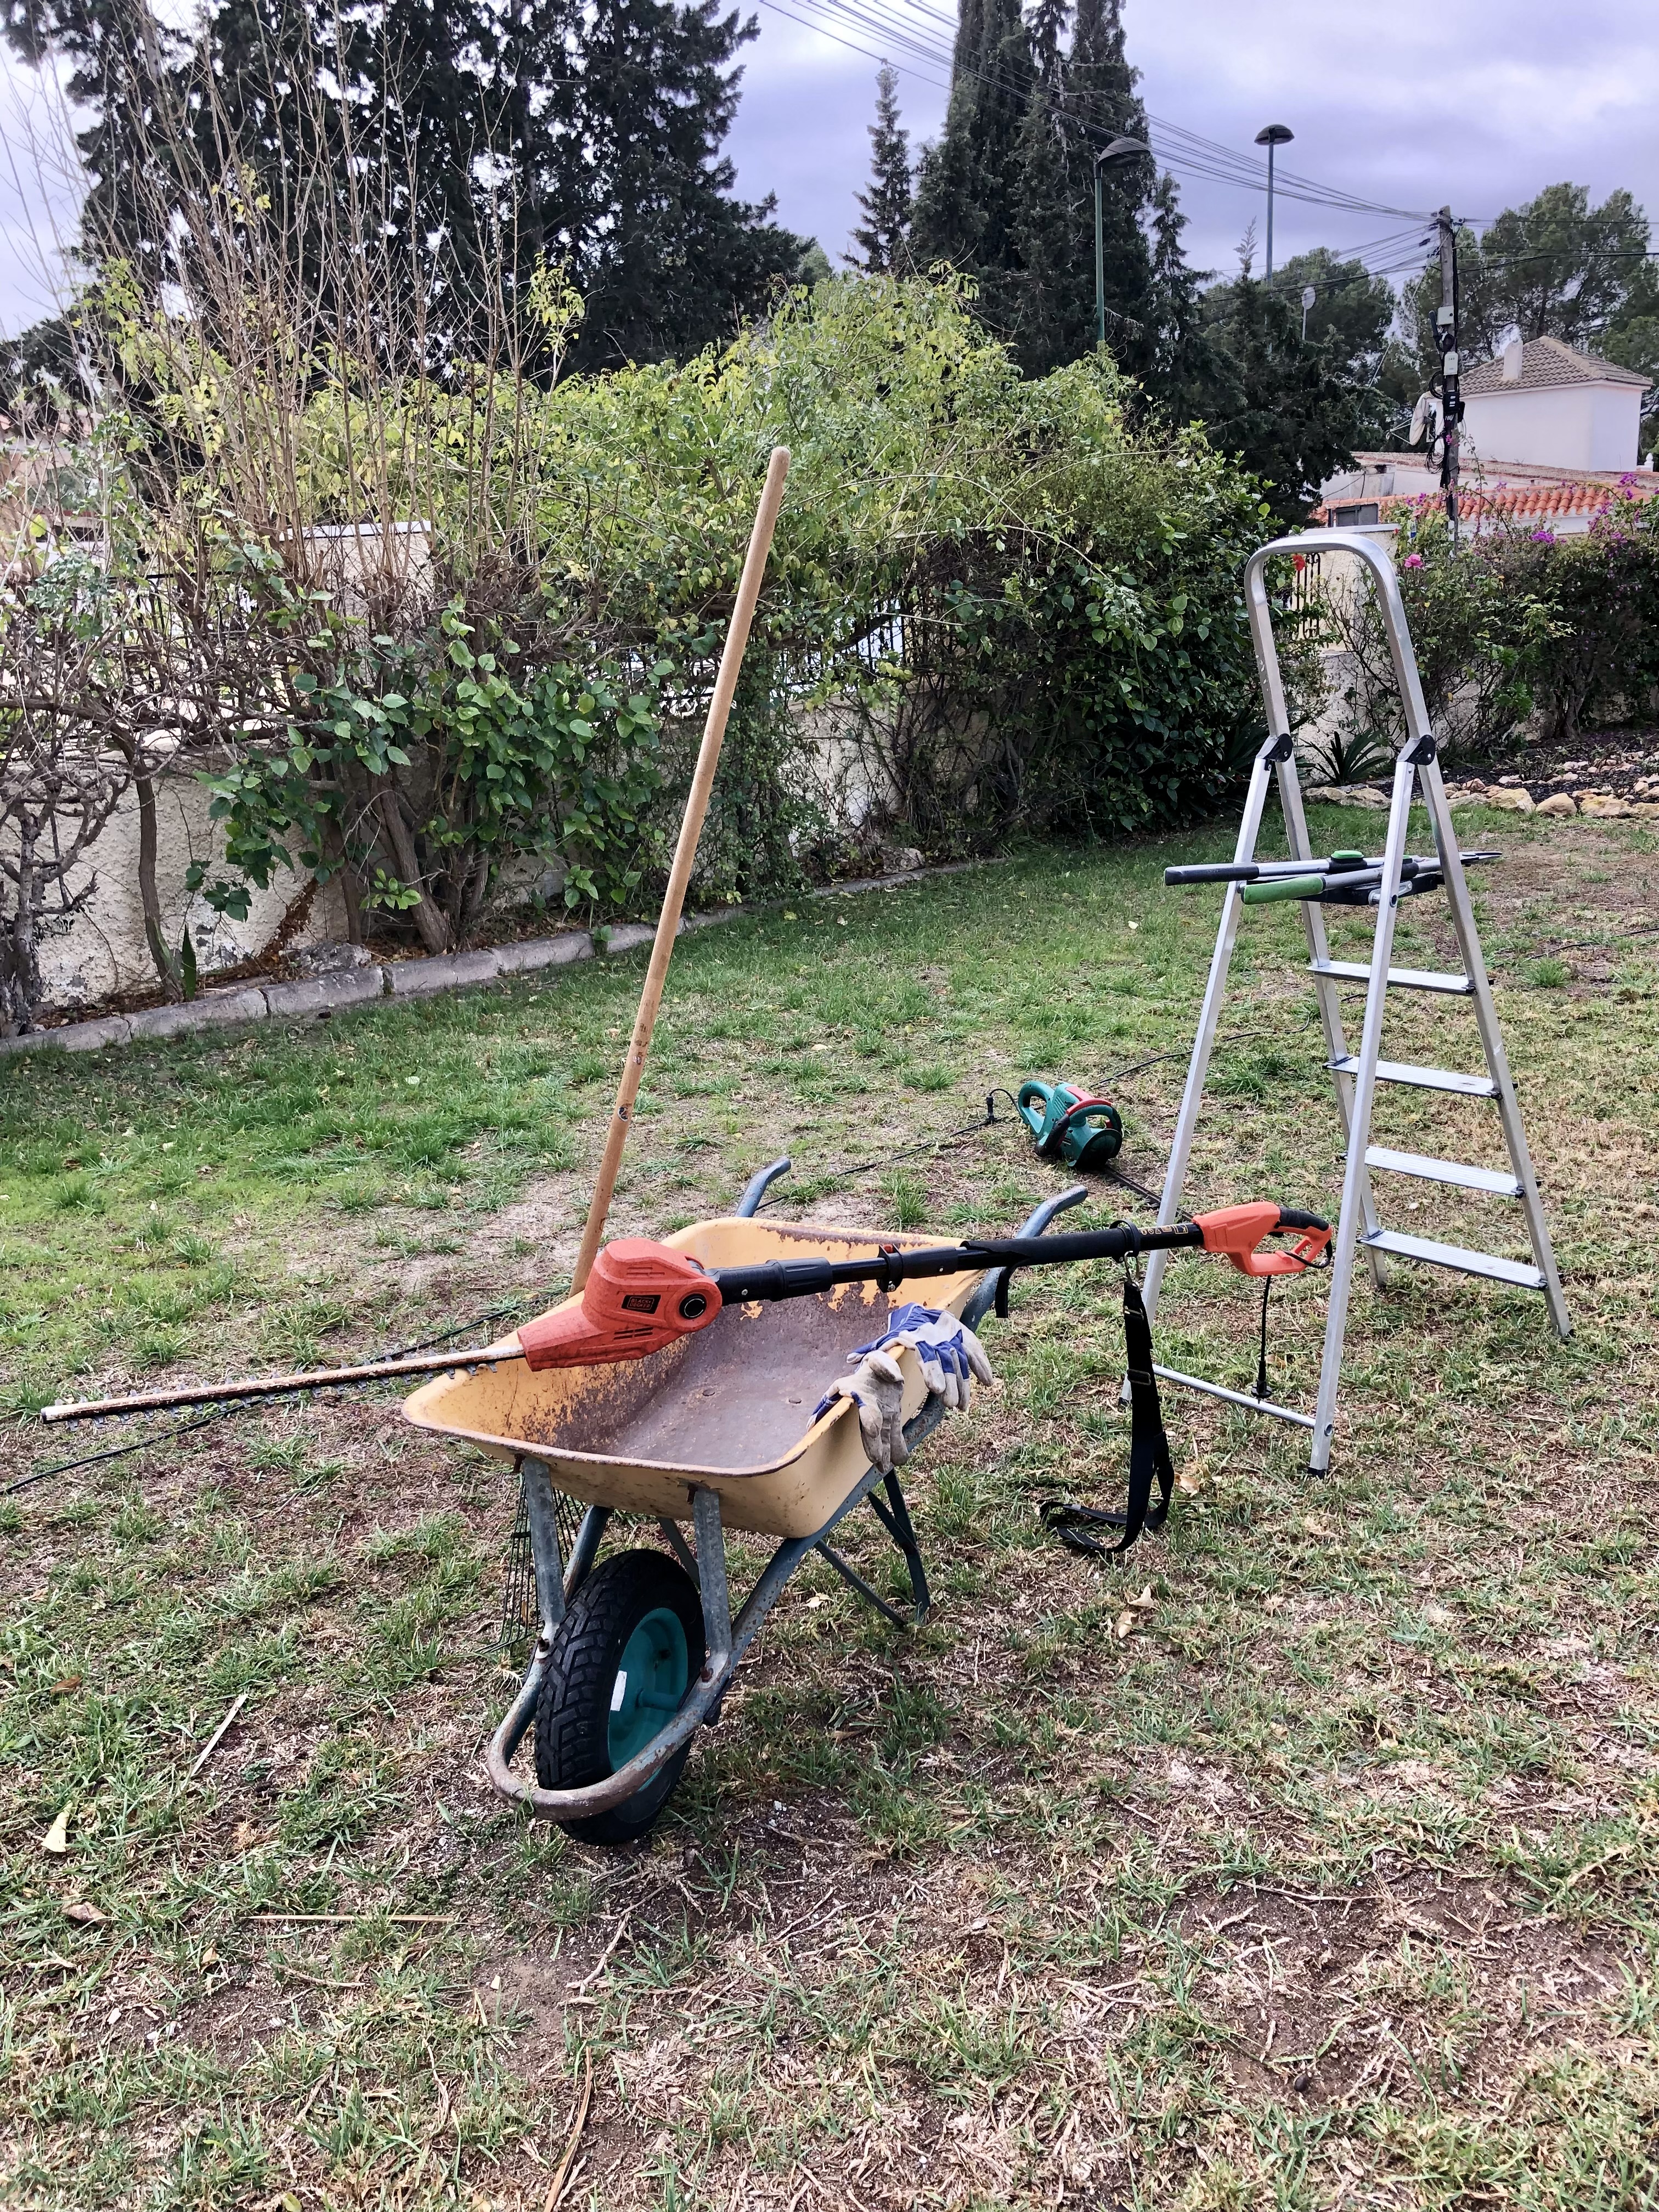
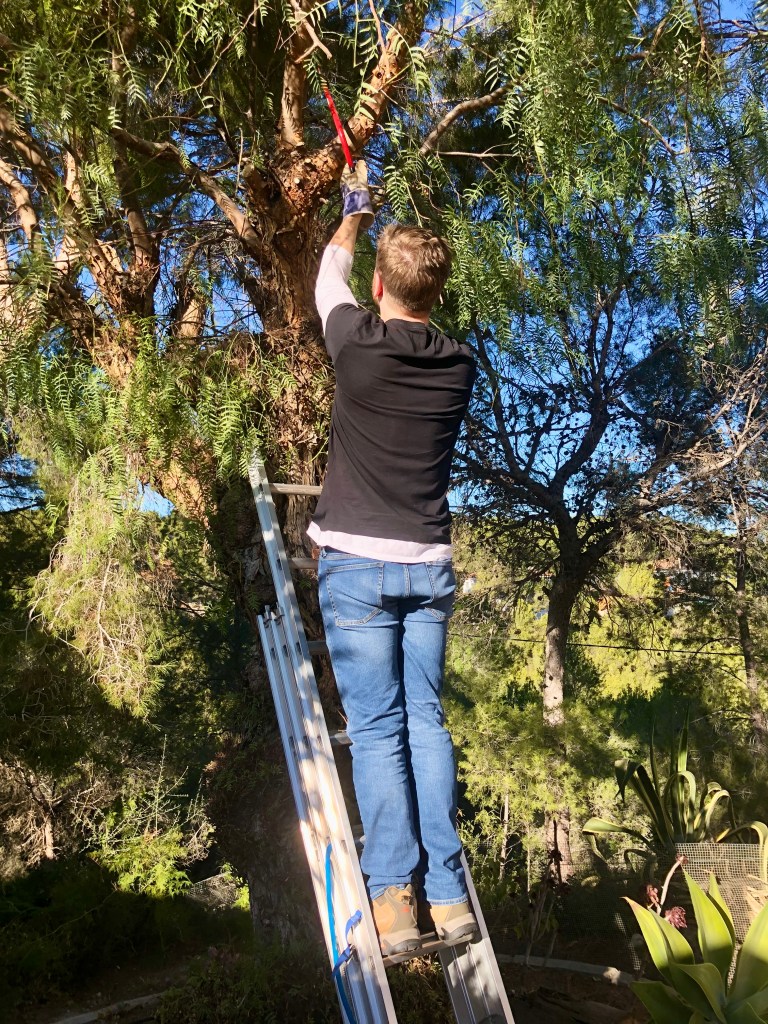
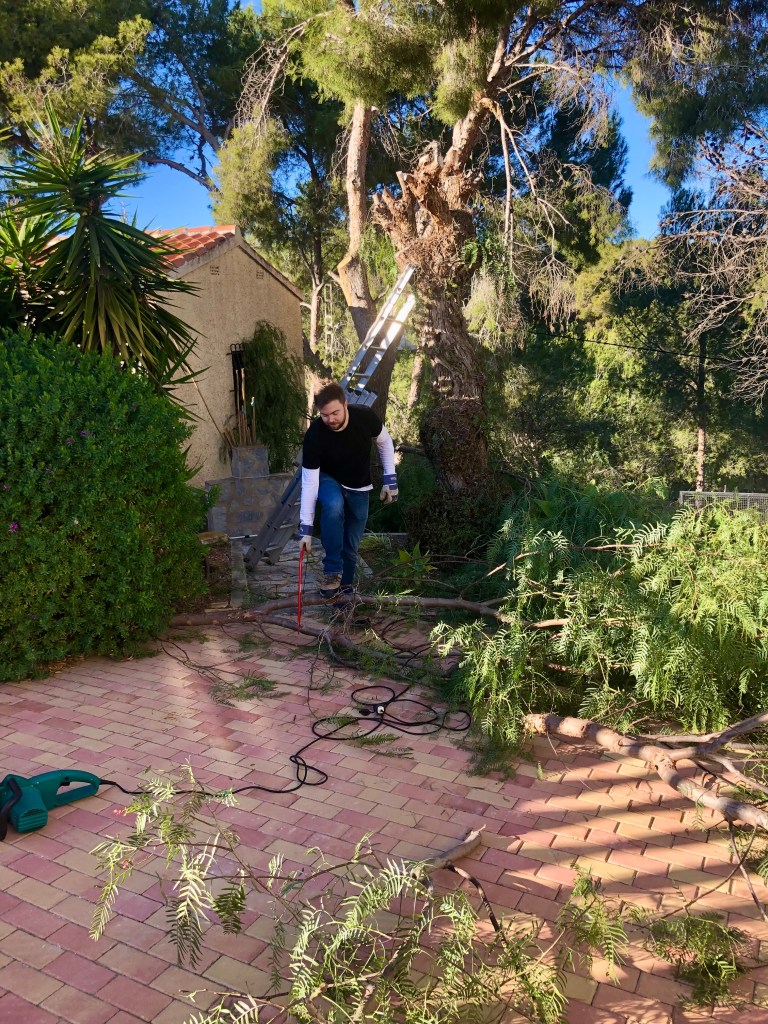
Last minute clean up jobs you need to do. There is still a few little jobs you need to do before next month’s big cut back.
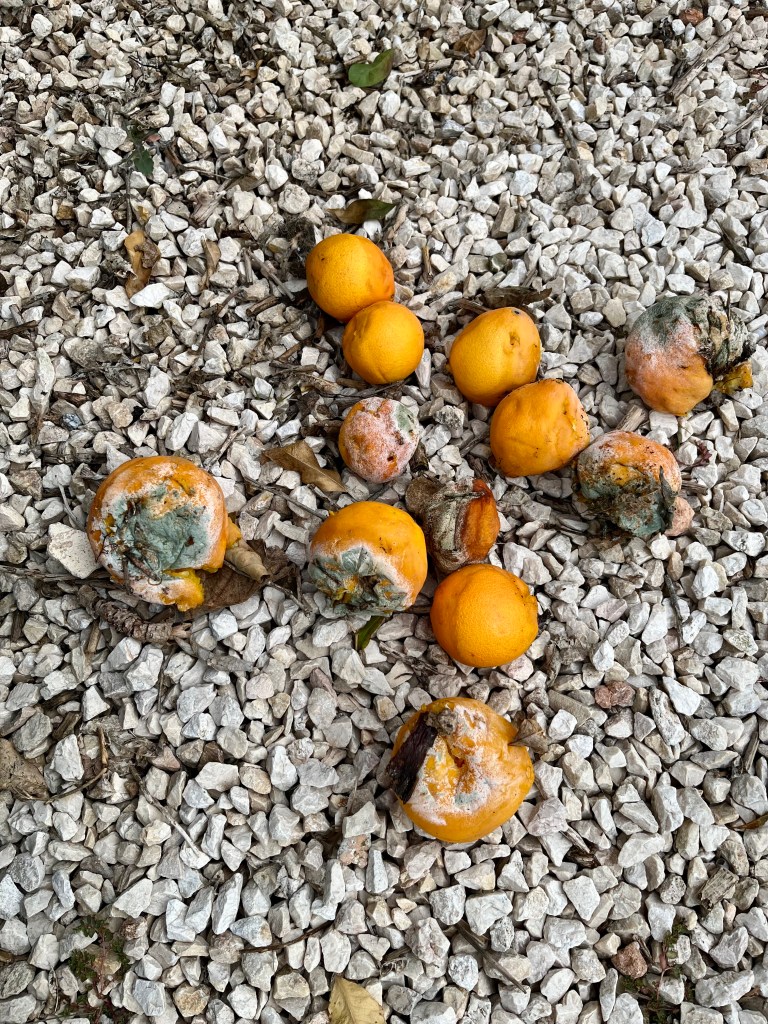
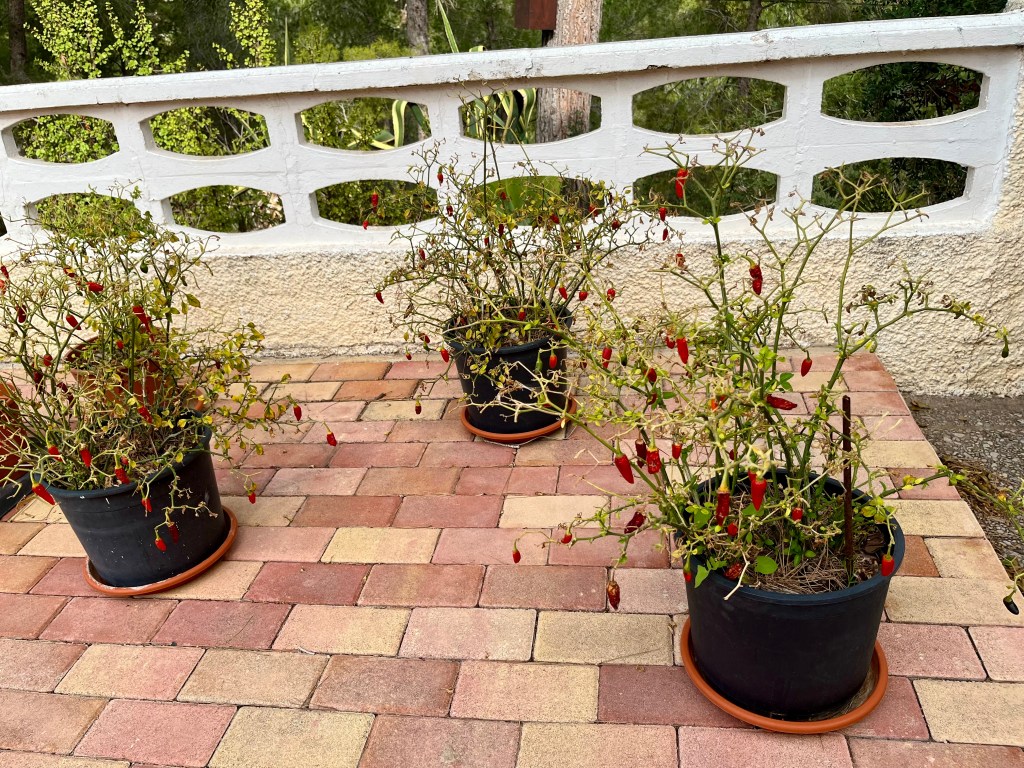
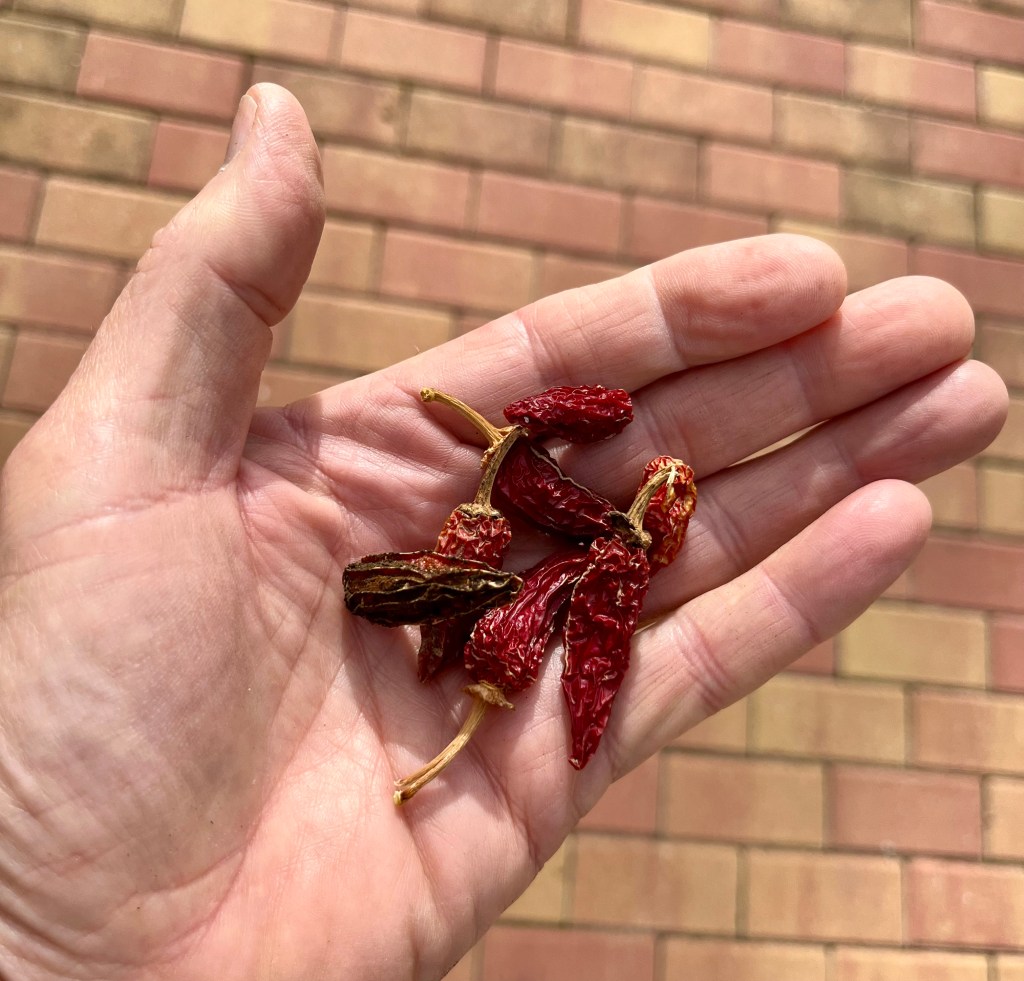
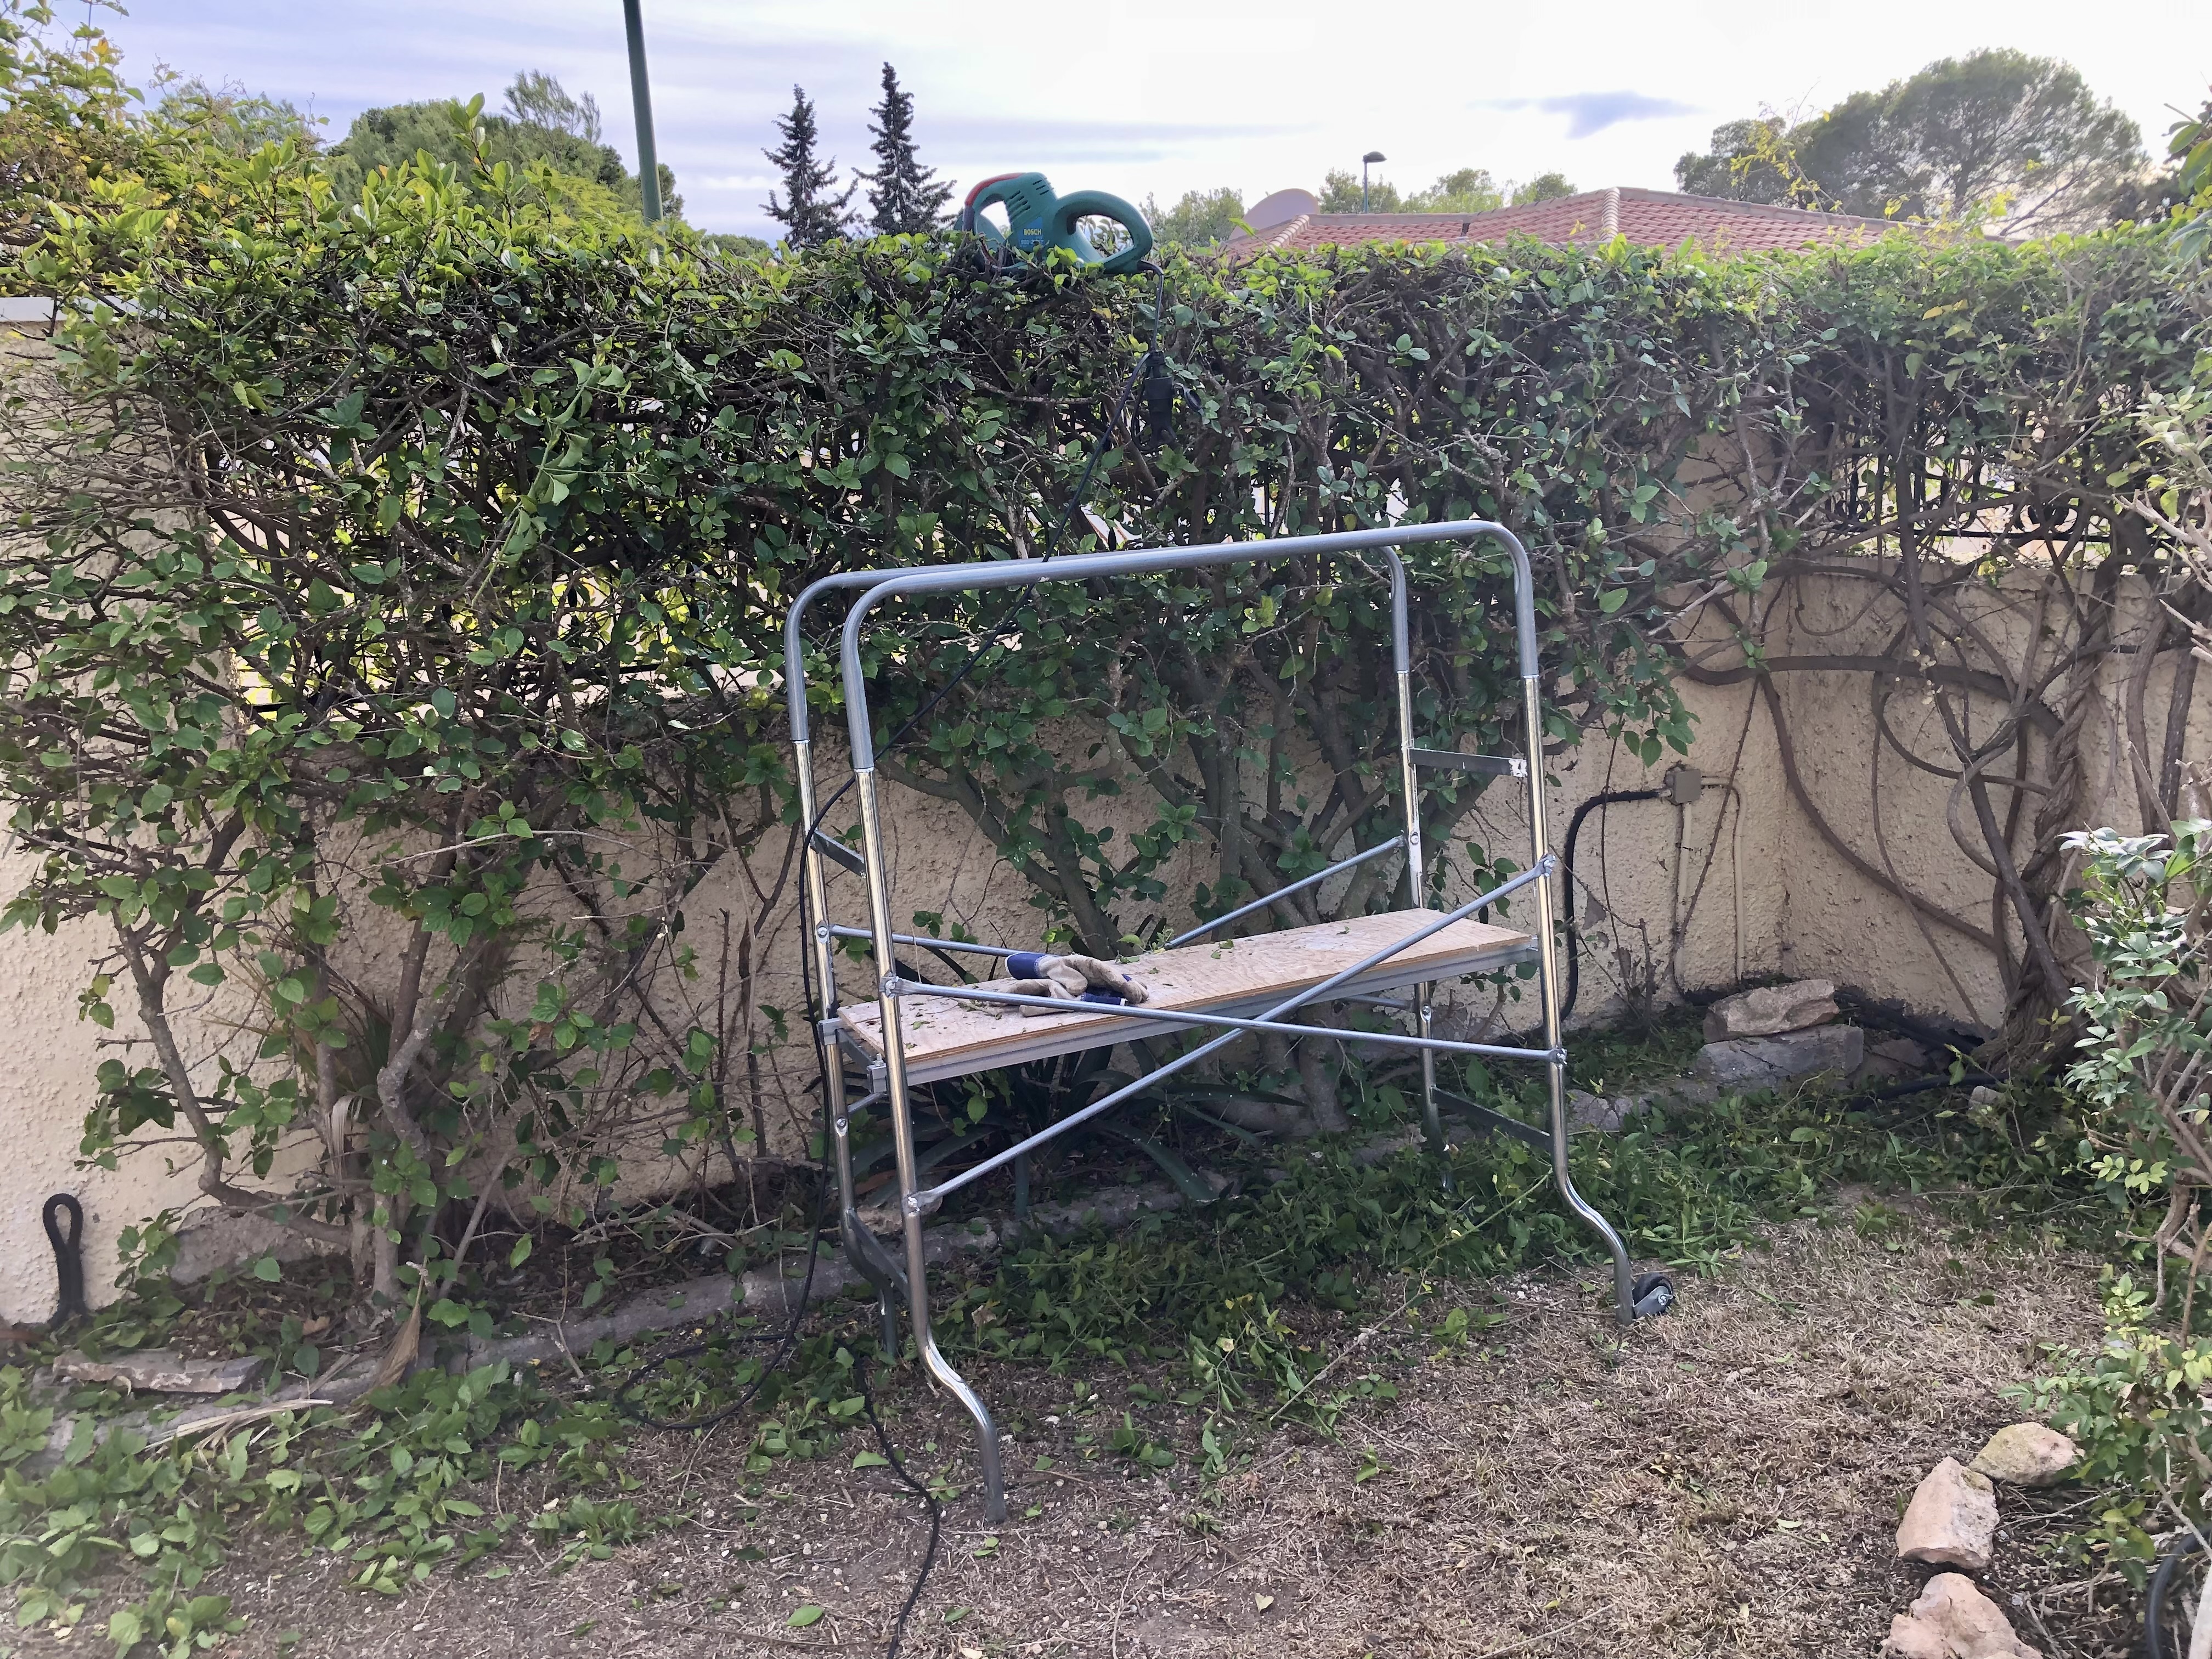
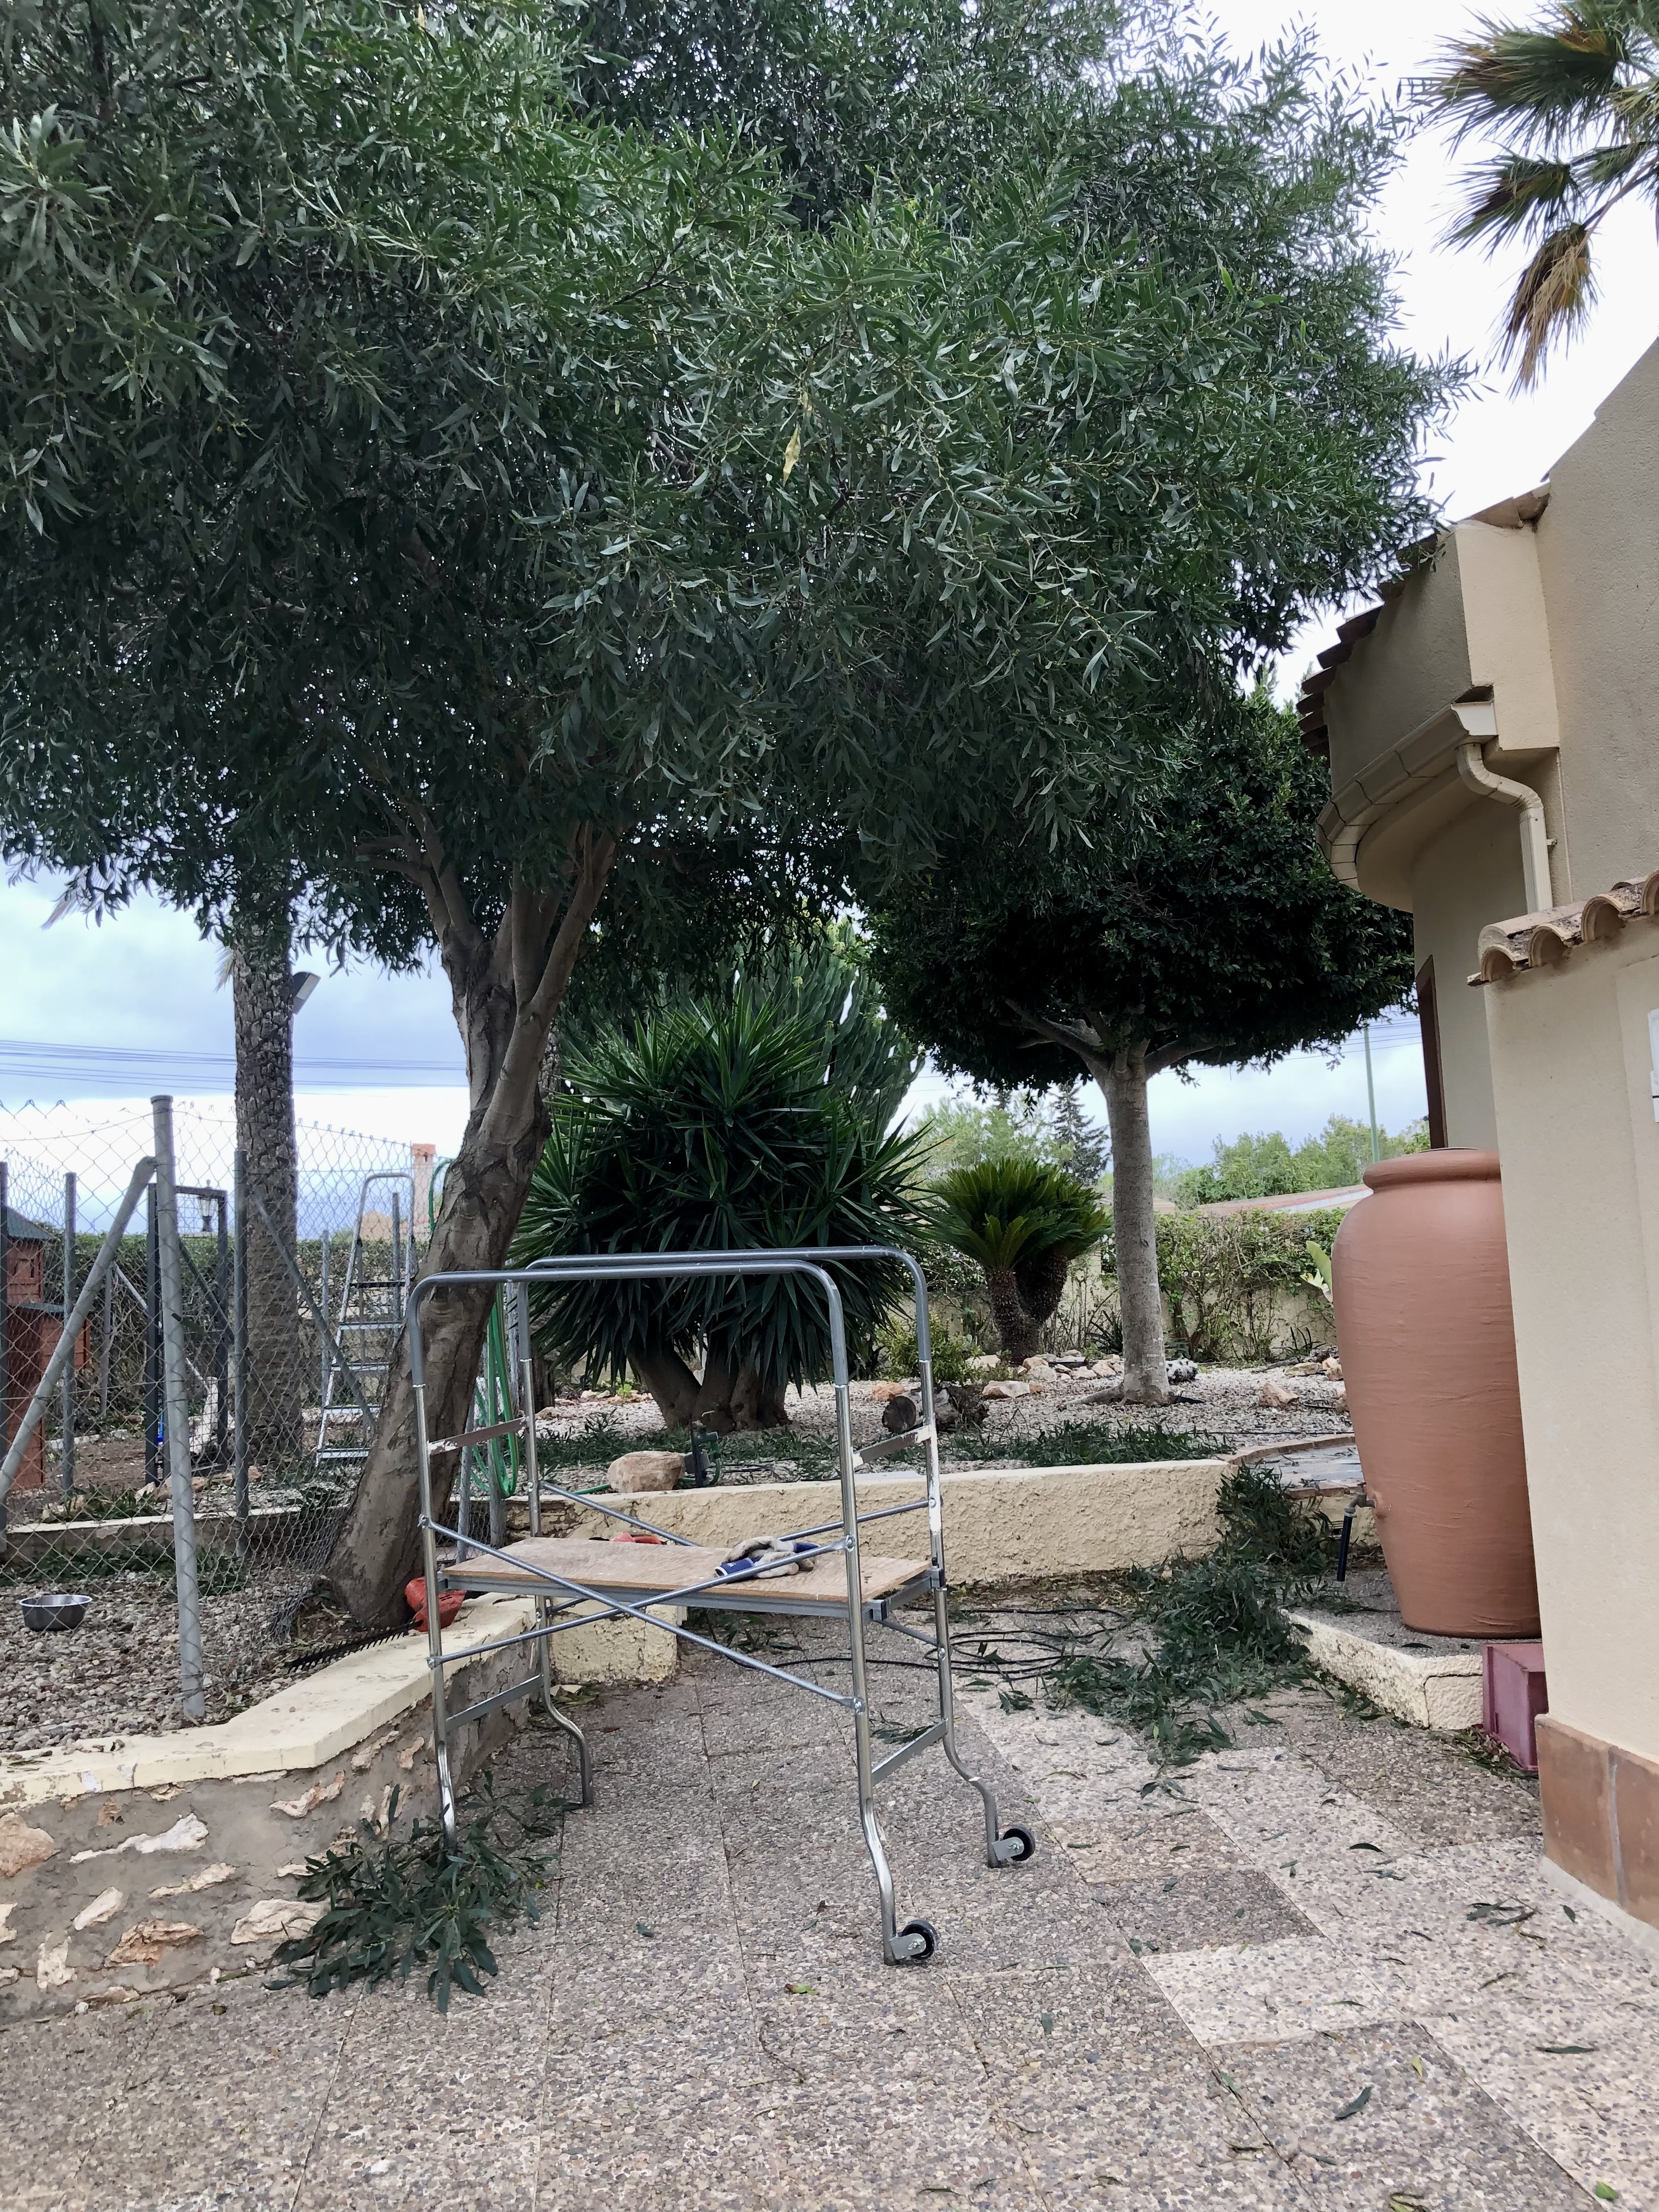
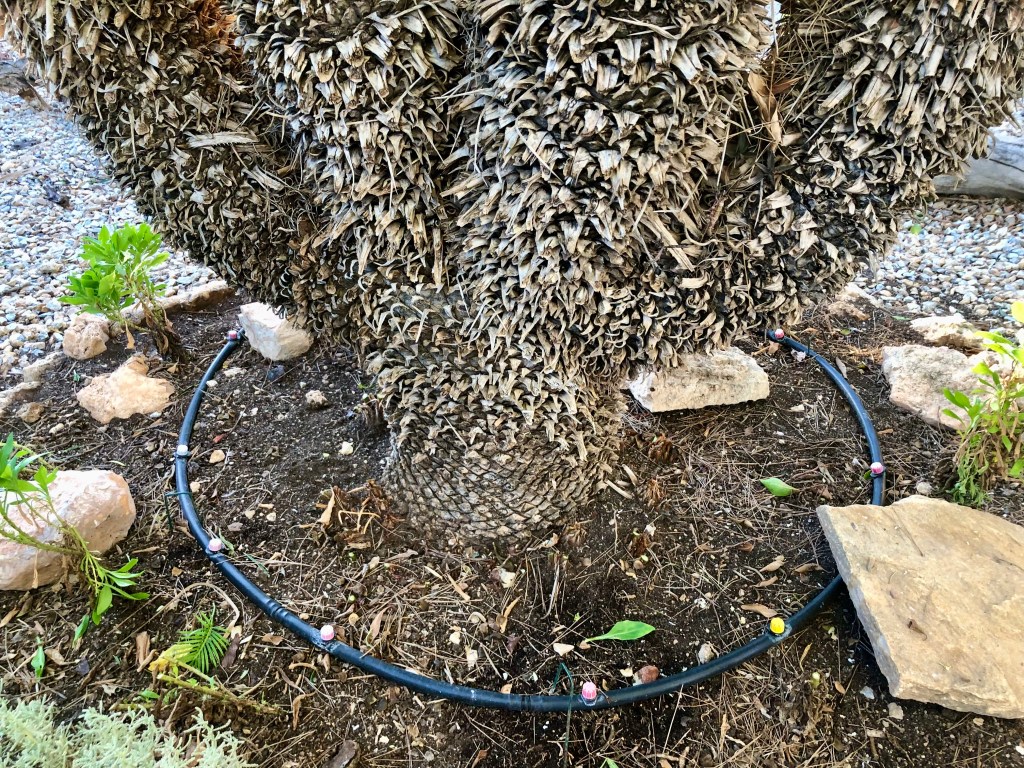
You can start by cleaning up fallen citrus fruit such as oranges and lemons. The recent high winds here in the Costa Blanca has meant we have lots of fallen fruit. If you leave this fruit on the ground for any length of time then you will get an active green mould growing on it. Left to itself this will release spores which are not very healthy for other plants or us. My efforts to stop a future plague are shown below. Click on each photo for a larger view.

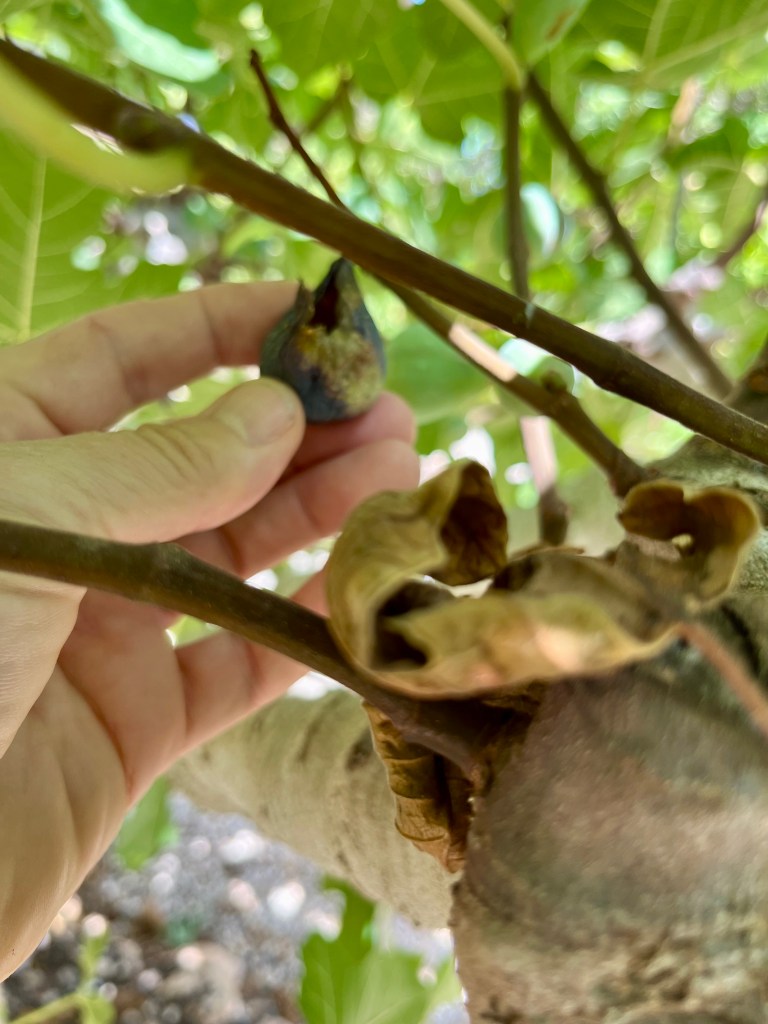
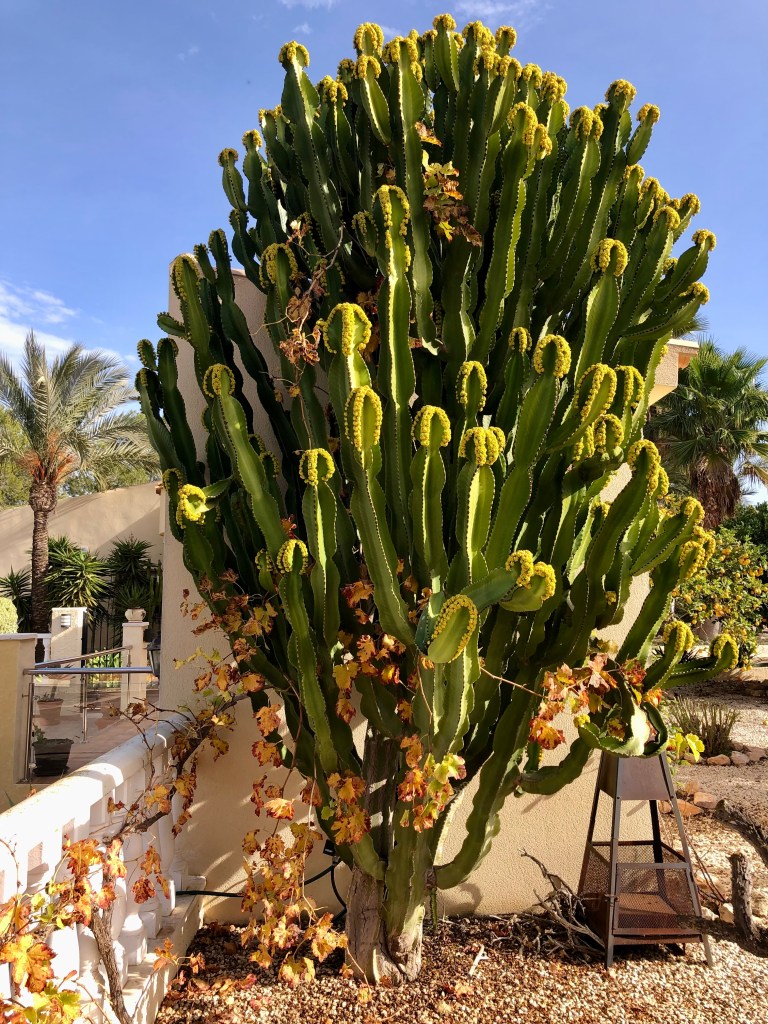
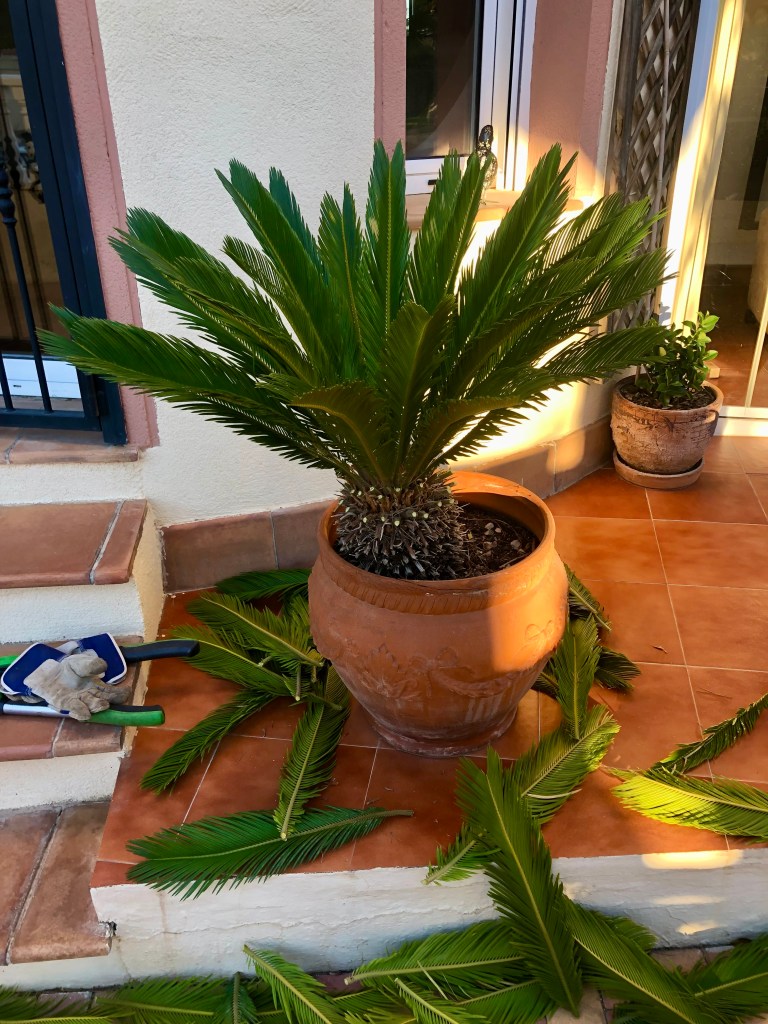
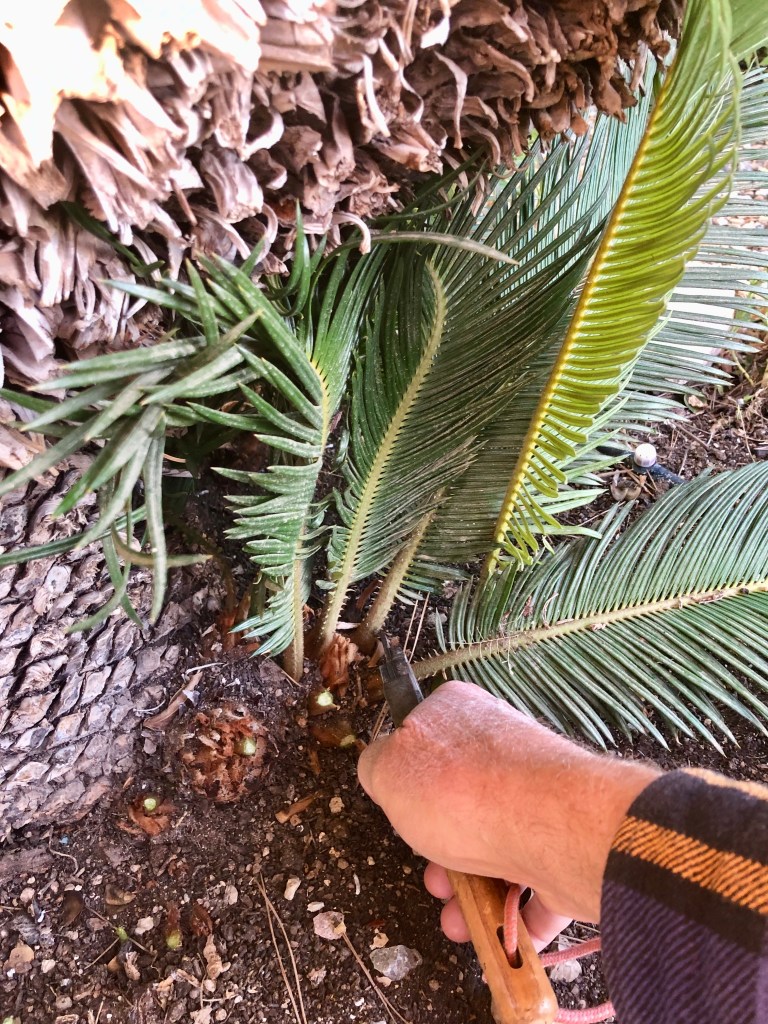
If you have Fig trees that still have residual fruit, just take them off. Any fruit left on your trees will never mature and will only take strength away from the tree. With figs the sap will not yet have been drawn back into the roots so be careful you don’t get a sap burn.

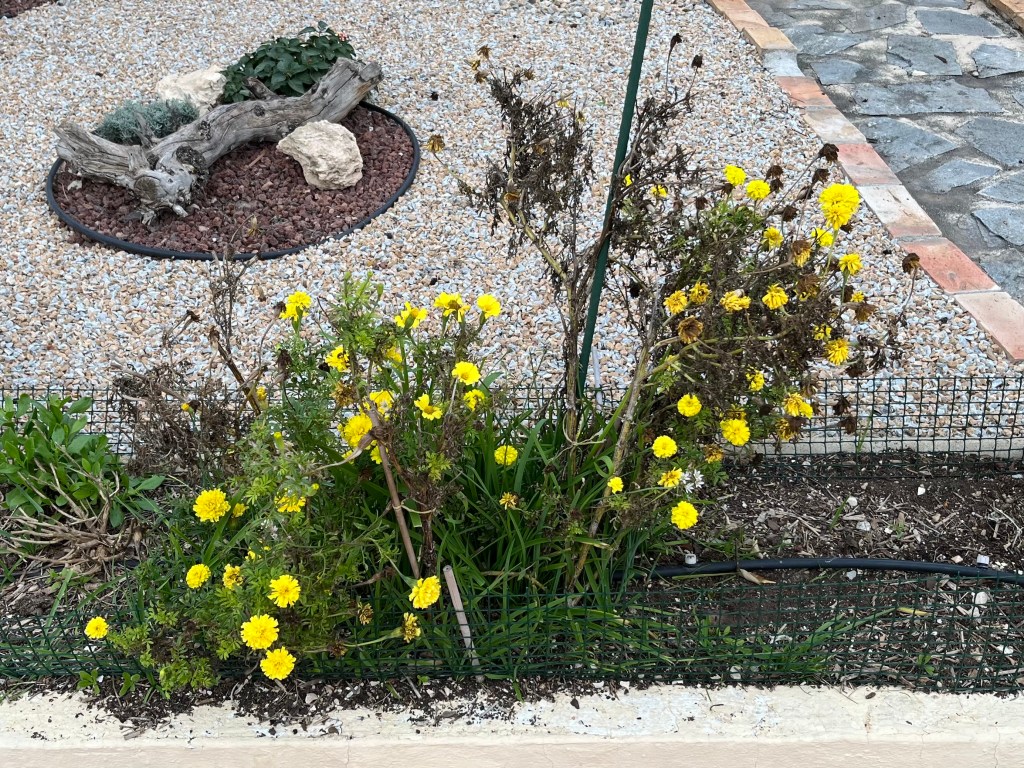
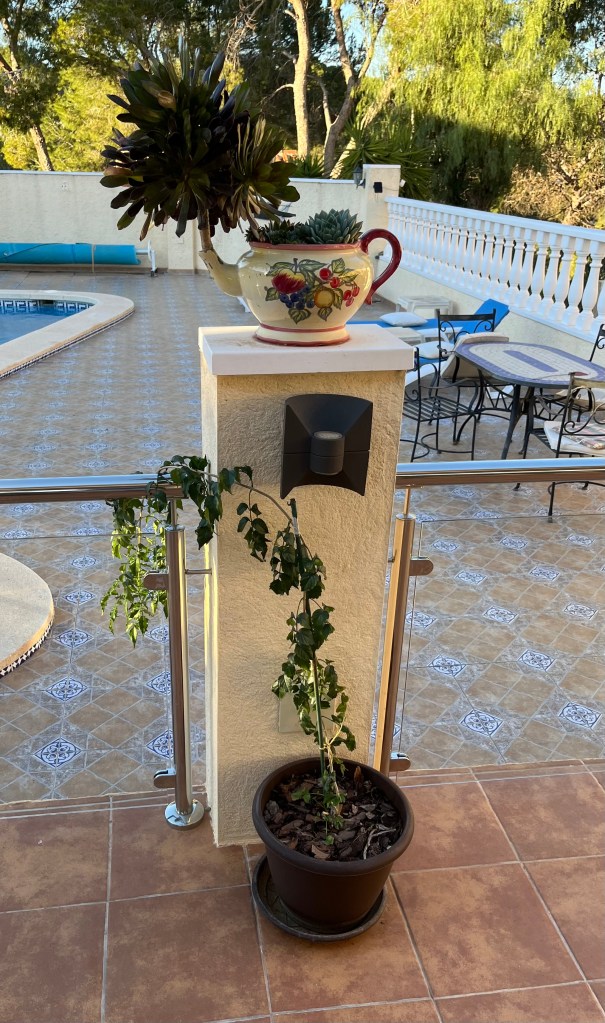
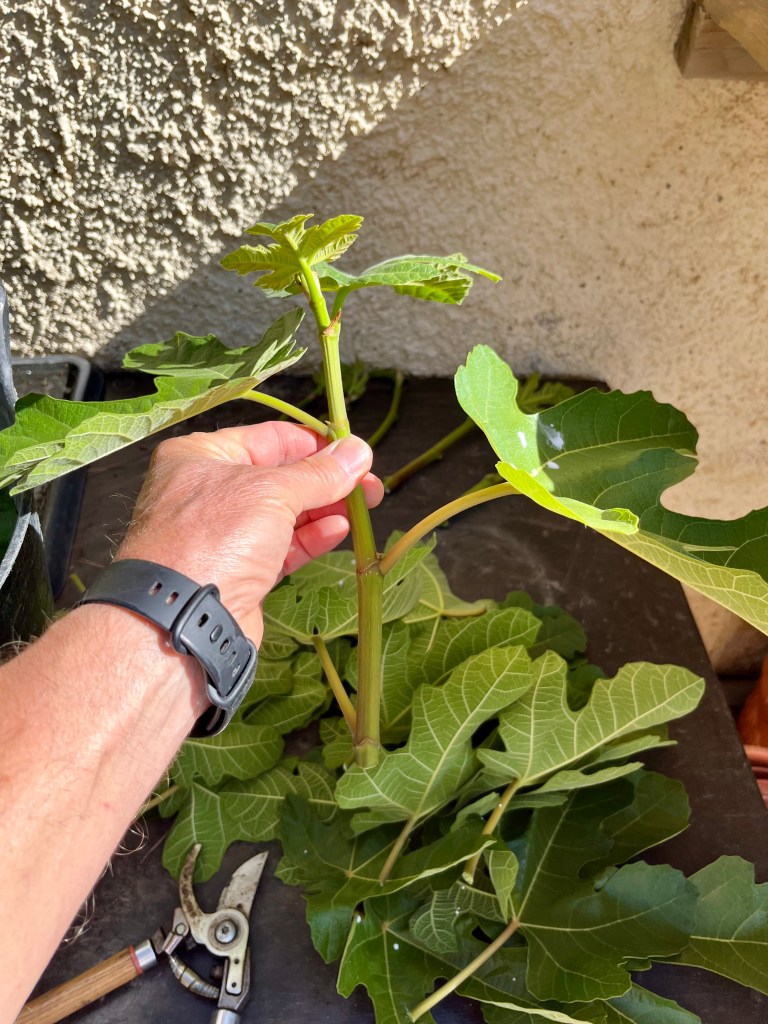
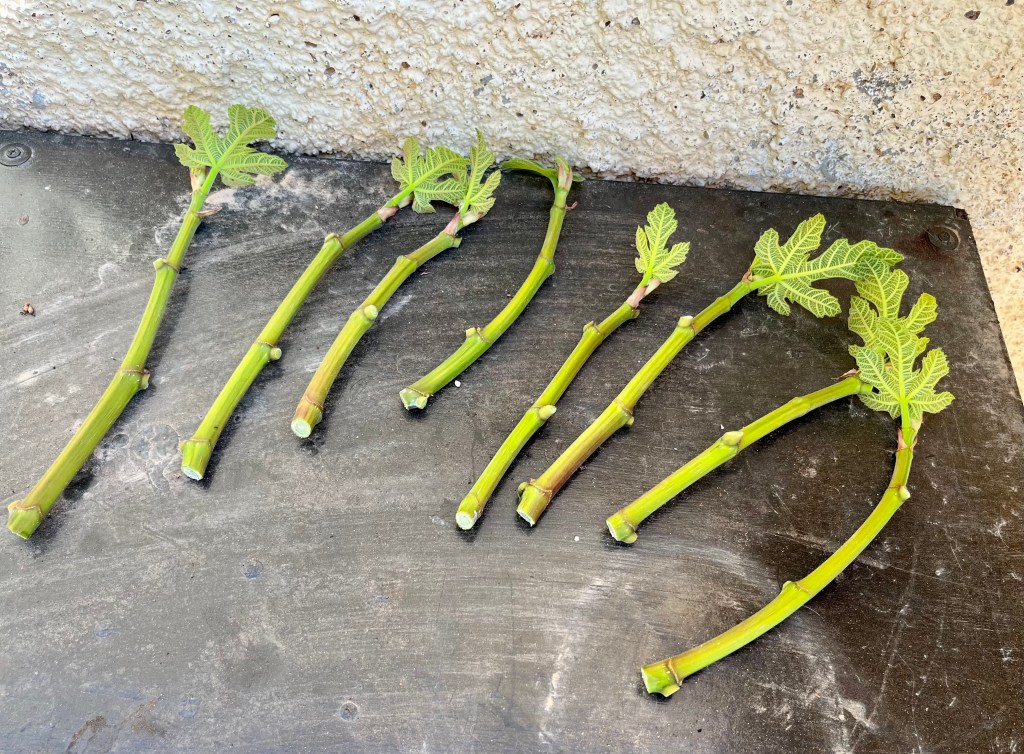
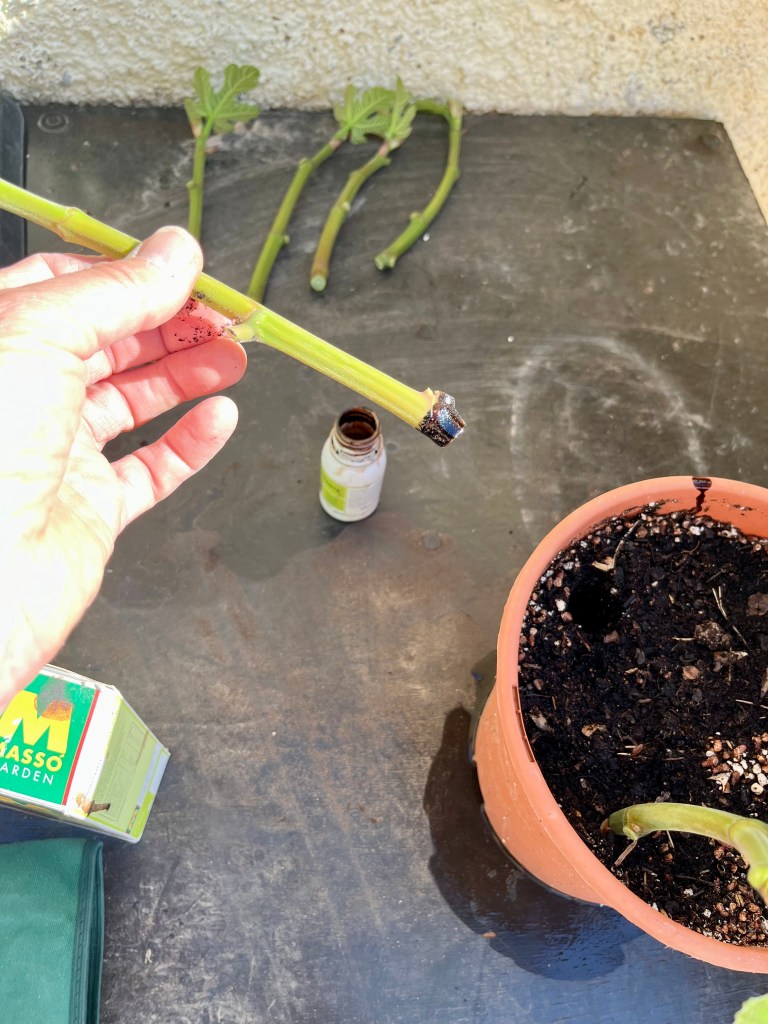
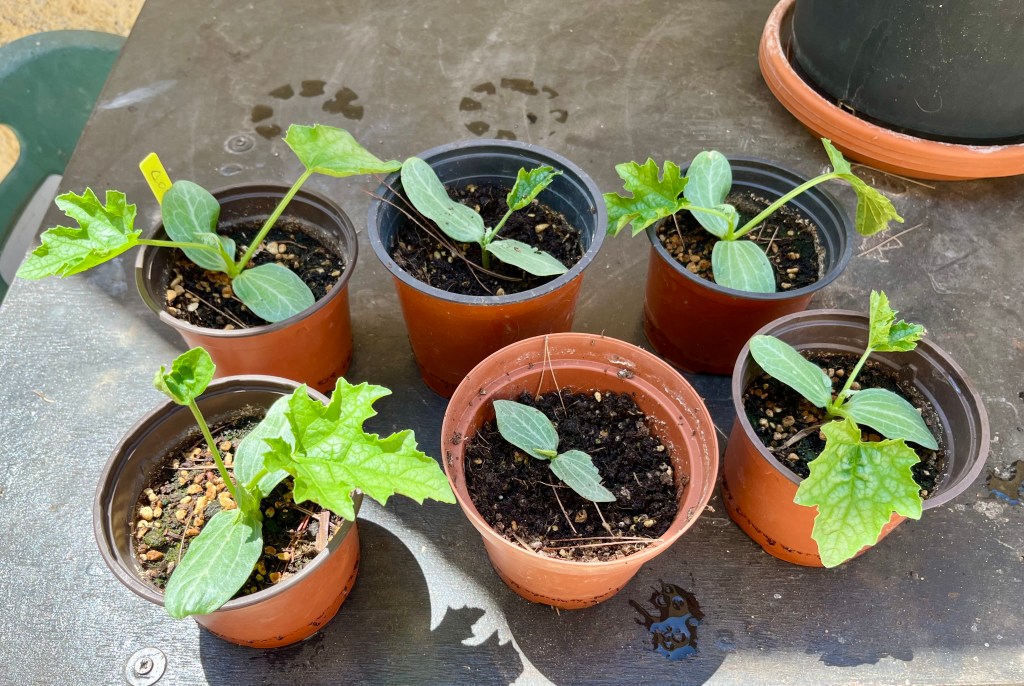
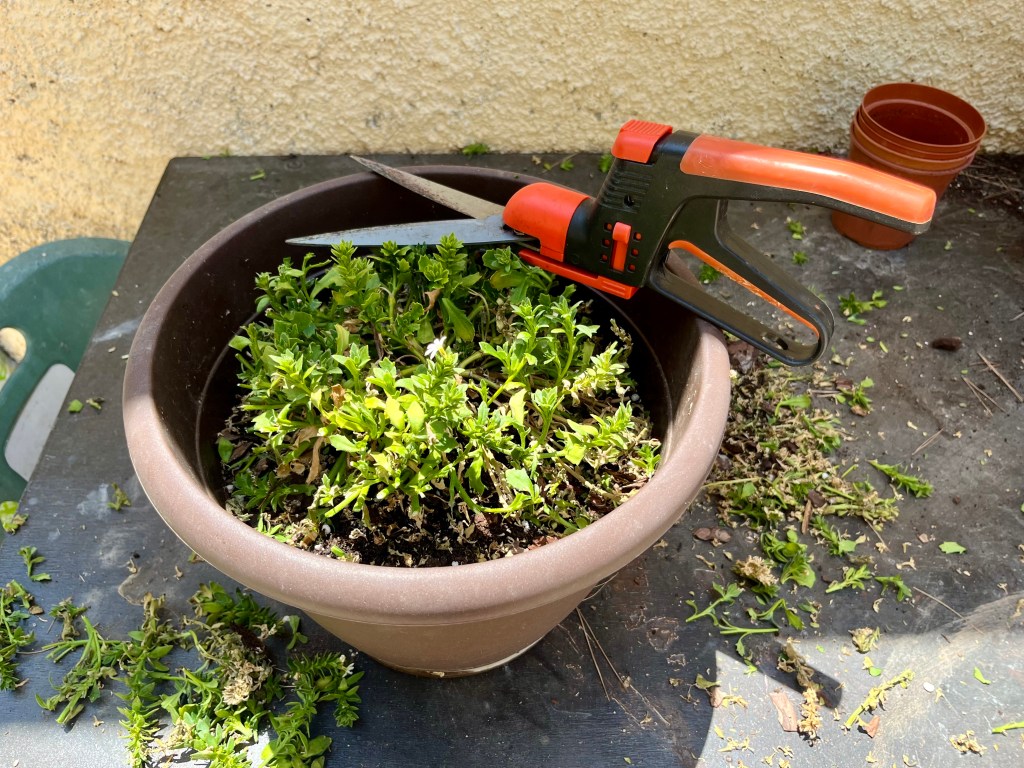
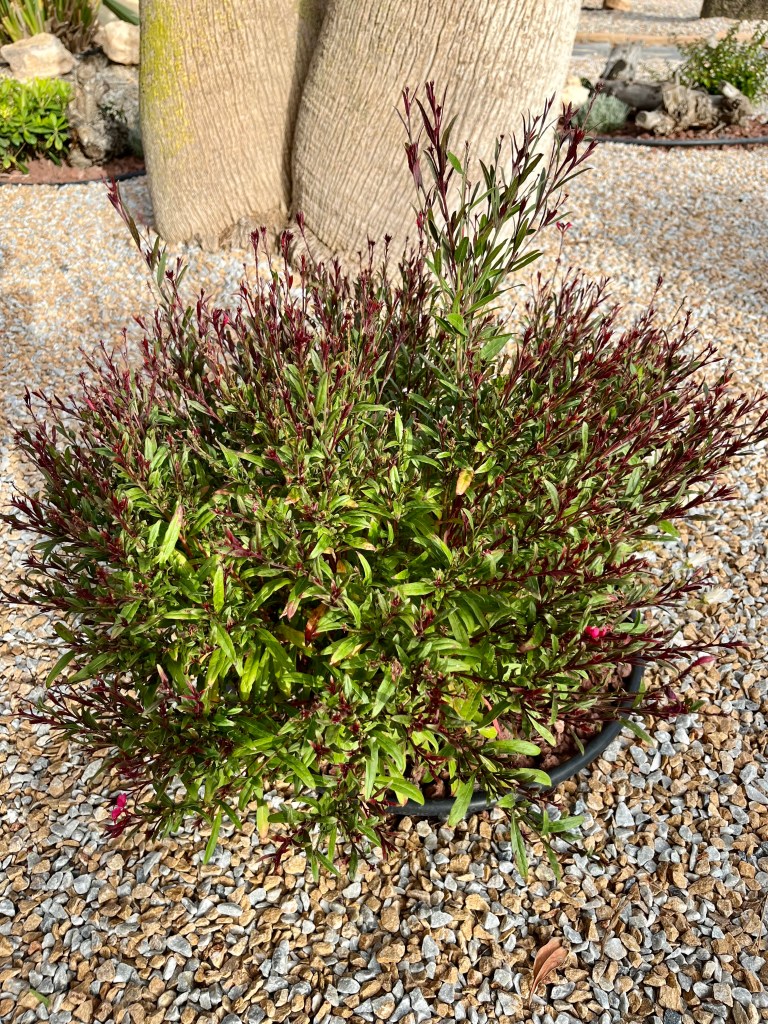
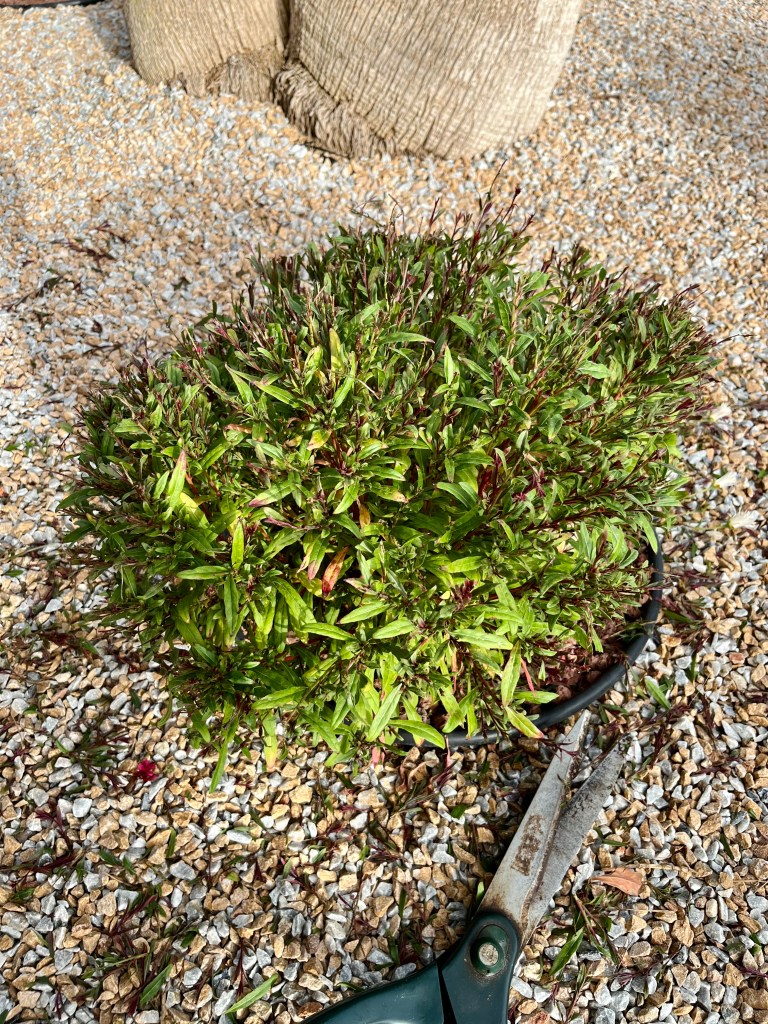
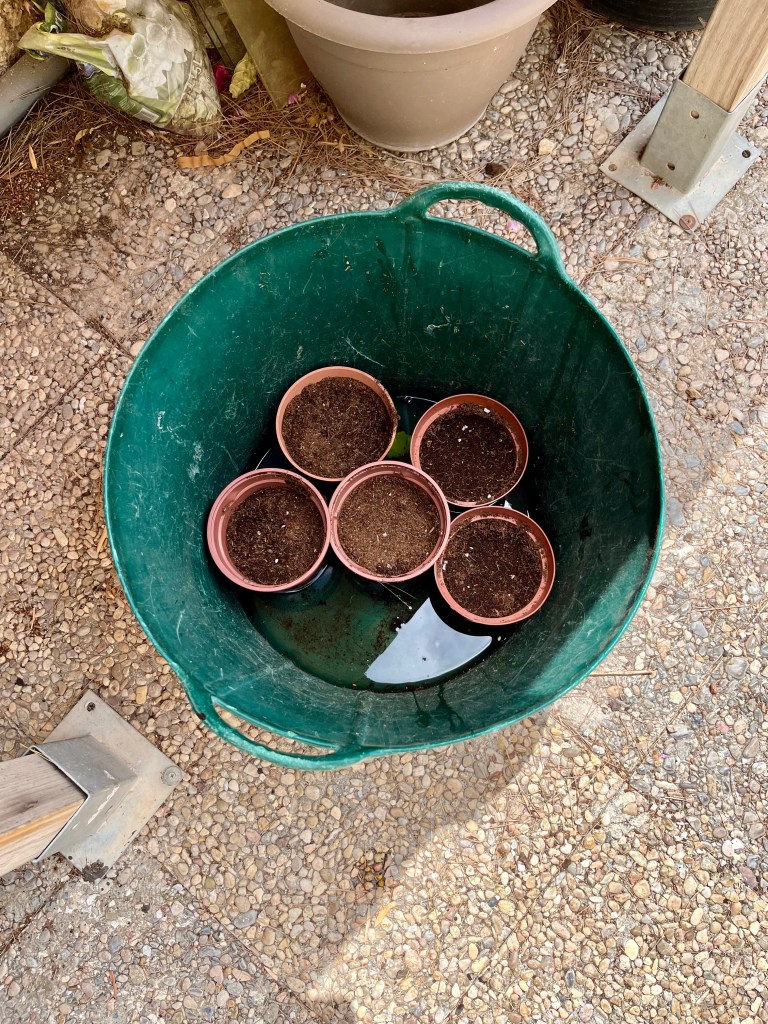
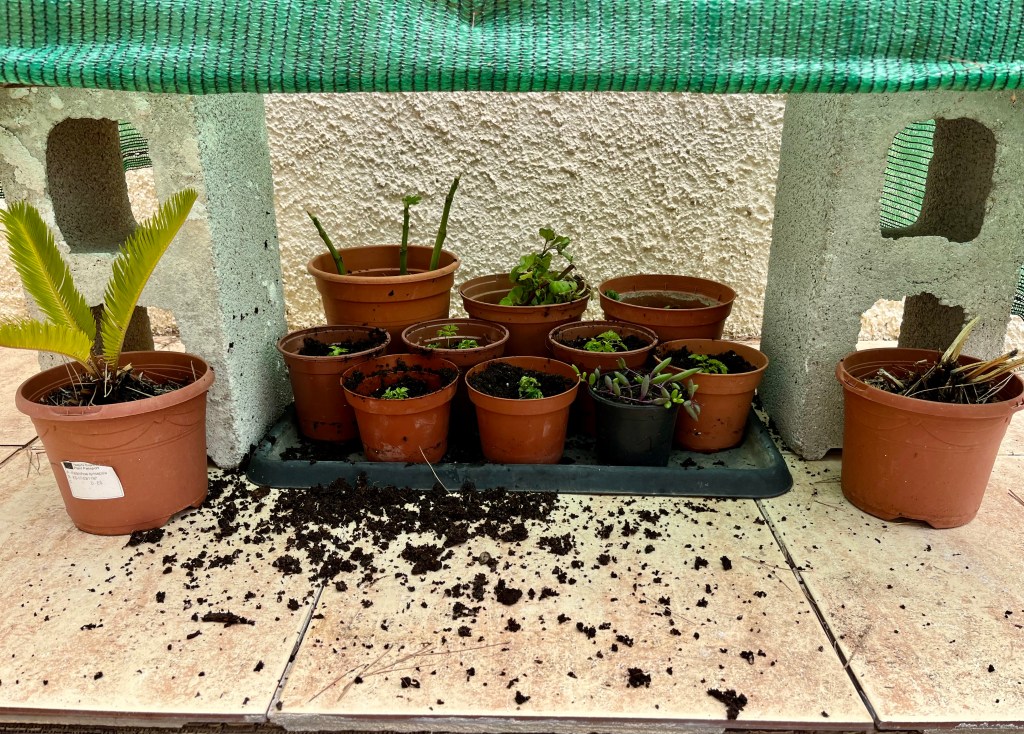
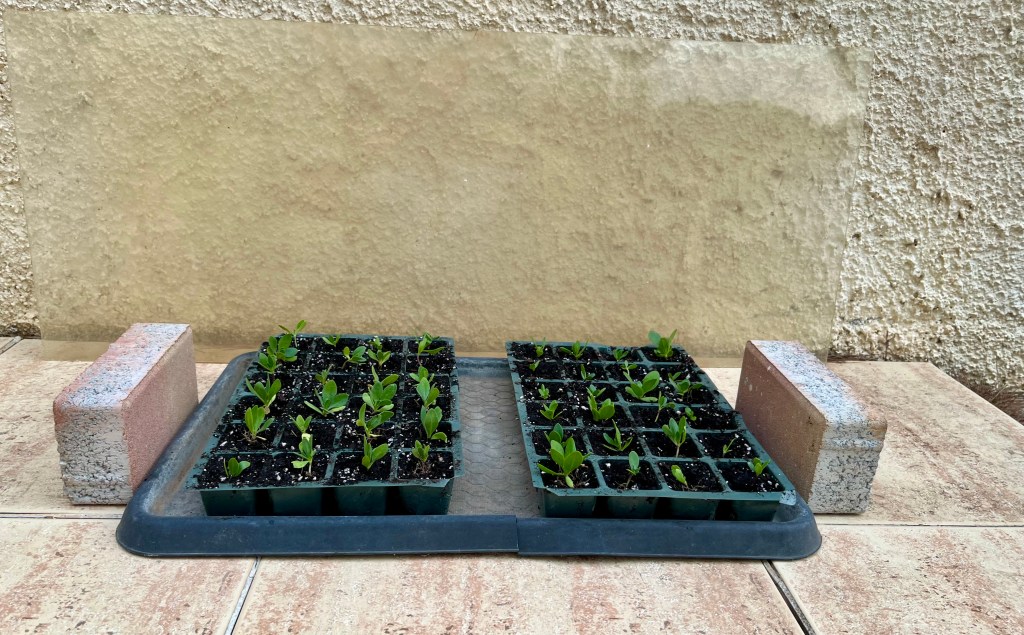
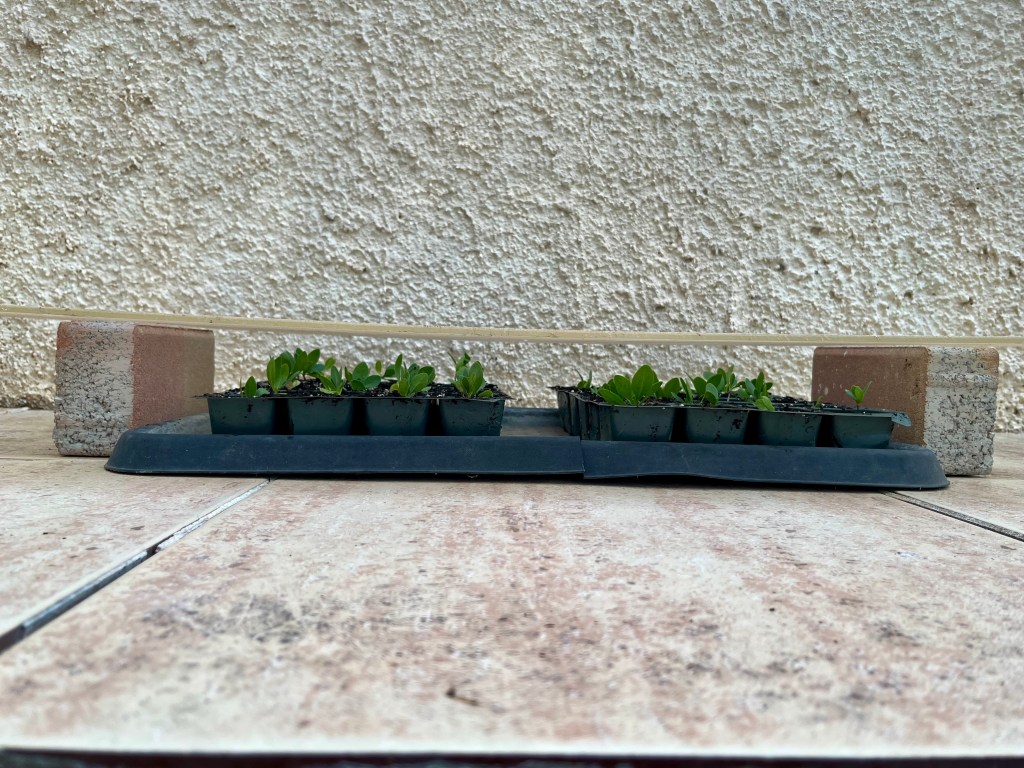
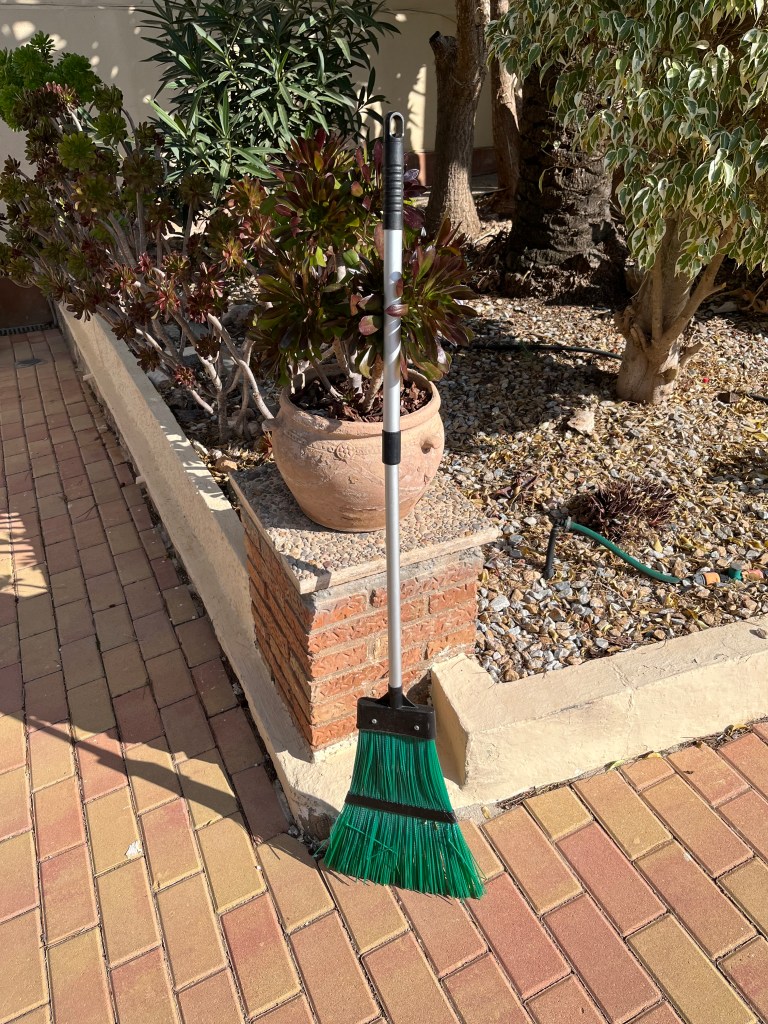
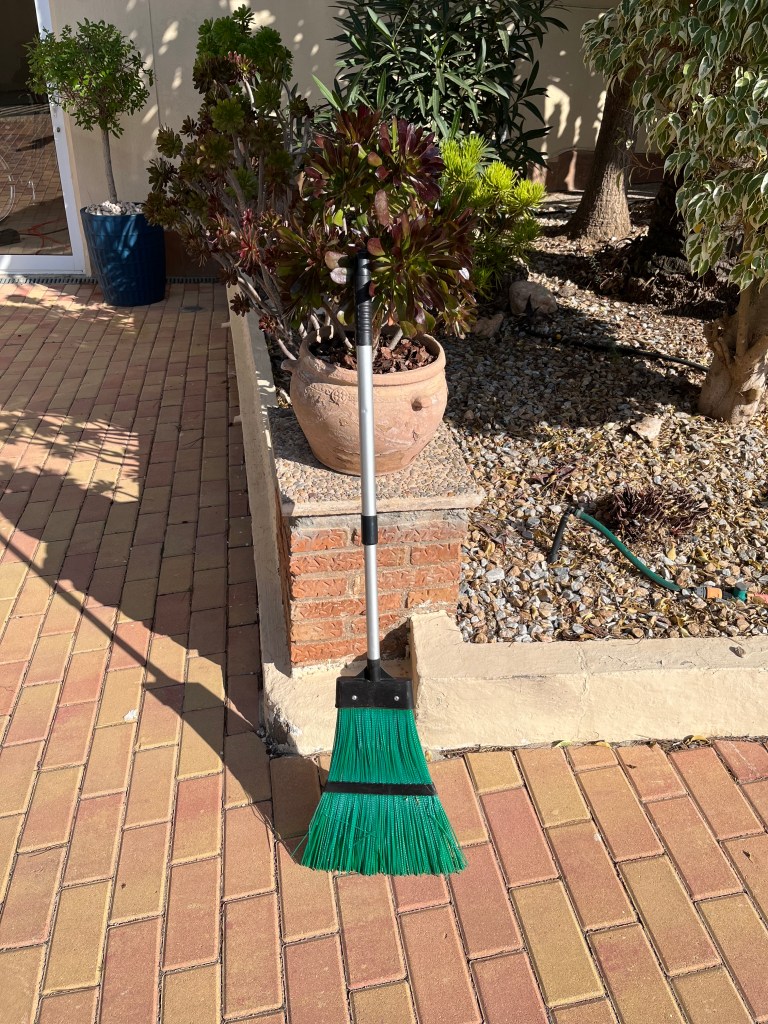
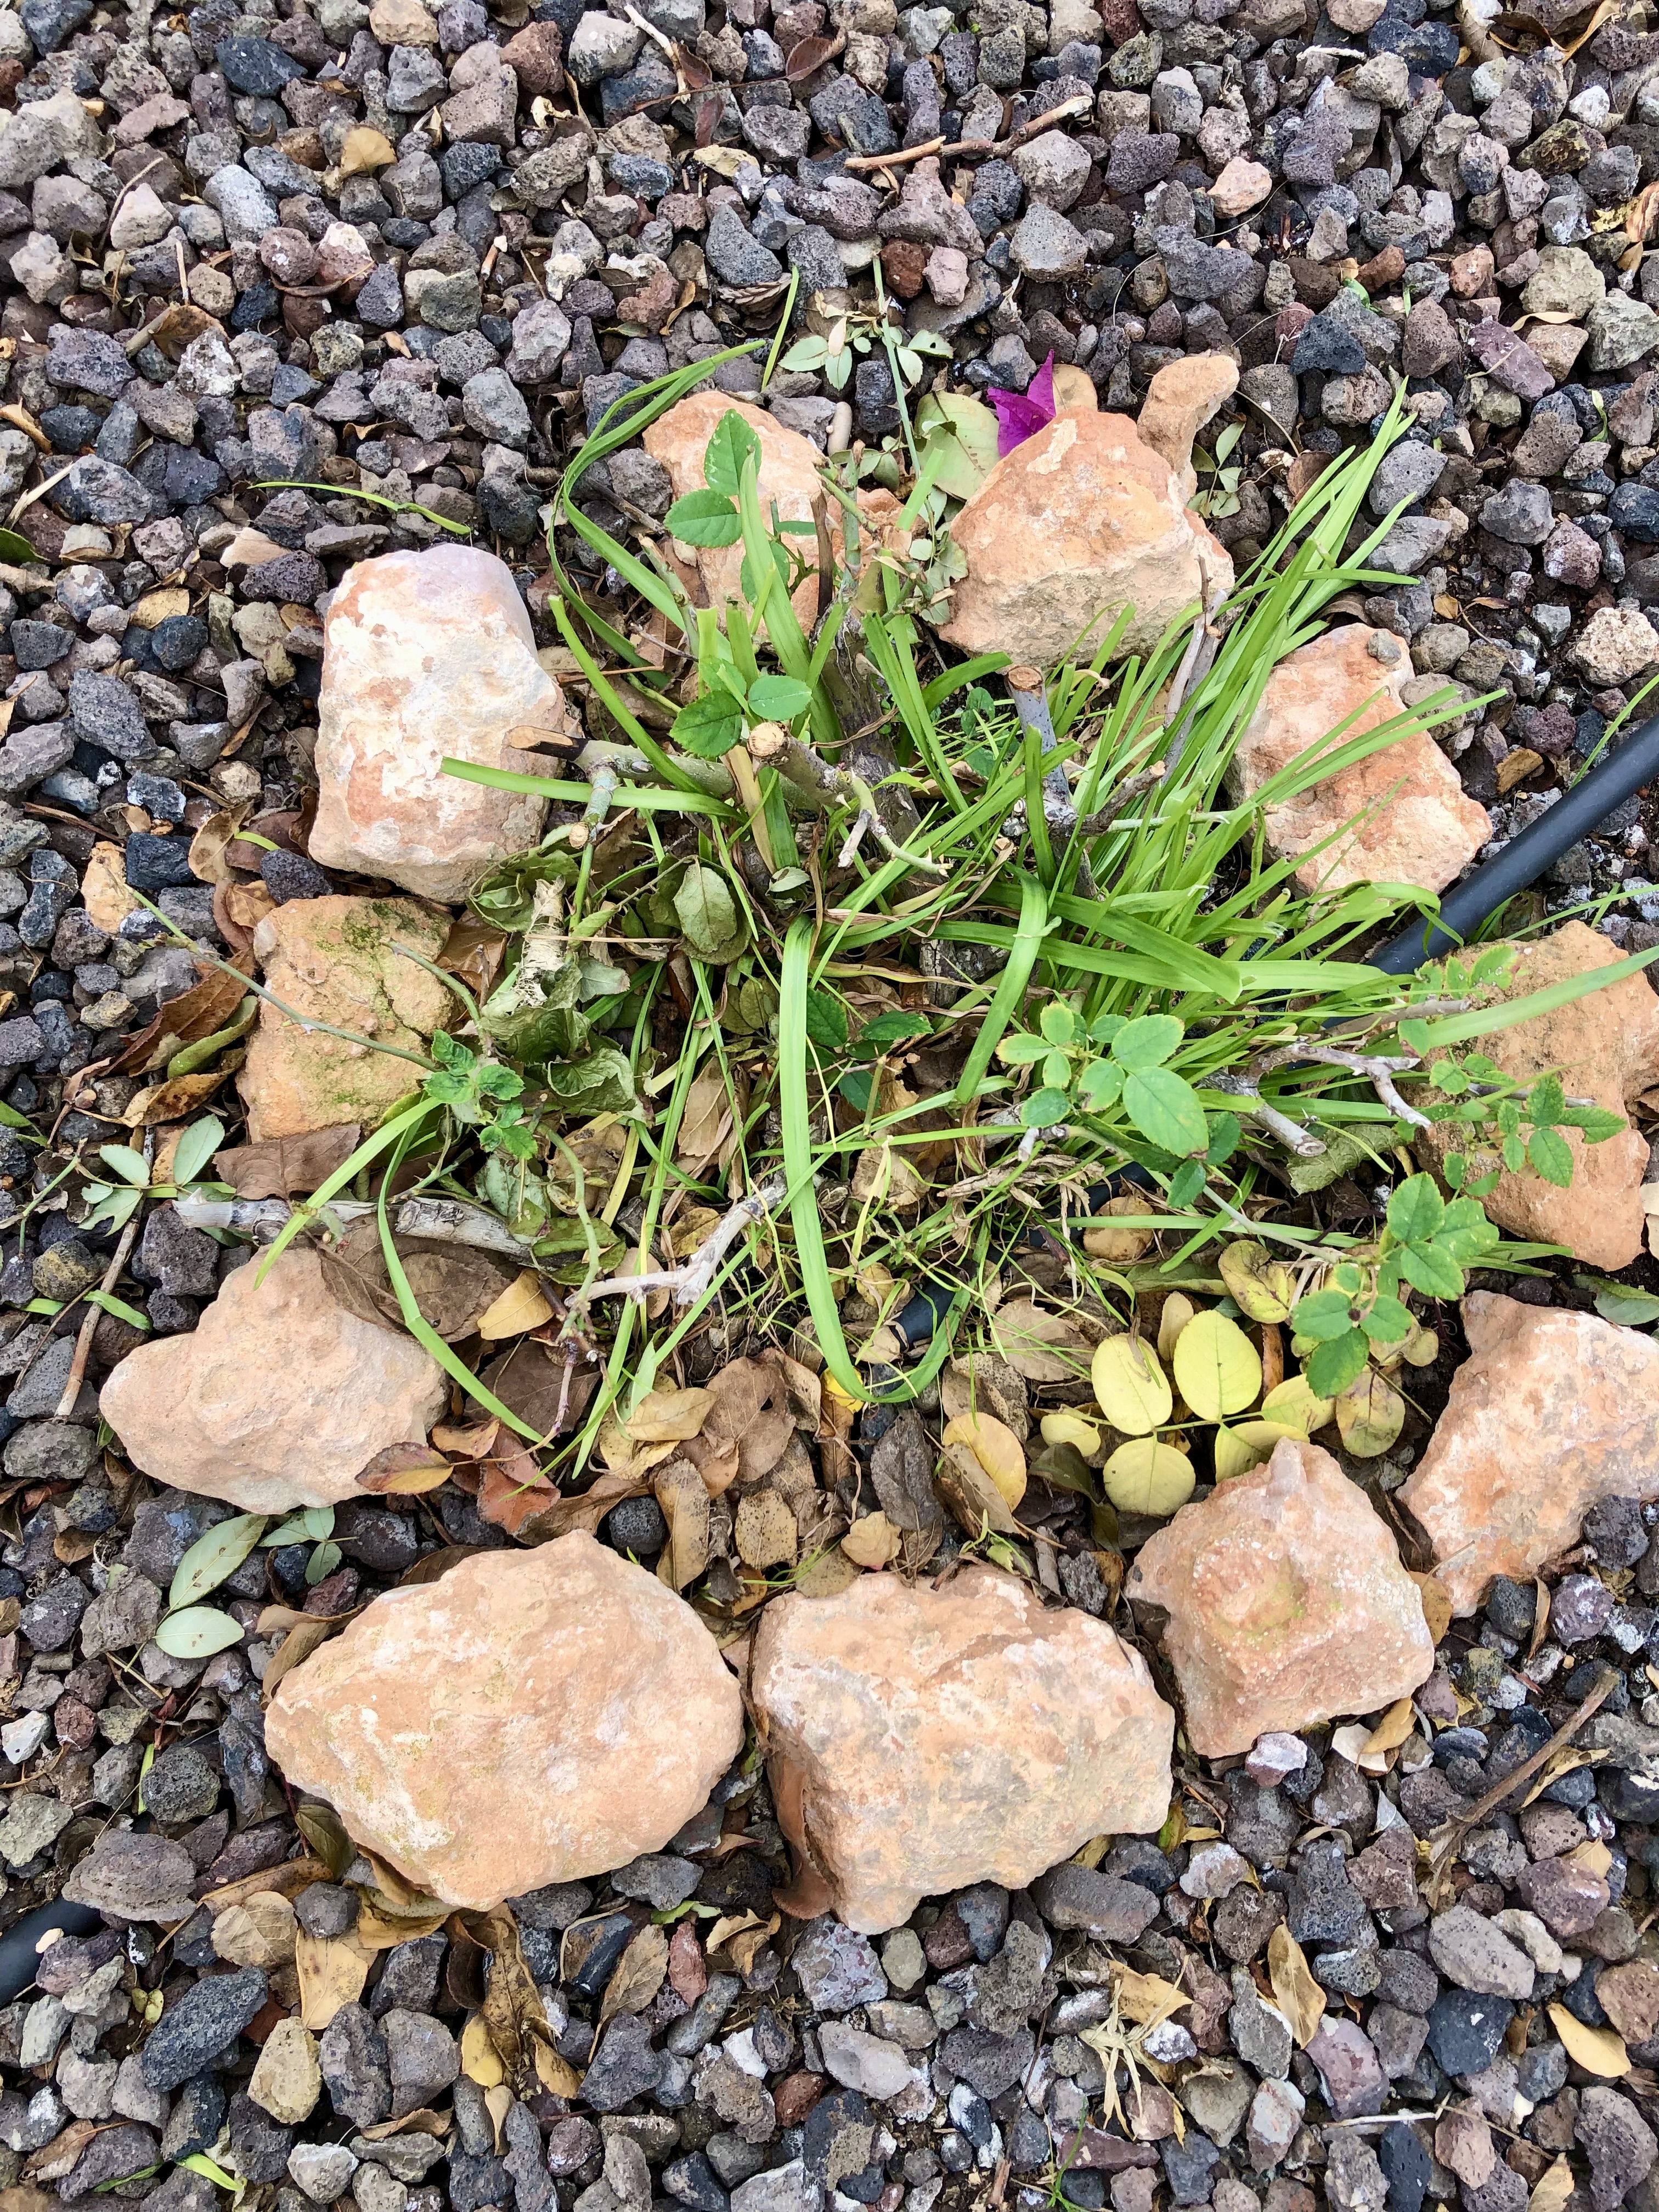
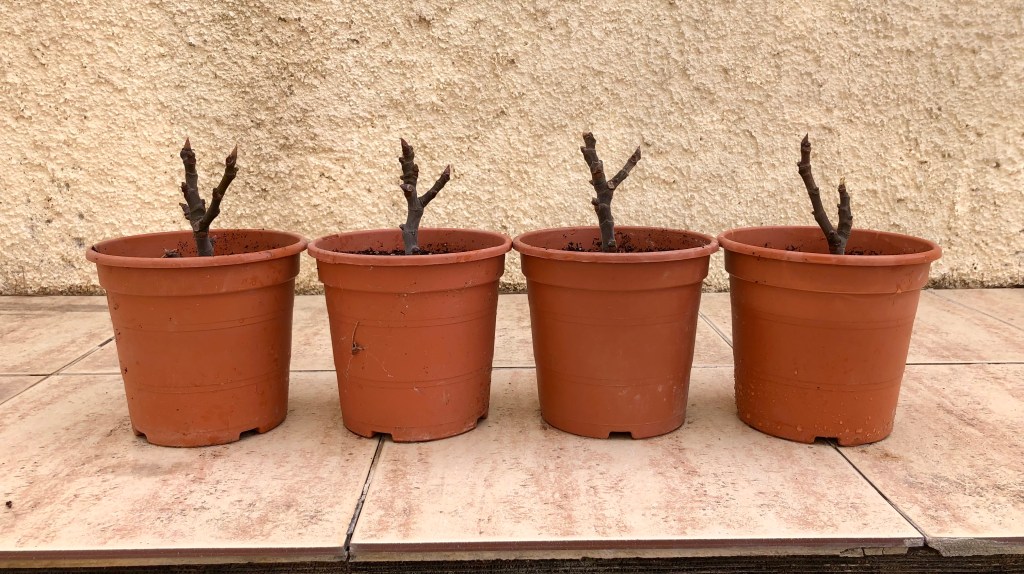
Planting out cuttings. If you have any cuttings you have grown out, then now is a good time to get them in the ground. There is still warmth and moisture in the ground so it will not be a great shock.
I have grown a number of cuttings over the Spring and Summer. During the Summer I mostly just dot these around the garden in pots, just to see how they get on. By now I will have either put them into larger pots or if they have really performed then they go into the ground.
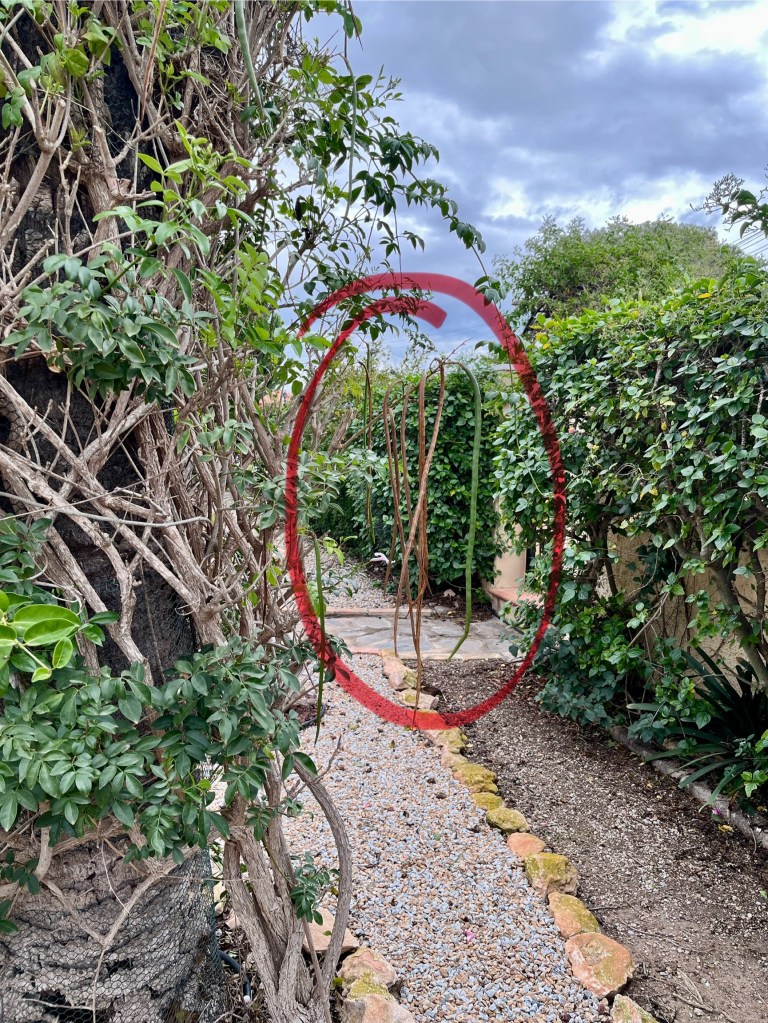
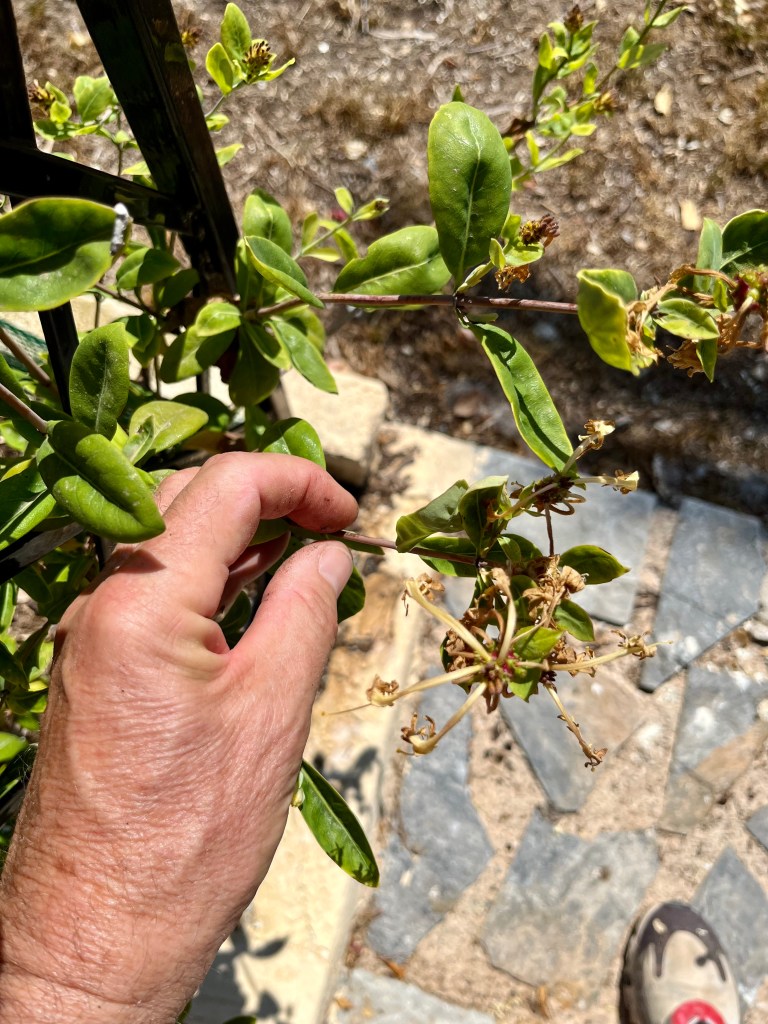
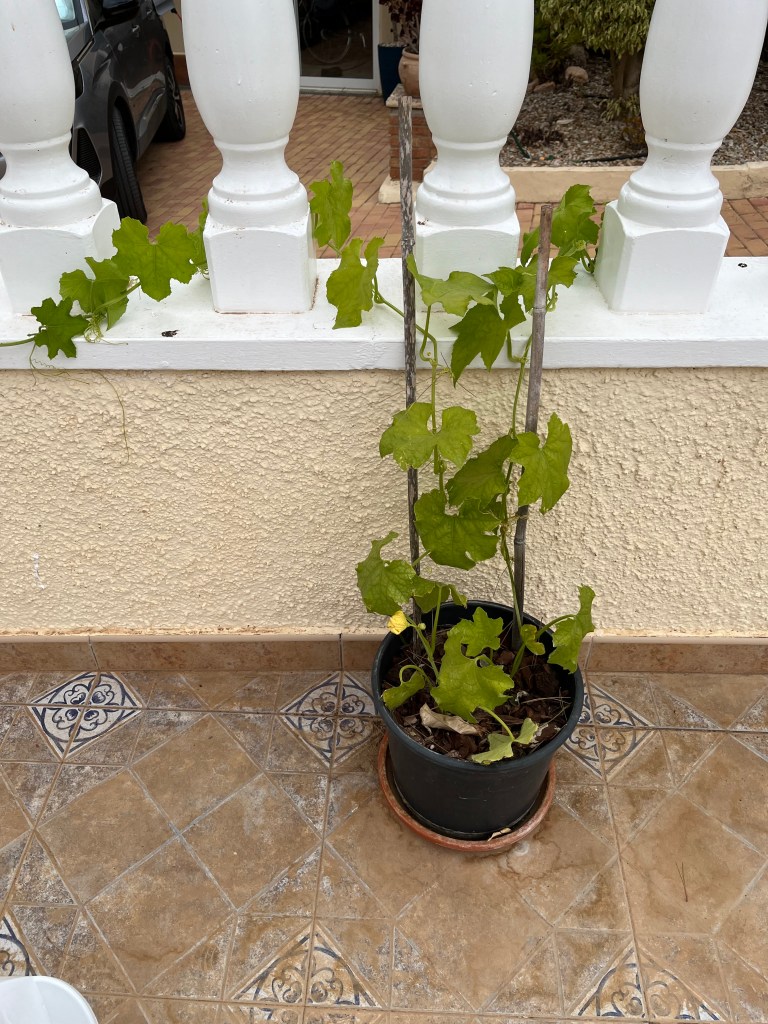
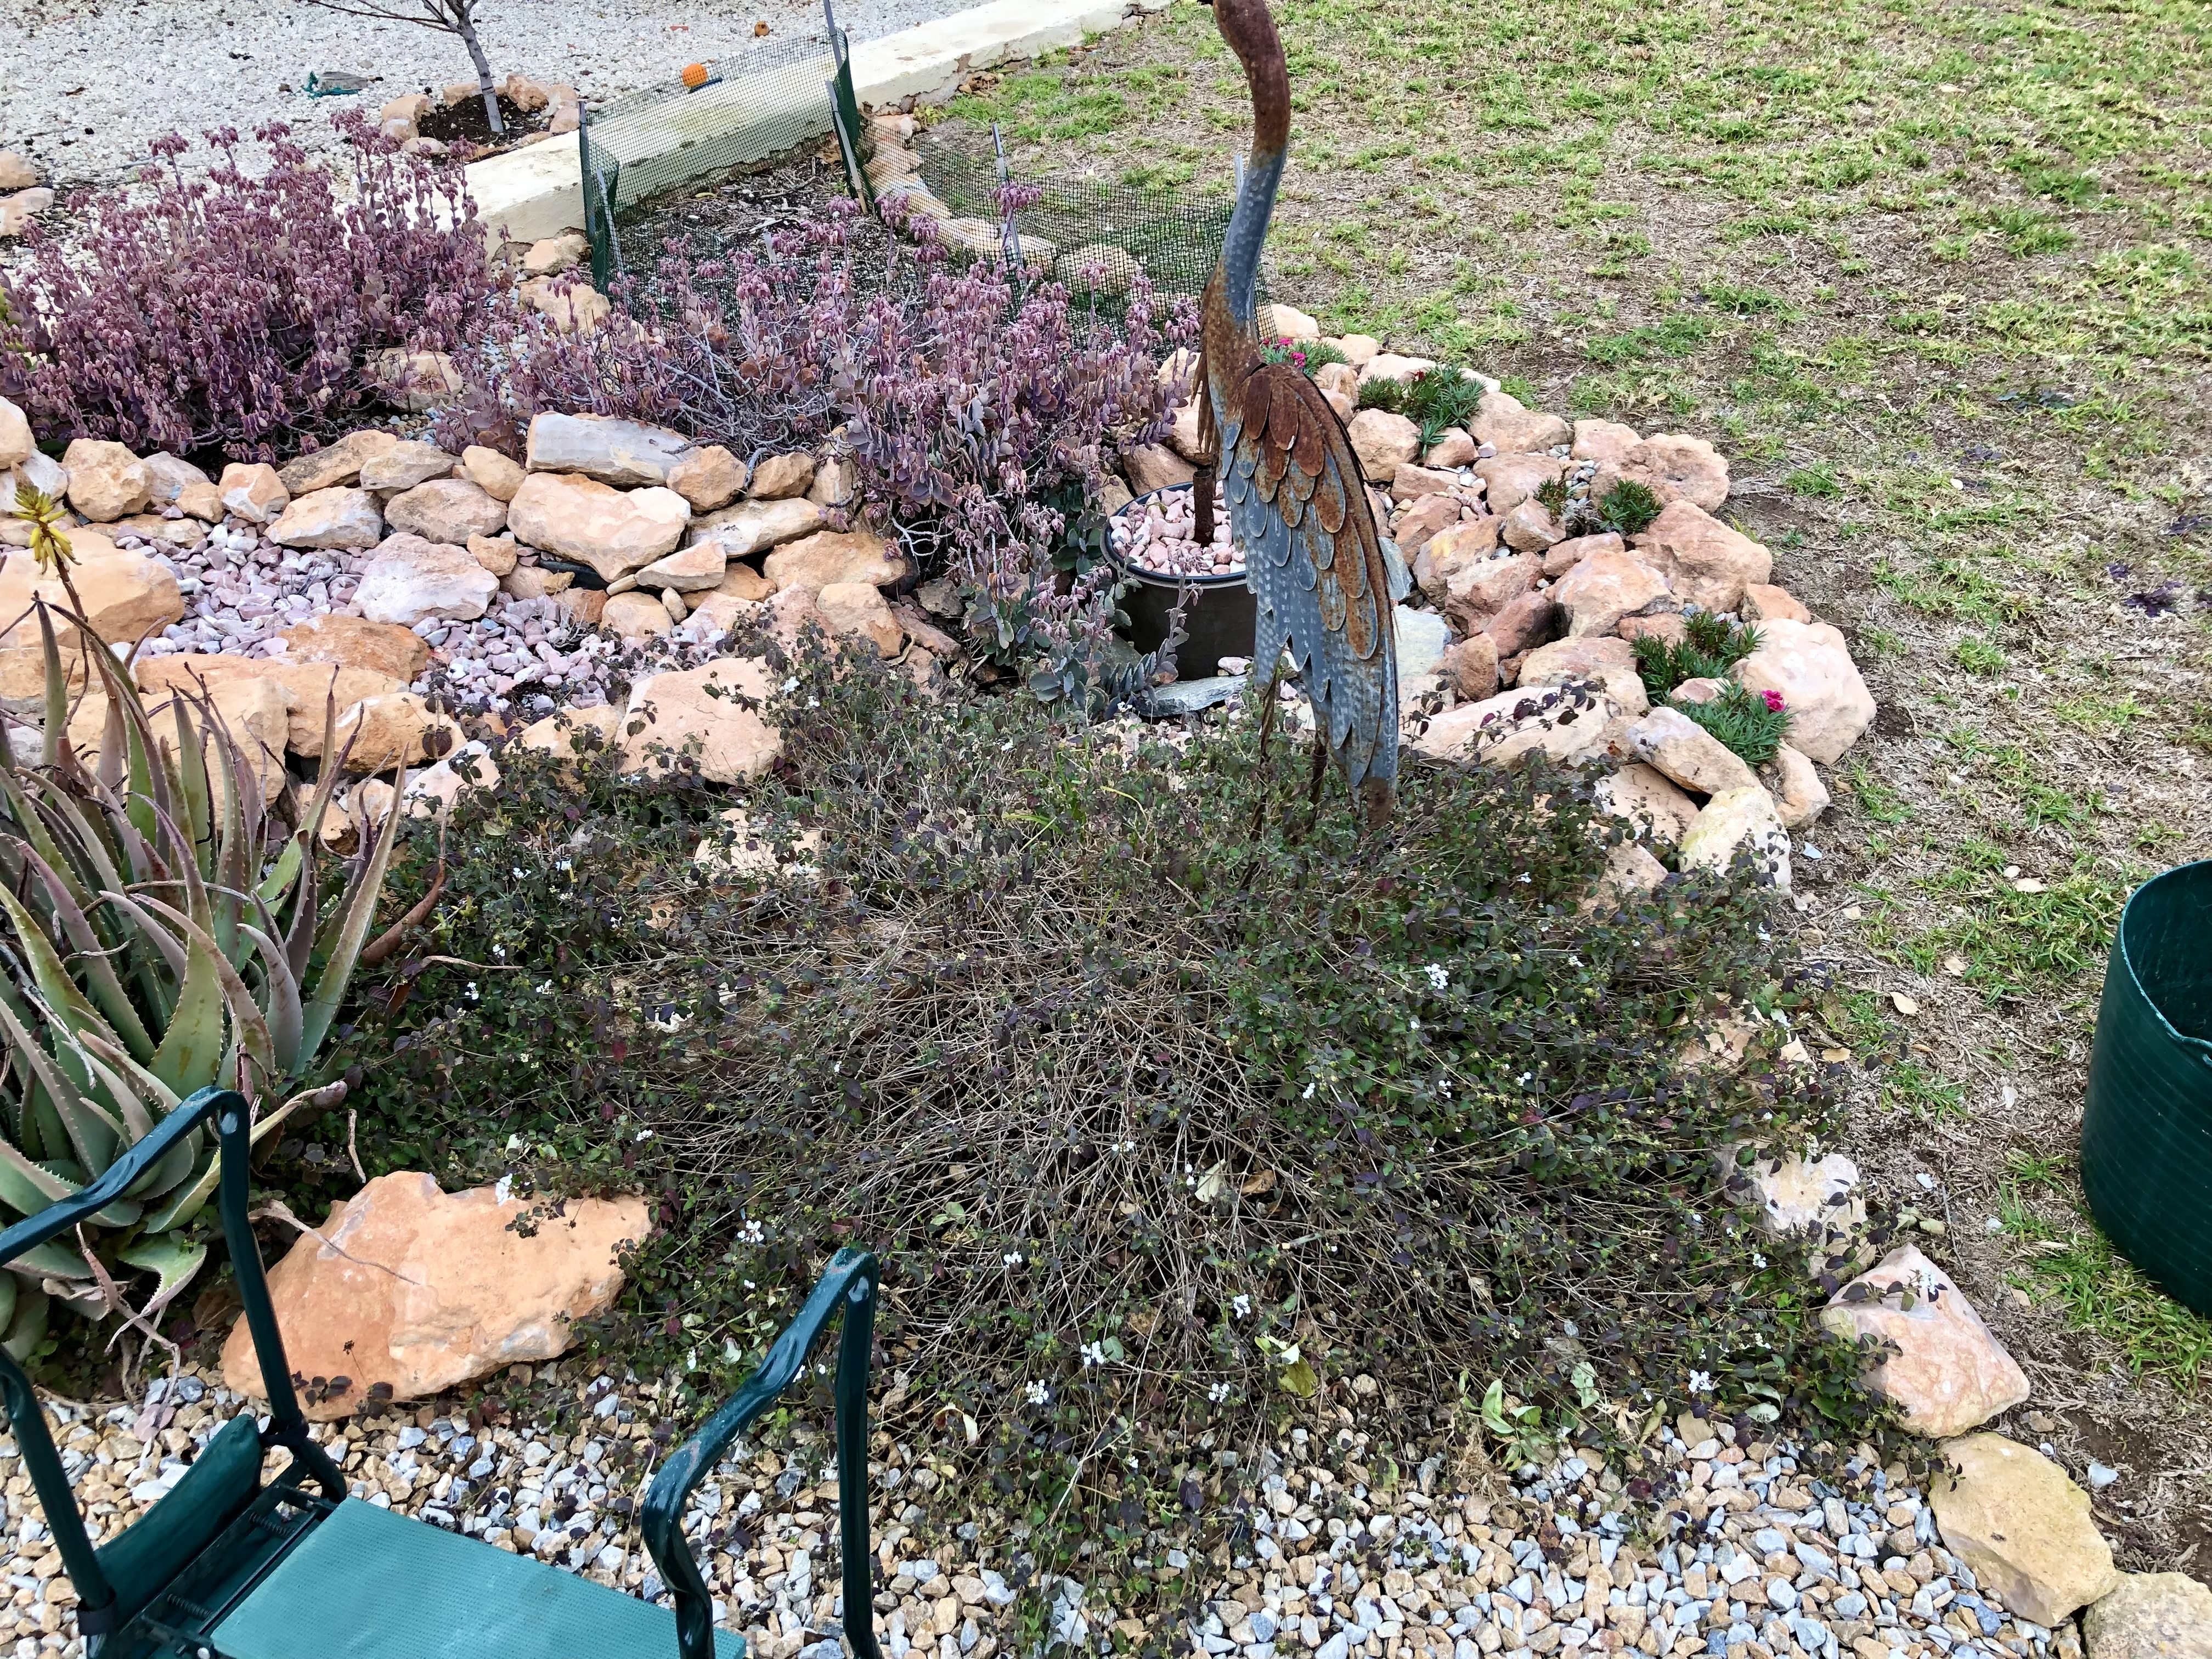
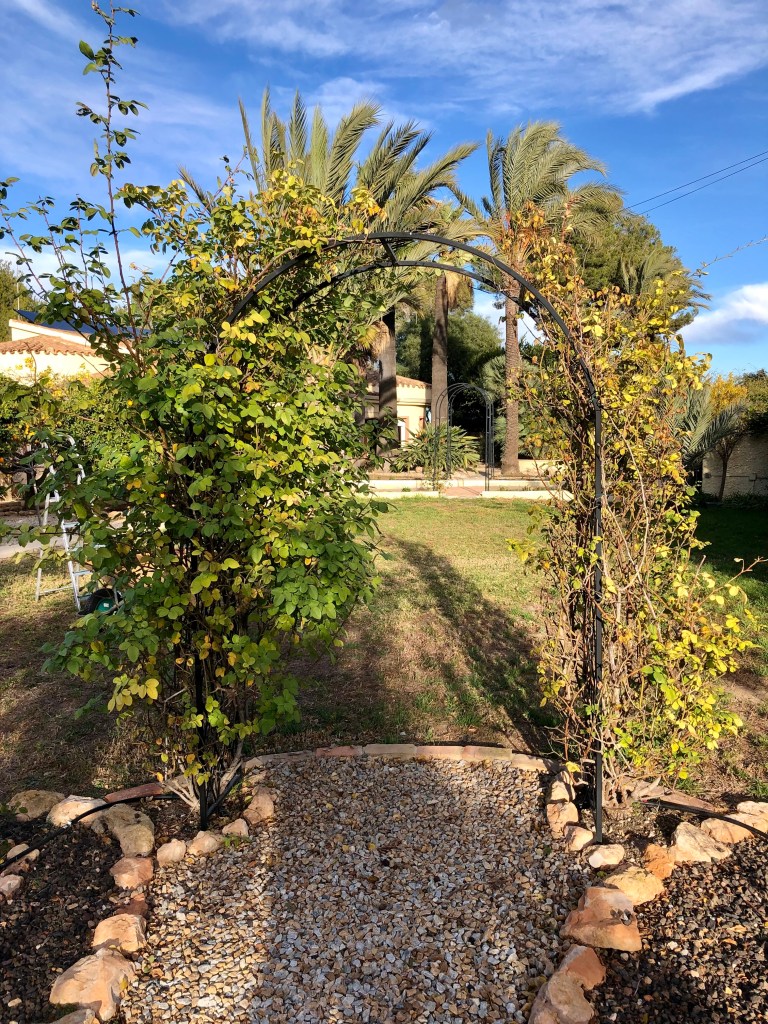
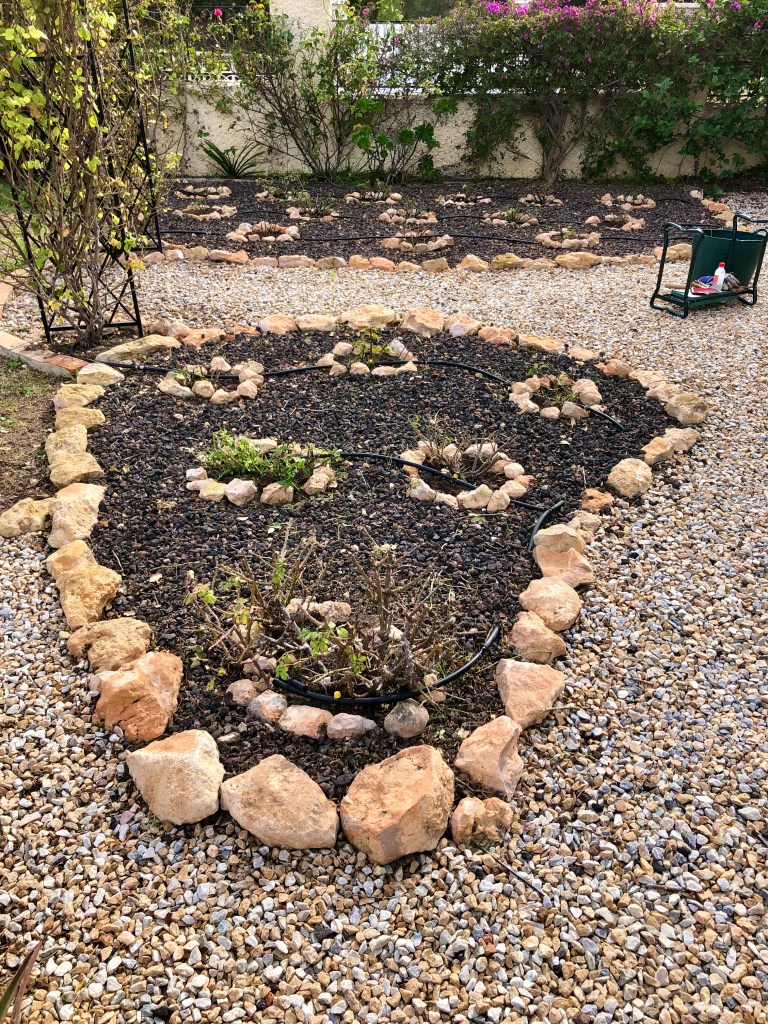
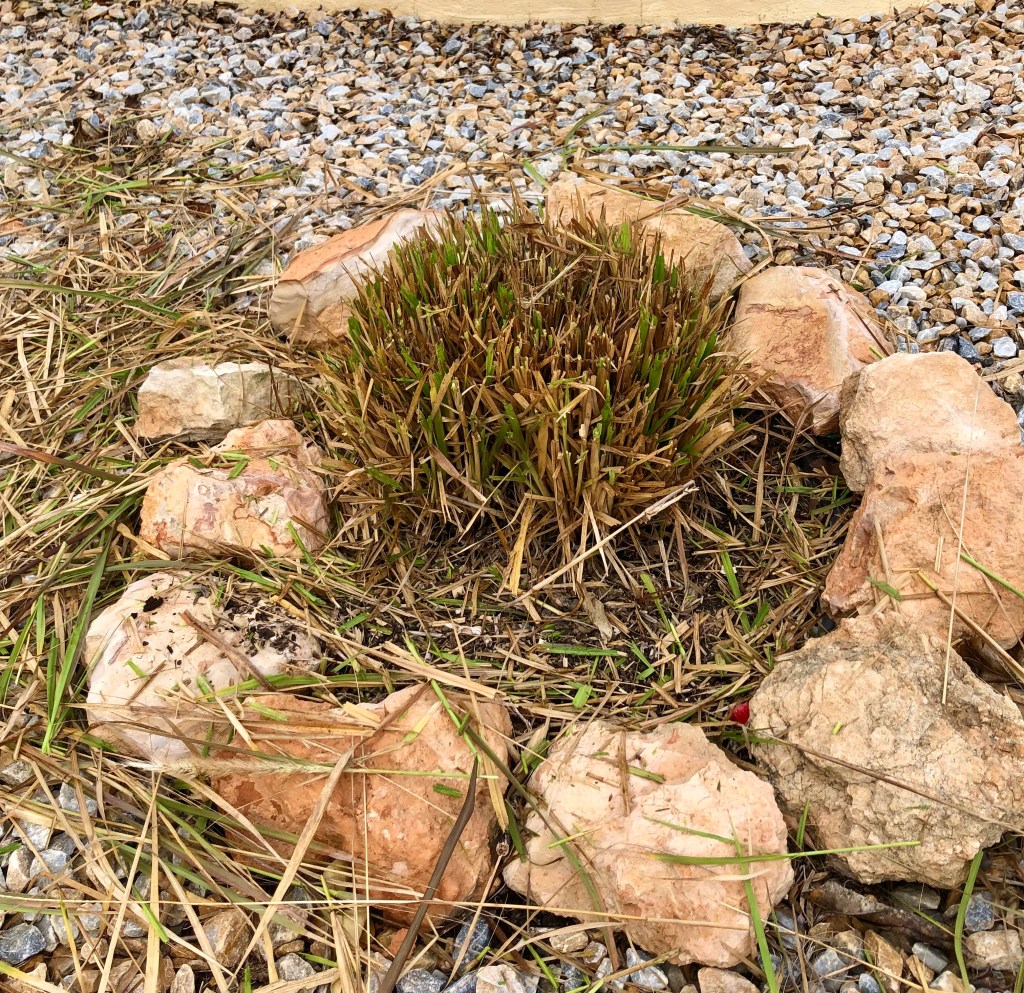
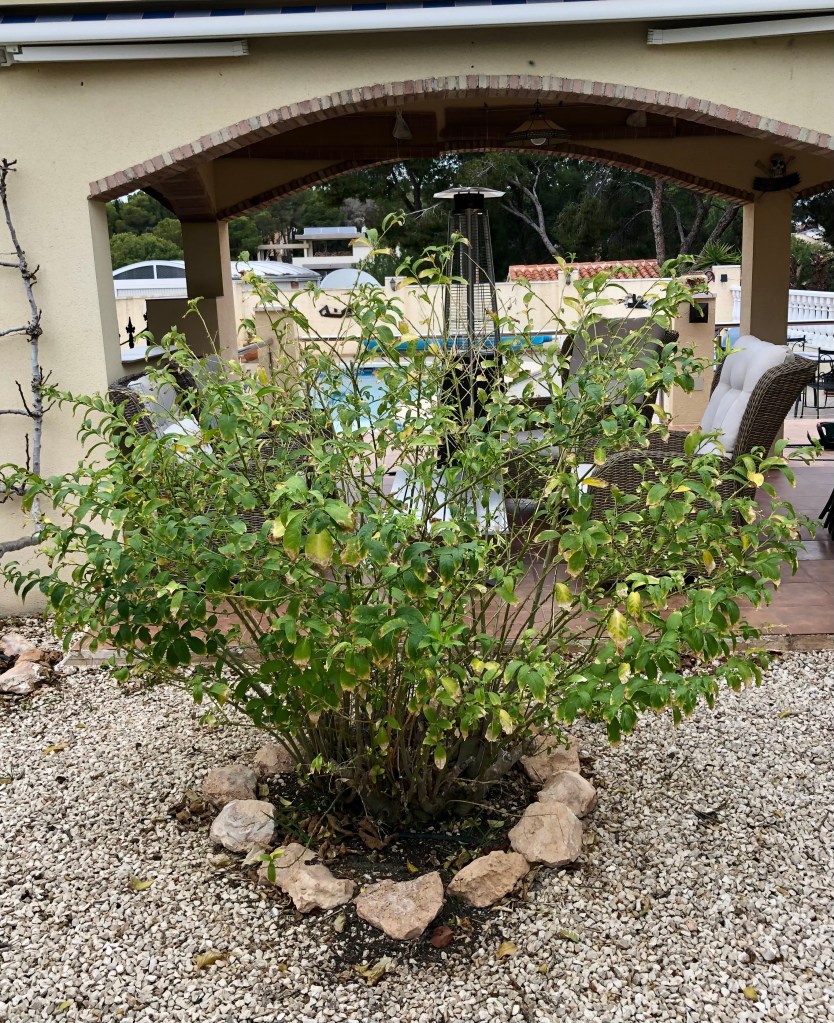
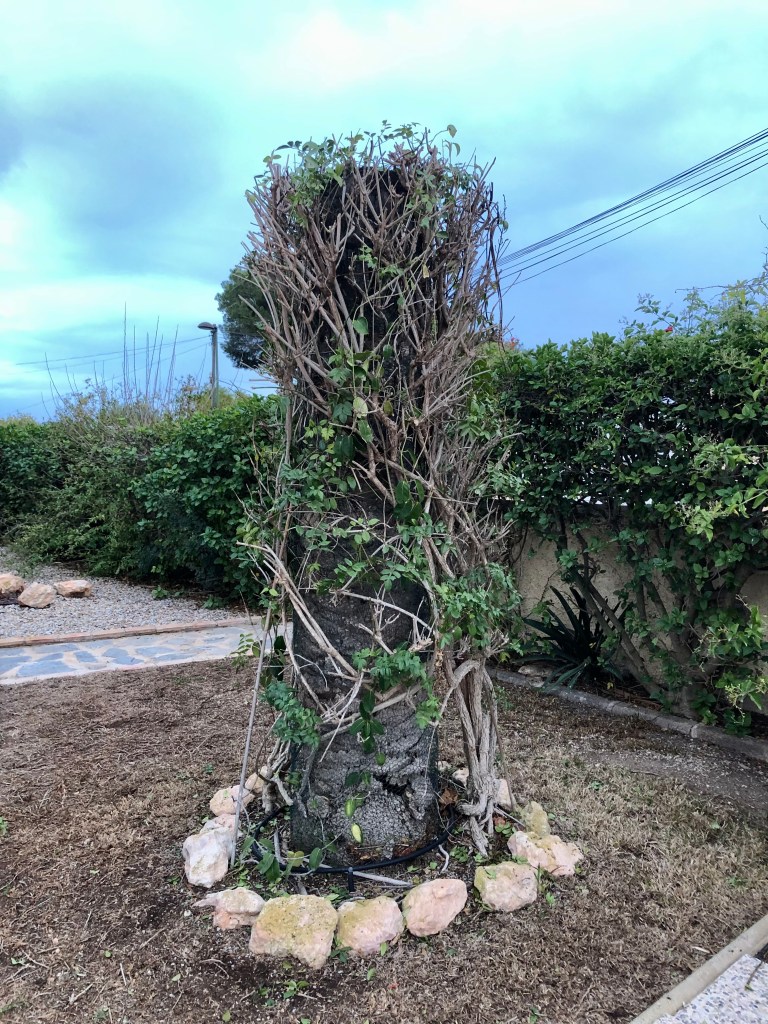
I have a problem area in one of my hedges where a Jasmine cutting is being very slow to grow to fill the gap left by a dead Hibiscus. The photo below shows the problem. From the photo you can see that there is Plumbago to its left and Pink Trumpet Vine to its right. The idea was that the Jasmine would grow and provide colour variety between these two.

In order to deal with this problem I have been growing a Trumpet Vine to add to my hedge. I like to keep hedges over planted and competing for space and light thereby guaranteeing more flowers. The Trumpet Vine has grown strongly during the Summer and now needs to go into the ground. The Jasmine has had its chance, now for some competition. The photo below shows the new gap filling contender.
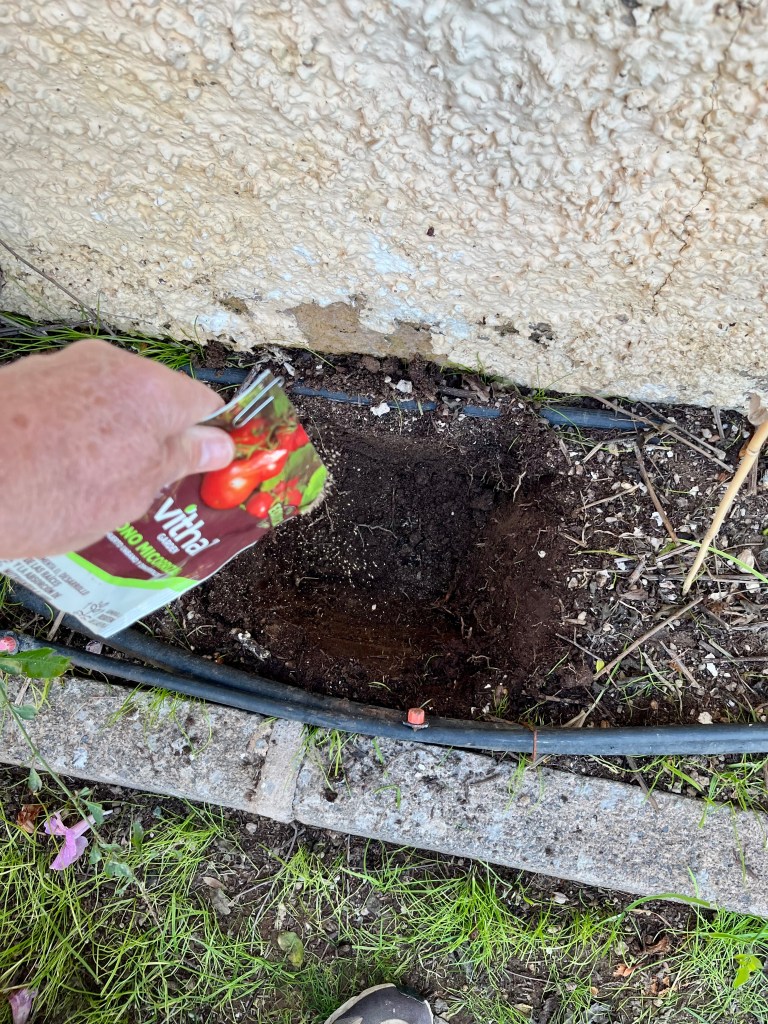
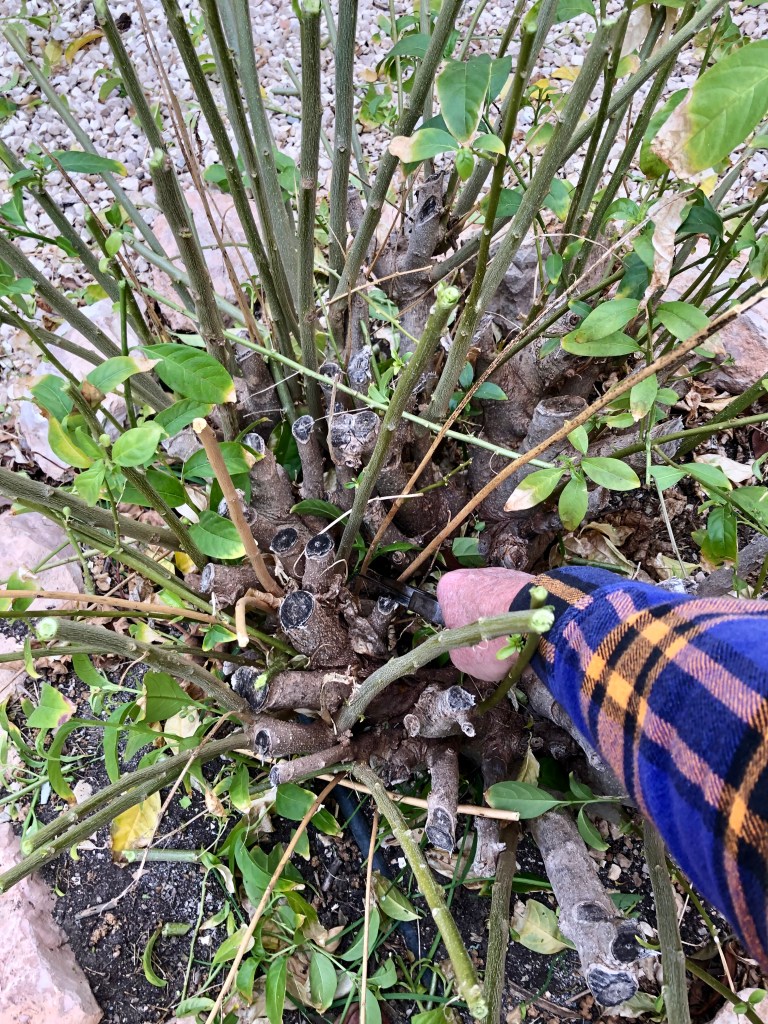
When planting out make sure you do all the usual stuff like clear the area of any weeds or stones then dig a planting hole big enough not to cramp the roots. When you take the plant out of its pot make sure to tease out the roots so that they can be encouraged to reach into their new soil. Also, if possible sprinkle some Mycorrizhal rooting powder into the planting hole and onto the roots as this will definitely aid early root growth. The photos below show the process. Click on each photo for a larger view.


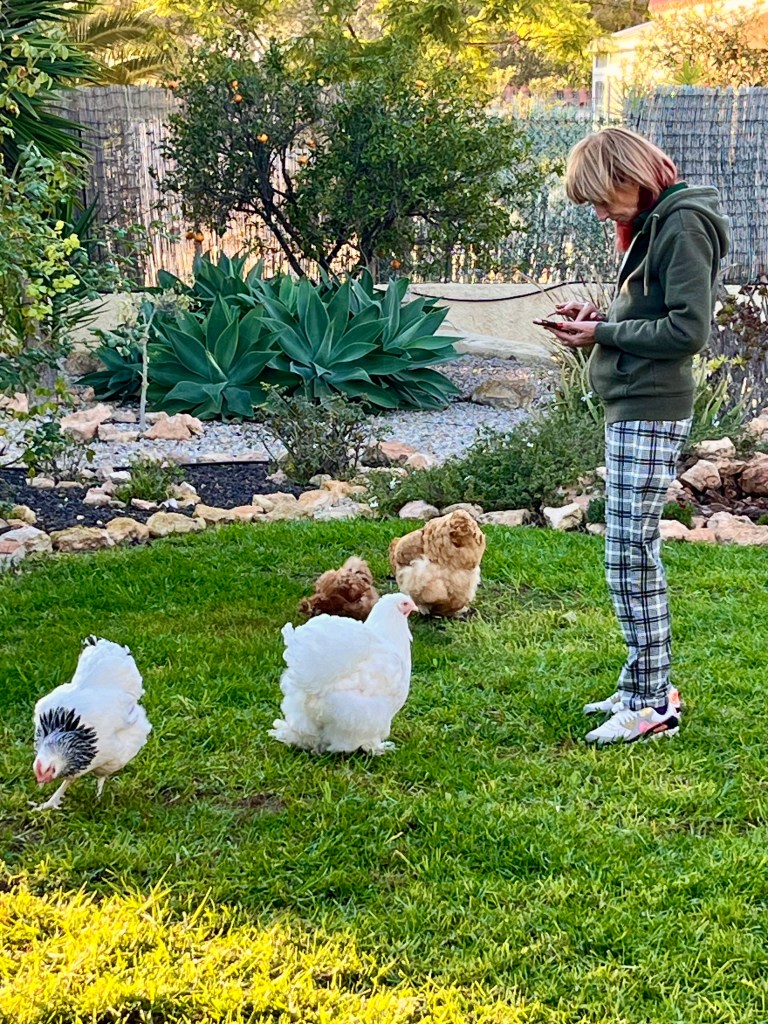
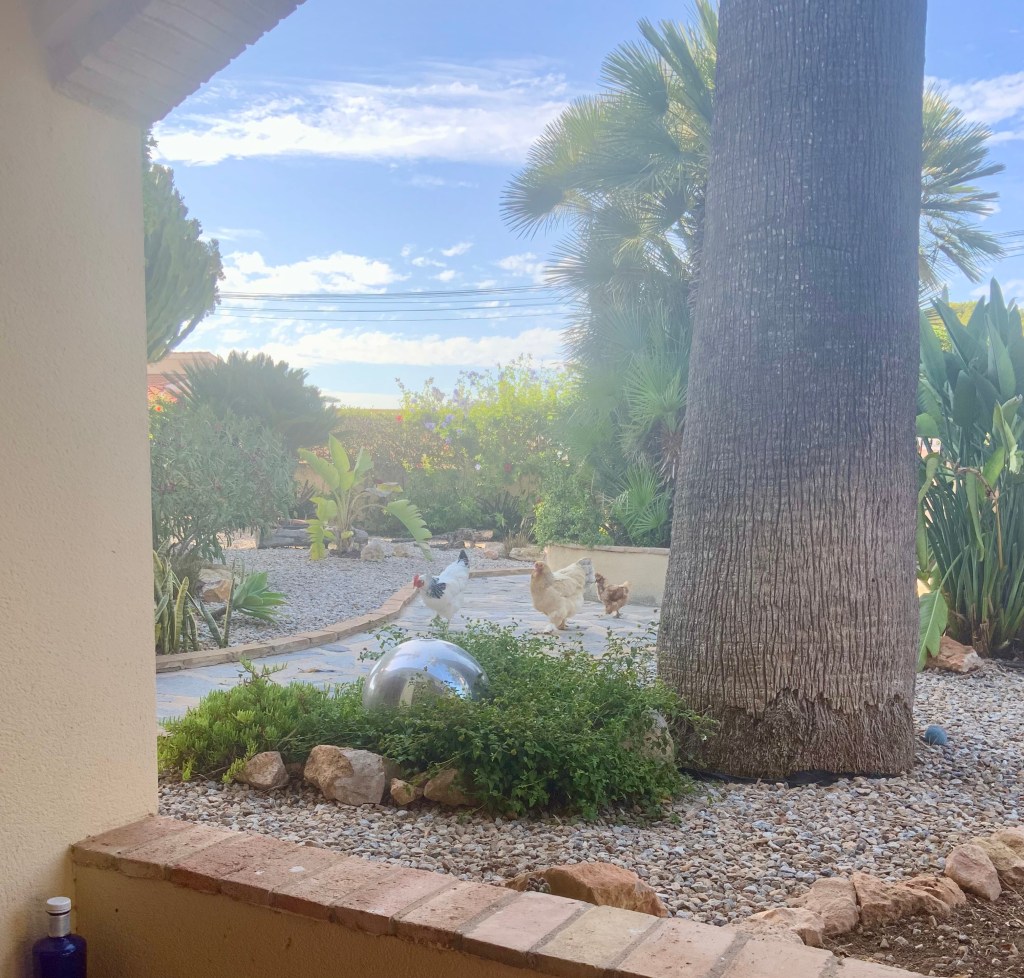
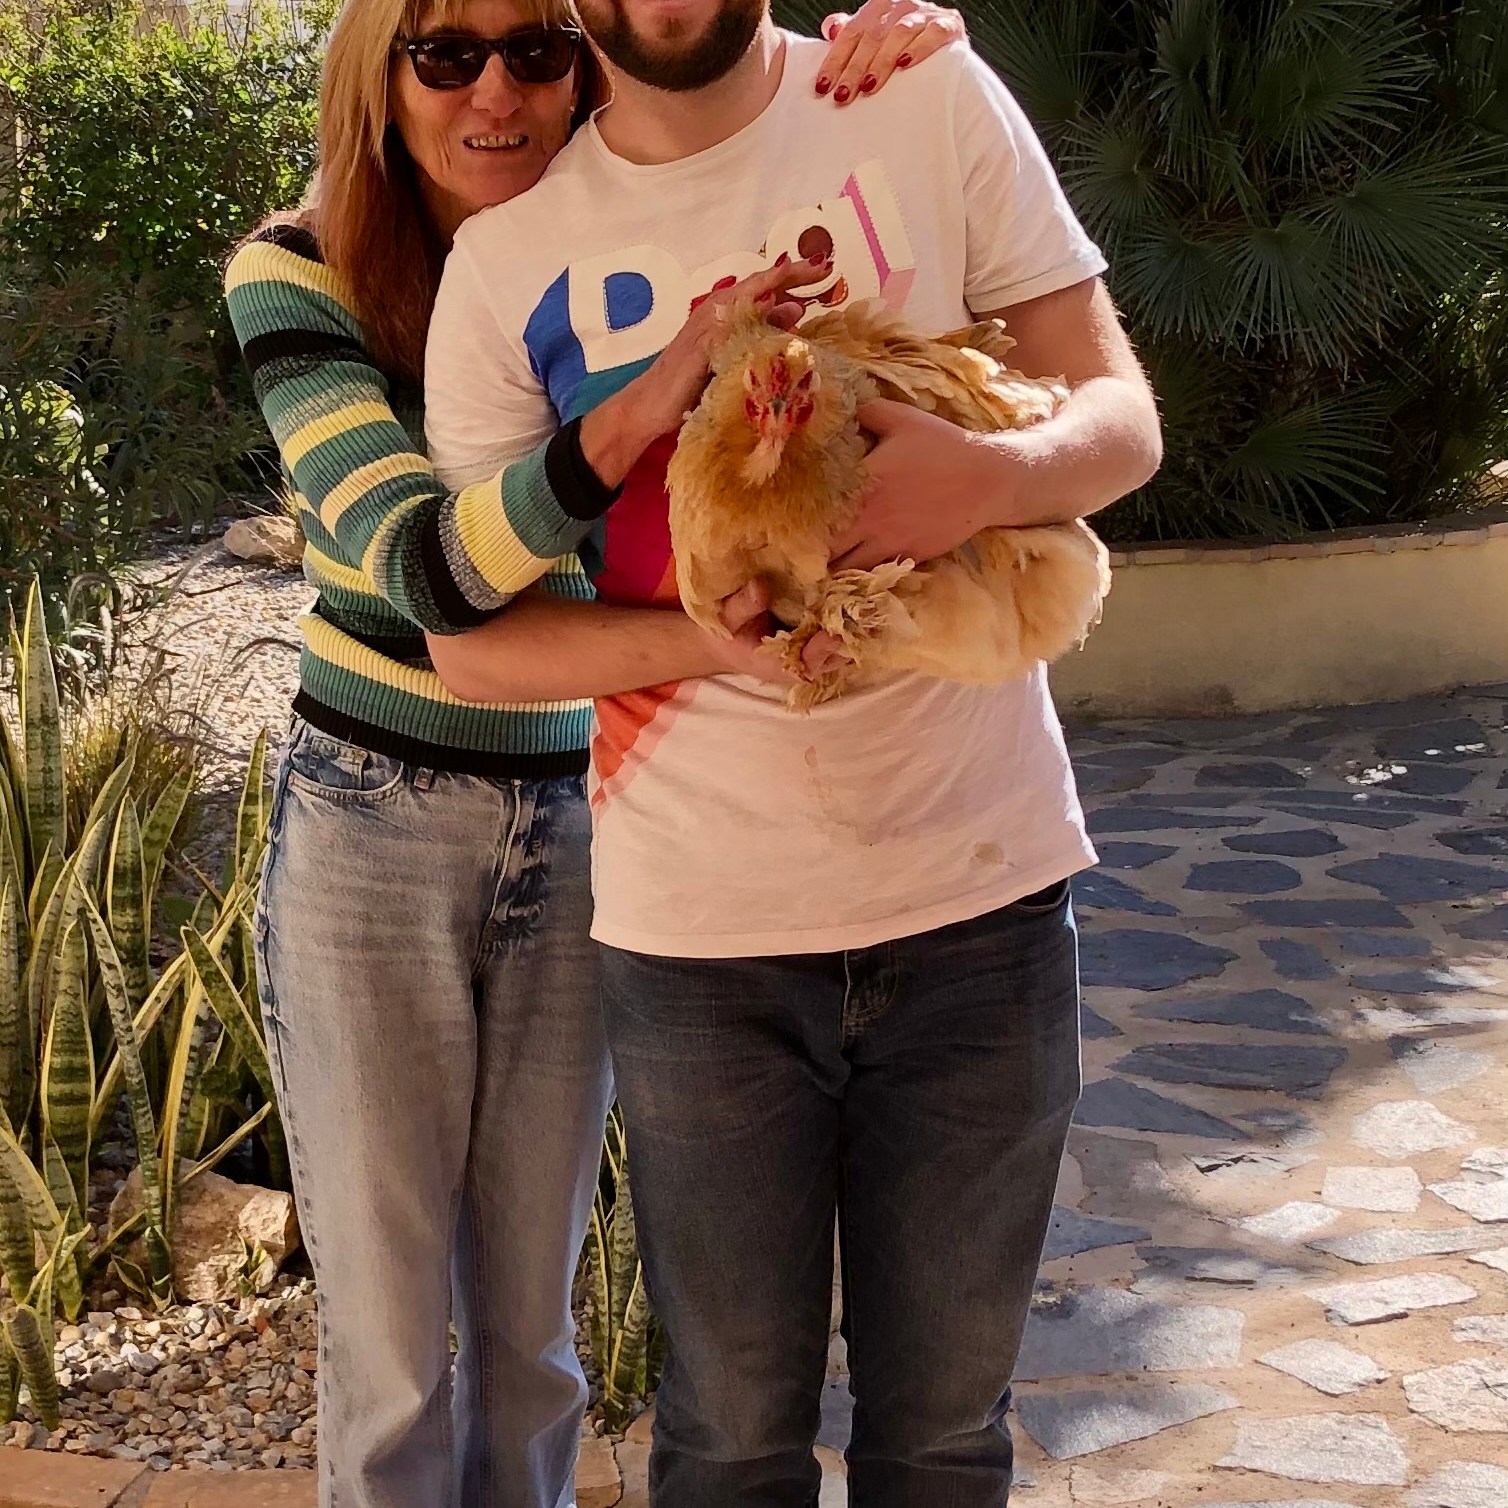
Cruella prepares her chickens for a Ball. It all started when Cruella (my wife) read a magazine article about Queen Charlottes Ball where debutantes are presented and come out into society. She breathlessly told me that this was just the sort of opportunity her girls needed, and if they could only come out formally she would be the happiest mother alive – I have given up explaining that she is not their mother.
Despite my explaining that Queen Charlotte’s Ball was not for chickens, she refused to accept this and began looking up Finishing Schools in Switzerland. I only averted her flying to Switzerland by persuading her that it would be far better if she prepared the girls for “finishing” at home.
It has been almost a month now and every day has been filled with Cruella schooling her girls in all sorts of arcane skills and manners. They start most mornings with “dining etiquette”, this involves politely pecking at their food, not pecking each other and definitely no eating worms. This is followed by “elocution”, to be honest as it is all in chickenese, I have no real idea what they are saying. They all cluck away as Cruella nods enthusiastically, but it does sound a bit like “how now brown cow” but in chickenese.
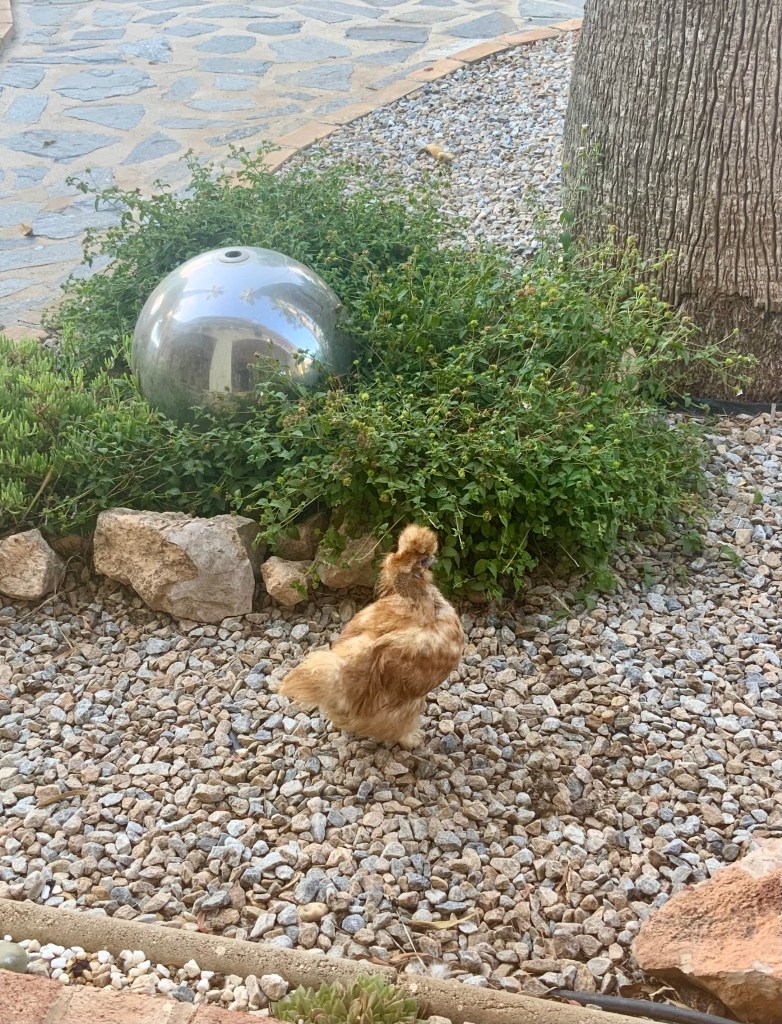
The afternoons are spent in “deportment, dance and formal bowing”. It is quite fascinating, especially if you have never seen a chicken walk up and down with a book on its head. Dance is my favourite as Cruella stands in the middle of the lawn playing Mozart on her phone whilst shouting out the timings. Despite her best efforts the chickens gyrate wildly in a figure of eight in front of her and all end up colliding and fighting.
I am involved in the formal bowing part. I have to sit on a chair pretending to be the King whilst Cruella acting as a Herald formally calls each of her girls forward and introduces them to me. Each bird has a new sash in soft pink silk and they formally approach me and bow. From my perspective though the whole effect is ruined by them poohing on my shoes. The photo below shows a dancing lesson in action.


You must be logged in to post a comment.