Pruning, trimming, a Blackbird broke my heart and Cruella has entered the chicken Olympics

I have been away, I know I didn’t tell you, but I just slip away and creep back, it is best for the garden. If Cruella (my wife) knows I am away she takes down all my chicken defences and dances around the garden with her girls shouting about freedom and chicken rights. She told me she that she sees her self as a latter day Isadora Duncan whilst being an admirer of Just Stop Oil, chicken division.

When I crept back in after a week away she said “where have you been?”. I told her I had just been down by the compost bins and she nodded ok. She then casually informed me she was preparing for the Olympics; anyway, on with the gardening, more later.

29th June 2024. Things I have been doing lately:

  • Taking fig cuttings
  • Planting out loofahs
  • Trimming back to encourage new growth
  • Trumpet vine and the Blackbird
  • The chicken Olympics

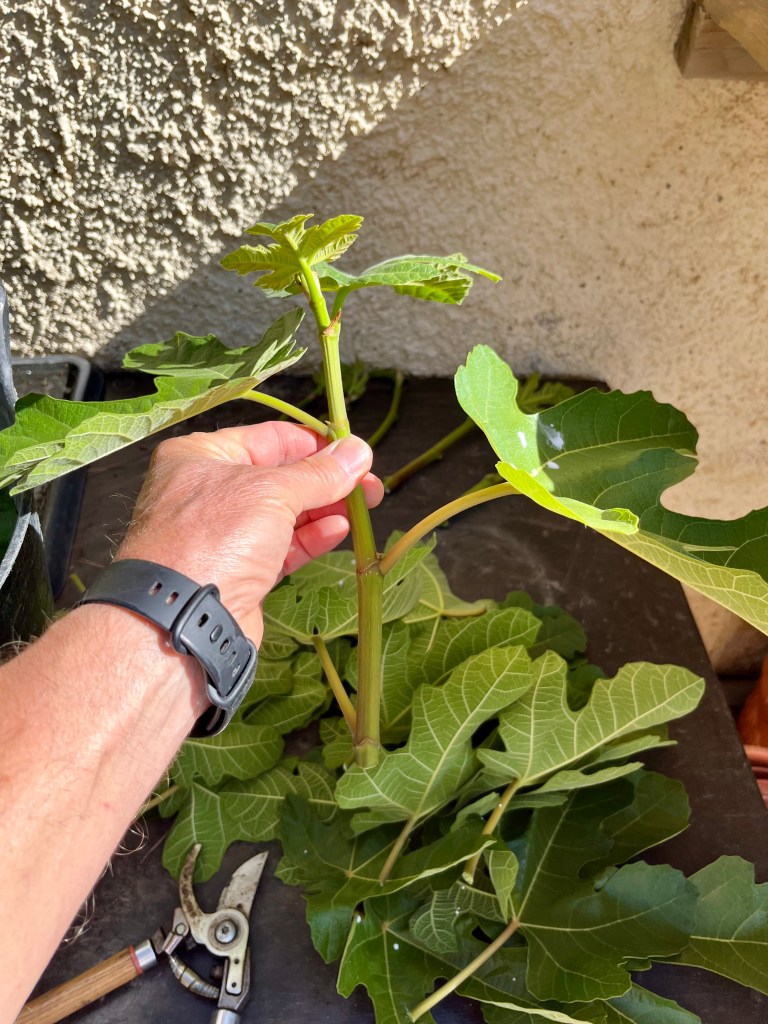
Taking fig cuttings. By now your fig tree should be putting on leaf and fruit at a great pace. This means there will lots of lush green growth which is ideal for taking cuttings. If you fancy a new fig tree for free, or would like to donate one to a friend, then now is the time to take a few cuttings.

I must warn you that when taking fig cuttings at this time of year you have to be very careful of the white sap that will weep from the cut wound as this will be very caustic and can give you a nasty burn. But taking this into account and dressed accordingly in long sleeved T shirt and wearing gloves, all you need to do is select a lush non fruiting stem and cut just below a leaf node. See photo below.

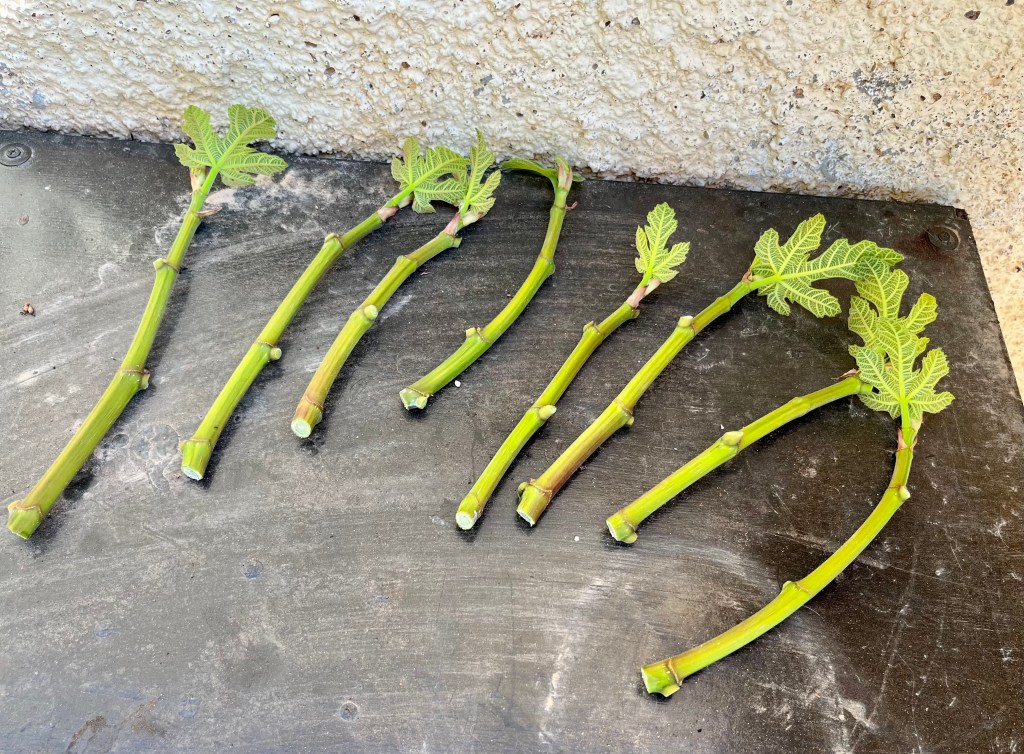
Try and take a number of cuttings as this will give you a better chance of success. Once you have all your cuttings, take them back to your potting bench and remove all the leaves apart from a couple at the end of each stem. See photo below.

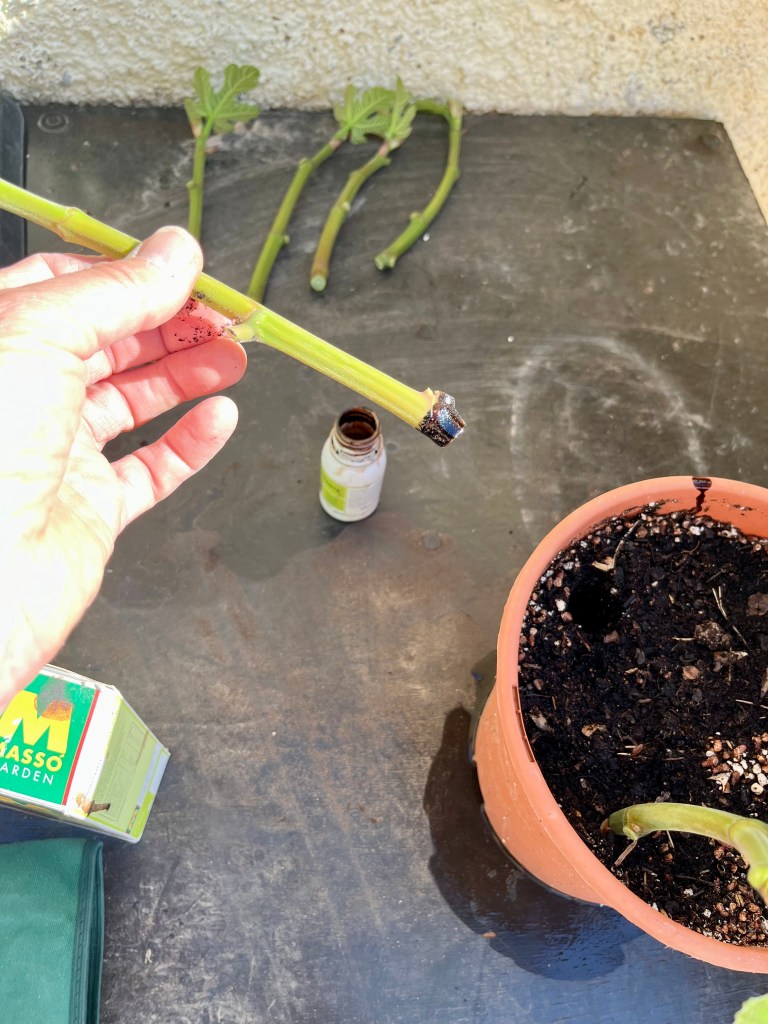
Once you have trimmed your cuttings up, leave them for a couple of hours in the shade so that the dripping sap can dry up. Once the sap has dried dip the end of each cutting into hormone rooting powder or liquid (this is not essential, but it helps). Plant each of the cuttings around the edge of a six inch pot, I usually plant four to a pot, but it is up to you. Finally place your potted cuttings in the shade on your potting bench and wait. Most will die, but hopefully some will sprout new leaves and give you a future fig tree. The first photo below shows the stems being dipped in rooting liquid, whilst the second shows the new cuttings in their new home ready to go into shade for a few weeks. Click on each photo for a larger view.

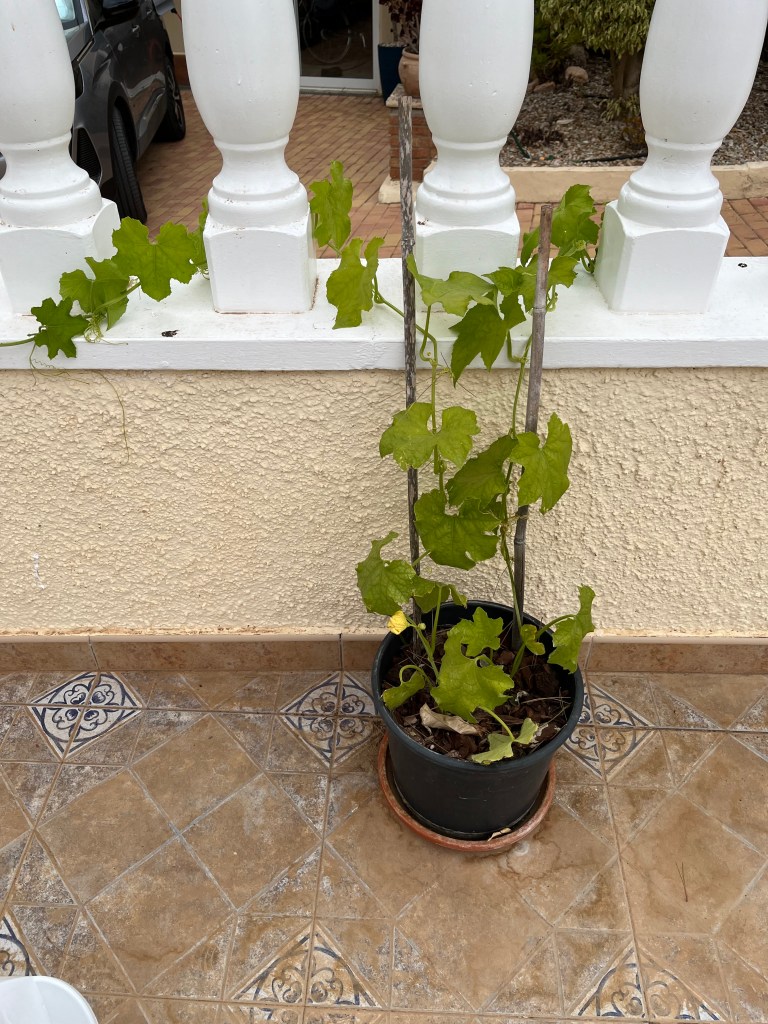
Planting out loofahs. Those of you who came to my open garden day were given some loofah seeds to plant, and hopefully you did? Loofahs are lovely plants, an annual that grows quickly as a climber, has lovely yellow flowers and as an end product you have a loofah to use in your shower as an exfoliant. What is not to like; Cruella’s Coven swears by my loofahs wart removing powers.

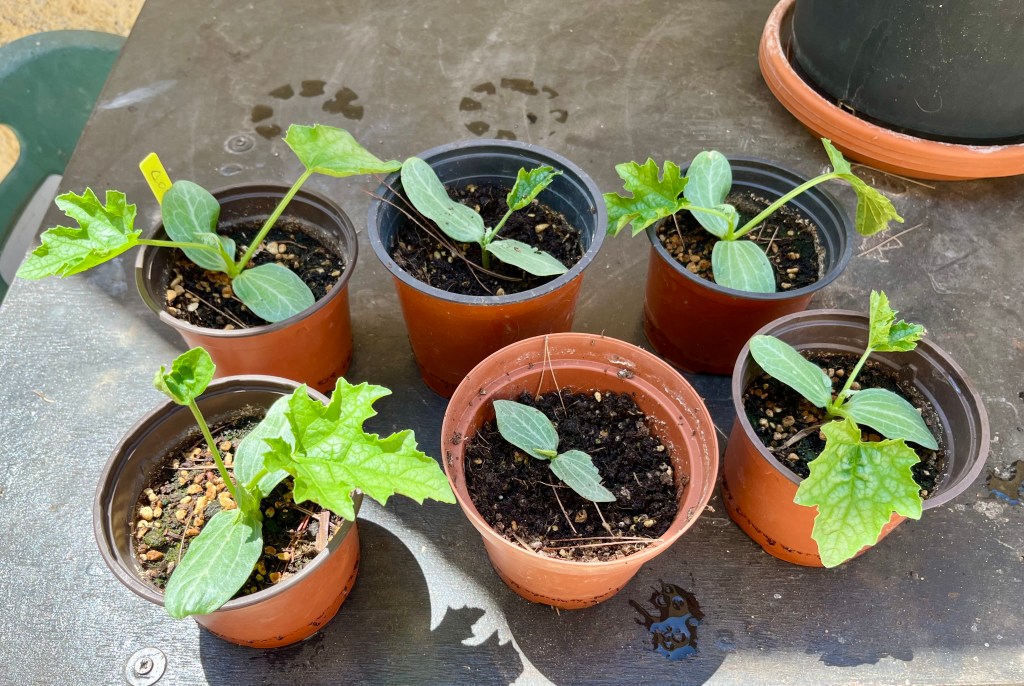
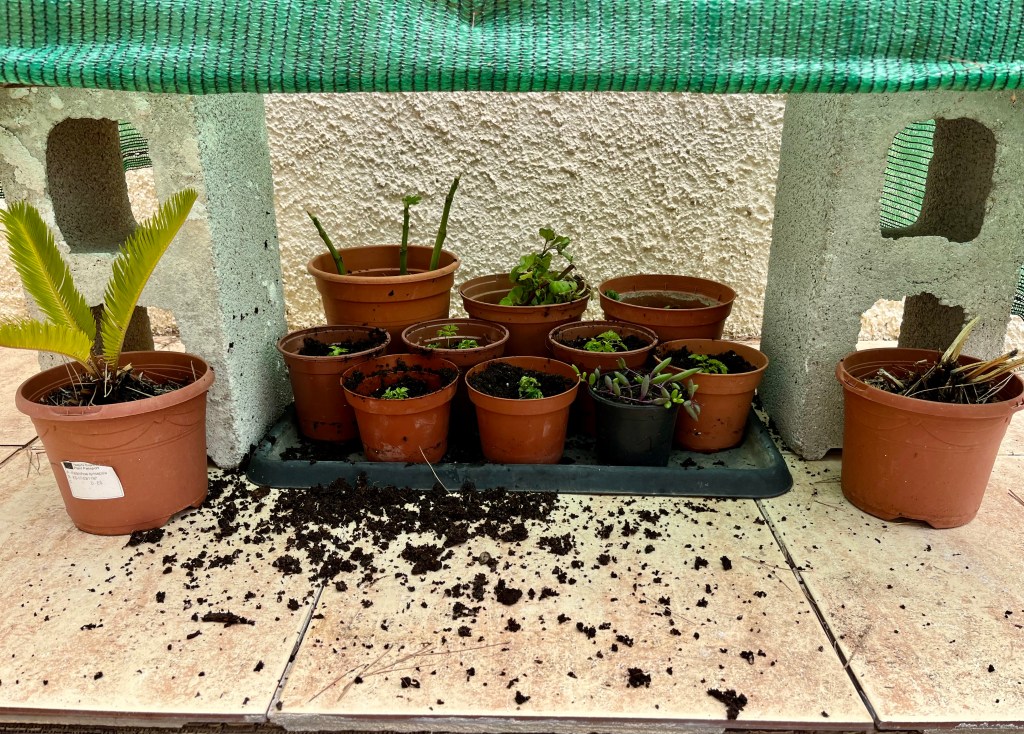
I planted some loofah seeds some time ago and it is now time to pot them on. The photo below shows my little seedlings ready for a new home.

The secret to success when potting on loofahs, is to recognise that they really don’t like their roots to be disturbed. I plant them two to a 9 inch pot, but before planting them I place each of the pots into the new pot and build compost around them, then I gently ease out the loofah beforecarefully slotting it into its newly prepared home. The first photo below shows them being prepared for their new pot, whilst the second shows the strong root growth after only a few weeks. Click on each photo for a larger view.

Finally a couple of photos of their quick growth. Each plant can grow up to 10 to 15ft and give you 8 or more fruits. Click on each photo for a larger view.

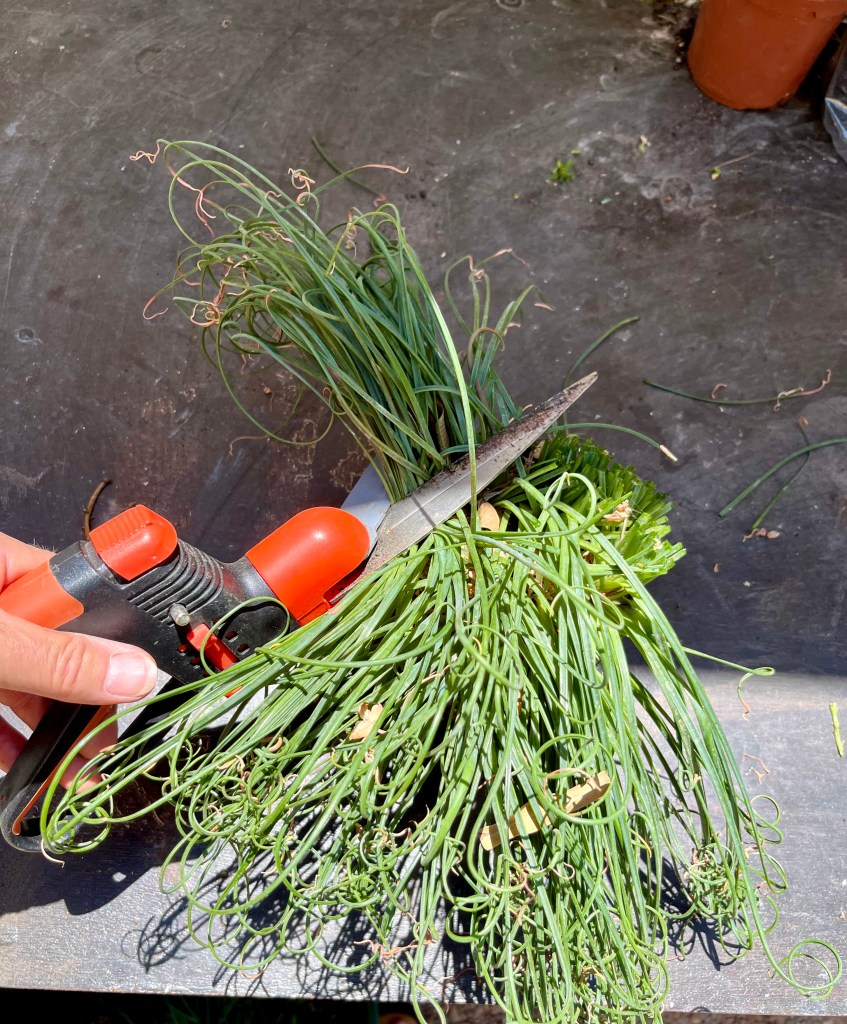
Trimming back to encourage new growth. By now most plants will have flowered and will happily go to seed if you let them. But if you want flushes of new flowers all summer, then don’t let them. Both perennials and annuals can benefit from deadheading and trimming.

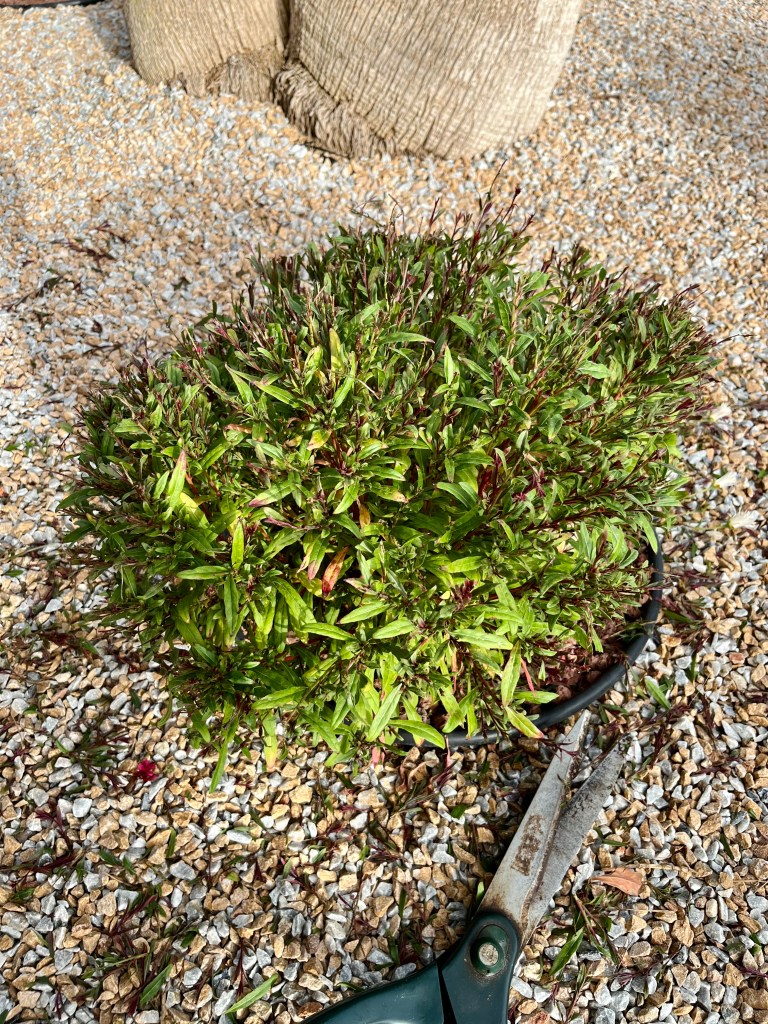
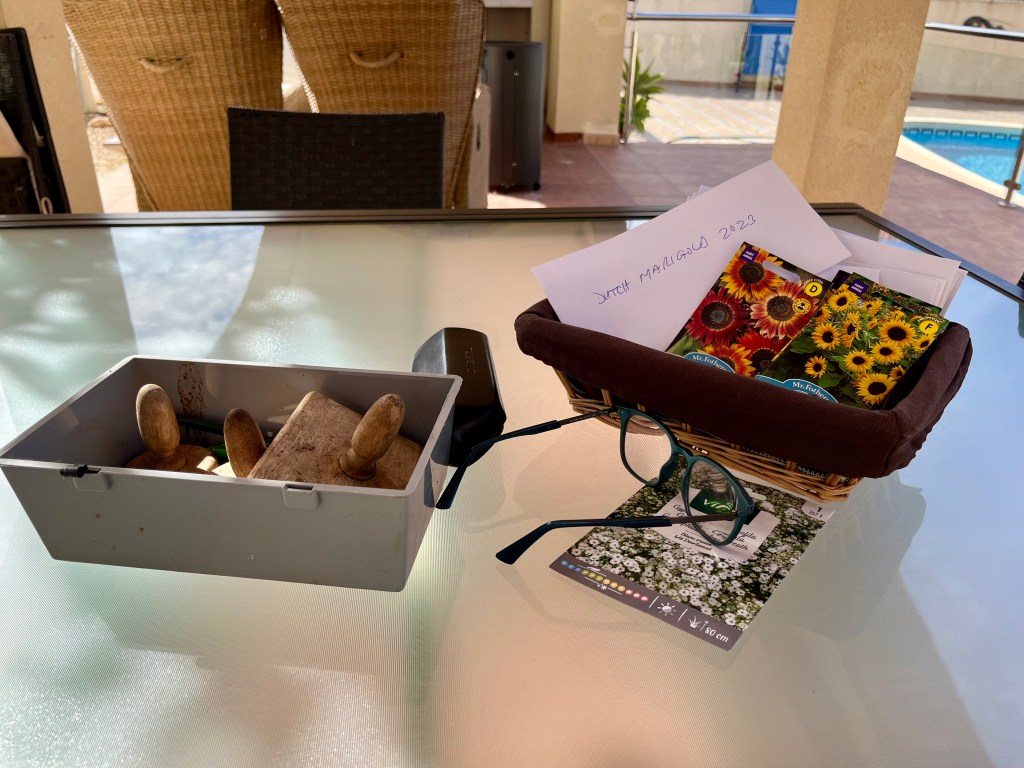
I have been deadheading roses daily for the past couple of months, but as yet have not started on the Marigolds. But look for those perennials that flower in a flush. Don’t bother with secateurs for flowers that all come at once; instead get your shears out and give them a hair cut.

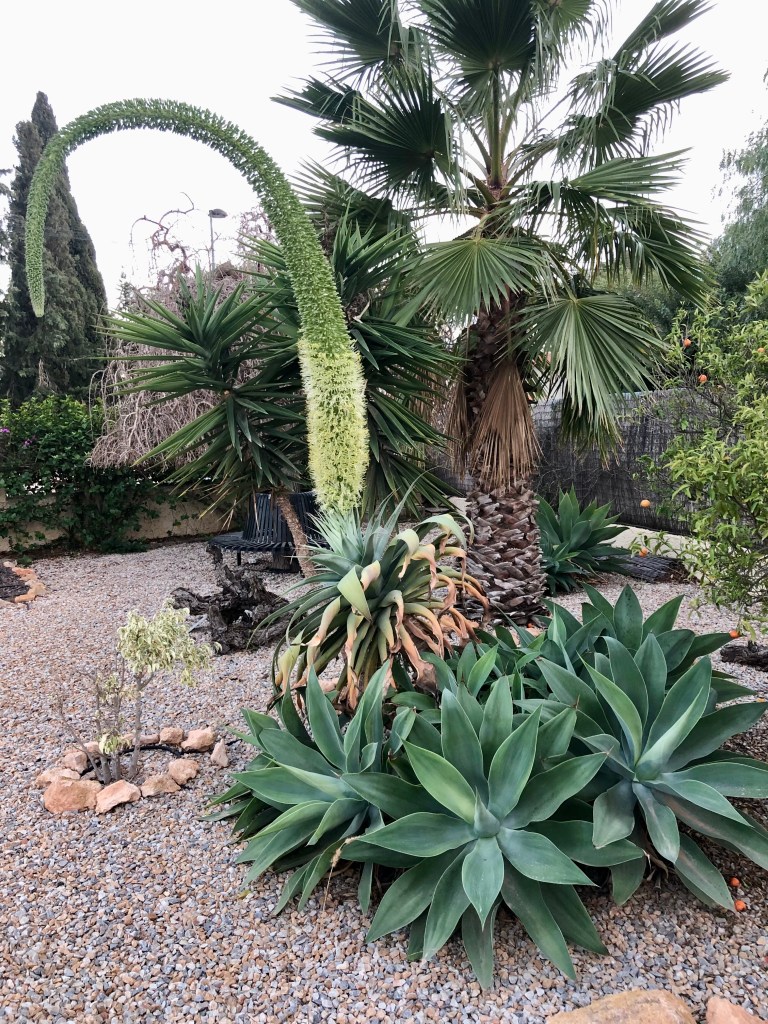
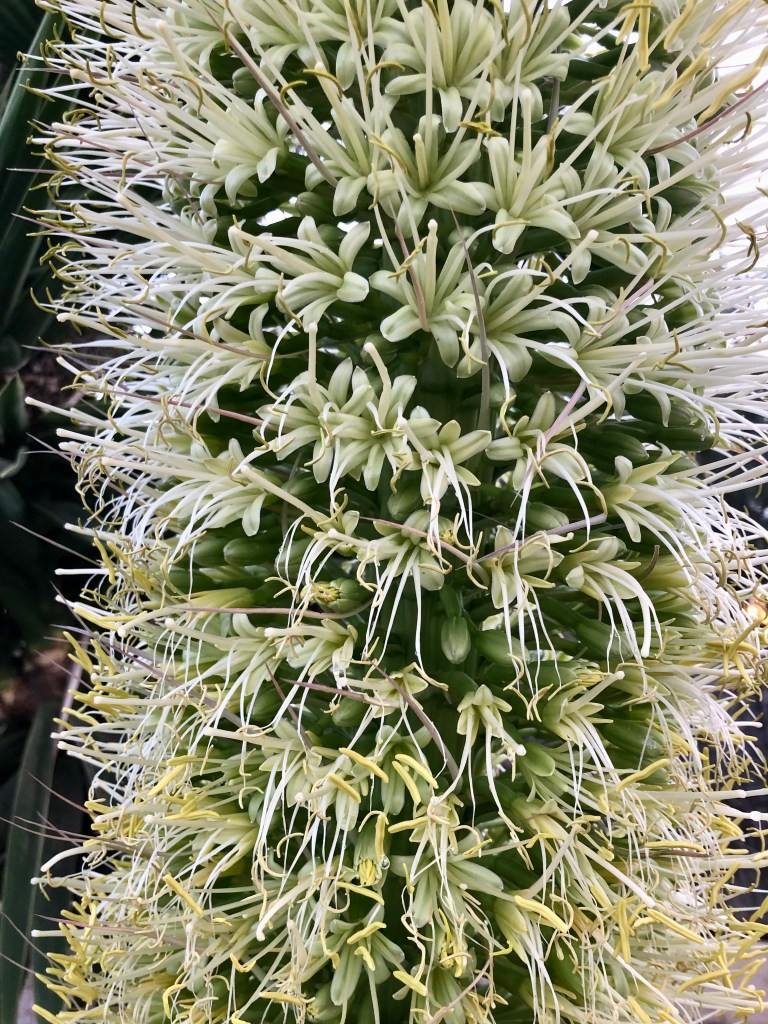
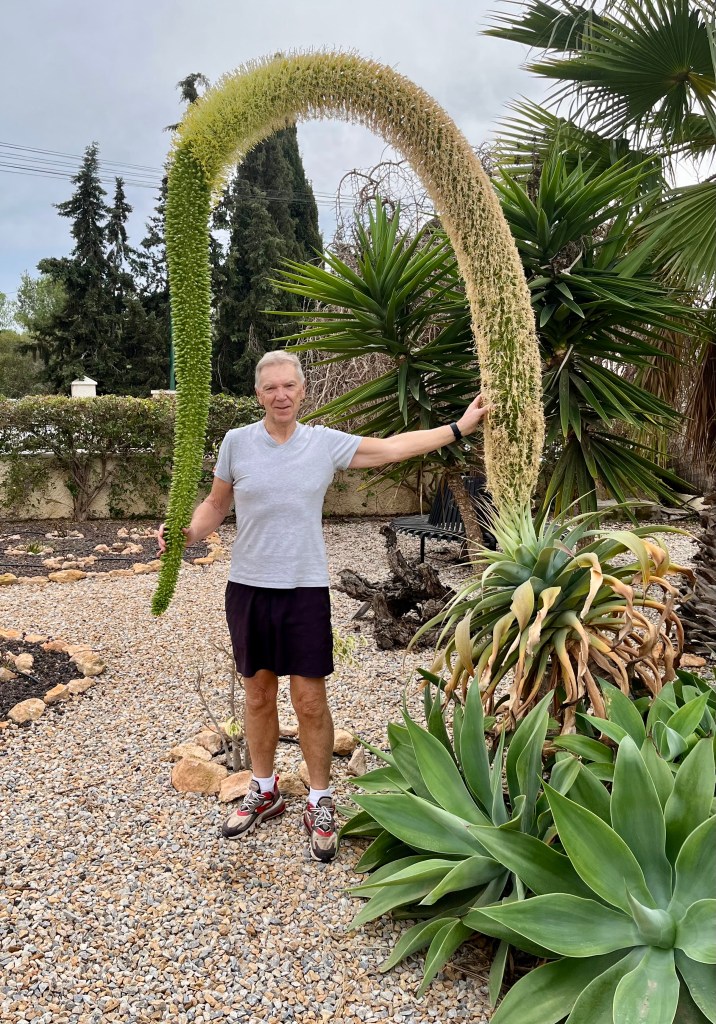
The photos below show some of the plants I have been shearing starting with one of the most unusual “spiral grass”. Click on each photo for a larger view.

If you have multi head sunflowers, then take off the individual heads as they die back. But don’t forget to let the final flower head go to seed for the birds.

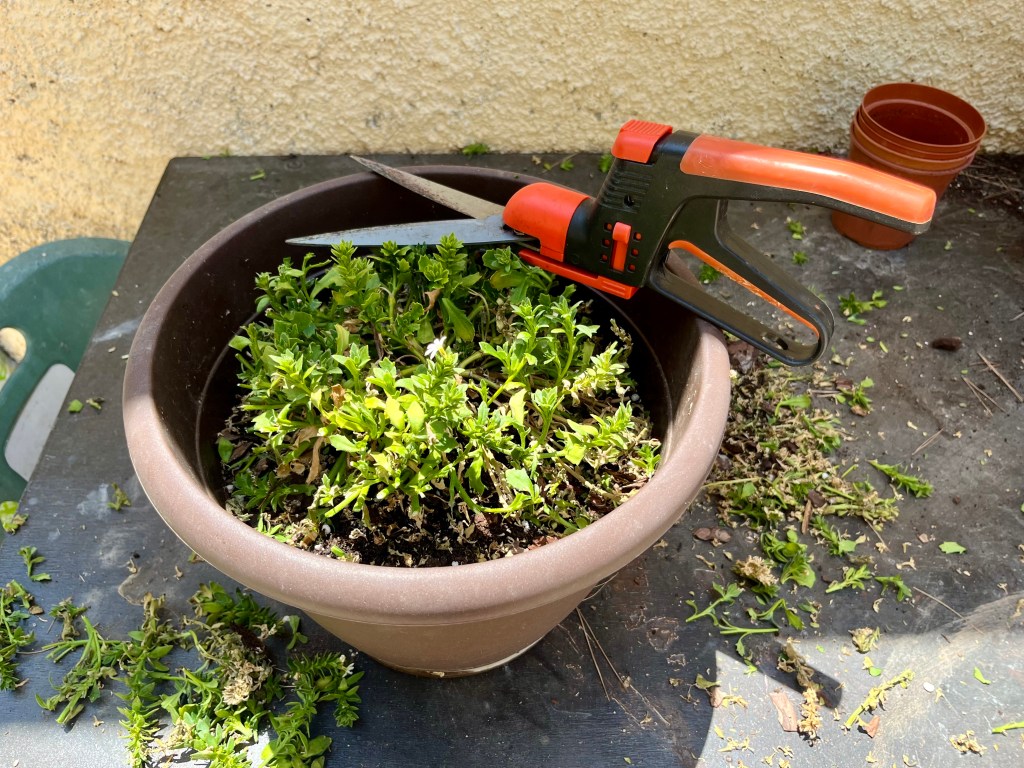
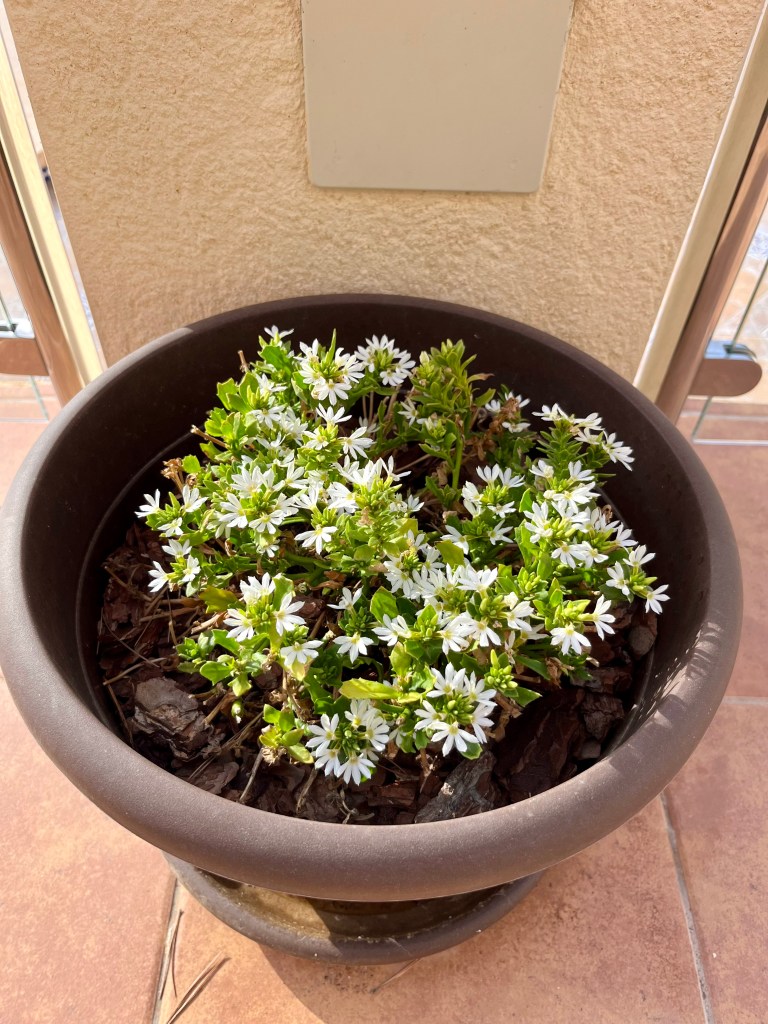
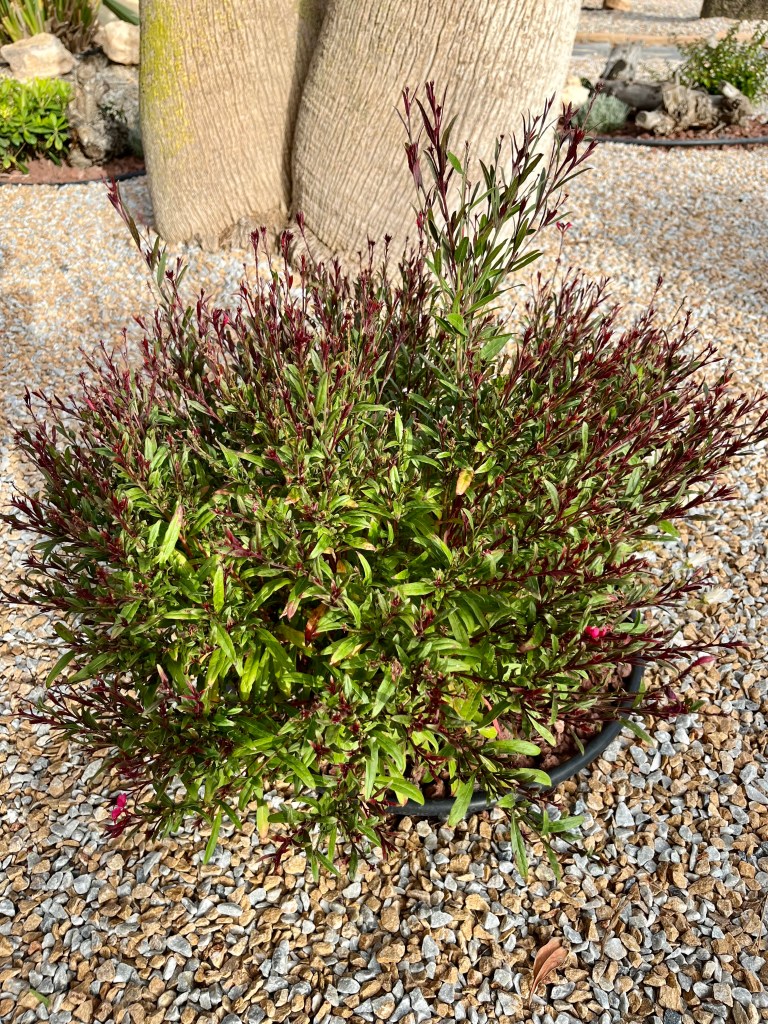
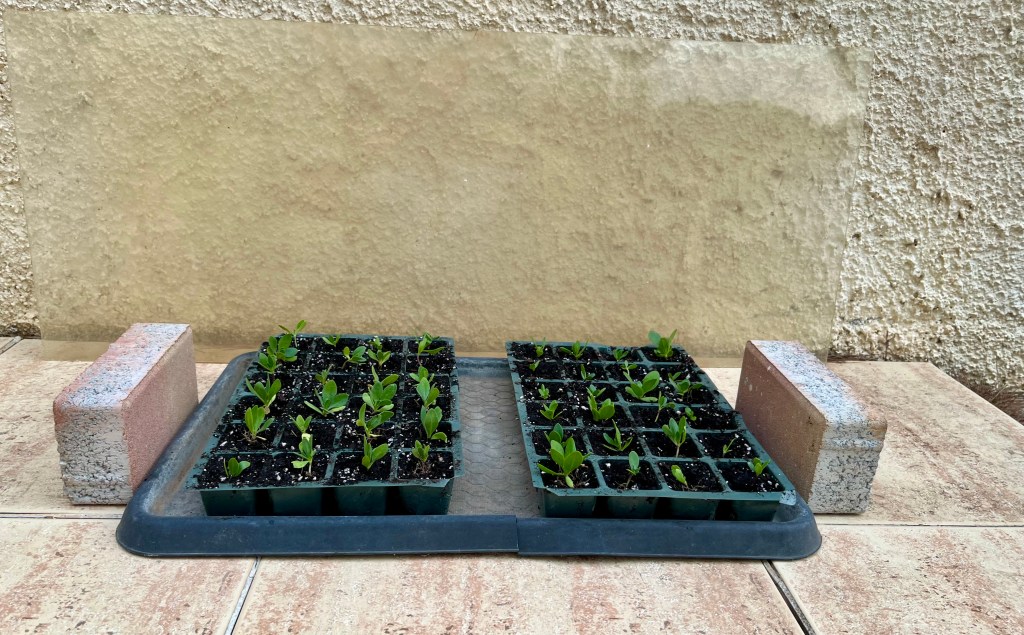
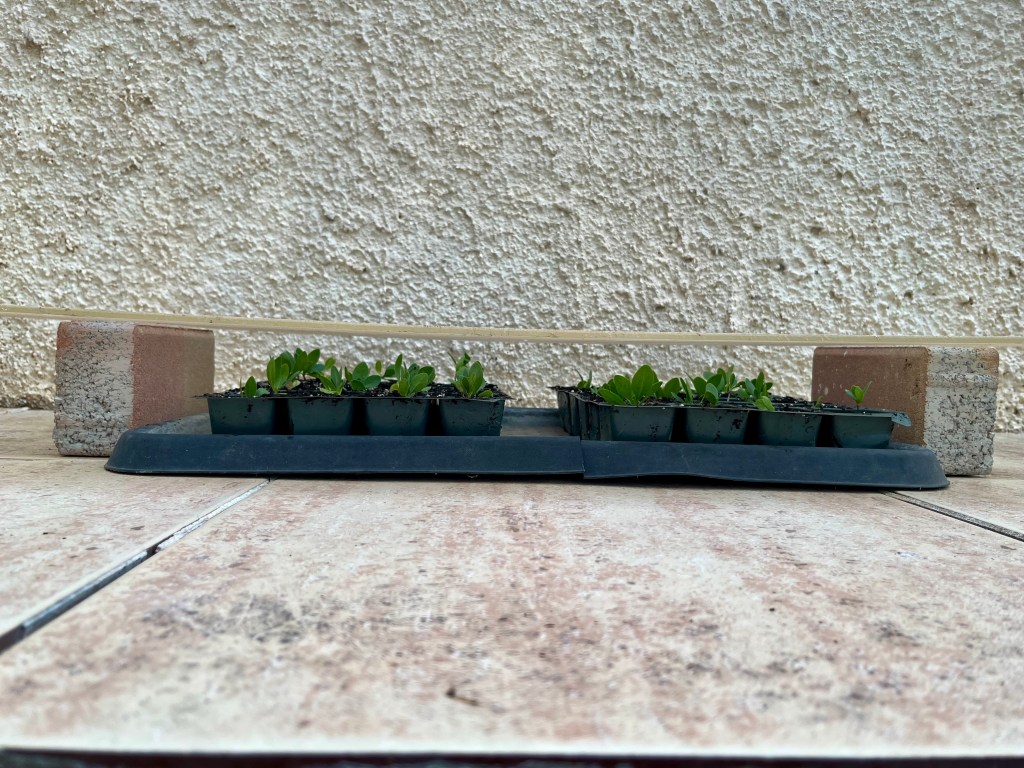
One of my favourites is the lovely Fairy Fan Flower. It flowers all in one rush and after the bloom has gone off trim all the flowers and you will get a second flush. The photos below show the plant after its trim and the successful second flush just coming through. Click on each photo for a larger view.

Gaura is another of those plants that benefit from the complete flush of flowers being taken off. Gaura, like Lavender, does not like you cutting too deep into the wood so just take off the flowers and the first bit of green. The cutback Gaura shown below will soon give me another lovely flush of flower spikes. Click on each photo for a larger view.

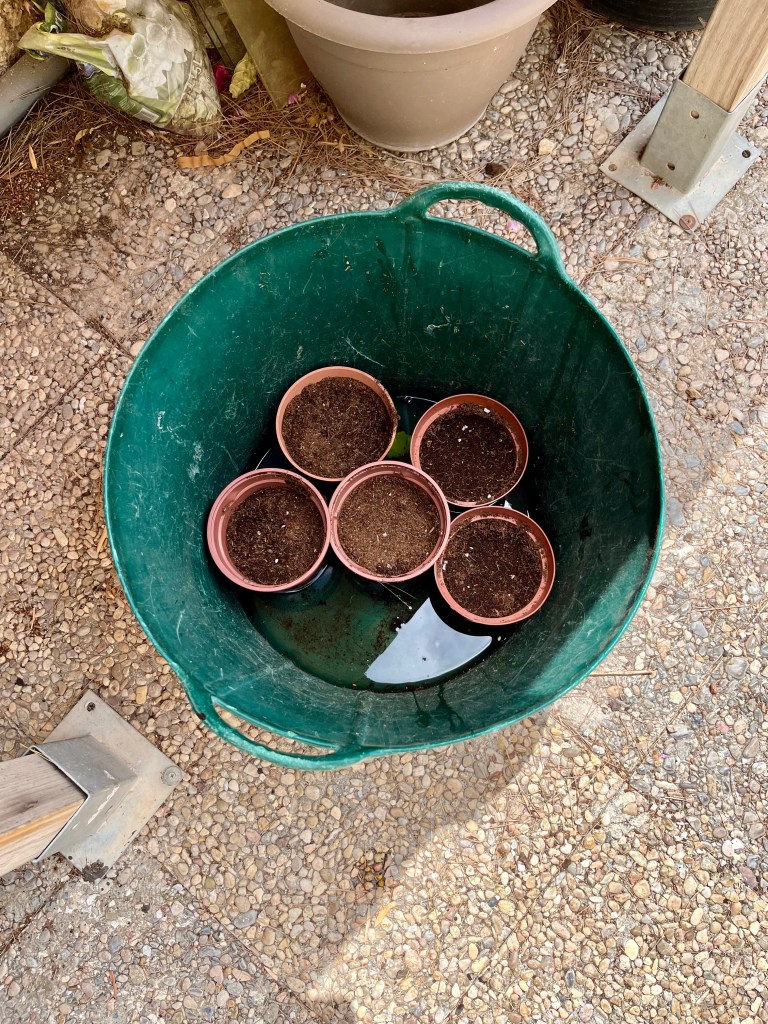
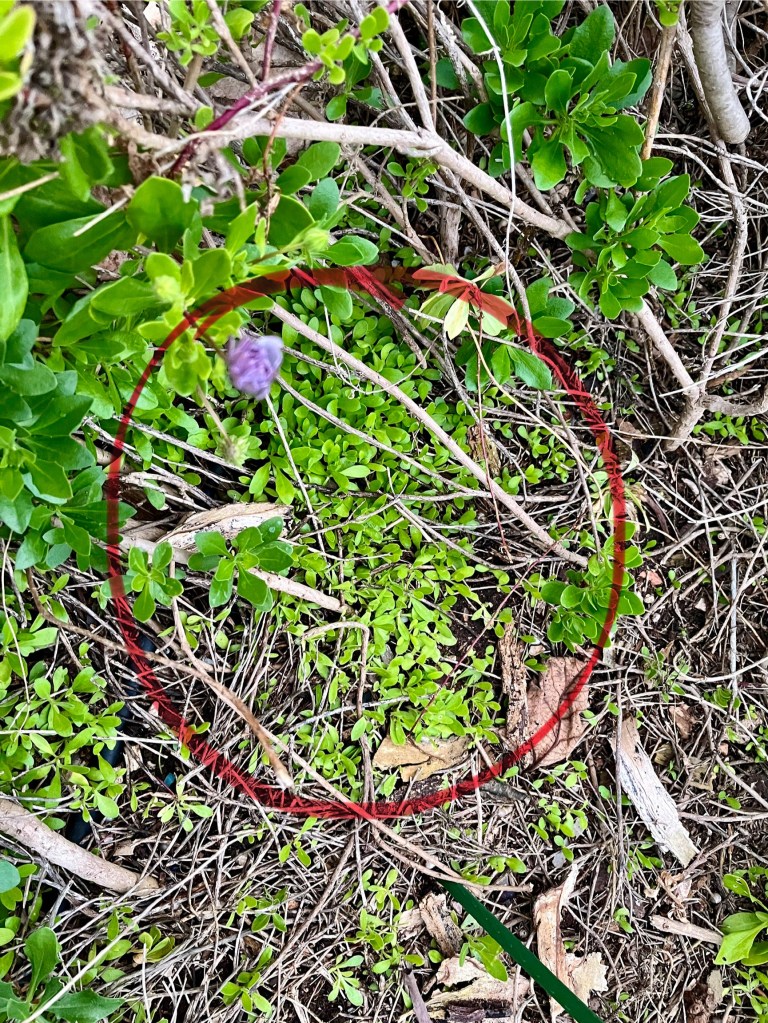
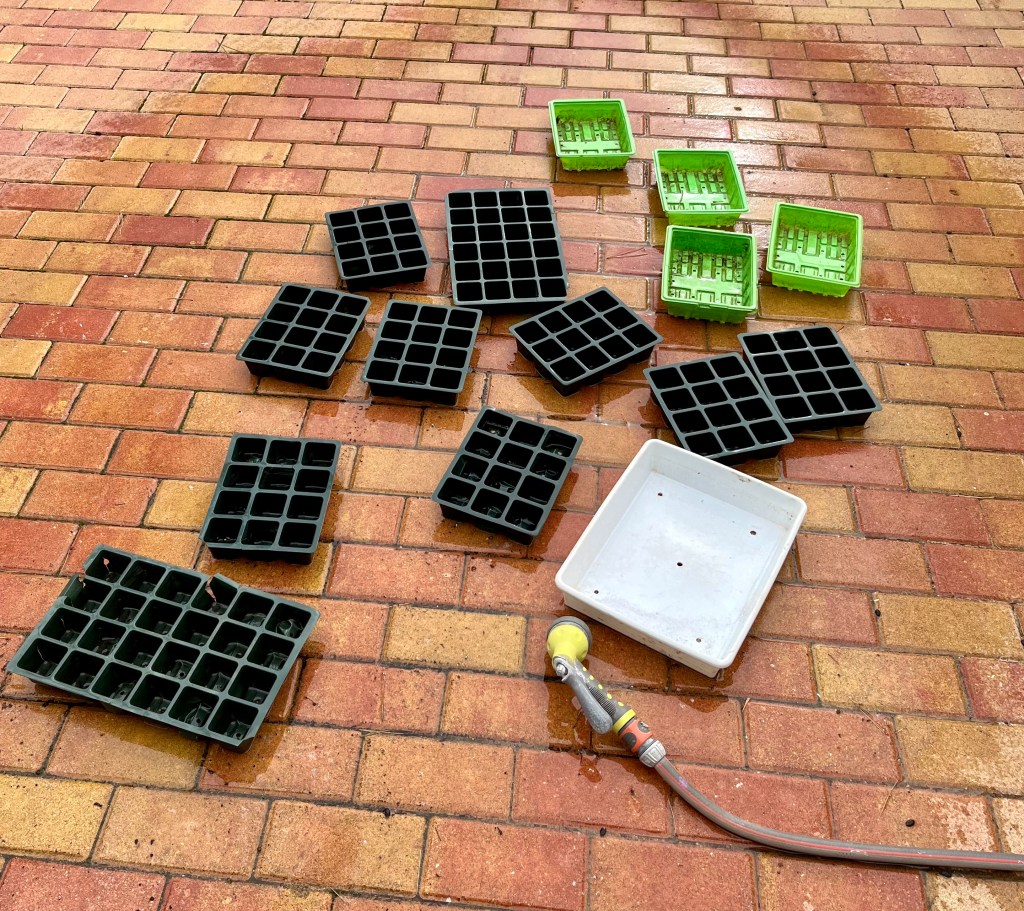
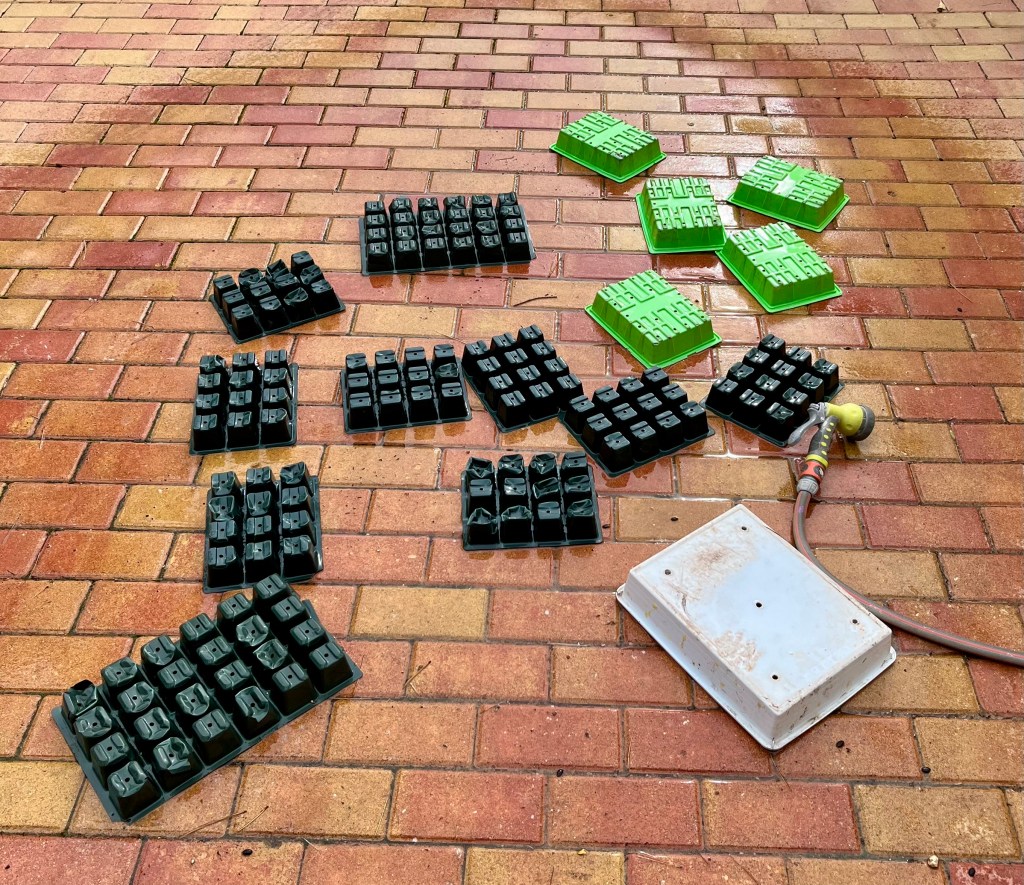
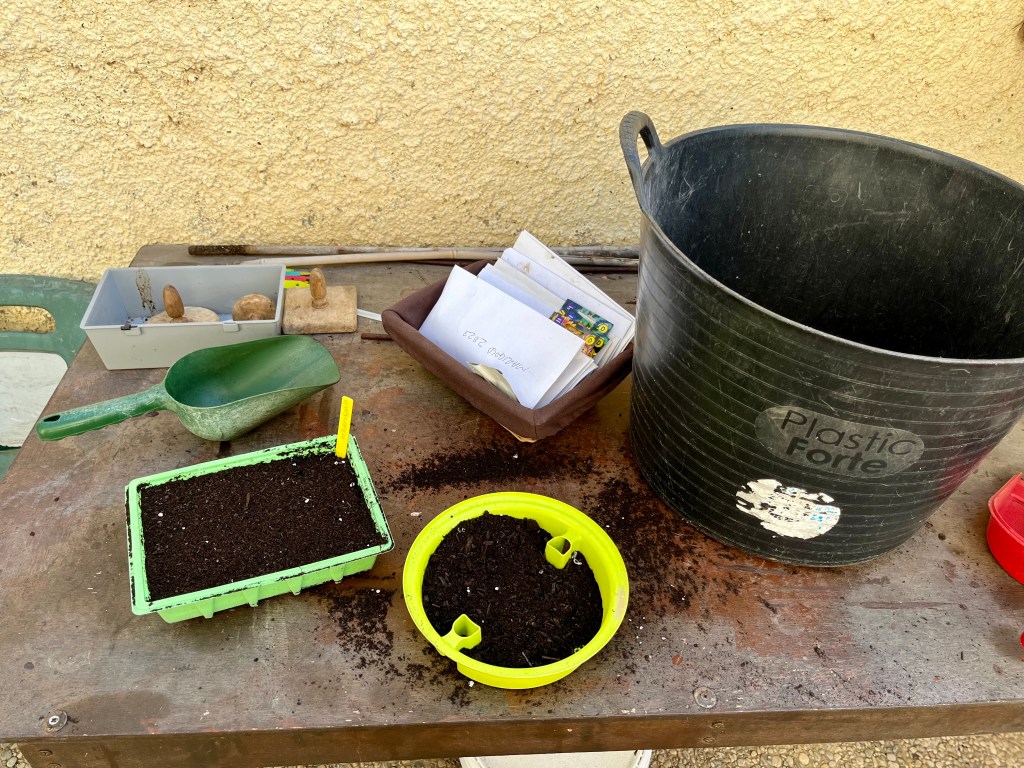
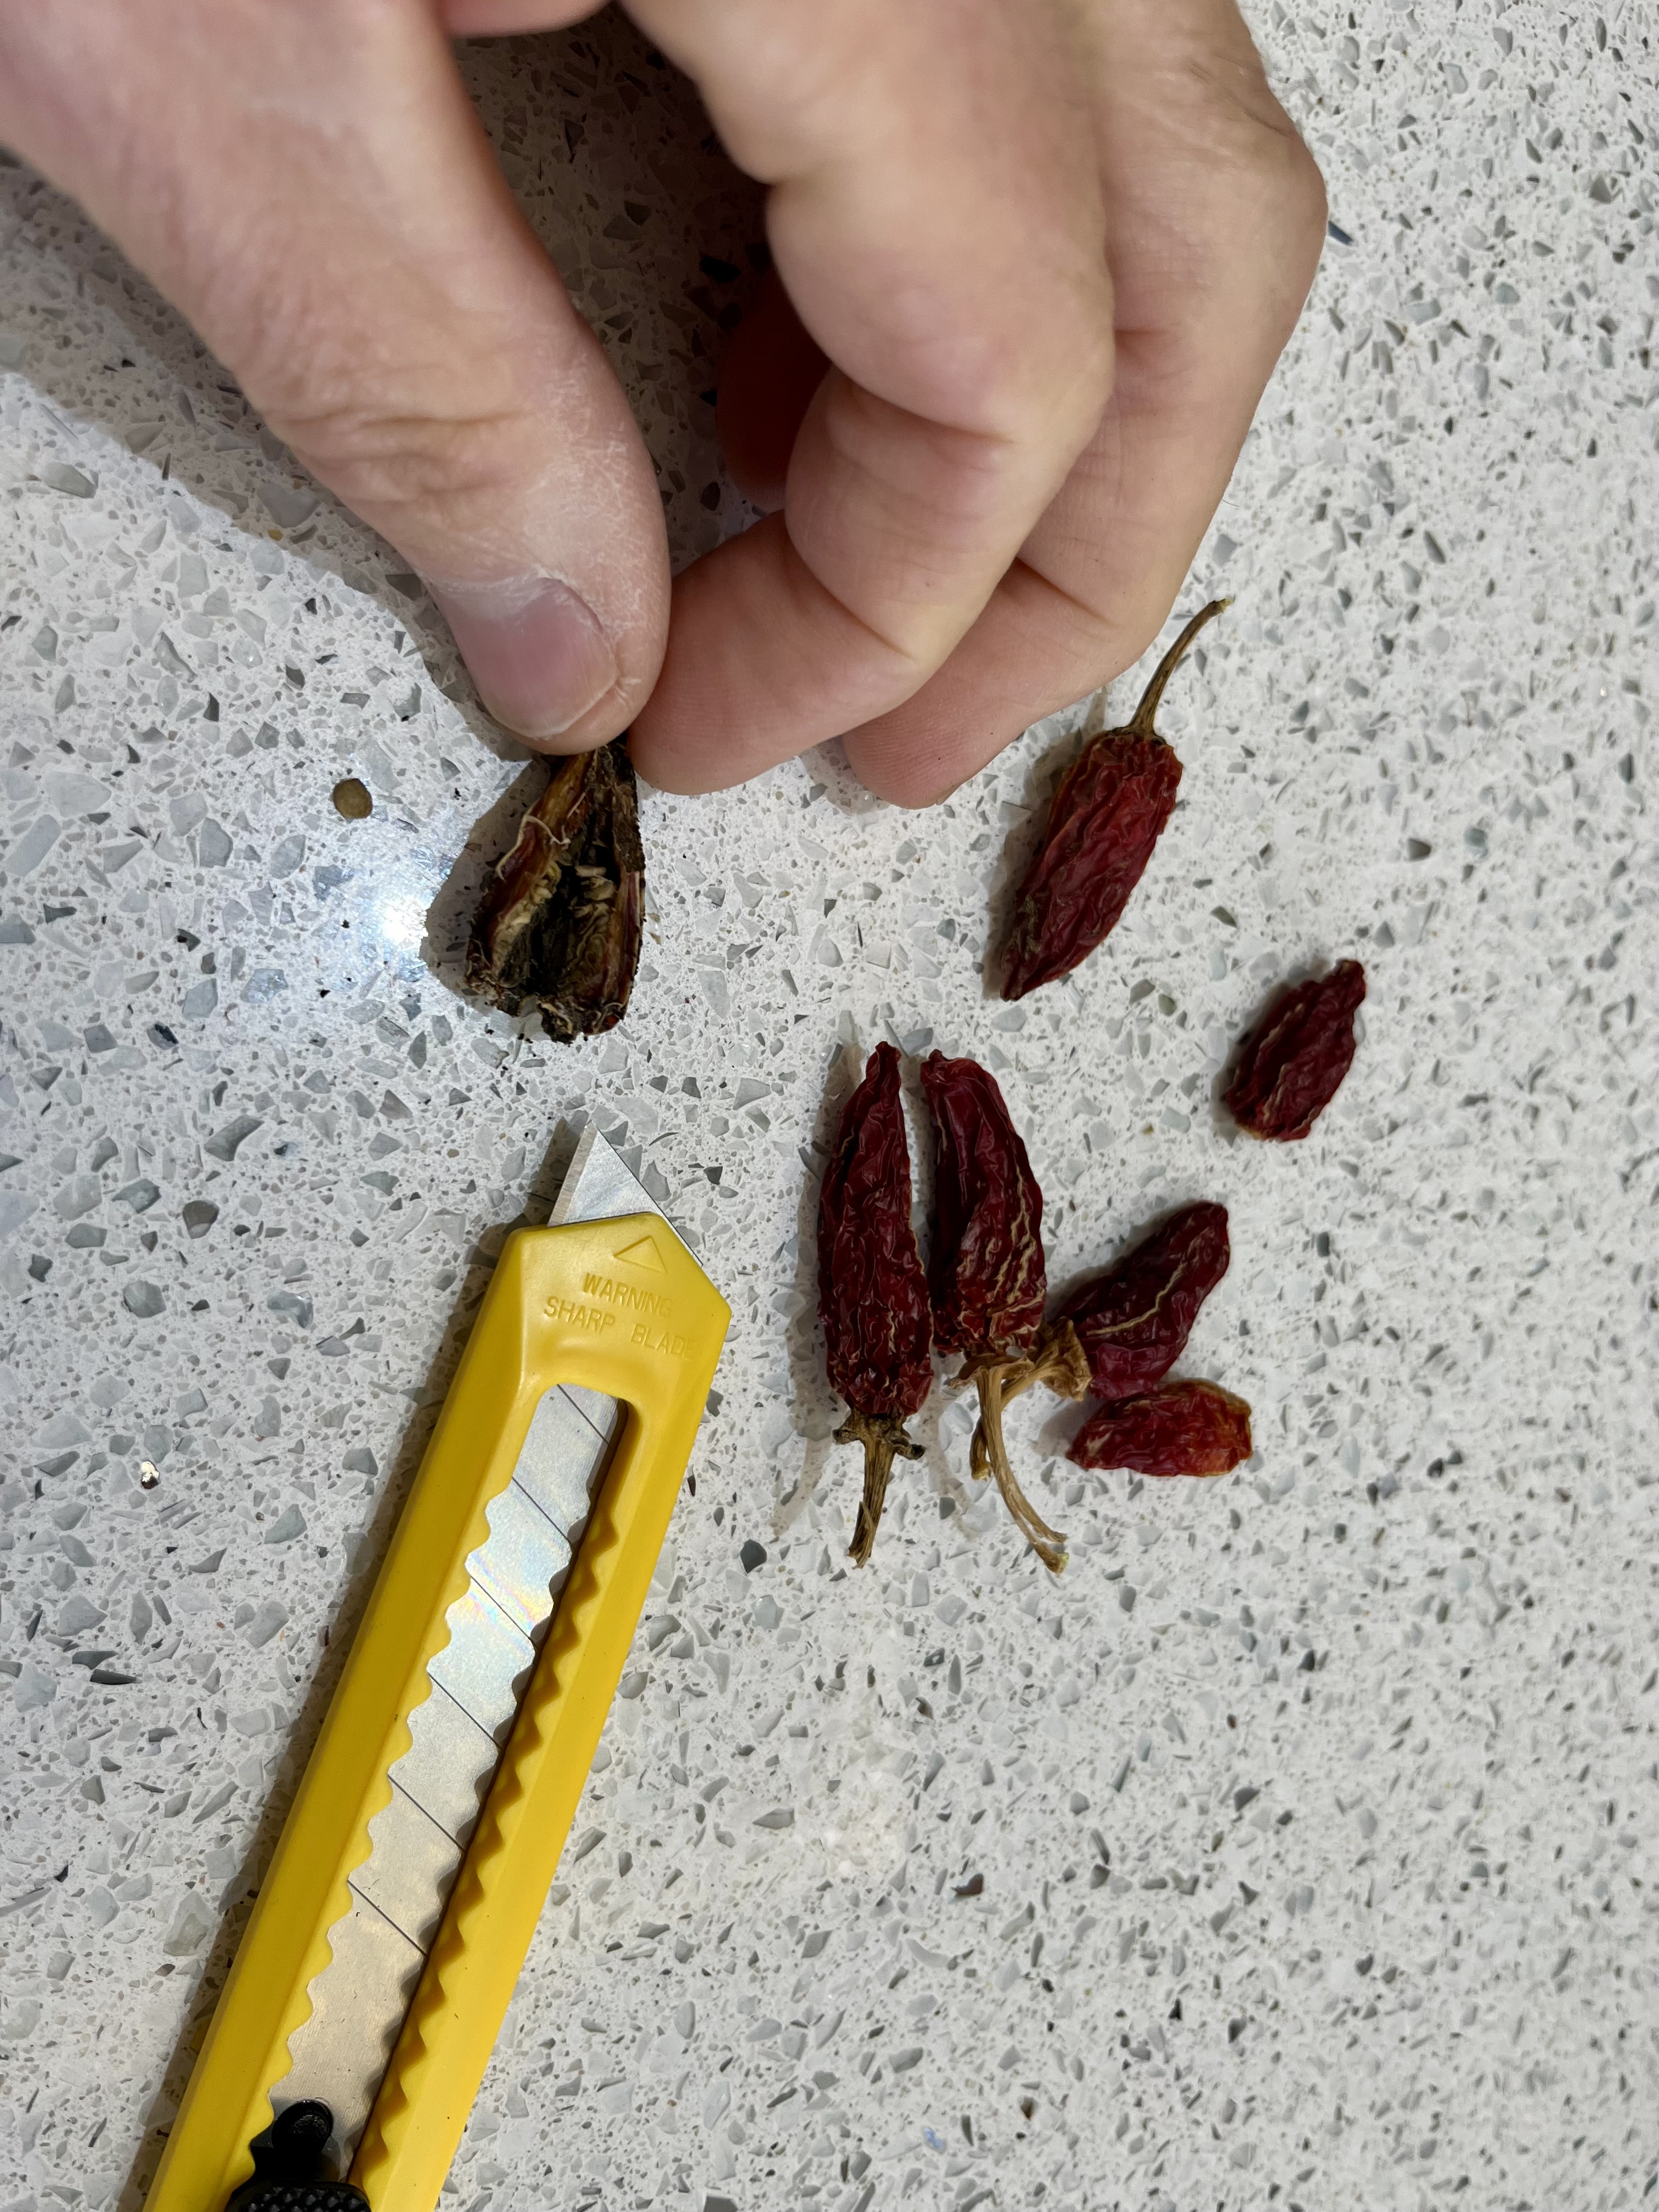
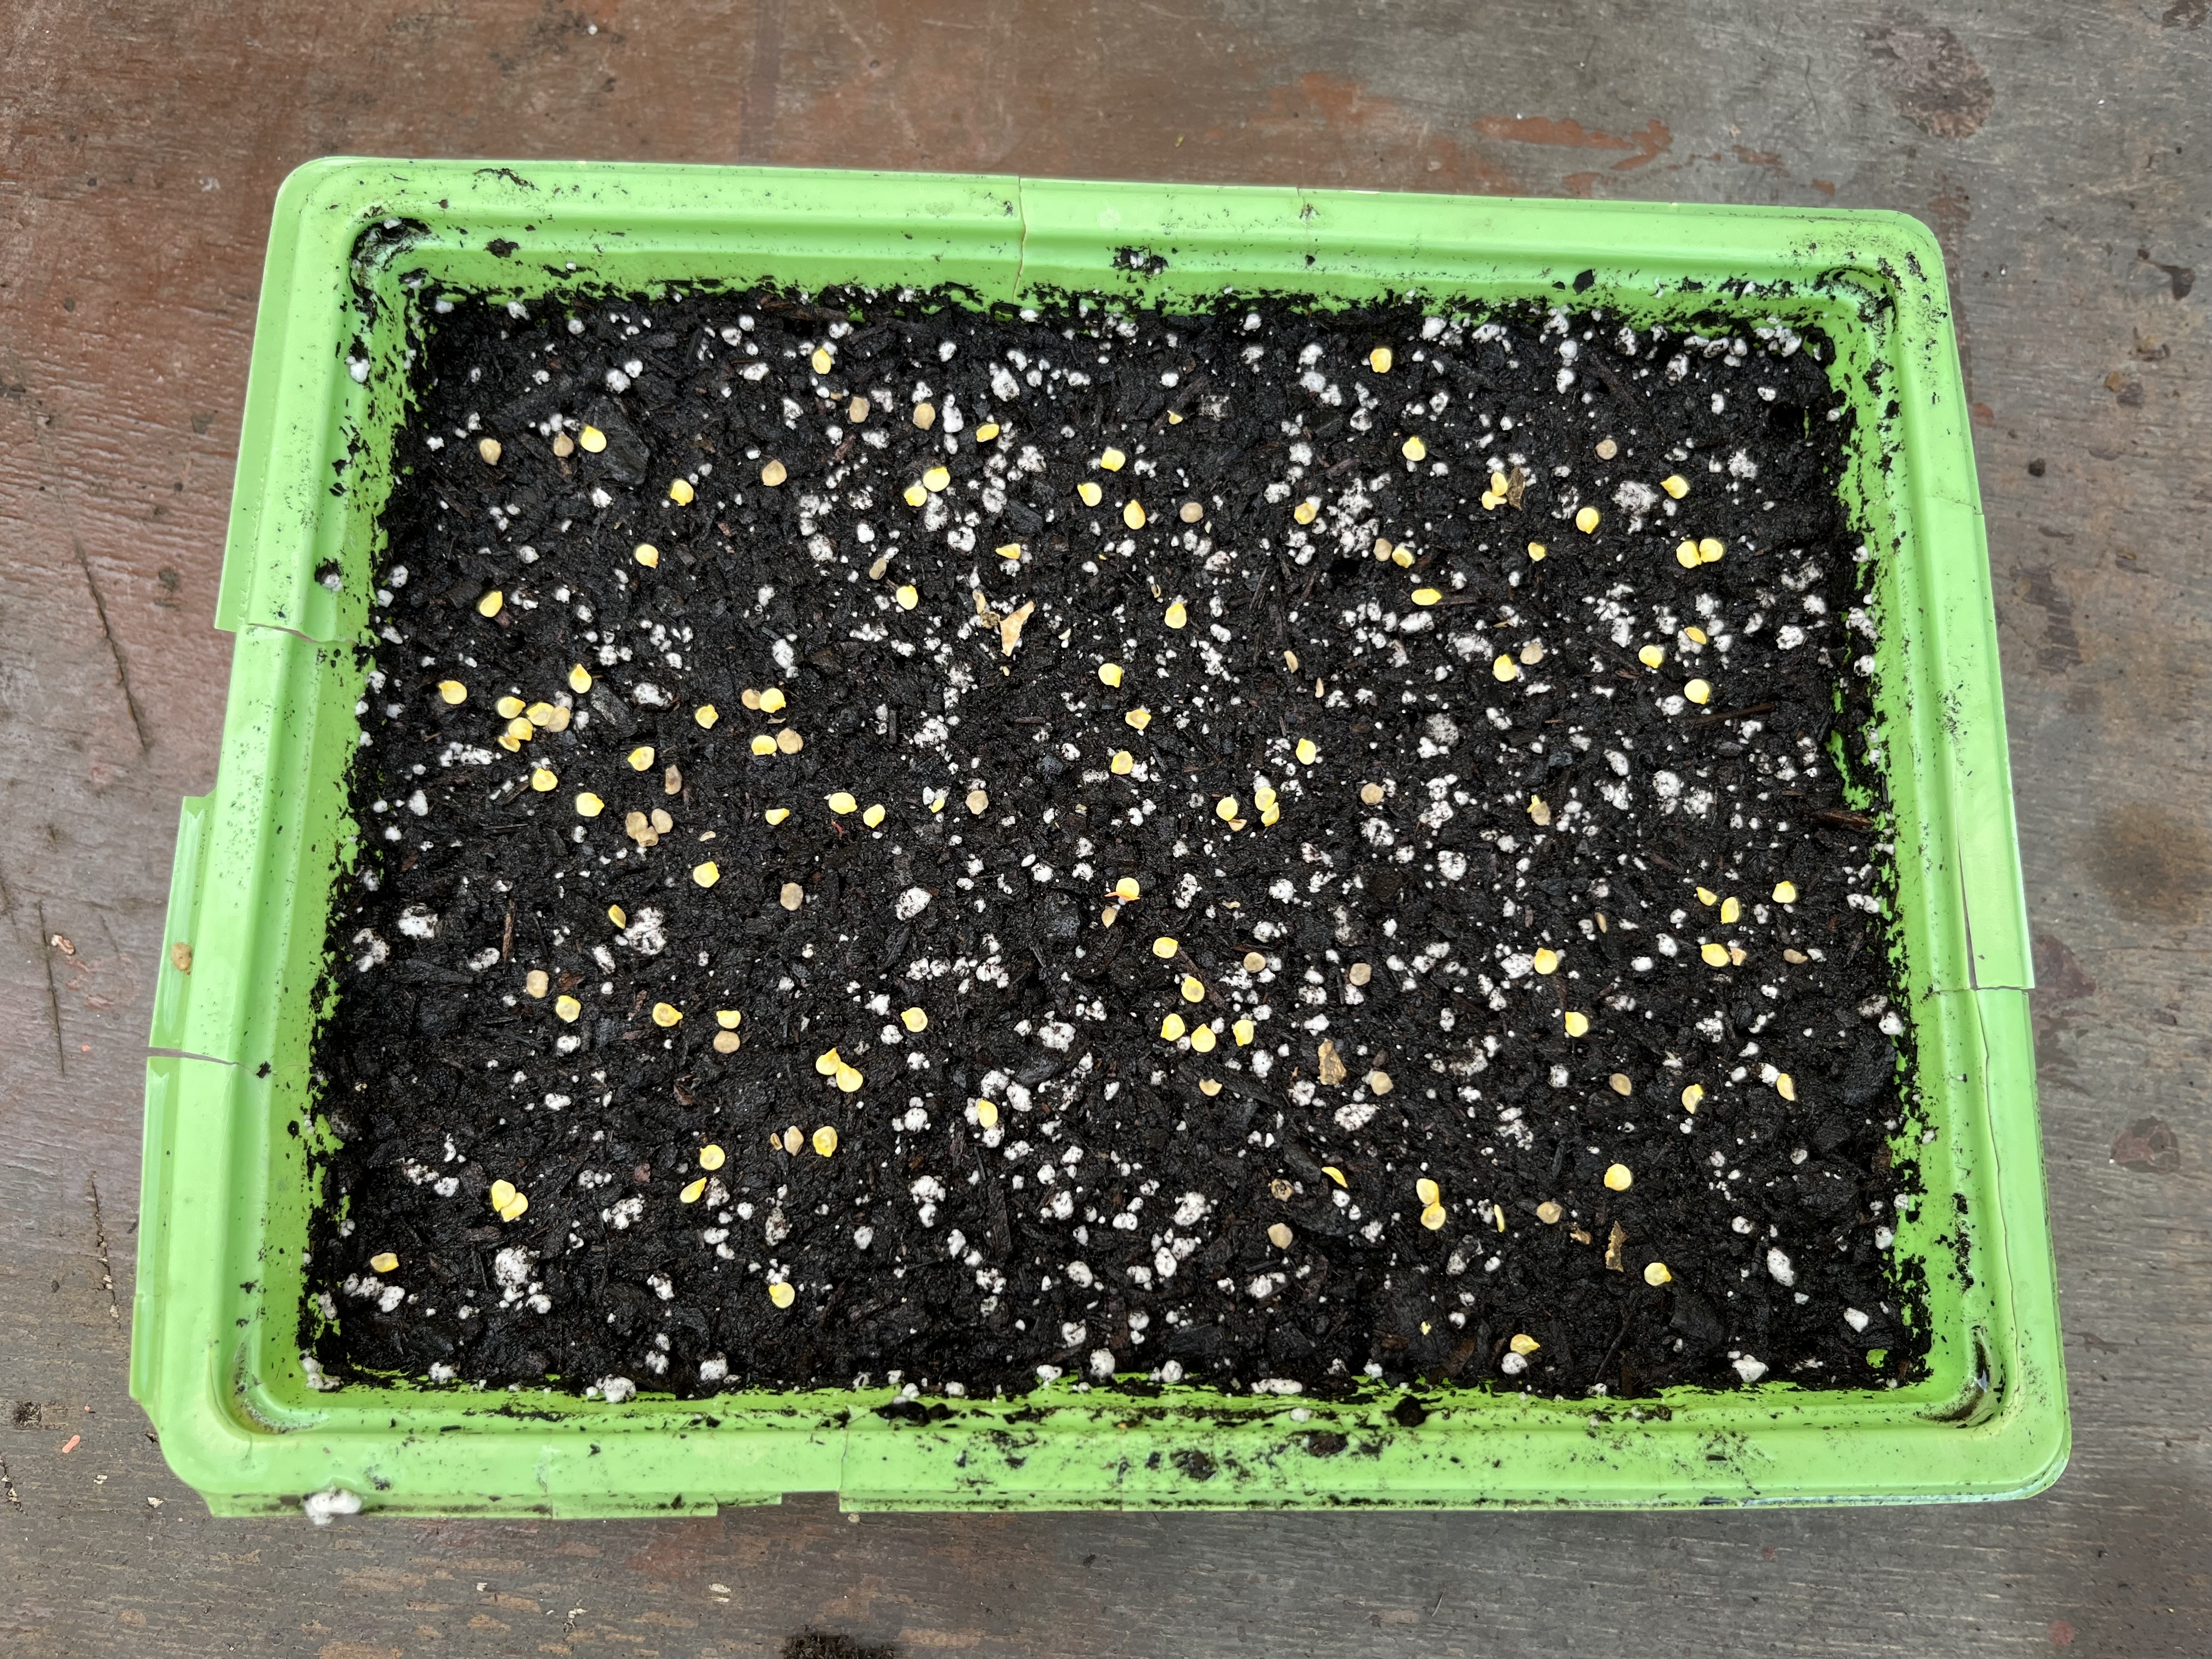
Trumpet vine and the Blackbird. Each year I take seeds from my Trumpet Vines and carefully set them aside to grow them in the Spring. Every year to date the seeds have failed; mainly my fault. But this year I eventually managed to get eight through to the seedling stage. When I came to prick them out and pot them on, I bought the best compost, mixed it with Perlite and prepared 4 inch pots for each seedling . This painstaking process can be seen in the photos below. Click on each photo for a larger view.

Once I completed this task I wandered into the house to boast to Cruella about my success. I swear I was in the house no more than 5 minutes before I went back to the potting bench. As I turned the corner to the potting bench I caught a flash of black wing before my eyes fell on the devastation. A blackbird had dug up all my new seedlings and thrown them around.

Crying out with anguish I rushed back into the house to ask Cruella if she knew anything about this. That must be “Shadowstrike” she said, “I told him he could play in the garden”. The devastation left by the stupid bird can be seen in the photo below. To make matters worse he now follows me round the garden smirking.

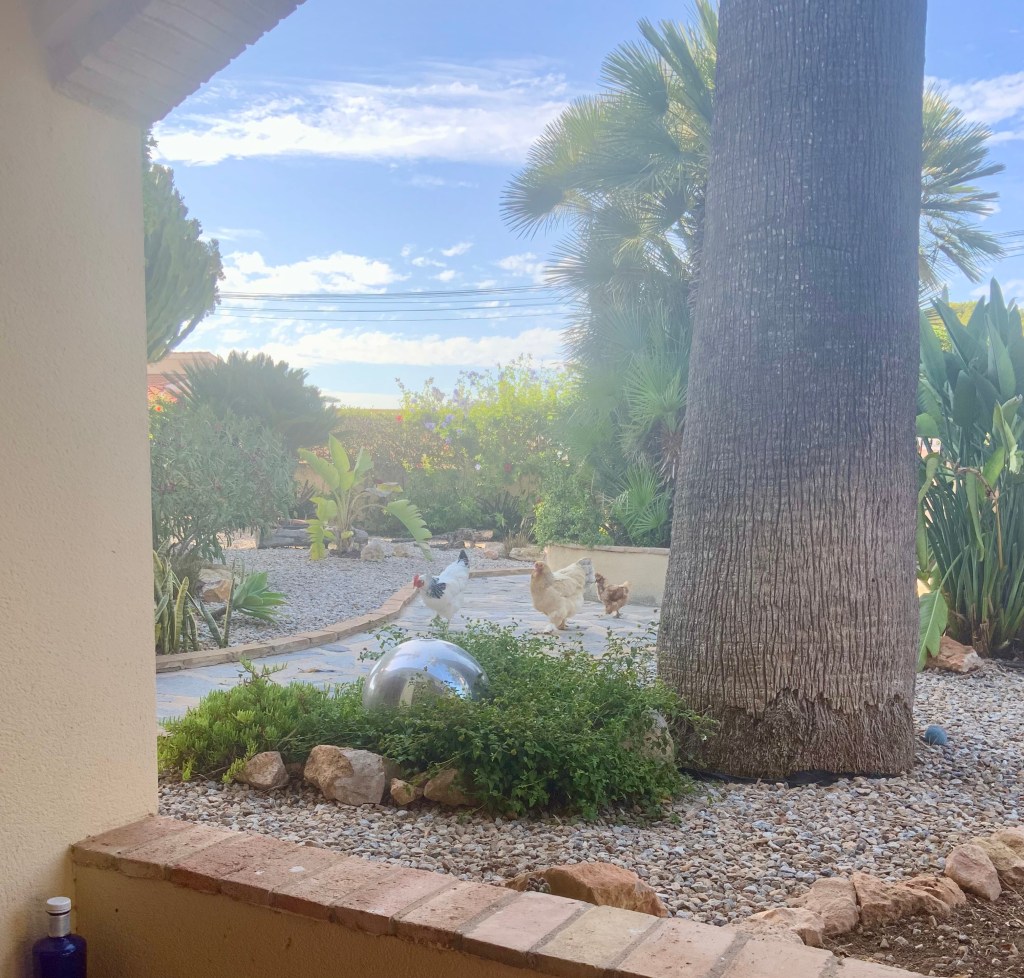
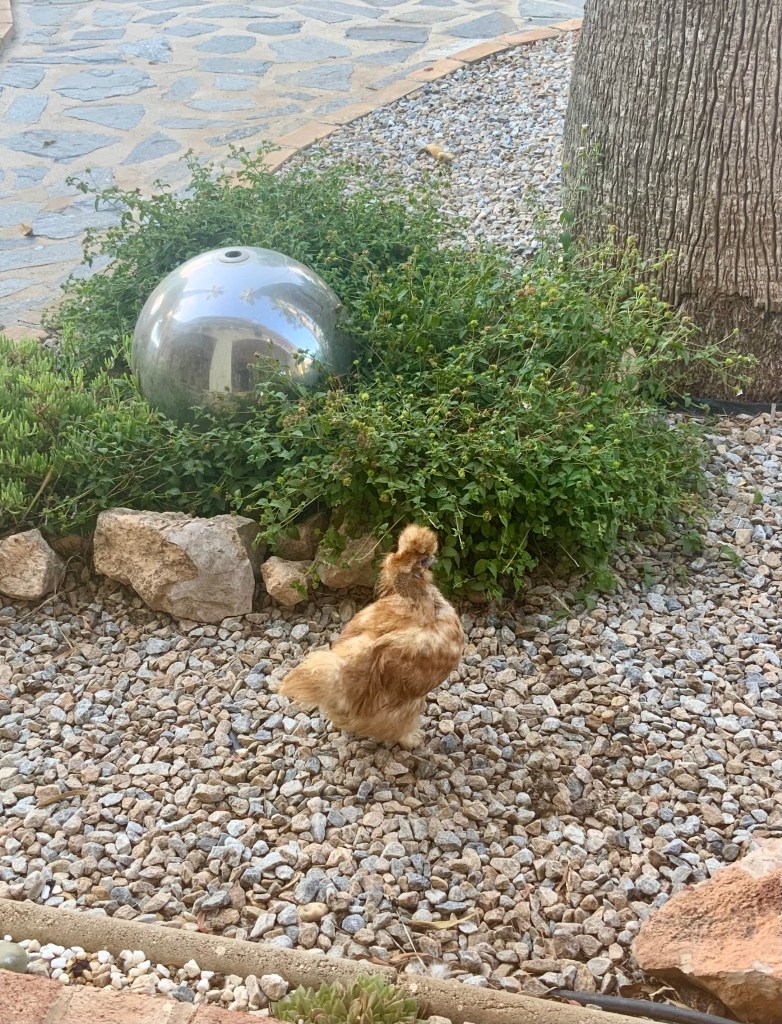
The chicken Olympics. It appears that whilst I was away Cruella (my wife) became concerned that her girls appear to be getting fat. At first she blamed it on ultra processed foods and has written to the WHO complaining. Then she lighted on the fact that wonder drugs can stop obesity, and tried to order Wegovy and Ozempic. The vet refused to prescribe them as he said she just needs to cut back their food. She stormed out shouting that she would not put up with fat shaming and would be reporting him to Weight Watchers.

Anyway, the end result is that she has started to train the chickens for the Paris Olympics. She has already written to the IOCC (International Olympic Chicken Committee). I told her chickens are not allowed in the Olympics, but she just said I was stupid and should just stick to gardening.

Cruella has bought herself a whistle, megaphone and stop watch and the chickens are now trained every morning. They start with leg stretches, which I entitled the “drumstick roll. This is followed by running around the garden in circles whilst chanting improving slogans in Chickenese. Their coop is plastered with self improvement slogans such as

  • Be best chicken you can be
  • Cluck your best and the rest will follow
  • Feathers high, spirits higher
  • Every day is a chance to spread your wings
  • Beneath every feather beats a strong heart
  • Find your flock, lead with pride

The photos below show you some of their early morning training sessions. Click on each photo for a larger view.

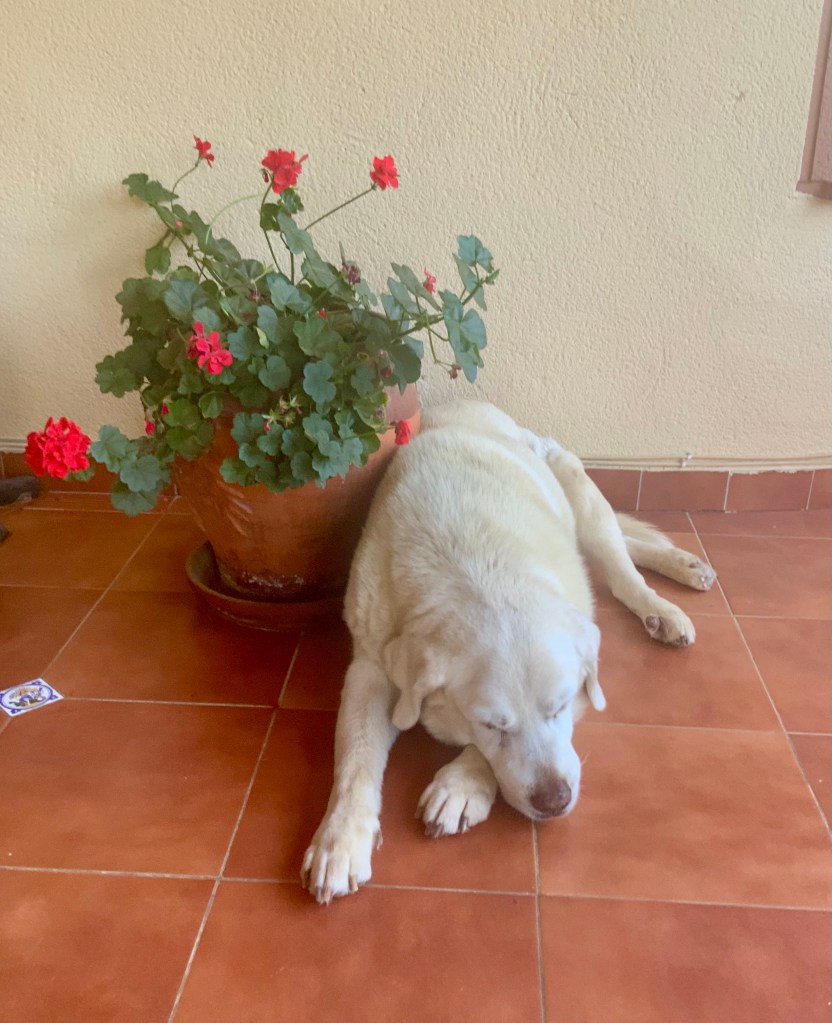
After two weeks of training and exhortation she asked me how I thought they looked. I said “they are still fat”. I’m sleeping in the shed with Tango the lonely blind Labrador and the big rat.

It’s time to sow, I sing to the dying Agave and have a bad Valentine’s Day

It’s warming up, there is a hint of buds and we gardeners are waking from our winter torpor, it’s almost Spring, and you know what Spring means – seeds! Yes, it’s time to start thinking about how you will fill your Summer garden with floriferous beauty, and there is no better way than to grow your own garden from seed. I know that lots of you love to rush off to the Garden Centre and stack your trolley high with all sorts of unsuitable plants. But think how much more fulfilling it will be if you can grow your own garden.

Now I am not being a purist, of course you can buy plants, but why not give seeds a chance (start with a couple of easy to grow packets) once you start it is addictive and may I say a lot cheaper. As you can tell from my enthusiasm I have already got things underway. I was so filled with the joys of gardening that I rushed out and got Cruella (my wife) a Valentines Day gift. Sadly it all went wrong as the chickens deliberately sabotage my efforts. Anyway on with the gardening.

24th February 2024. Things I have been doing lately:

  • Harvesting self sown seedlings
  • Sowing the first seeds
  • Harvesting and sowing Chilli seeds
  • Preparing for the death of Agave Attenuata
  • Regretting my Valentines Day purchase

Harvesting self sown seedlings. One of the best way to get your garden going in Spring, is to take a look around your flower beds and check for any self sown seedlings that your summer flowers may have left you as a gift. One of the most prolific self sowers in Spain is the Maragaritte Daisy/Osteospermum. These lovely long flowering Daisies will drop hundreds of seeds which by now will have formed into little seedlings. The photo below shows just one part of my garden with thousands of seedlings.

But the trick is not to leave the seedlings where they have self sown, instead you need to harvest them and pot them up to let them grow on a bit before planting them out where you want them. The photos below show me harvesting the seedlings by gently prising them out of the soil with a trowel before placing each seedling into individual seedling trays. Note the close attention from big Bertha. (she has reverted and is no longer known as Bert, it was something to do with the chest binders that Cruella bought from John Lewis). Click on each photo for a larger view.

Sowing the first seeds. There is nothing better than contemplating the seeds you harvested from last year and deciding which order you are going to sow them. The photo below shows my preparations and the delight of contemplating things to come. Click on each photo for a larger view.

Before you get carried away with sowing seeds there is some basic preparation you need to undertake. If you are sowing into pots or seed trays you have used before, then it is important that you thoroughly wash them inside and outside. The last thing you want to do is carry over viruses and pathogens that are lurking in the residue of last year’s soil. All that is basically required is that you use a powerful hose jet to wash away any soil residue. The photos below show some of my seed trays after their annual ablutions. Click on each photo for a larger view.

Once you are ready to sow your seeds then you need to mix a good compost (not from China shop) together with Perlite to form a nice free draining medium that will not leave your little seeds waterlogged. Most seeds mainly require sprinkling on the surface of your compost then covering with a light sprinkling of compost.

Once you have lightly tamped down the surface to ensure seed and soil contact, then you need to place your seeds trays in a light warm area such as a window sill, or greenhouse. Be careful of fierce sun as this will dry the compost out to quickly. I buy a cheap little mini green house and use it for 2 or three years and then discard and start again. You will only need it for a couple of months at the most. The photos below show my seed sowing activity followed by my seed trays resting in their new home. Click on each photo for a larger view.

Harvesting and sowing Chilli seeds. Chilli plants are a joy to grow as they are so prolific. I leave my chilli plants to fruit over a two year period with just a chop back at the end of the year. The third year I remove the old plants and sow new seed in lovely fresh compost. By doing this I am getting rid of the old tired compost and creating a whole new generation of plants. The first photo below show my tired old plants heading for the compost heap, followed by the ripe seed pods that I have left on the plants and which will form my next generation.
Click on each photo for a larger view.

Getting the seeds is very simple. Using a scalpel, or very sharp knife, slice carefully down the side of the dried seed pod and carefully tease out the seeds that will be there waiting for you. The photos below show my scalpel work, together with the gathered seeds. The final photo shows the seeds scattered evenly across a seed tray before being lightly covered with compost. Click on each photo for a larger view.

Preparing for the death of Agave Attenuata. Losing any plant is a dreadful experience for us gardeners. We tend them, nurture them, watch them grow day by day and experience joy when they flower. That makes it all the more poignant when you lose an Agave Attenuata.

These lovely plants are very popular in Spain as they are one of the few “unarmed Agaves”, by this I mean they neither have teeth or spikes so won’t stab or cut you. They also have a charming habit of creating lots of pups which eventually surround them like a loving family. They take a long time to flower (12-20 years) and like lots of Agaves, when they do, they die leaving only their orphaned pups to cope on their own. The photo below shows a family of orphaned pups who lost their Mum about 5 years ago.

Eventually one of the orphans will go on to adopt the role of mother but it can take a long time. I think the one at the back right is shaping up to be Mum.

Regular readers of this blog will know that I have been lucky enough to see a number of my Attenuata flower. It has always been a painful process made much worse by the mockery of Cruella (my wife) who constantly heckles me in my sorrow by shouting “it’s only a plant, get over it”. On one occasion she proposed what she termed “assistant plant dying” and said that both me and the plant should go off to Dignitas!

As always on these occasions I conduct myself with dignity and commit my evenings to sitting by the plant as it flowers. We talk over old times, when it was just a little pup and I reassure her that all her pups will be taken care of when she goes. The photos below show my cherished Agave developing her flower spike. The beauty of the flower spike is marred by the tragedy of her oncoming demise. Click on each photo for a larger view.

As her flower spike gets taller so she gets weaker, and this is when I start to sing. All Agaves have a tendency for classical opera, so I tend to sing arias mainly from Puccini and especially La Bohéme.

We start early on when she has accepted she is going. I hold her flower spike and sing “Che gelida manini”. As we progress she takes on the part of Mimi and I Rodolfo as she coquettishly sings “Sì, mi chiamano Mimì”. We both then finish the day with “O Soave faniculla” the pups act as the chorus and as she finishes on the famous high “C” we are all in tears. I am dreading the future. The photos below show us singing the first act, if you look carefully you can see the pups leaning into the chorus whilst visible signs of decay can now be seen on their mum. We shall sing the famous deathbed scene of Act 4 in a couple of weeks, in the meantime I am giving bereavement classes to the pups. Click on each photo for a larger view.

Regretting my Valentines Day purchase. As if things weren’t bad enough with my poor Agave, Cruella (my wife) had demanded that I make an effort for Valentines Day and get her something romantic. I racked my brain for days and eventually came up with the perfect present that was both practical, stylish, and suited to her personality. At great cost I bought her a new titanium based, multi positional short take off and landing broom. The photos below show this wonder of modern technology in both its extended long take off mode and its shortened take off mode.

Given that most of her current brooms are what you would term shoddy, I thought she would be delighted. She took one look at it and proclaimed “I wouldn’t be seen dead on that modern crap”. She stormed off in a huff and spent all of Valentine’s Day with her chickens murmuring darkly in chickenese whilst occasionally giving me black looks. The upside was that I could get on with sowing seeds!