

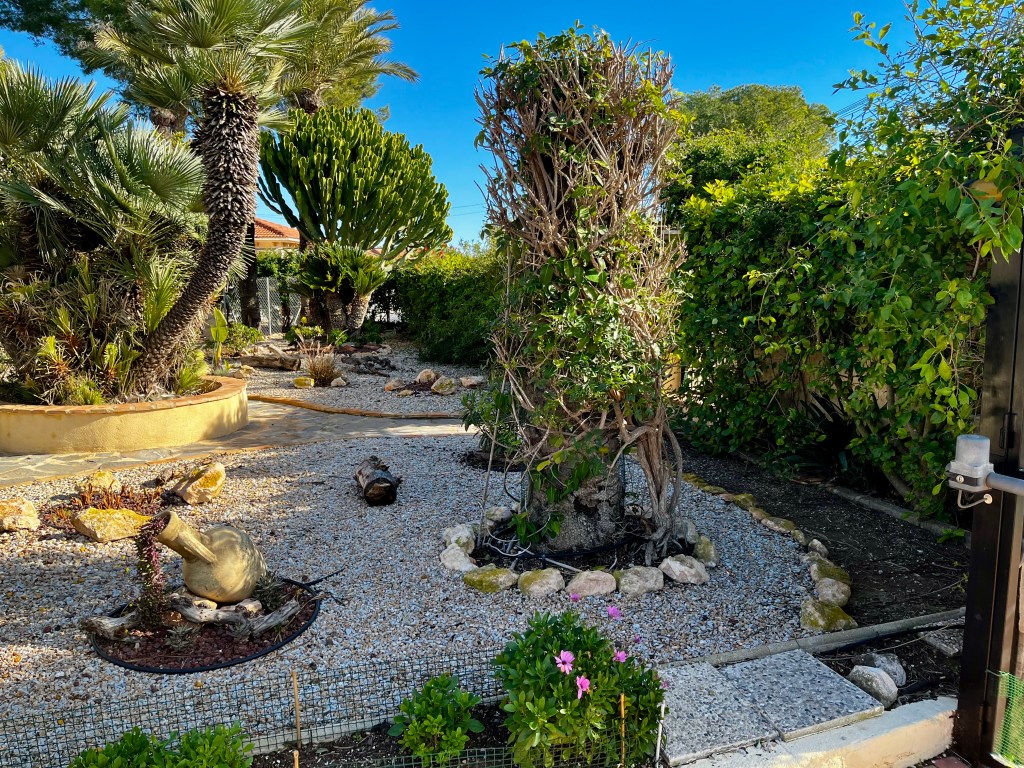
I don’t know normally dedicate a post to one subject as there is too much gardening to do. But I decided to dedicate this post to discussing cutting Palm trees properly because I am fed up seeing palm trees butchered by men with chainsaws.
Now any idiot can buy a chainsaw and claim that they are a professional. And no doubt it will definitely be cheaper than the real professional. But the end result is ugly butchered trees that have been hacked to pieces and are now ripe for a visit from the Palm Weevil.
Now whether you take my advice or carry on butchering your trees it is up to you but here we go.
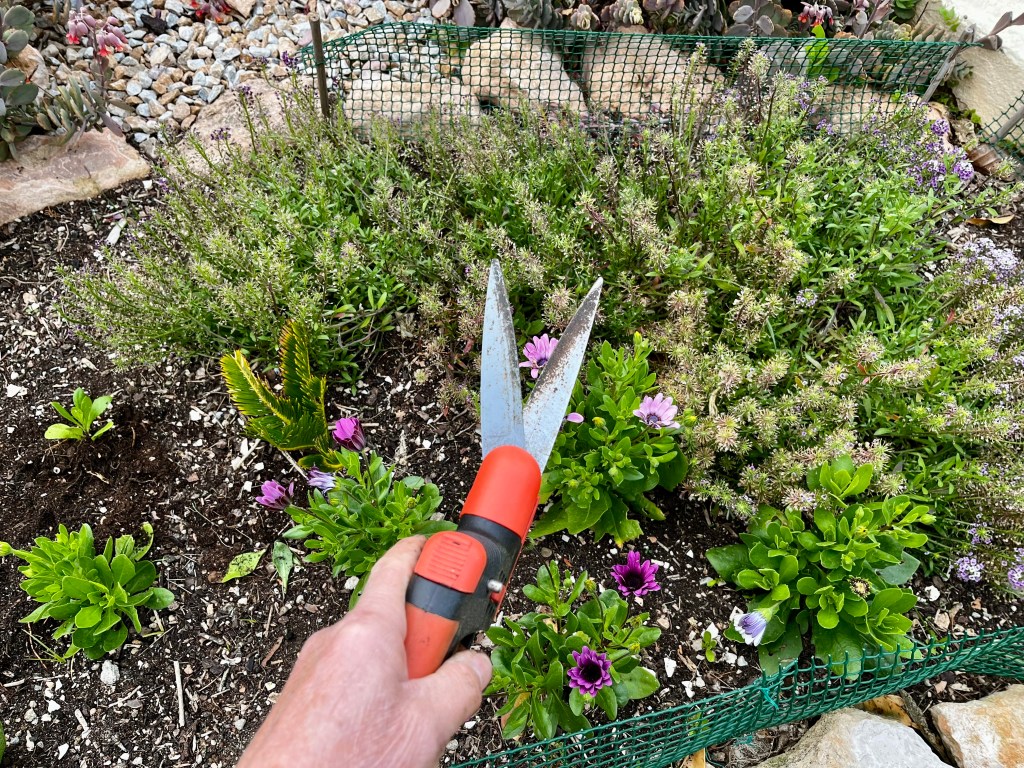
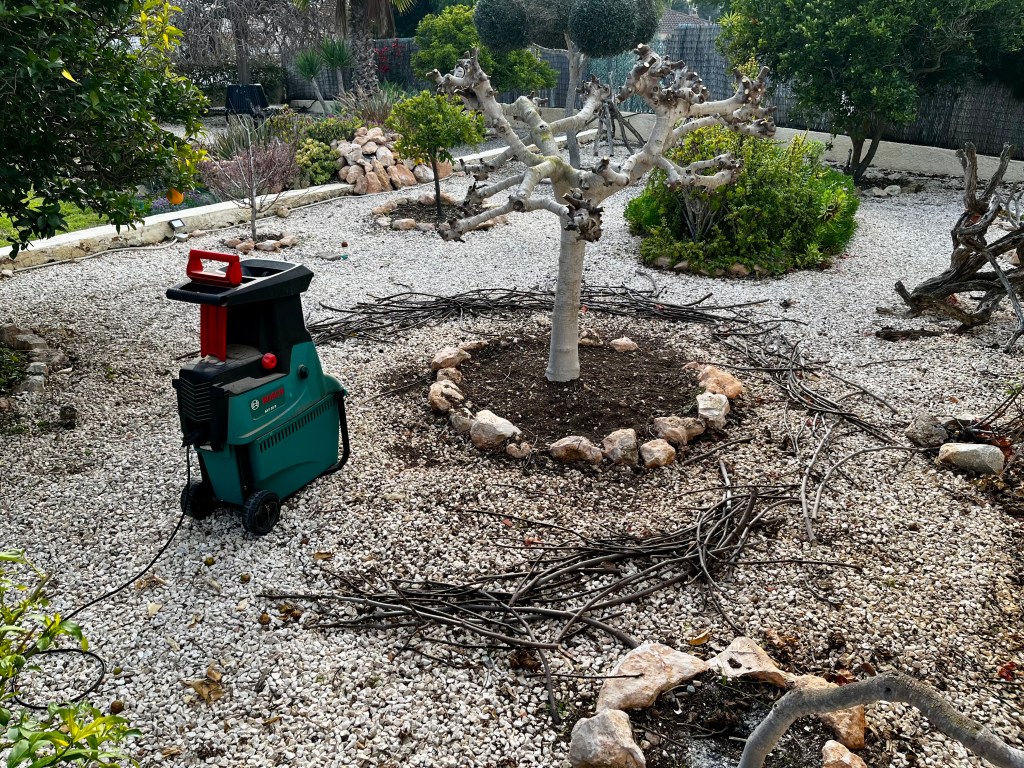
16th March 2026. Things I have been doing lately.
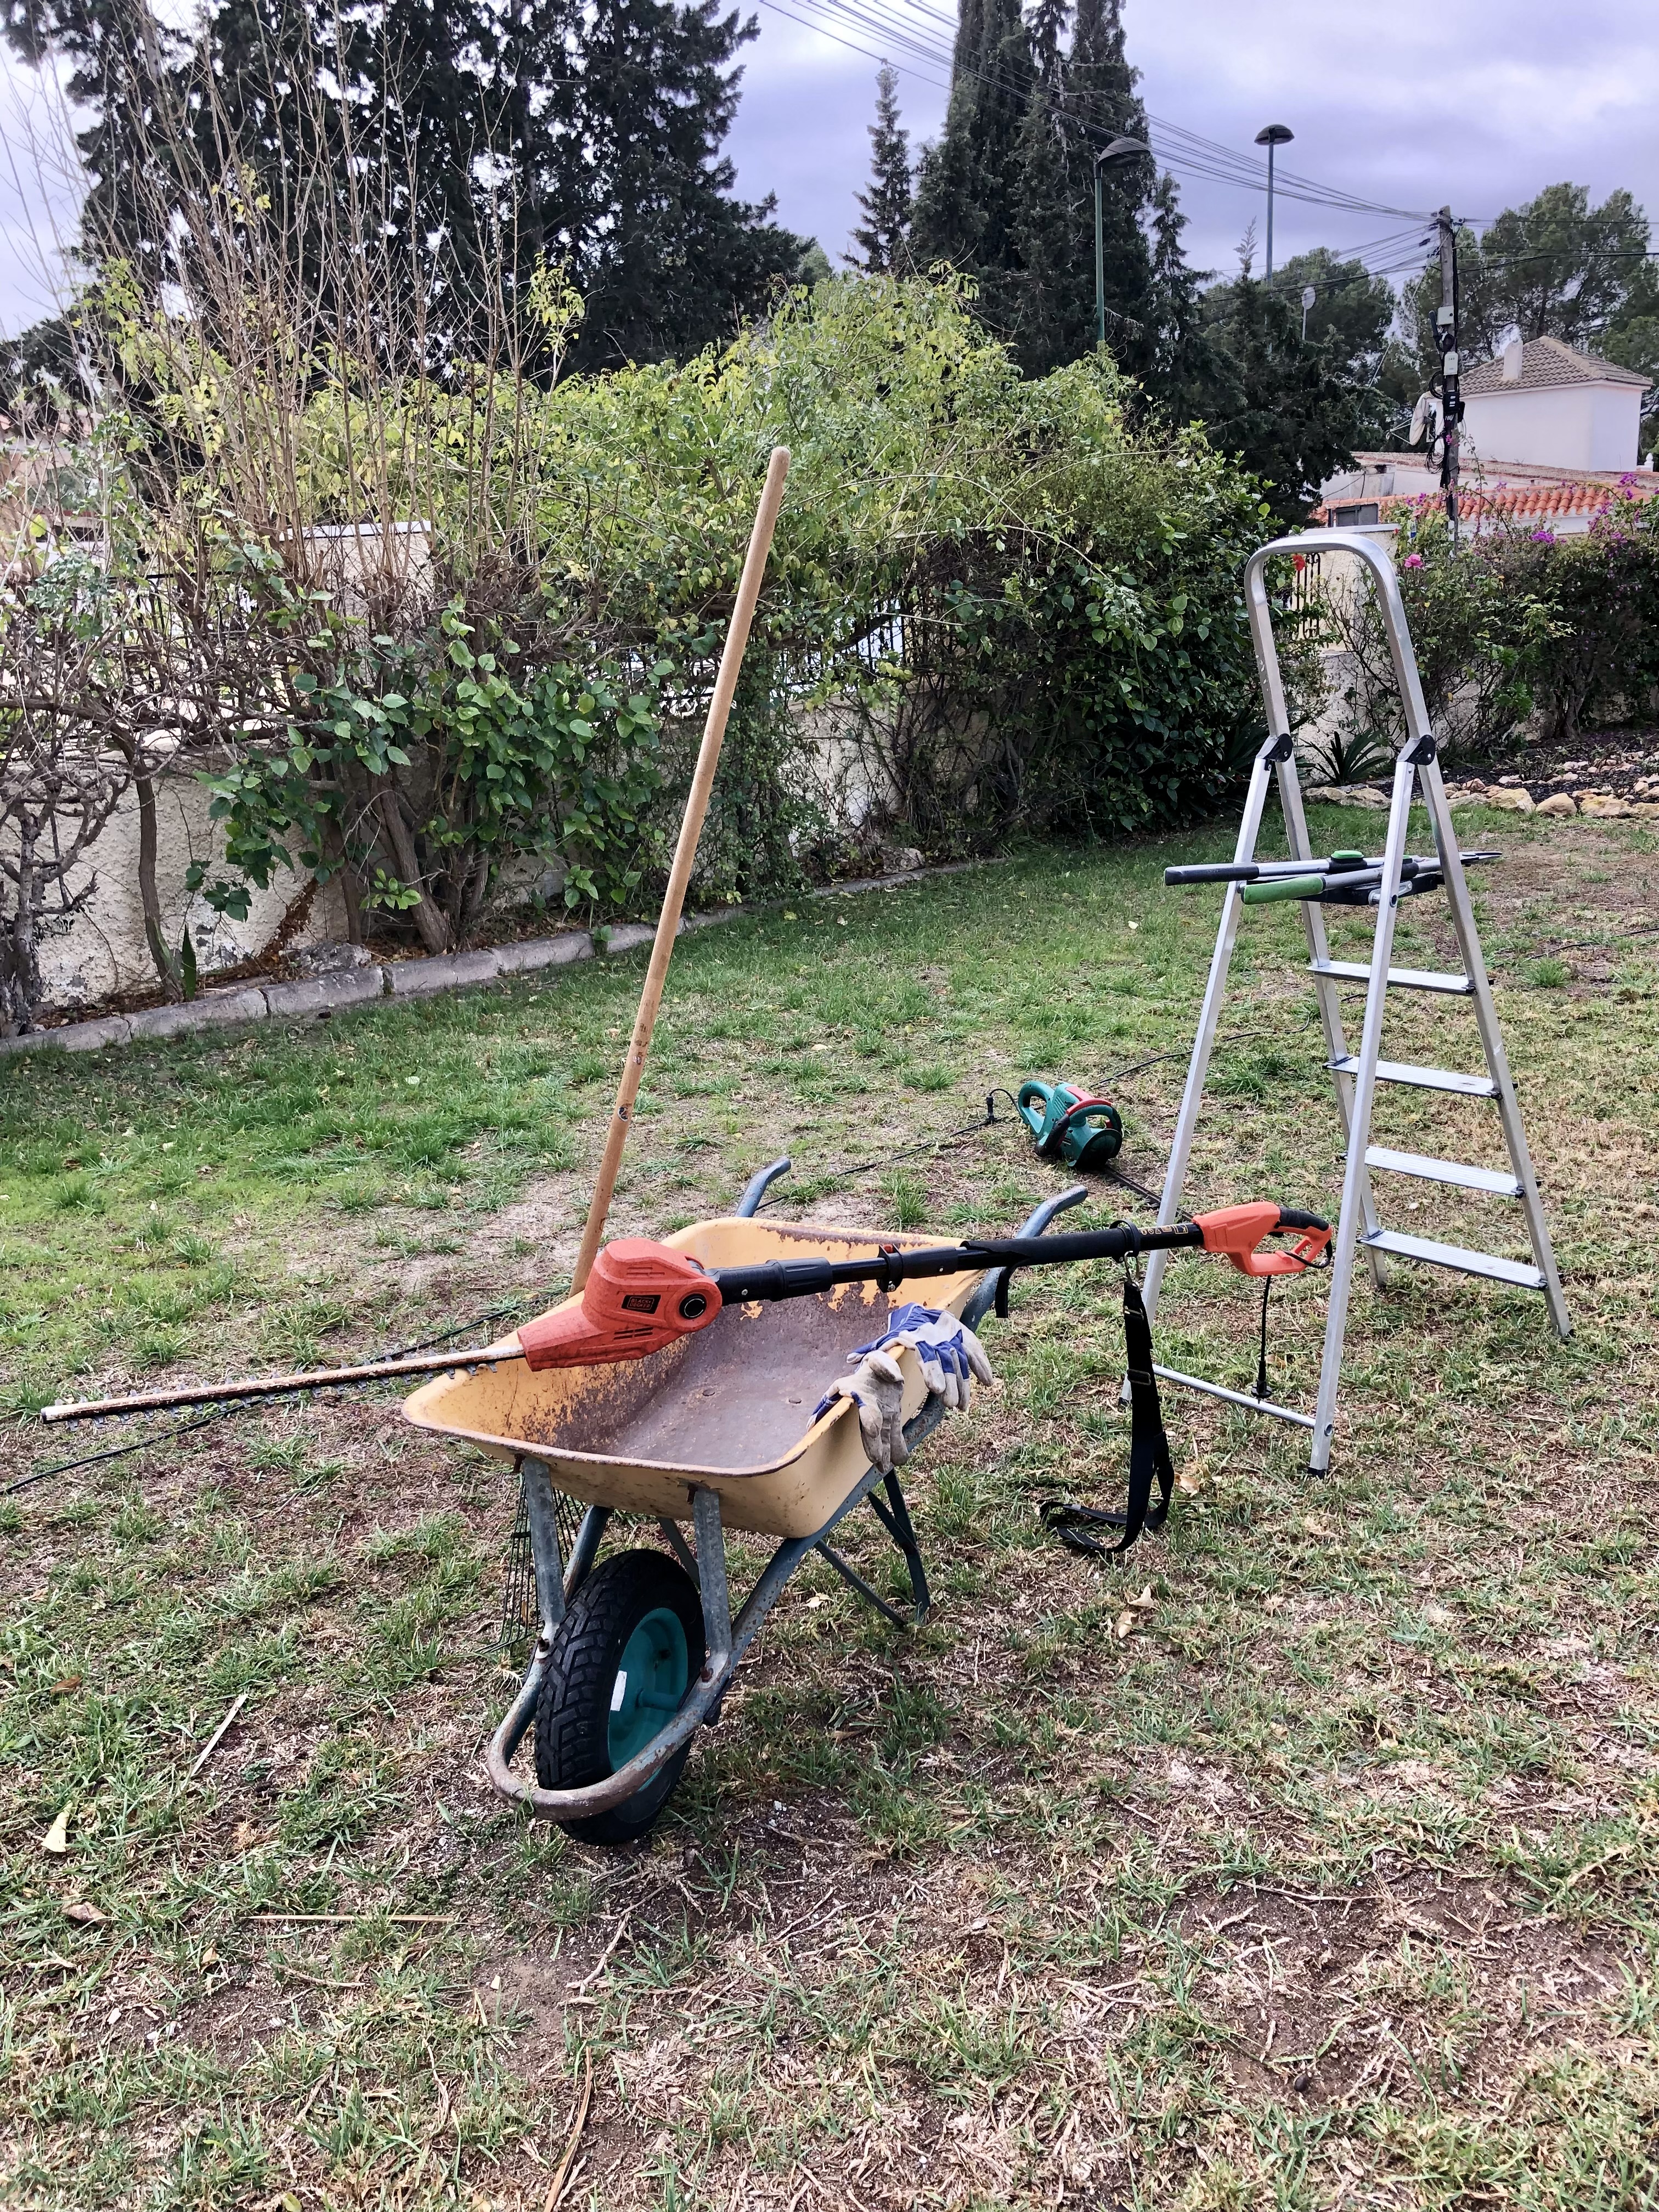
Well to be honest, it’s not things I have been doing, it’s things I have been getting done. Cutting Palms is the only thing that I do not do myself in my garden. There are four reasons for this:
- The aforementioned I cannot stand seeing butchered palms
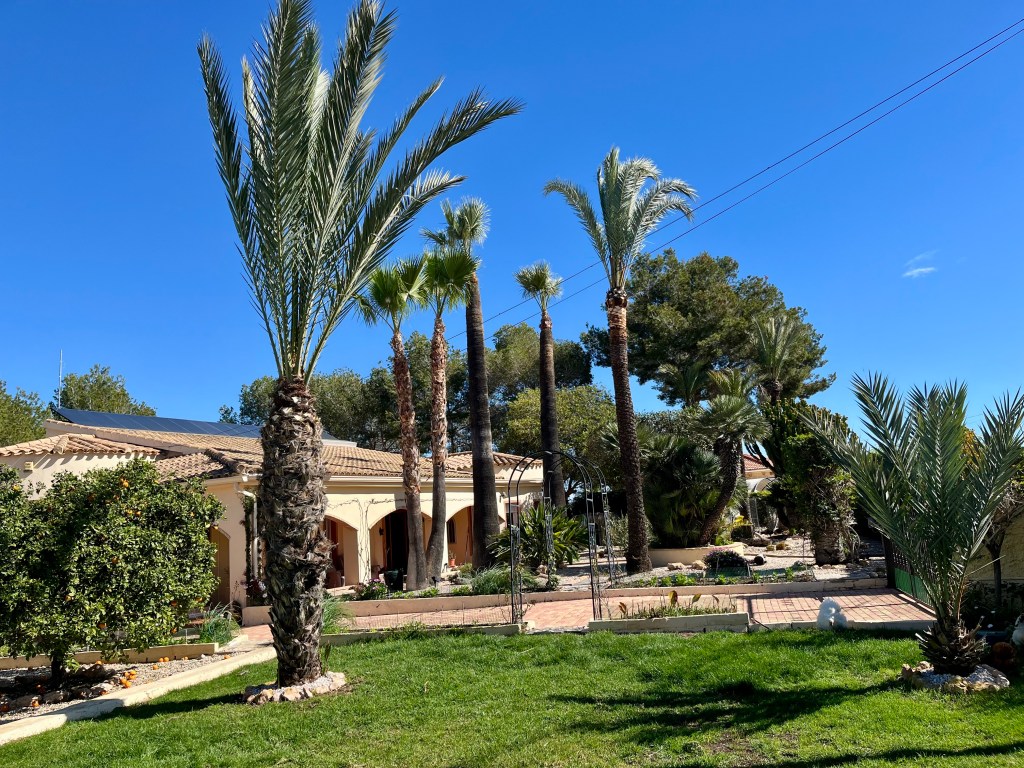
- I have twelve palm trees some of which are 40ft high
- I am old and wish to preserve my bones
- The idiot son has made me promise not to climb ladders as I often fall off
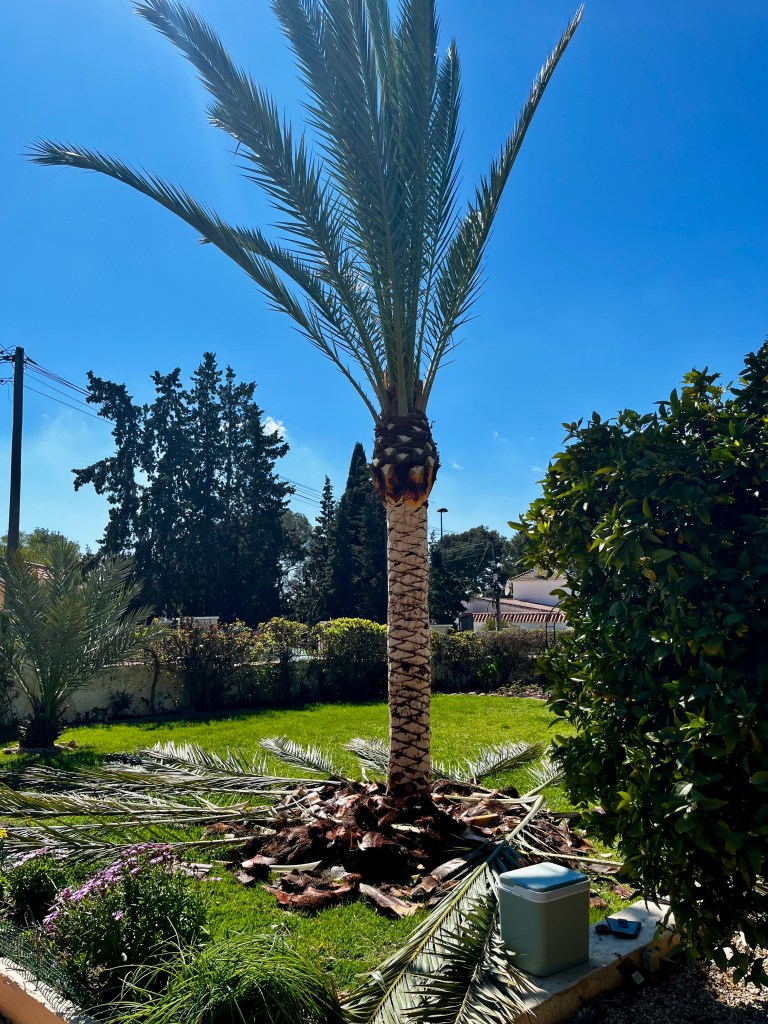
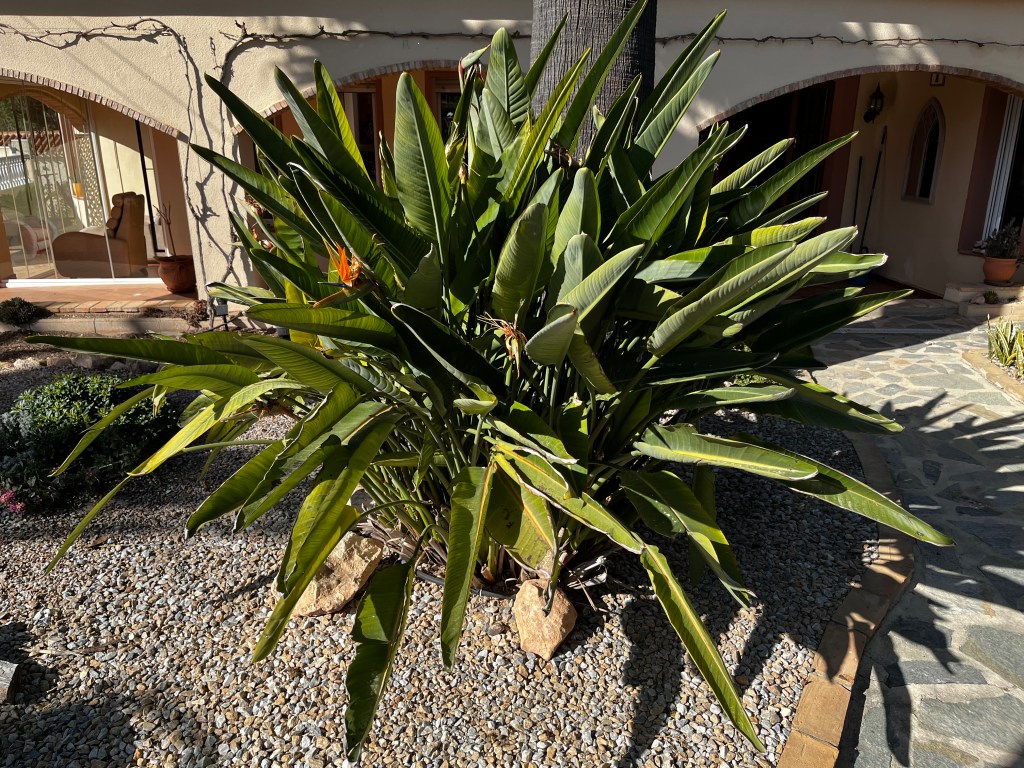
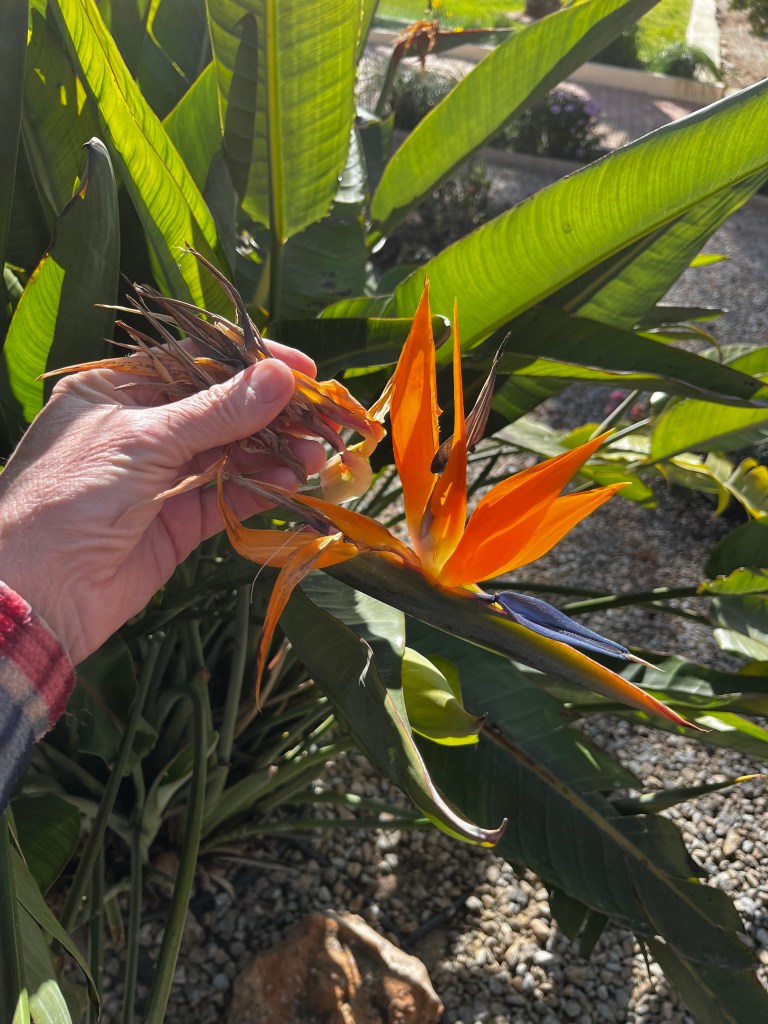
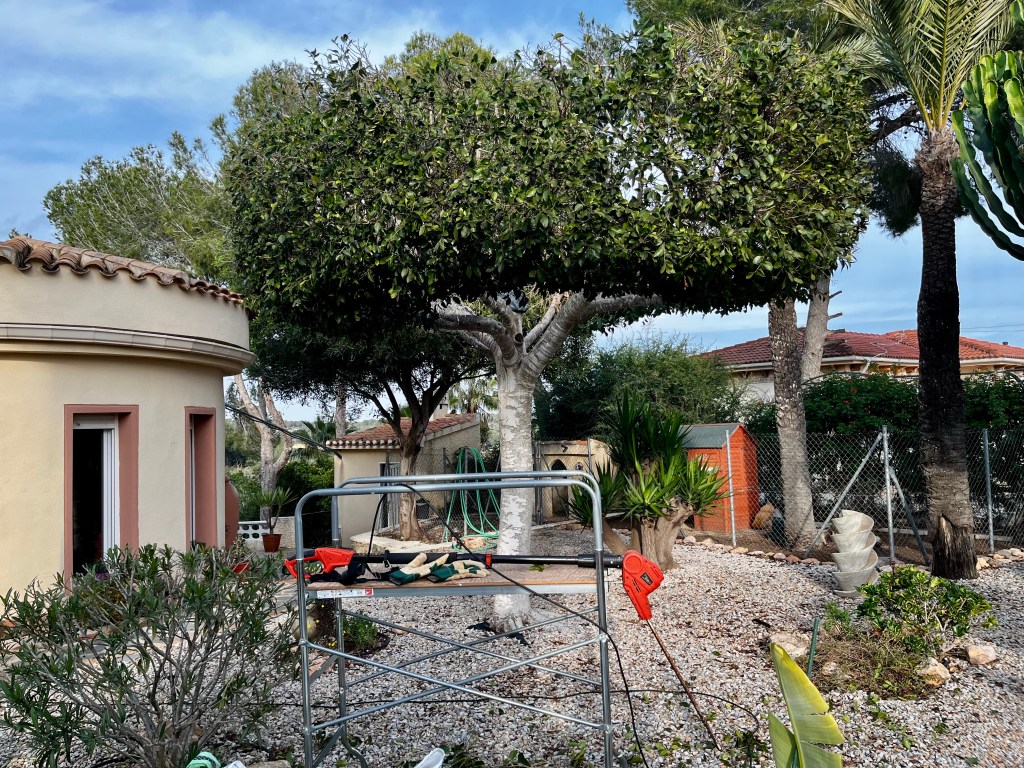
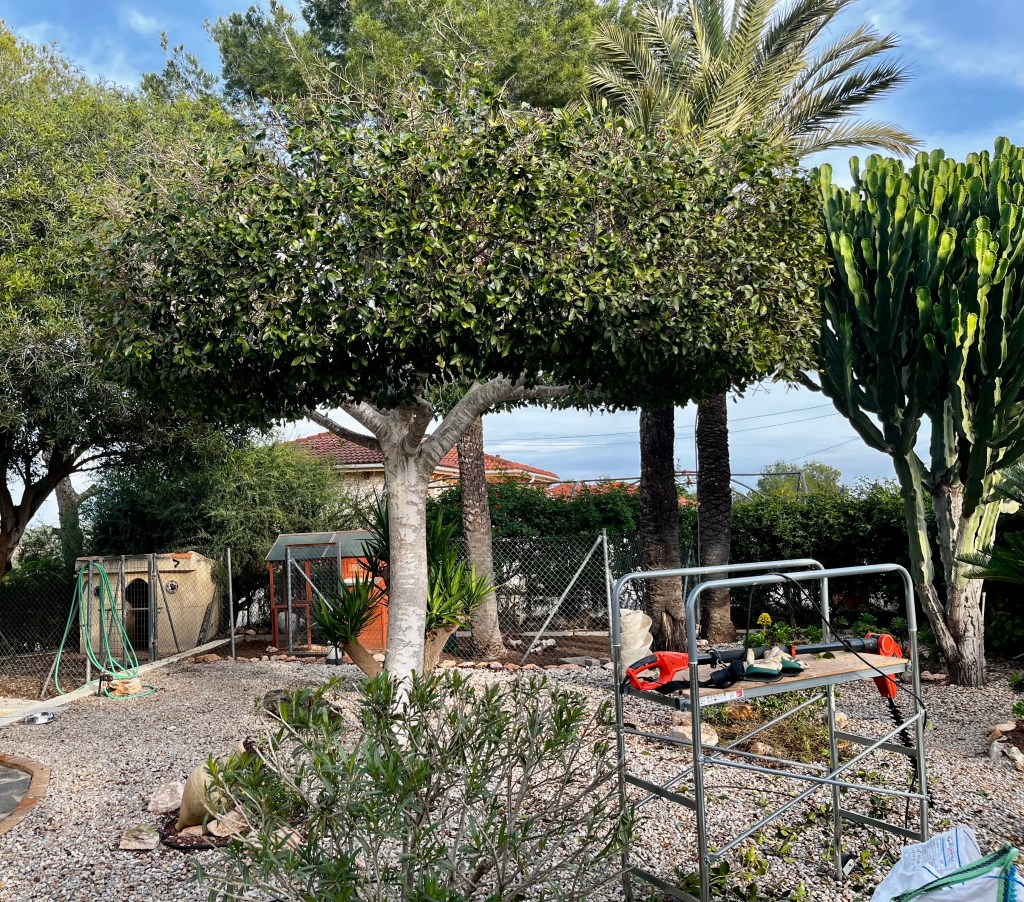
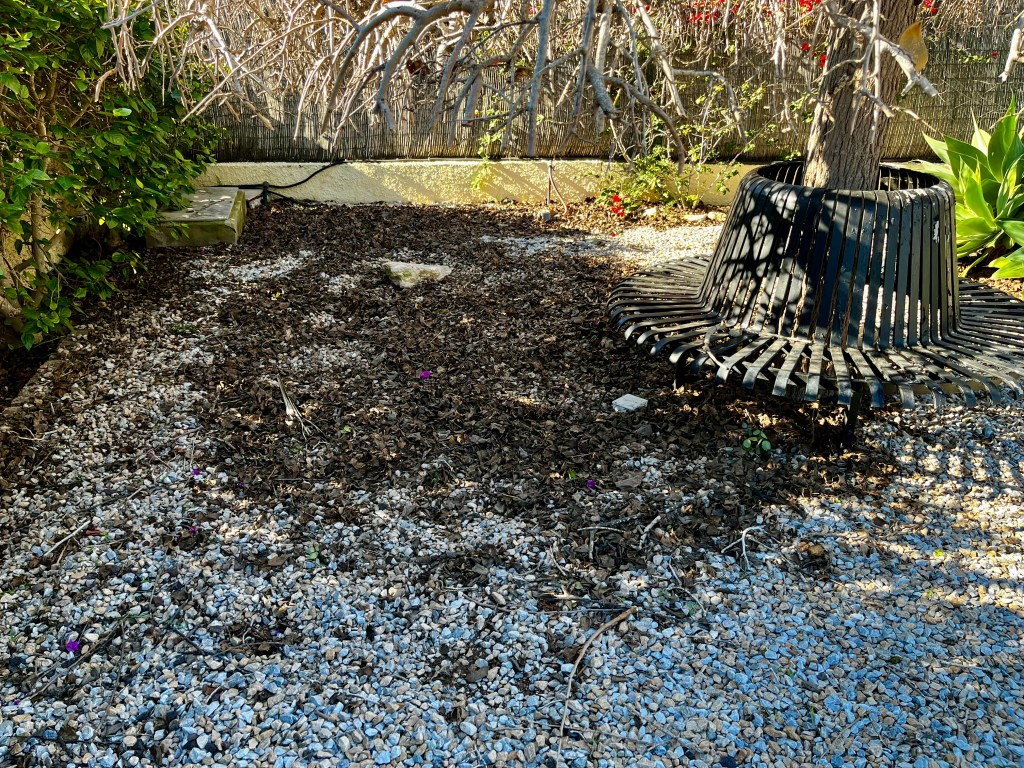
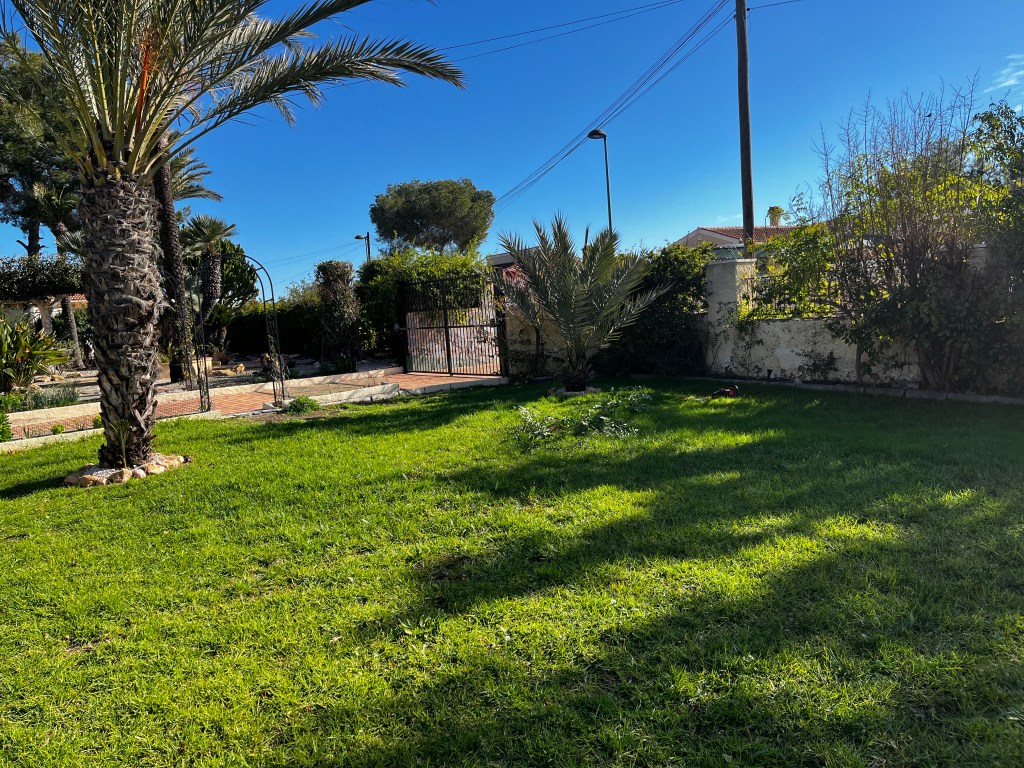
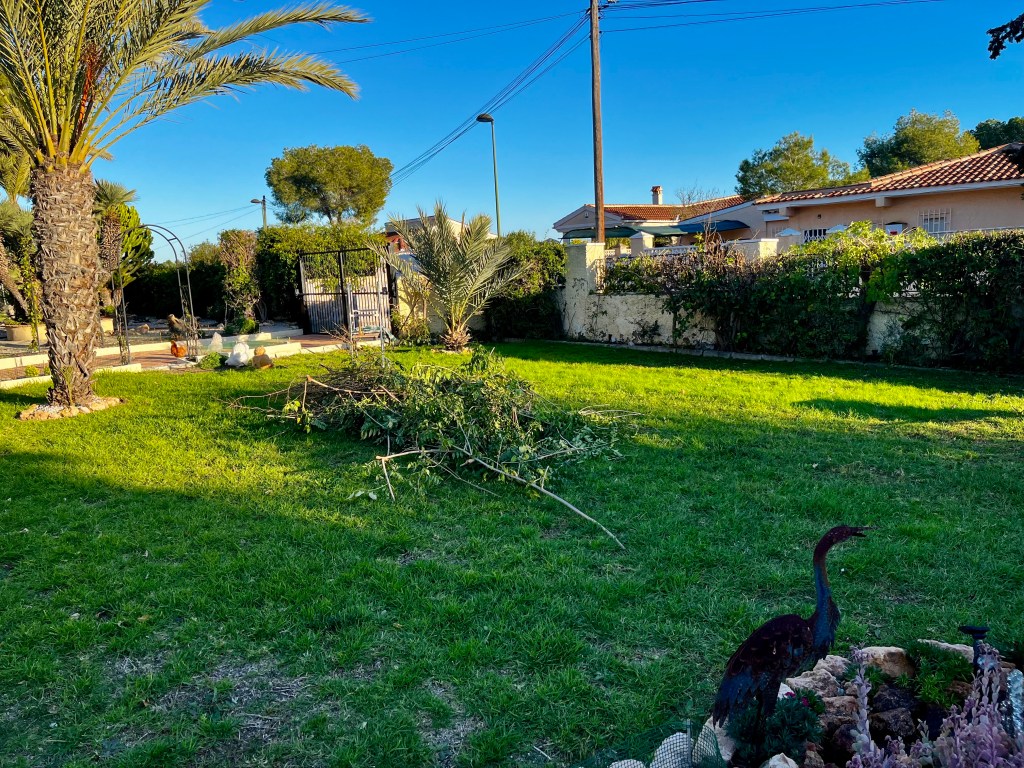
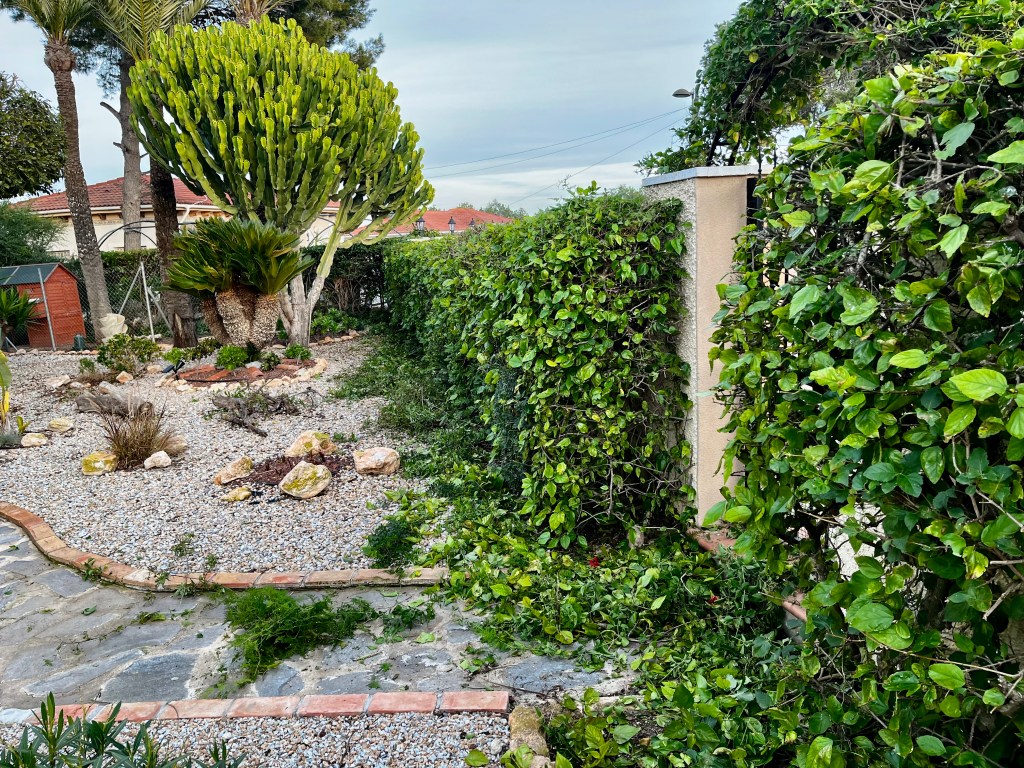
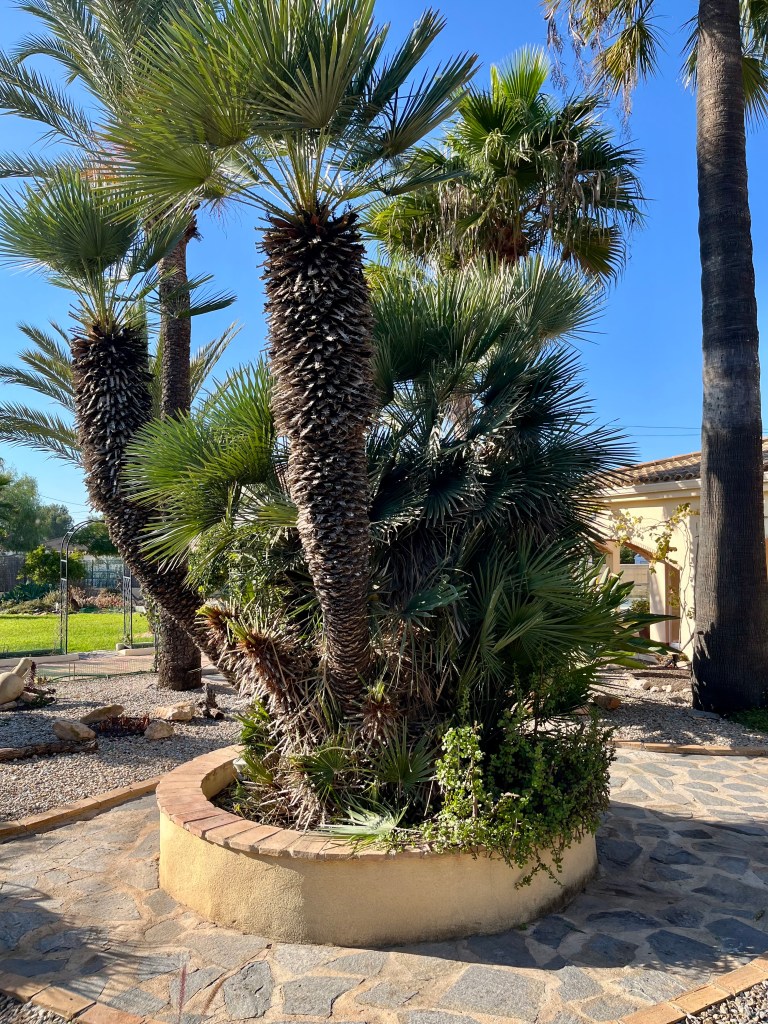
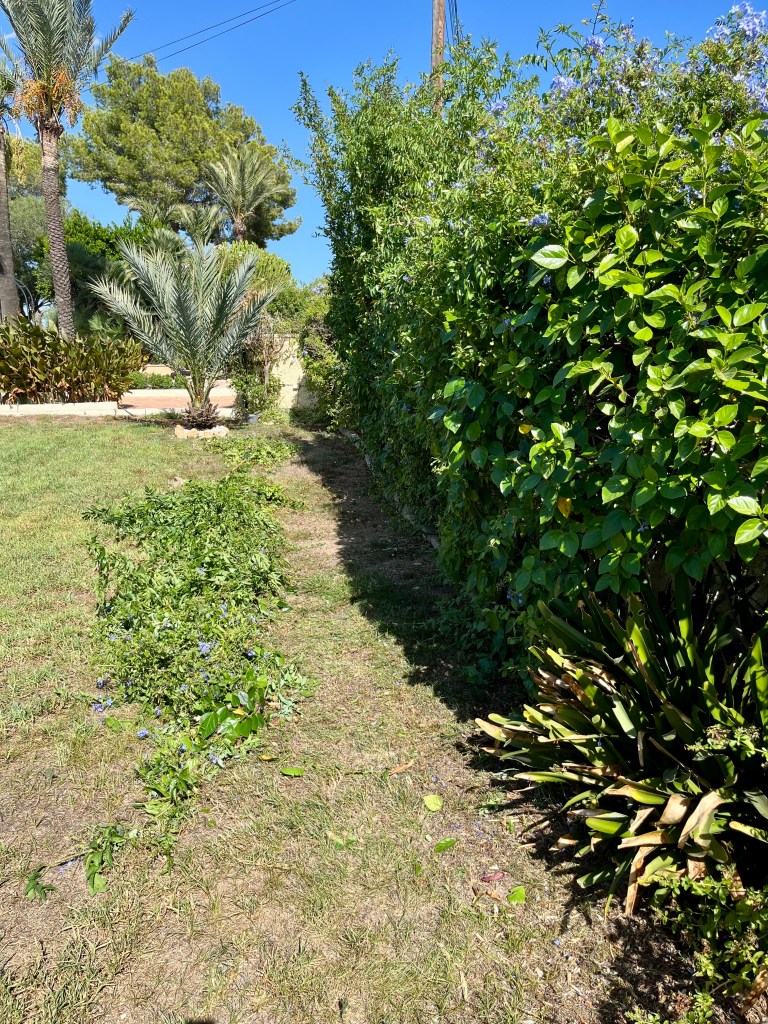
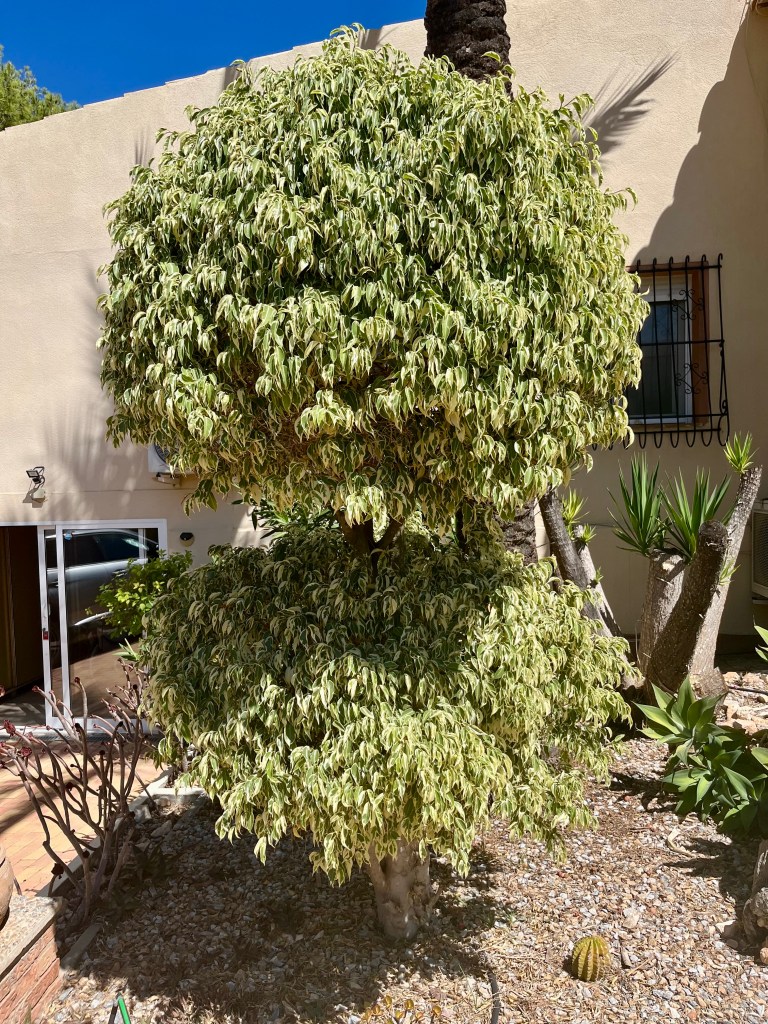
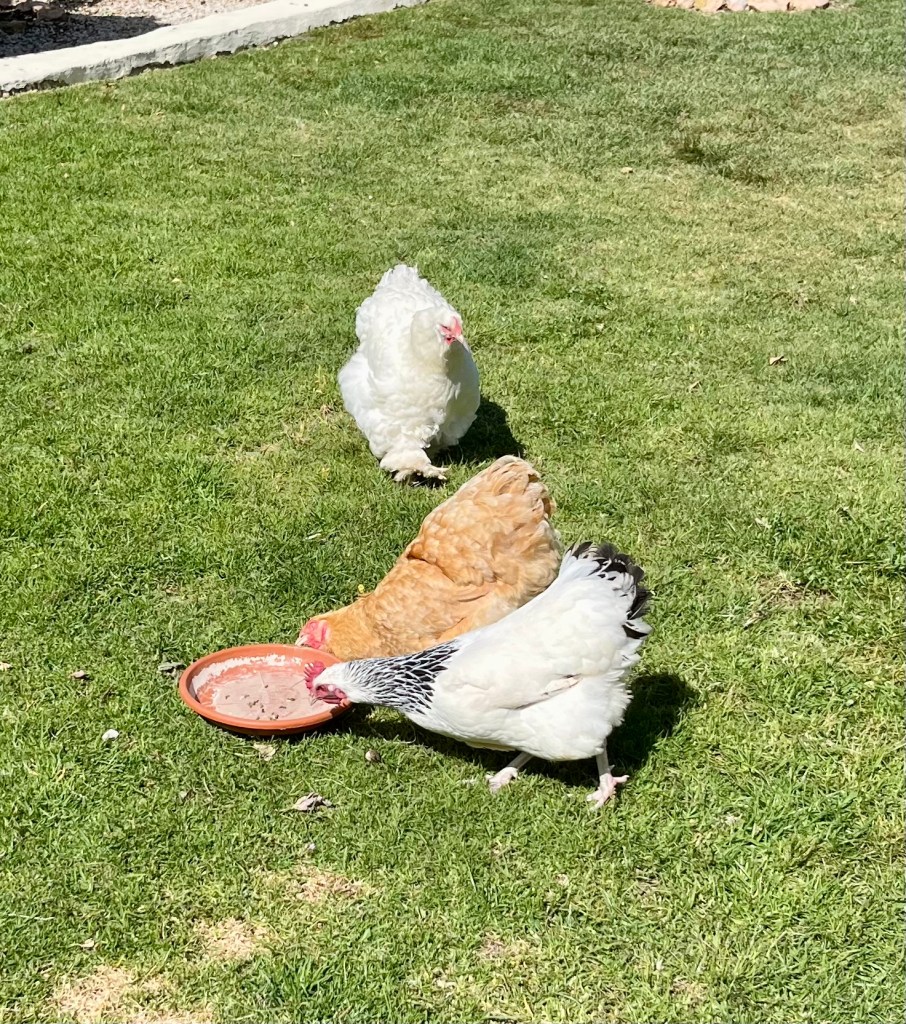
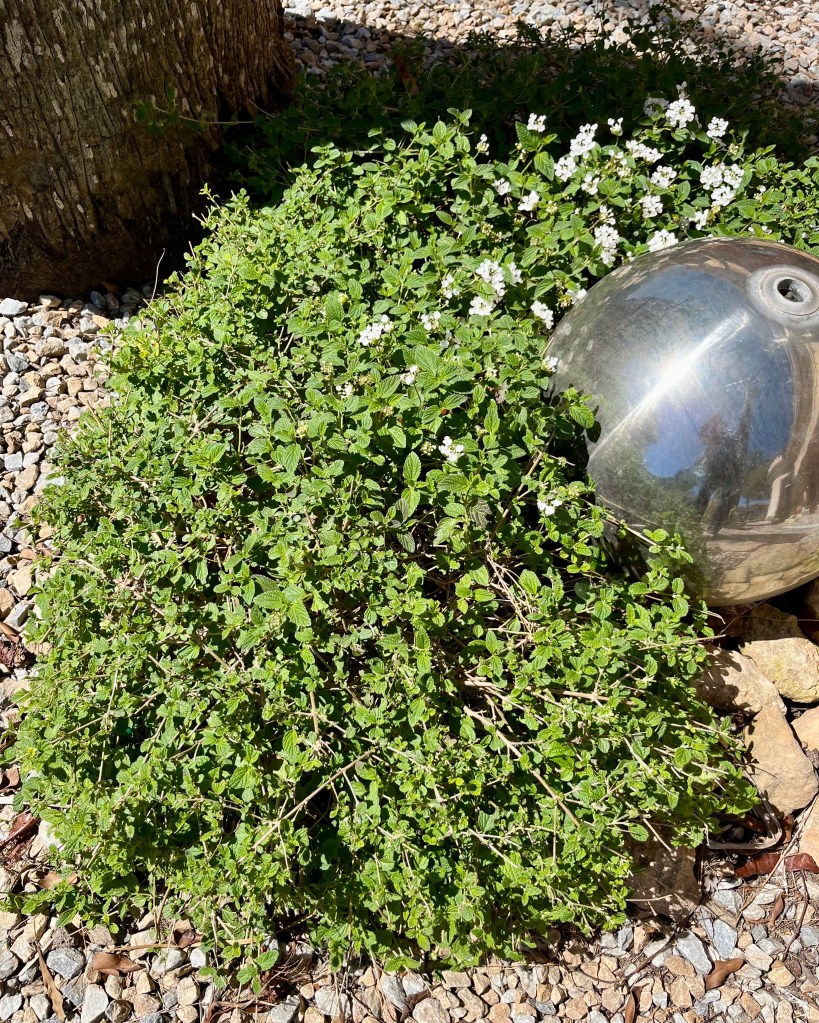
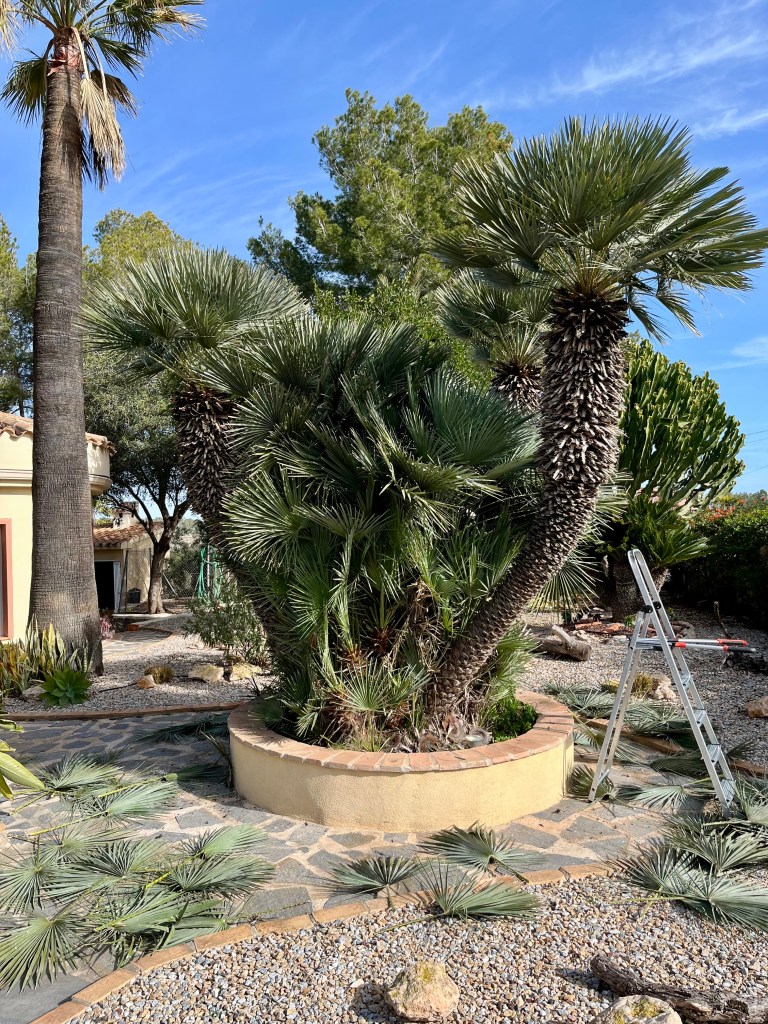
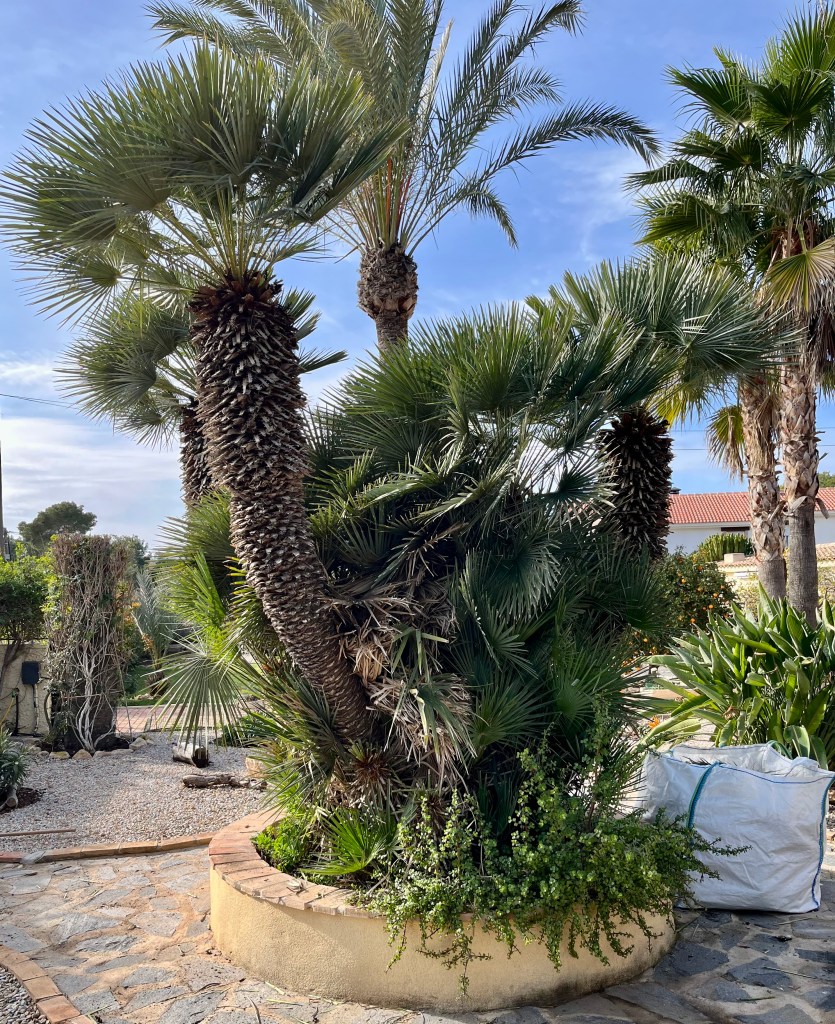
Why cut your palms? There are lots of good aesthetic reasons for cutting your palms. Probably one of the least important is that they look messy, unsightly and blight your garden. The photo below shows a typical example.
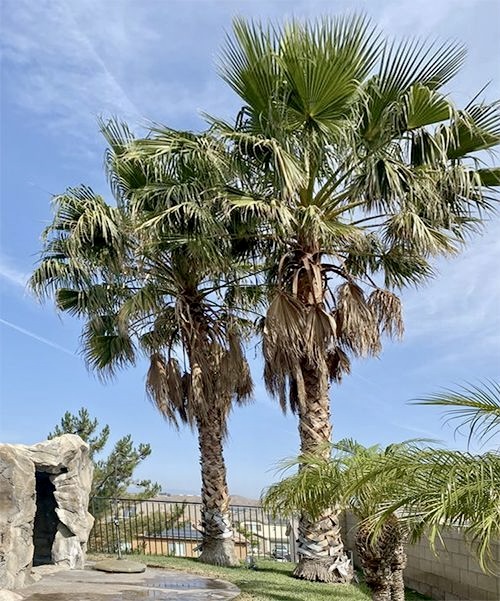
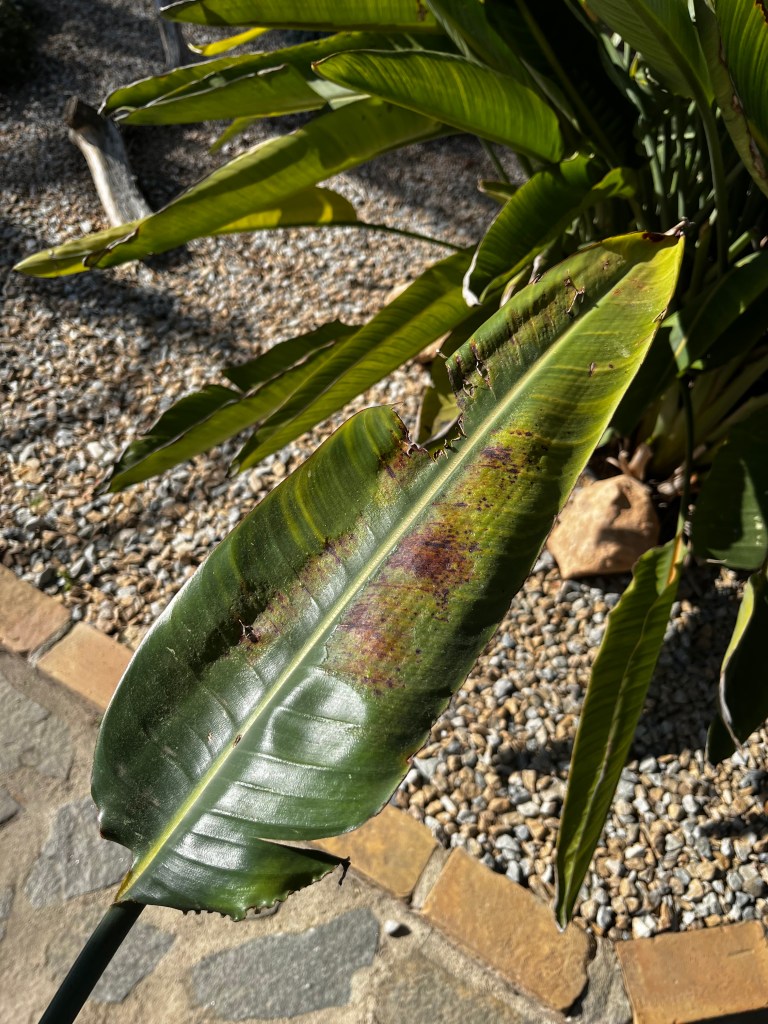
The thing is not only does this look unsightly it also dangerous as the added wind resistance can make the tree susceptible to wind rock and eventually falling. In addition all that dead vegetation hanging down is an ideal home for virus and of course the dreaded Palm Weevil shown in the photo below.

Whilst the Red Palm Weevil mainly attacks Phoenix Palms, there have been instances of it attacking Washingtonia and other species.
I have dealt with treating against Palm Weevil in other posts so if you have a problem just use the search button and you will find the relevant post.
When to cut your Palms. The best time to cut your Palms is between January and March. This is the period when most of your trees growth is over for the season and is also the time when the Palm Weevil will not normally be flying.
If you cut your Palms at any other time, especially during the hight of summer, then you are inviting the Palm Weevil to come and lay its eggs in your tree. When Palm trees are cut in the summer they will ooze sap. This sap can be smelled by the Palm Weevil which I am told has an amazing smell and a highly developed olfactory glans. Research has shown that the weevil can smell a damaged or cut tree from over 1 kilometre away.
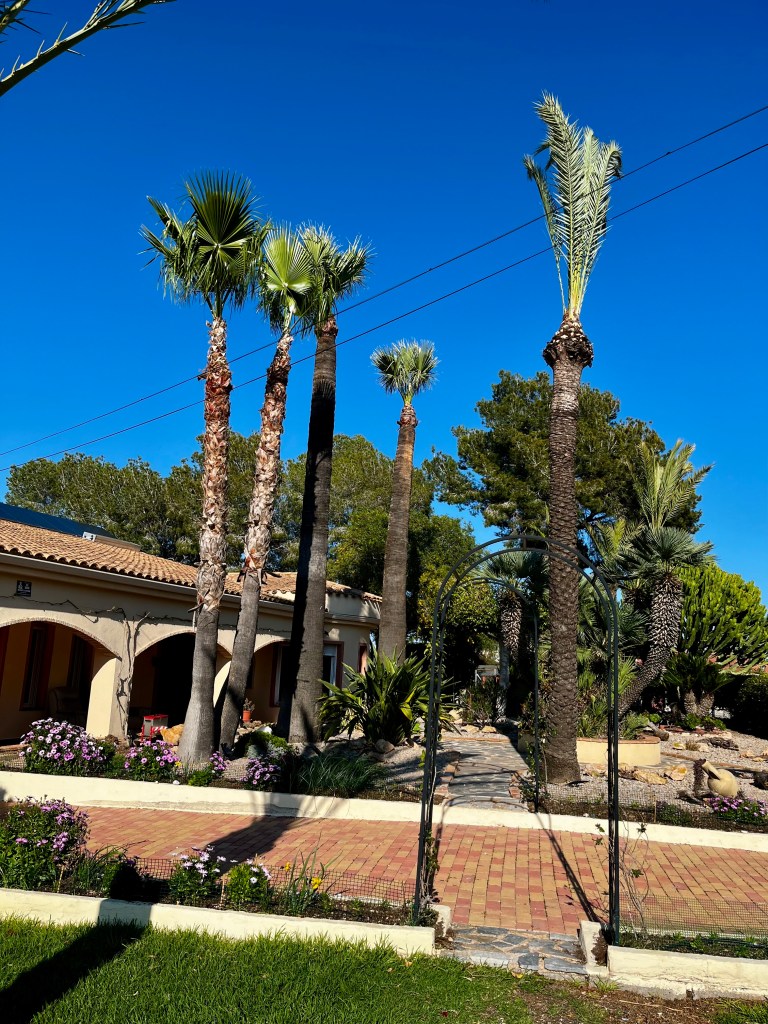
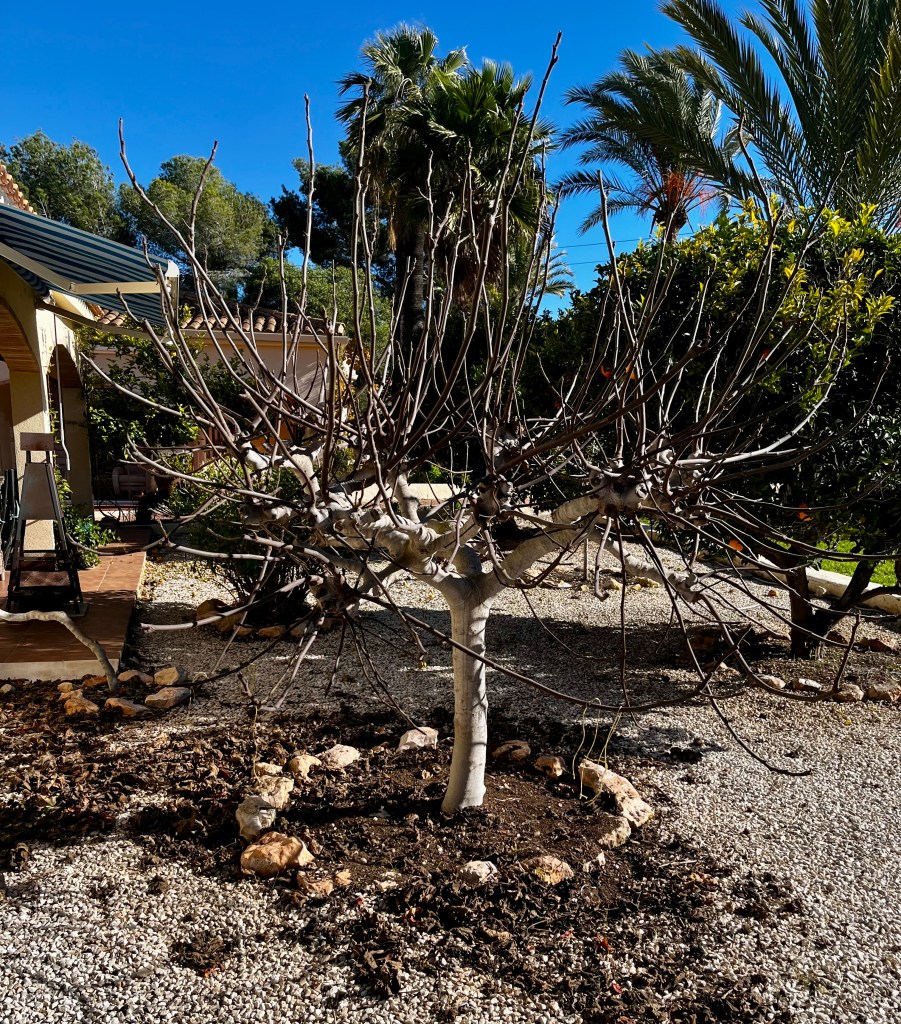
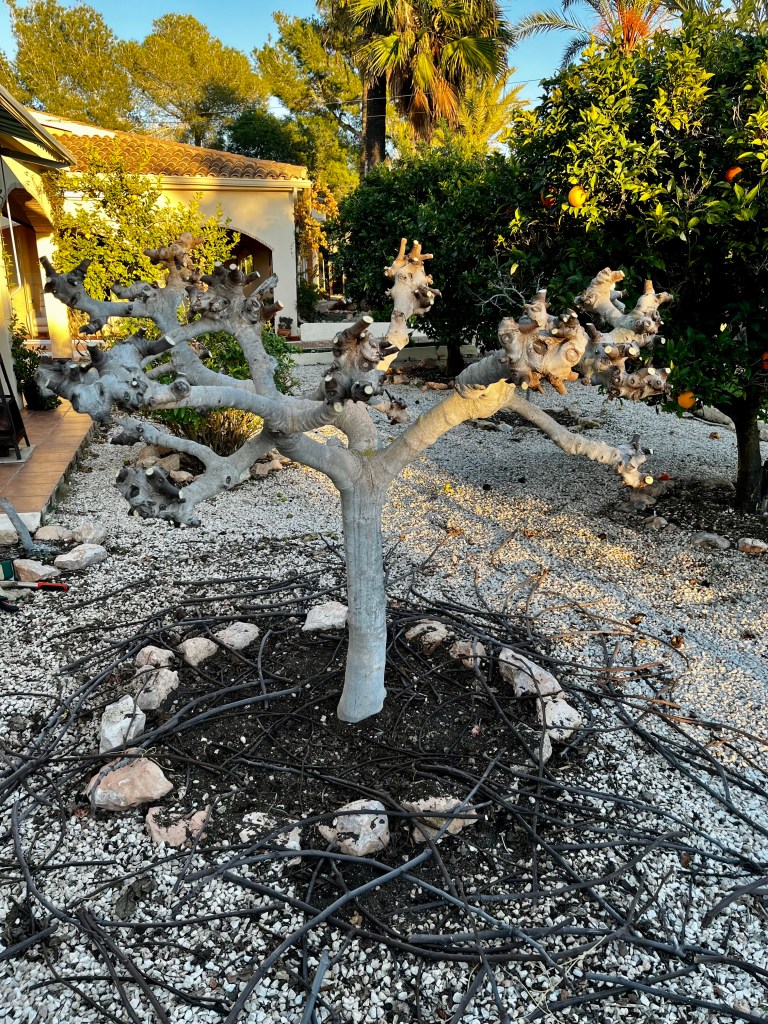
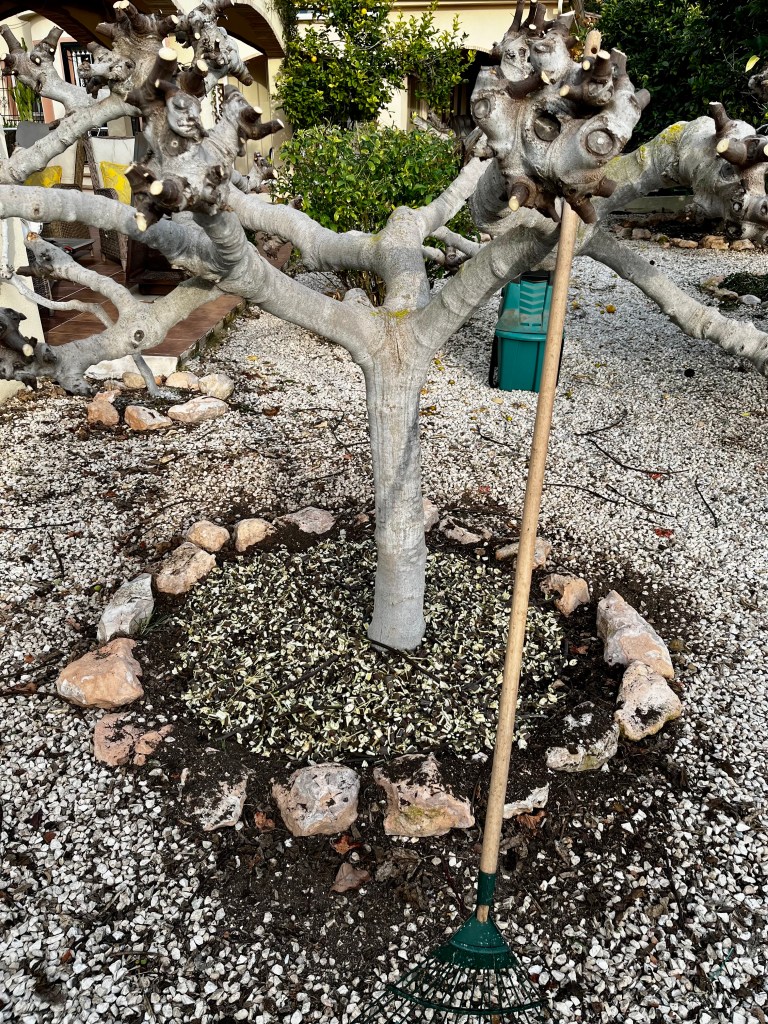
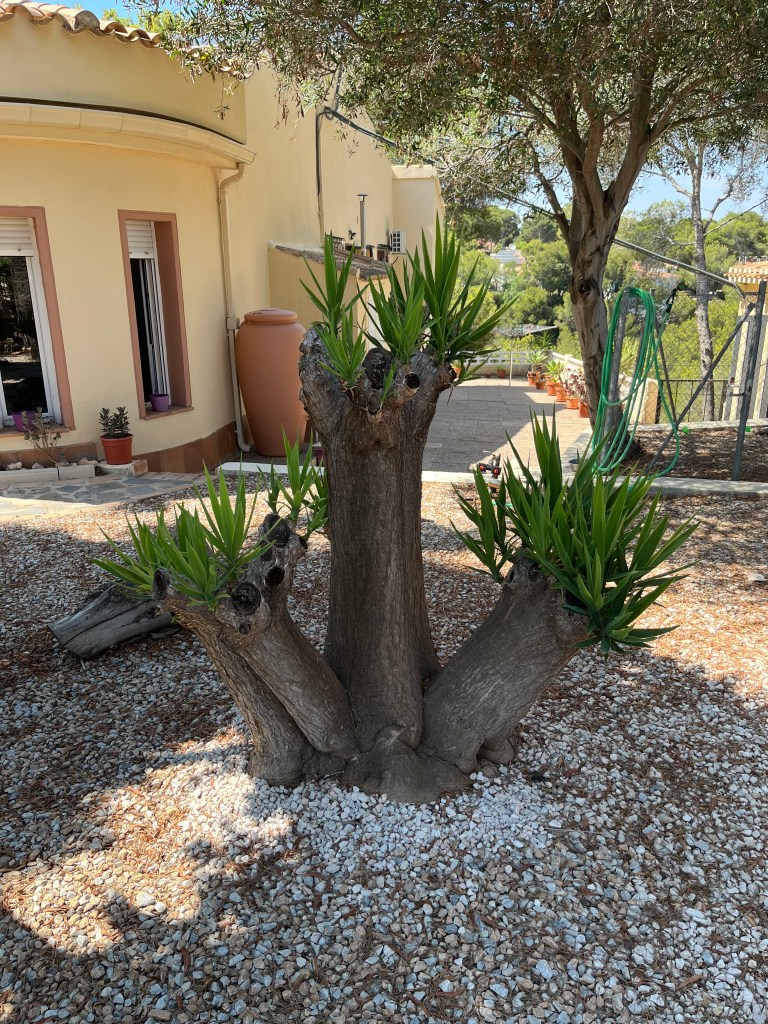
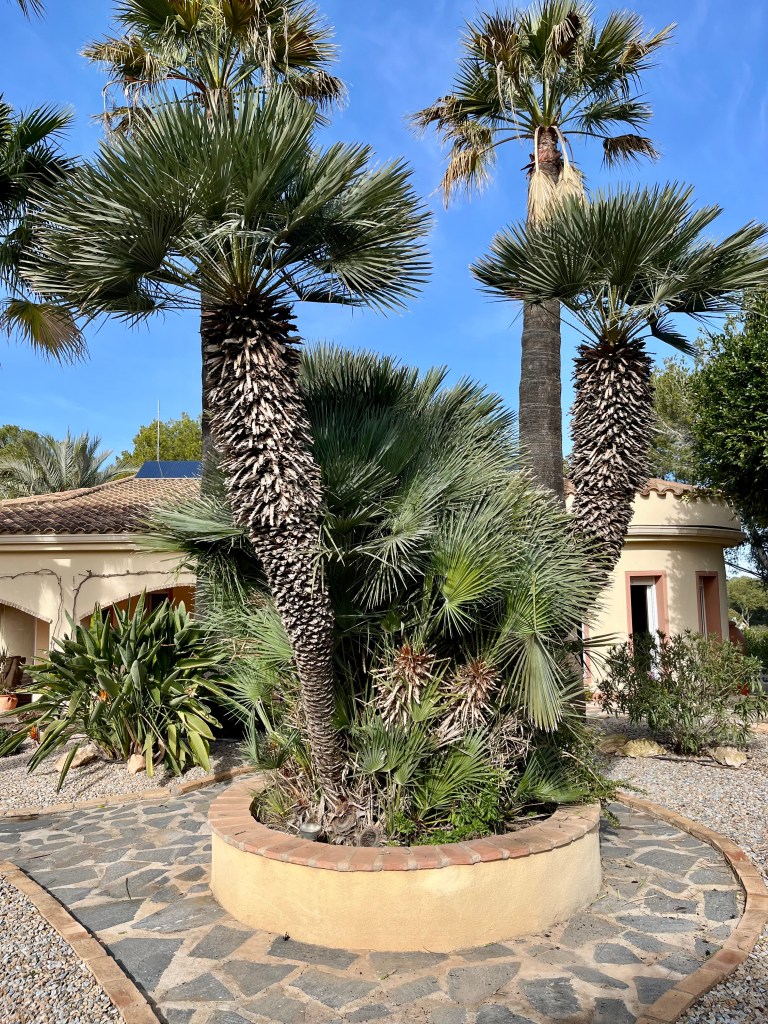
How to cut your palm trees. At its simplest you should aim to have your tree cutback so that the remaining fronds are more or less upright. The photo below shows some of my newly cutback palms.
Why use a professional Palmerero. The title Palmerero is commonly used to refer to a professional palm tree cutter in Spain. These are highly trained and skilled individuals who know everything about palm trees and how to prune them. As I said at the start of this post you will find lots of men with ladders and chainsaws who will cut your trees back a lot cheaper, but may well end up damaging your trees and leaving them unsightly.
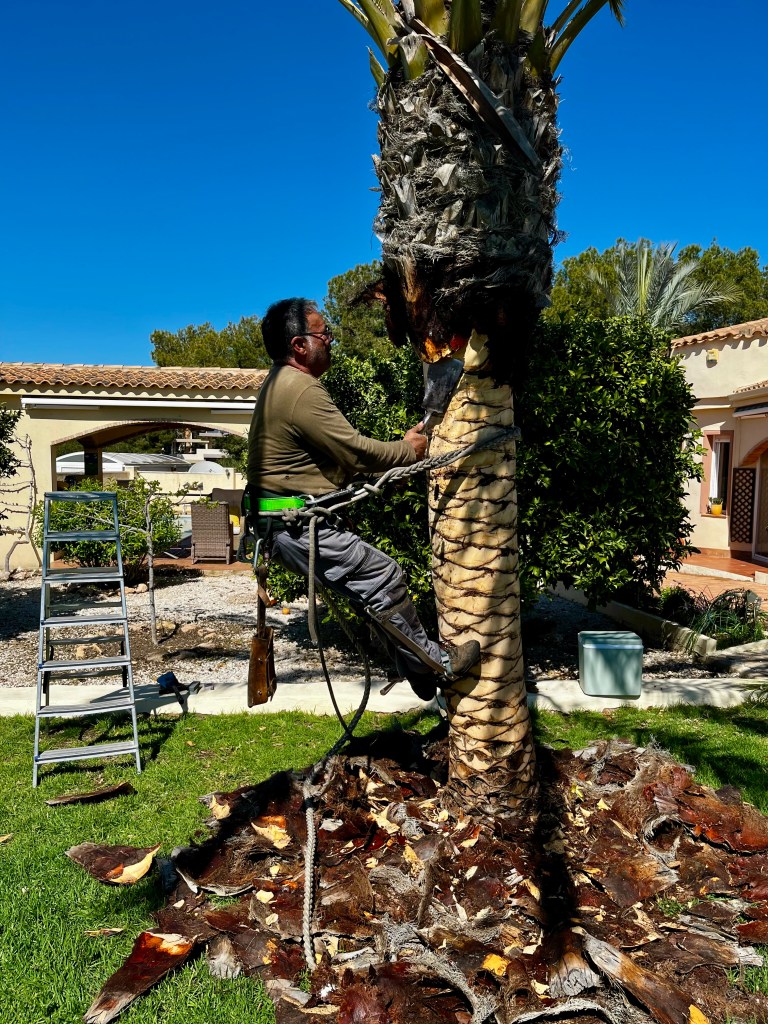
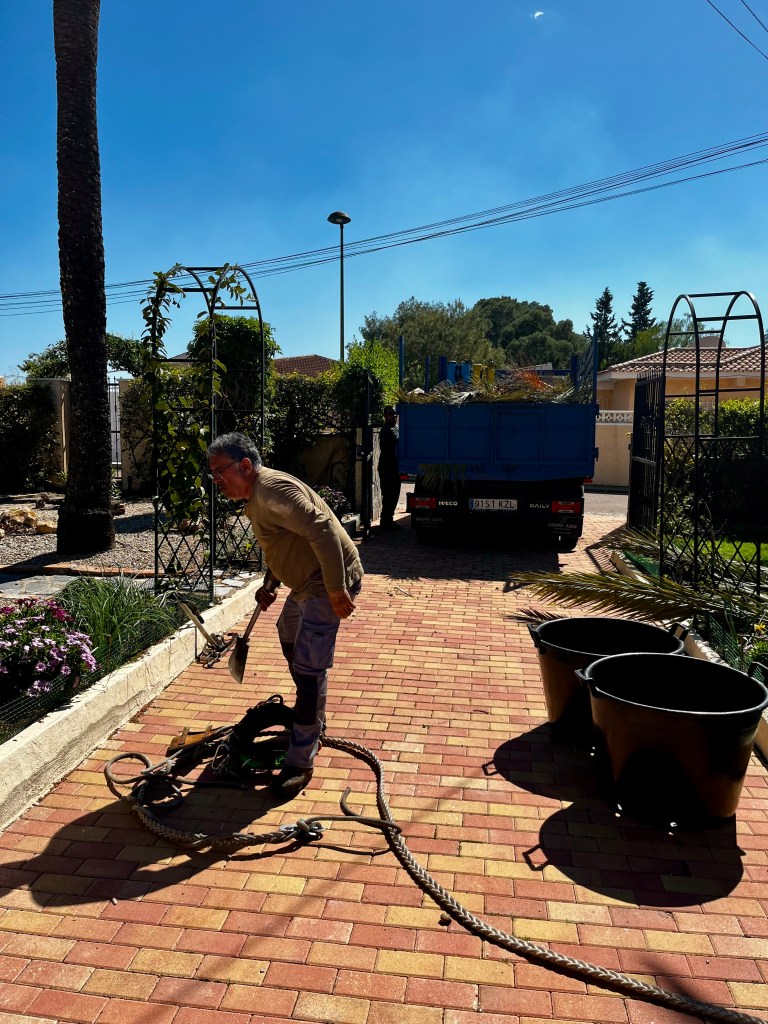
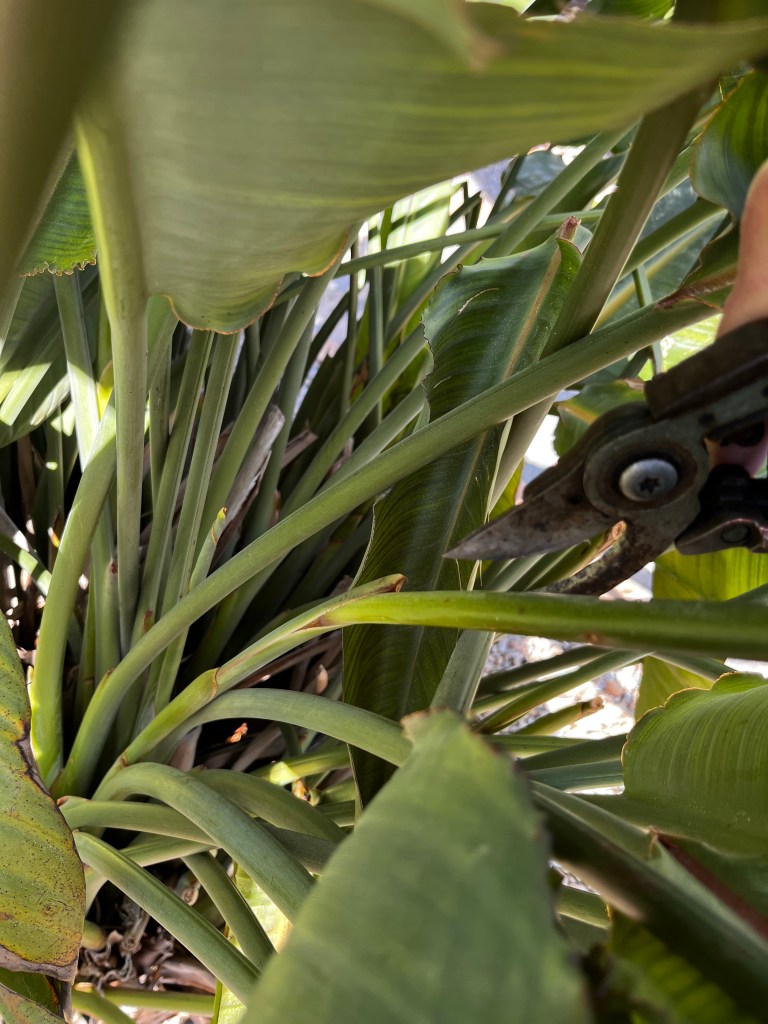
Palmereros do not use any machinery. Instead they use a specialised knife called a corbellote or in different parts of Spain a corvellot to prune and trim the trees. Because they do not use ladders Palmereros will use a climbing technique that involves specialist boots and a harness to scale even the highest trees. This means they are not hacking at your palms from the top of a short ladder and instead can get right up to the crown to inspect for damage.
I have used the same Palmerero, Antonio for over 15 years and have always been satisfied with his work. He and his son arrive and graft away all day and then clean everything up and take it away. I have included some photos of Antonio at work.
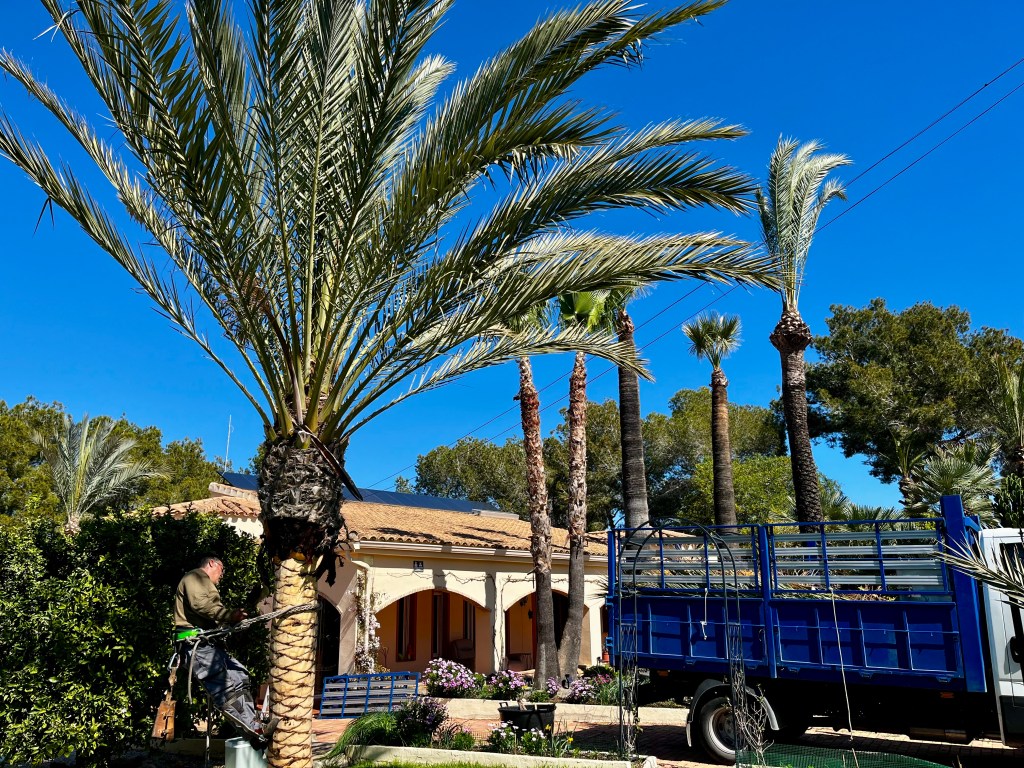
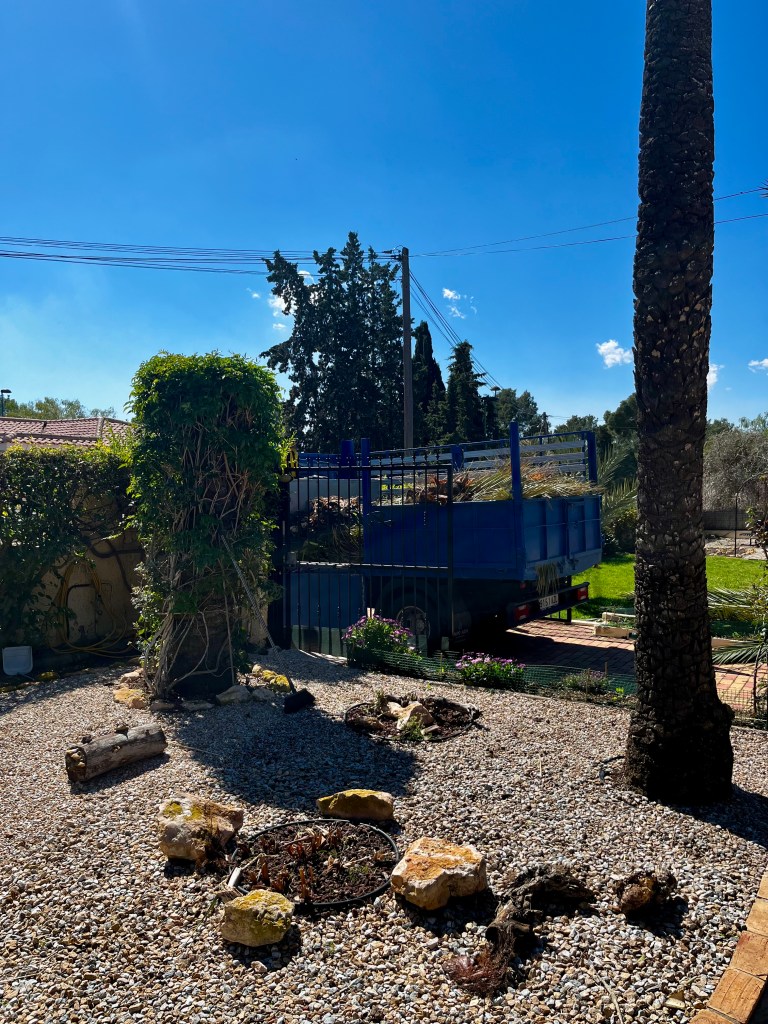
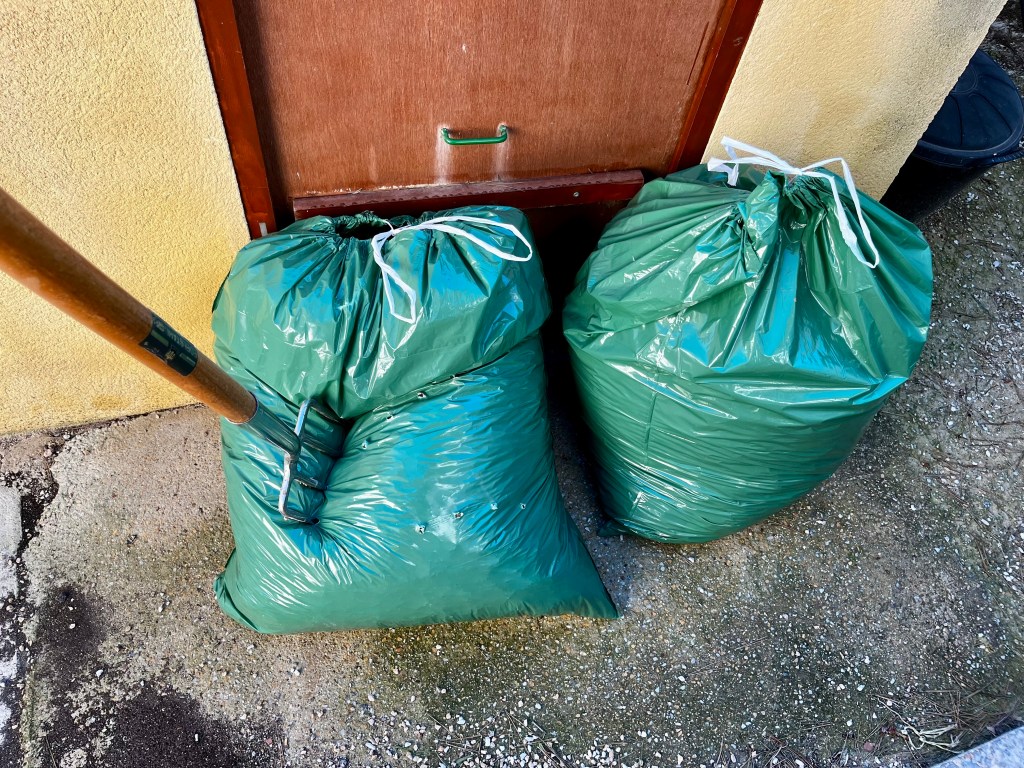
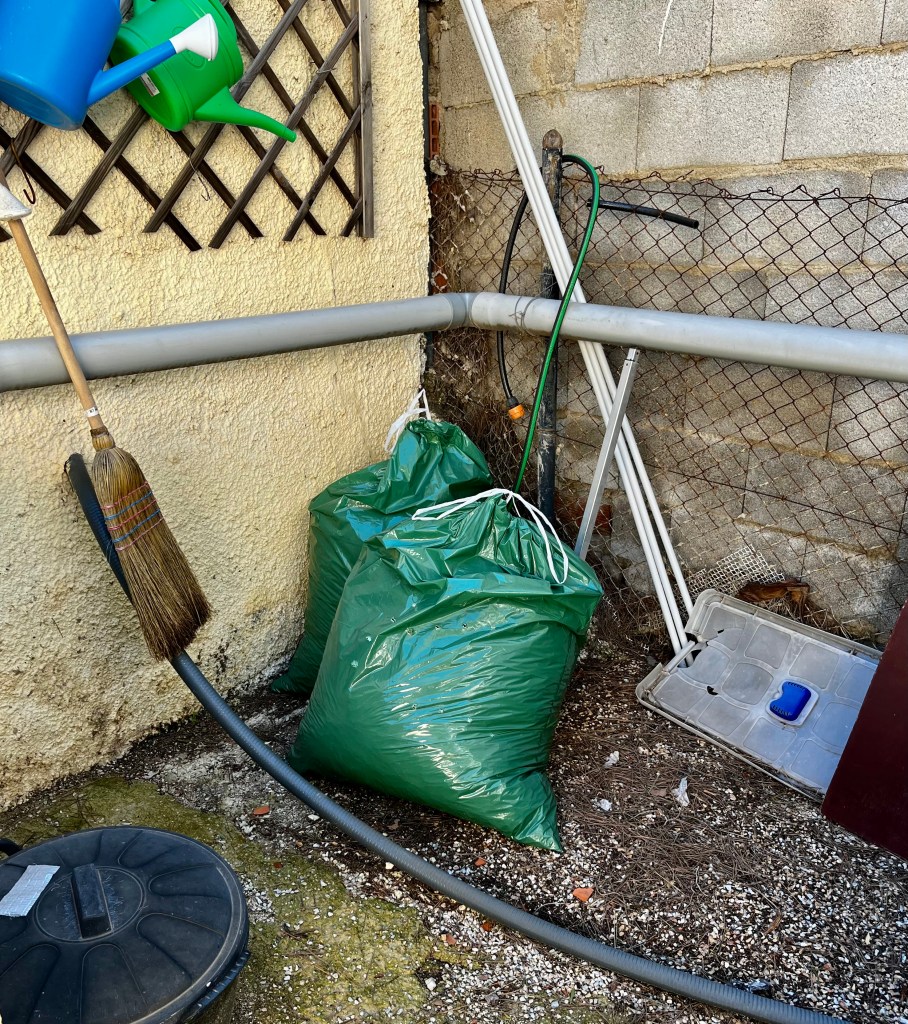
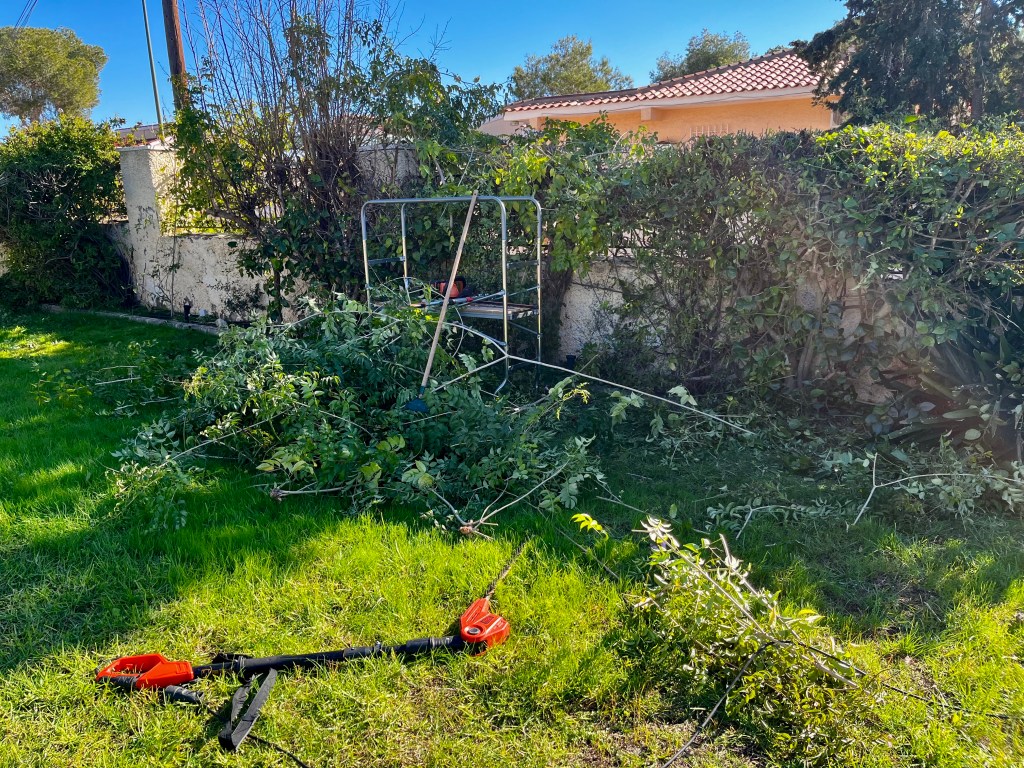
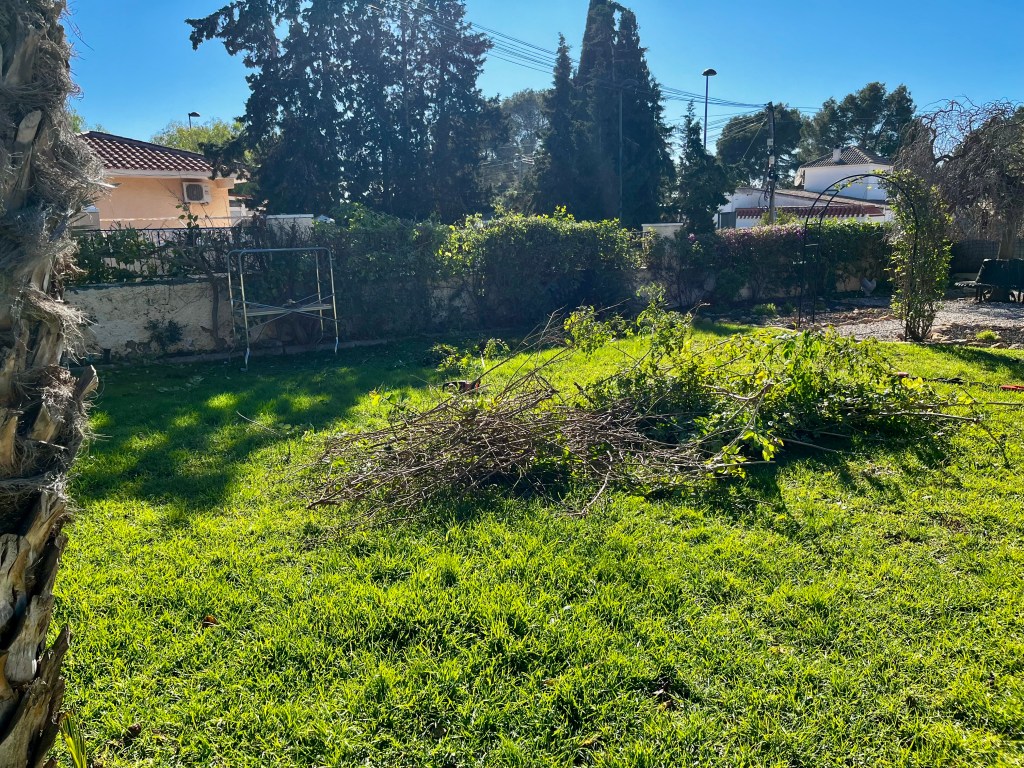
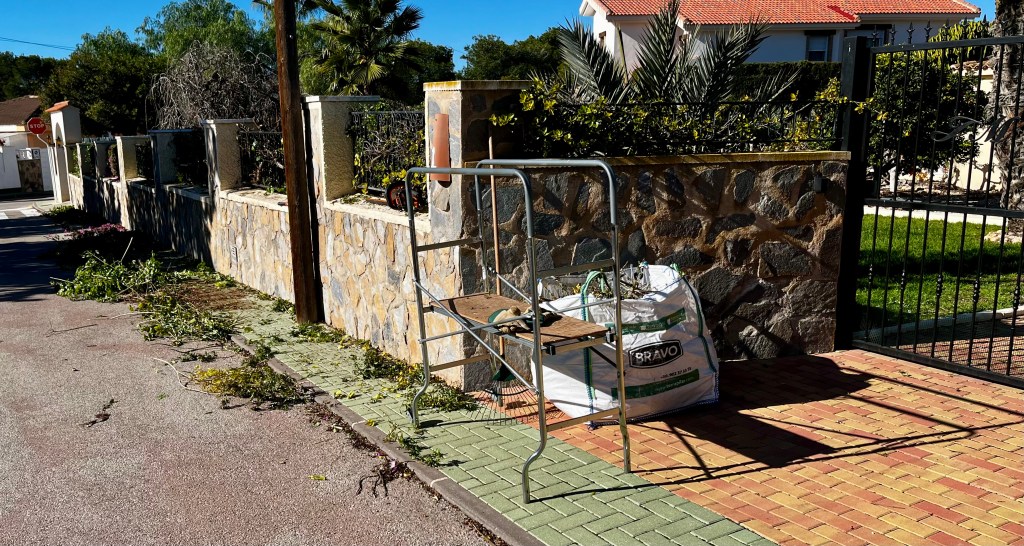
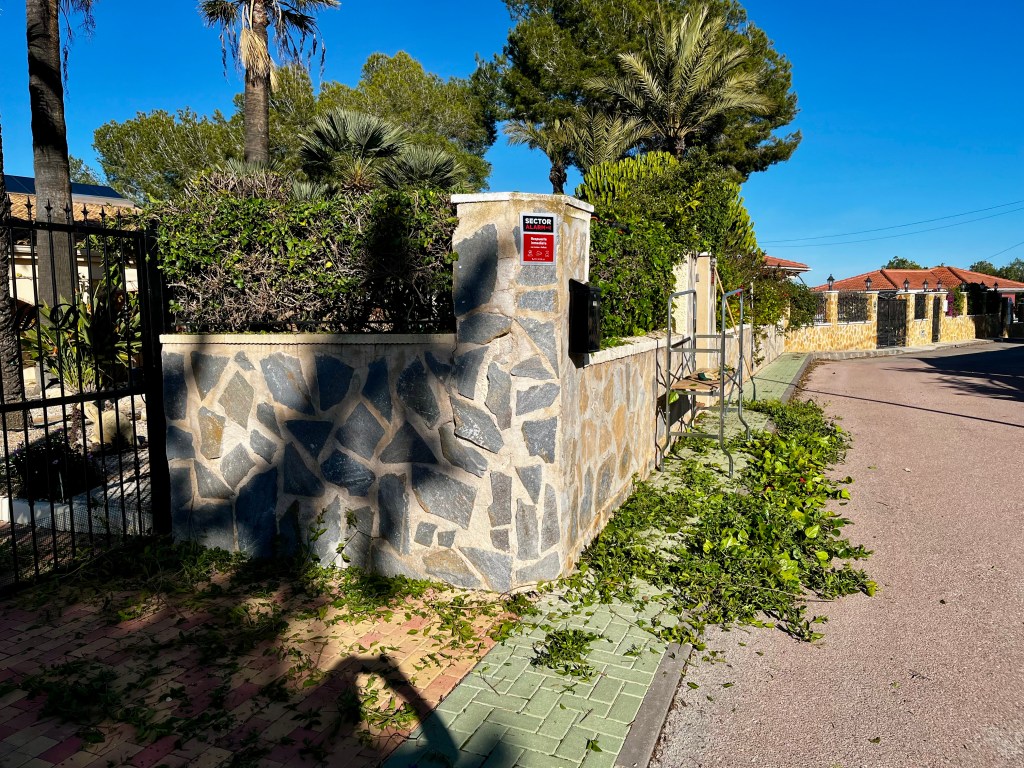
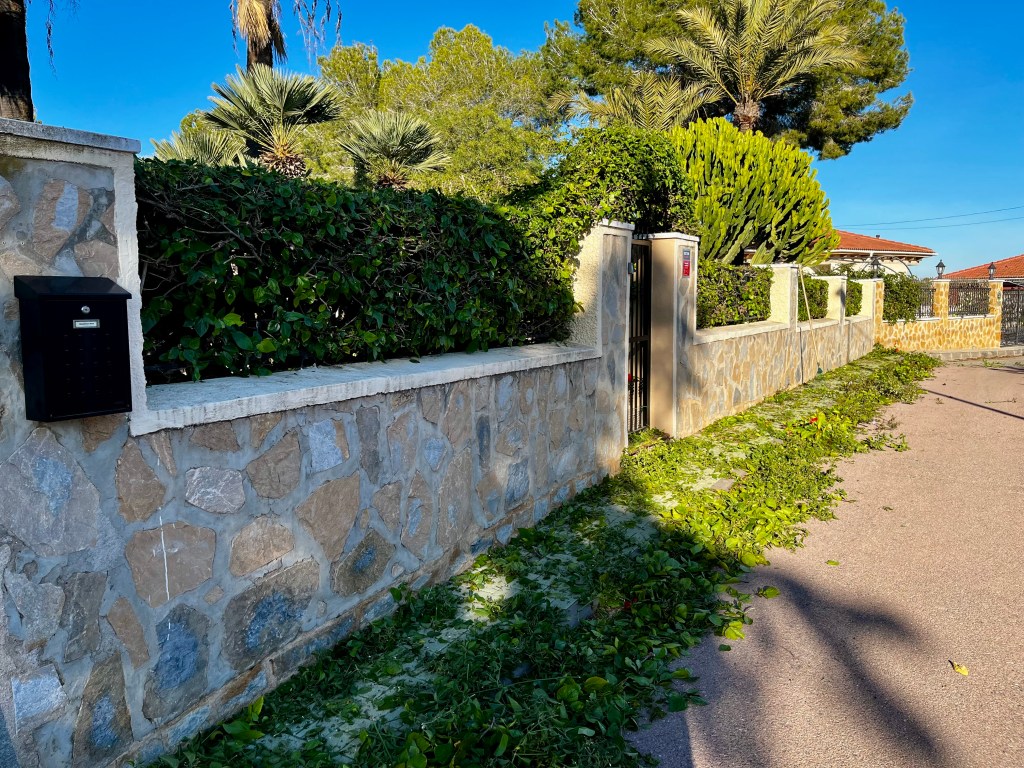
That’s it for another year, everything packed up and off they go. Unfortunately there will always be a little bit of collateral damage from 15ft palm fronds falling 40ft.
I am sure there are many other Palmereros available but I am happy to recommend Antonio. He covers most of the Costa Blanca as far as Benidorm so het tells me. This is totally unsolicited but here is Antonio’s number 630389536.


You must be logged in to post a comment.