

I know this is a gardening blog, and most of you will have little sympathy for my current animal problems. But bear with me I haven’t been able to blog for weeks because I have been overwhelmed by non gardening issues. All of this has been caused by Cruella (my wife) heading off to our English house to oversee the purchase of a new house for the idiot son.
She took off about three weeks ago. It was bad enough that she scorched the lawn on take off (new broom problem), she also left me in charge of all the animals. Amongst other things I currently face the following problems.
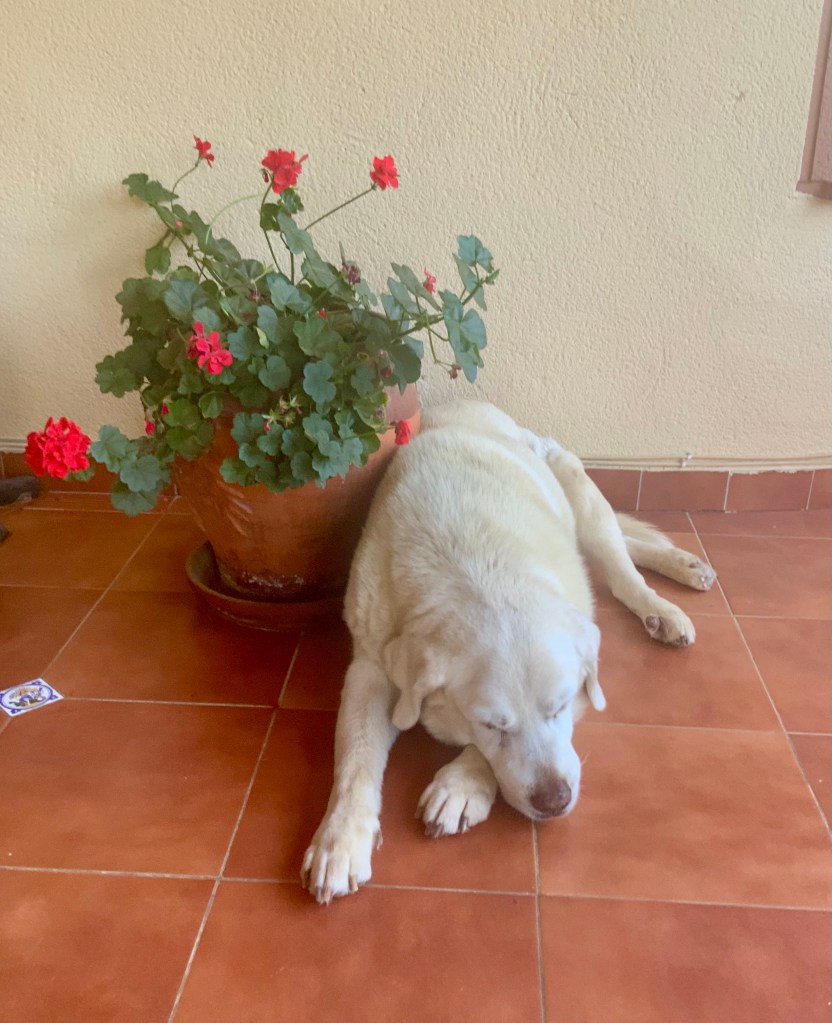
- Tango the lonely blind Labrador can no longer walk properly or get up from lying down. This means I have to lift up his back end whilst he scrabbles to get lift off from the floor. We then comically stumble outside me half carrying him whilst he trys to maintain his dignity.
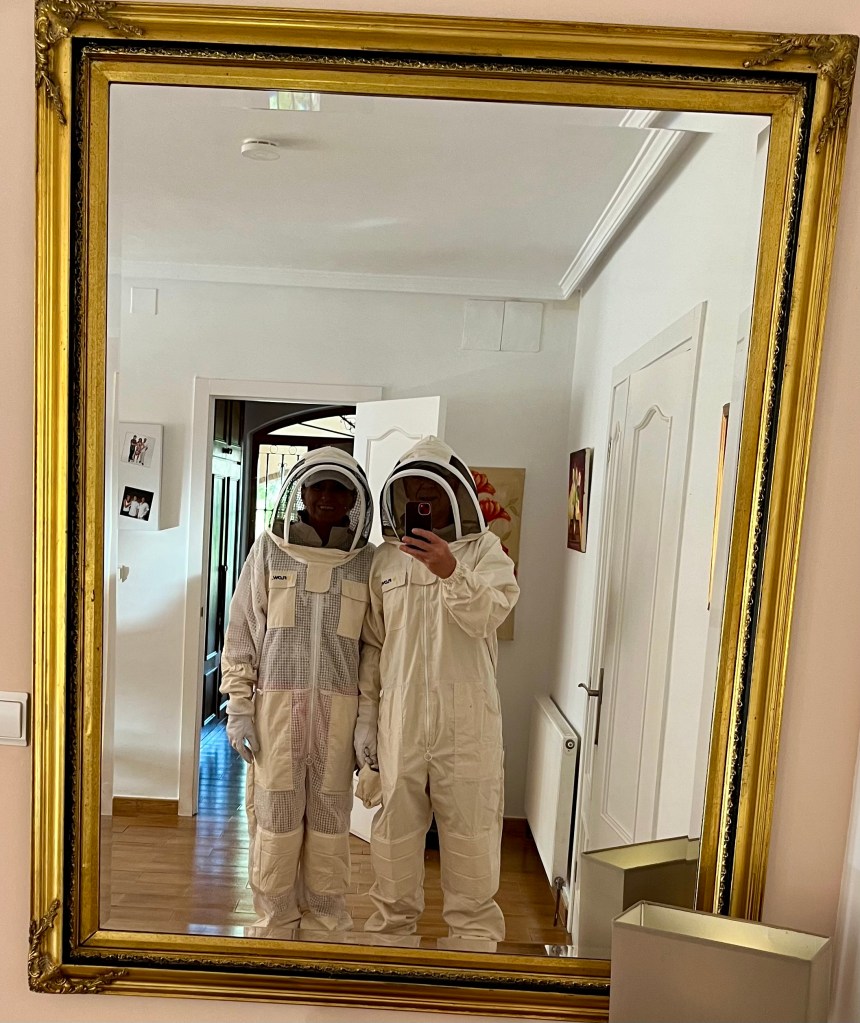
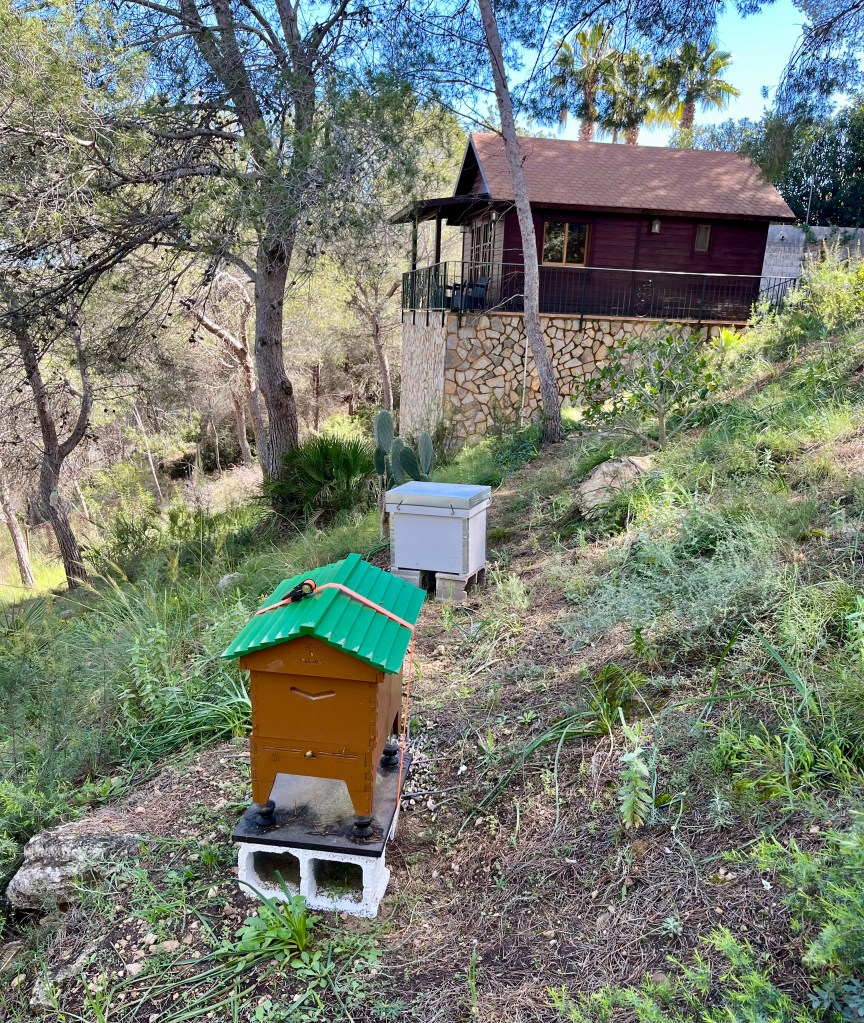
- The bees are making wonky comb in one of my hives and I can’t find the Queen. All the frames are stuck together and the bees have made a large wax football in their hive.
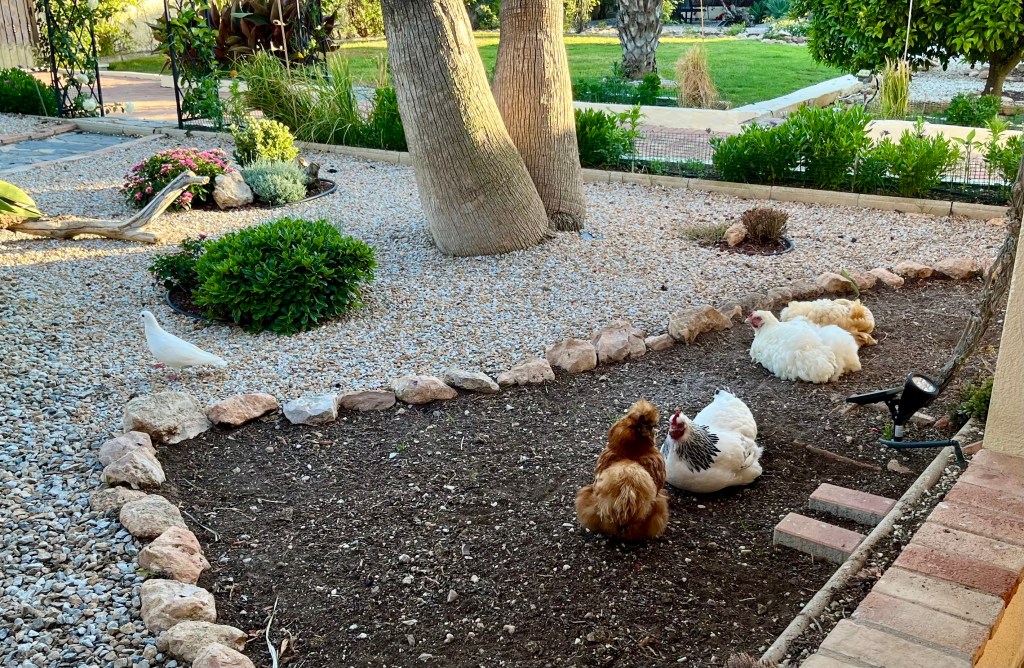
- The chickens have become truculent and won’t go to bed at night. They are demanding to be carried to the coop individually and kissed good night.
Now do you see my problems.; but don’t worry I am still gardening furiously every day.
22nd June 2025. Things I have been doing lately.
- Cutting back dead Iris
- Feeding and scarifying the lawn
- Gently trimming fruit trees
- Potting up Chillis
- Mistreating chickens
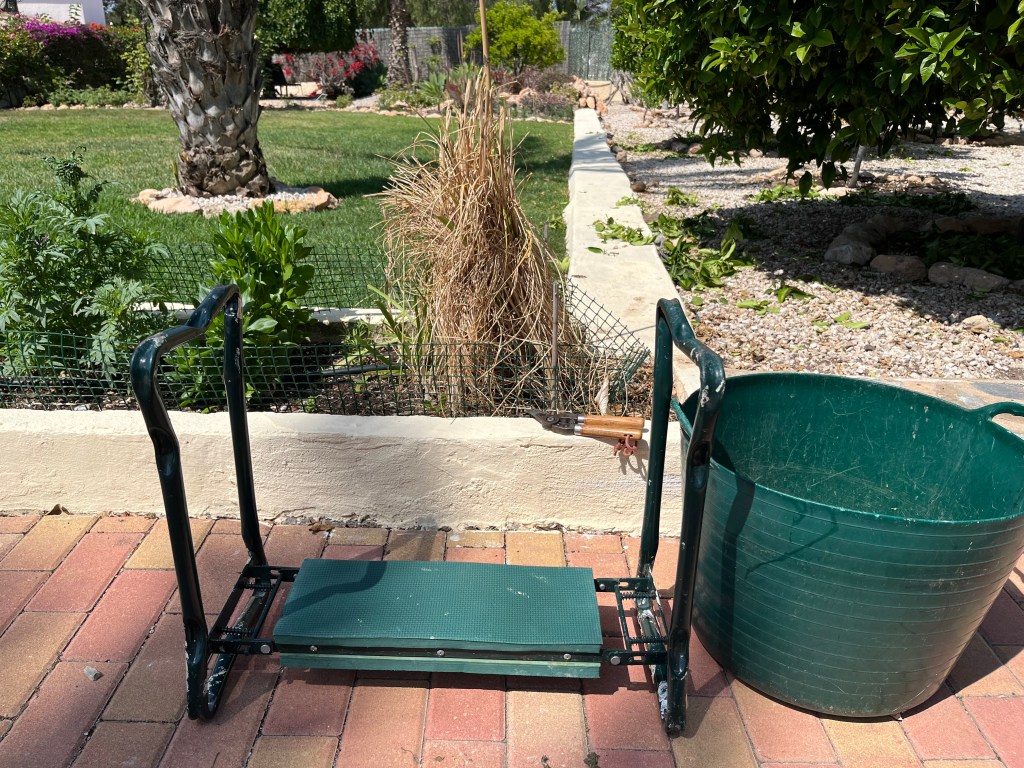
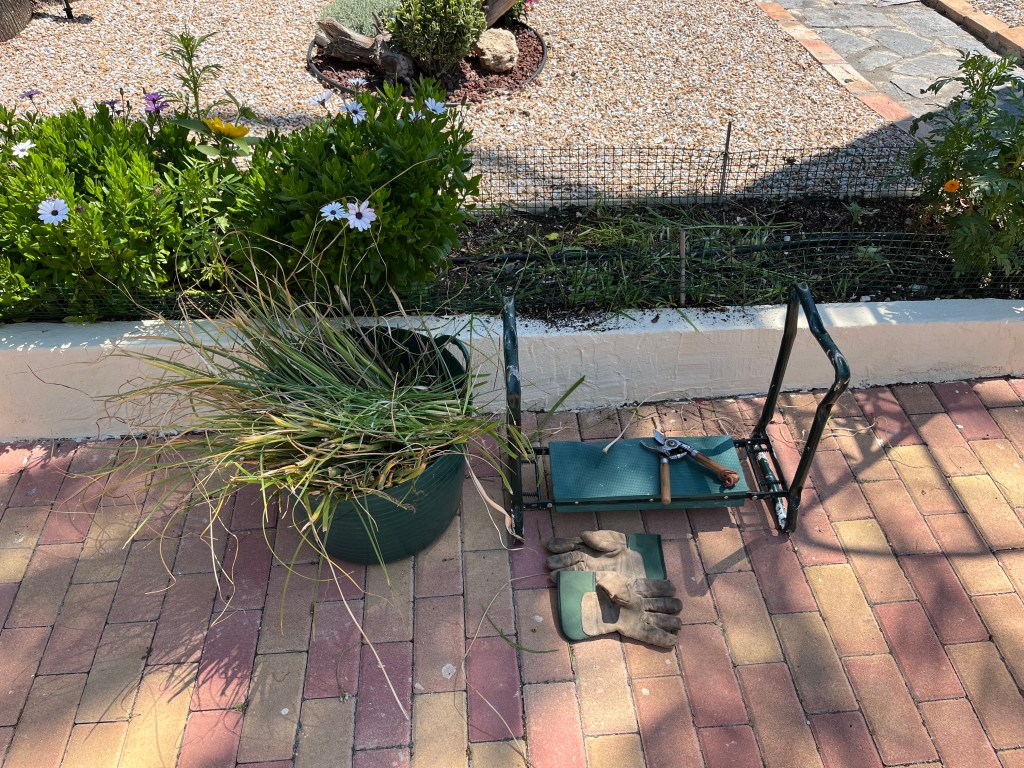
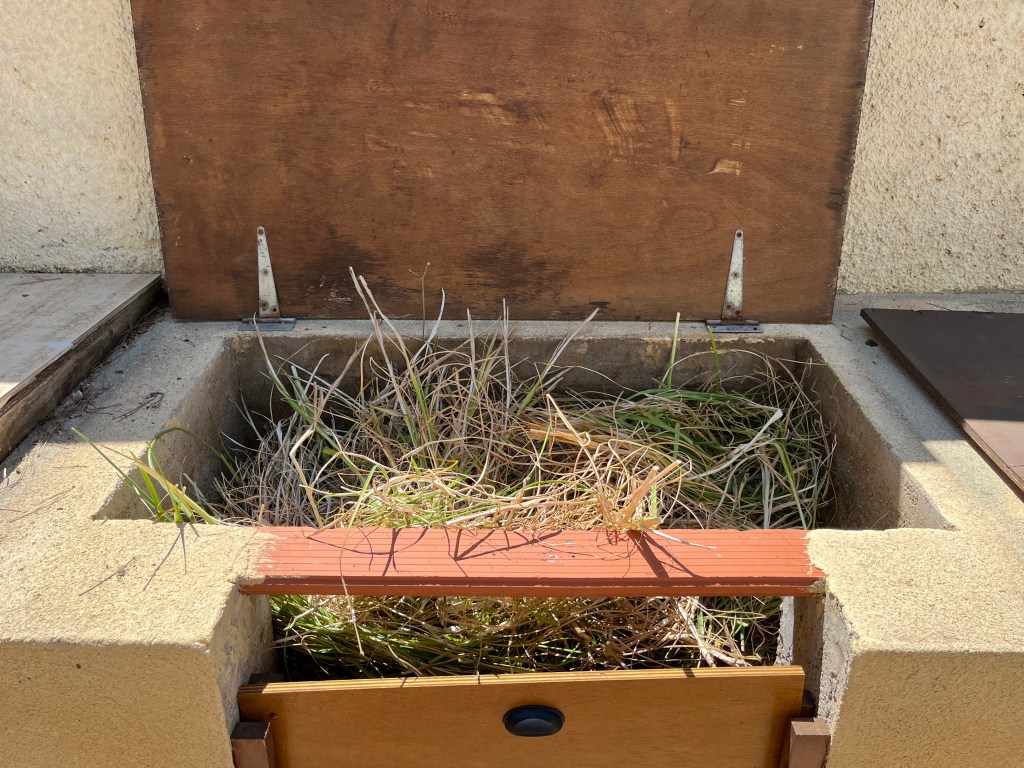
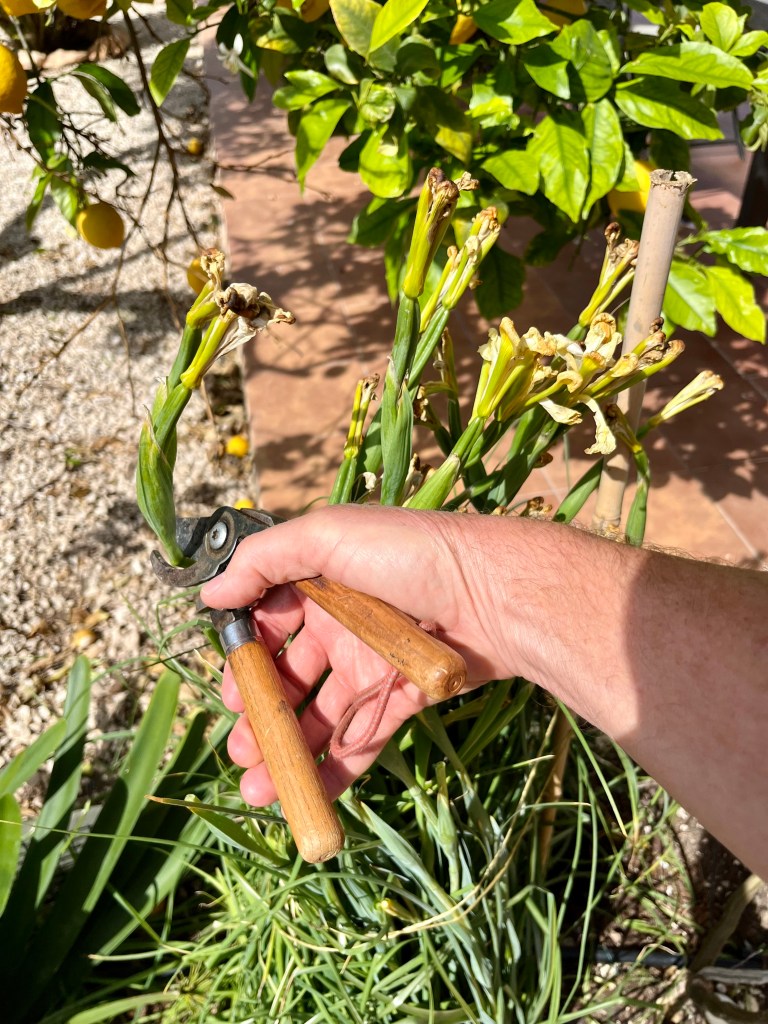
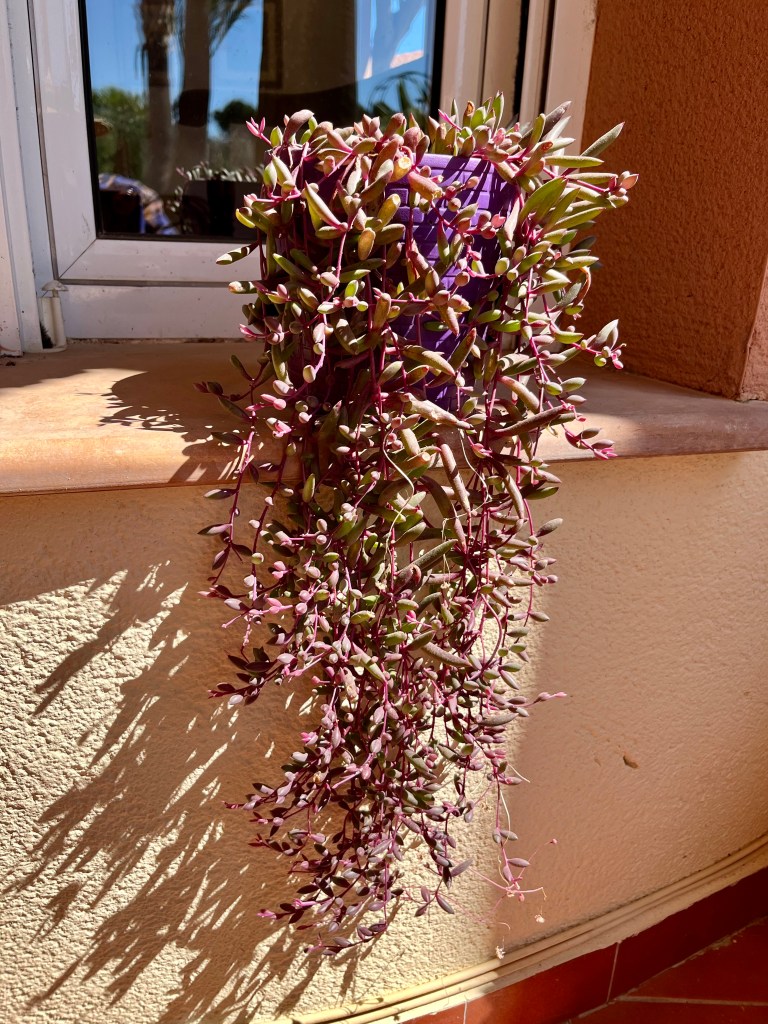
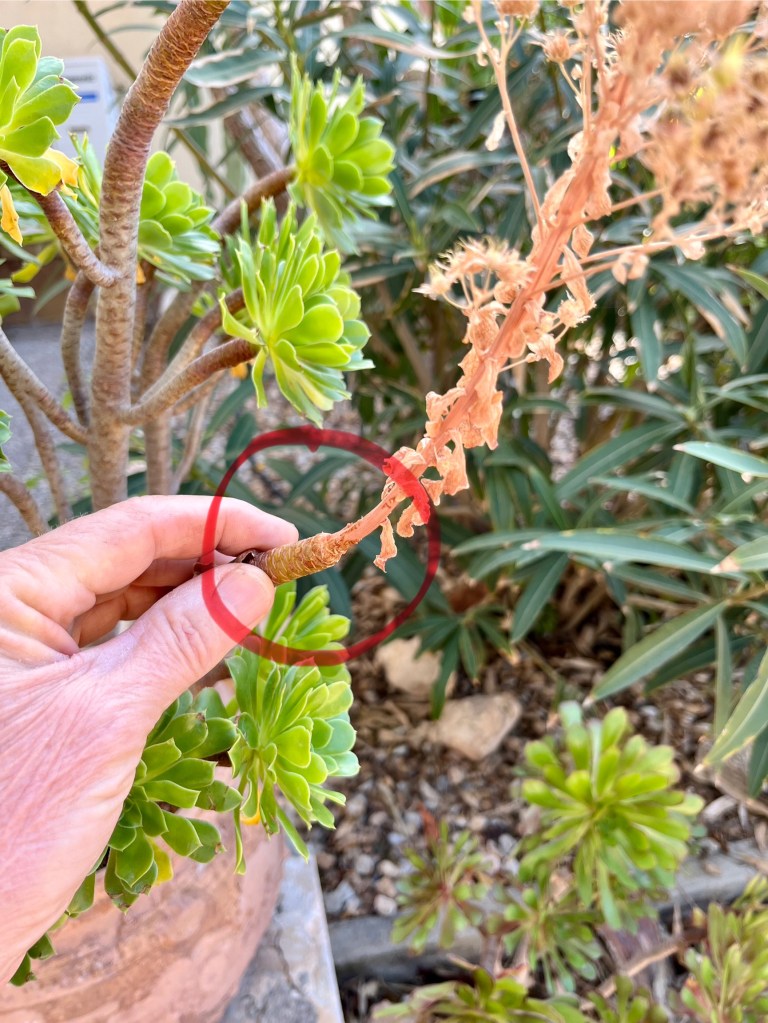
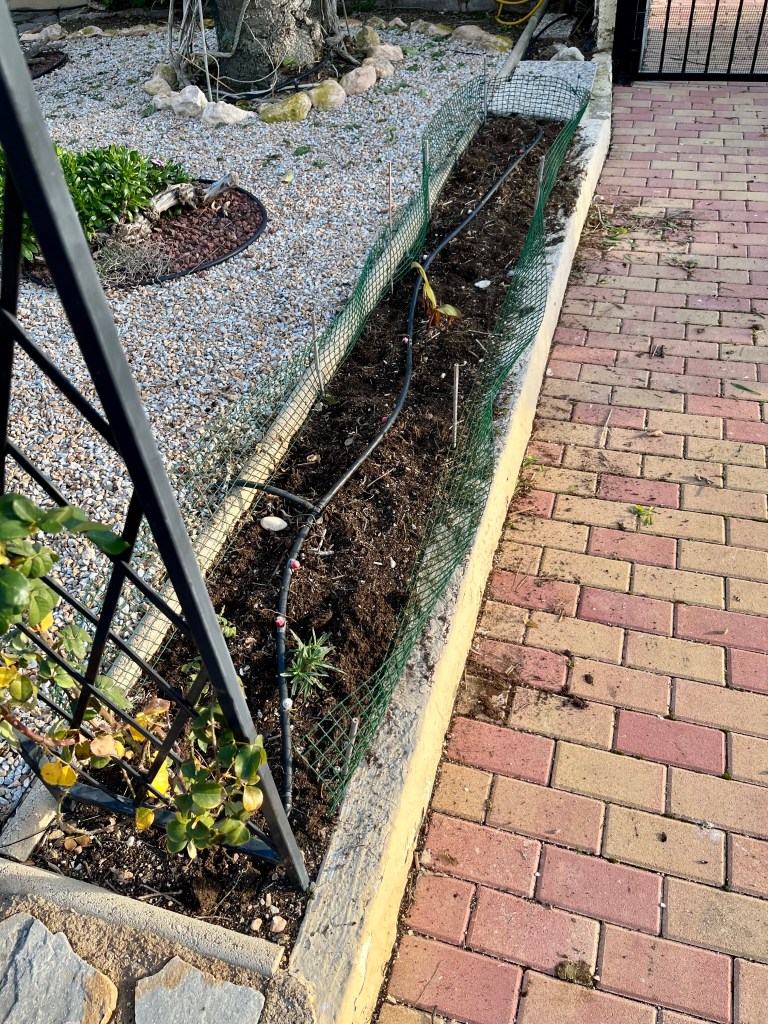
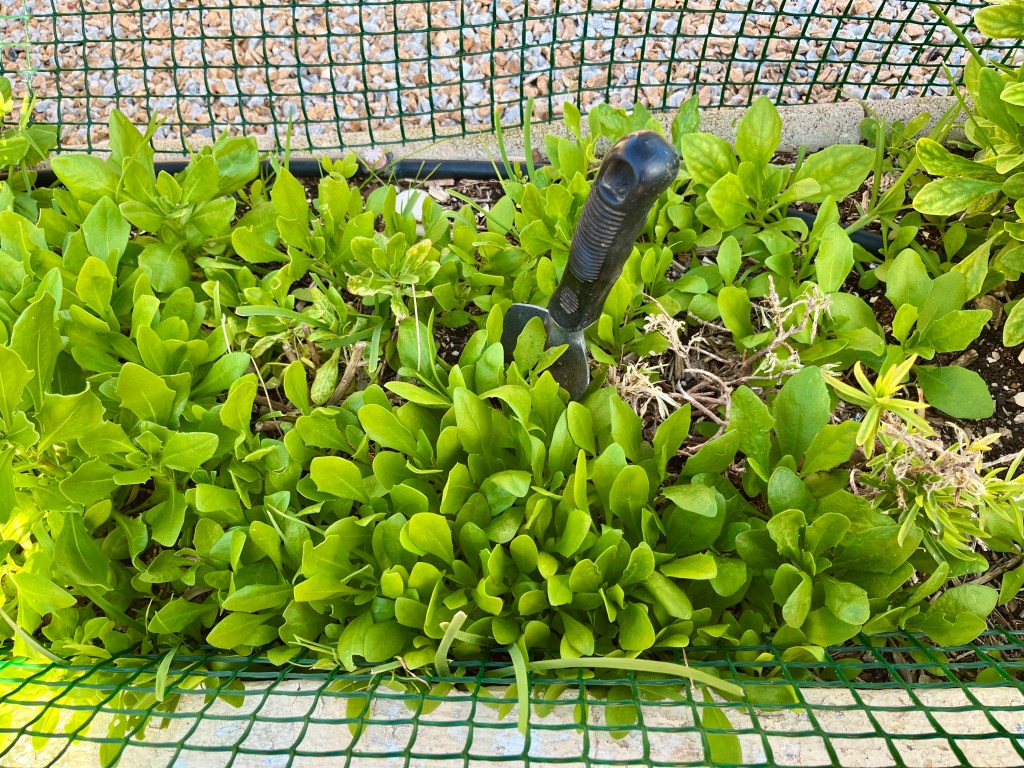
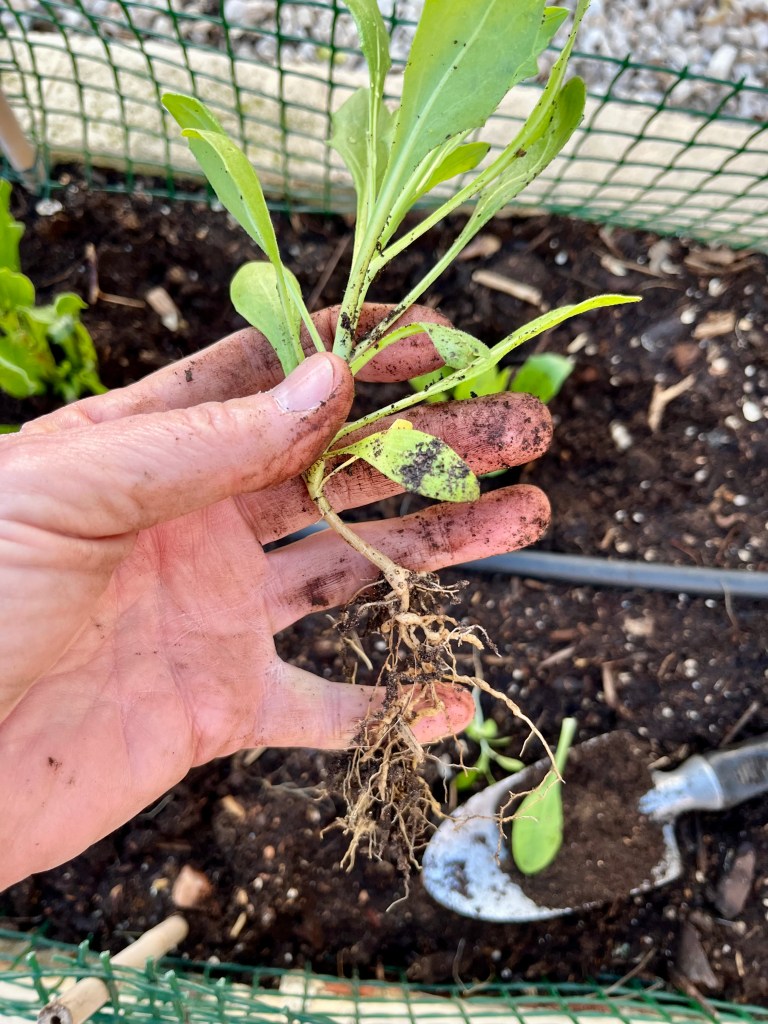
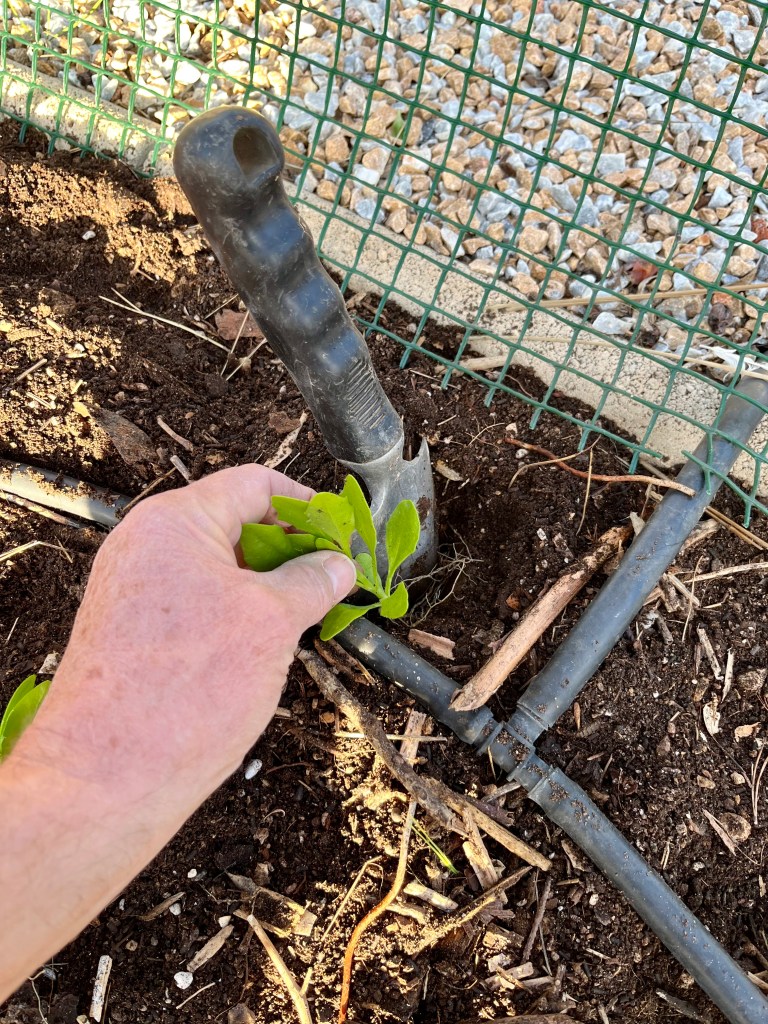
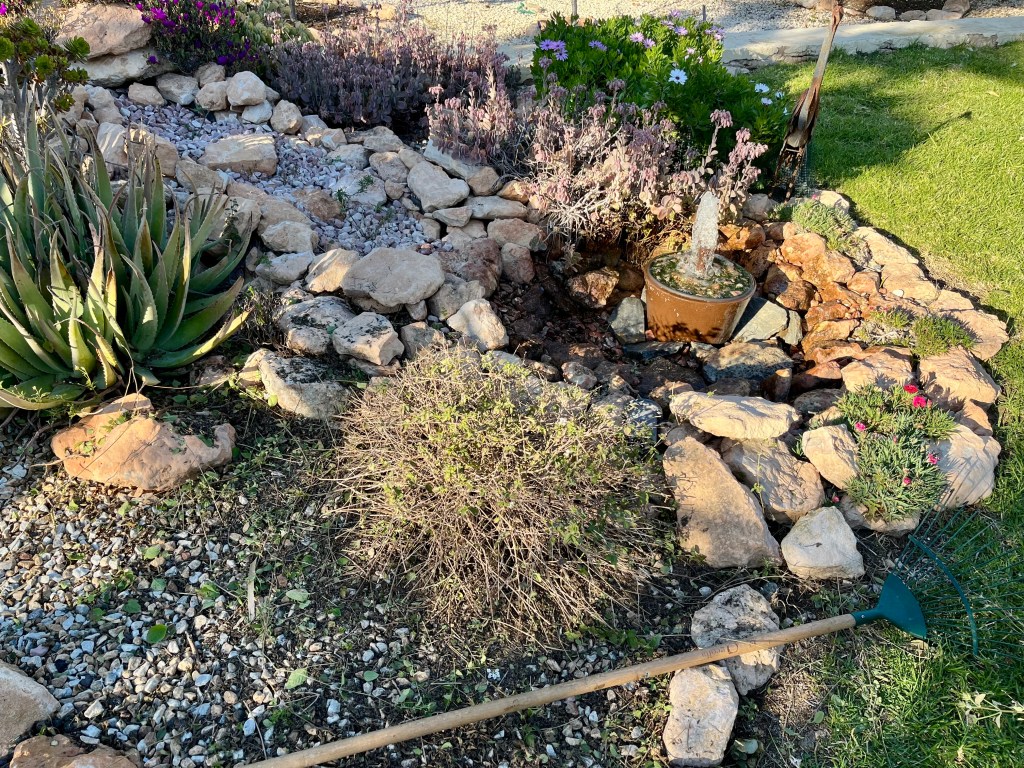
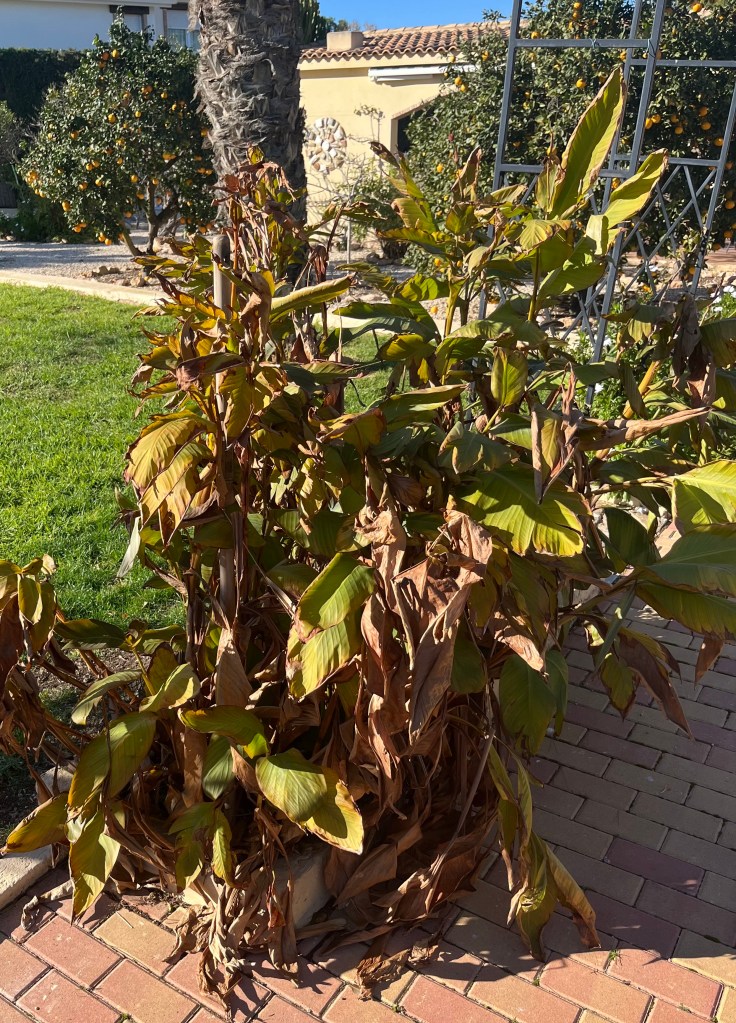
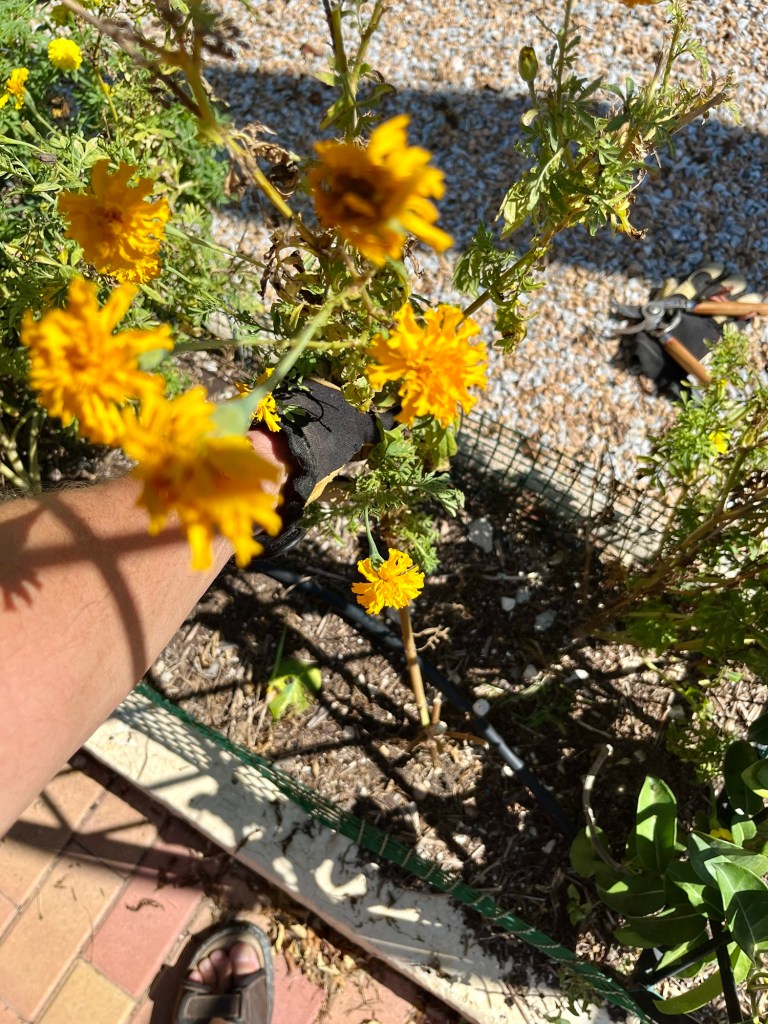
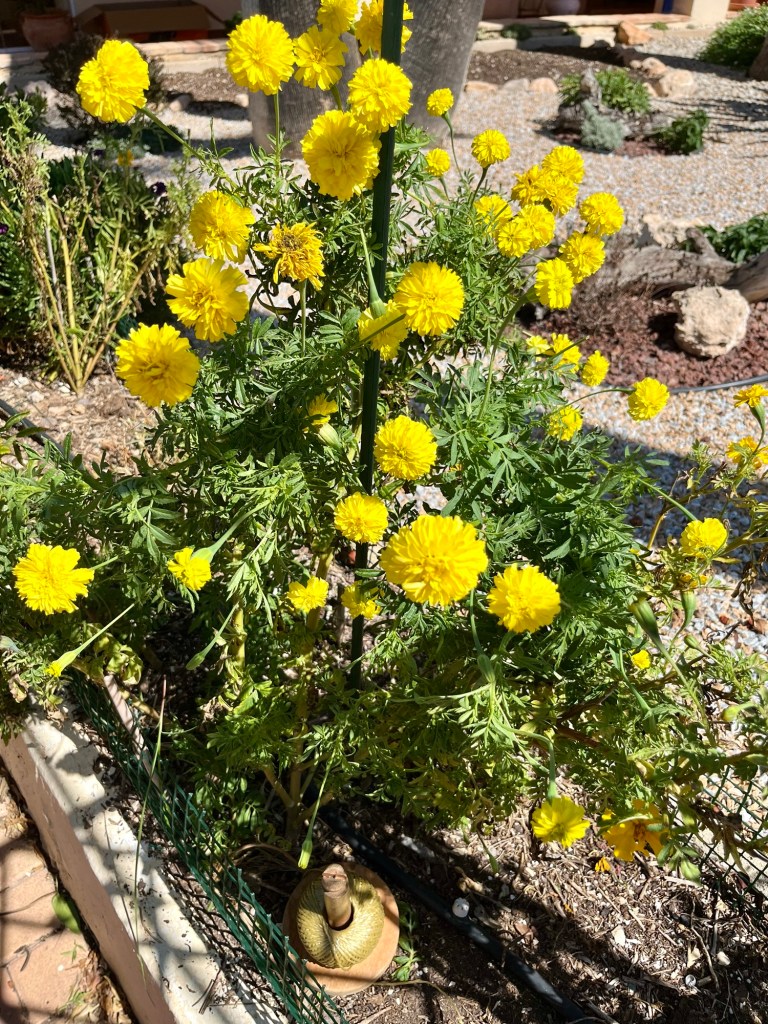
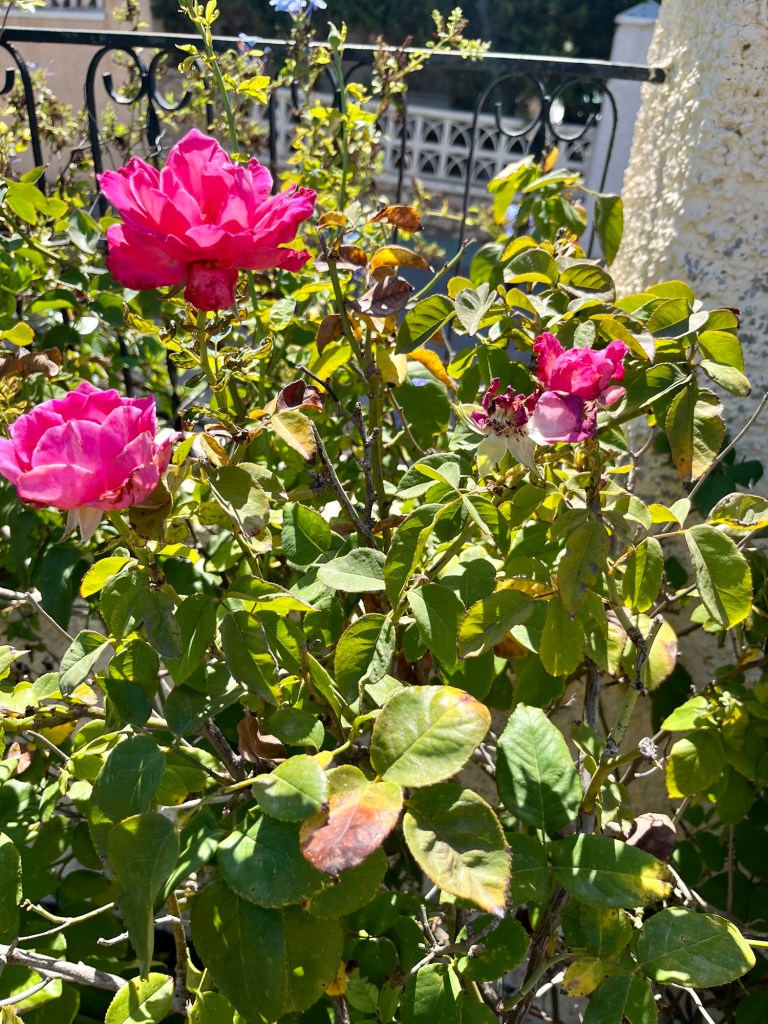
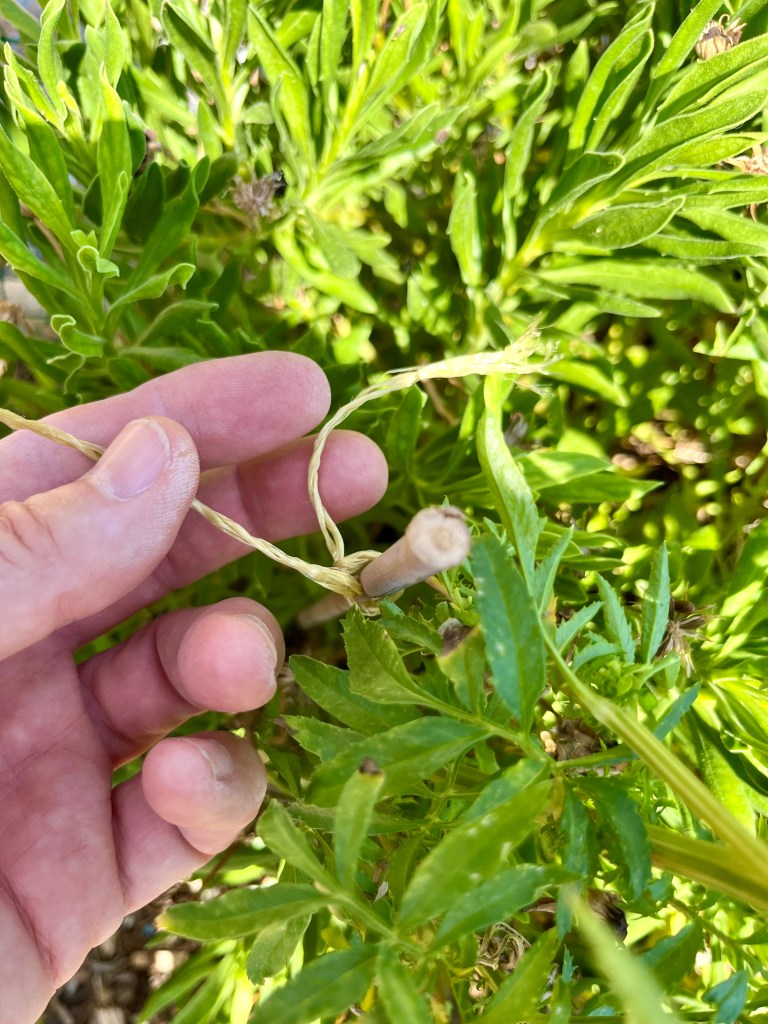
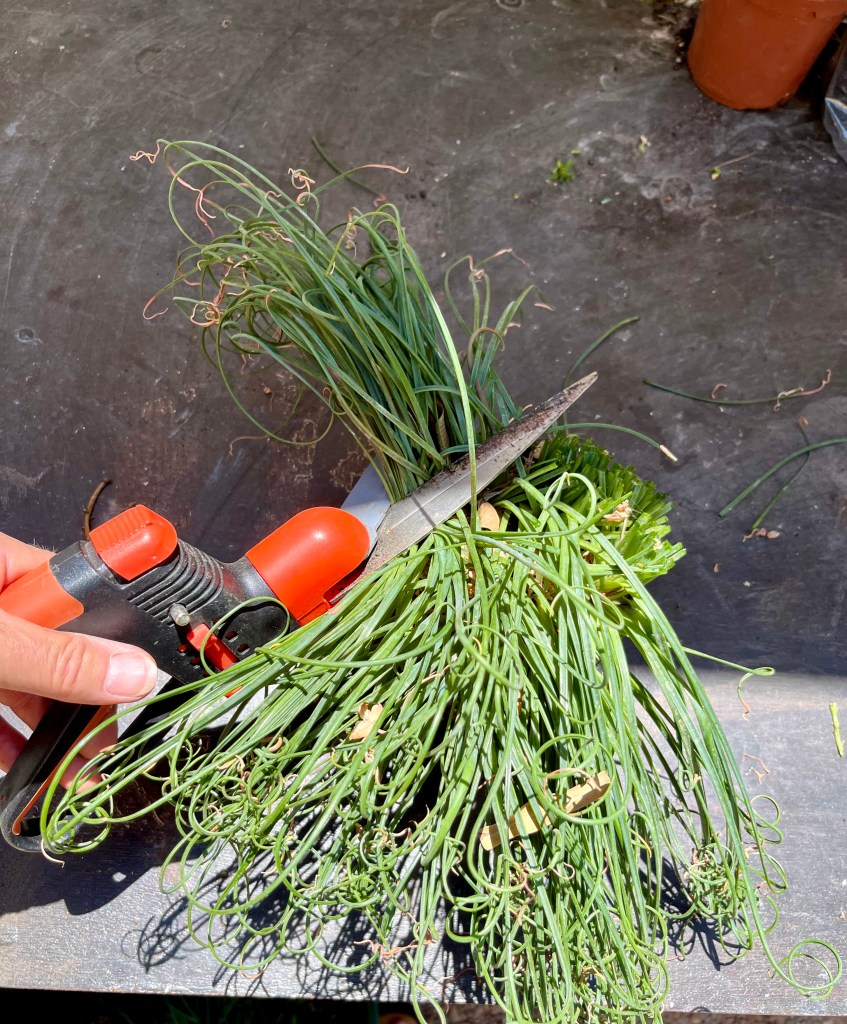
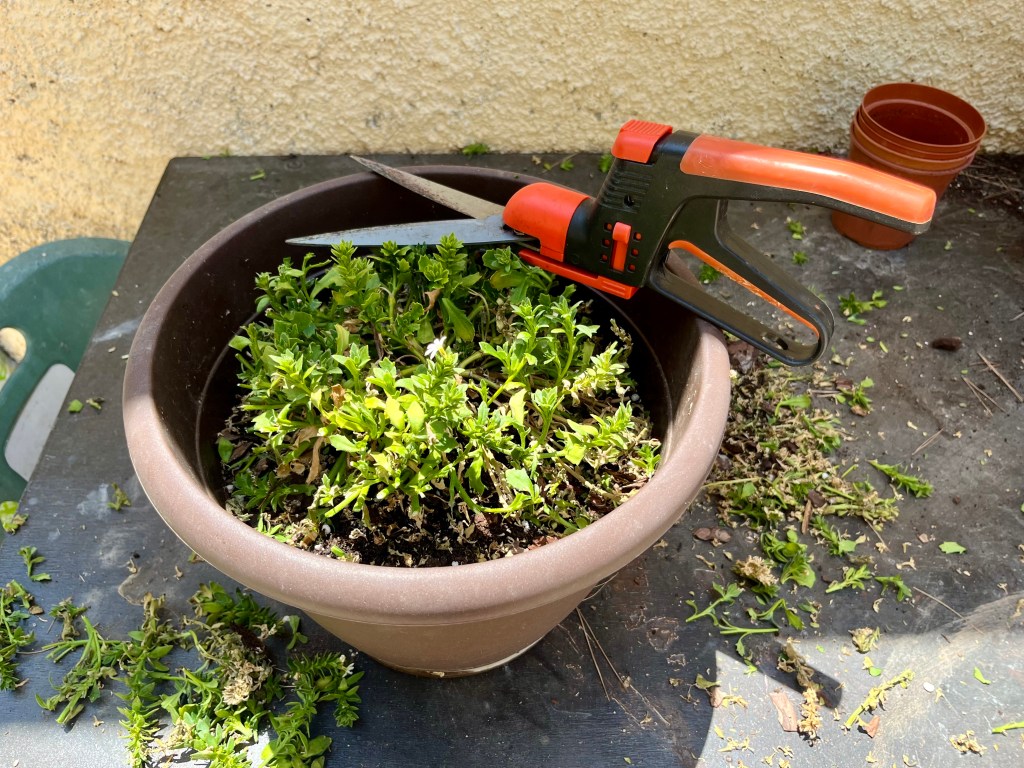
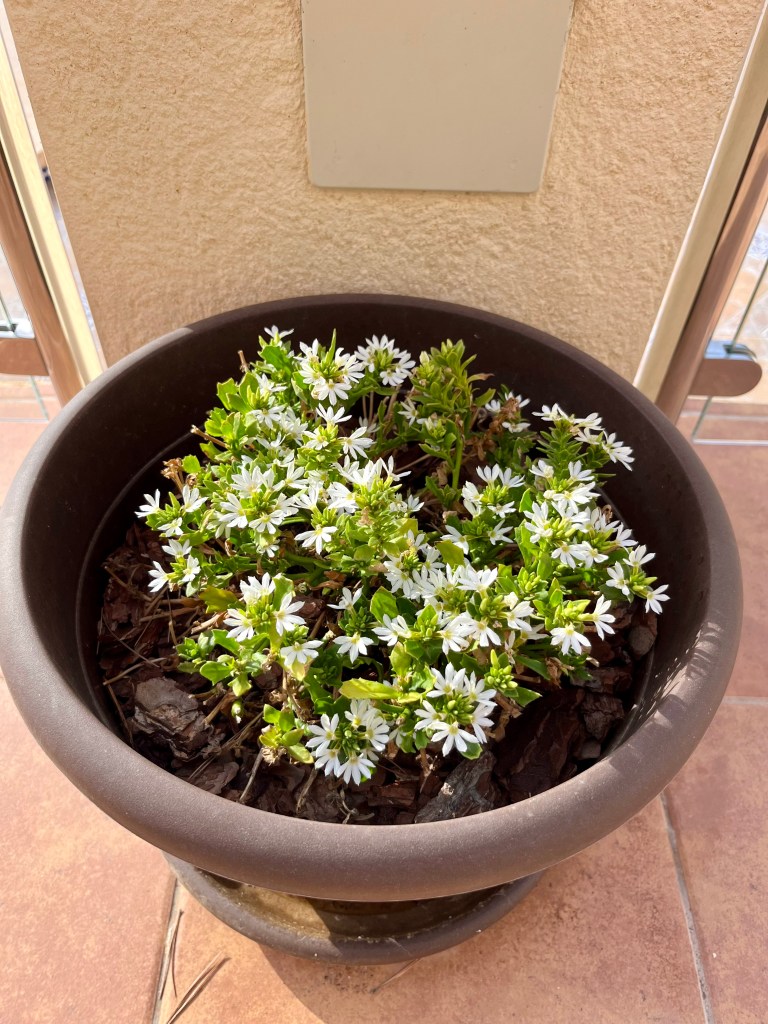
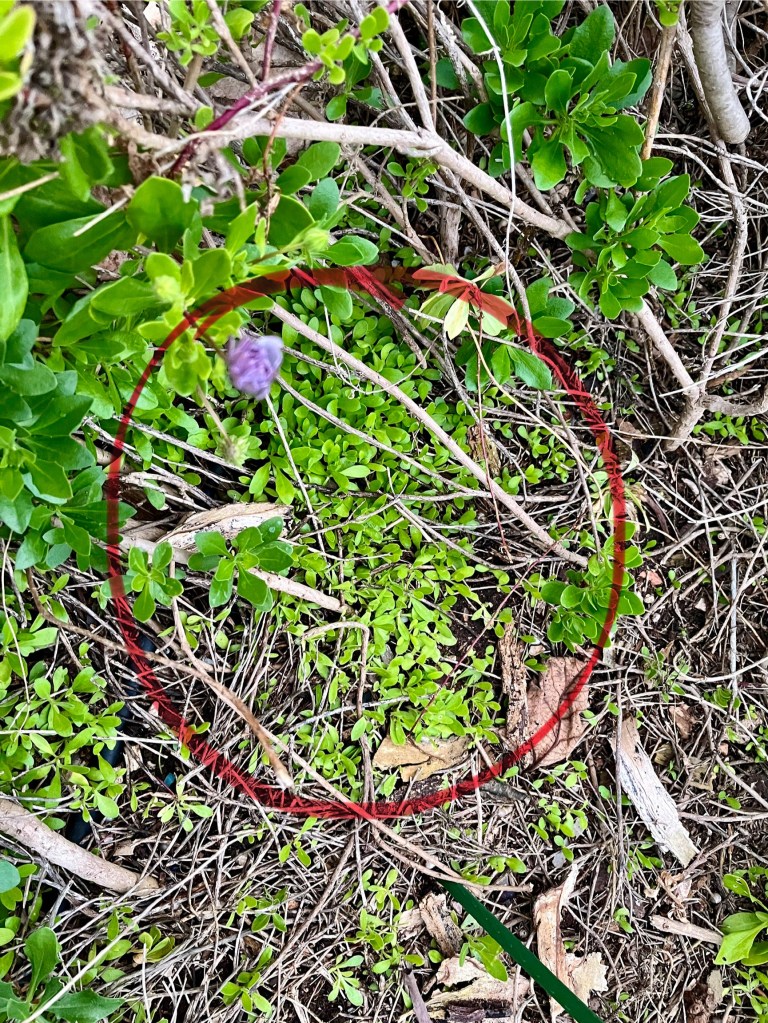
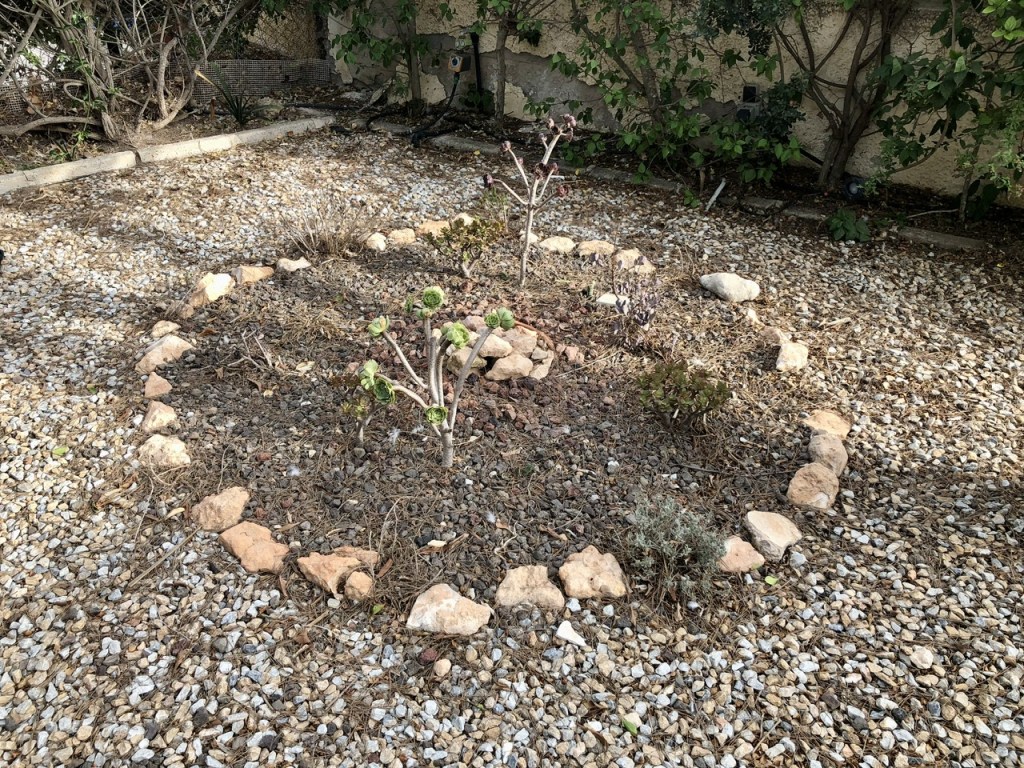
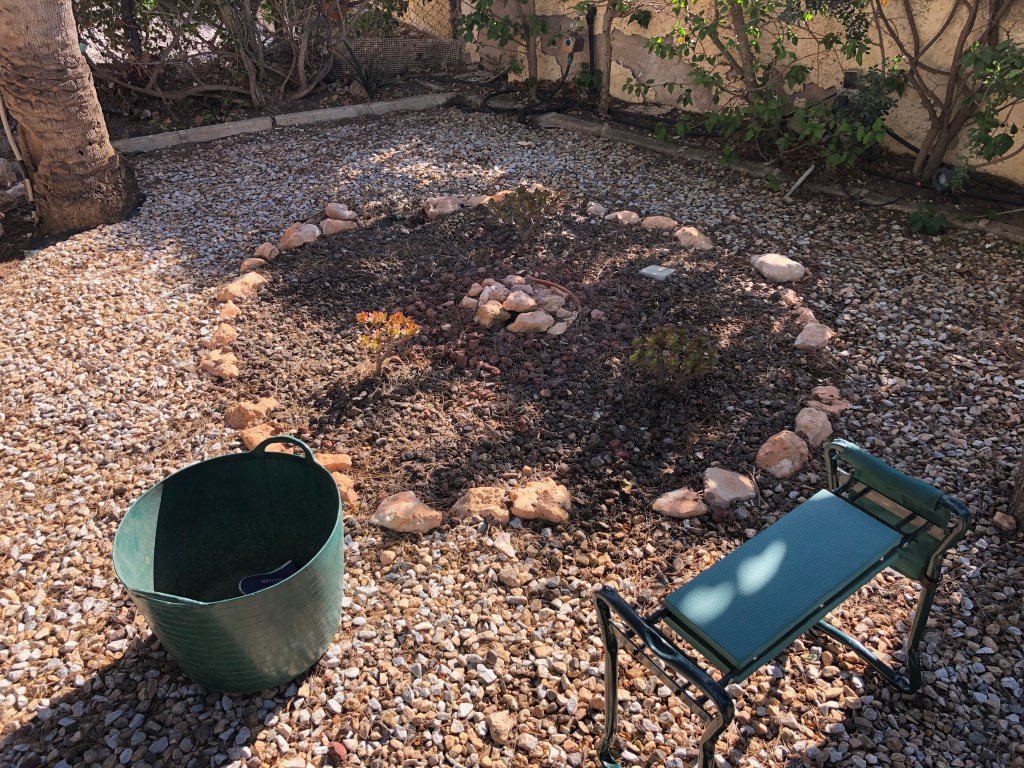
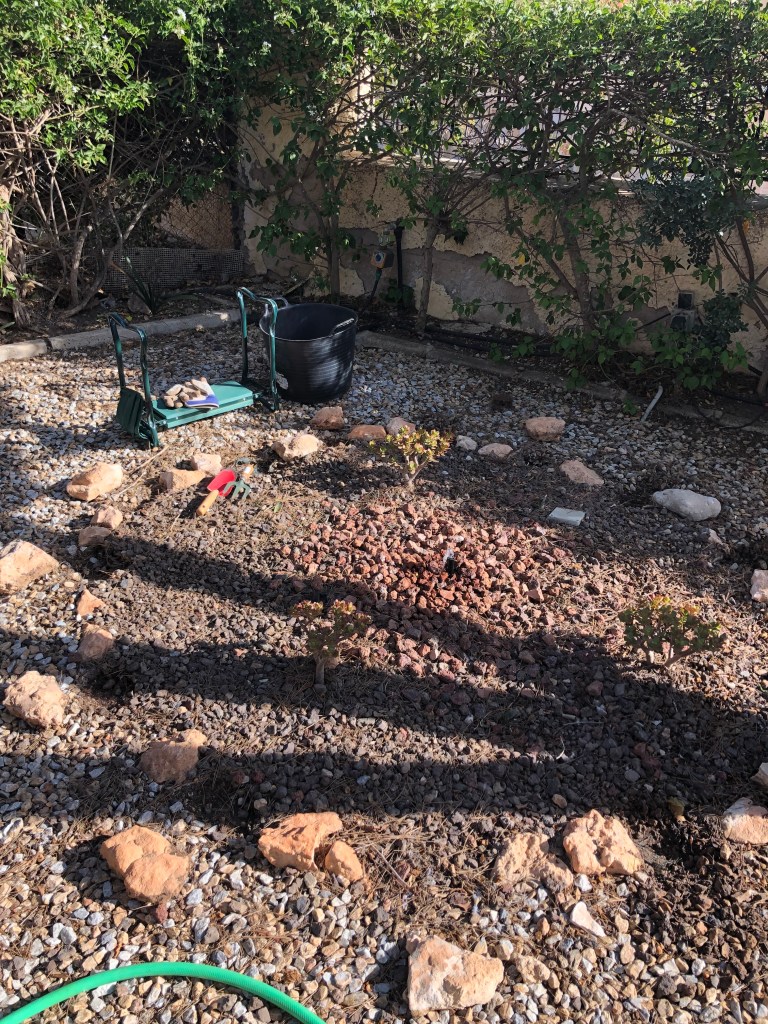
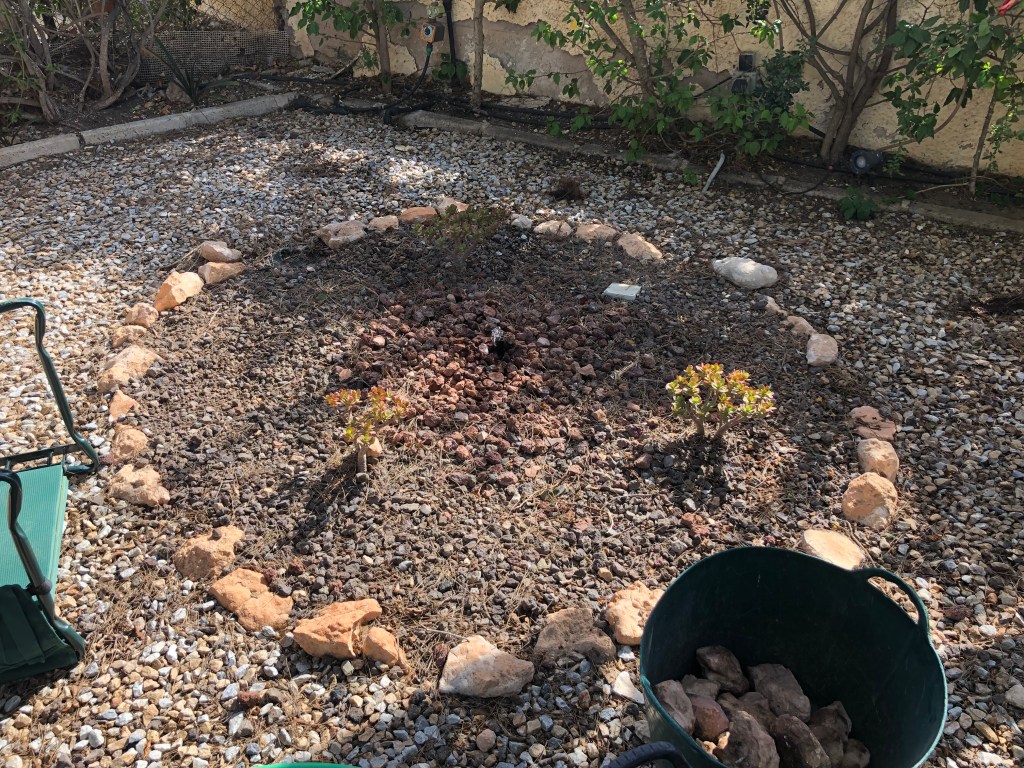
Cutting back dead Iris. It is all over this year for Iris and if you have followed my advice you will have deadheaded the flower head and left the stems to go fully brown. If you have, well done, as you are guaranteed lovely flowers next year from your replenished bulbs.
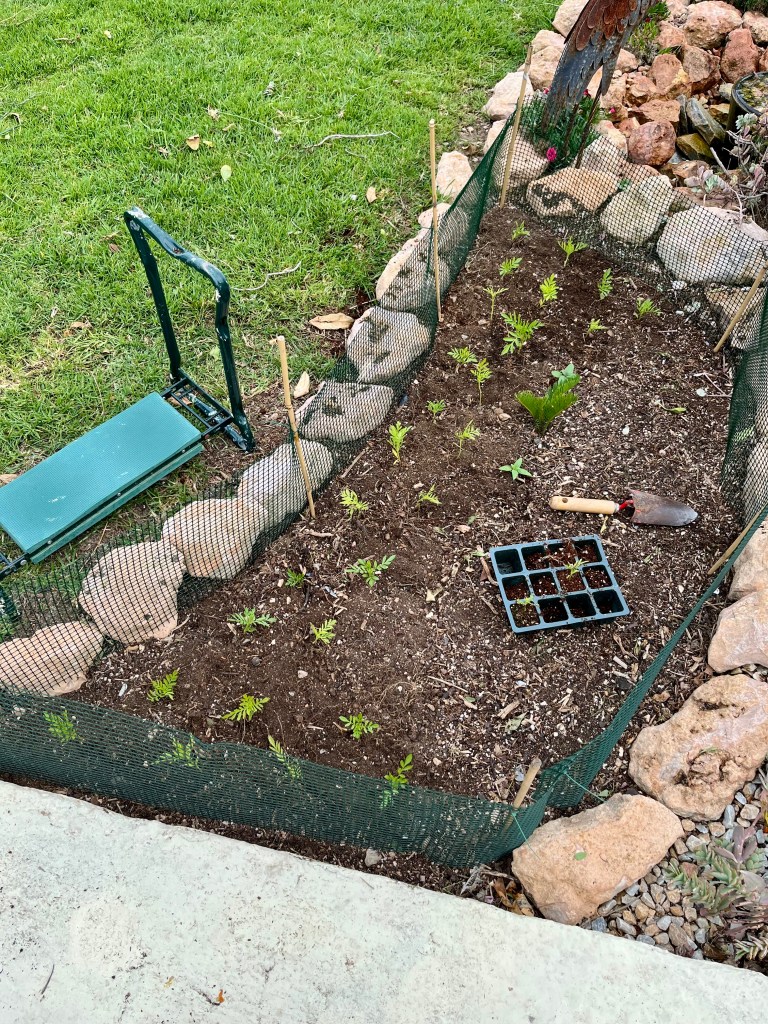
All you have to do now is give a good compost mulch over the area previously occupied by the Iris. This will replenish the soil and prepare it for your succession planting. I will be putting Petunia And some sun flowers in these areas.
It is important that you thank them for all their lovely flowers, wish them goodnight and a safe sleep and promise them that God willing you will see them next year. The photos below show the process of saying goodbye to the Iris for another year.

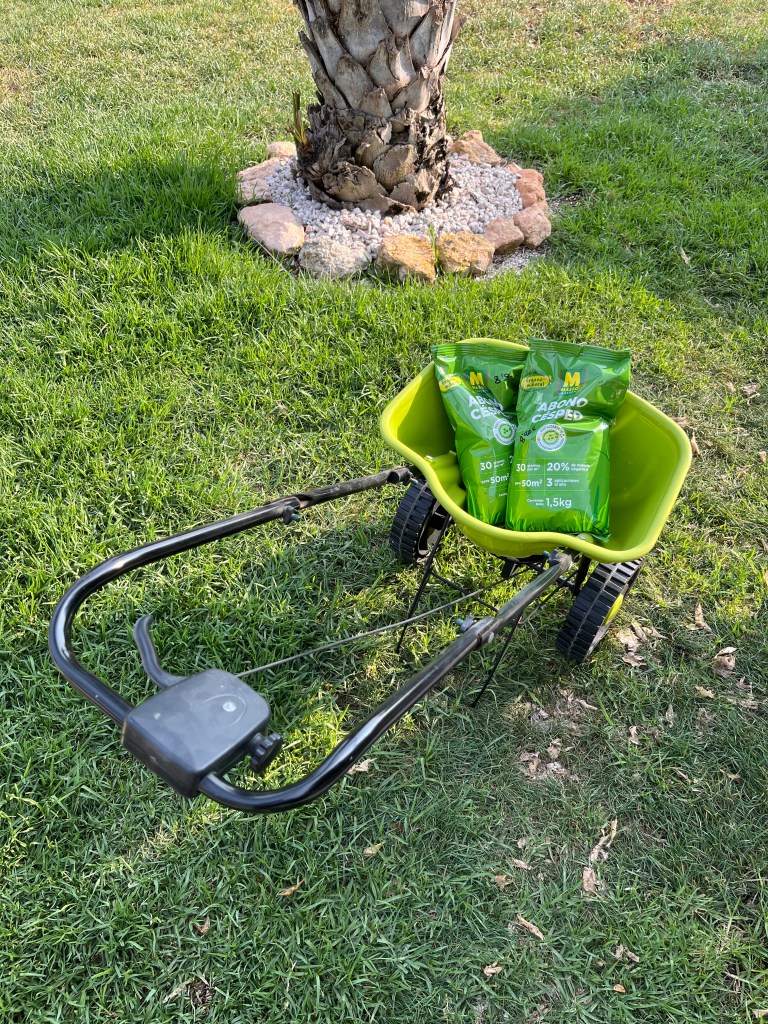
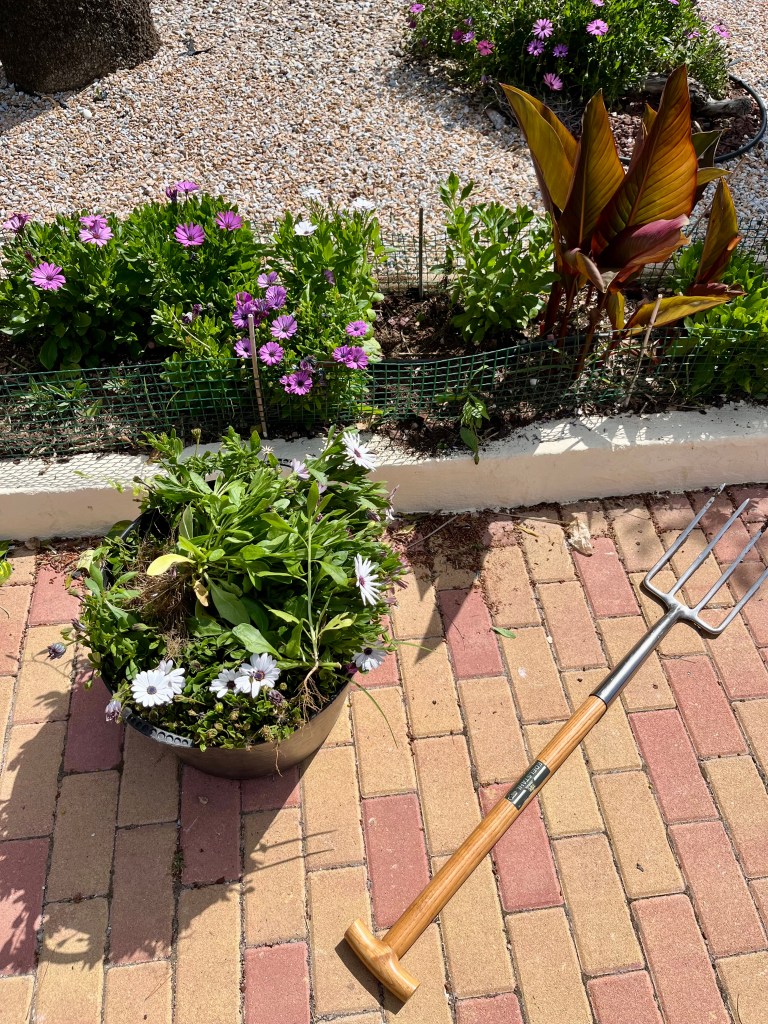
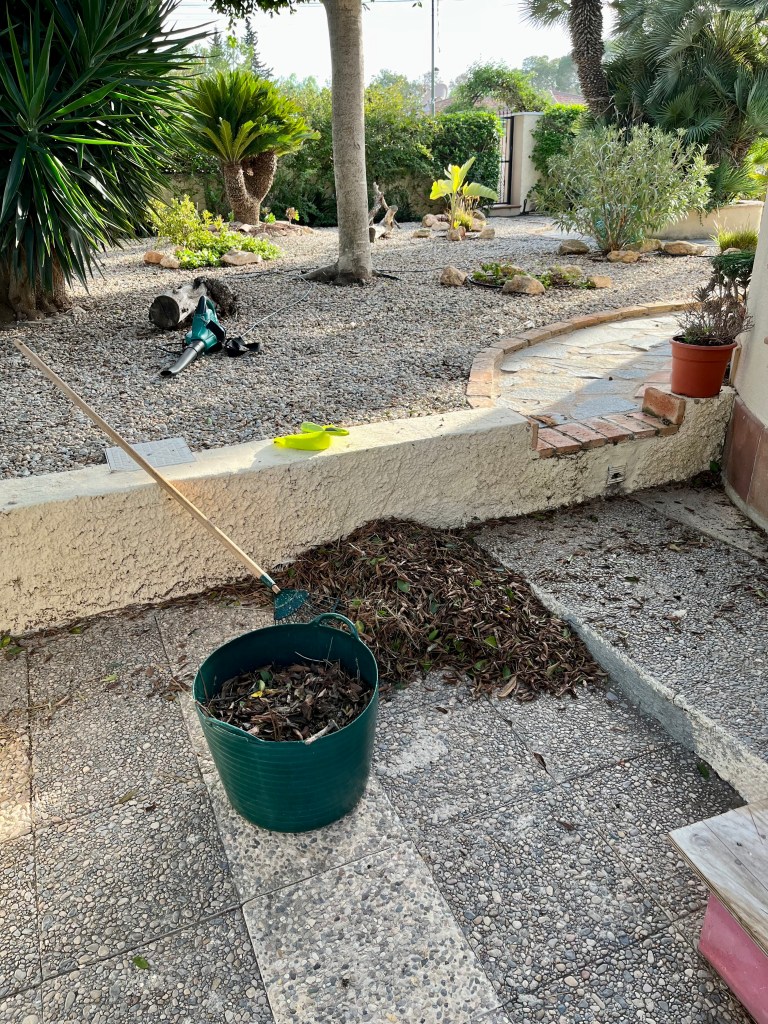
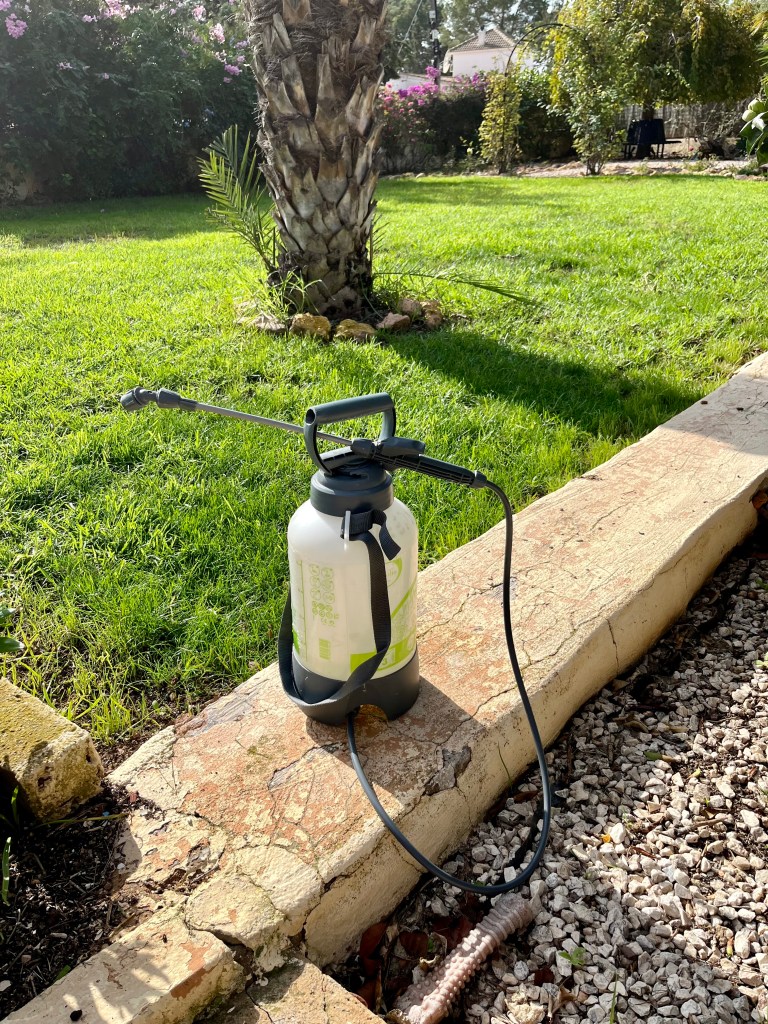
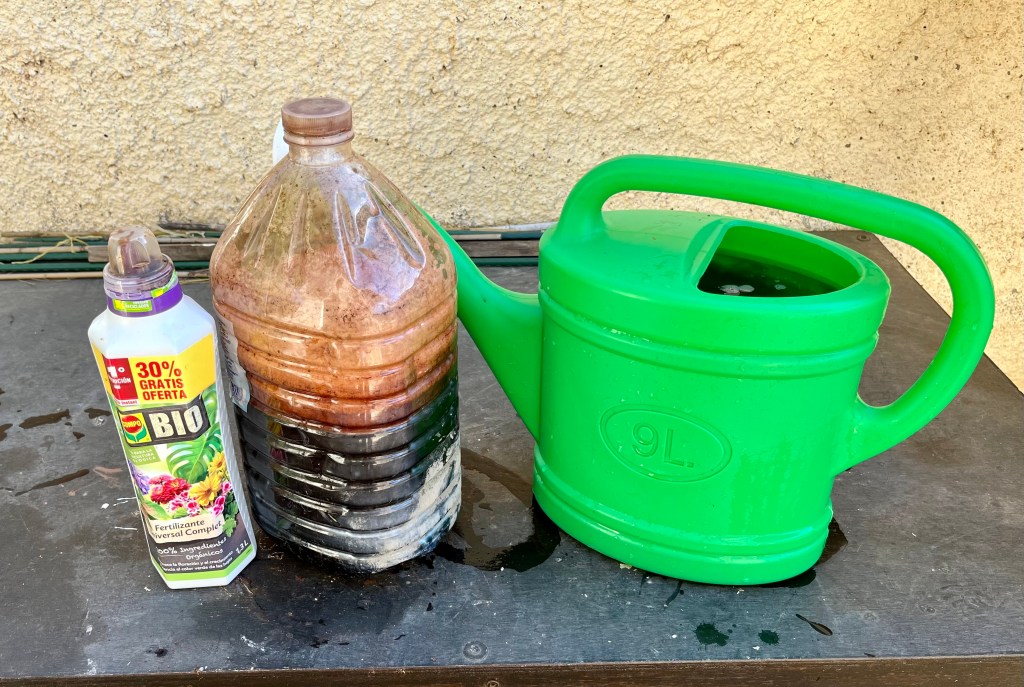
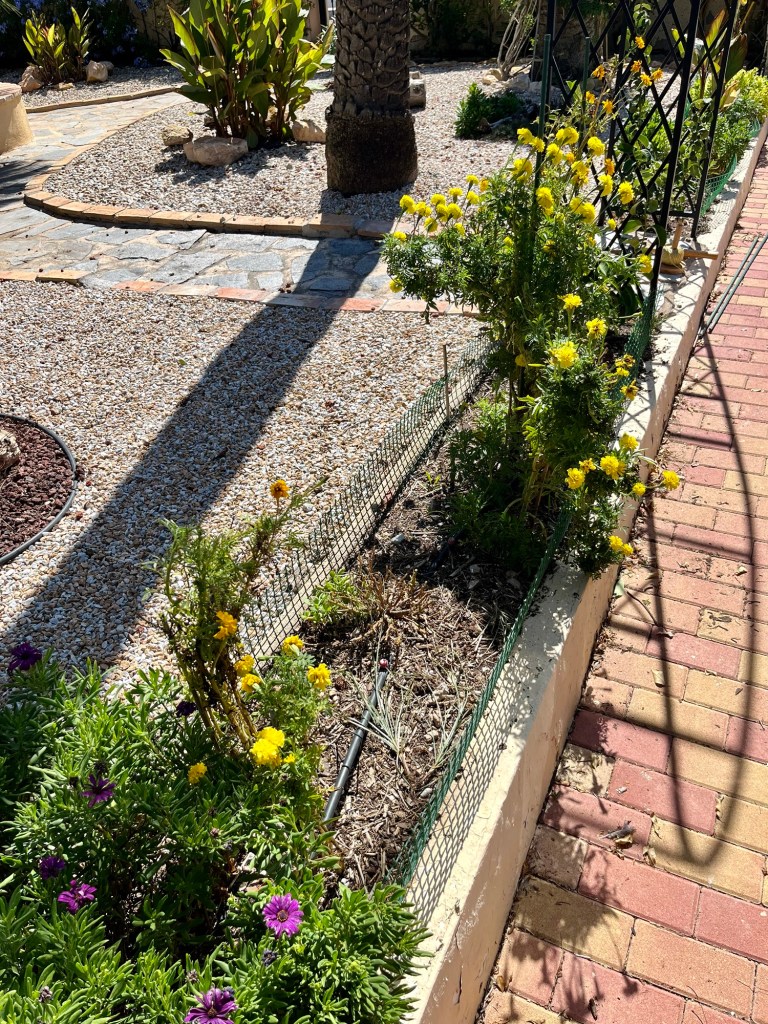
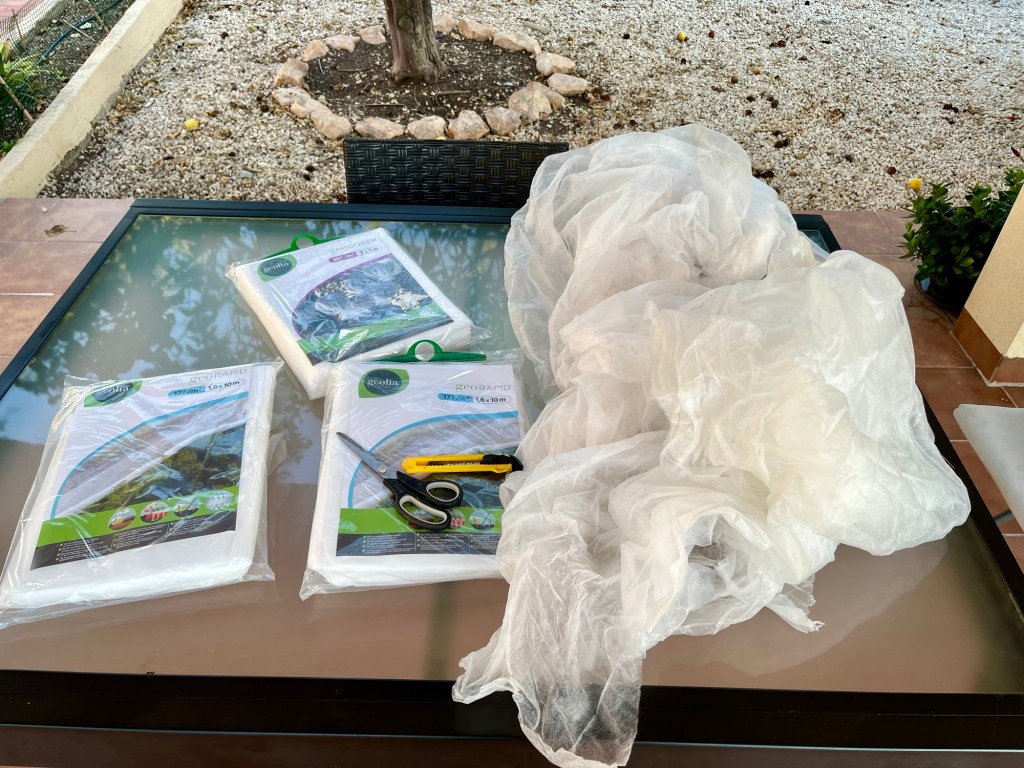
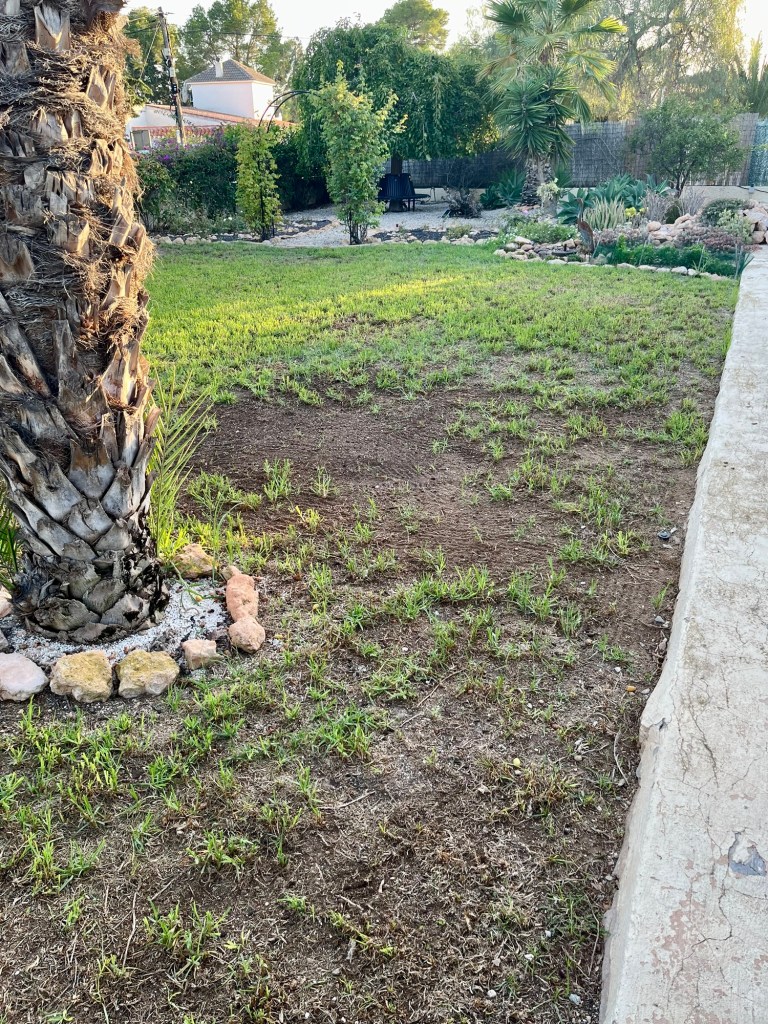
Feeding and scarifying the lawn. I know not many of you have lawns in Spain but if you aspire to one, this is what you need to be doing now.
Firstly, set your mower on the very highest setting and don’t be tempted to bring it down till October. If you cut your lawn too short it will undoubtedly get scorched in the summer heat. Next you may need to give your lawn a very light scarifying with a rake. This is not the big winter scarifying and you should not use a machine. The aim is to stop any thatch developing and inhibiting new growth. Finally give the lawn a feed. The photos below show the process.


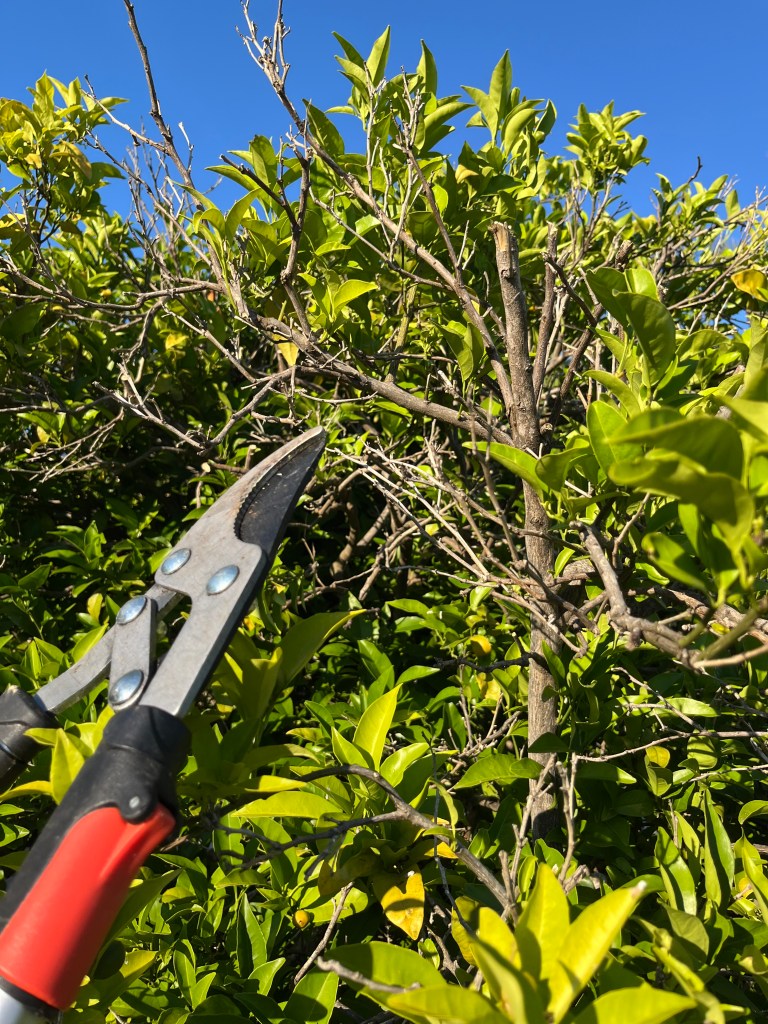
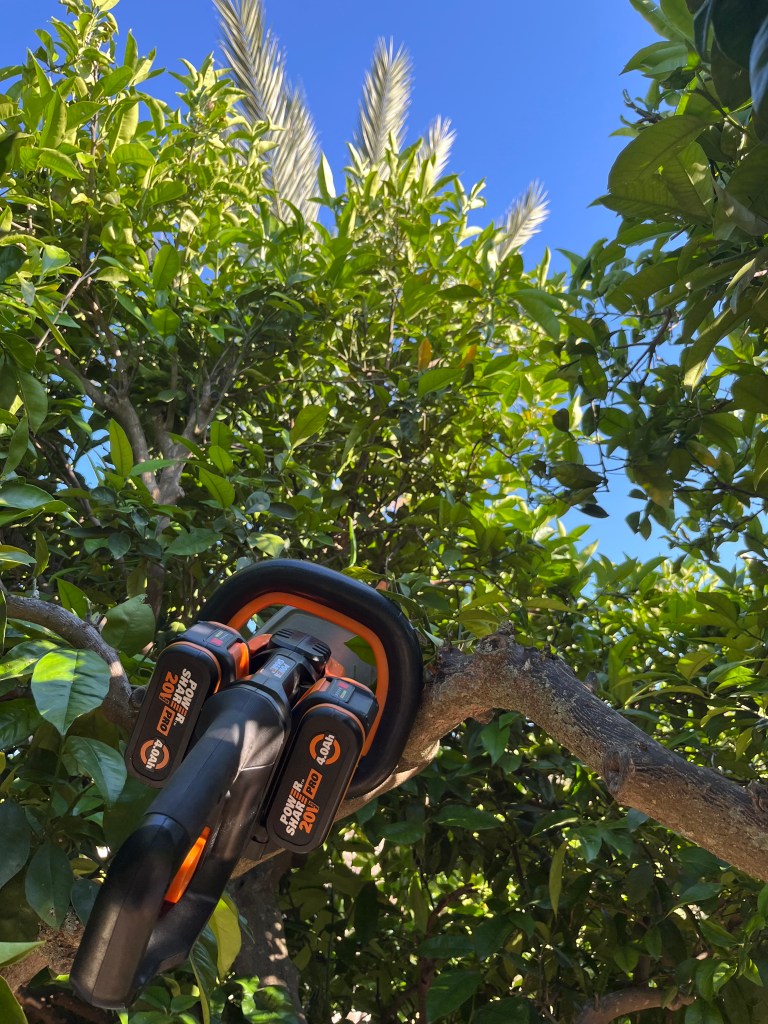
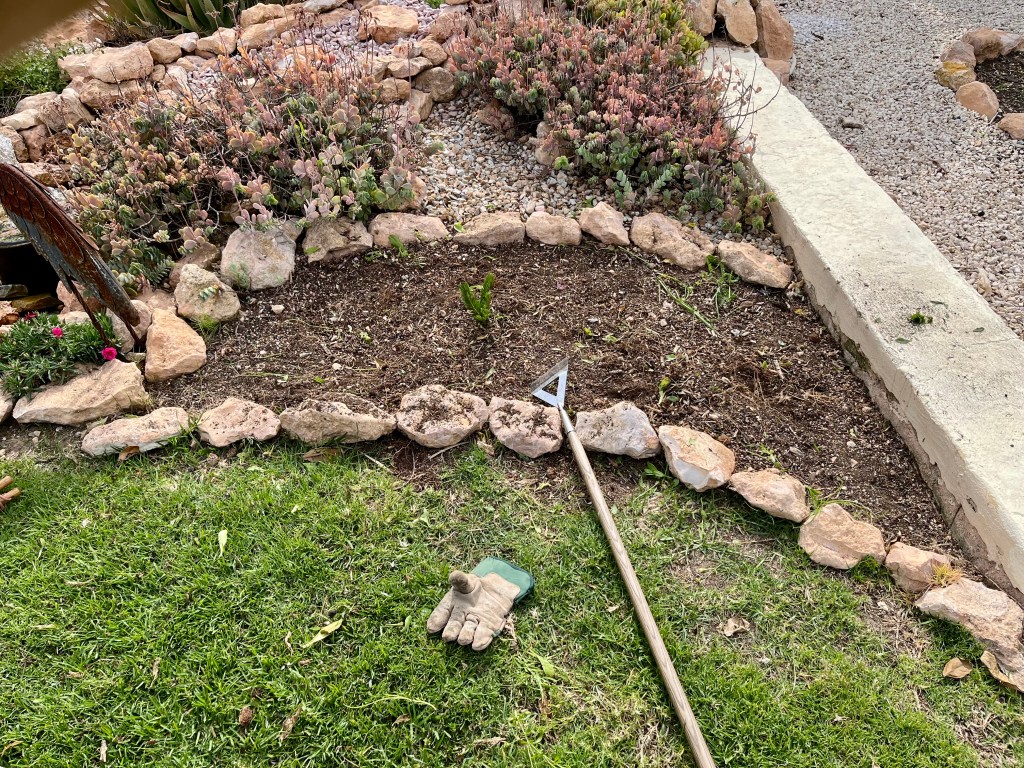
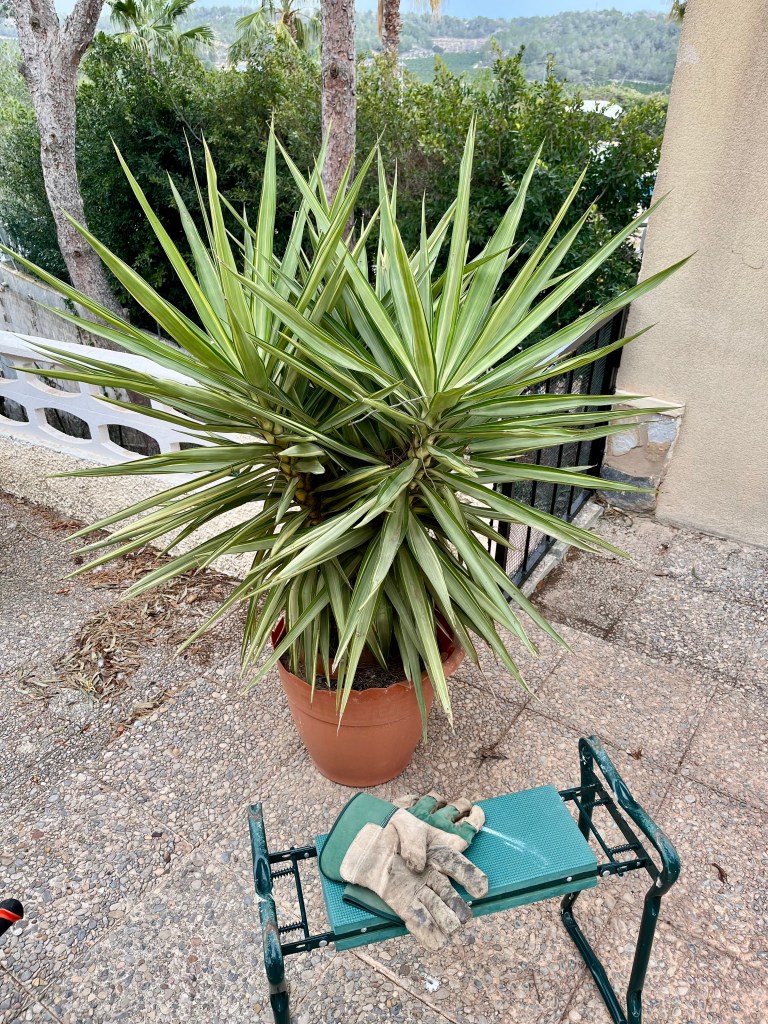
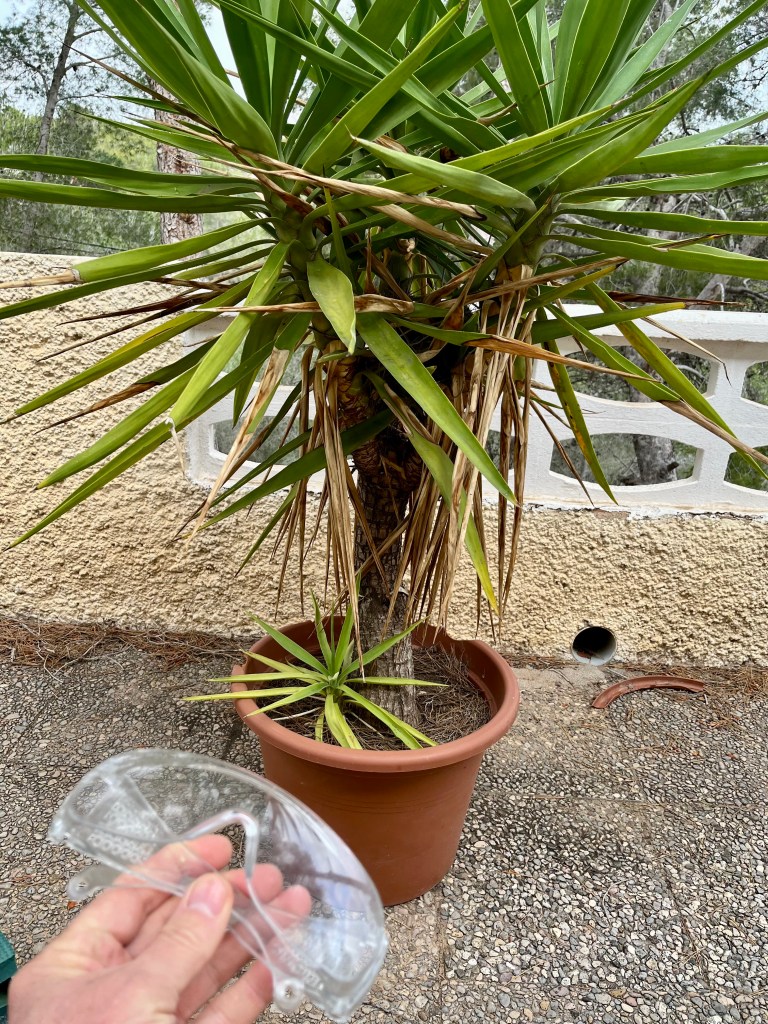
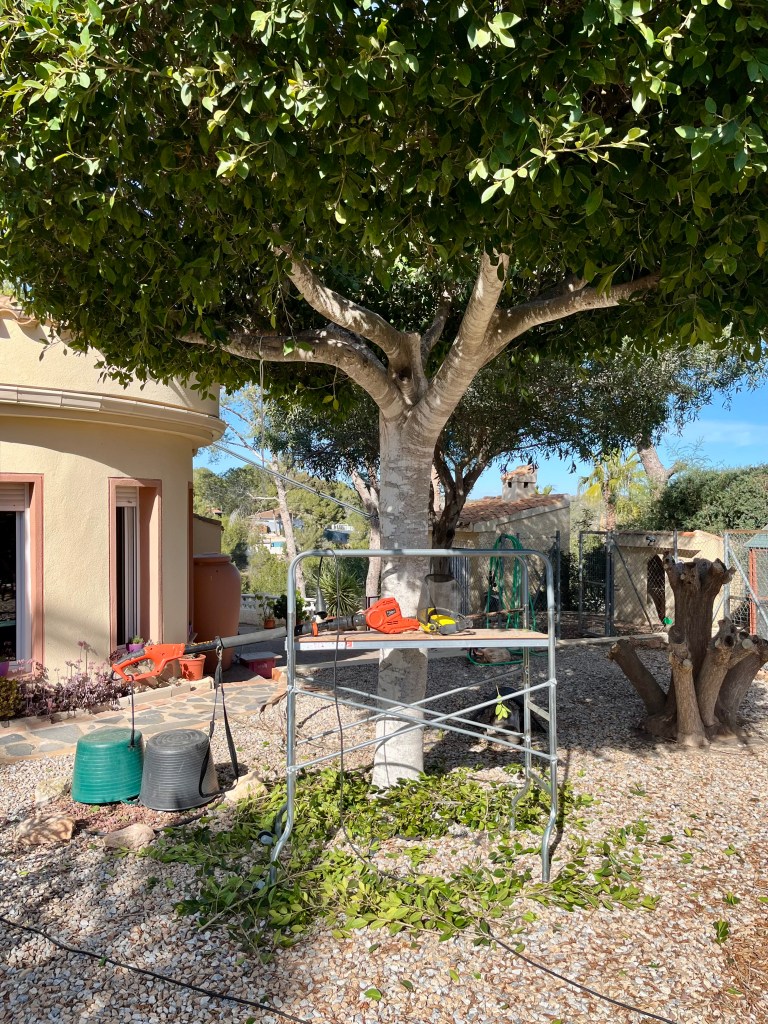
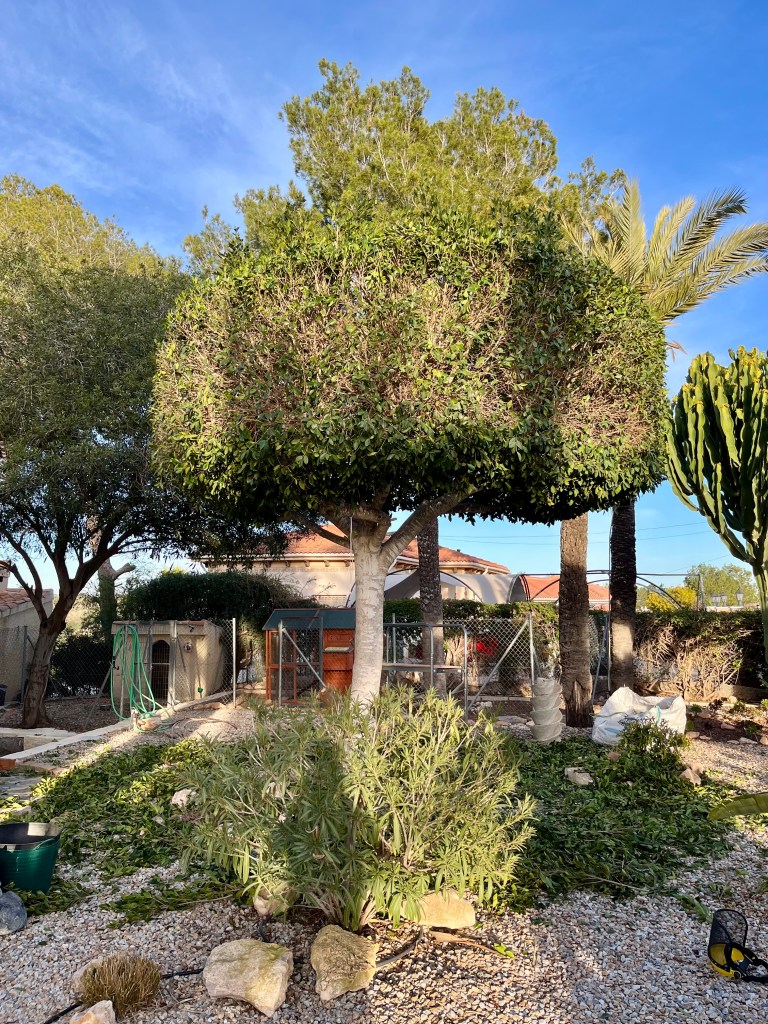
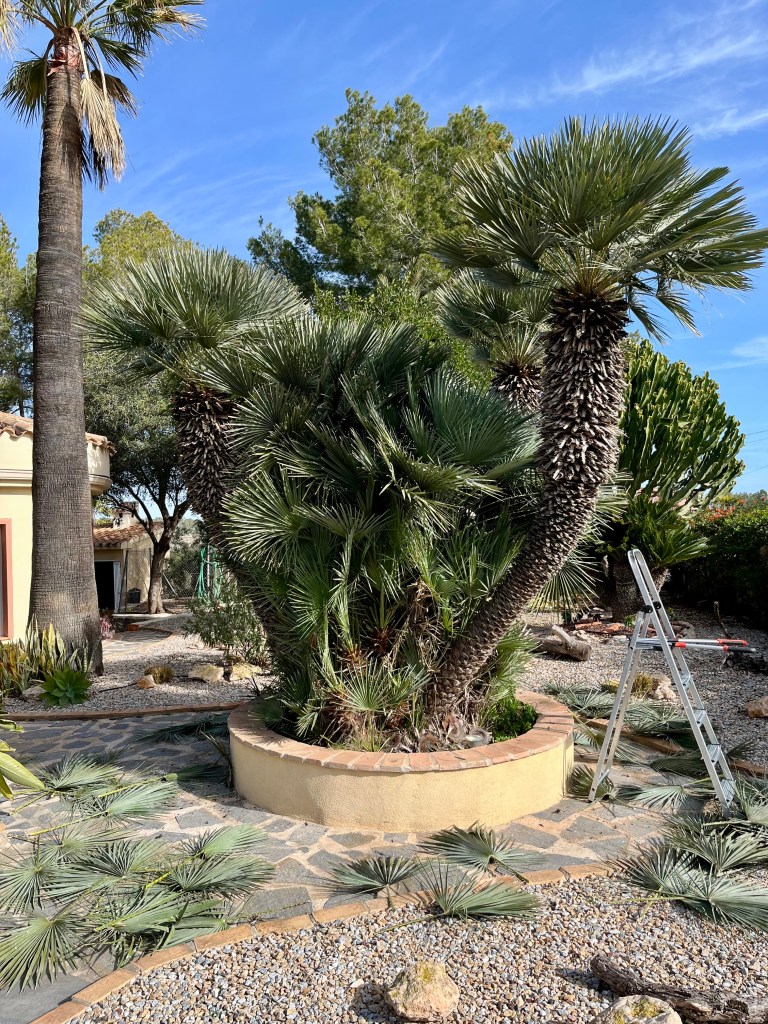
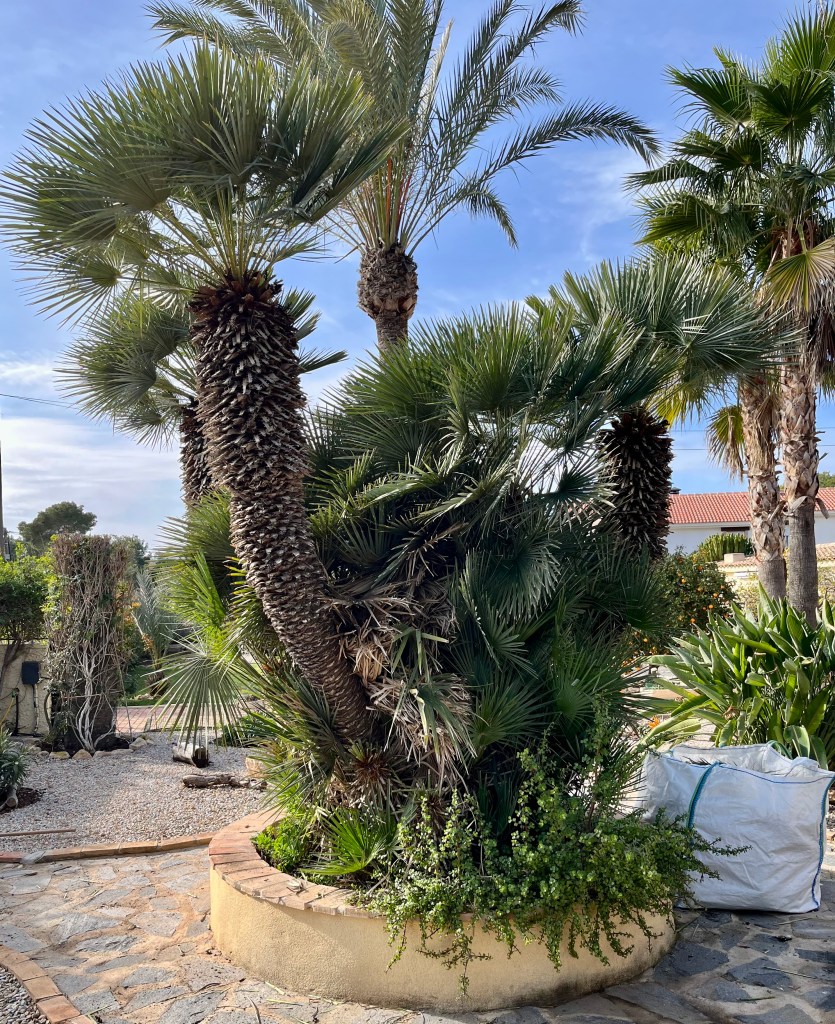
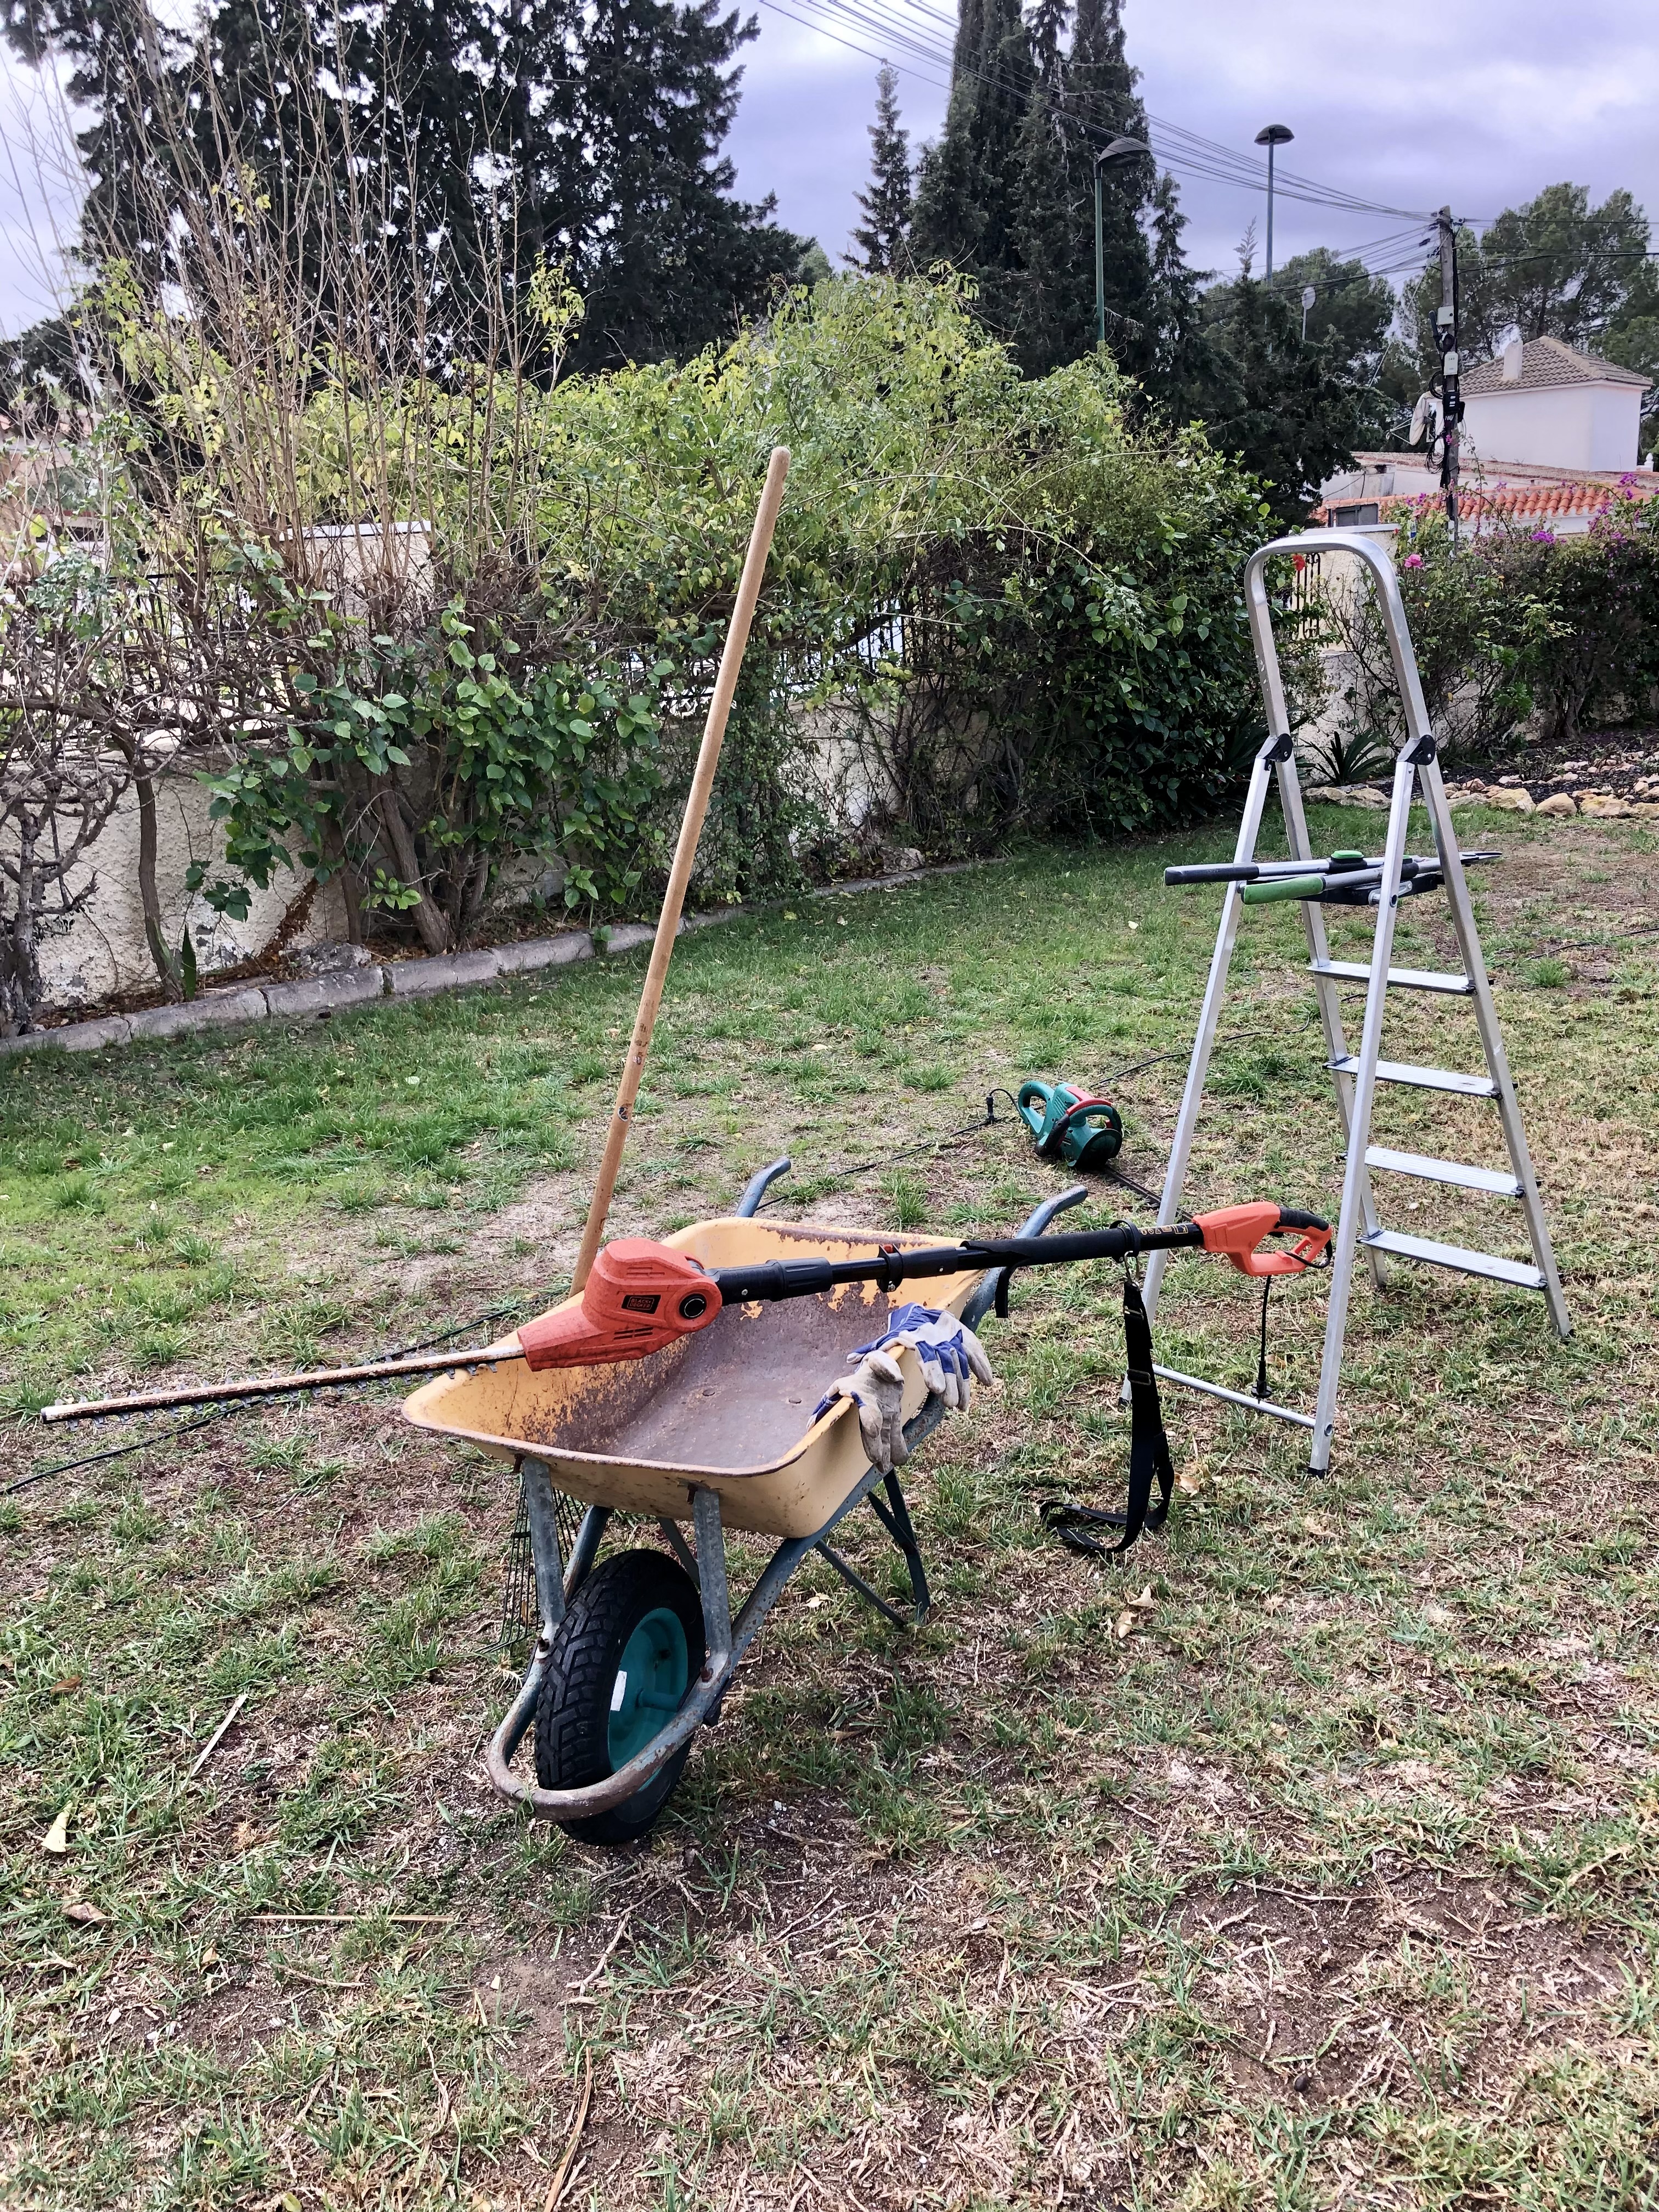
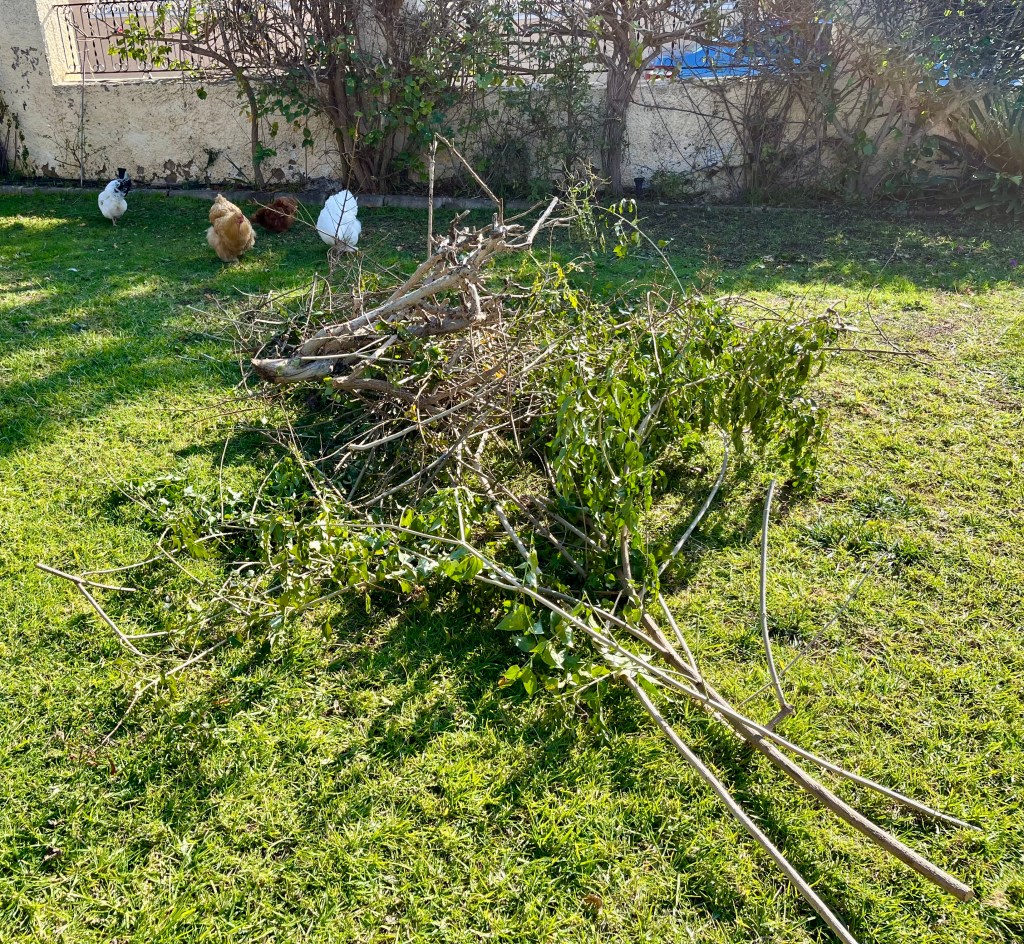
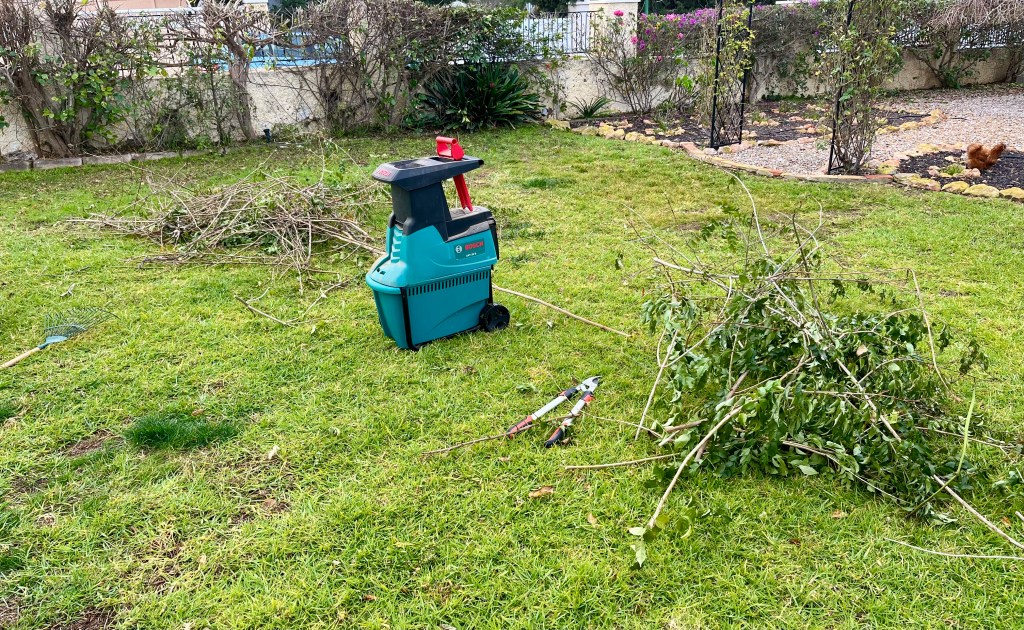
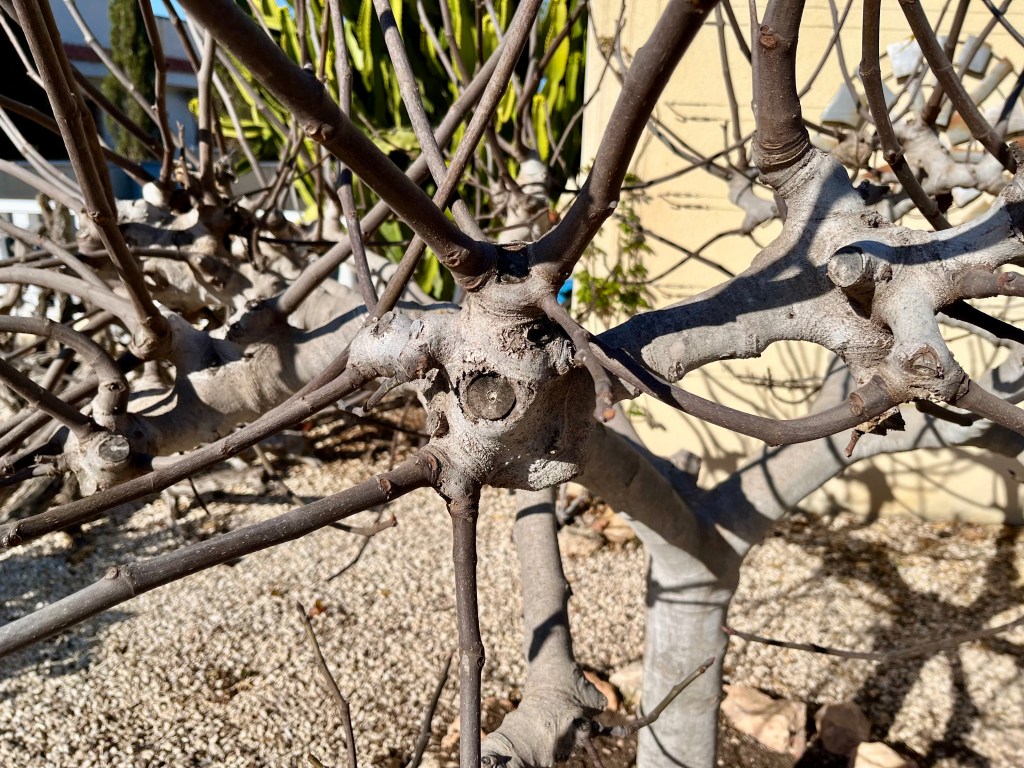
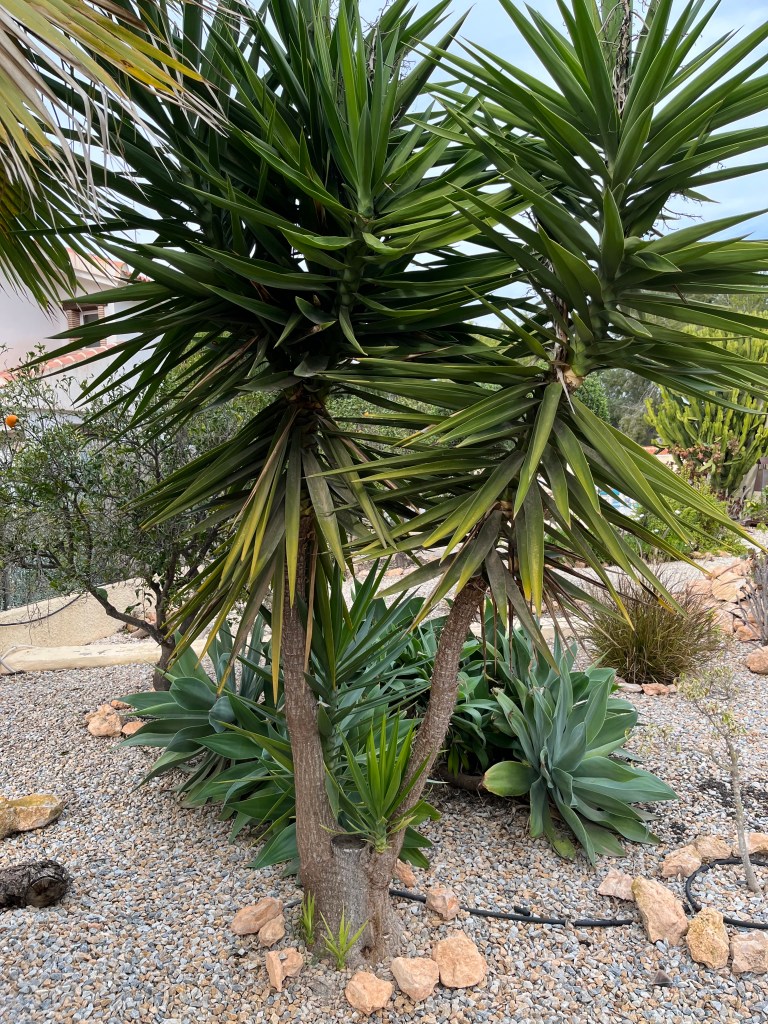
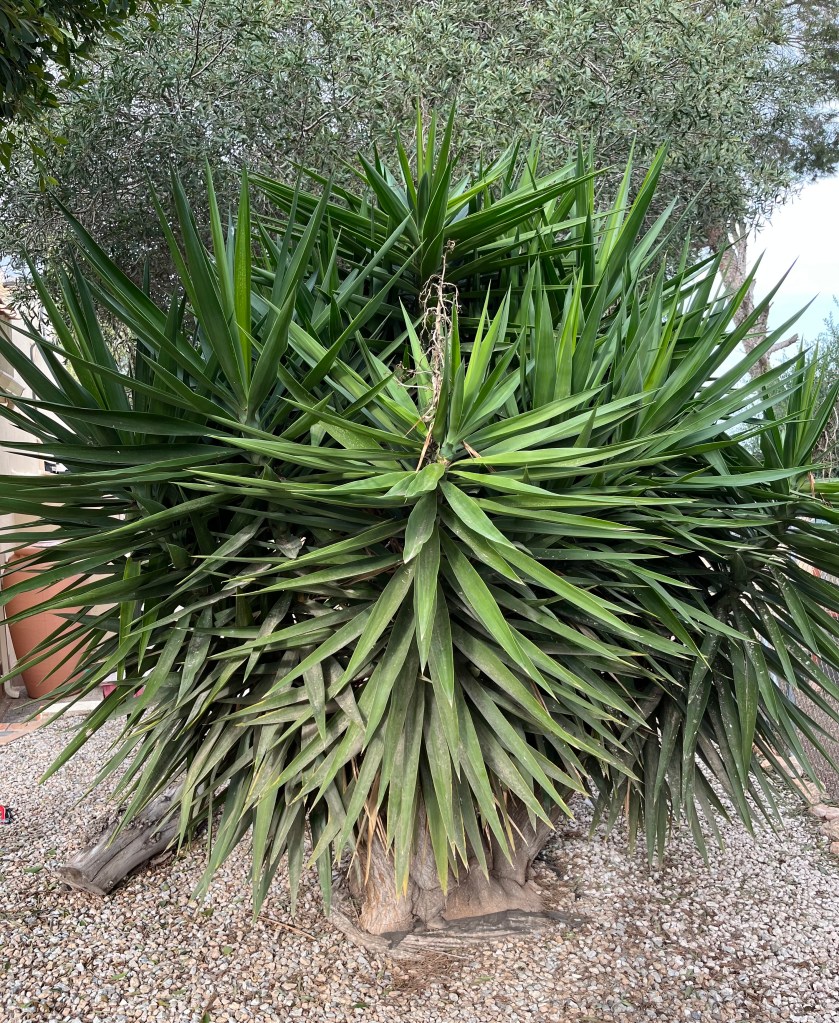
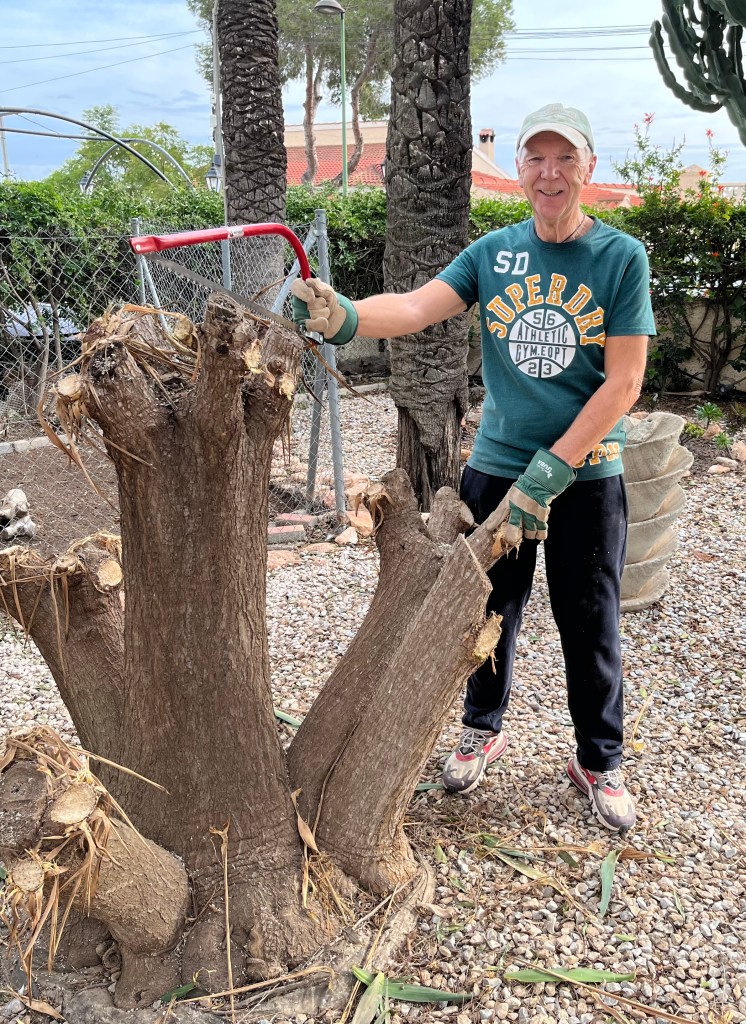
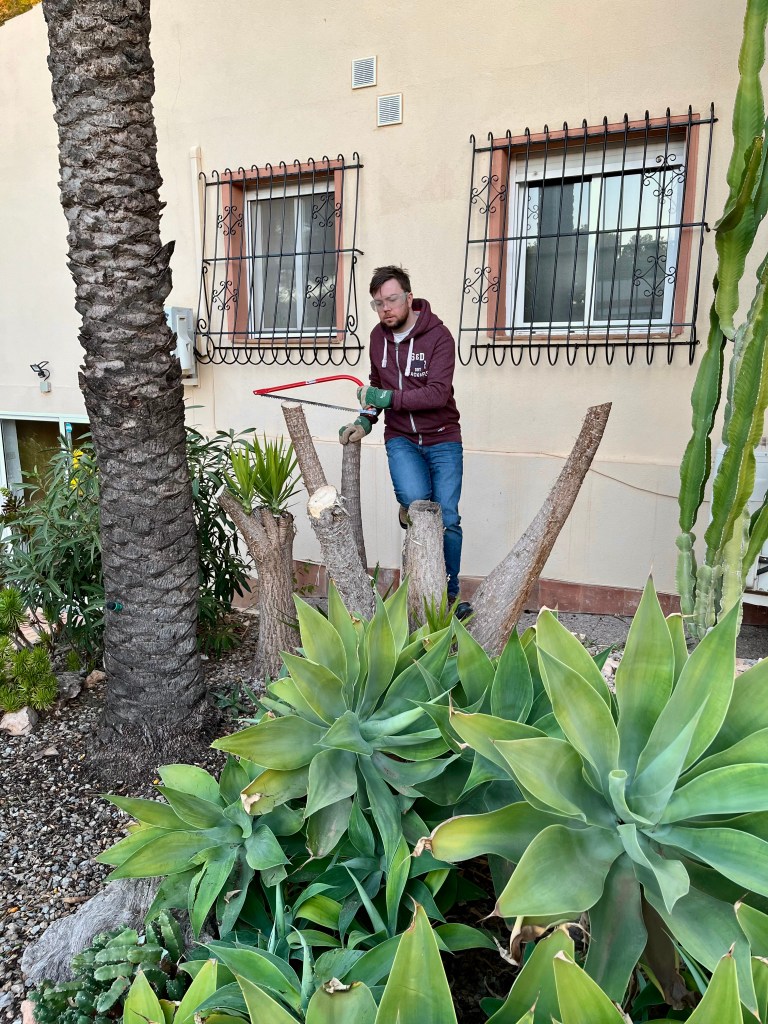
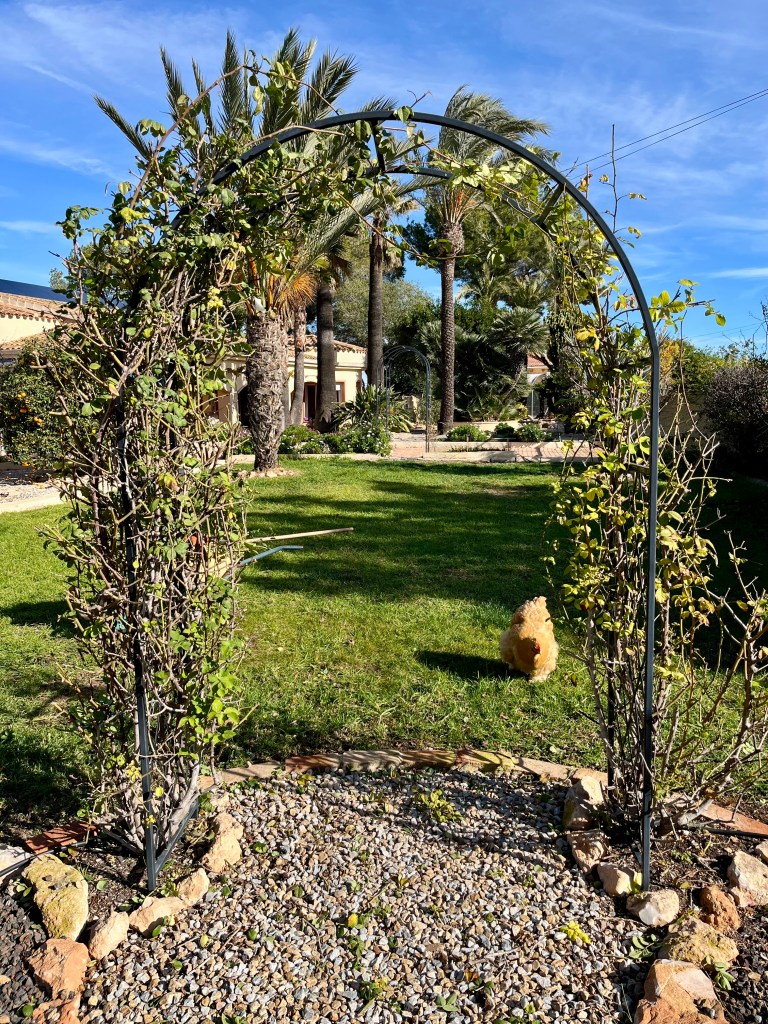
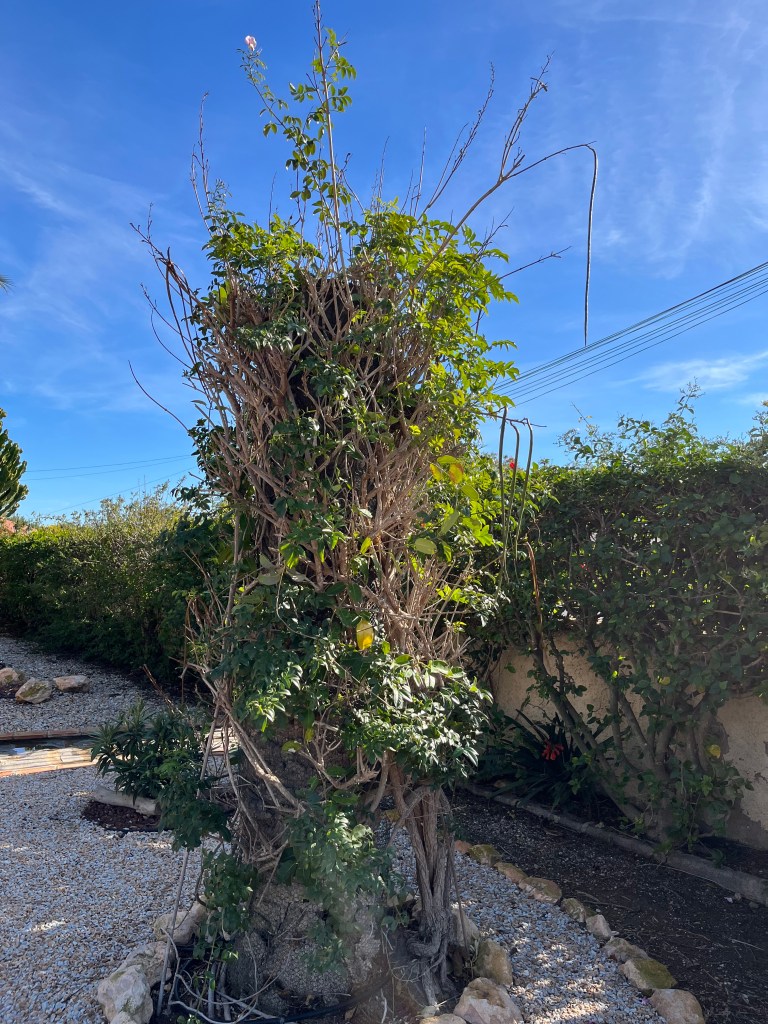
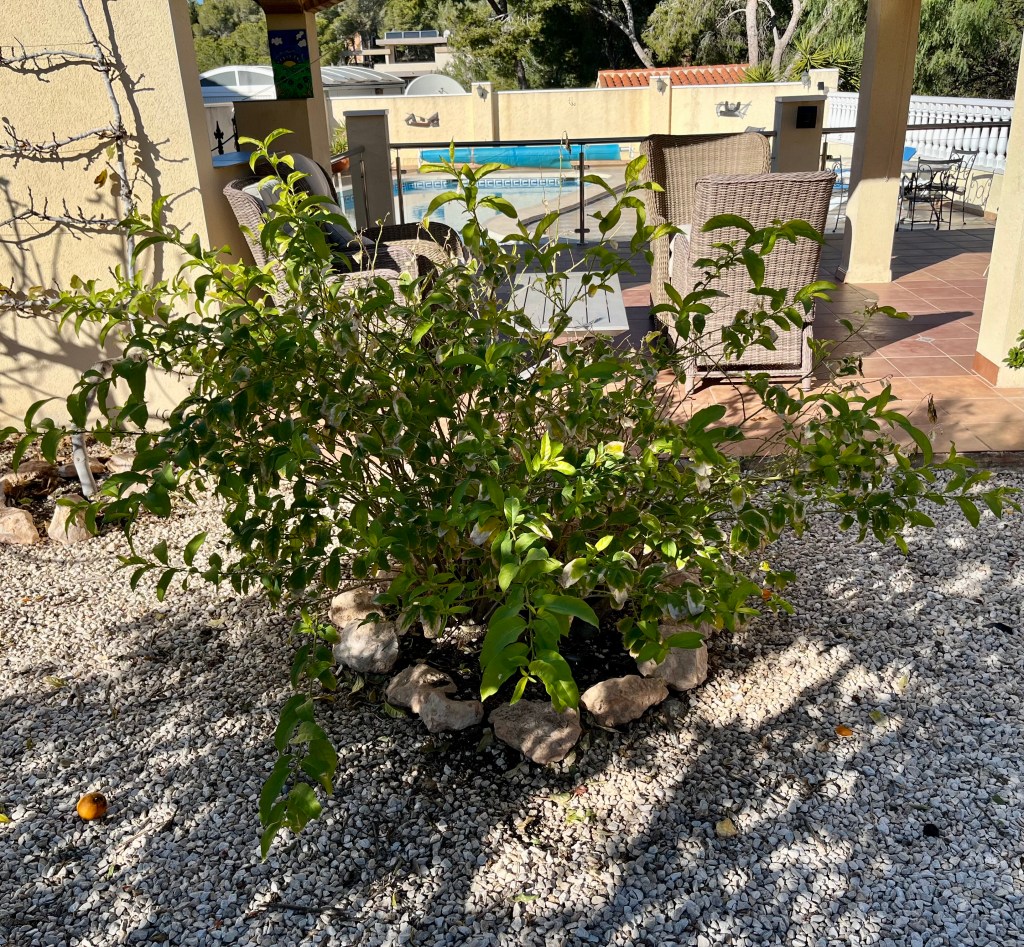
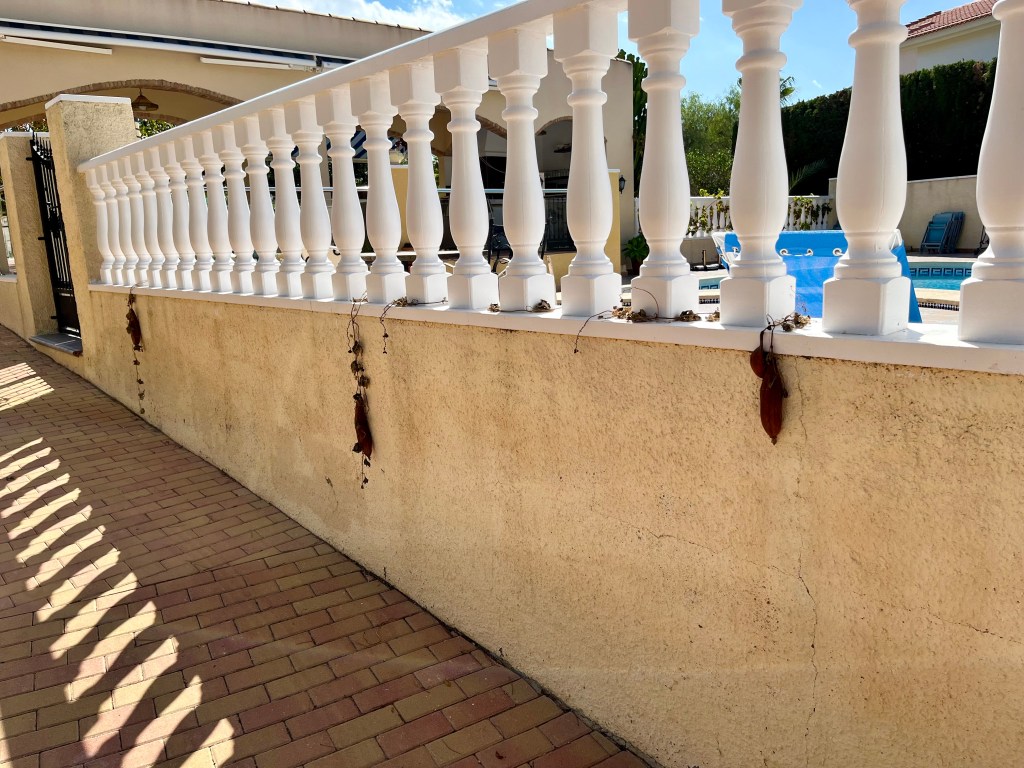
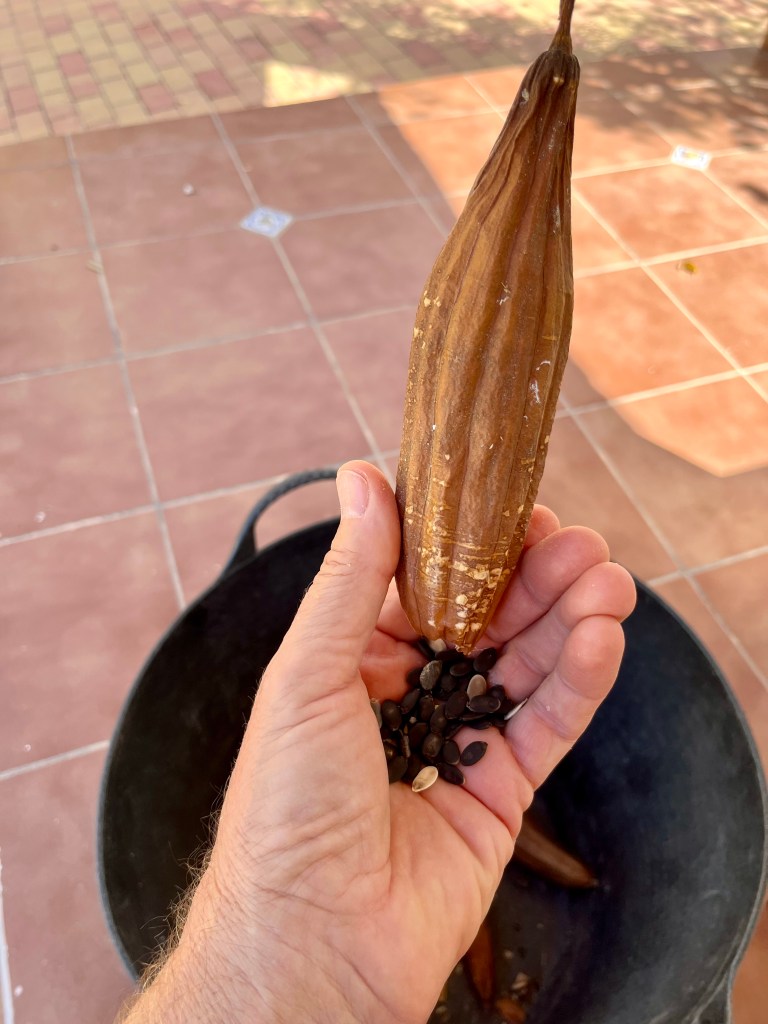
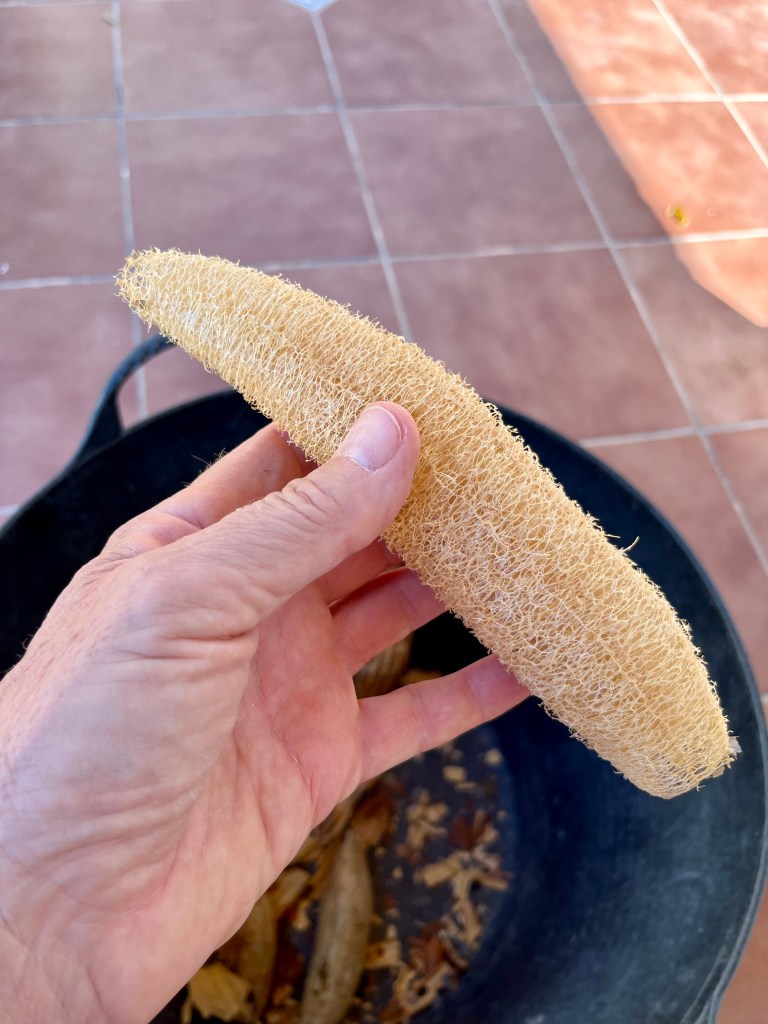
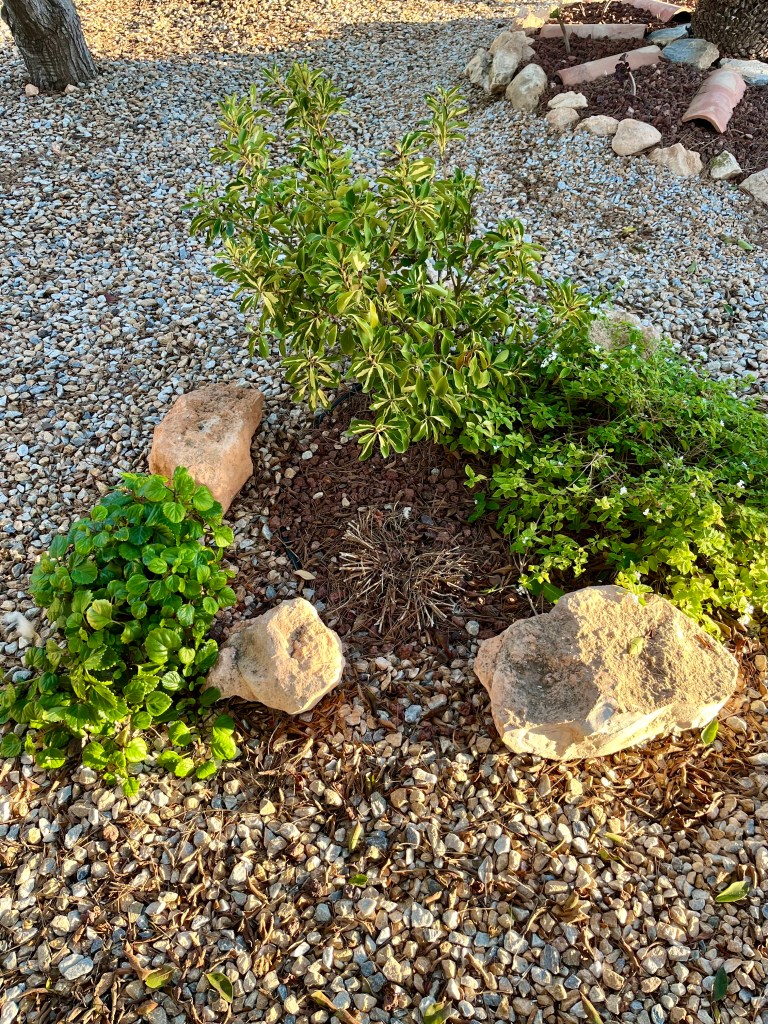
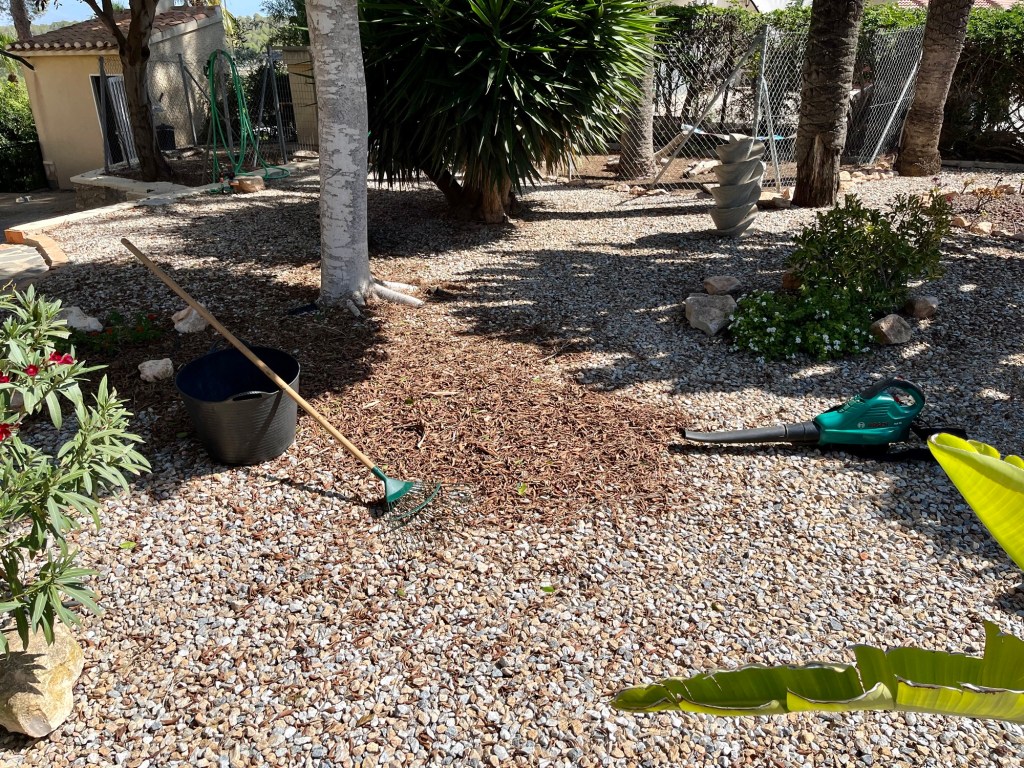
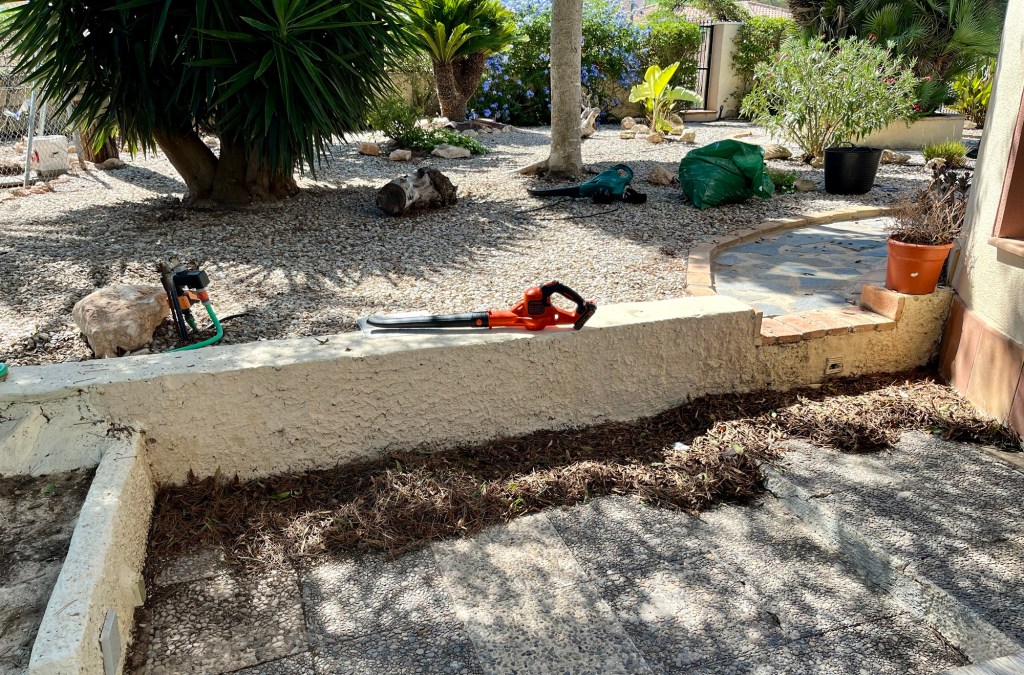
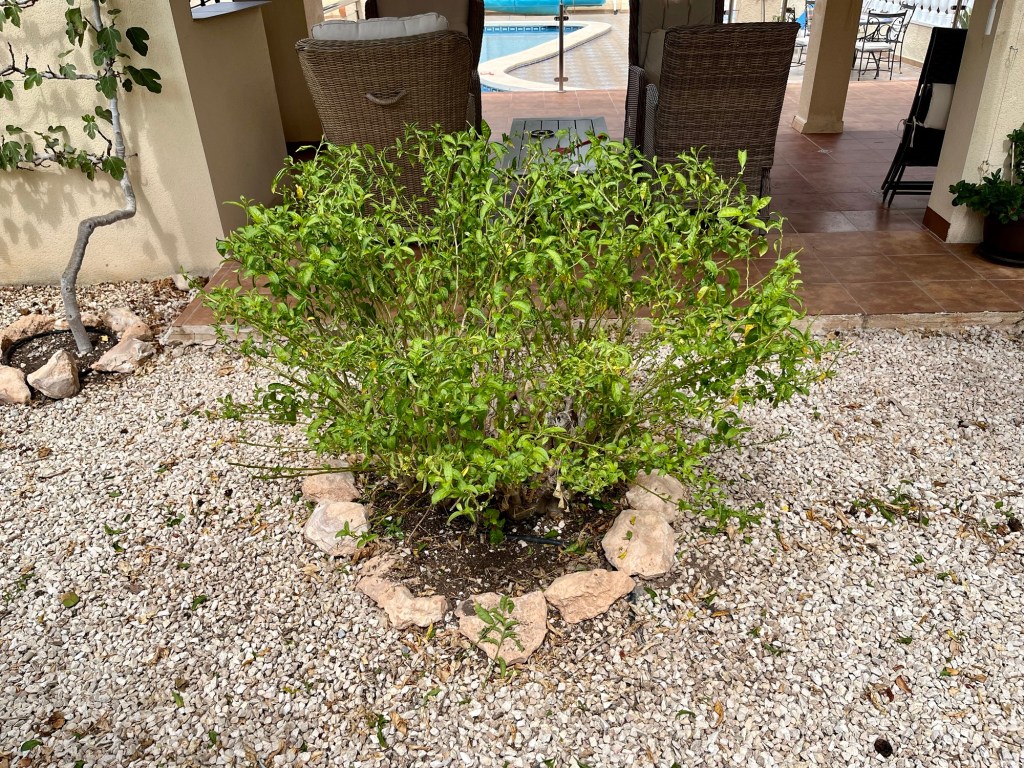
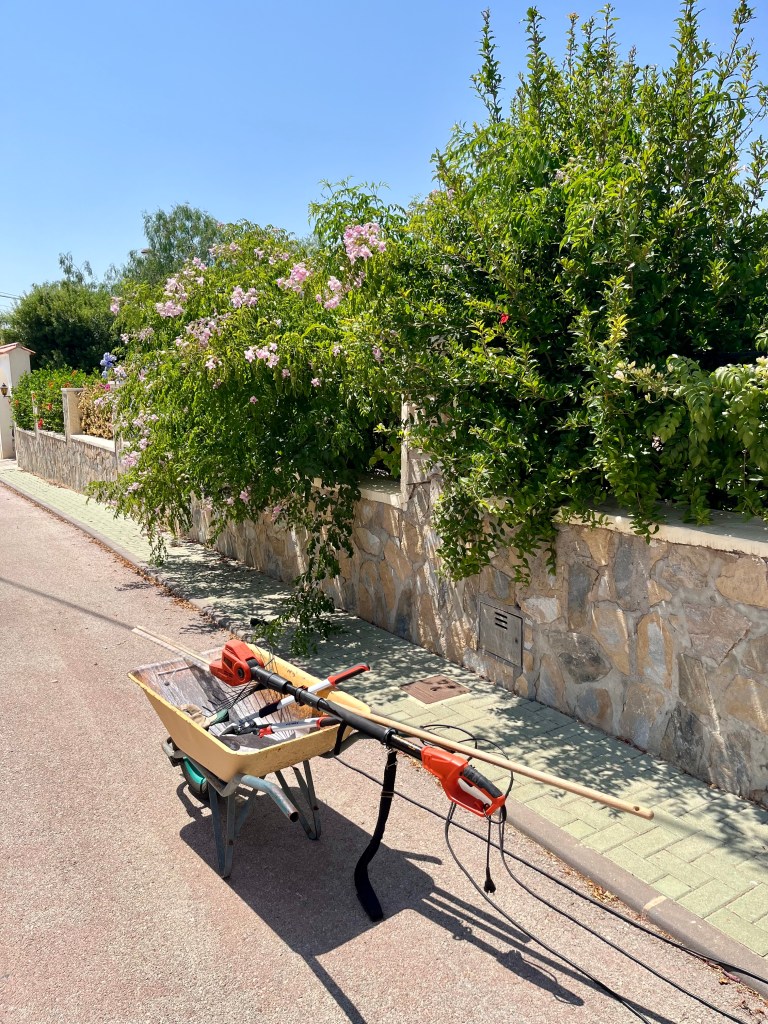
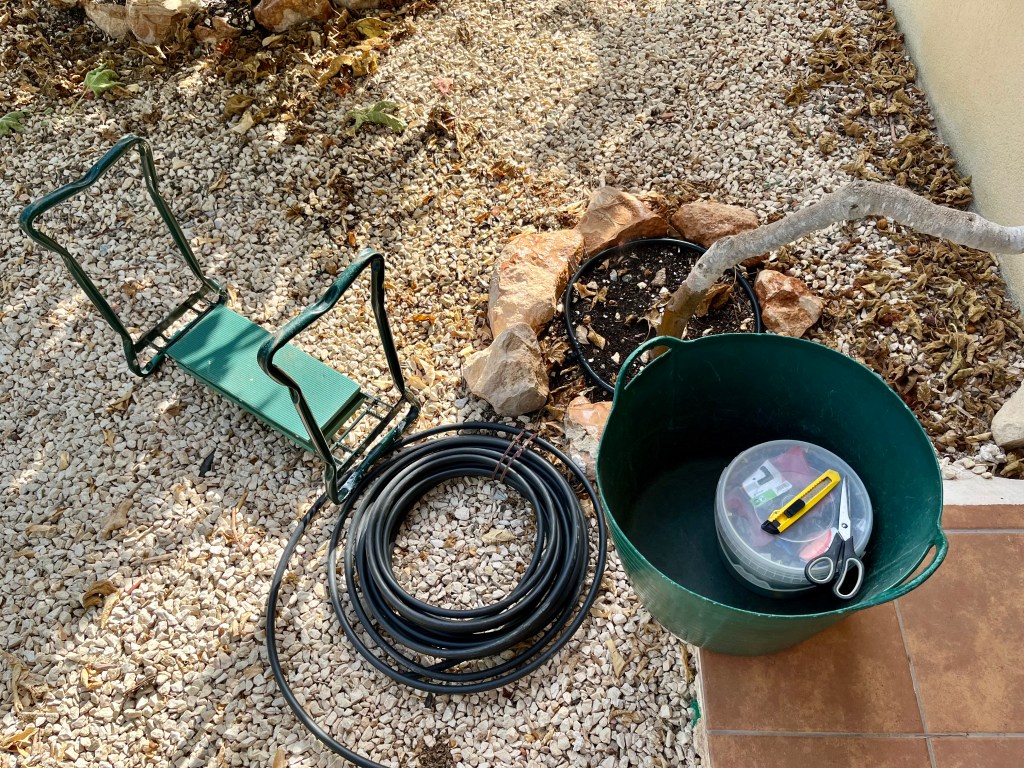
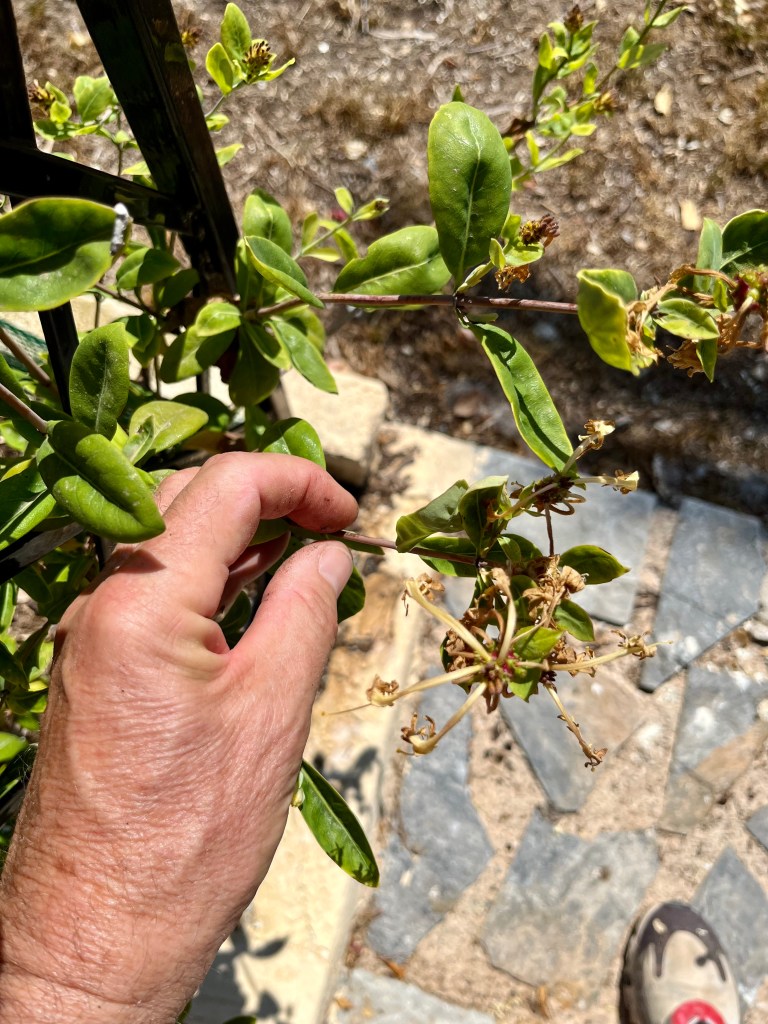
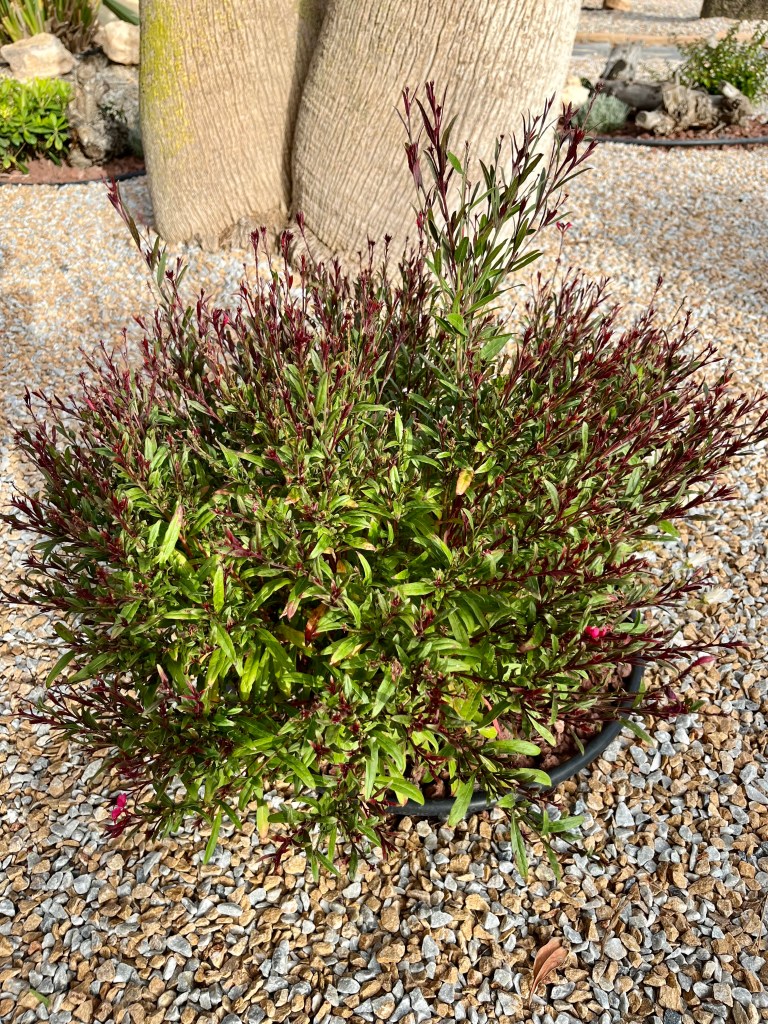
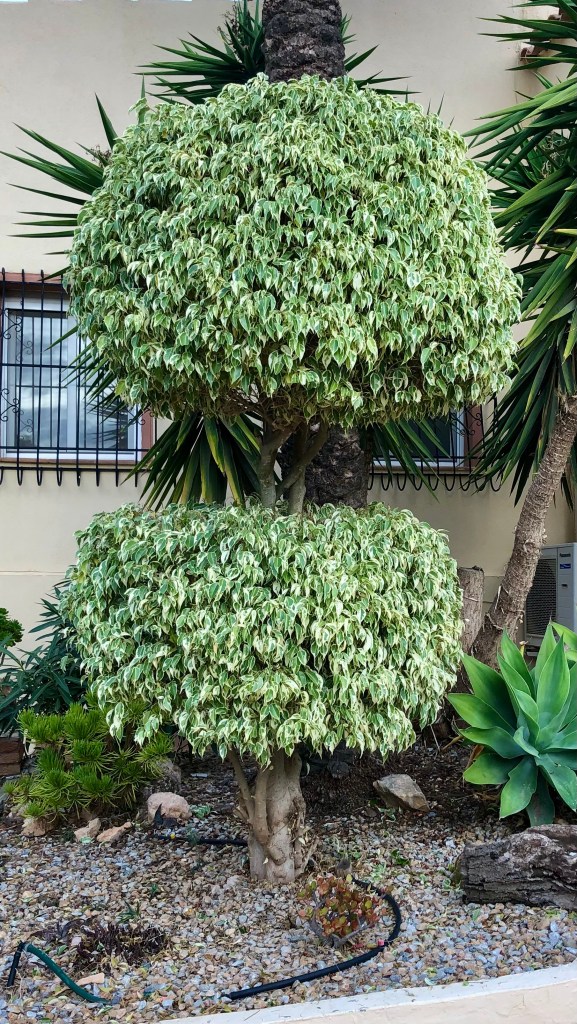
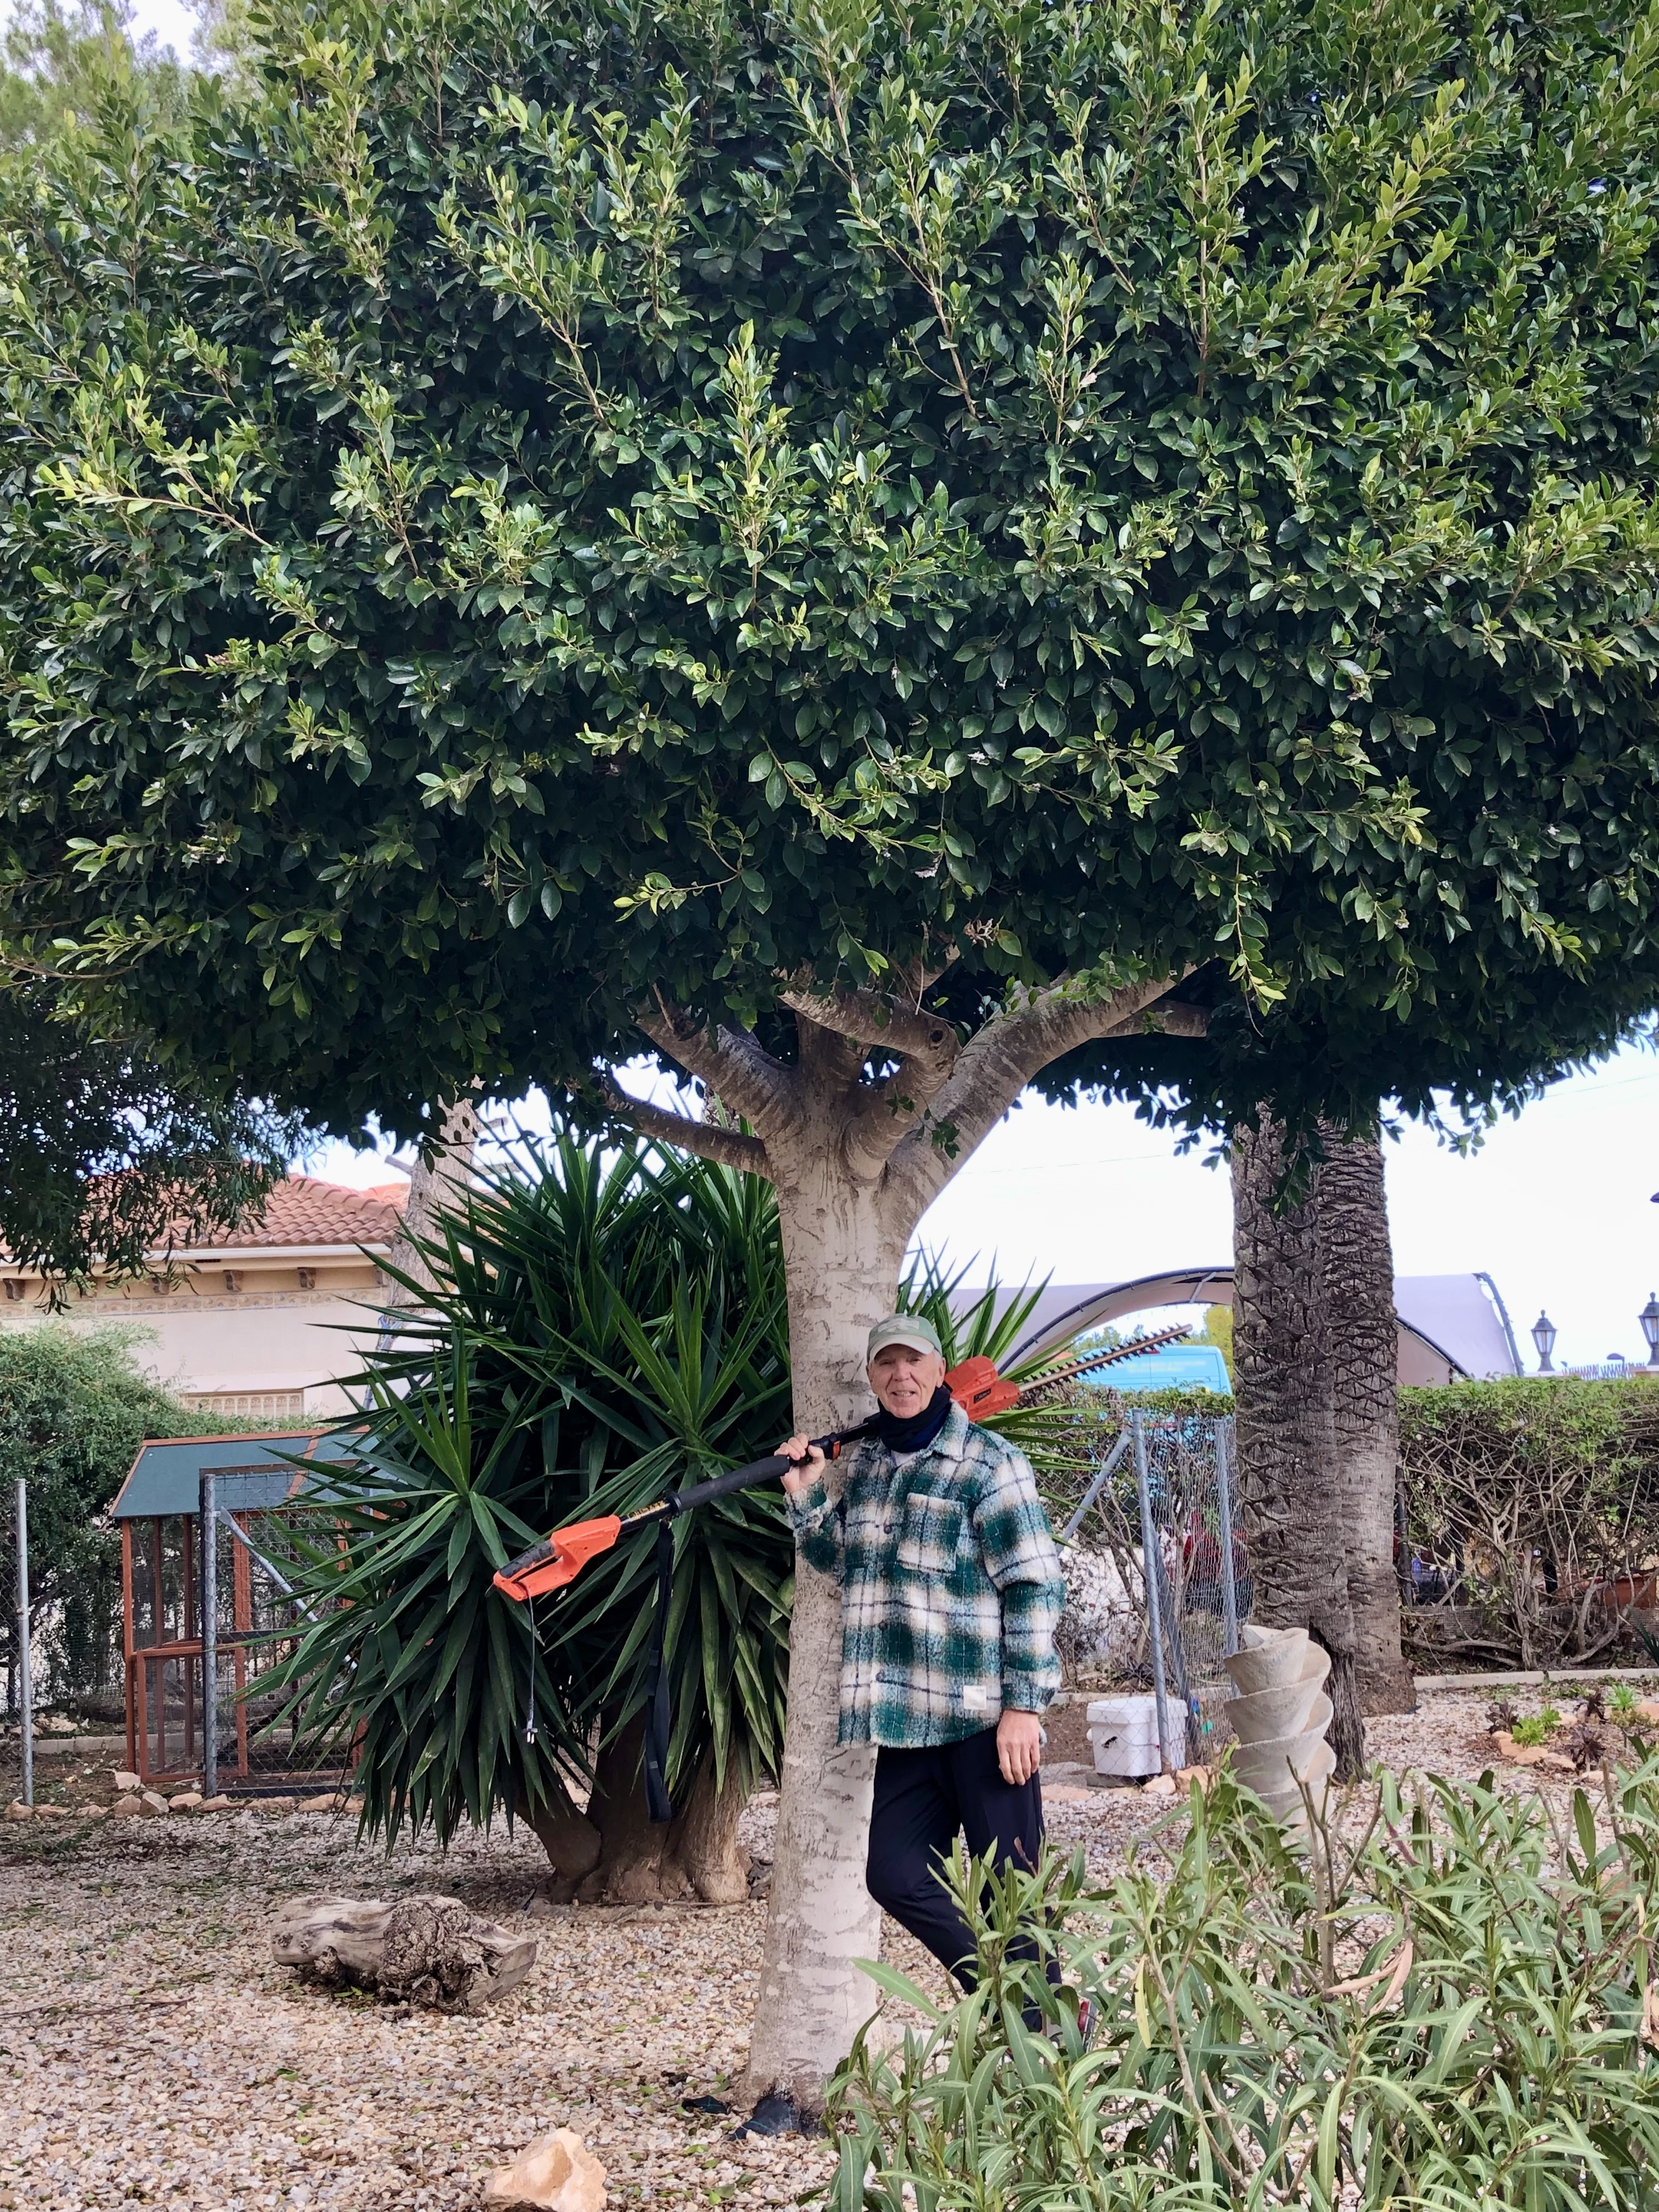
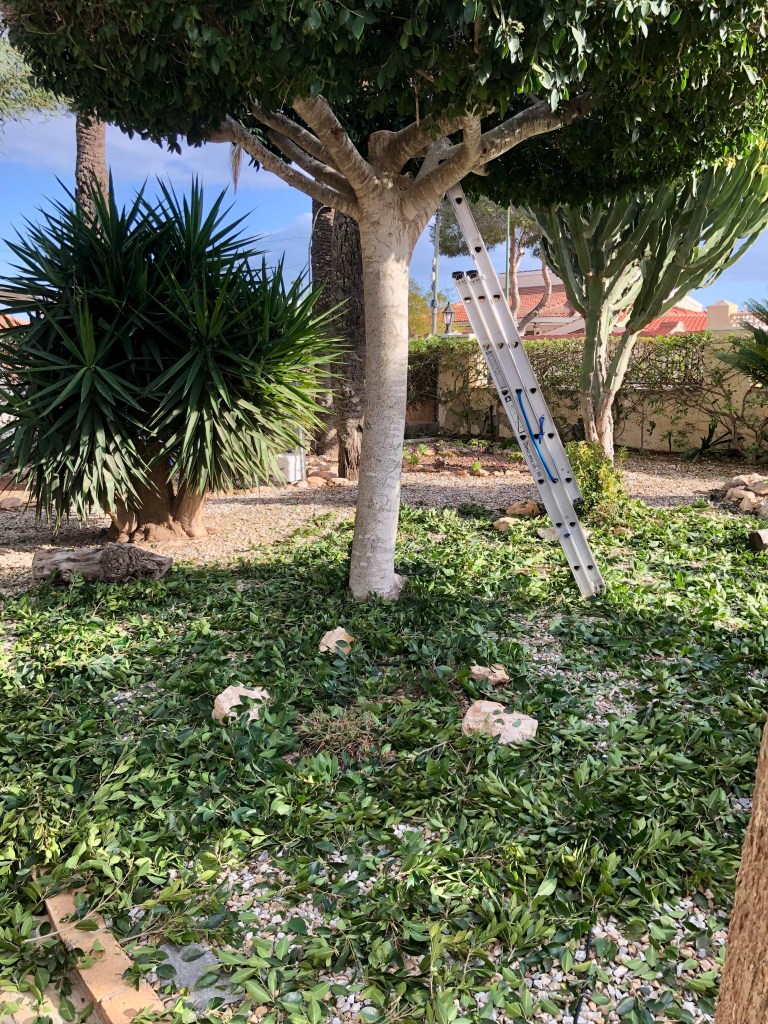
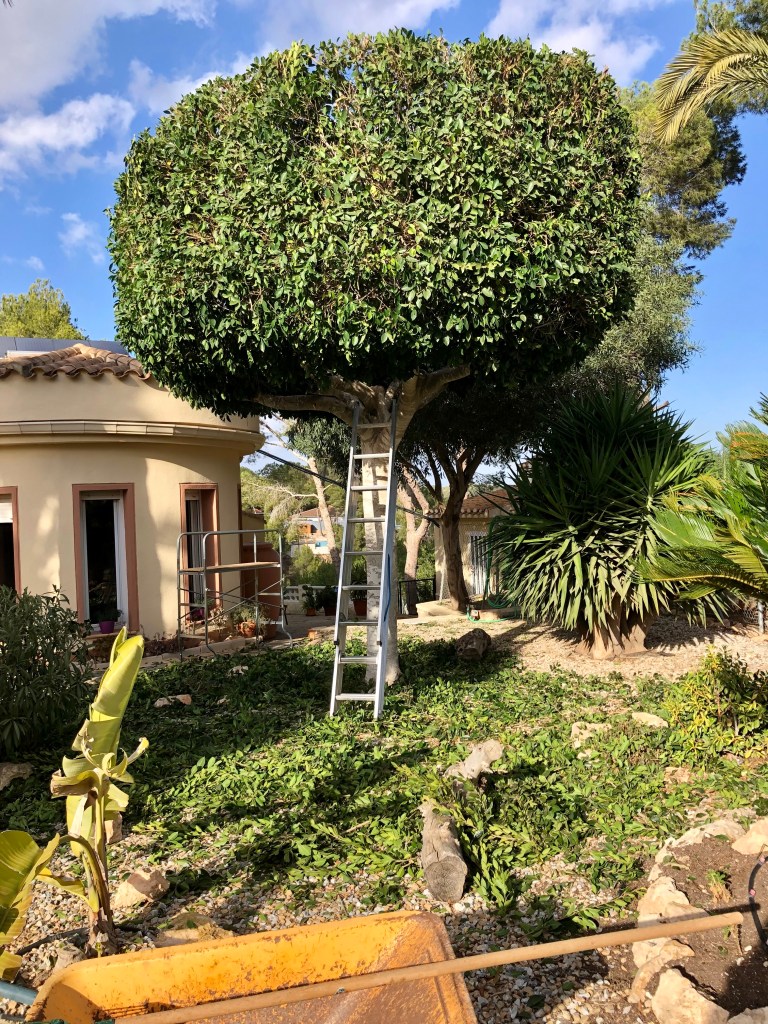
Gently trimming fruit trees. Trimming fruit trees is a controversial topic at this time of the year. Some gardeners would balk at the fact that you may lose some setting fruit. But hey ho we rogue gardeners don’t mind pushing the gardening envelope.
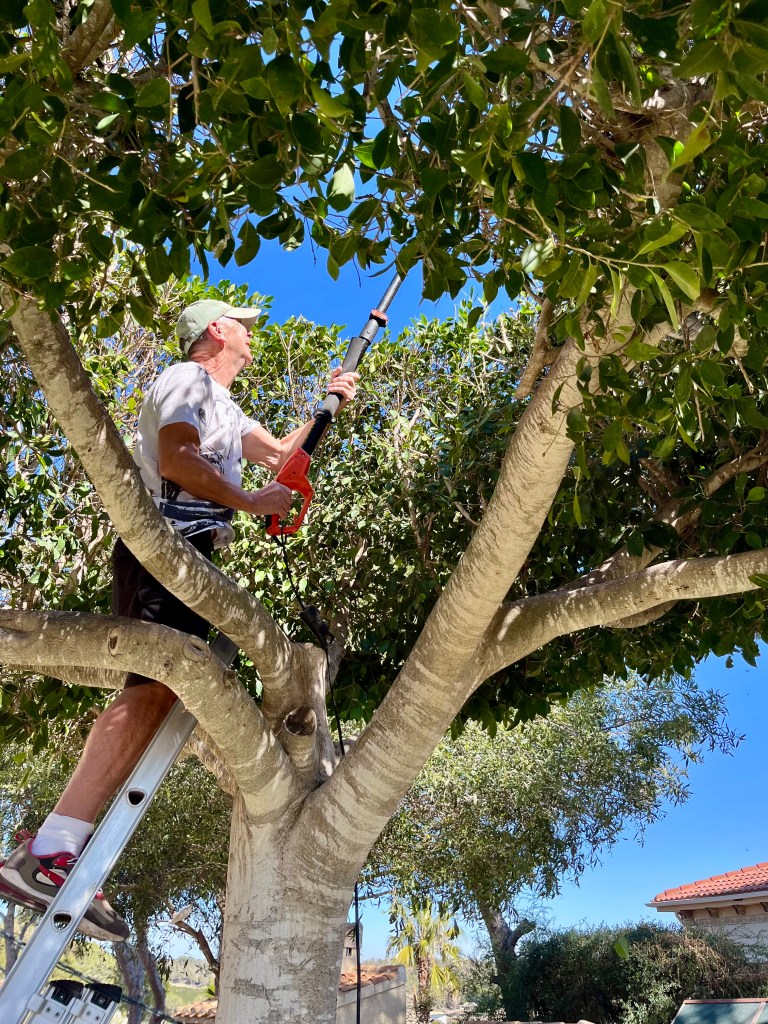
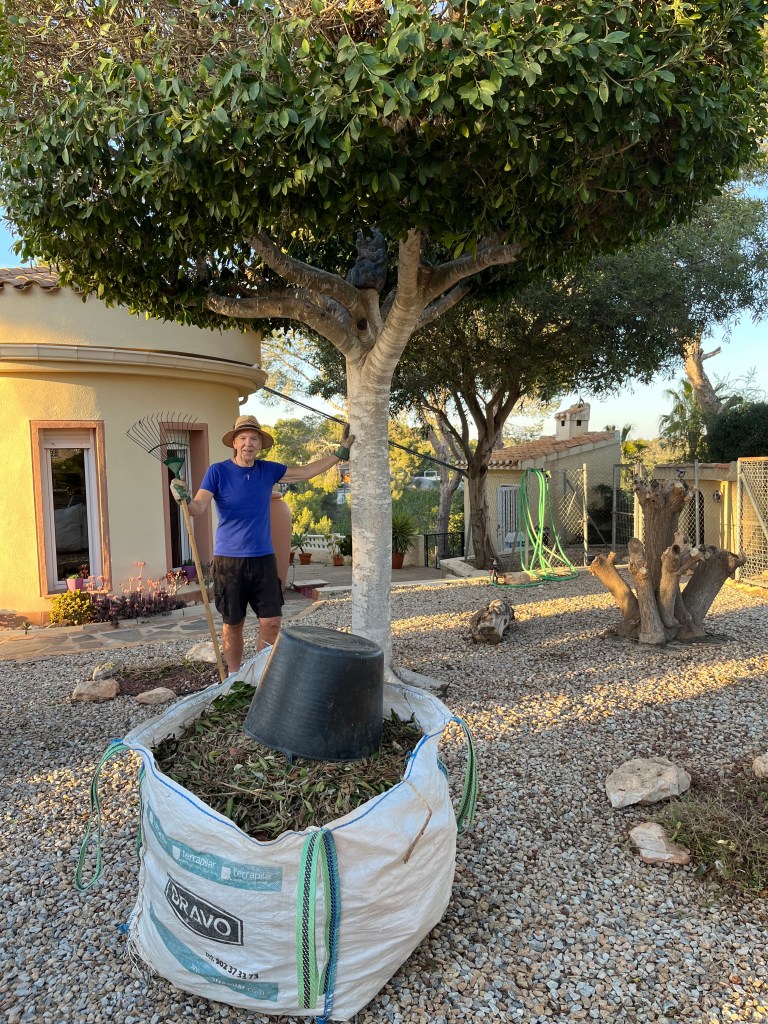
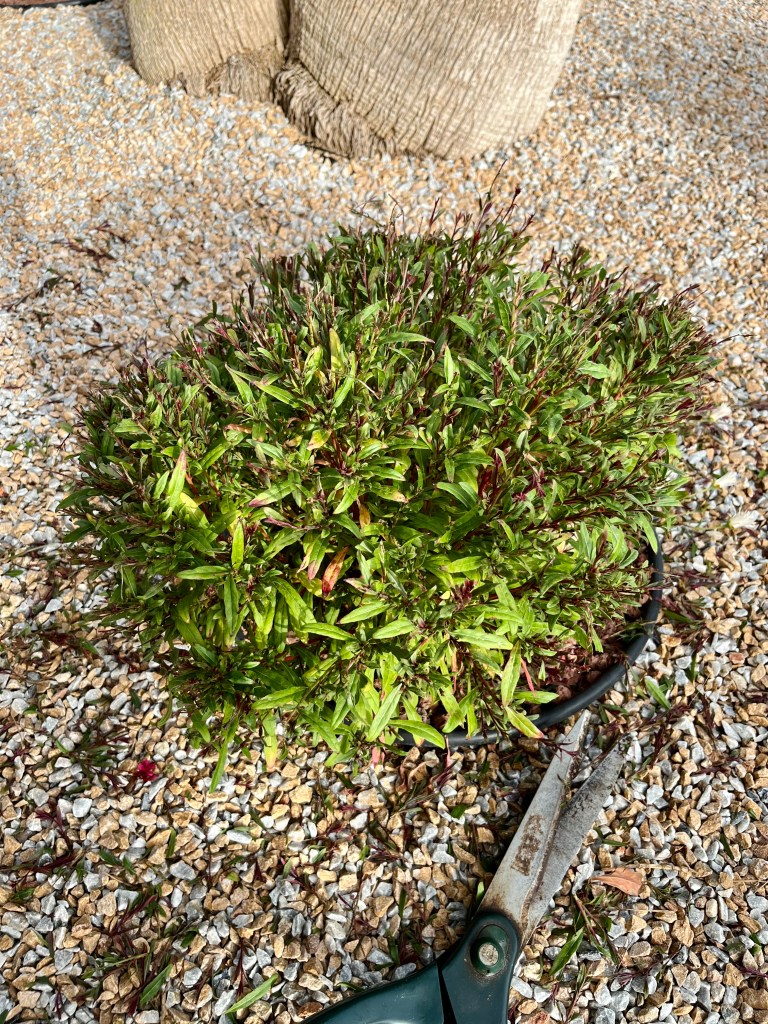
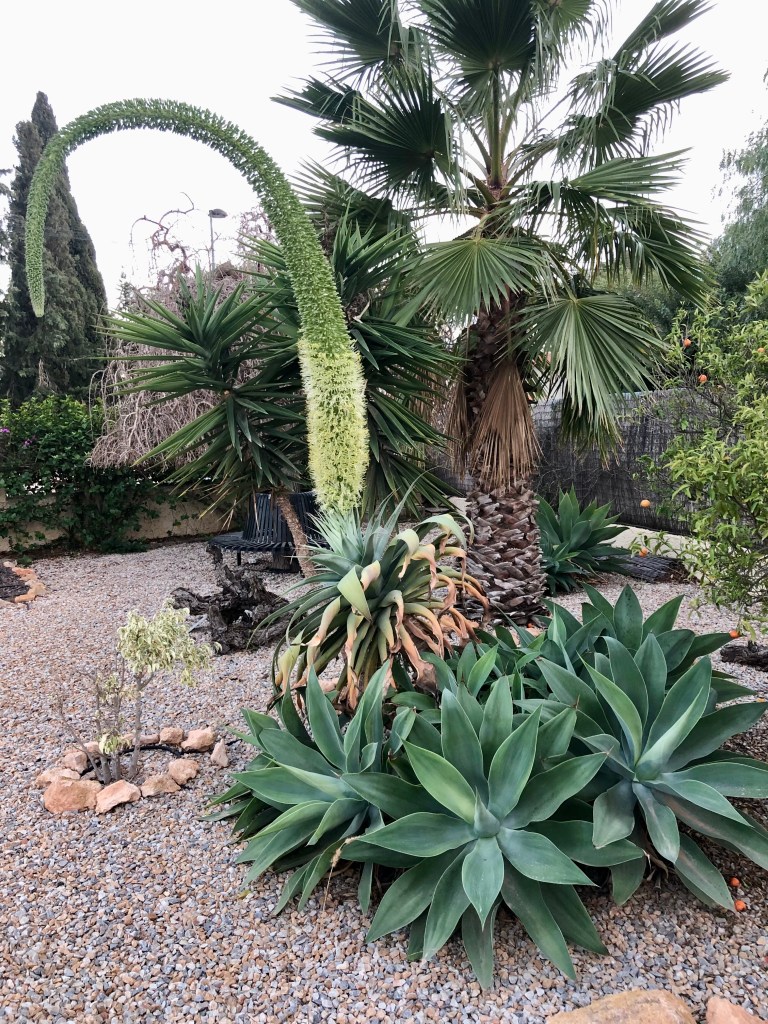
The basic idea is that all the old fruit is more or less off your citrus trees, you now have two main jobs. Taking off any suckers and opening the centre of the tree up to let in light and air. If you look at the two trees below you can see the problem. Their centres are congested and they have branches that are too high to properly pick fruit. Click on each photo for a larger view.


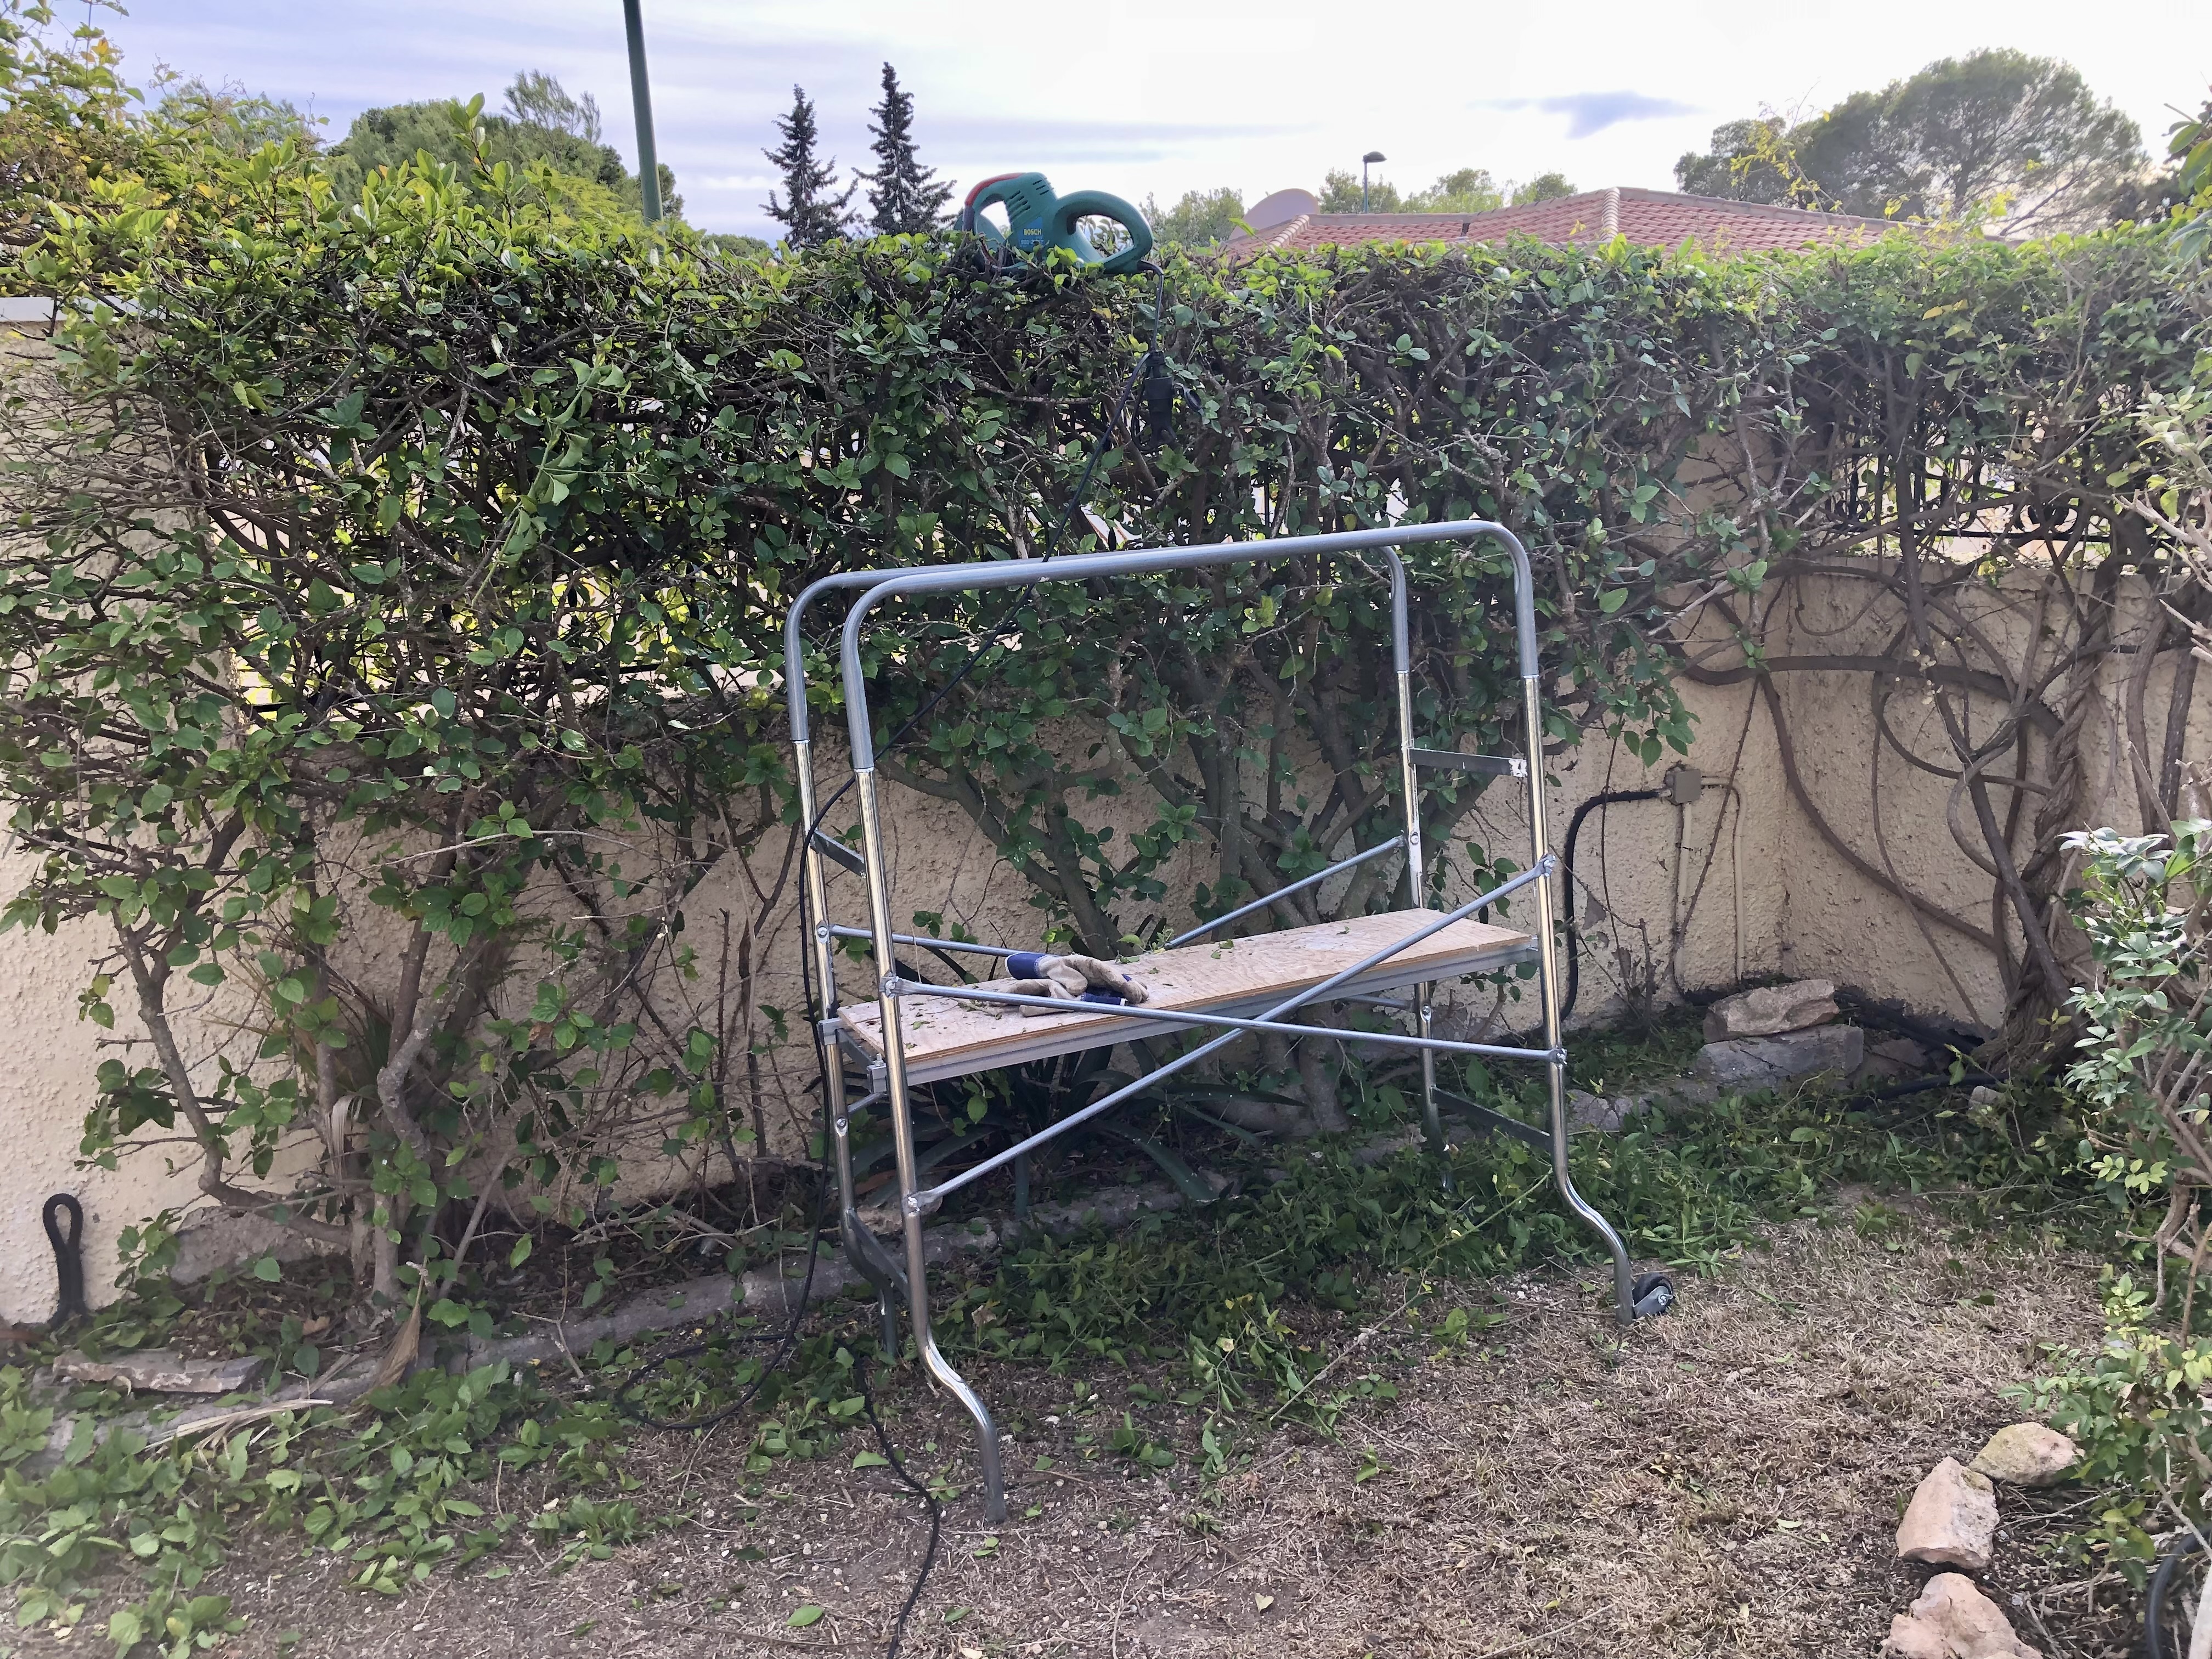
The first thing to do is open up the centre using a hedge trimmer or shears/lopers. The process is shown in the photos below and the outcome.


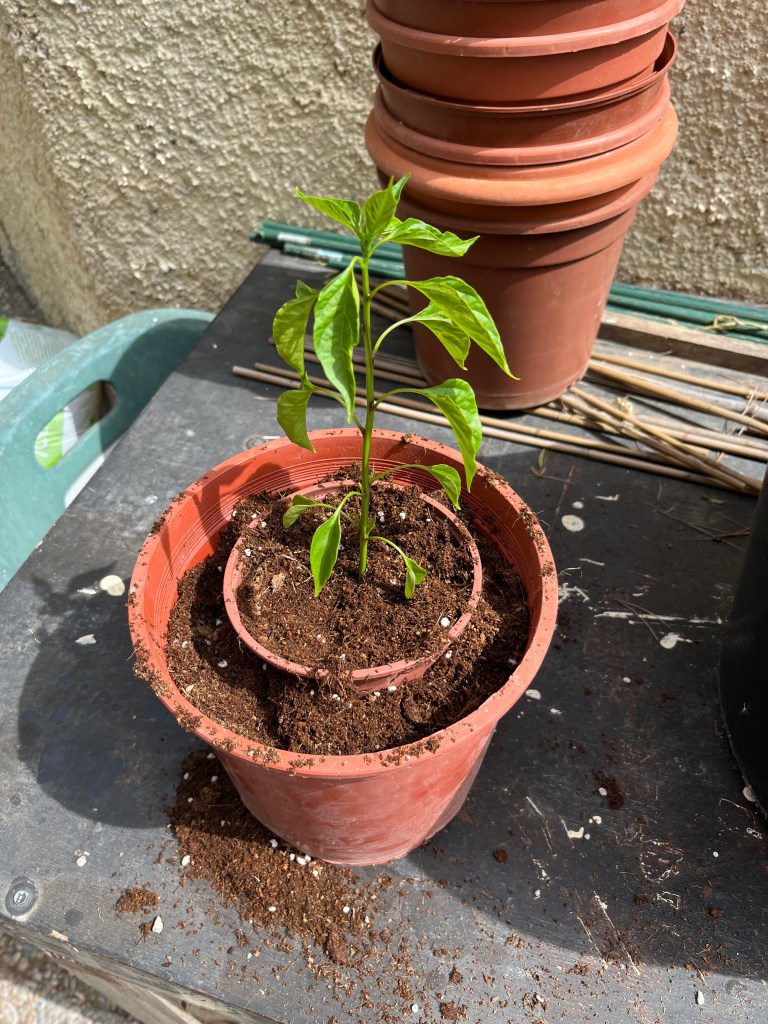
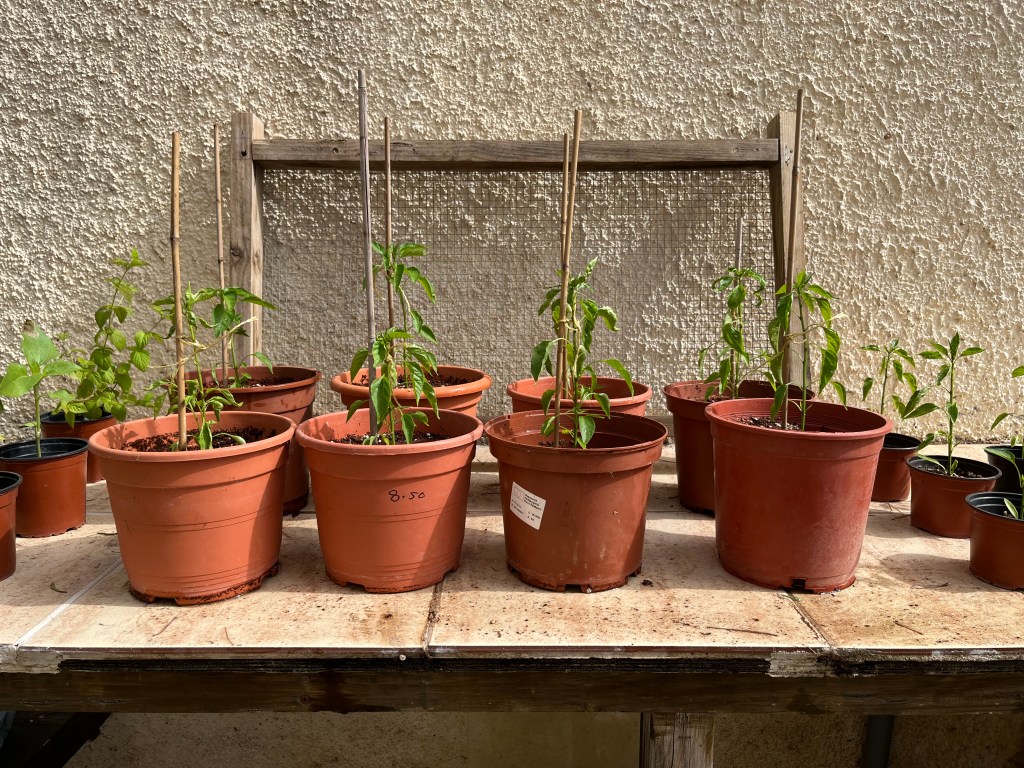
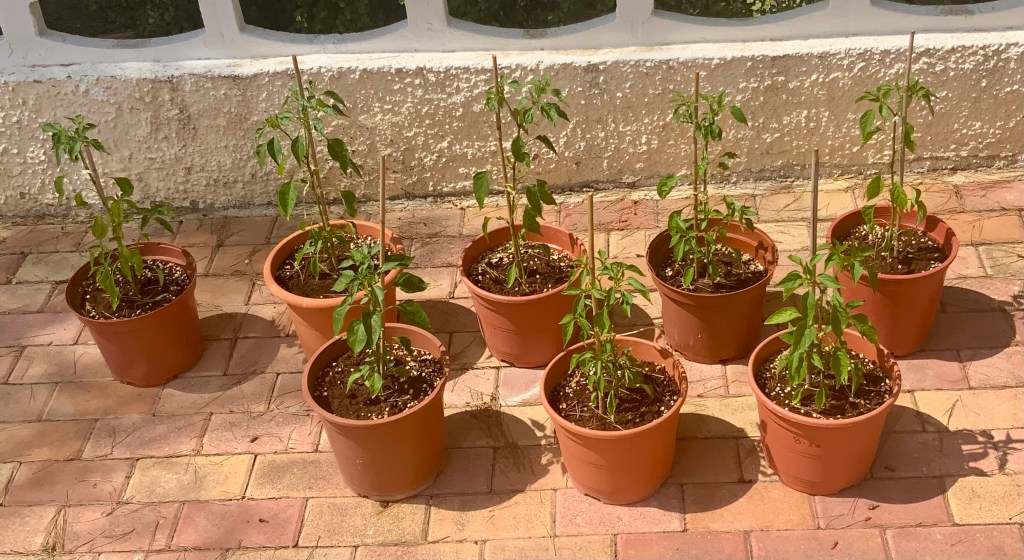
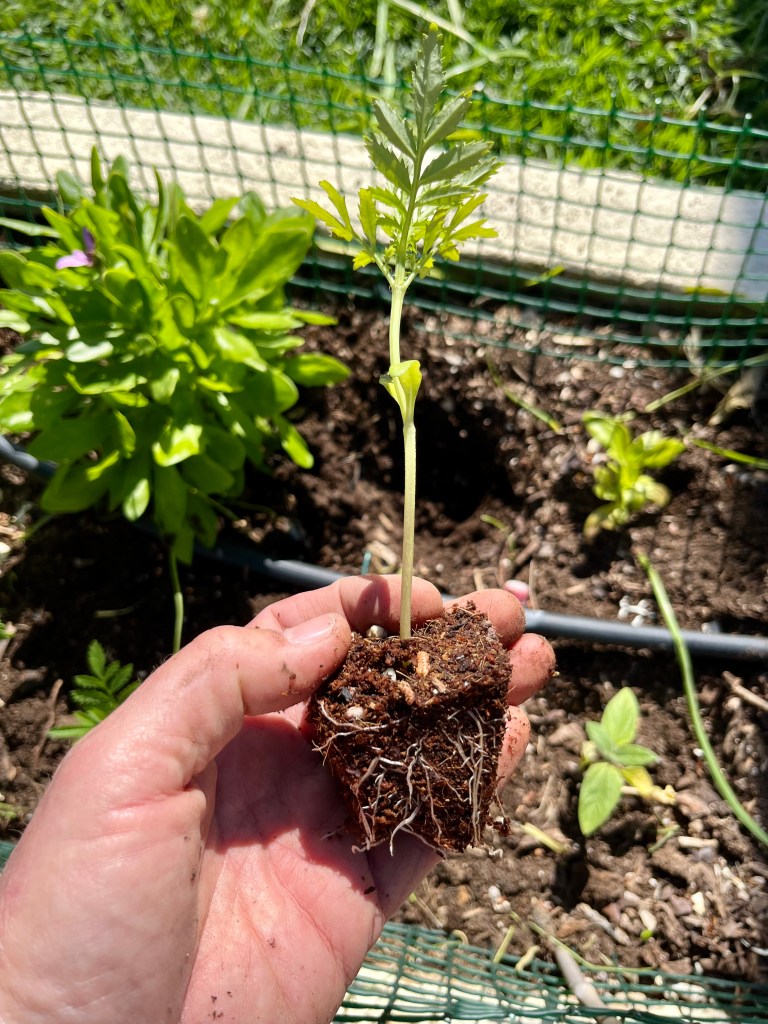
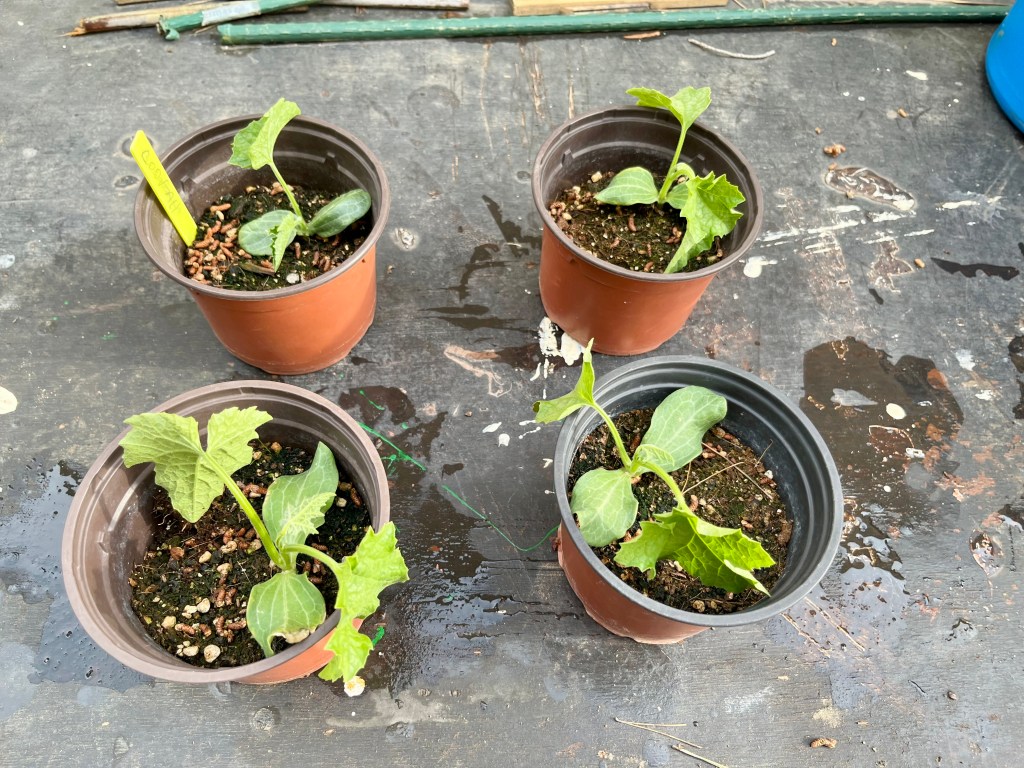
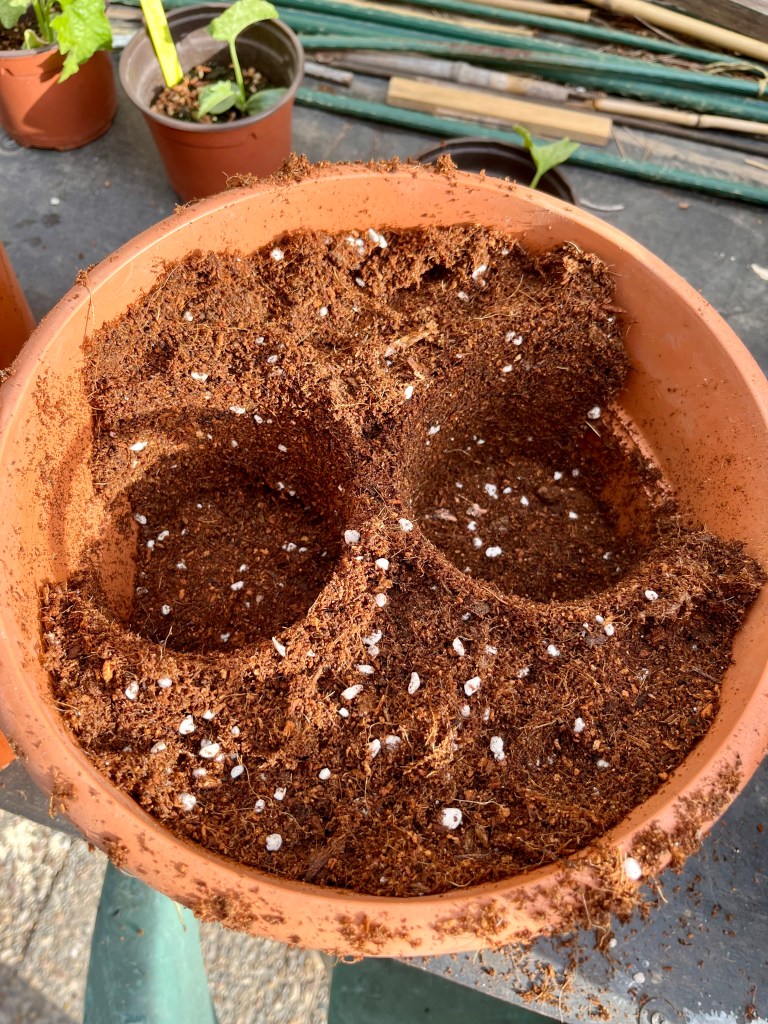
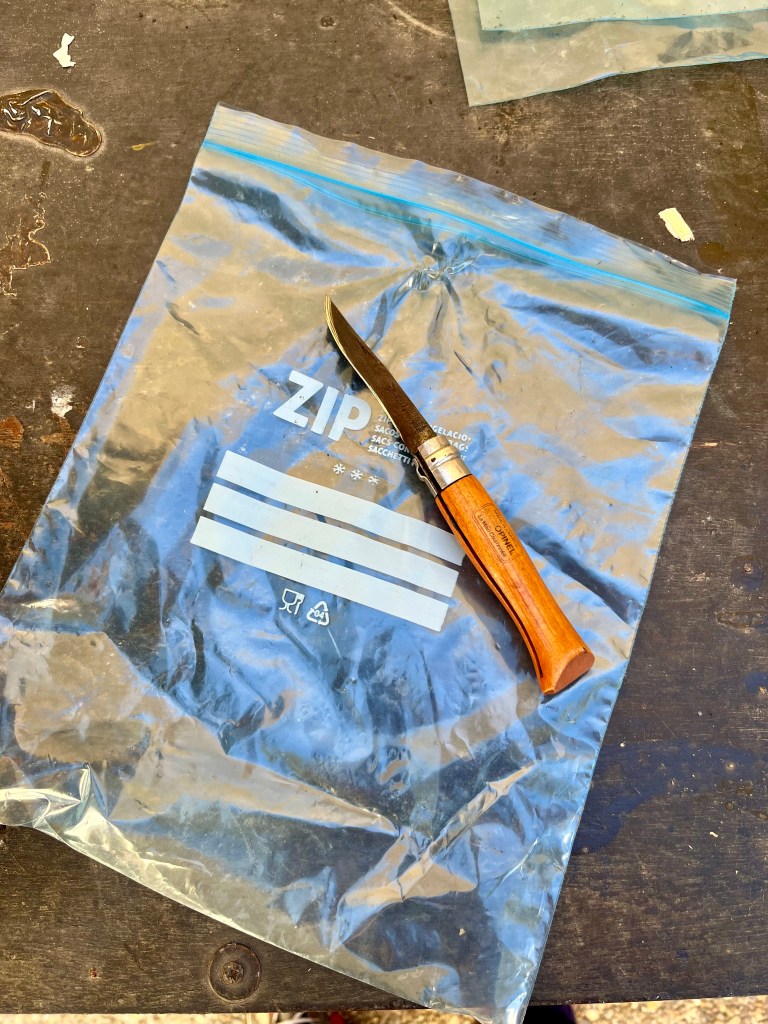
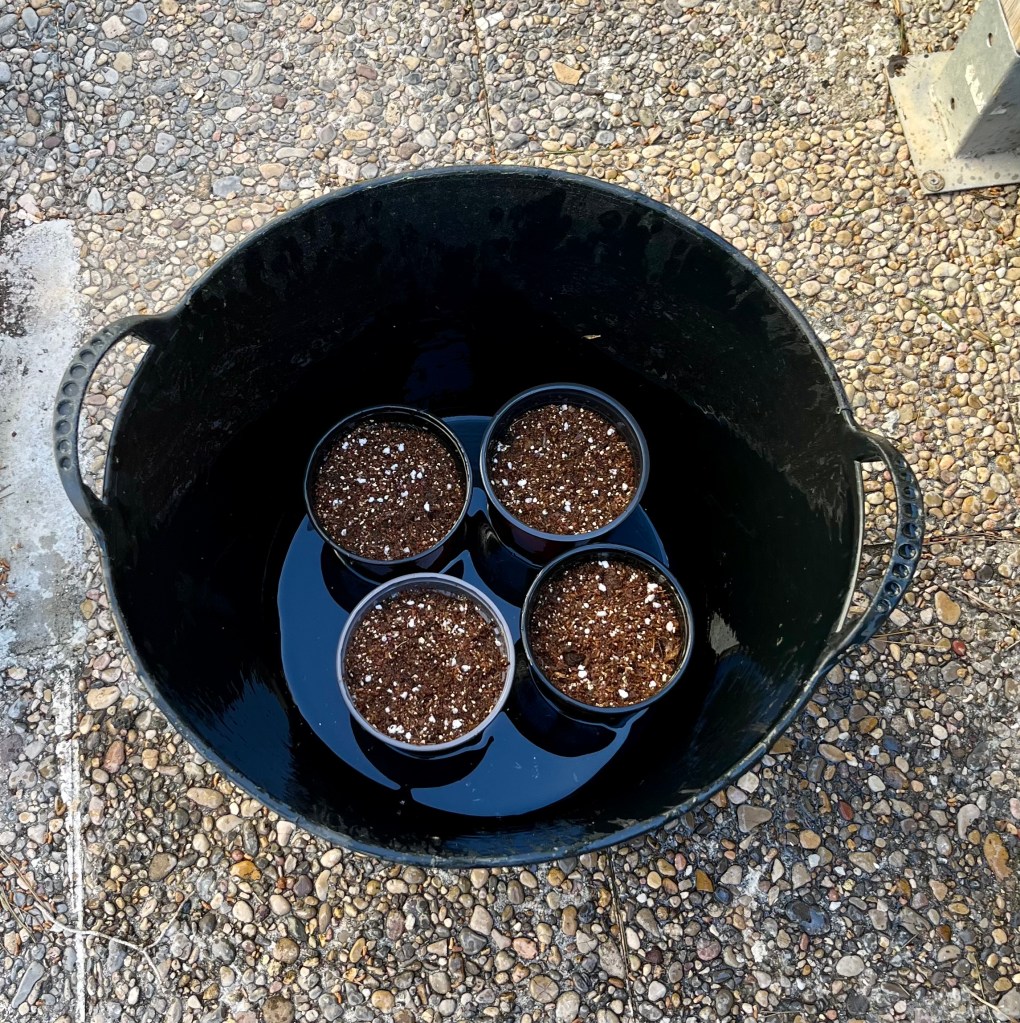
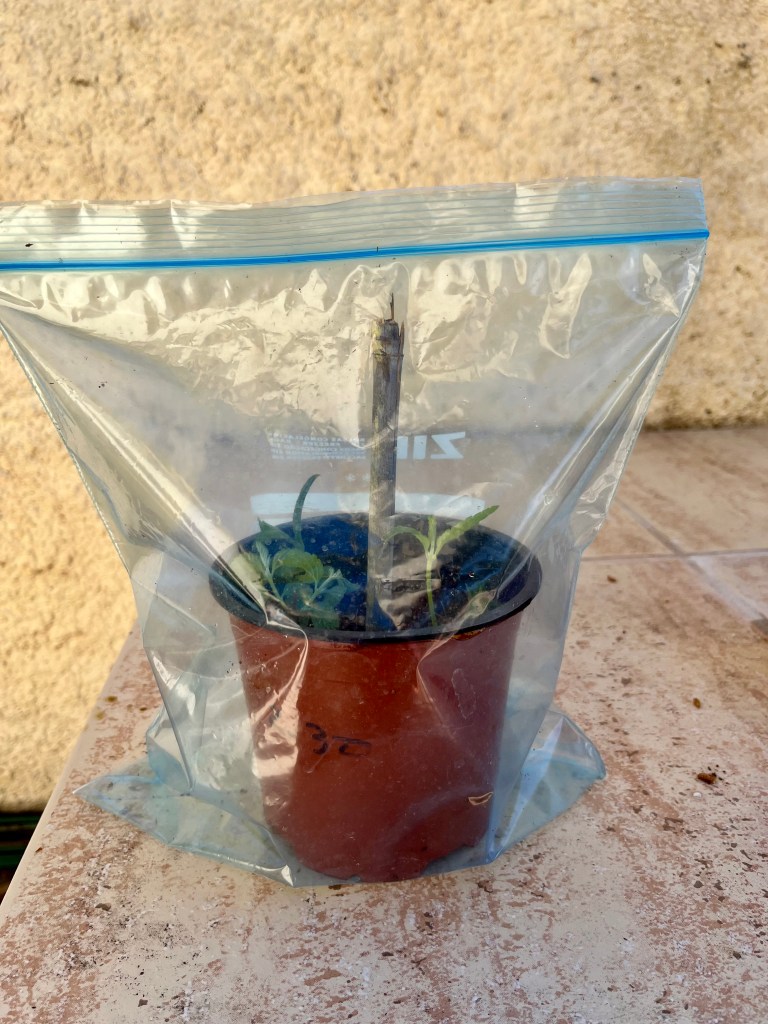
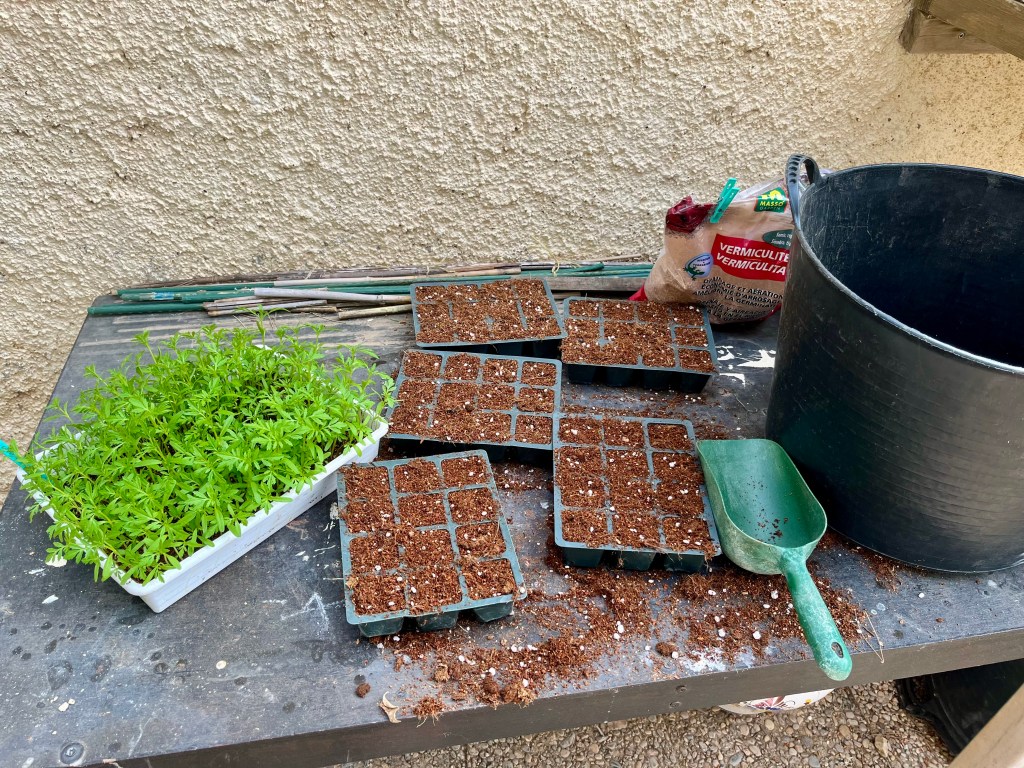
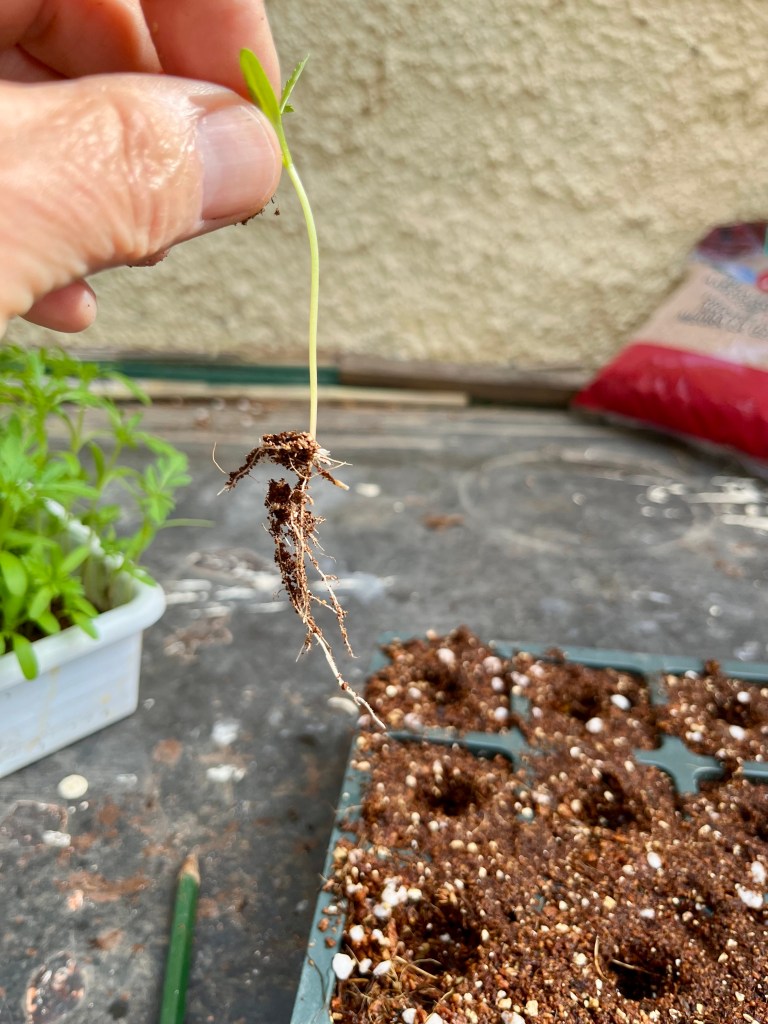
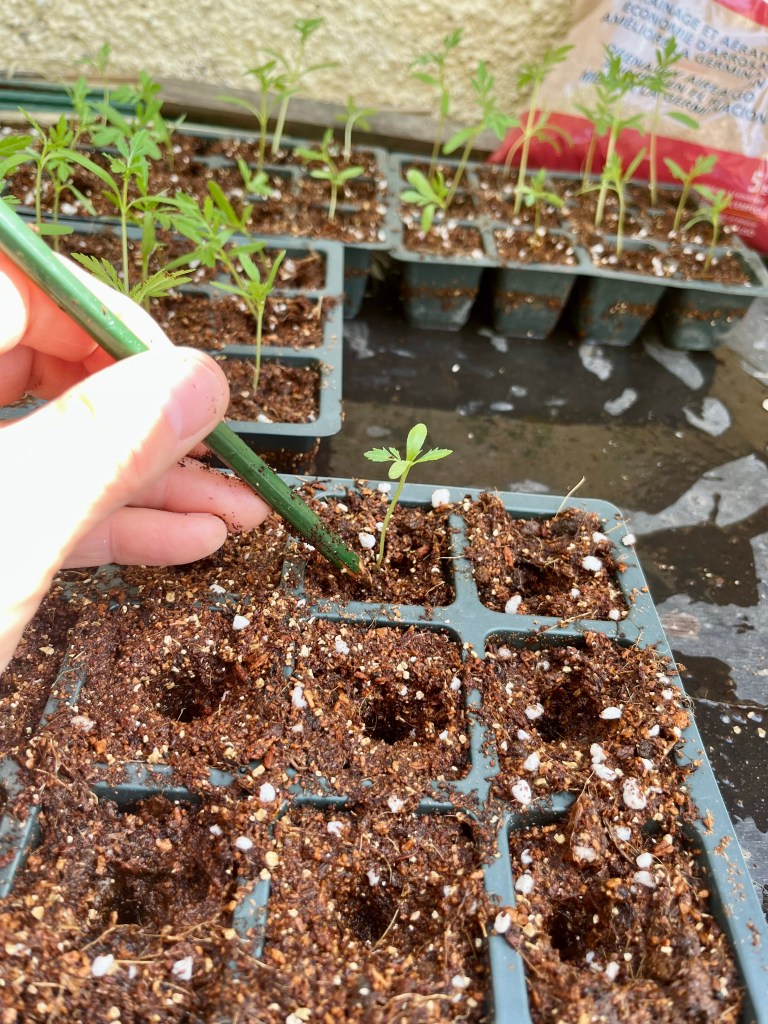
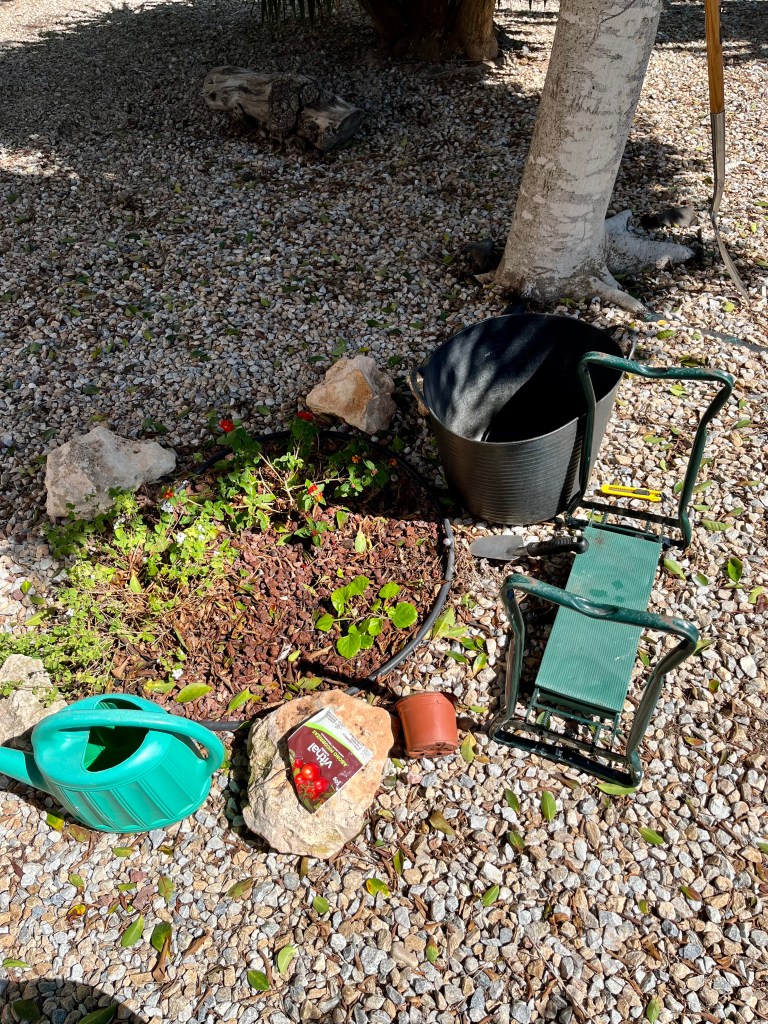
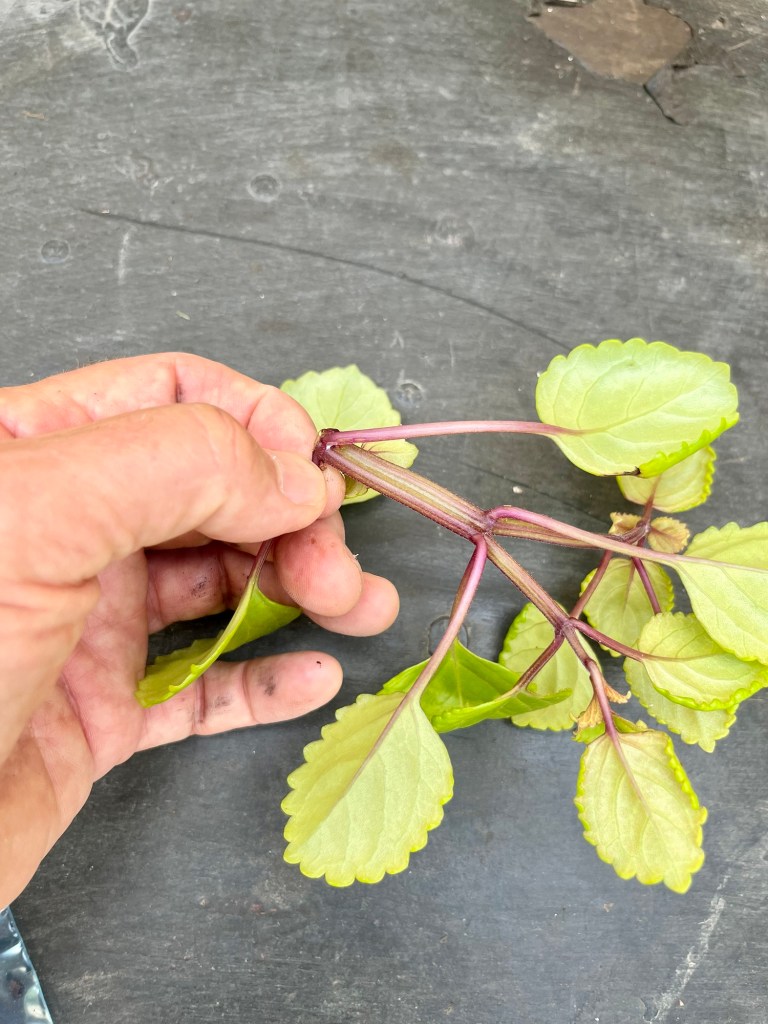
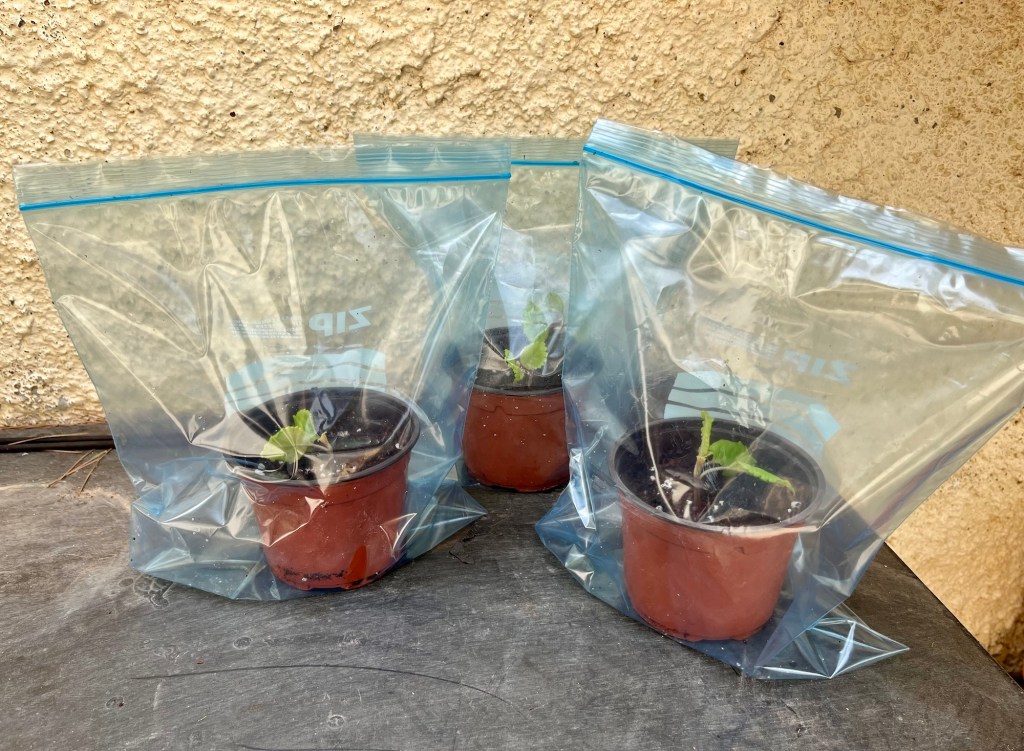
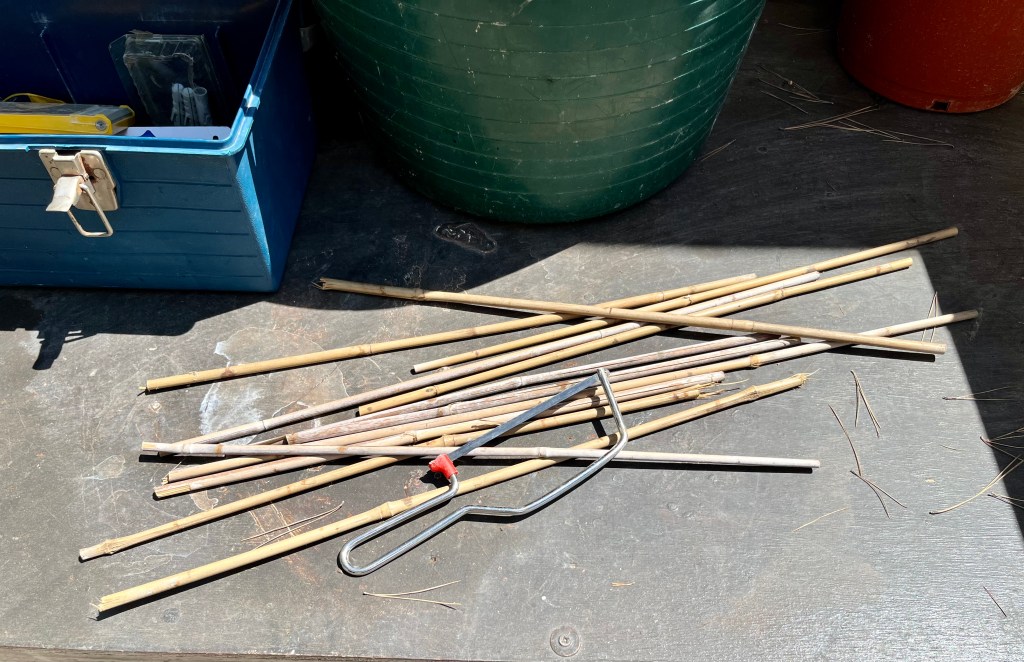
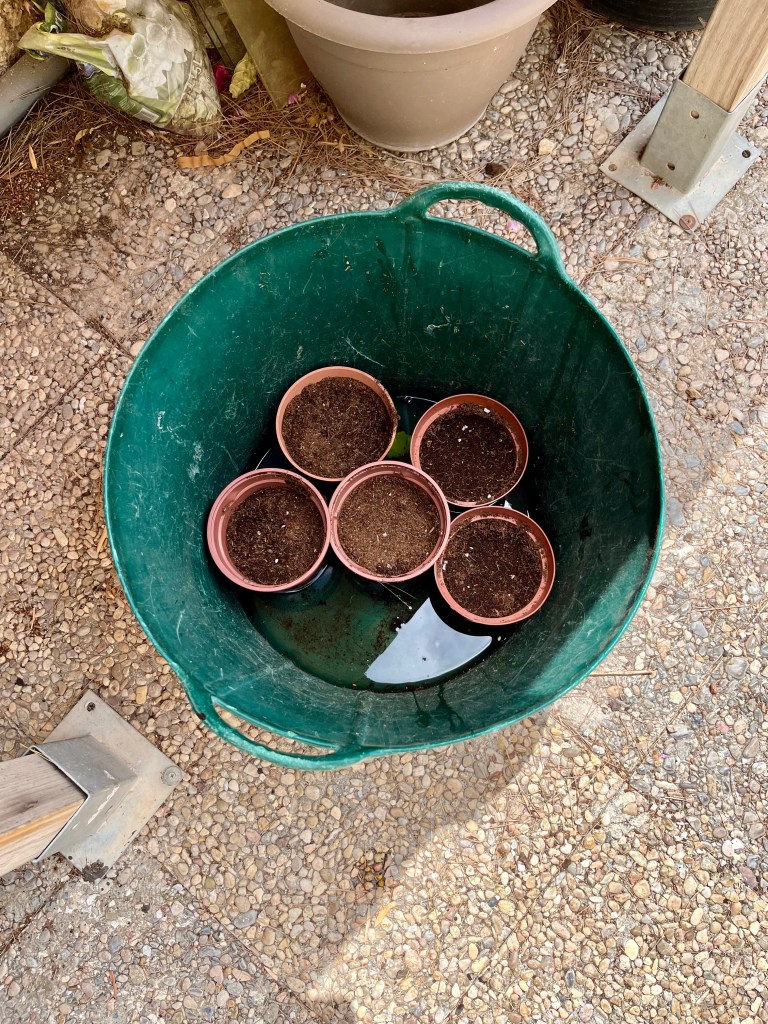
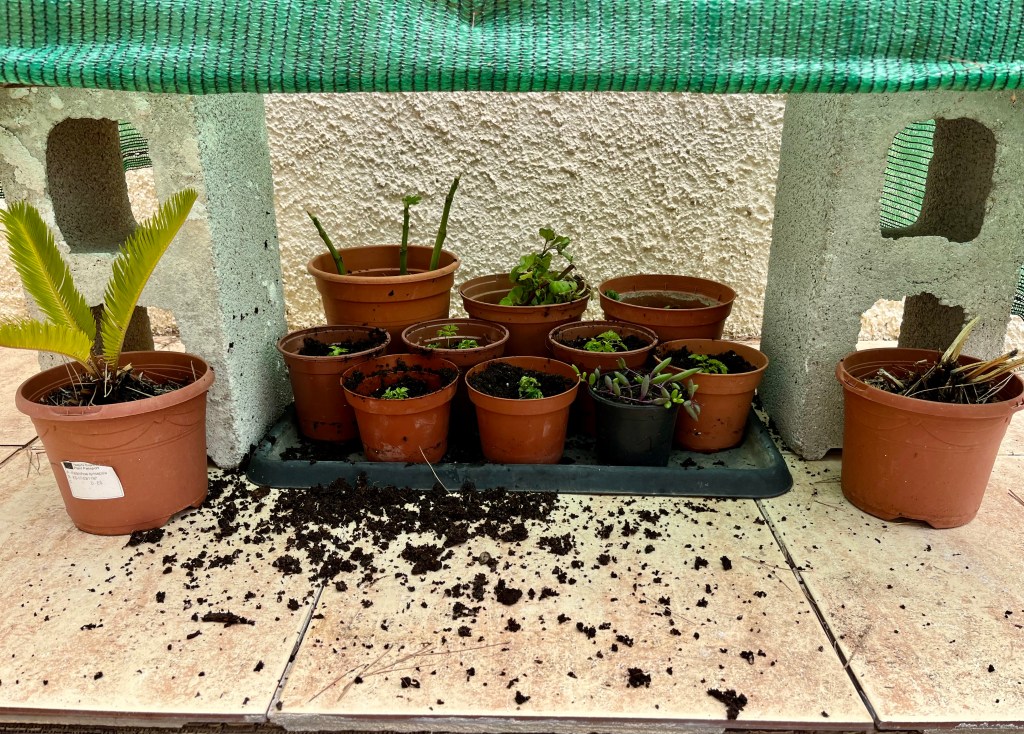
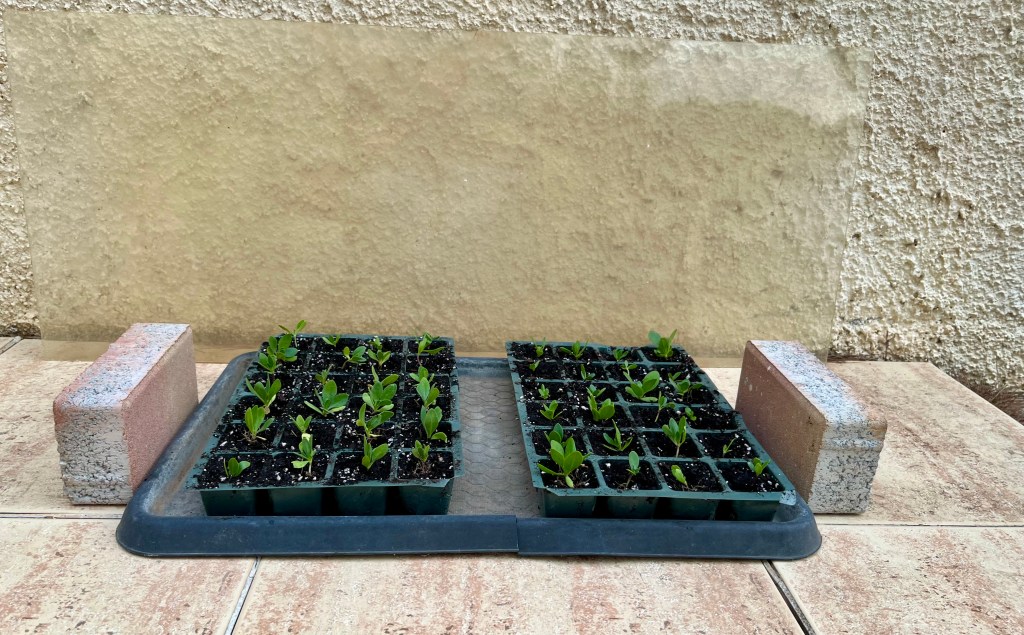
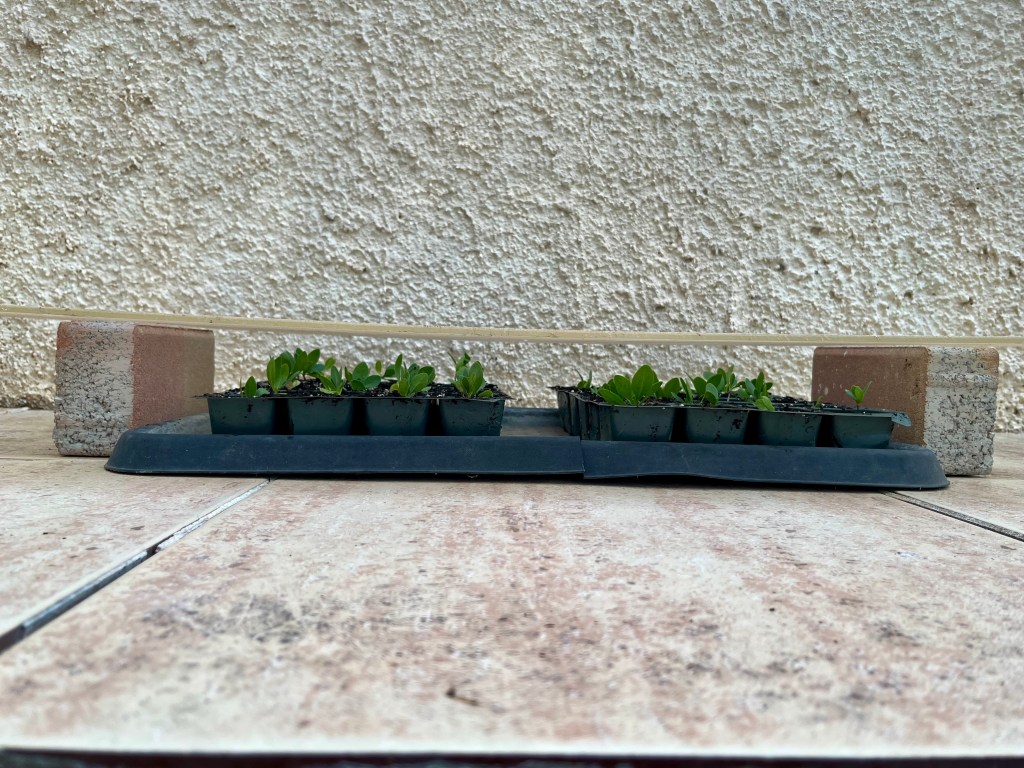
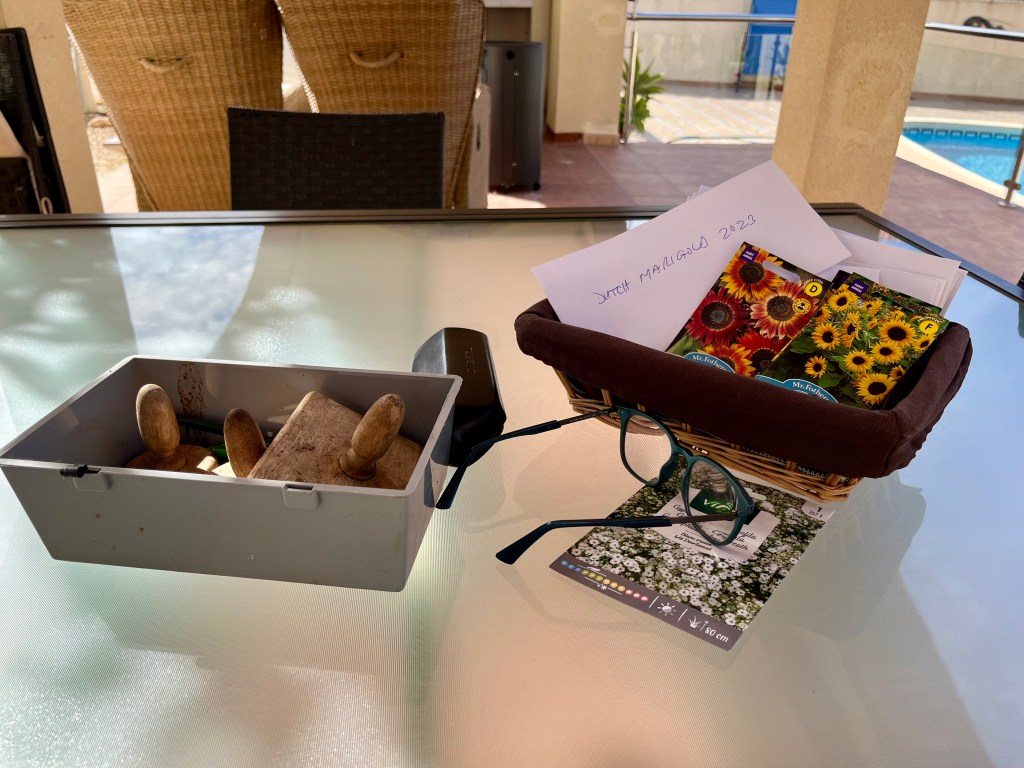
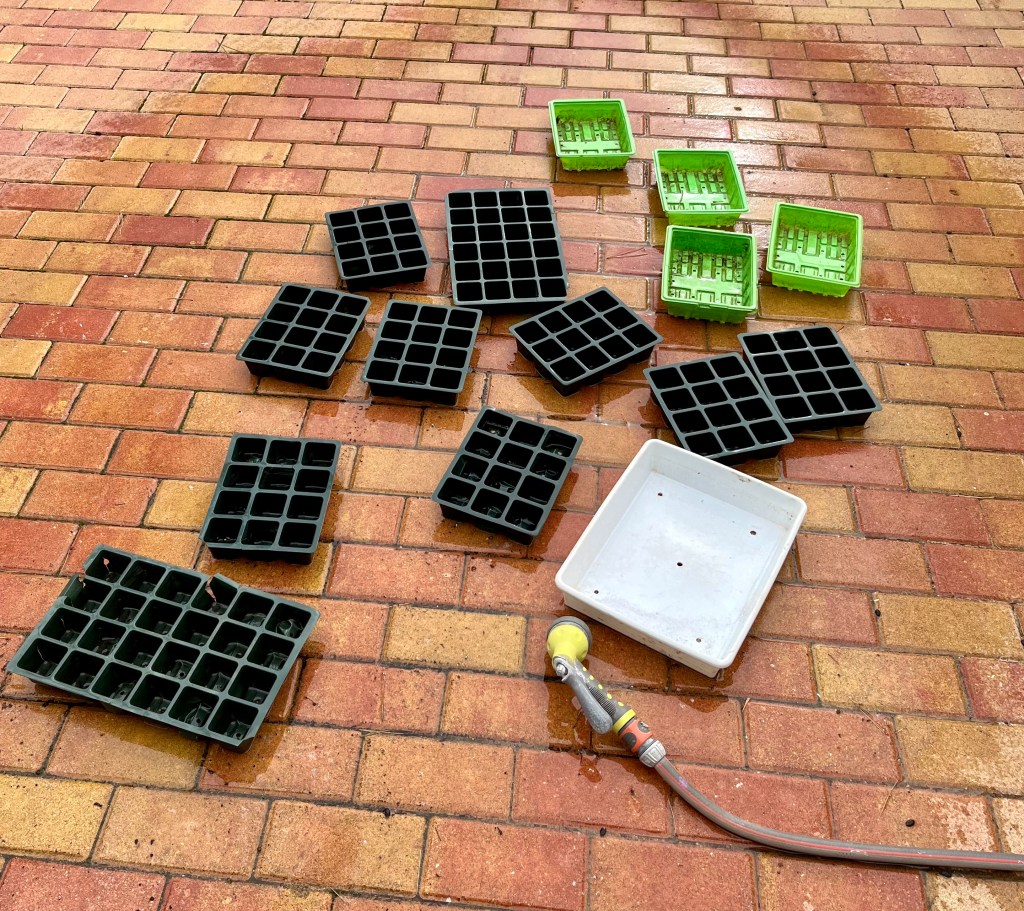
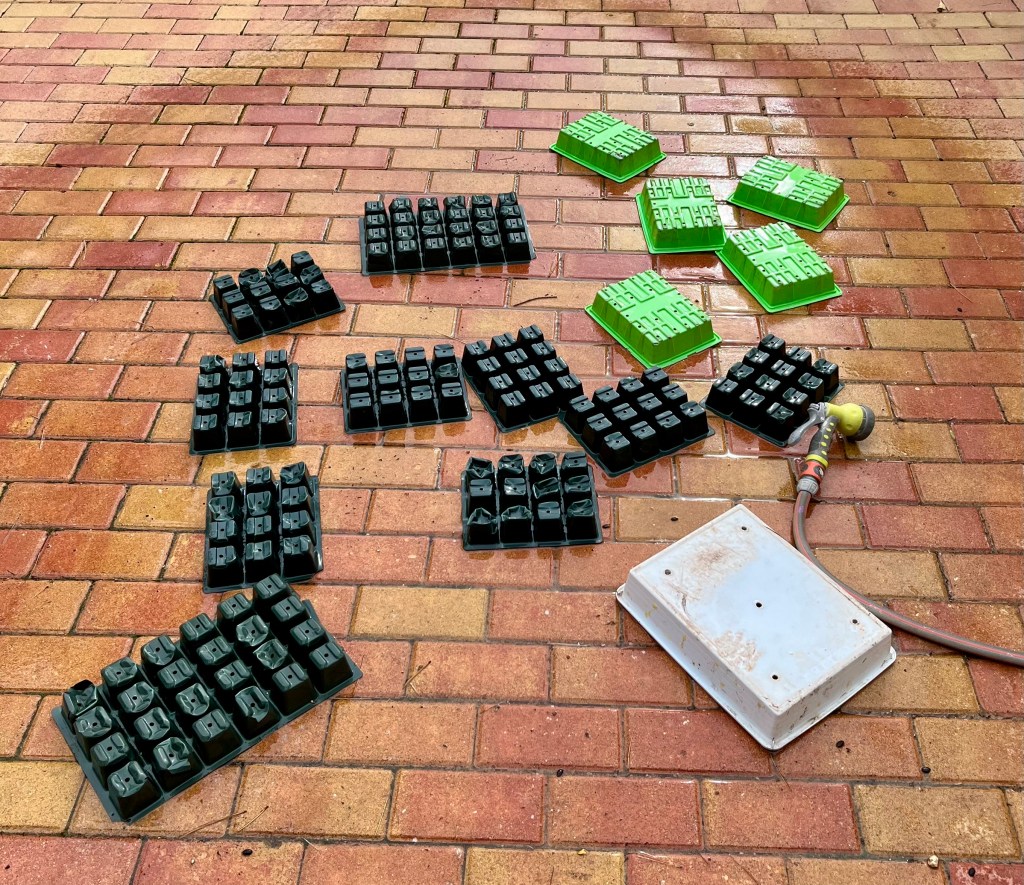
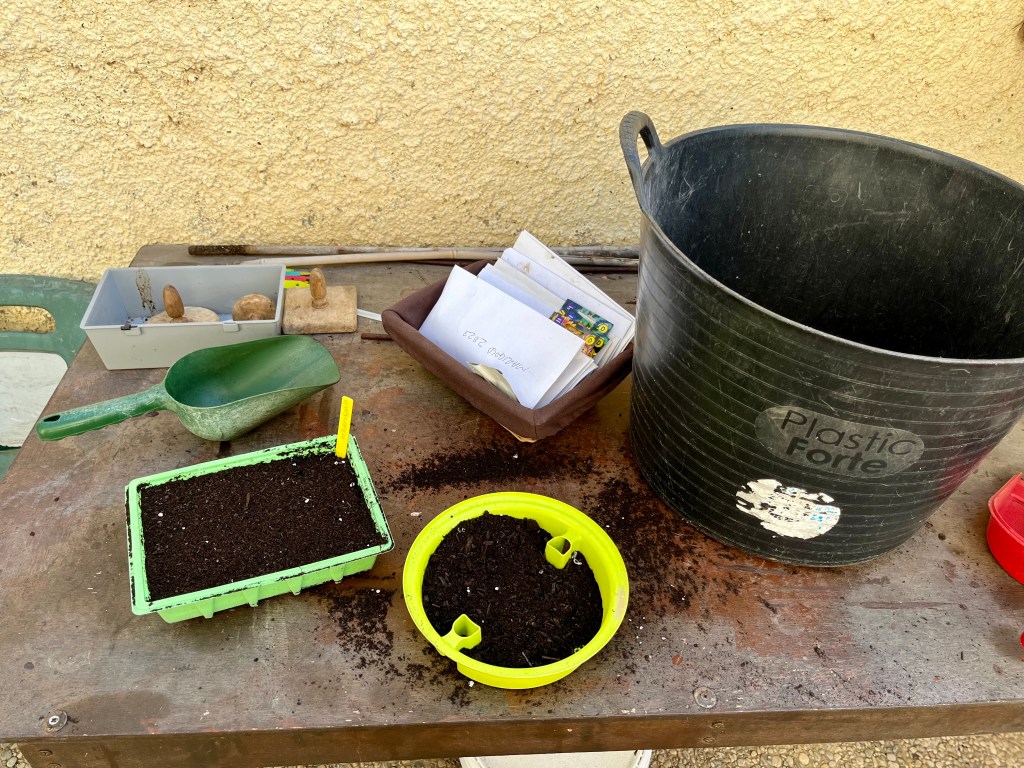
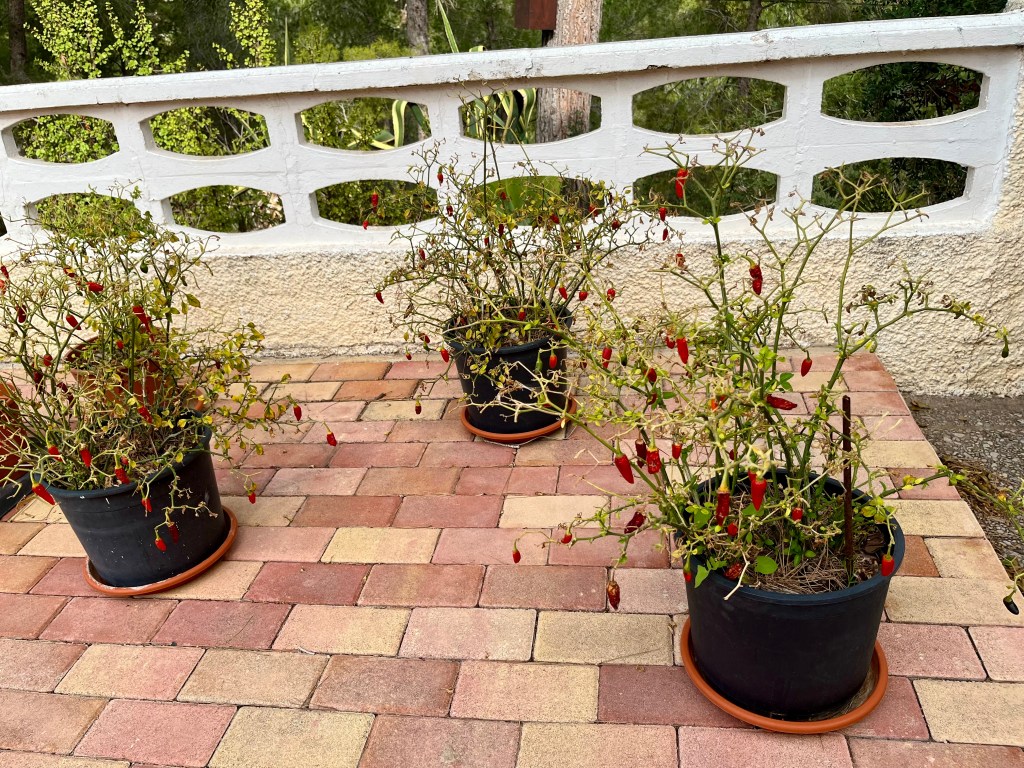
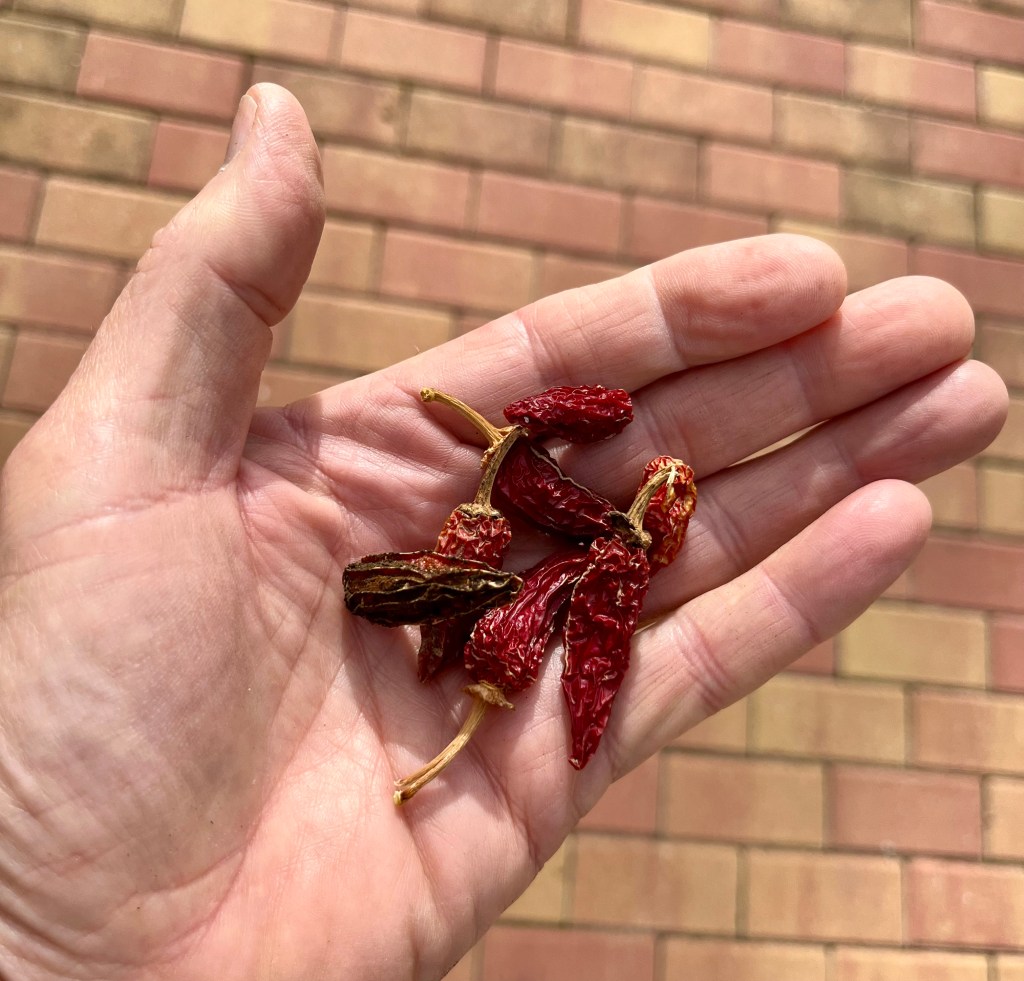
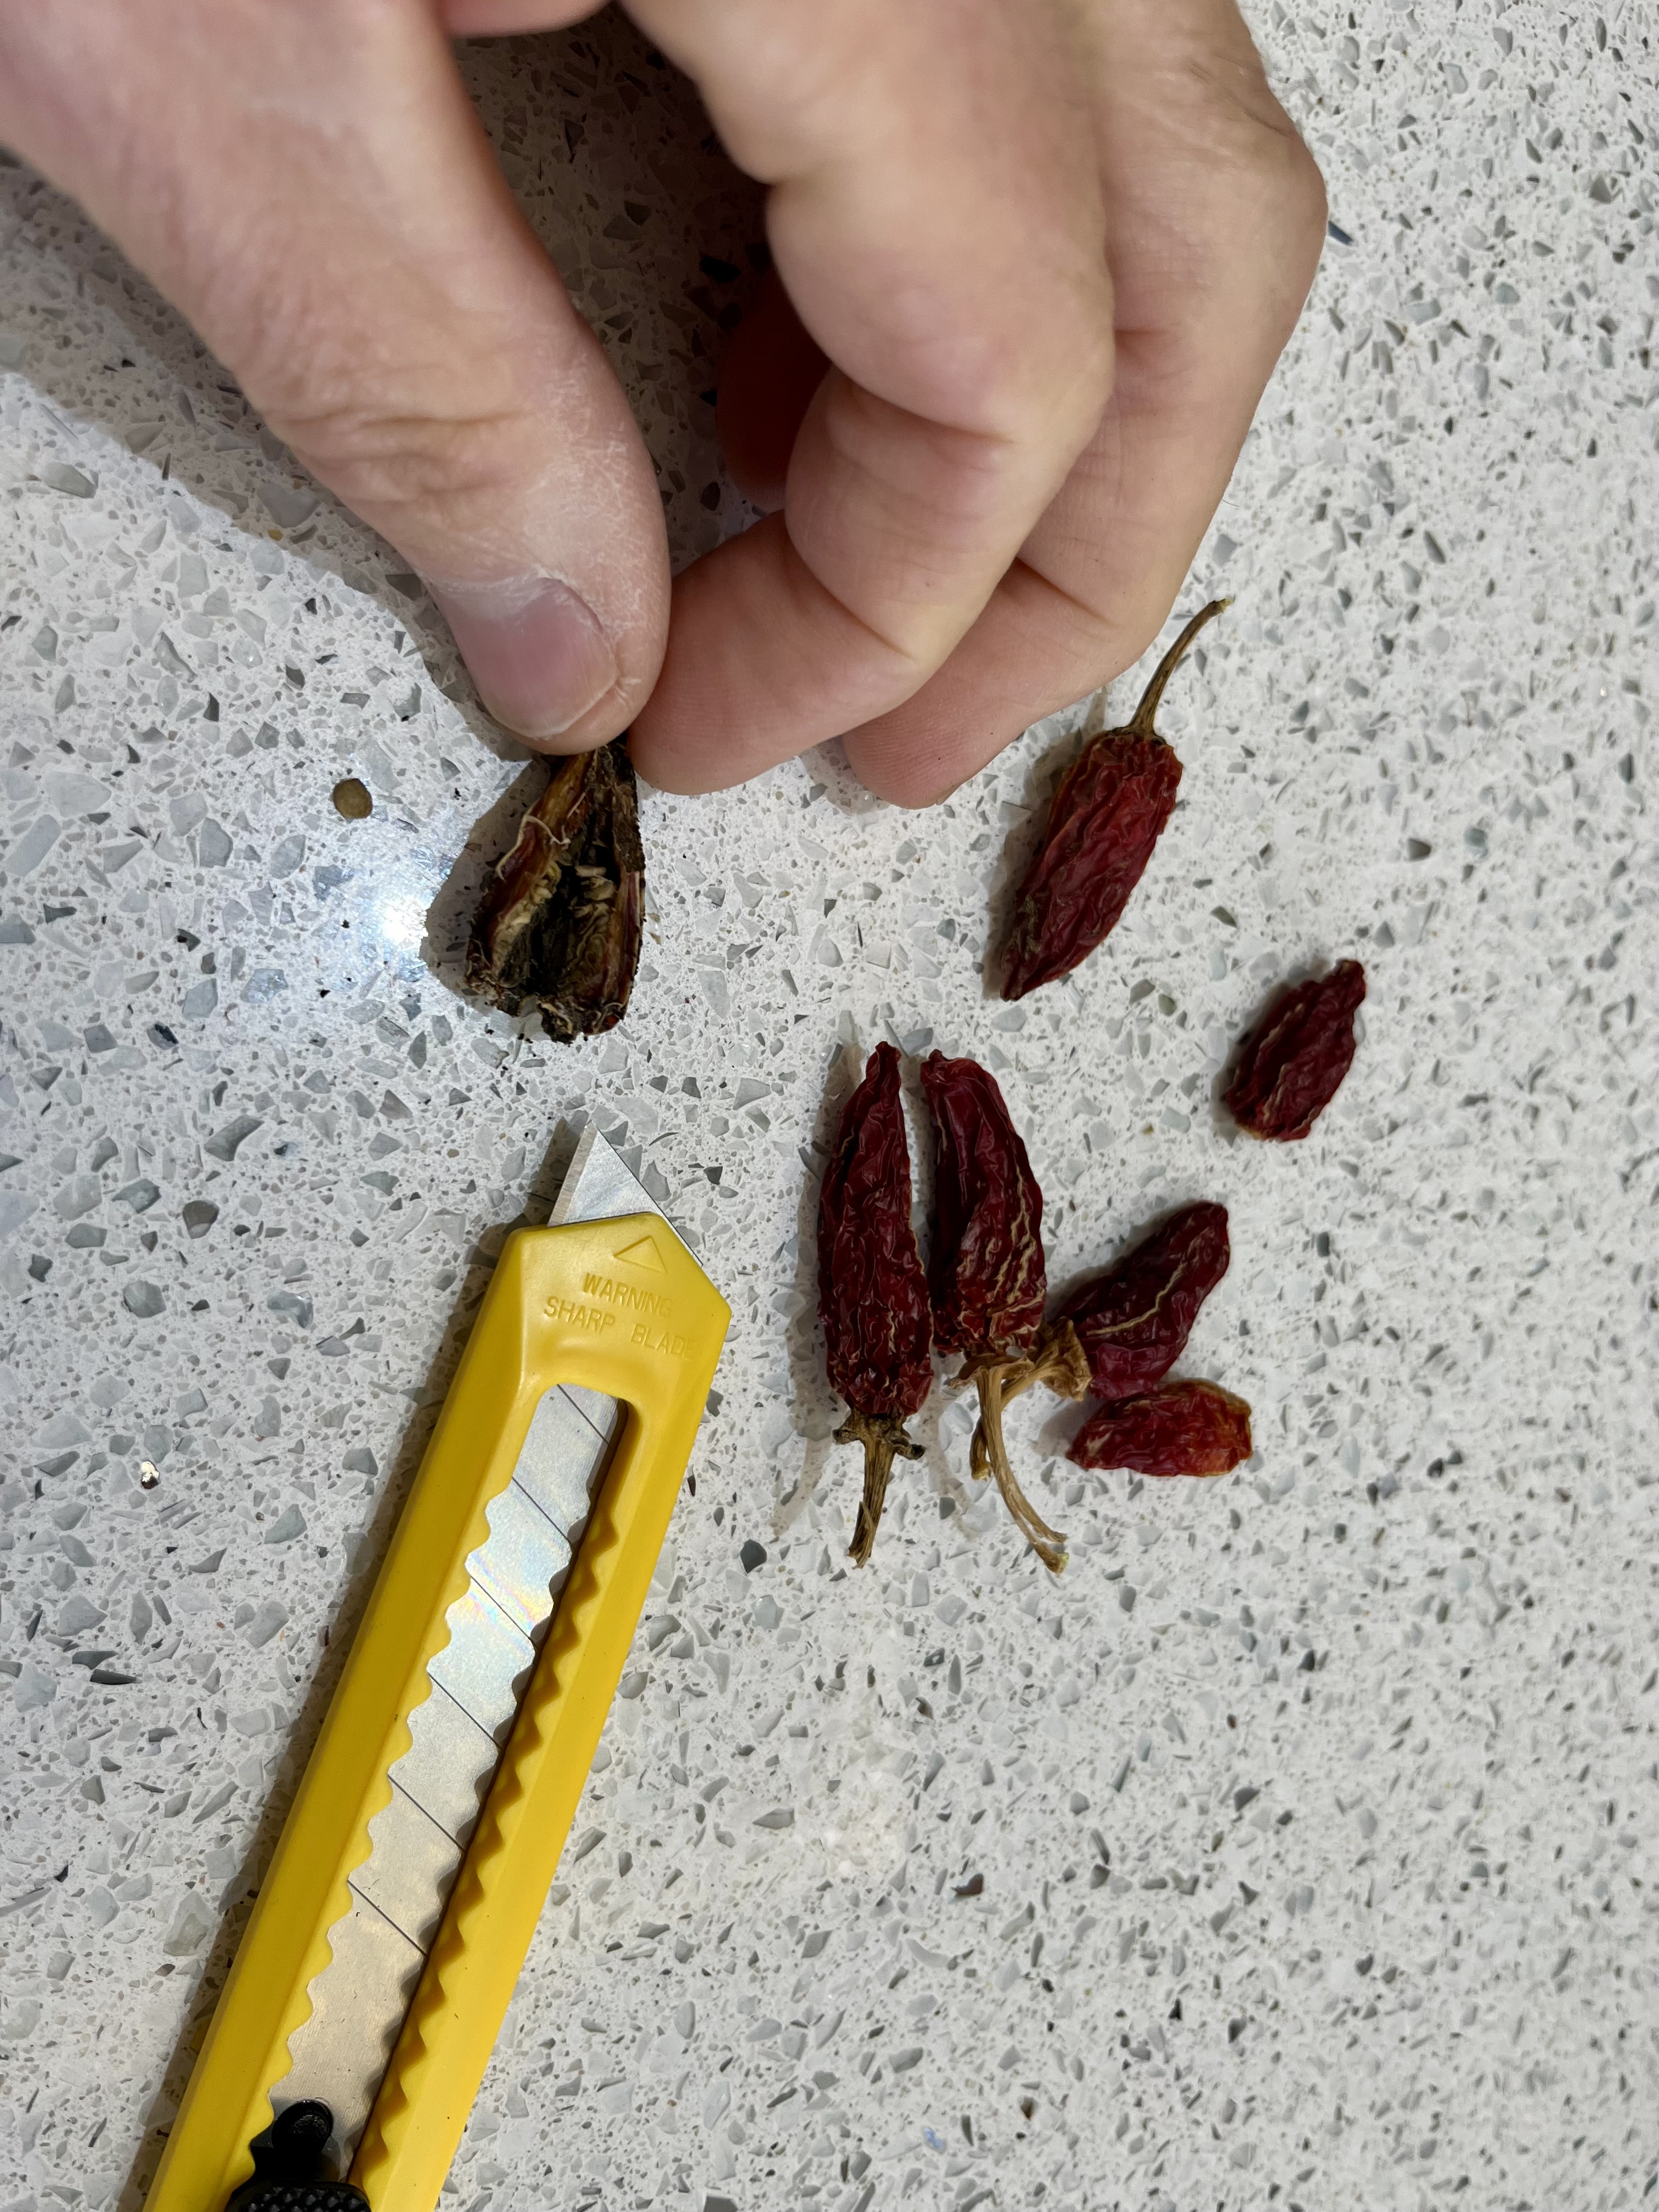
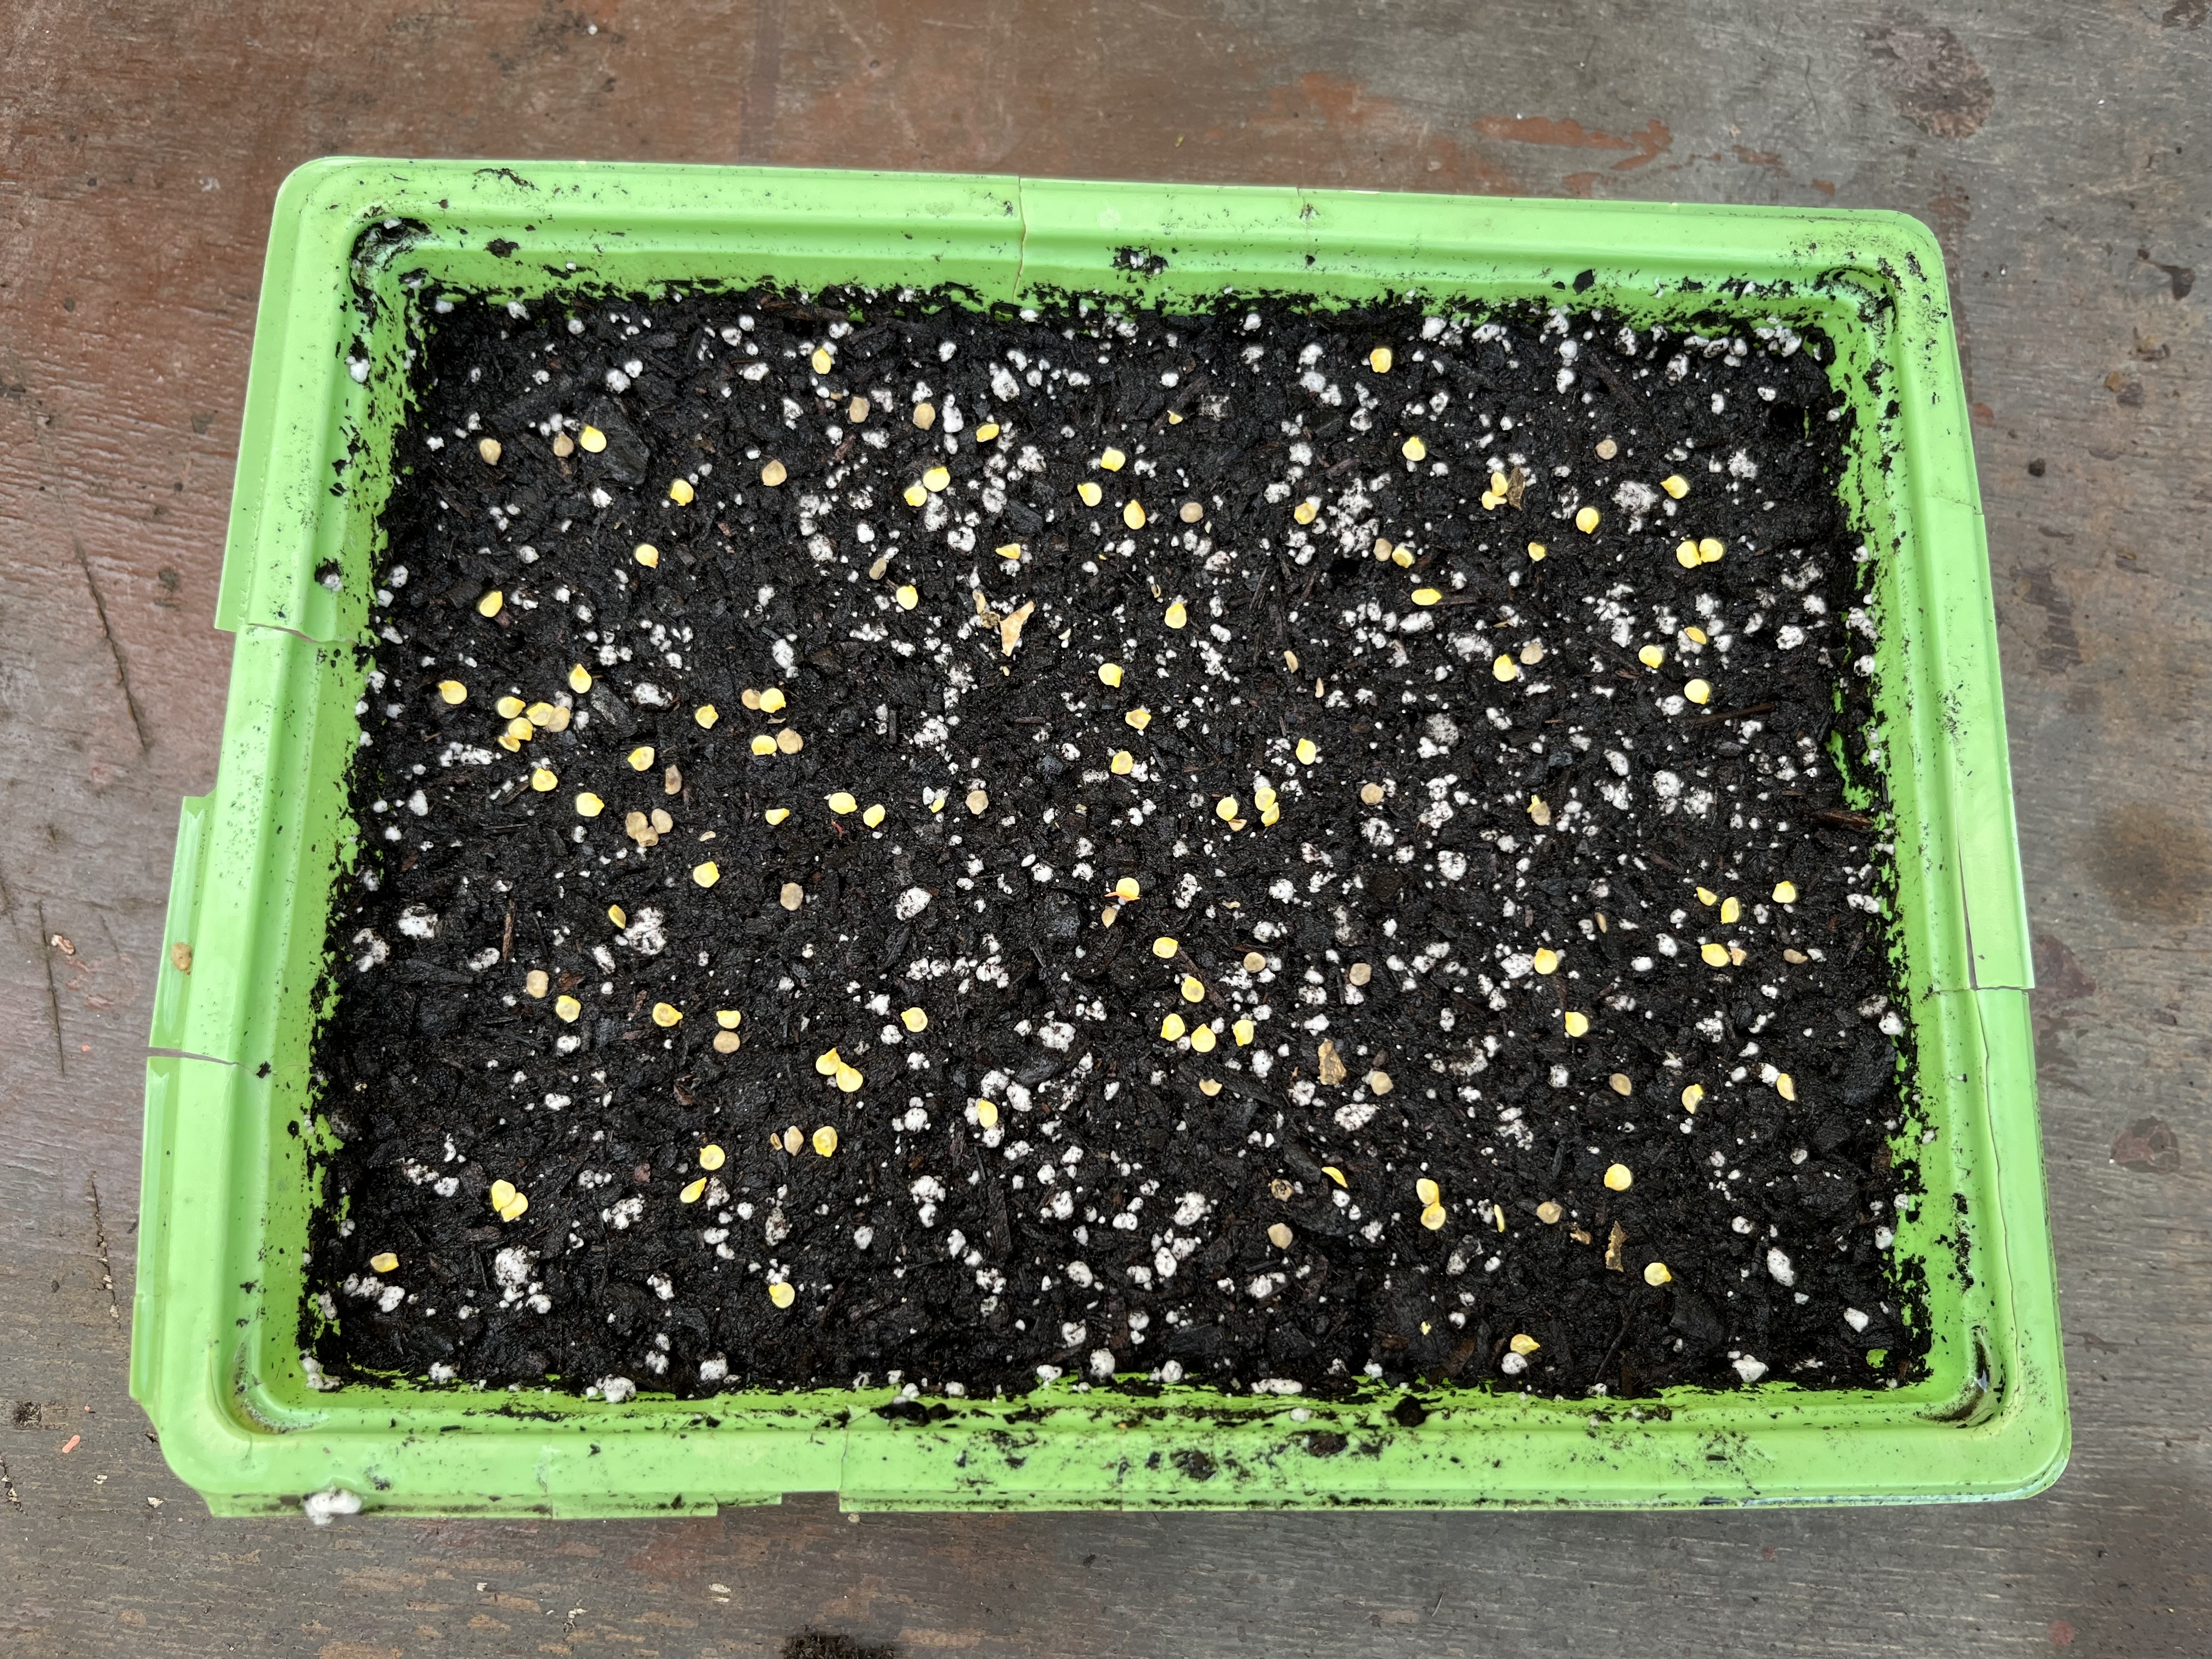
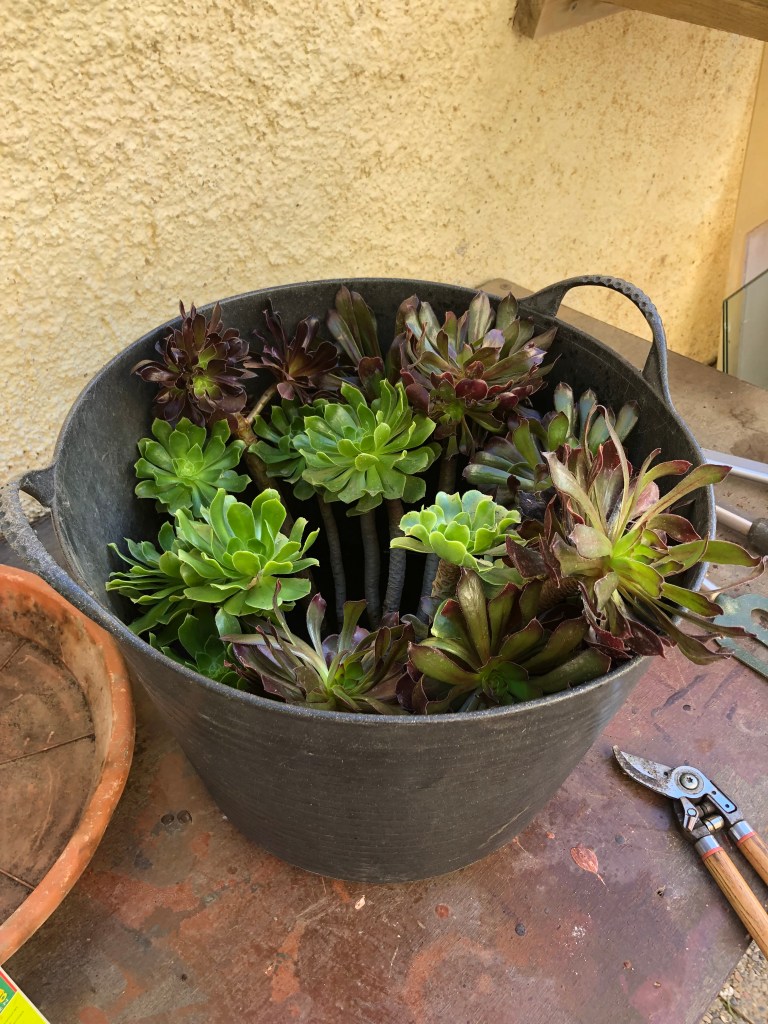
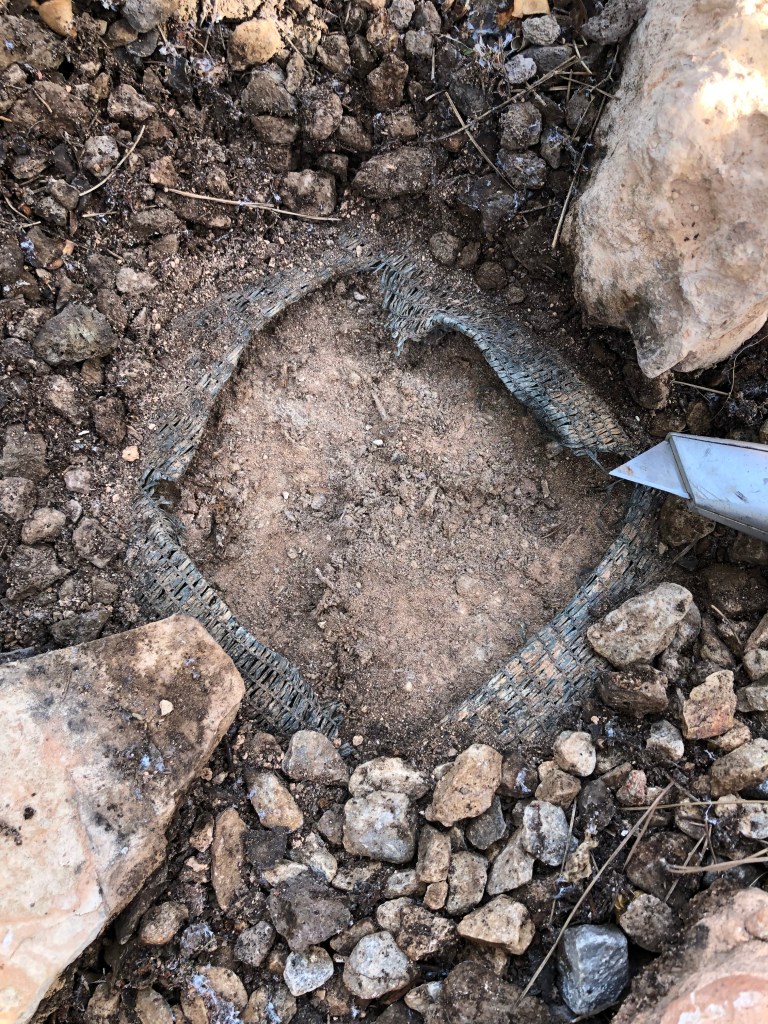
Potting up Chillis. The process of potting up seedlings is the same whether it is Chillis or otherwise. So if you haven’t grown some Chillis this year (although they are easy to grow from seed), don’t worry just apply the technique to all potting up. See description and photos below.
- Place your plant inside its existing pot into the larger pot then back fill with compost. In this way you will prevent root disruption.
- Once you have backfilled the new pot, ease the plant out of its old pot and gently firm it into the plant shape hole in the new pot.
- Water the pot by standing it in a trug so that it can absorb water up through its roots.
- If necessary tie the new plant up to a cane. Always tie in a figure of 8. First around the cane then loop around the plant this stopes the stem rubbing on the cane.
- Stand the pot in the semi shade for a day or two, then get it out in the sun.


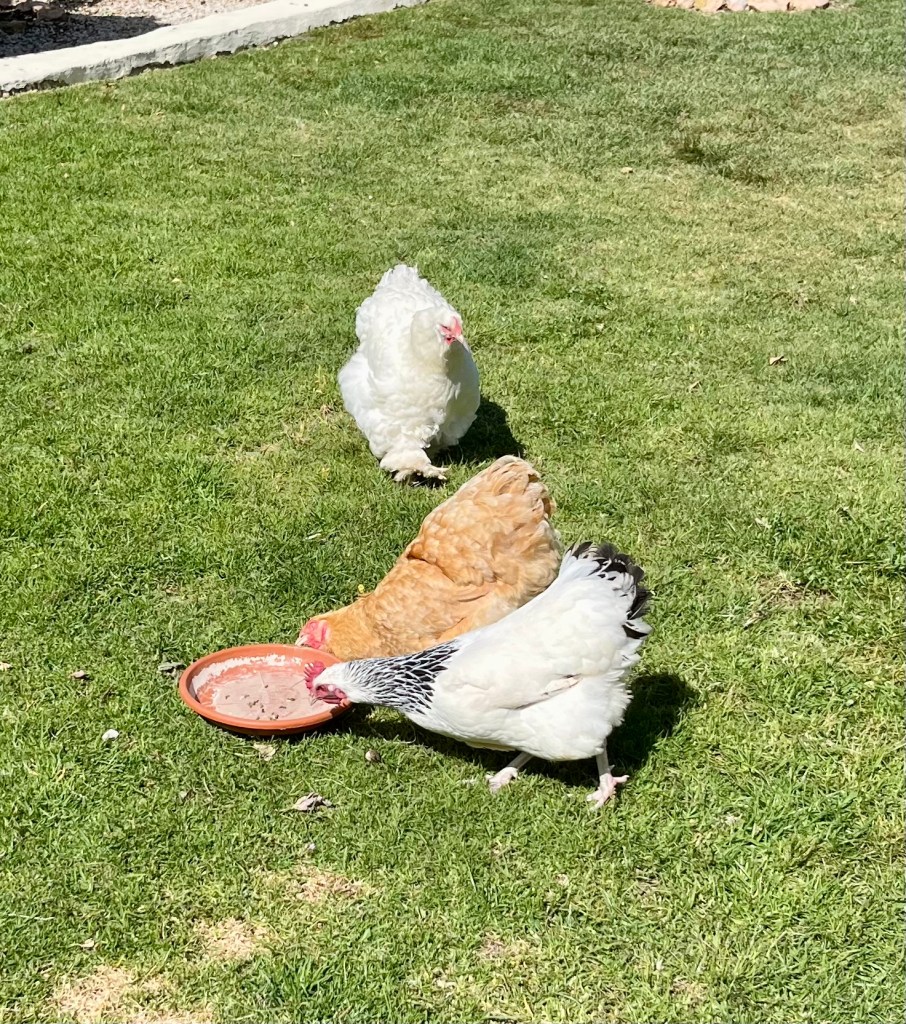
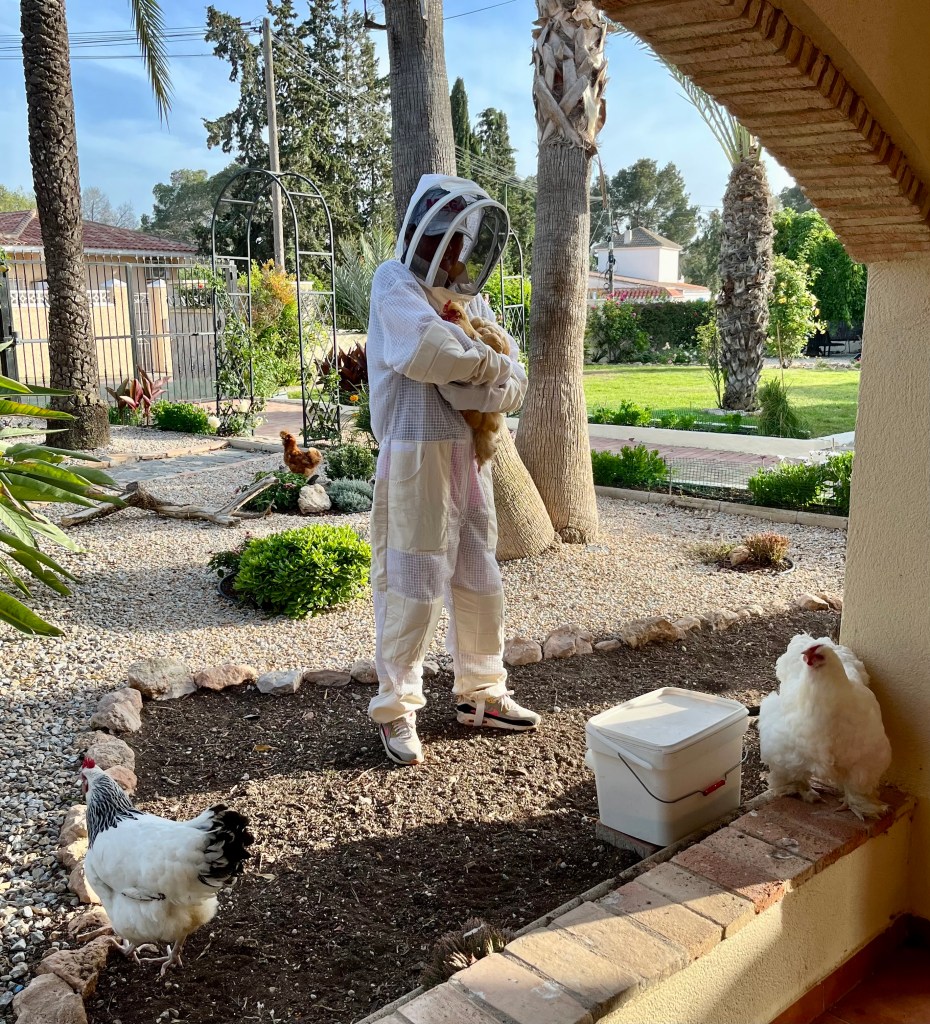
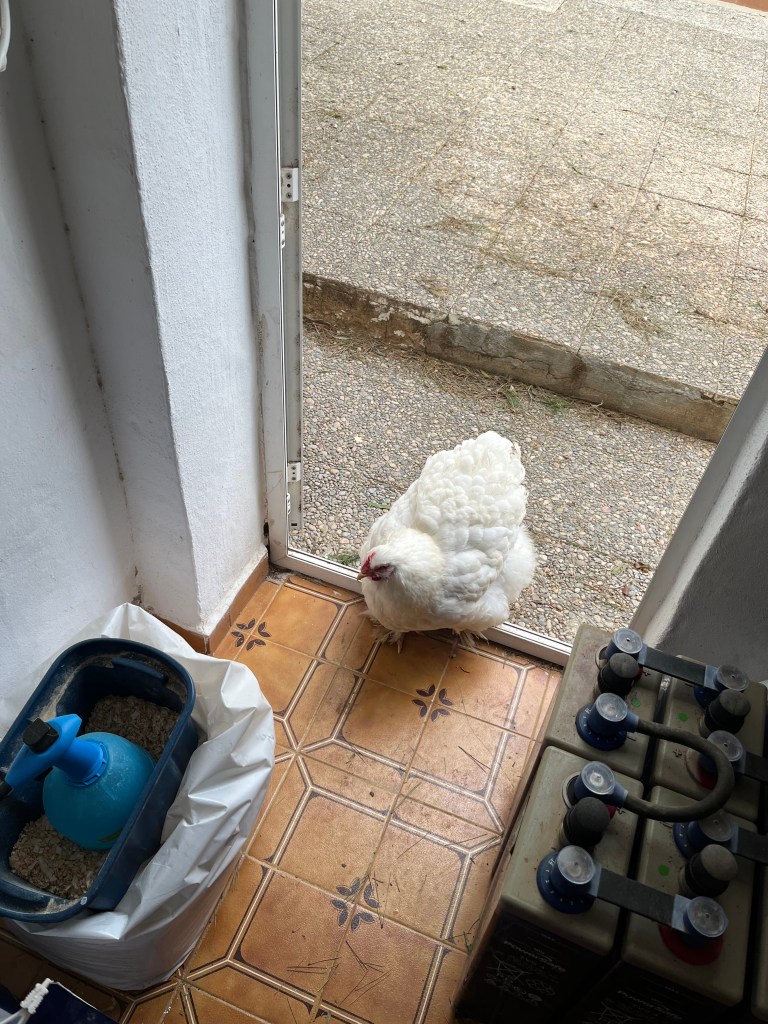
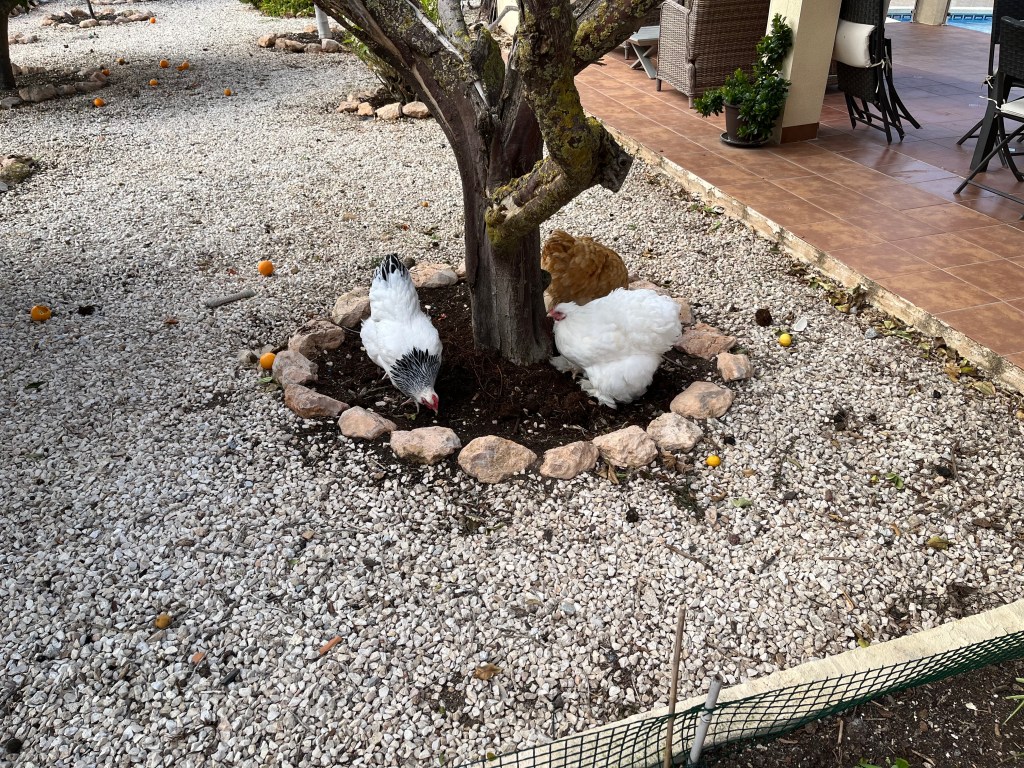
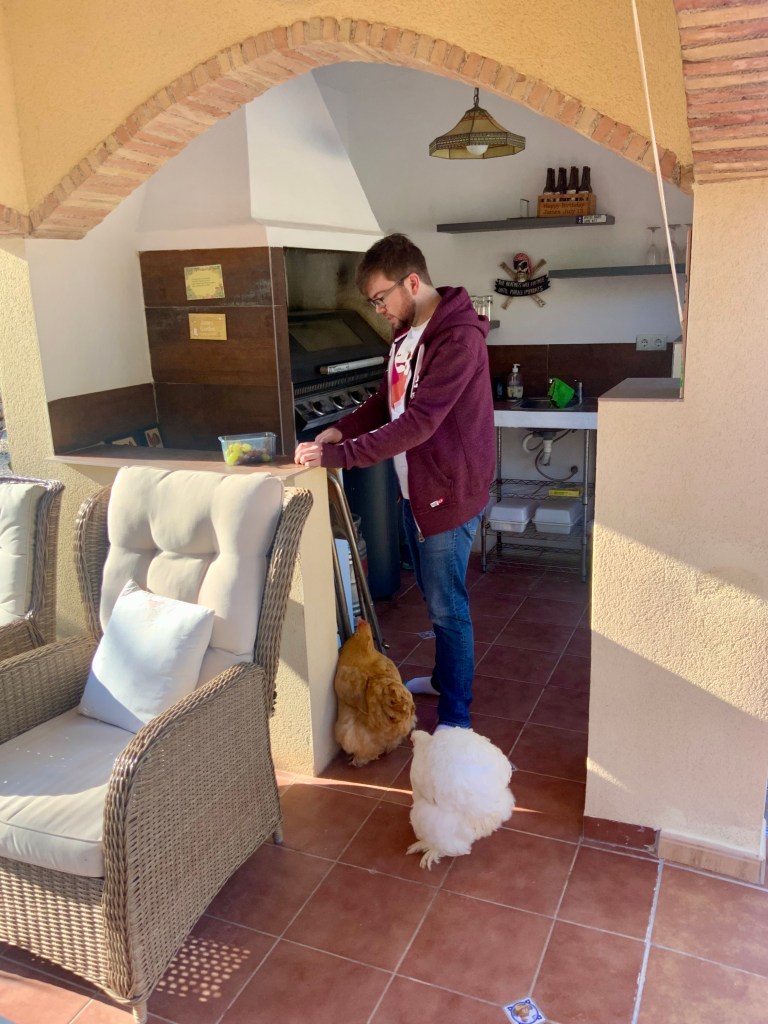
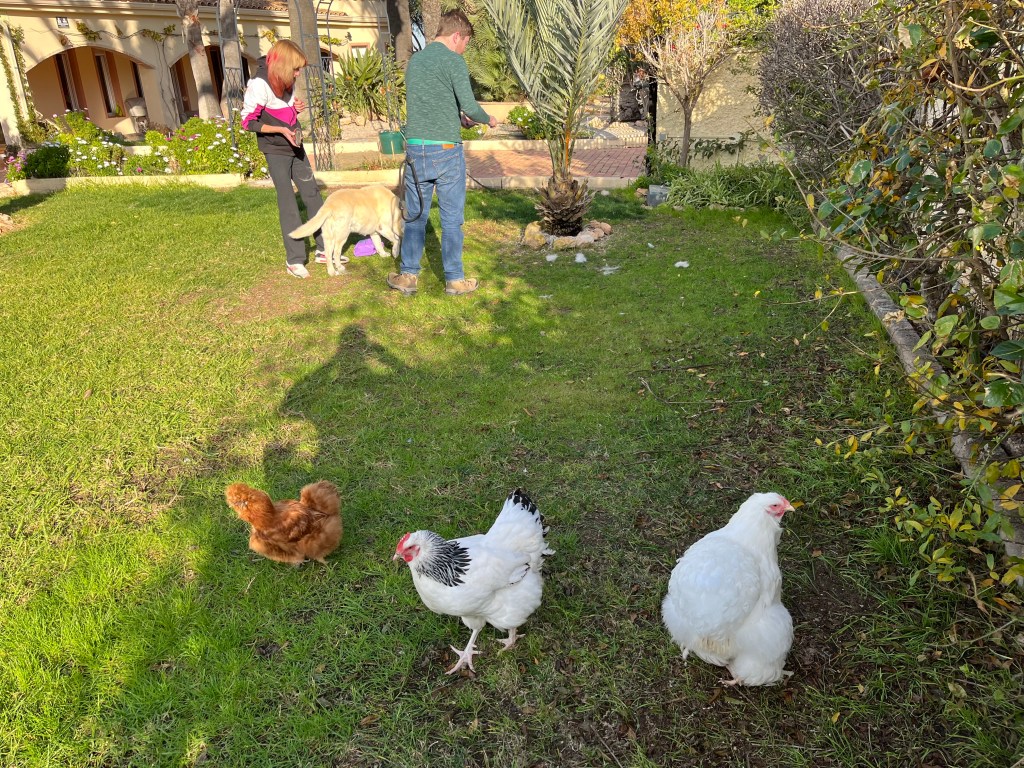
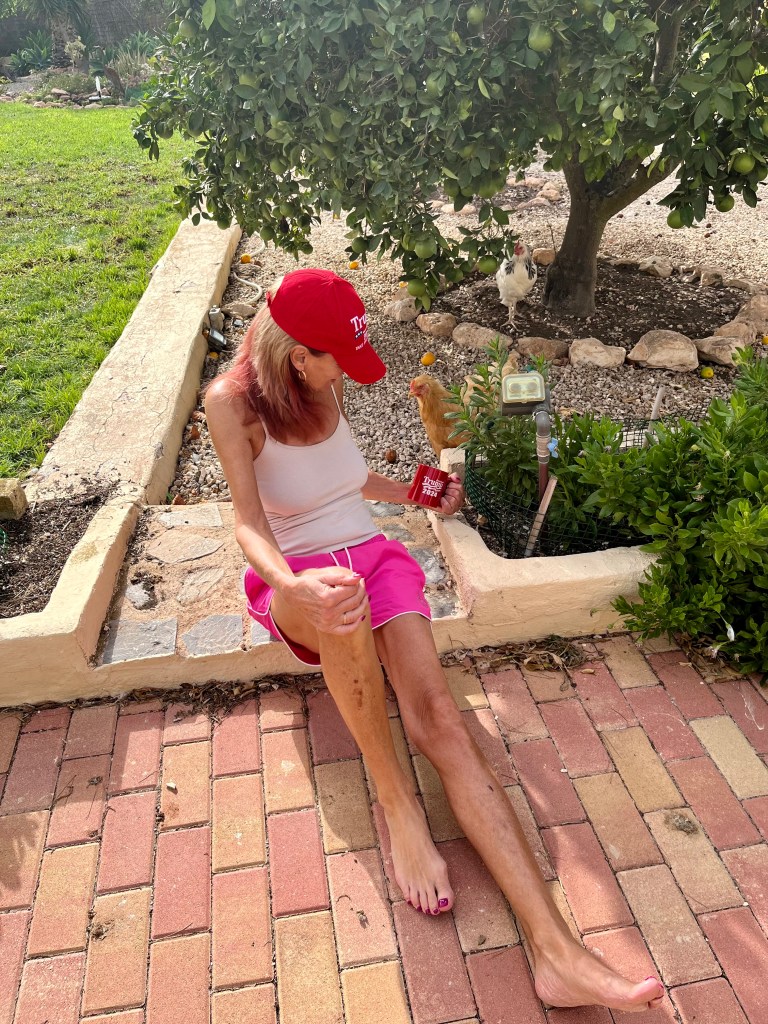
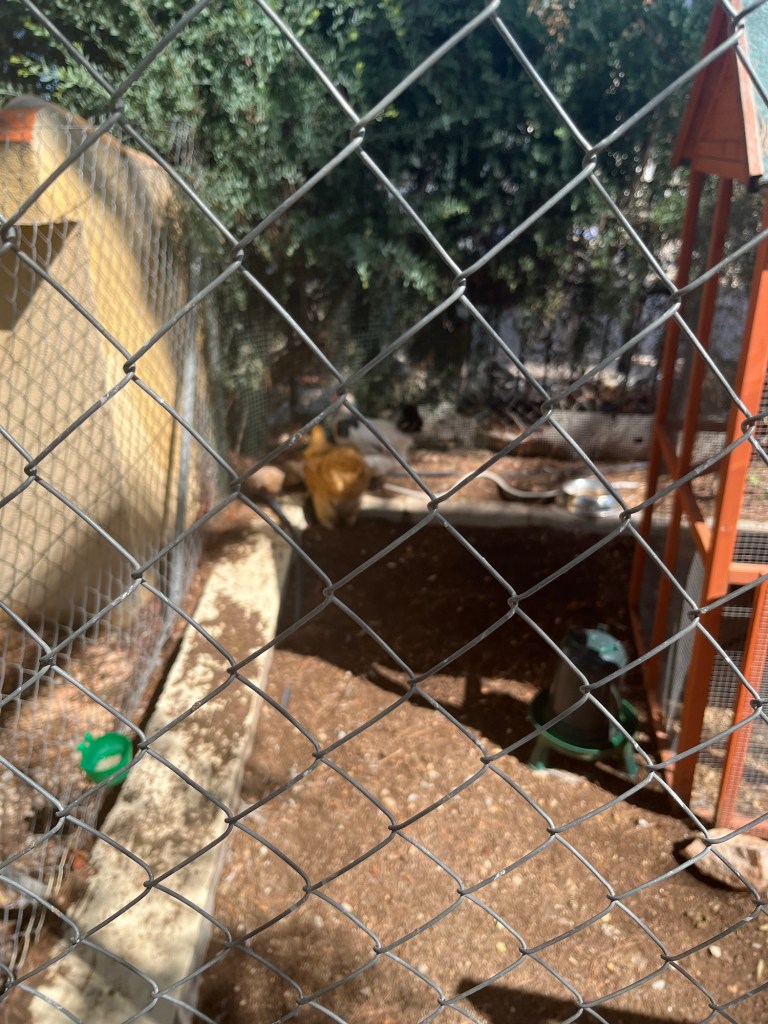
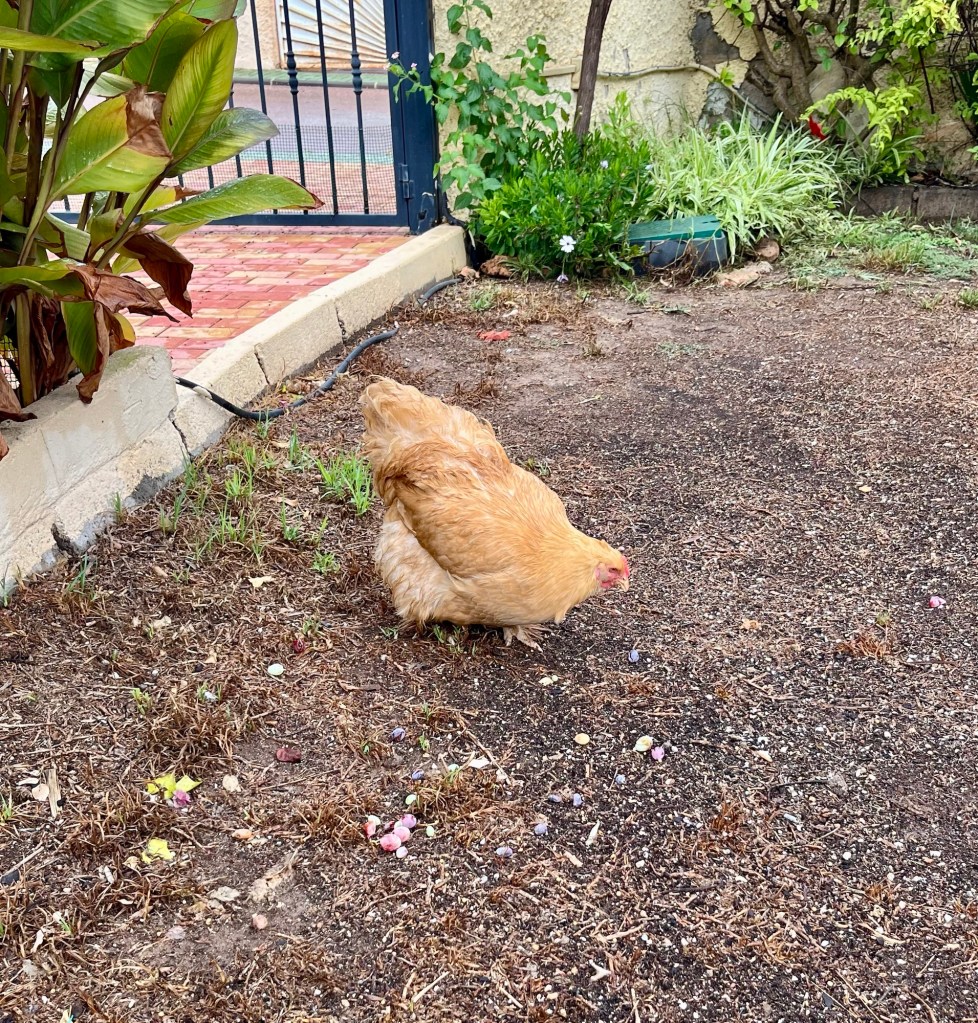
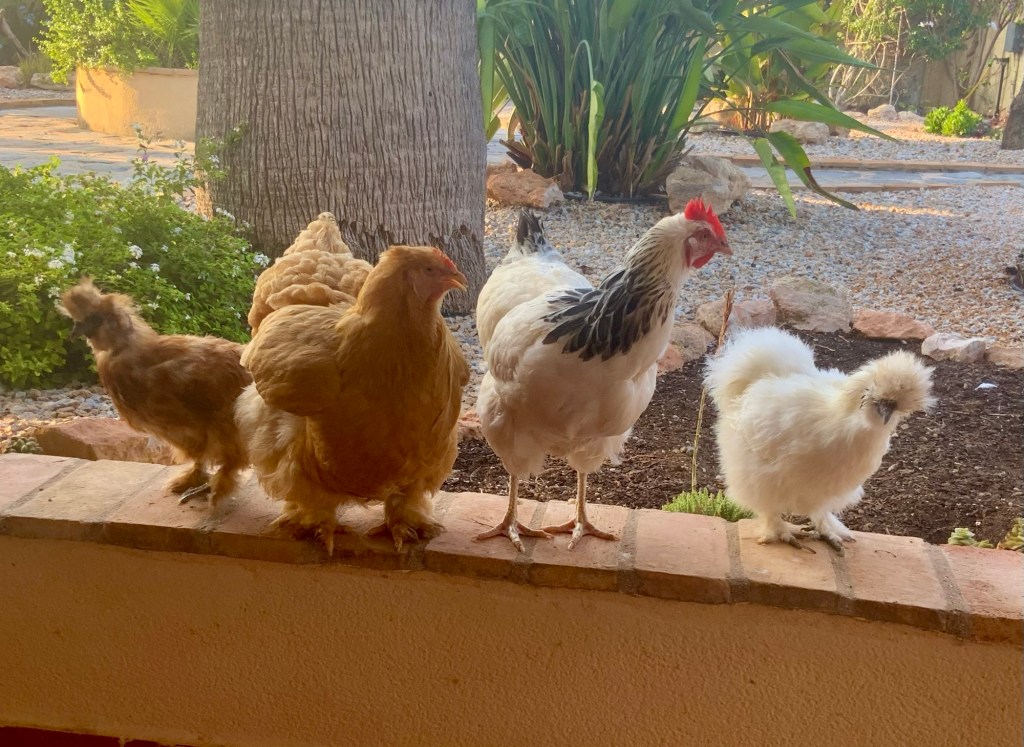
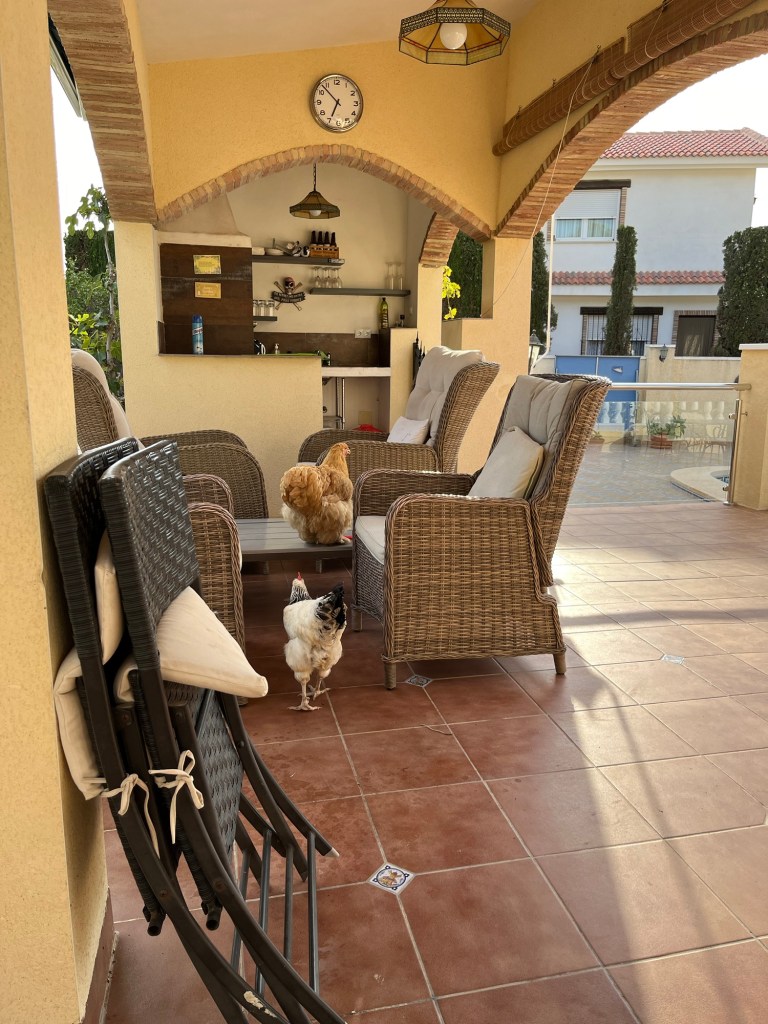
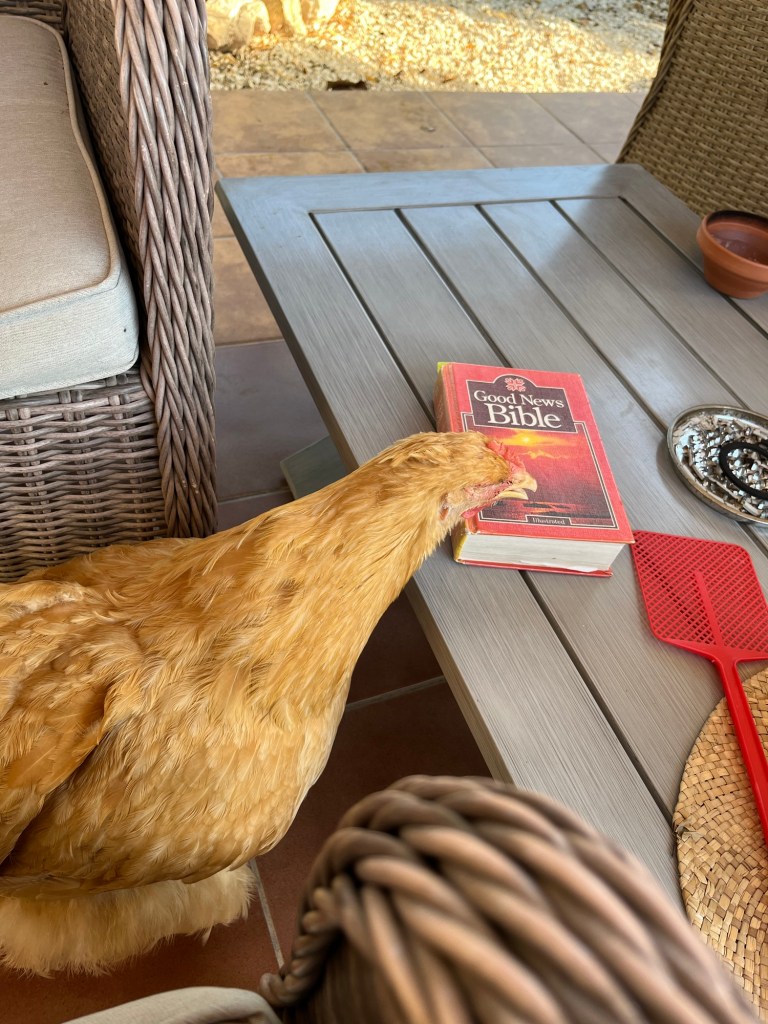
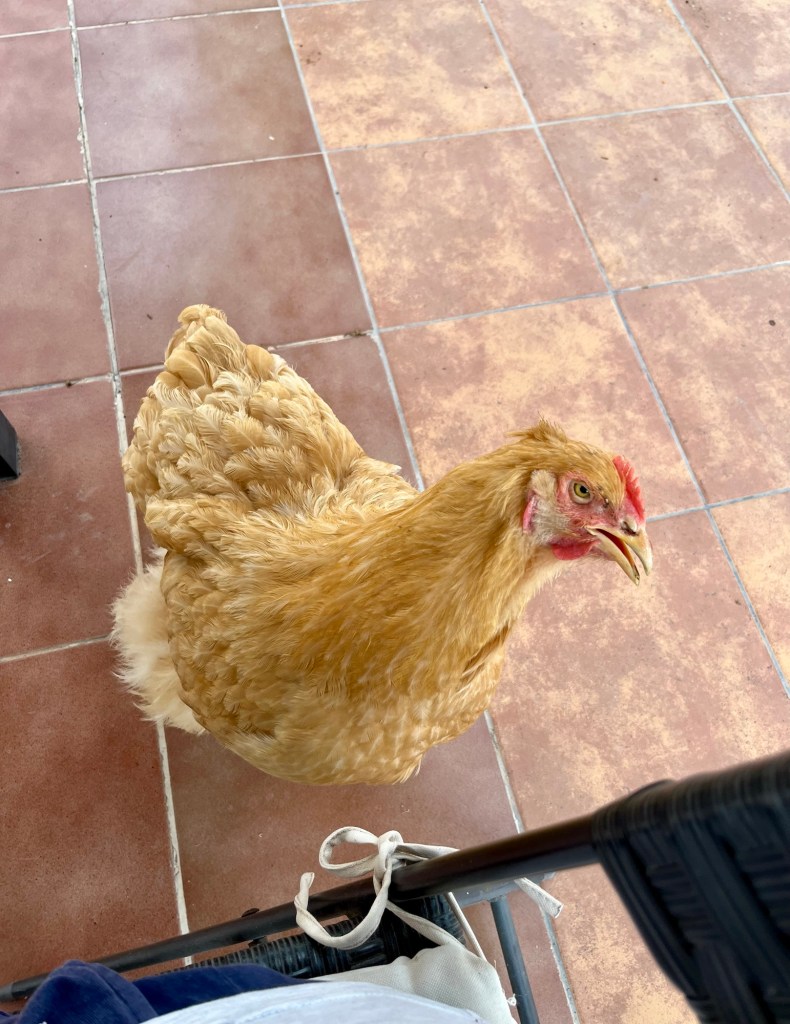
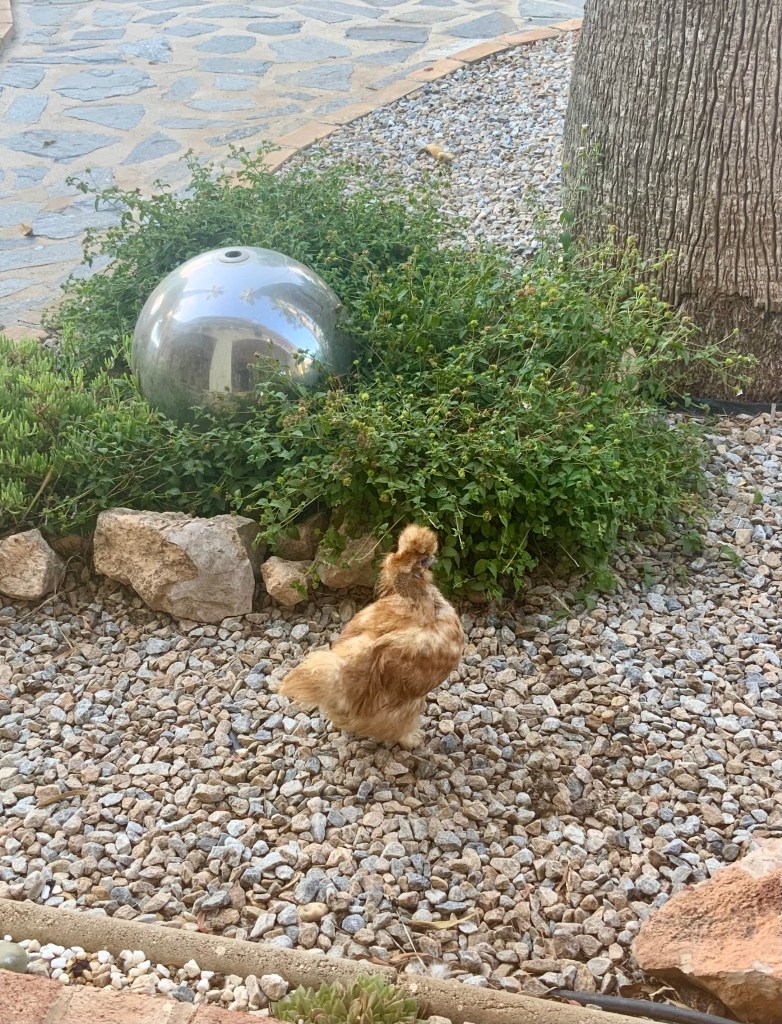
Mistreating chickens. At the start of this post I mentioned my chicken problem, it all comes down to the fact that they won’t go to bed in their coop at night, instead they insist on sleeping in a big huddle just outside the front door on the Naya.
When I told Cruella (my wife) about the problem she told me I was mistreating them and that they had to be carried to bed individually, sung to and then kissed on the head before being put gently into their place in the coop. I of course demurred and have developed my own technique.
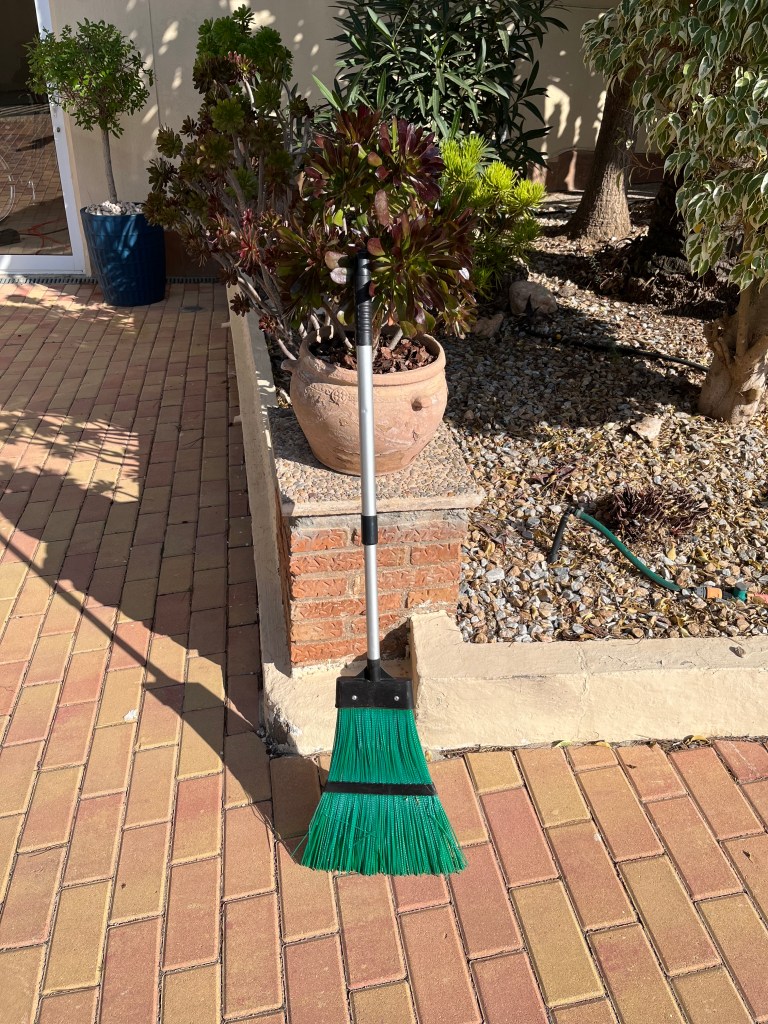
This involves two stages. At dusk, when I find them in a huddle just going off to sleep, I brush them all awake by nudging them with a broom. They all then start to panic and run around I pursue with the broom and guide them all into the coop.
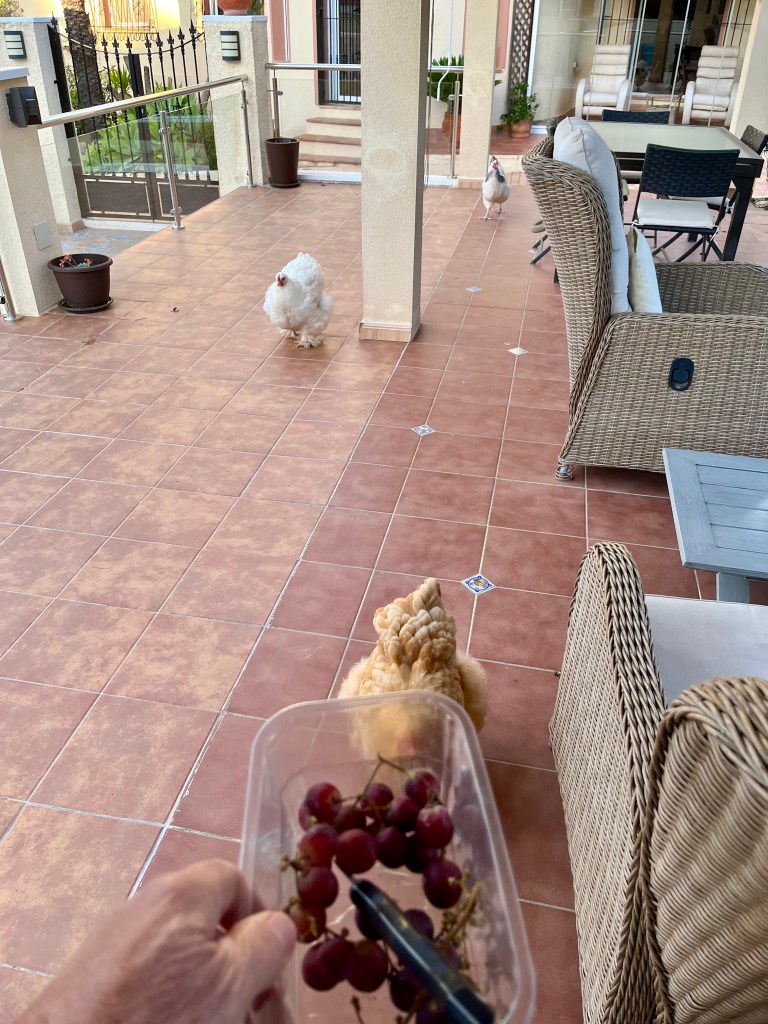
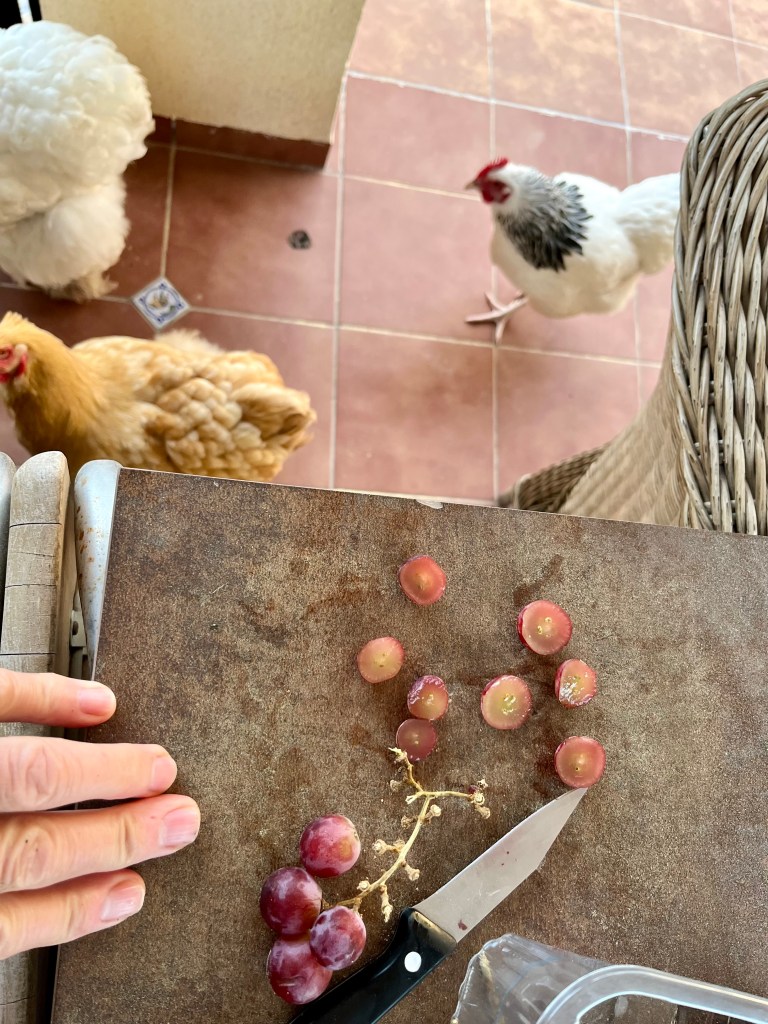
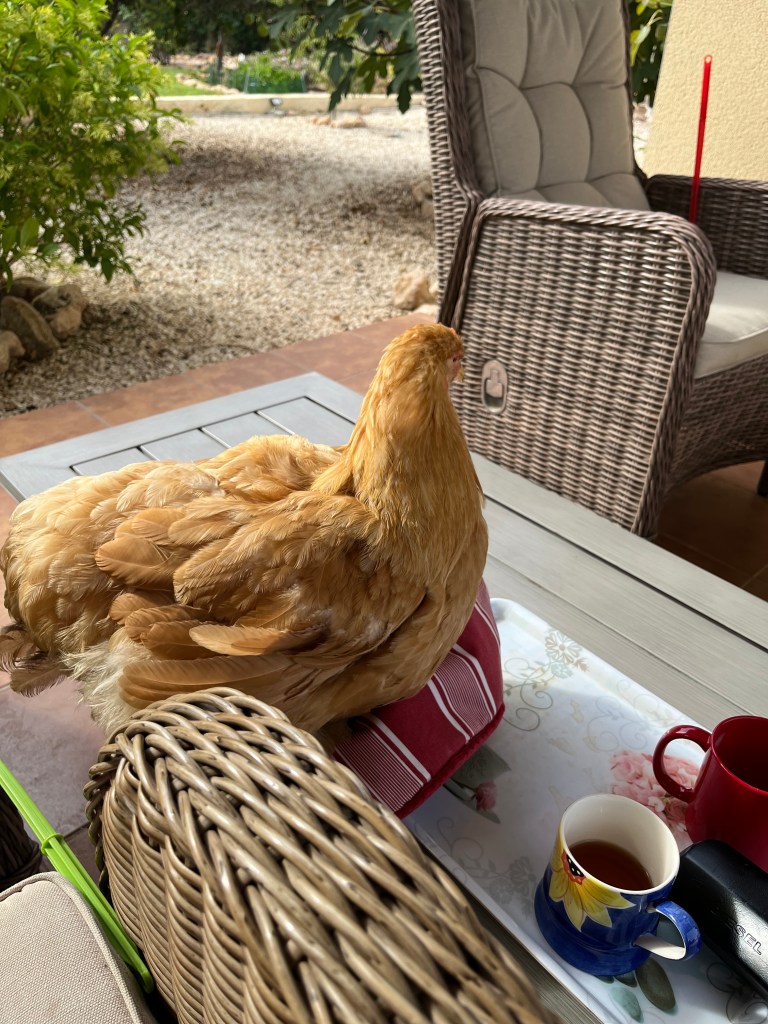
After dark, they have then formed a huddle by the door of their coop and are fast asleep. I then grab them one by one and stuff them through the coop hatch. I start with the largest all the way down to the smallest and as I push them in they fit together like one of those Russian dolls. The photos below show my technique.


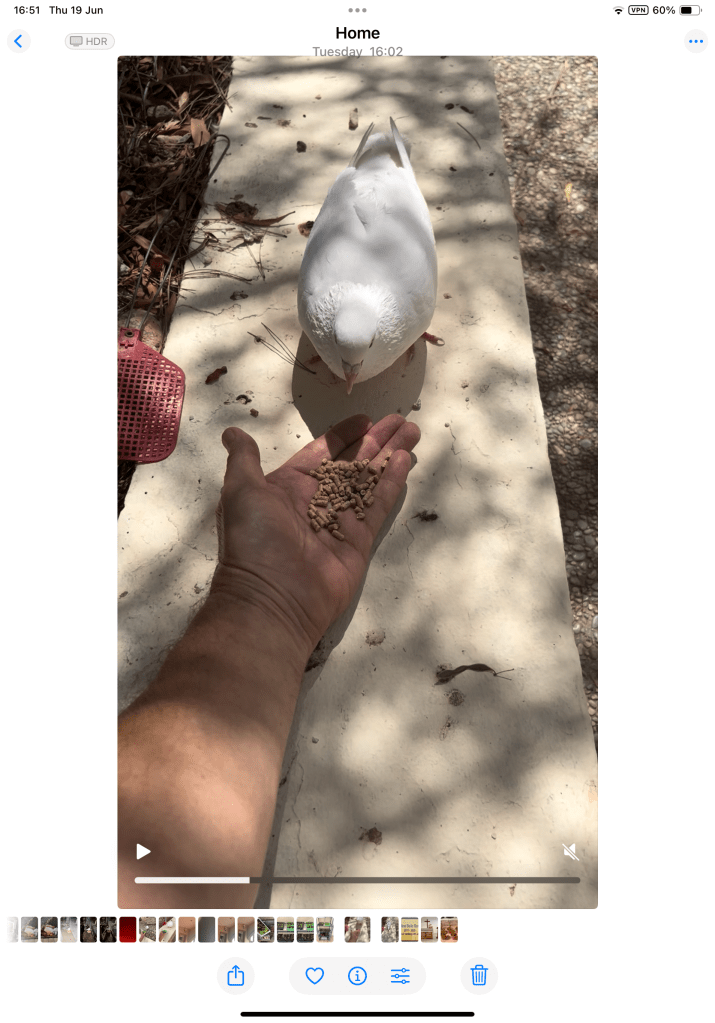
But don’t worry, I am not an insensitive beast; just to prove it I have taught the little white Dove to eat out of my hand.


You must be logged in to post a comment.