

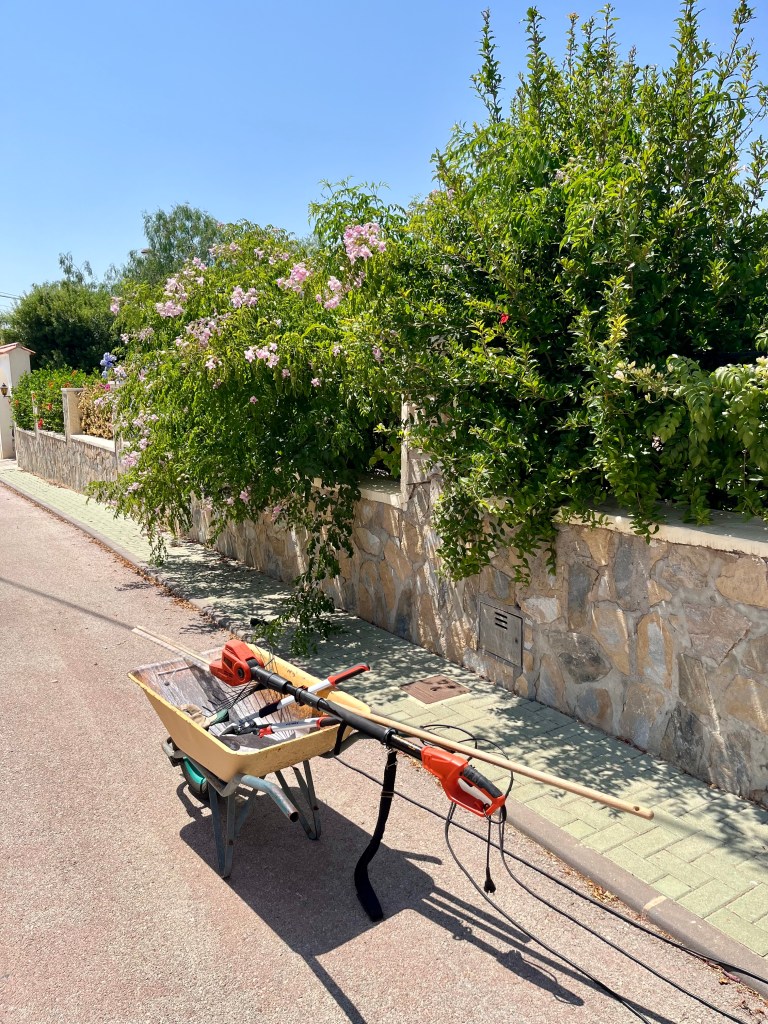
I like the Sawfly bit in the title, I know it doesn’t have the same sense of menace as the famous Texas chainsaw massacre, but it gives a frisson of excitement to gardening. Anyway, there is much to do as we are at the time of year when the garden explodes with growth and unless you are out there every day it will soon get away from you.
7th May 2025. Things I have been doing lately:
- Harvesting the last citrus fruit
- Starting deadheading
- Planting out seedlings
- Potting up Loofahs
- Dealing with Sawfly
- The bee and chicken pamper day
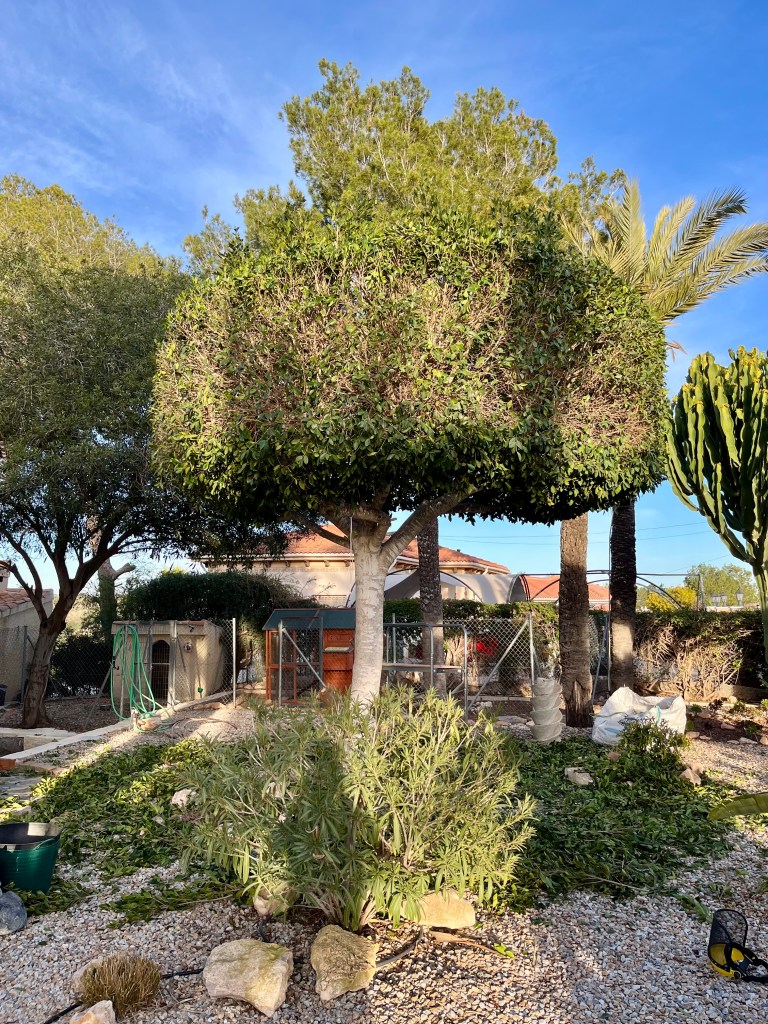
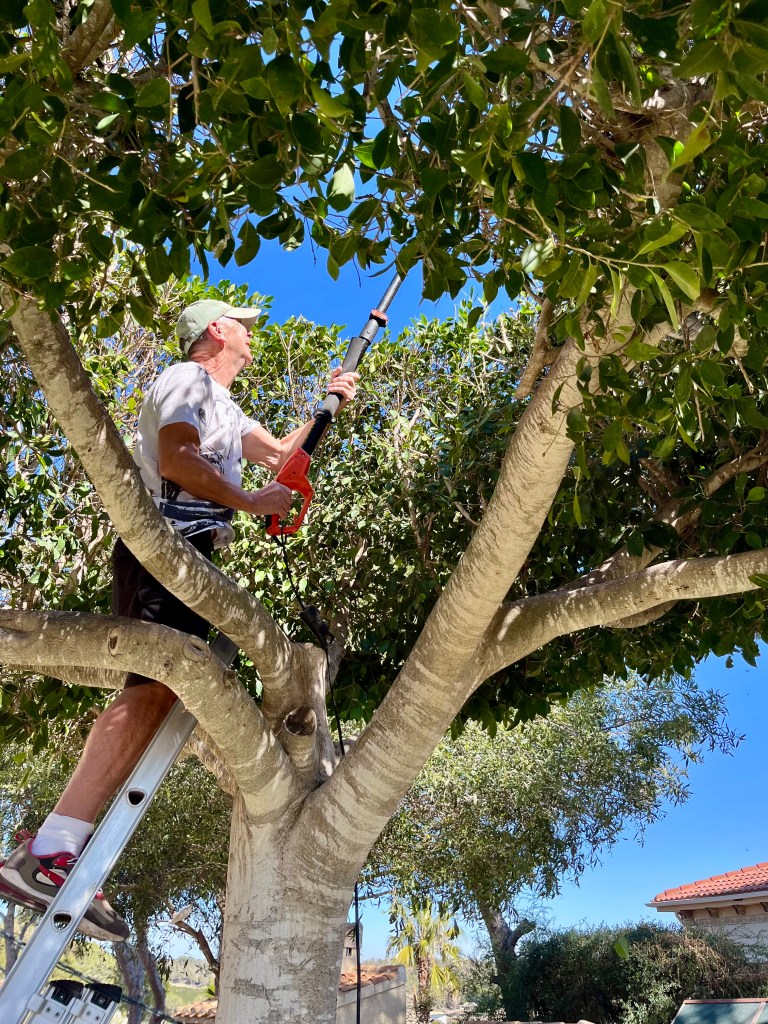
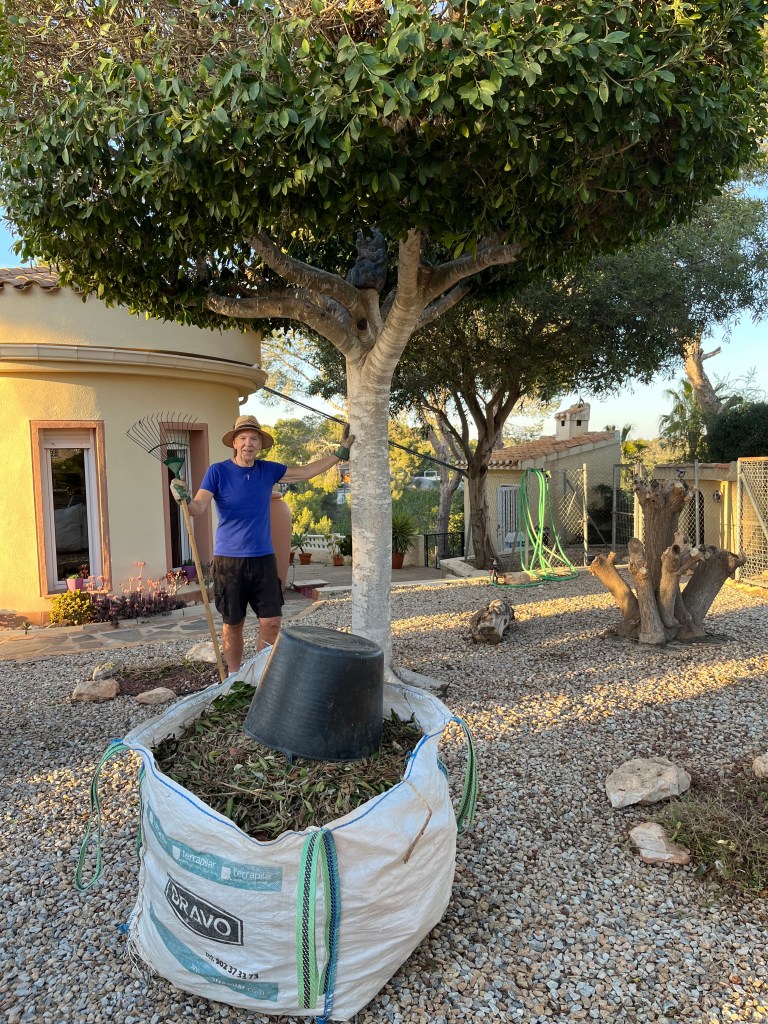
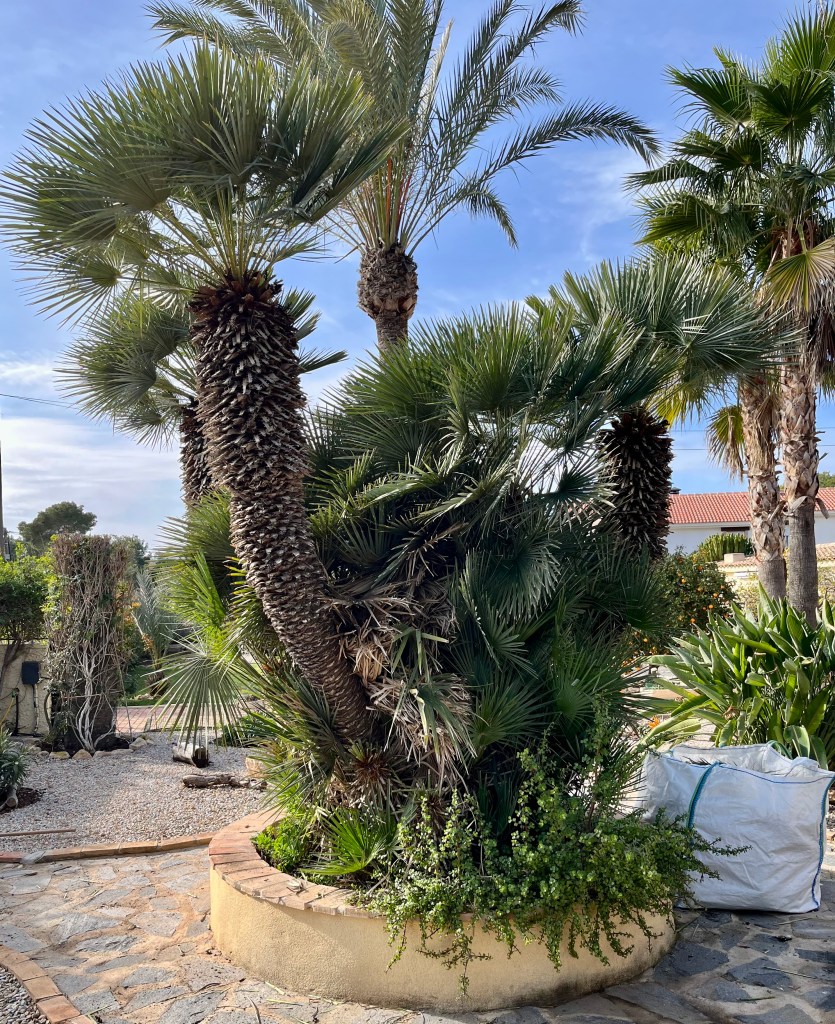
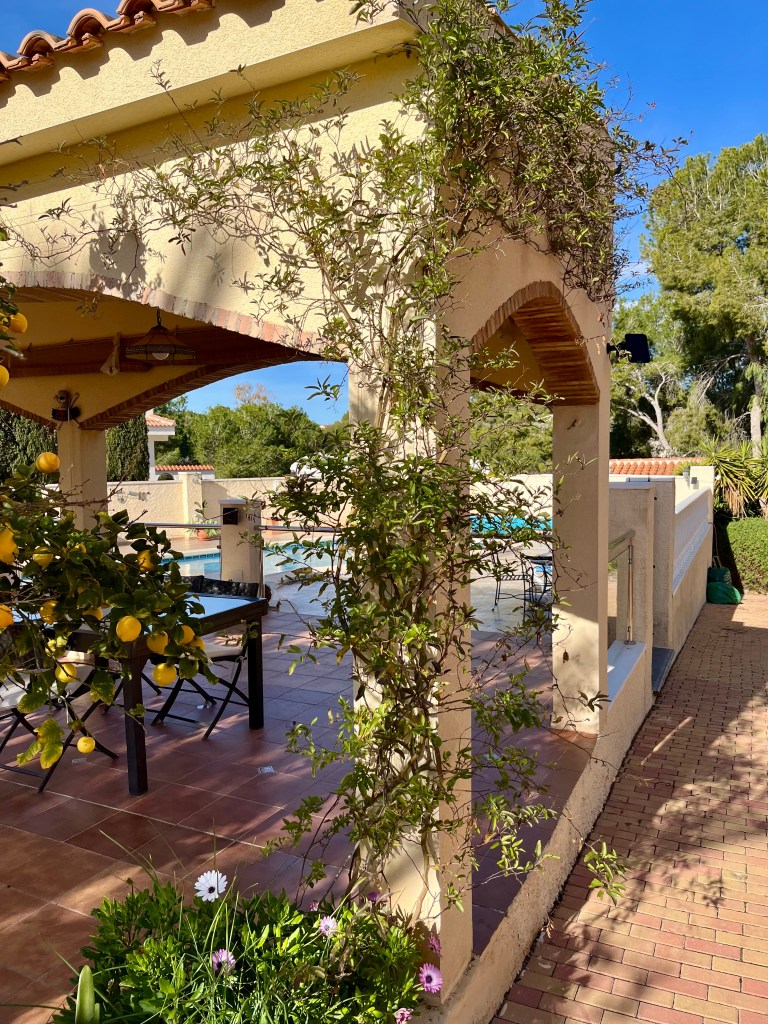
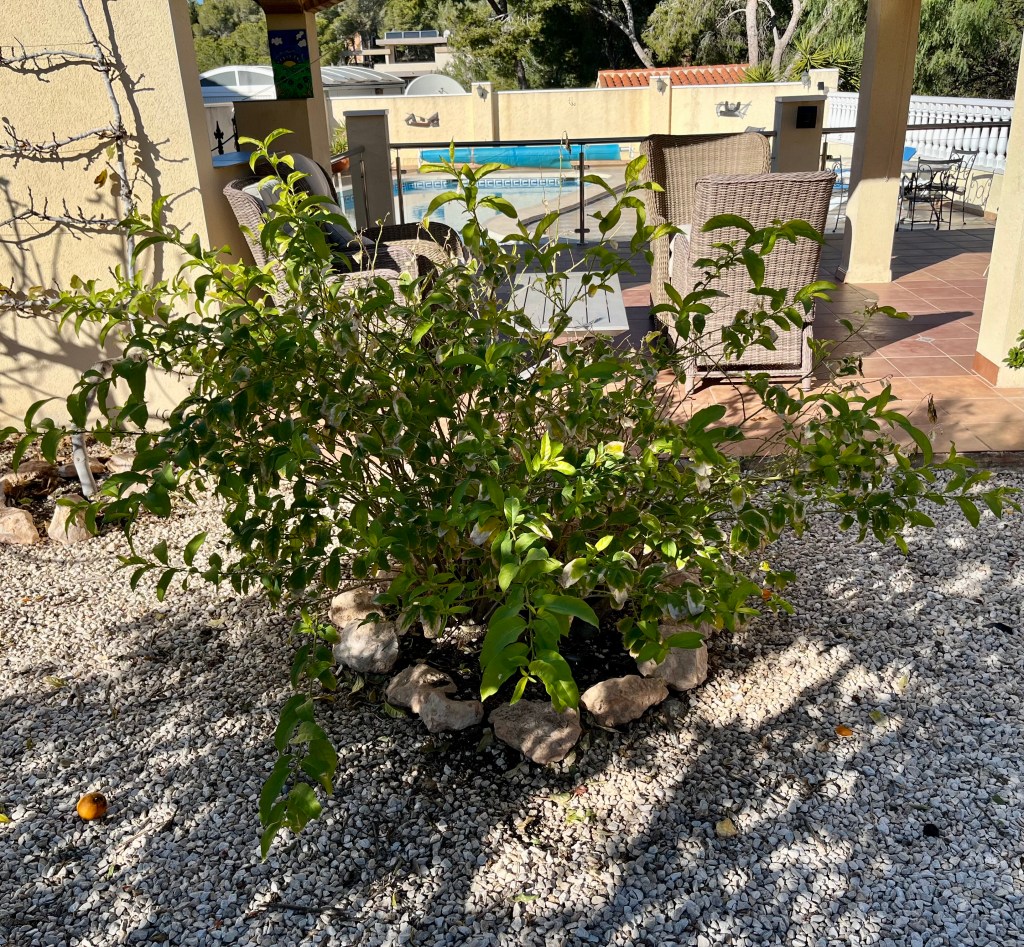
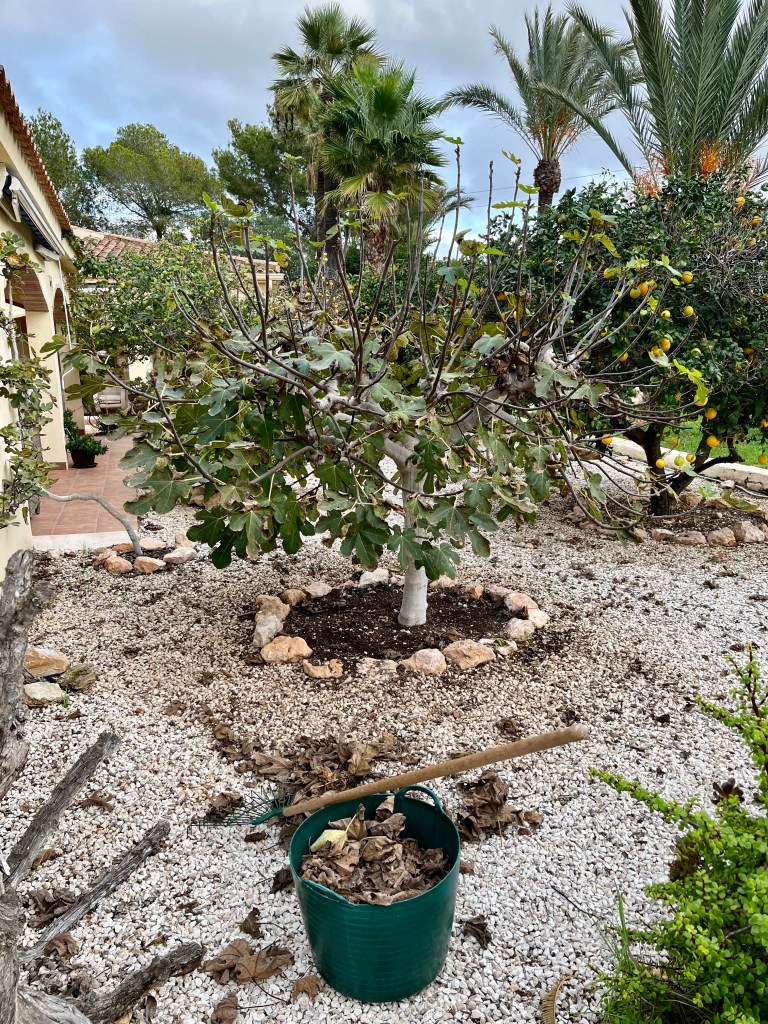
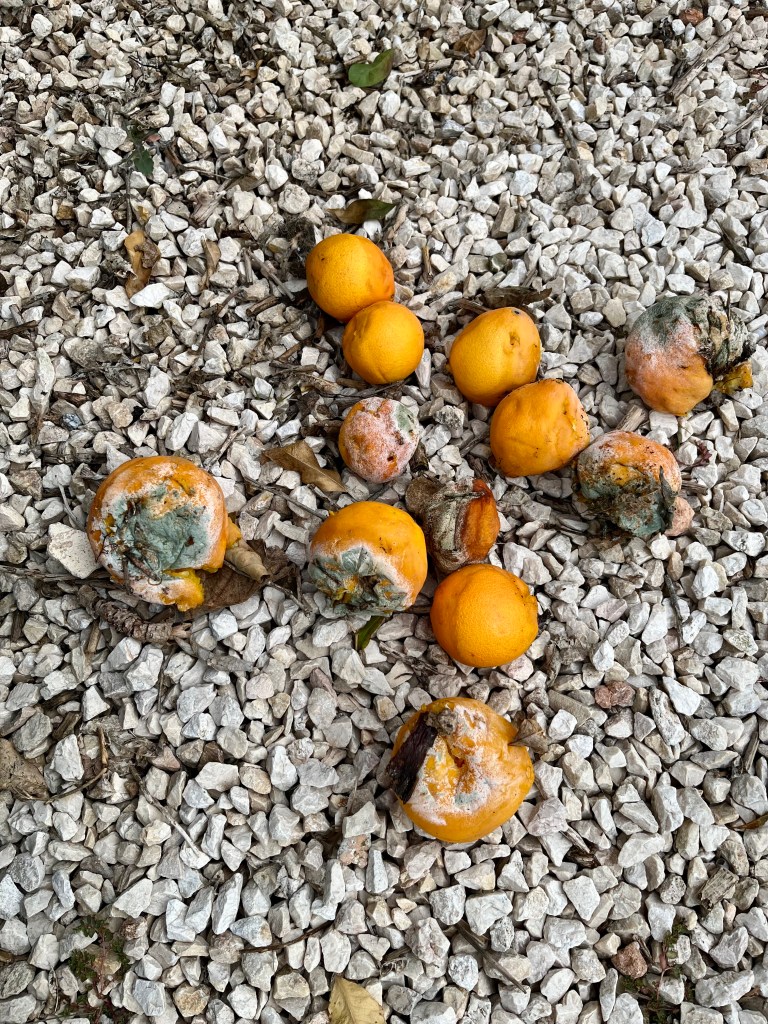
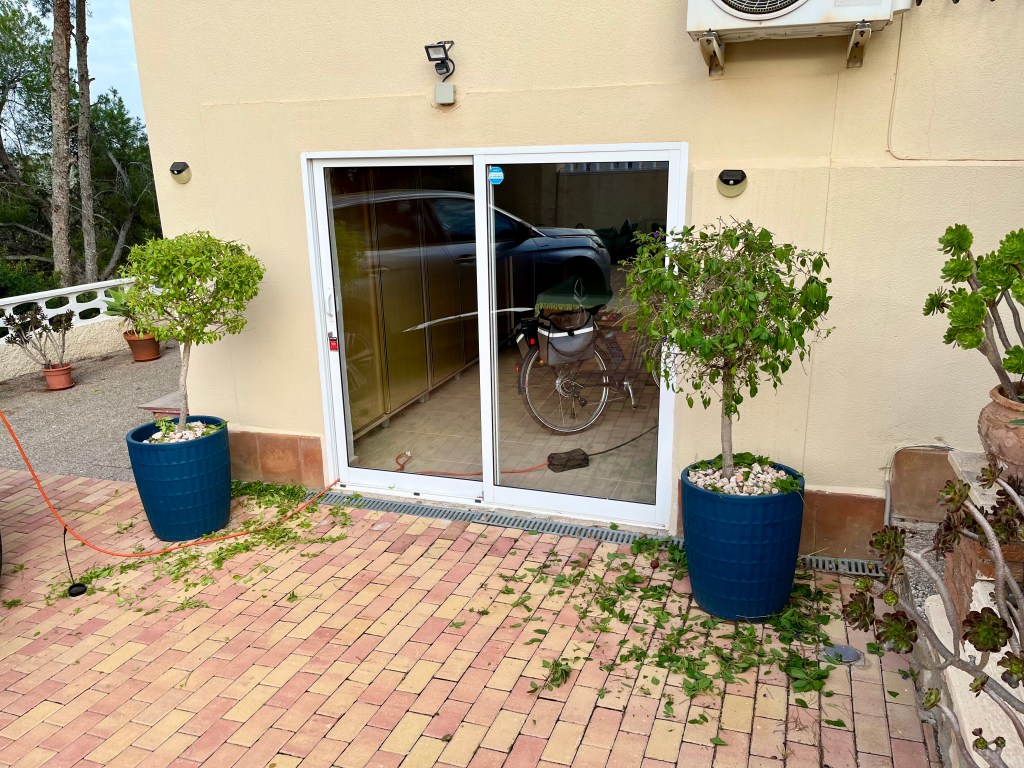
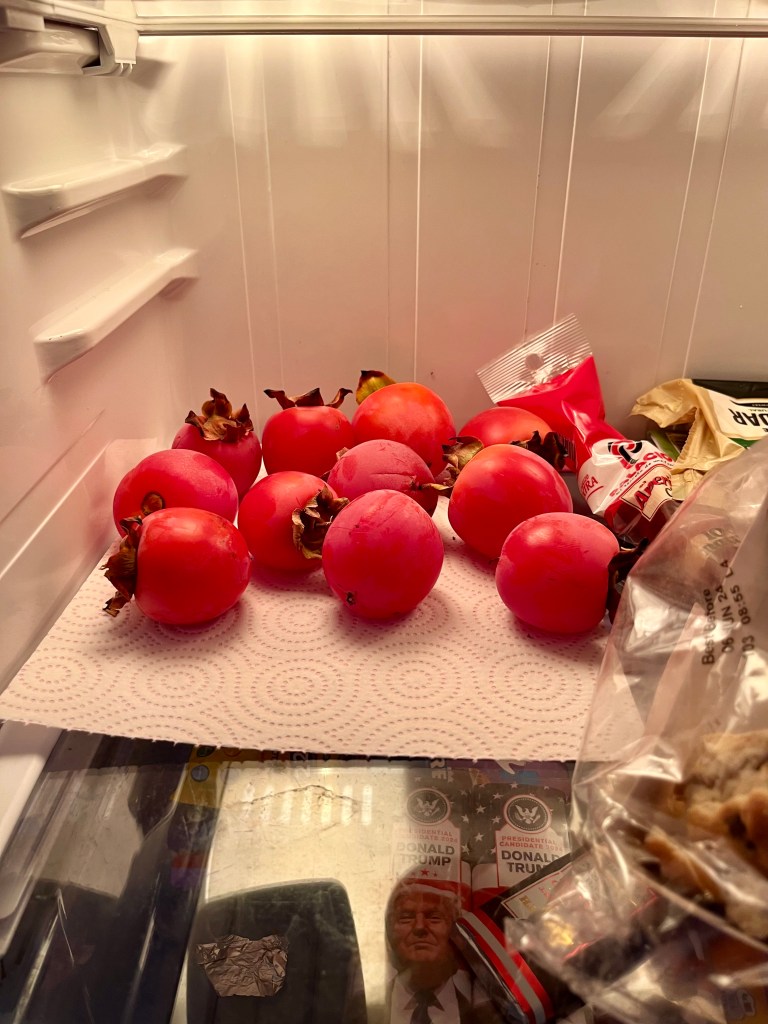
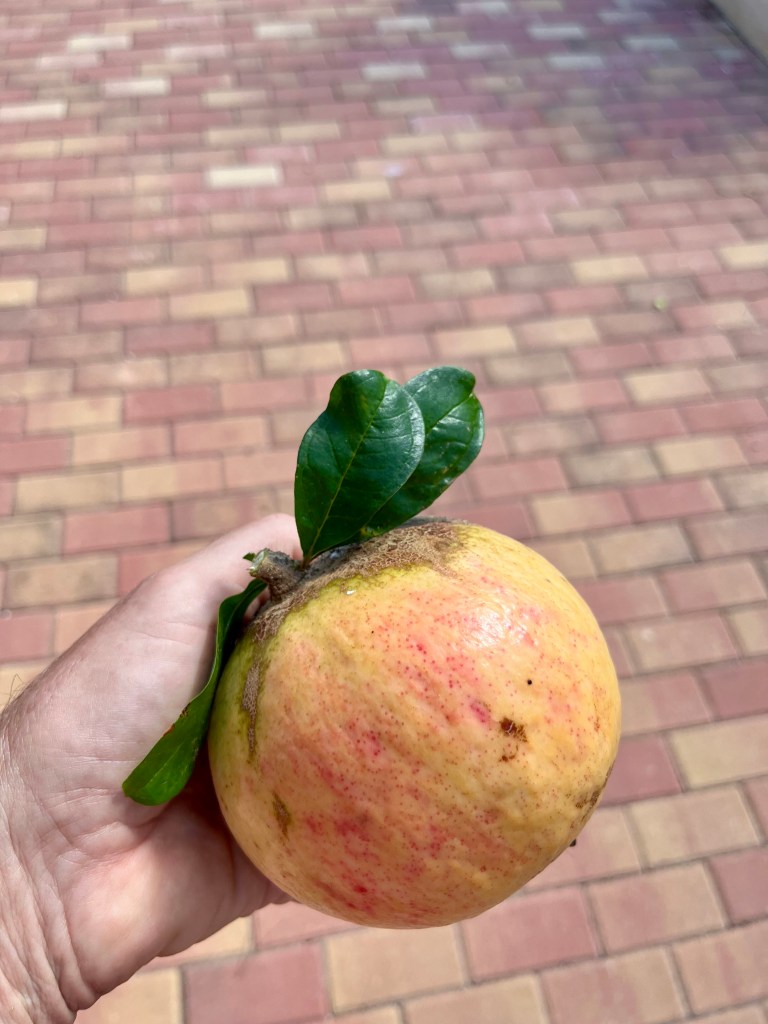
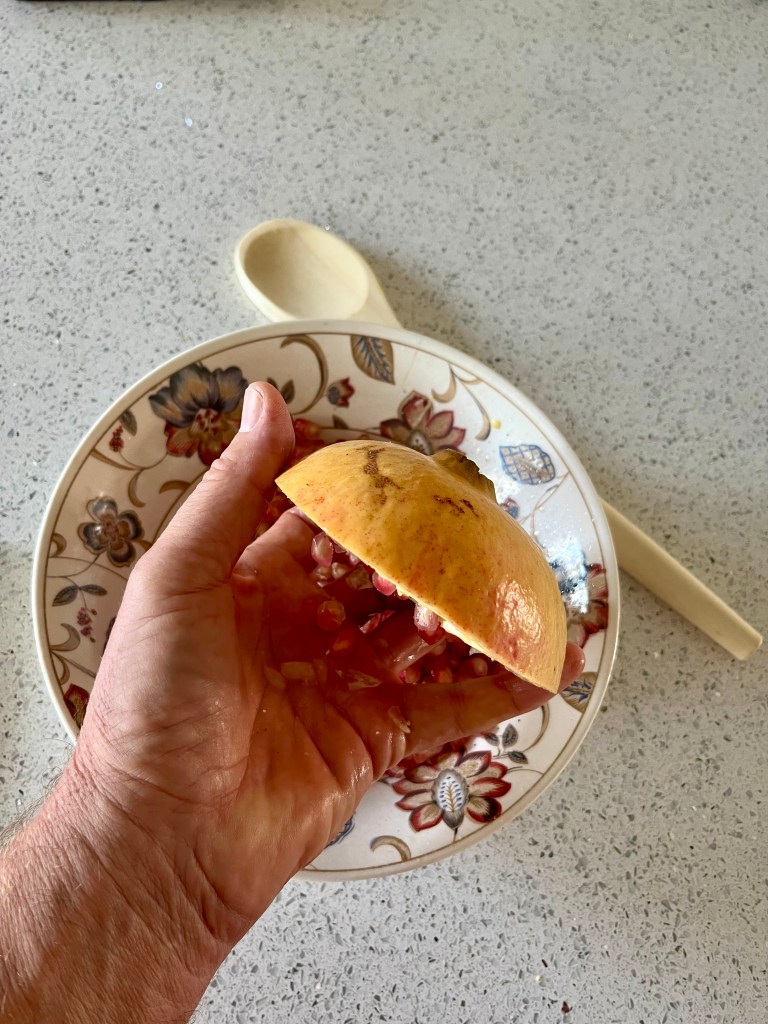
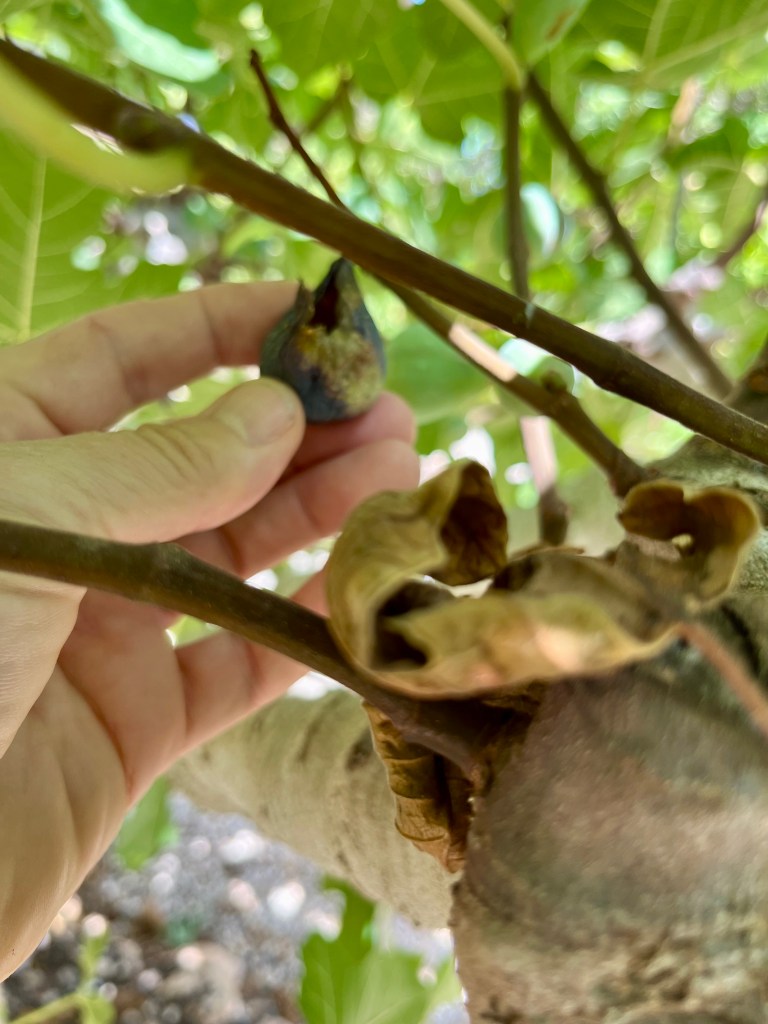
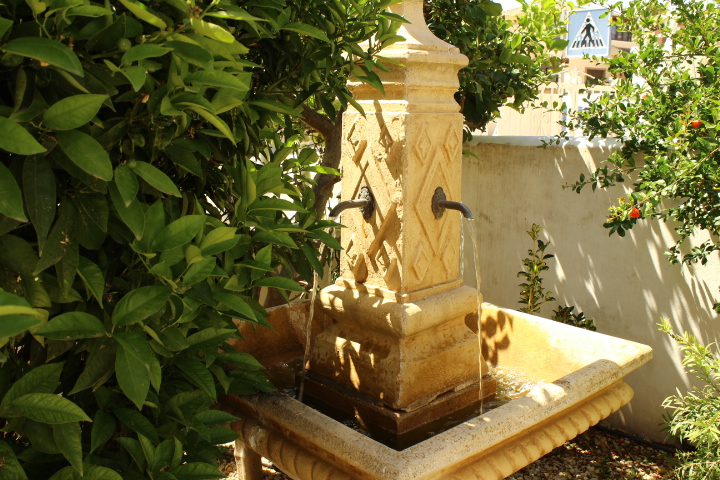
Harvesting the last citrus fruit. By now your citrus trees should have blossomed and now be setting fruit. This is a good time to take off all of last years oranges. You don’t have to do this as the tree will eventually reject last years fruit, but why let the tree waste energy that could be going into this years fruit. So get your ladder out and pick off those high up fruits you have been leaving. The photo below shows the last of my crops. Lemons I leave a bit longer.

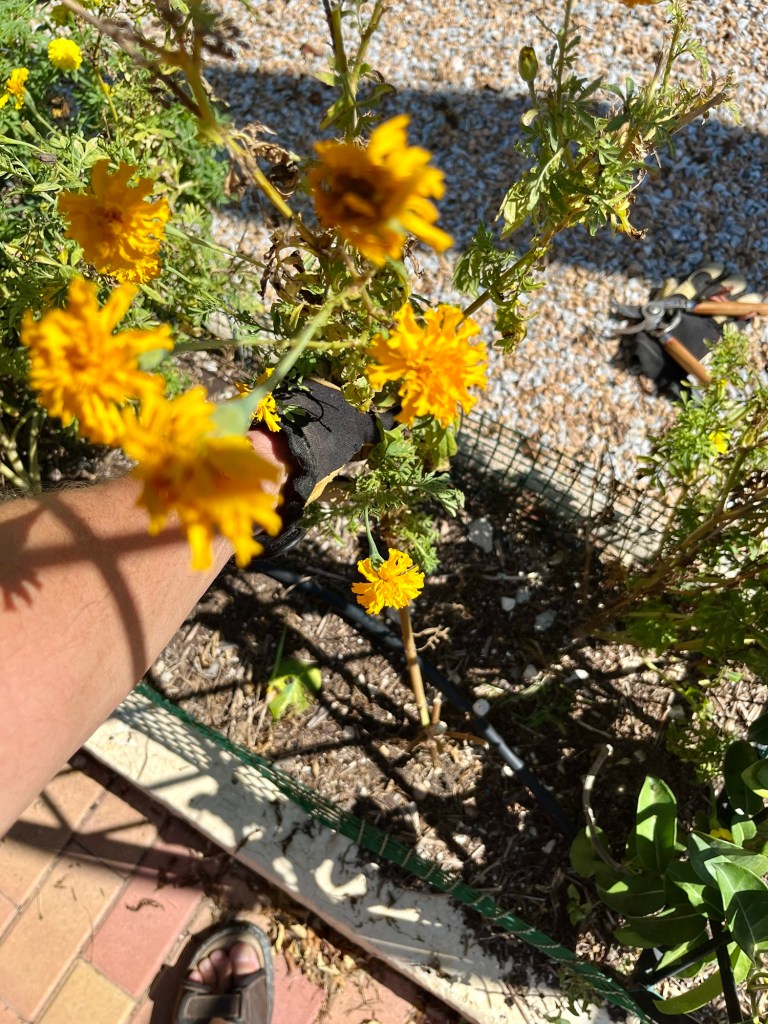
Starting deadheading. This is not the main deadheading season as this will really hot up as we go through mid-summer. But now is the time to deadhead spring flowers and early summer flowerers like roses etc.
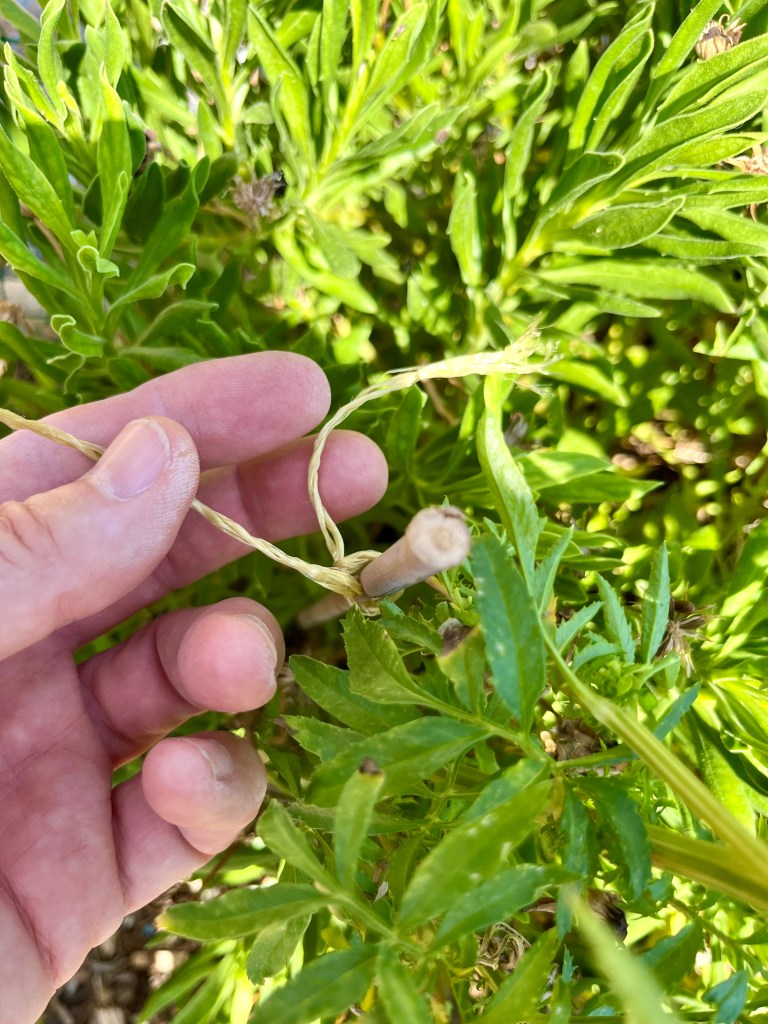
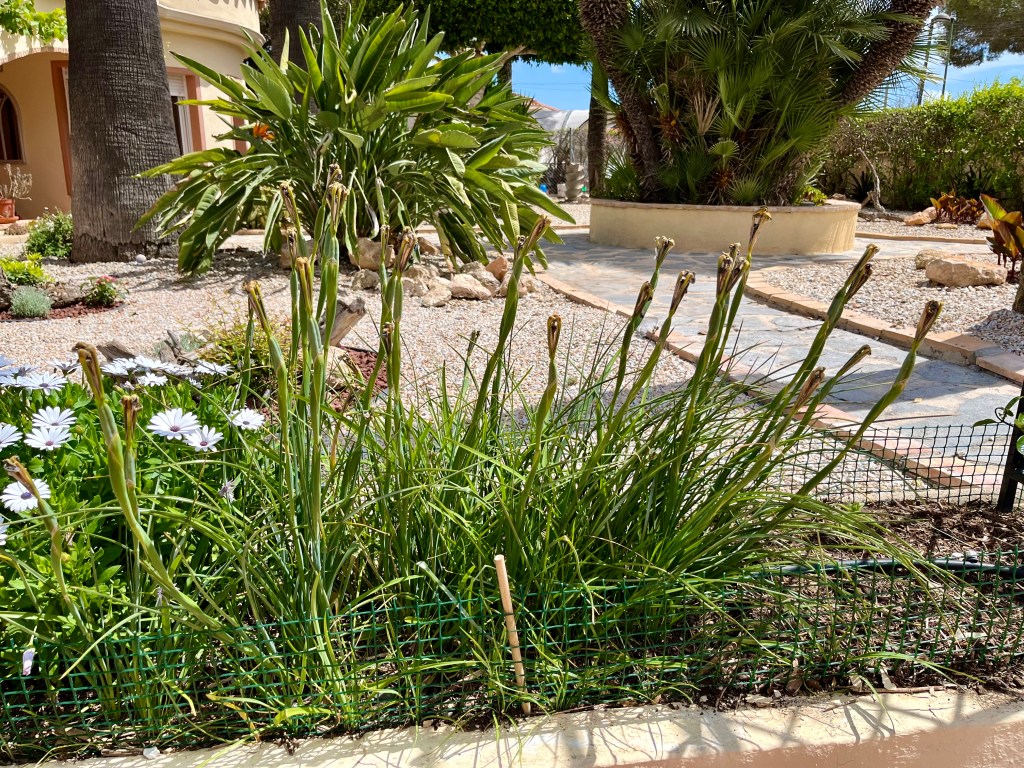
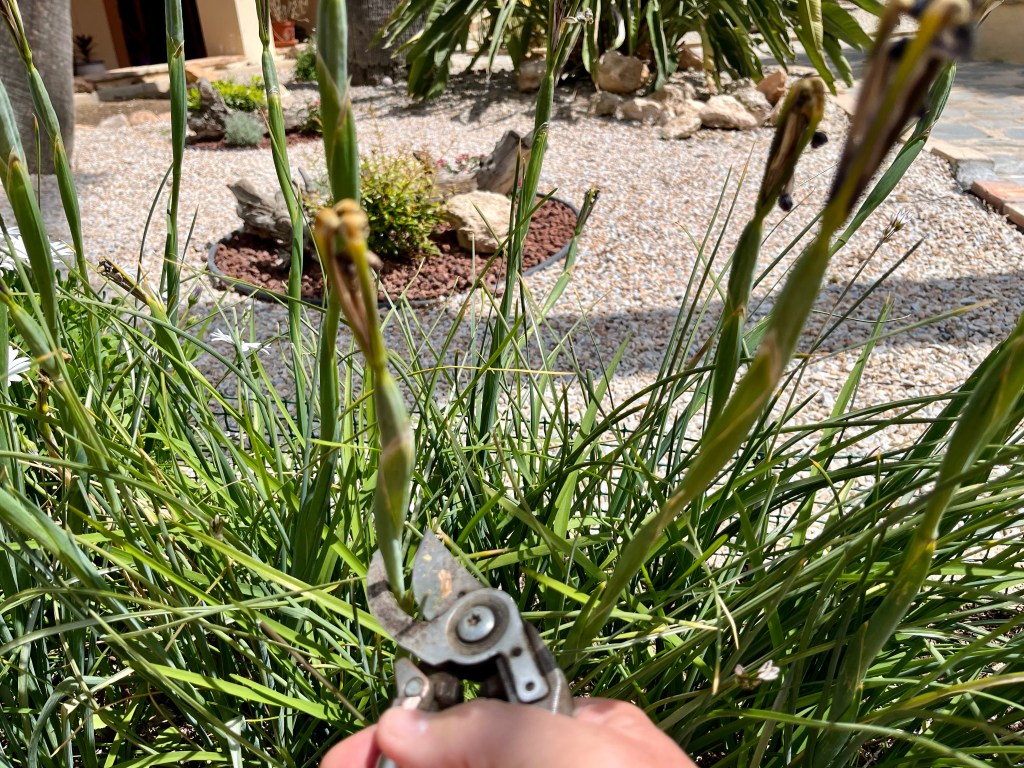
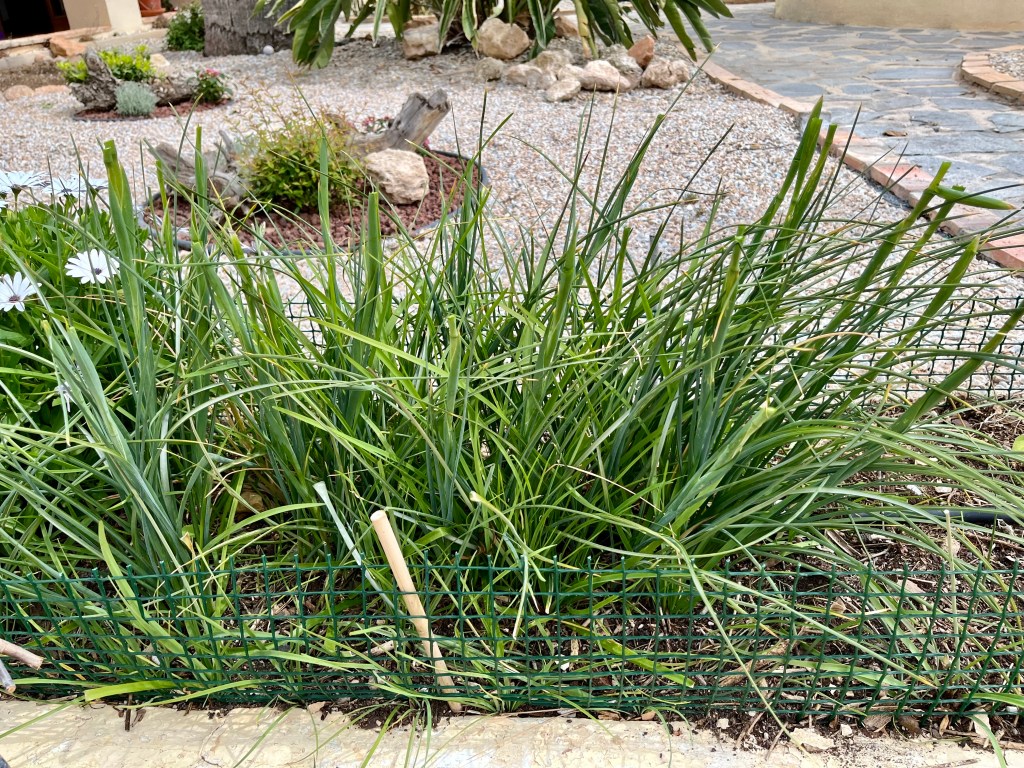
I normally start by deadheading and tieing up spring flowering Iris. I have both Spanish and Dutch Iris, but their treatment is the same. Deadhead the flowers individually as they are spent, and when most are finished tie them up to let the stems and leaves decay and return the nourishment to the bulbs.
The photos below show where to deadhead these particular plants.

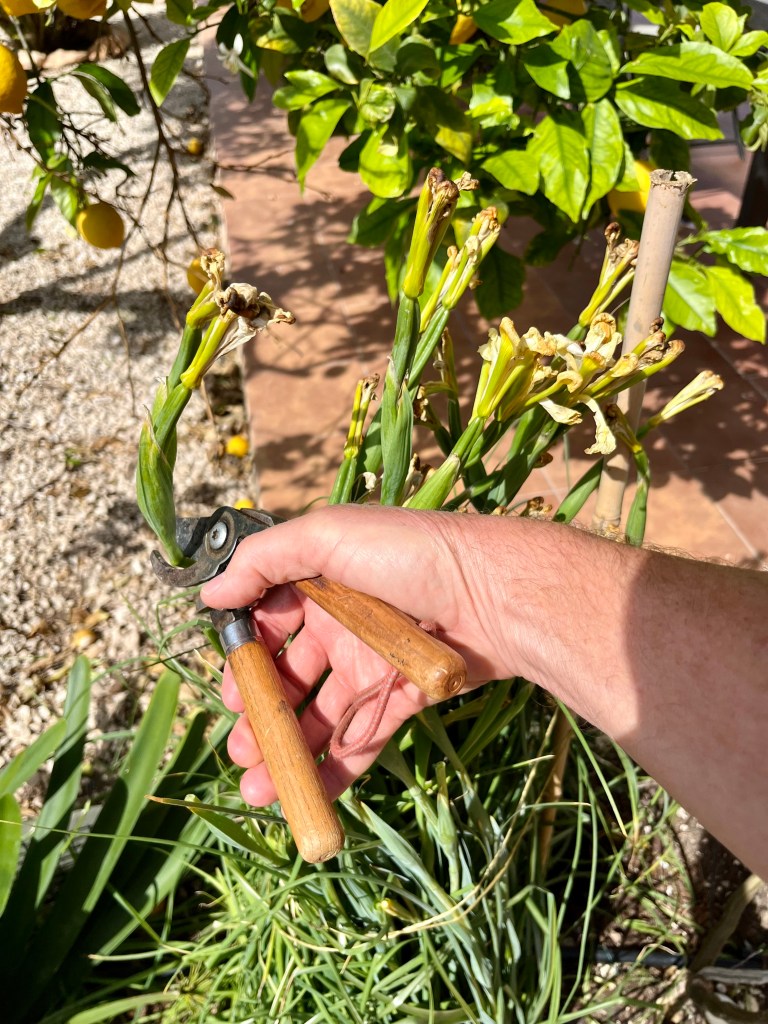

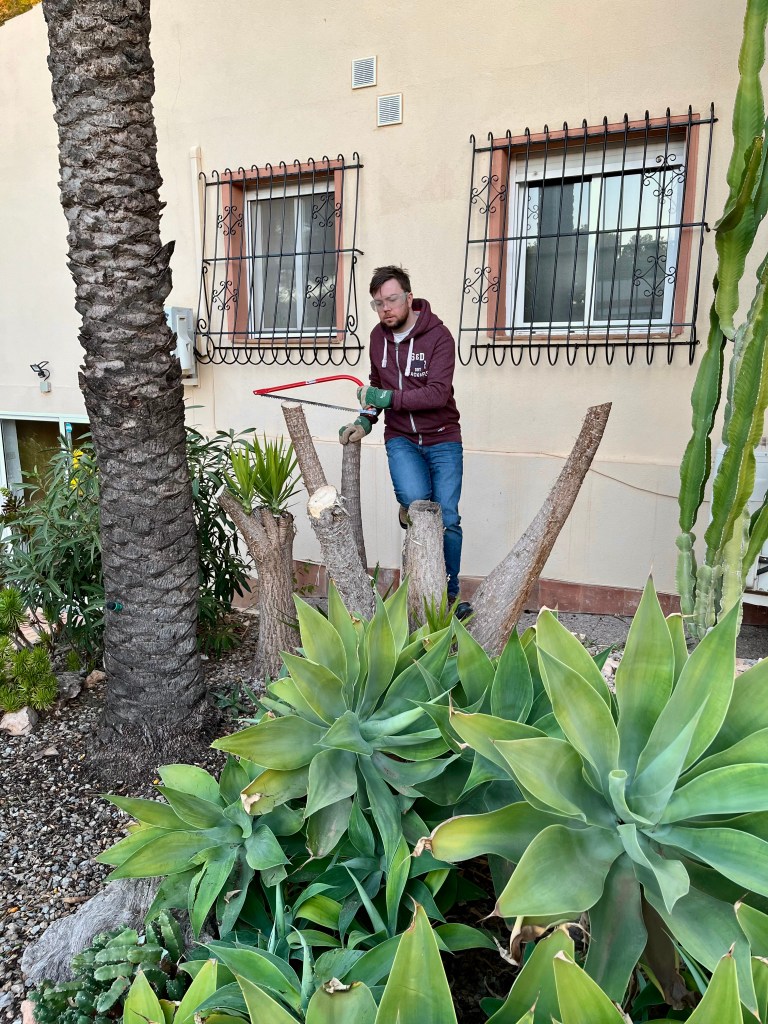
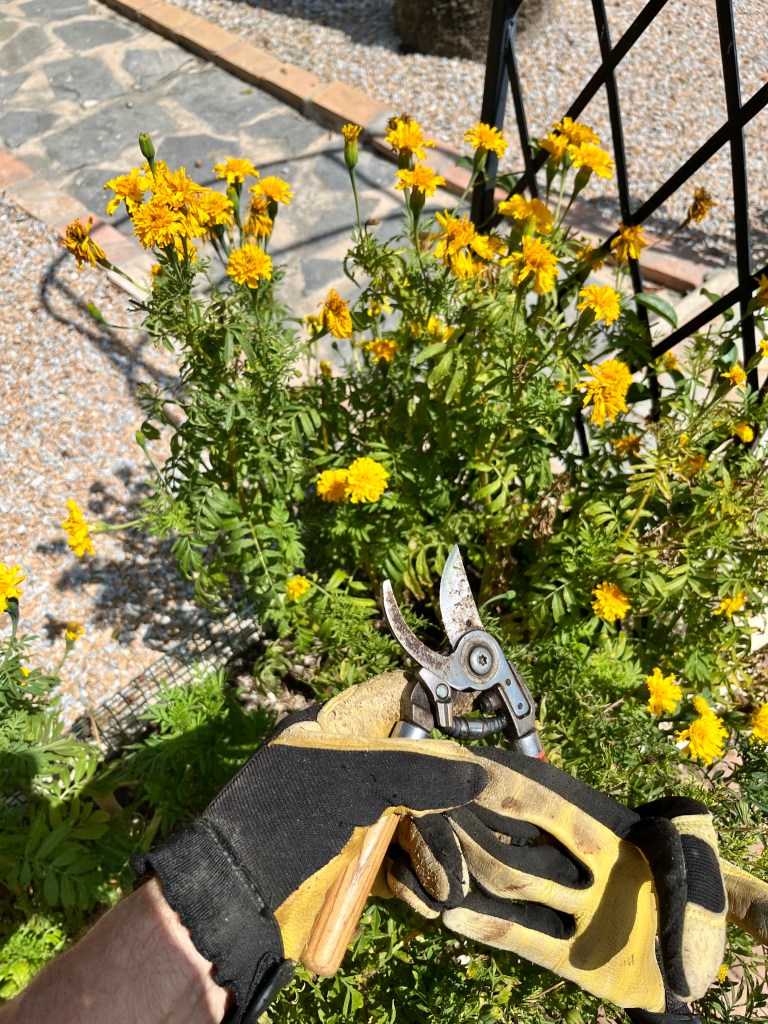
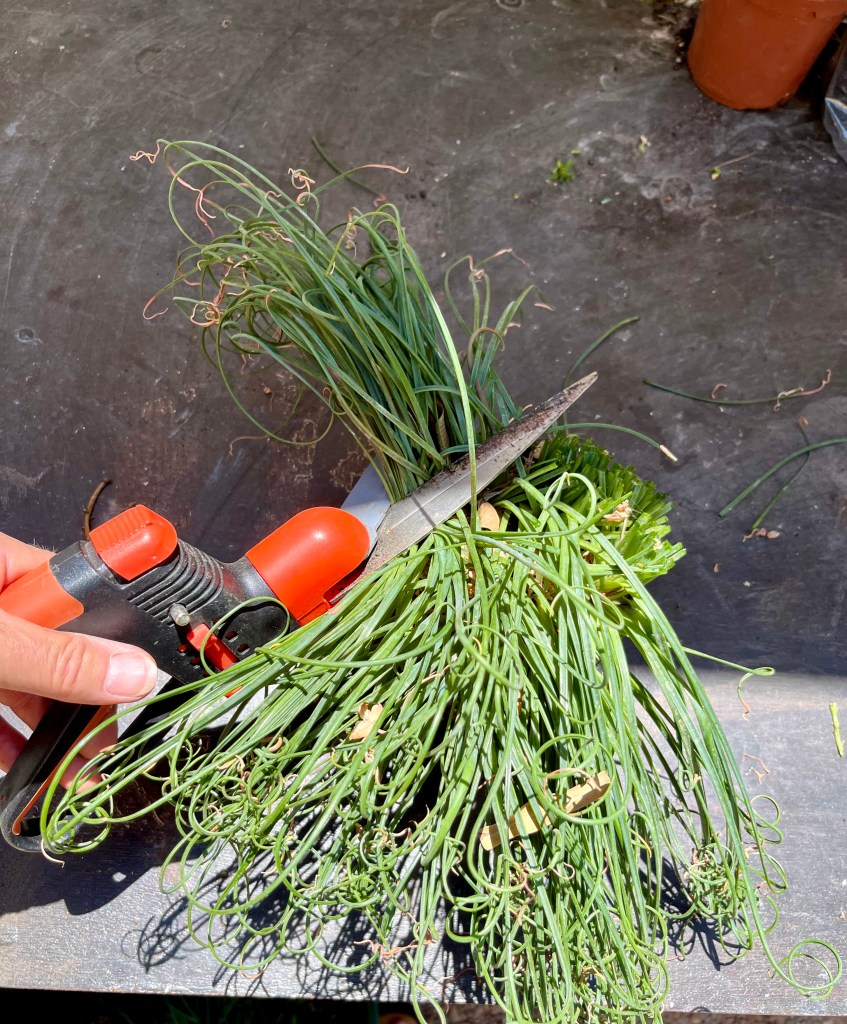
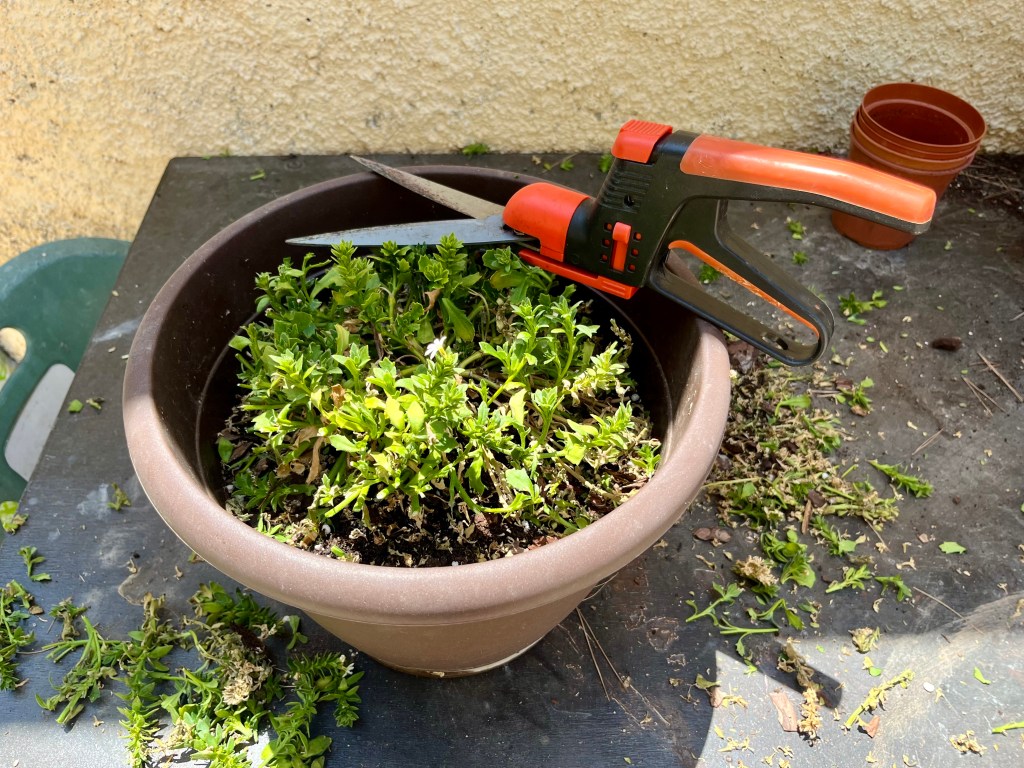
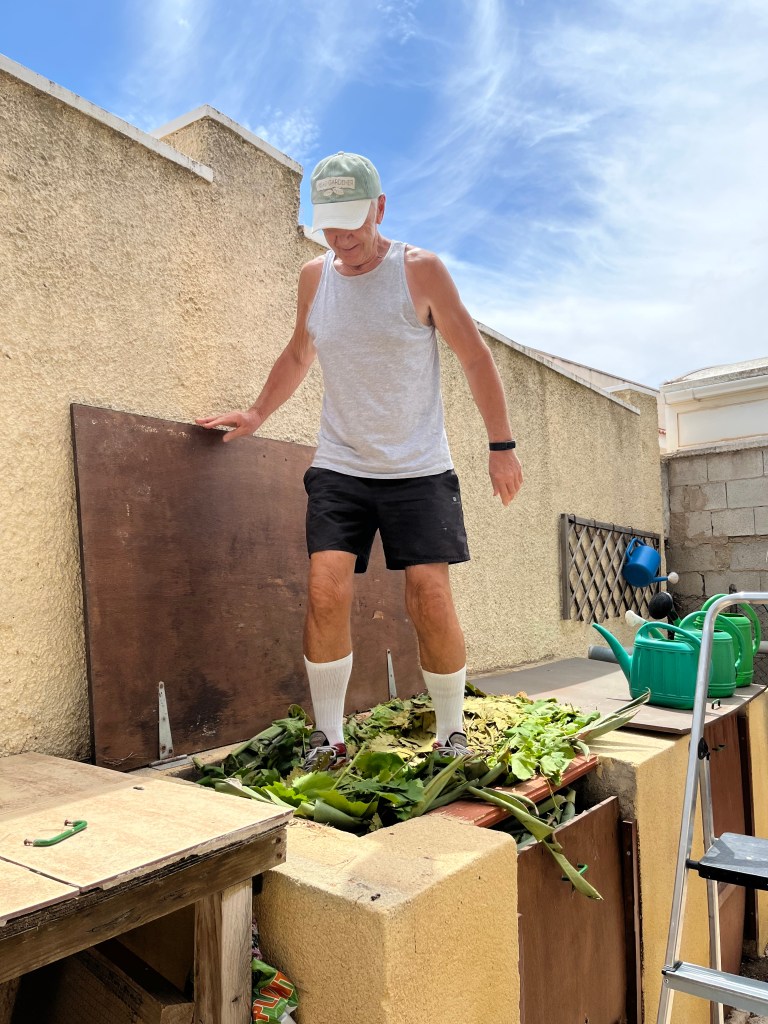
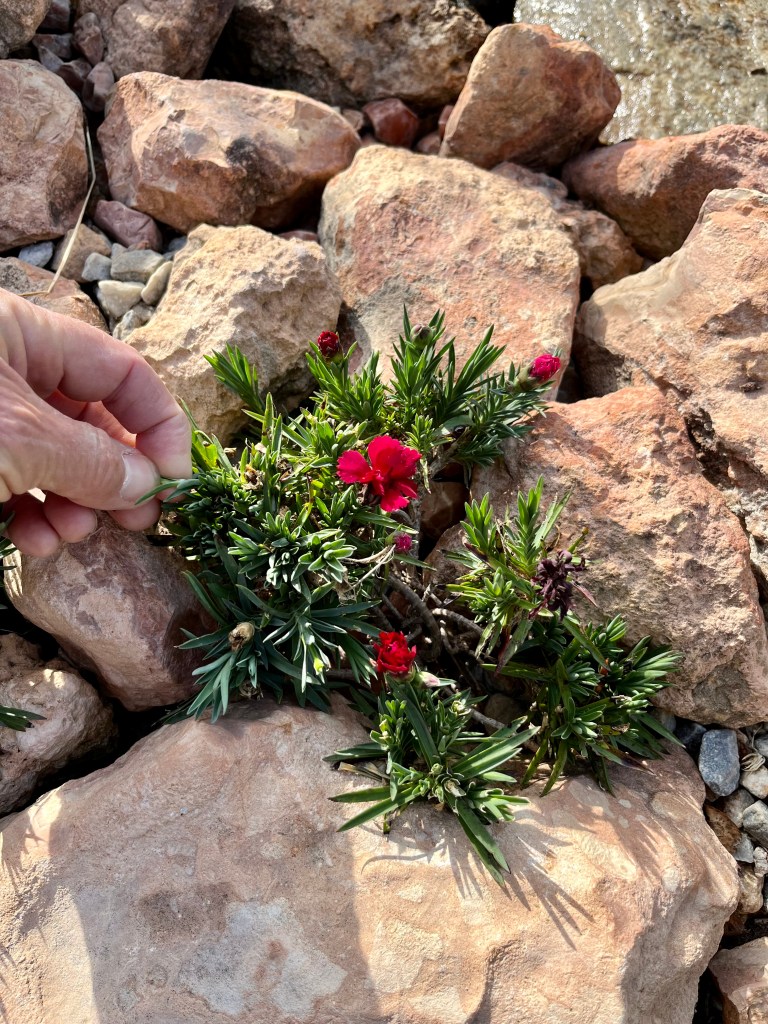
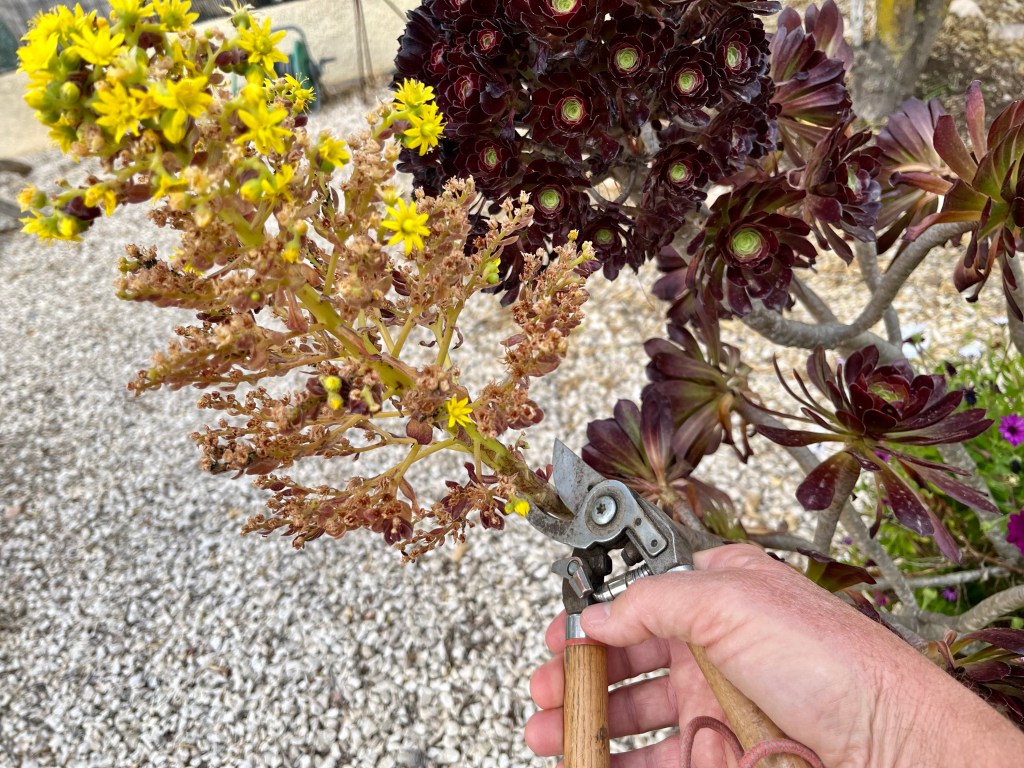
Once the Iris are out of the way the next job is to prune both Dianthus and Ice Plants. Both of these will have flowered early and provided you with lots of joy. Take off the spent Dianthus and Ice plant flowers using either shears or long one-handed shears. The benefit of this particular tool is it allows you both to shear lots of dead flowers at the same time, whilst being able to deadhead individual blooms.The photos below show me in action.


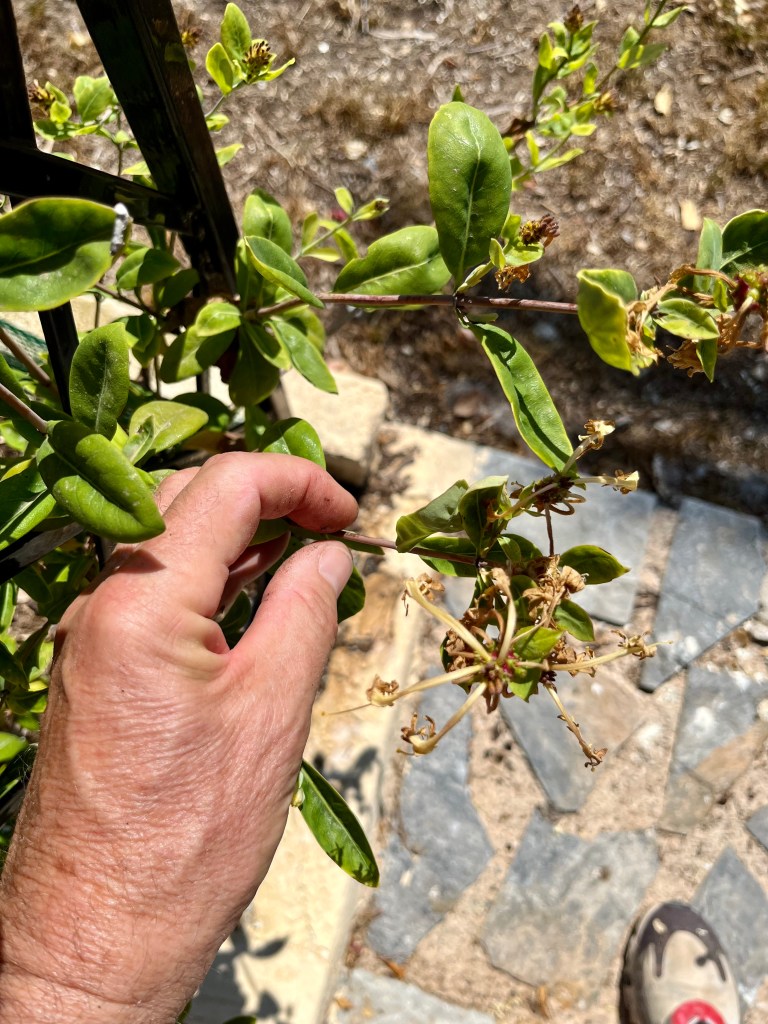
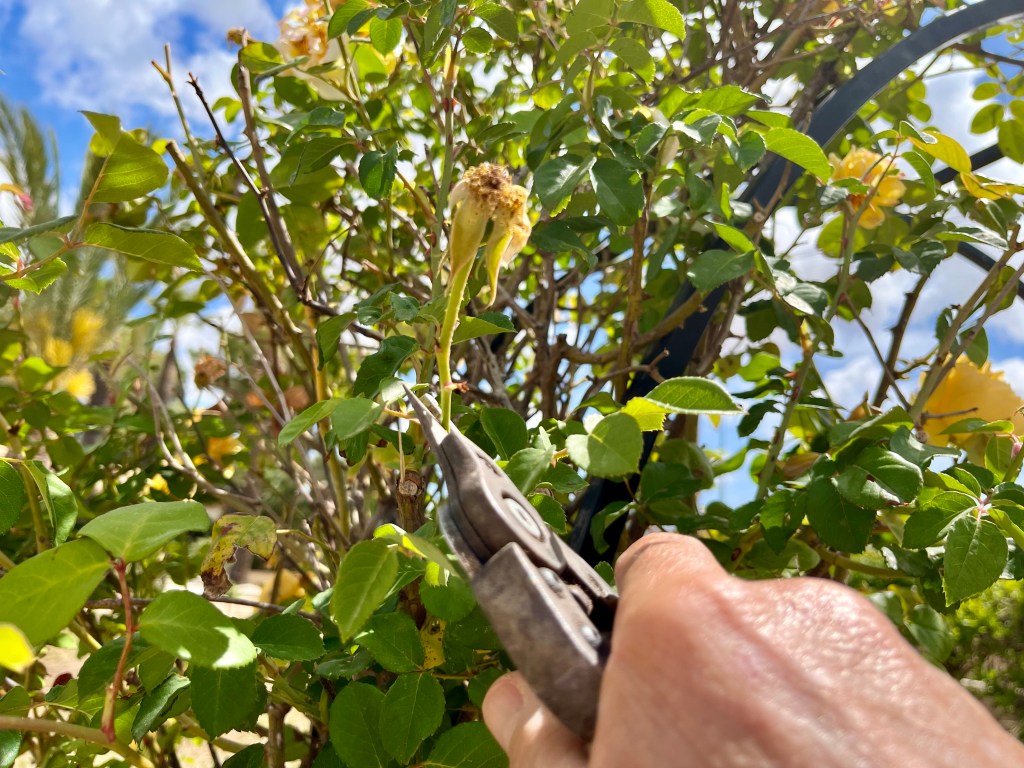
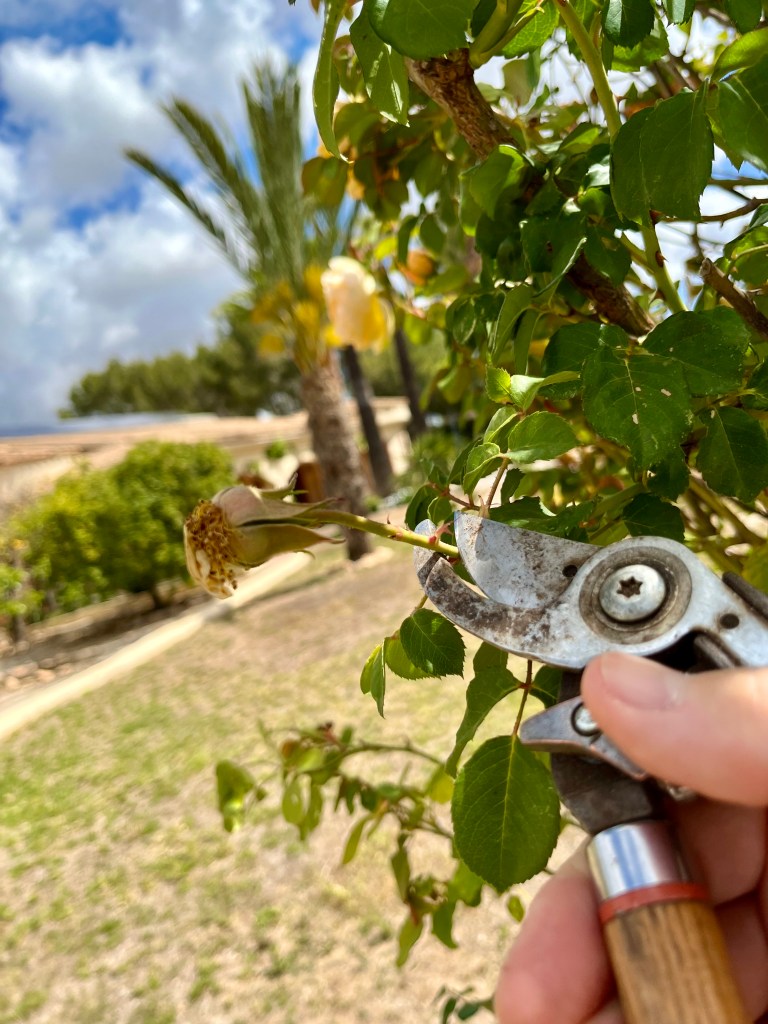
The final early summer bloomer is roses. Try to deadhead roses every day as this will encourage repeat blooming. Depending on your rose variety some will bloom once and others will repeat bloom throughout summer. For both types the deadheading is the same. Move your secateurs down the stem of the rose you want to deadhead until you meet the next leaf node; cut here as it will leave as little dead stem as possible. The photos below show the process.


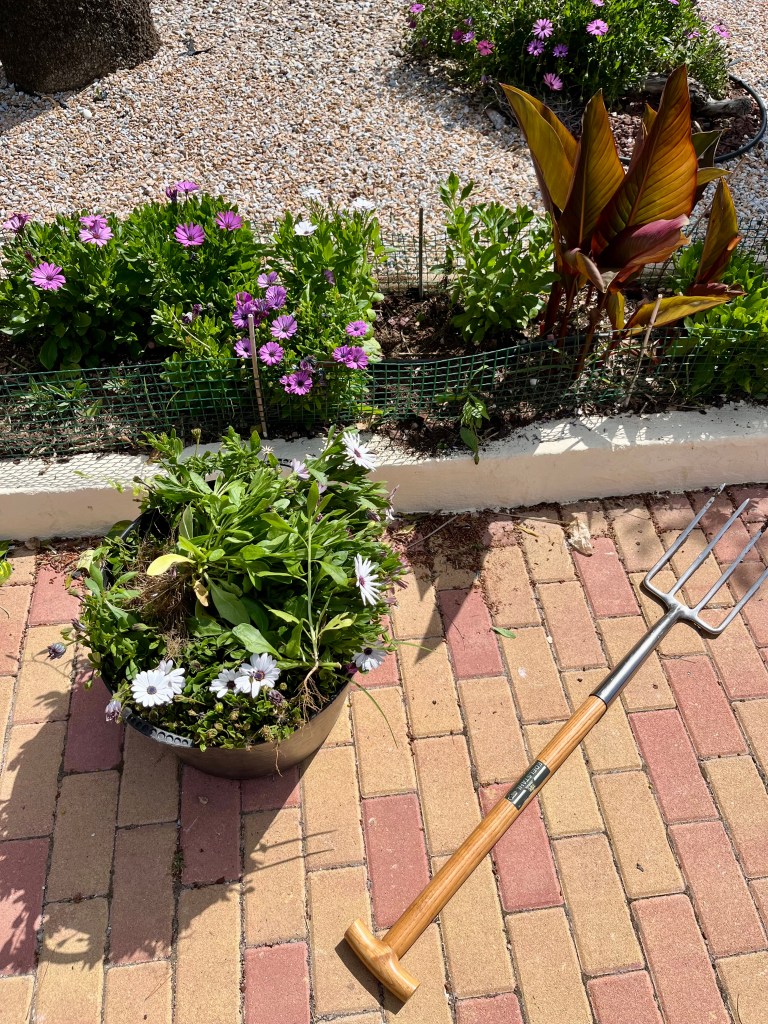
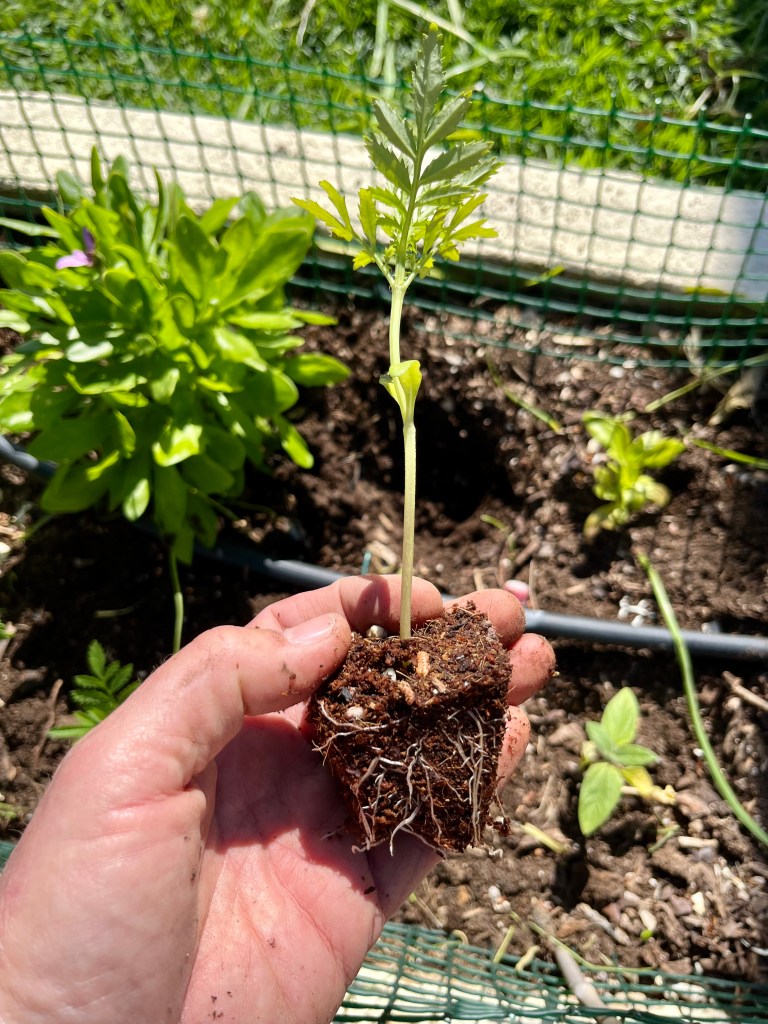
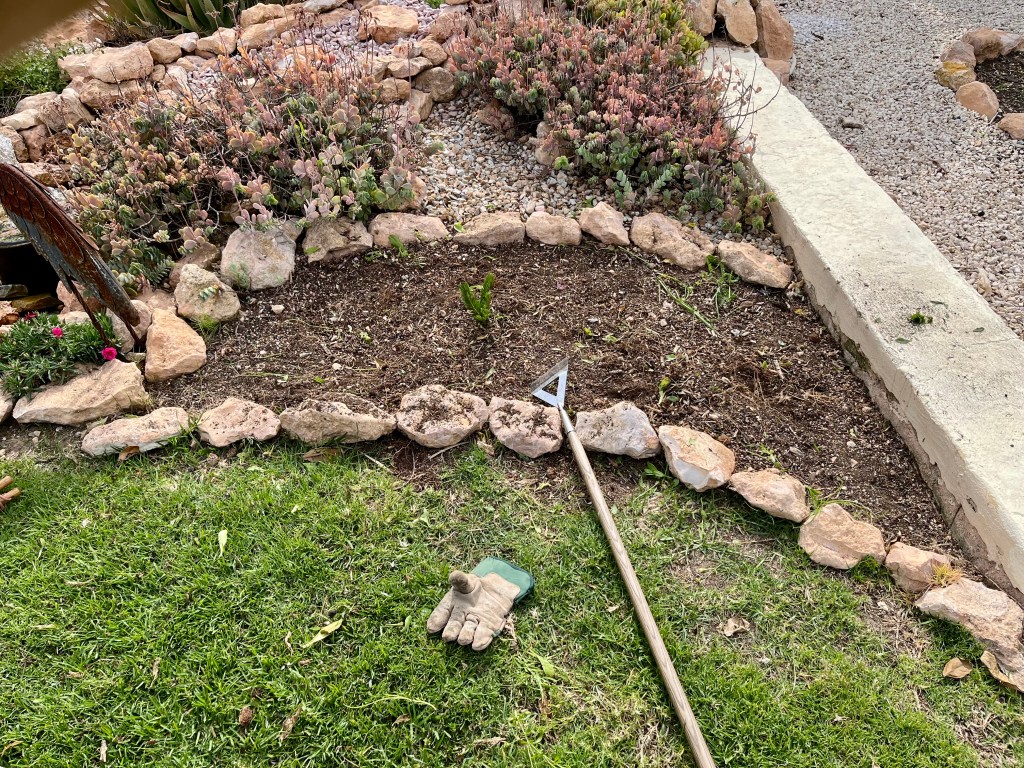
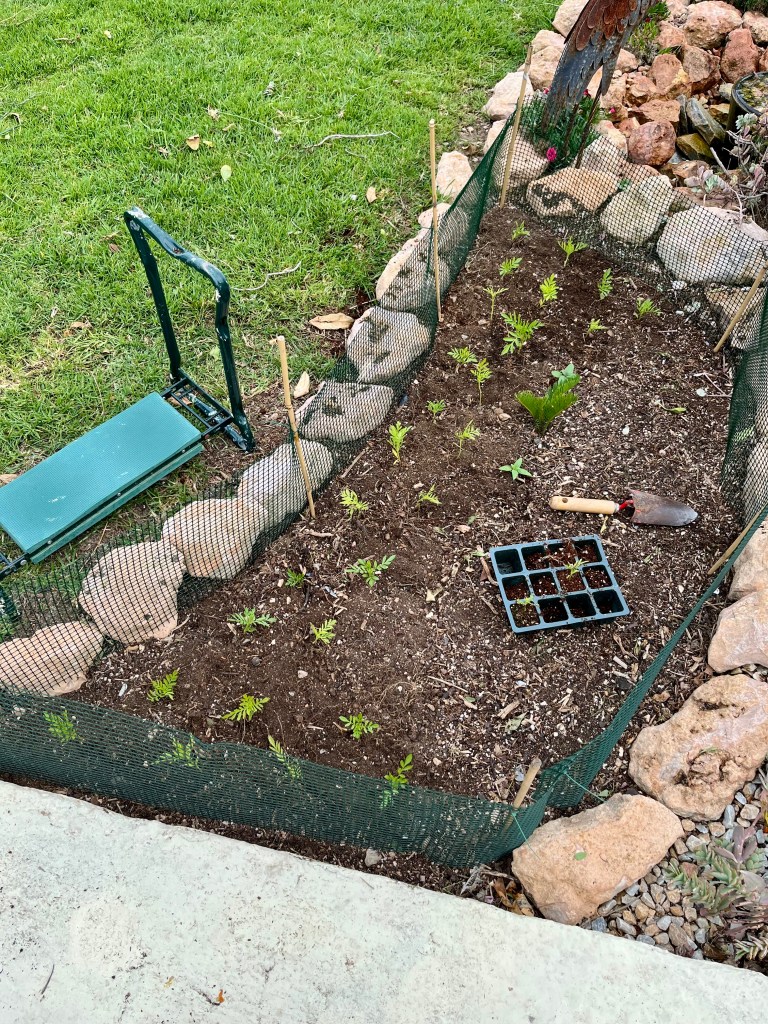
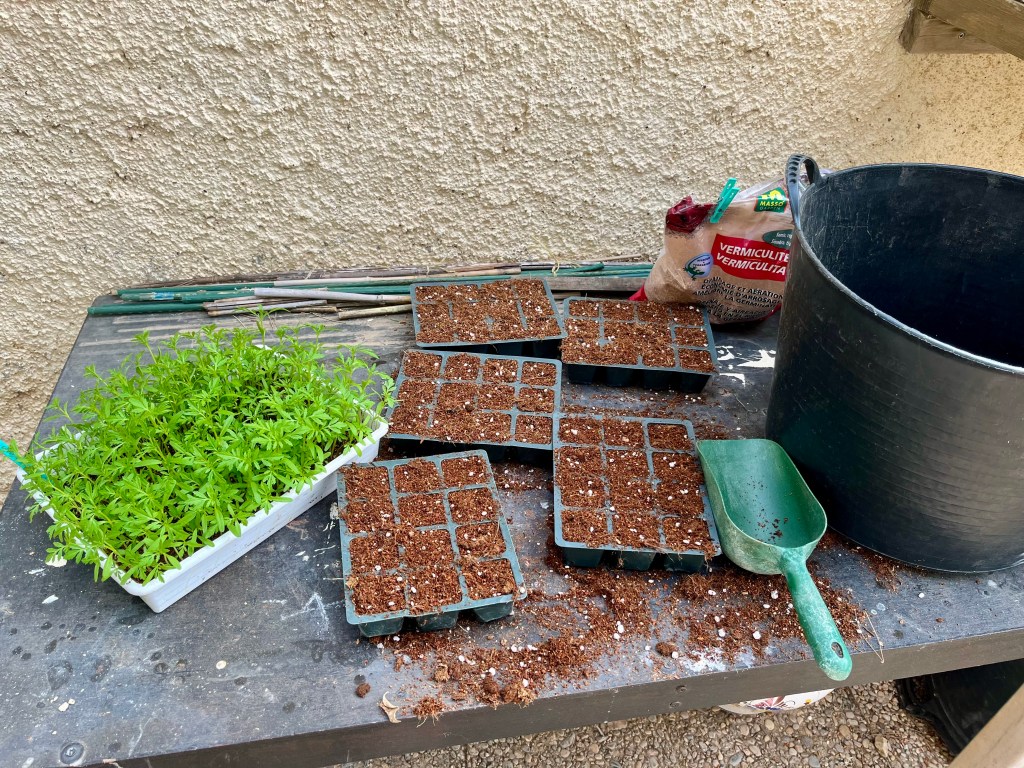
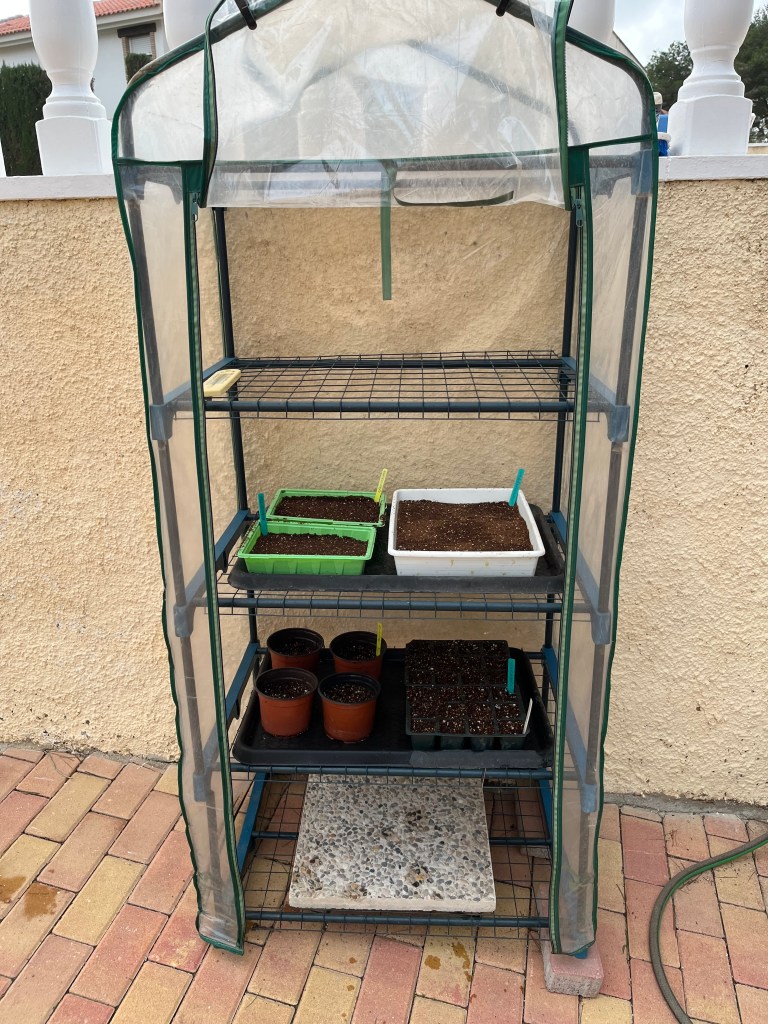
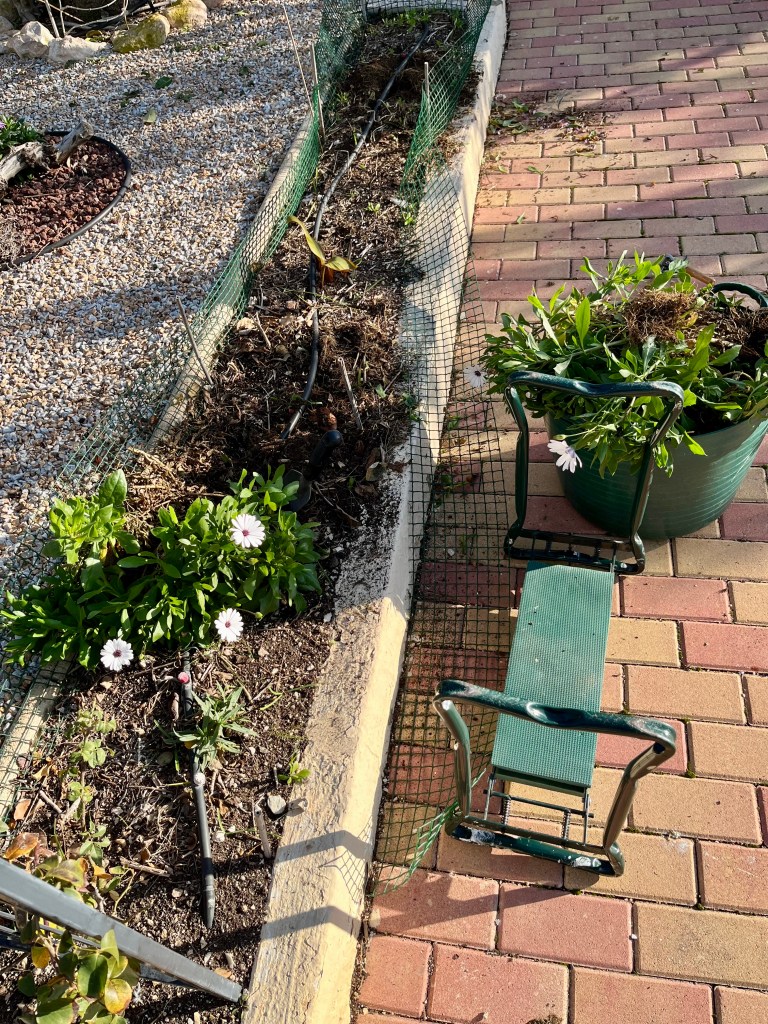
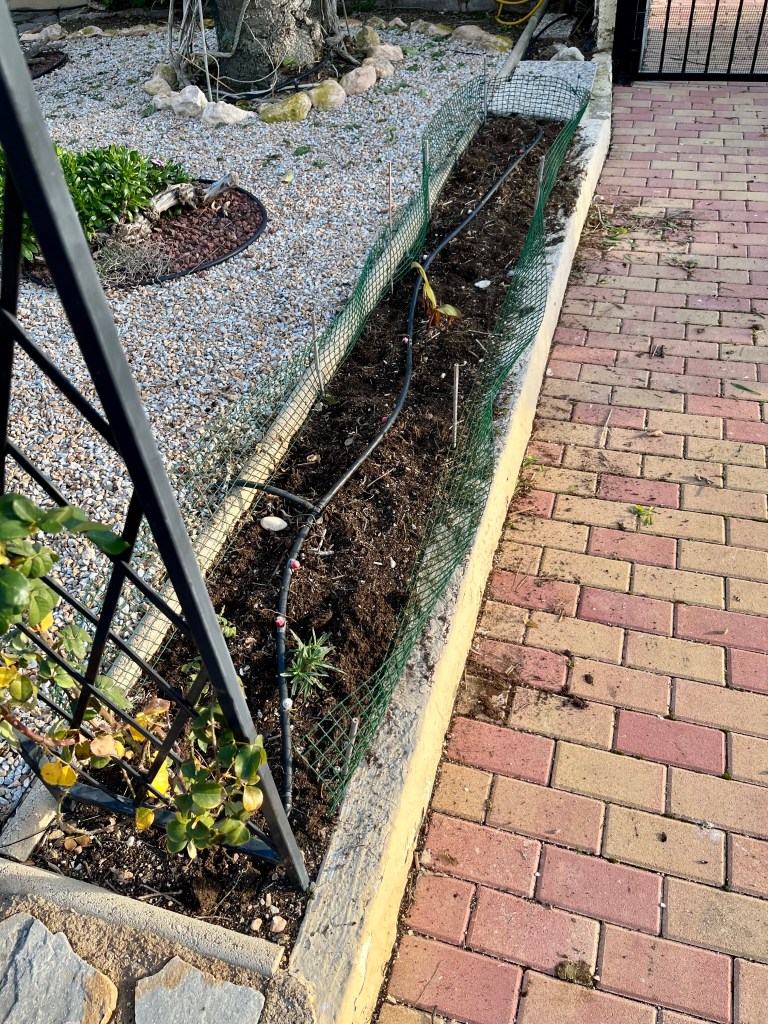
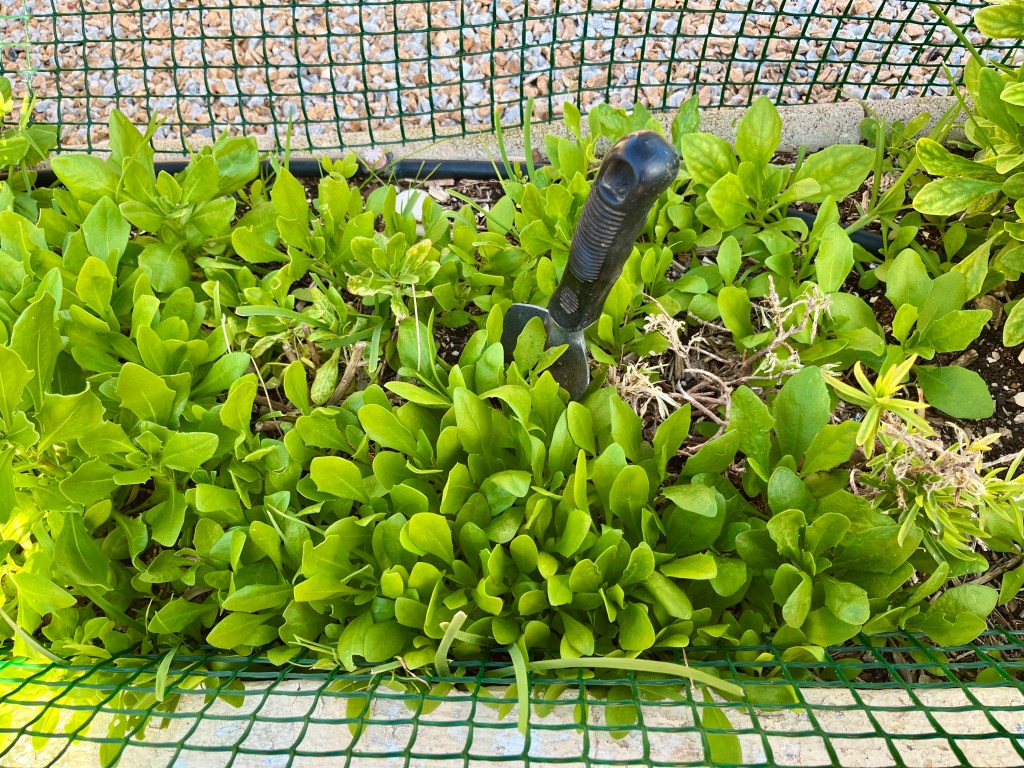
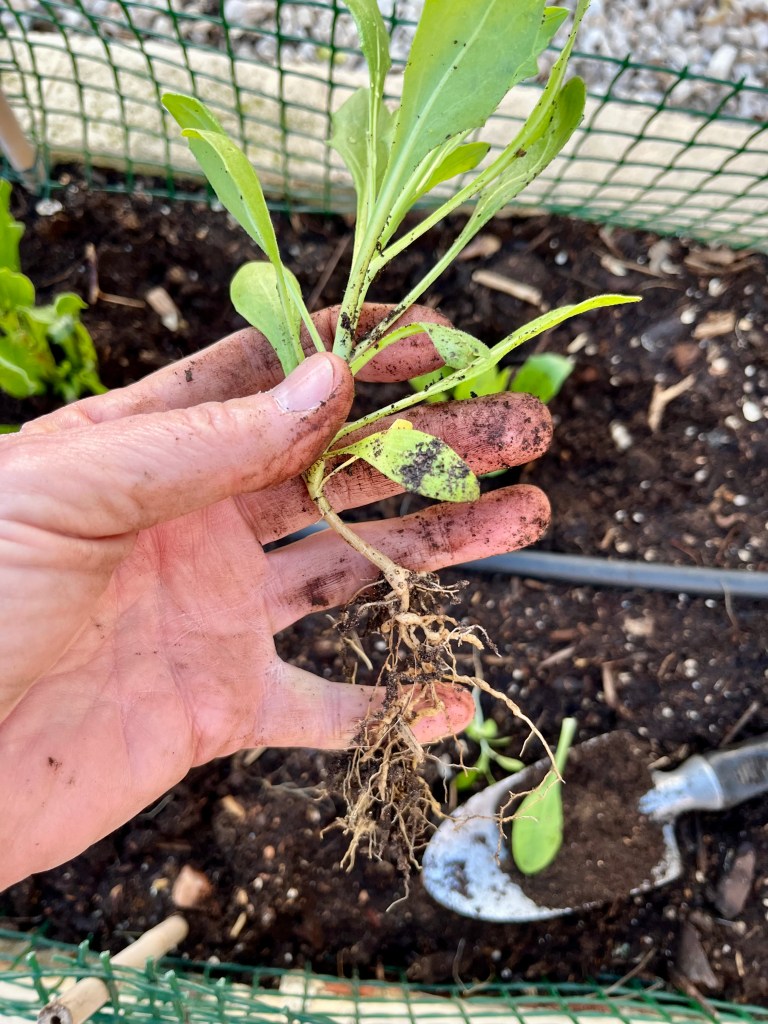
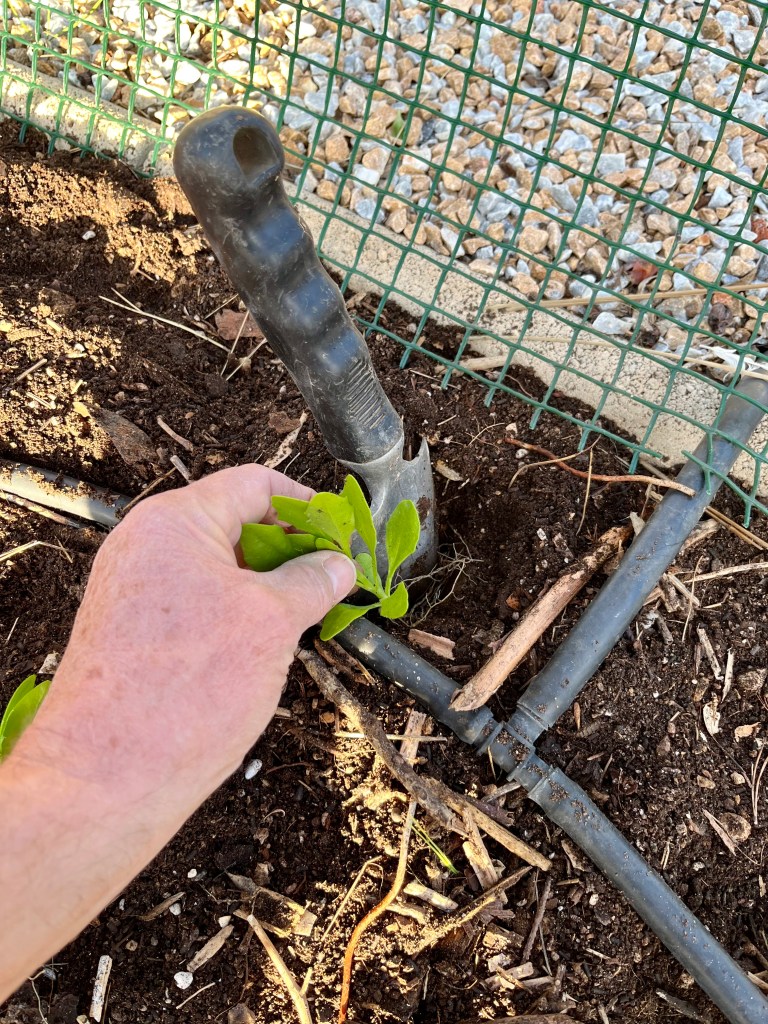
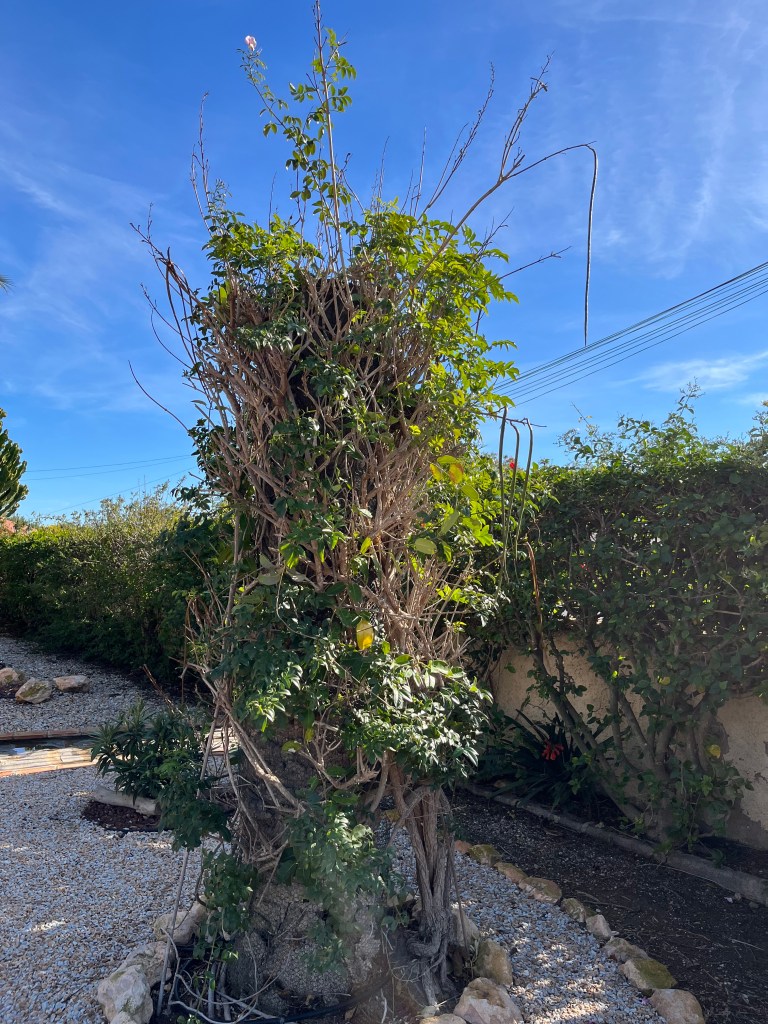
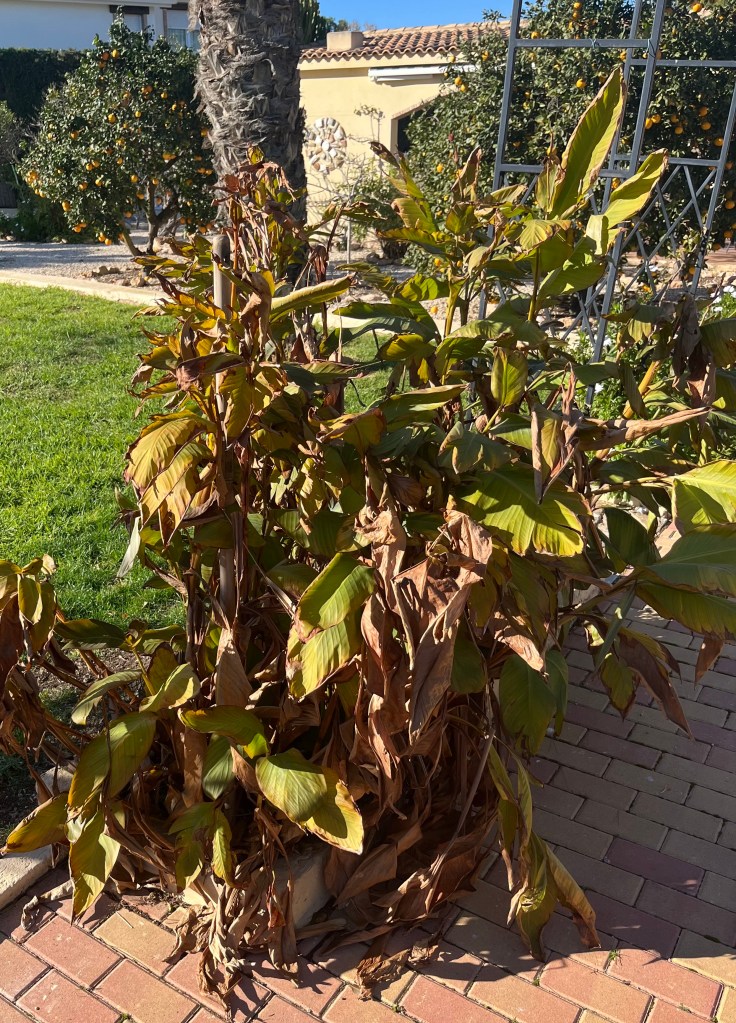
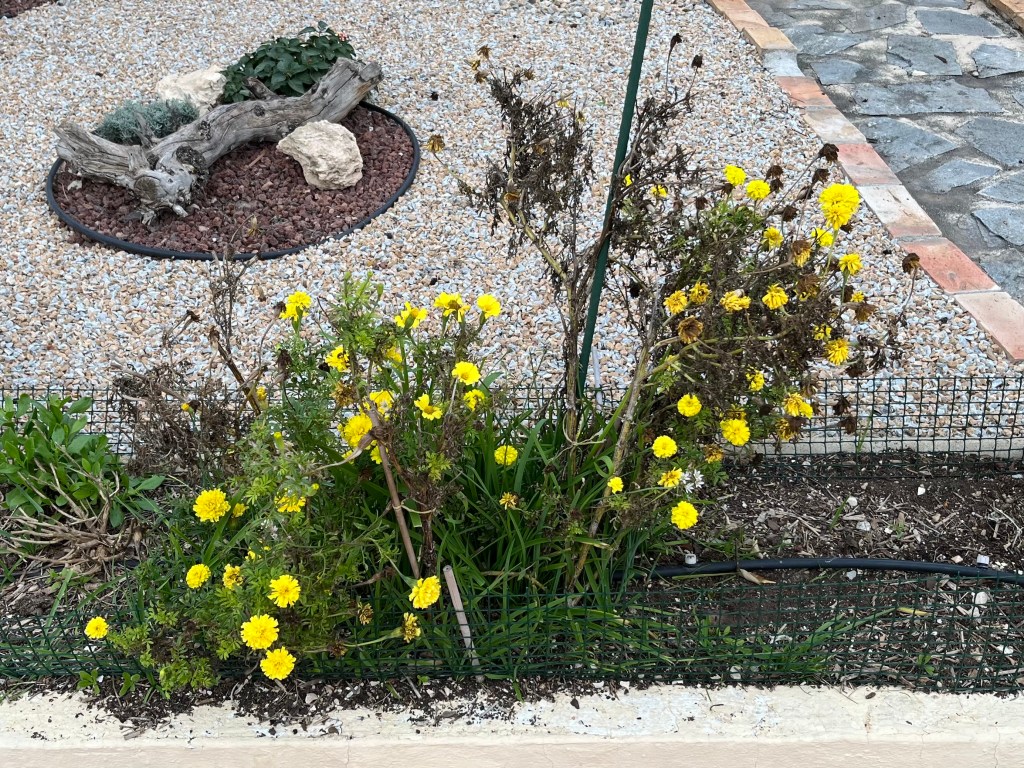
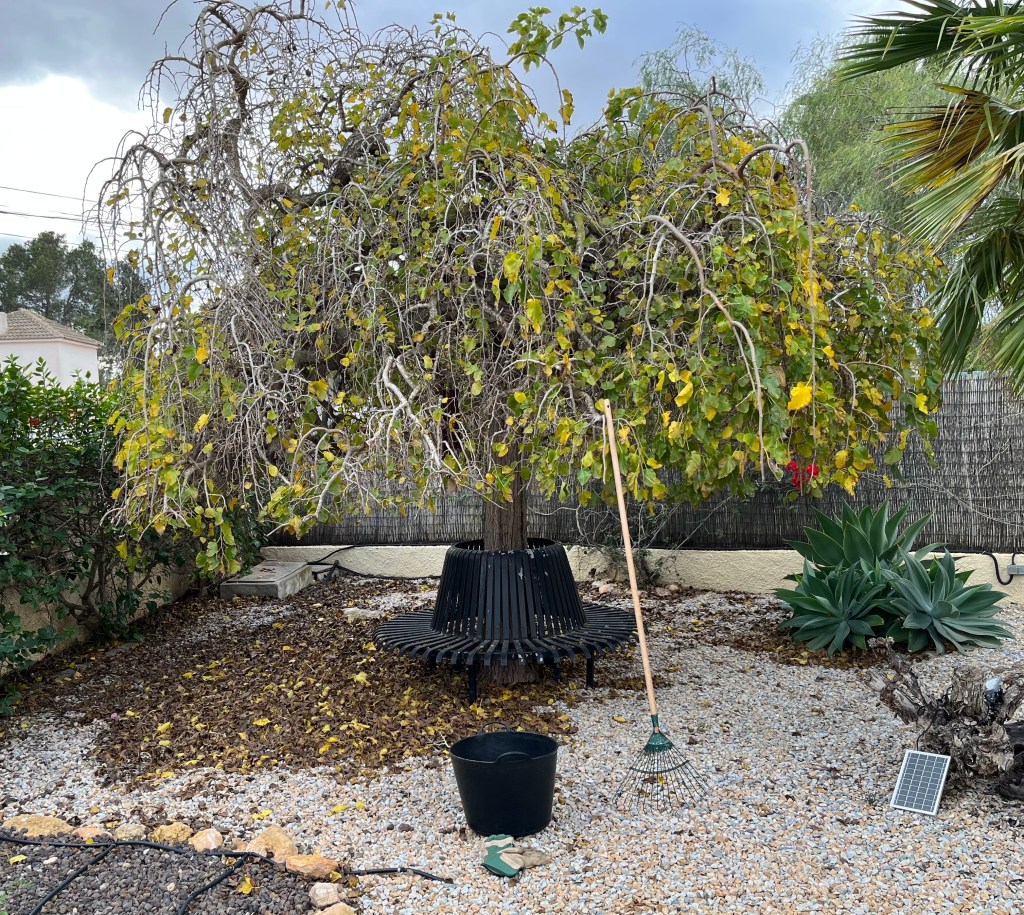
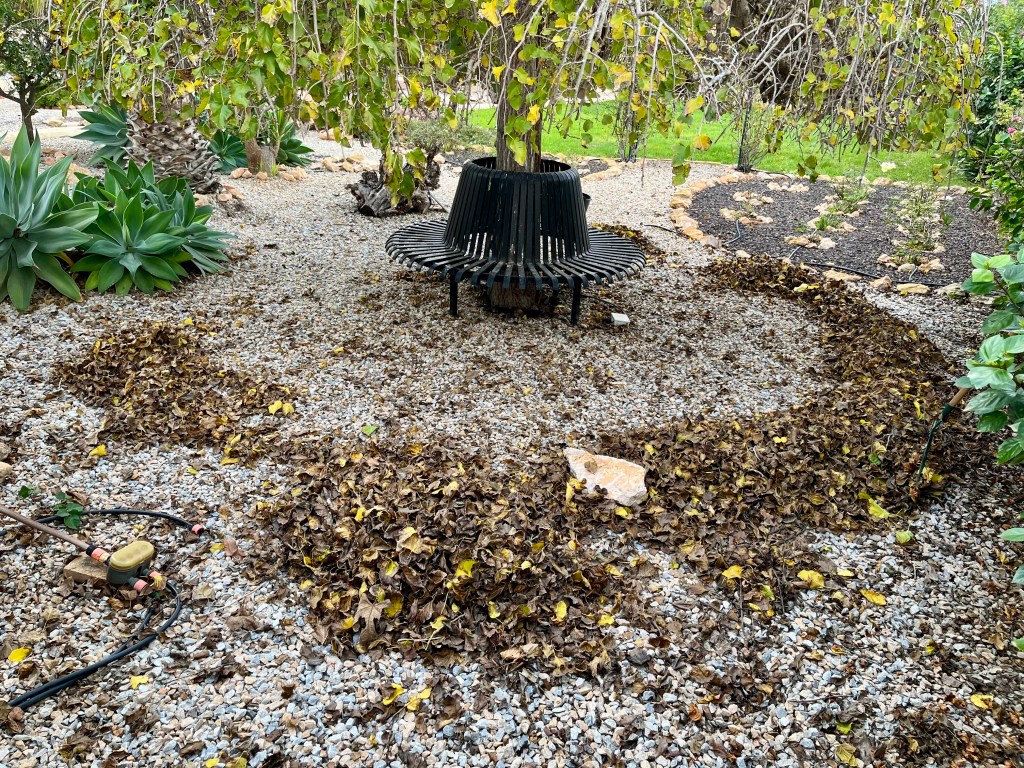
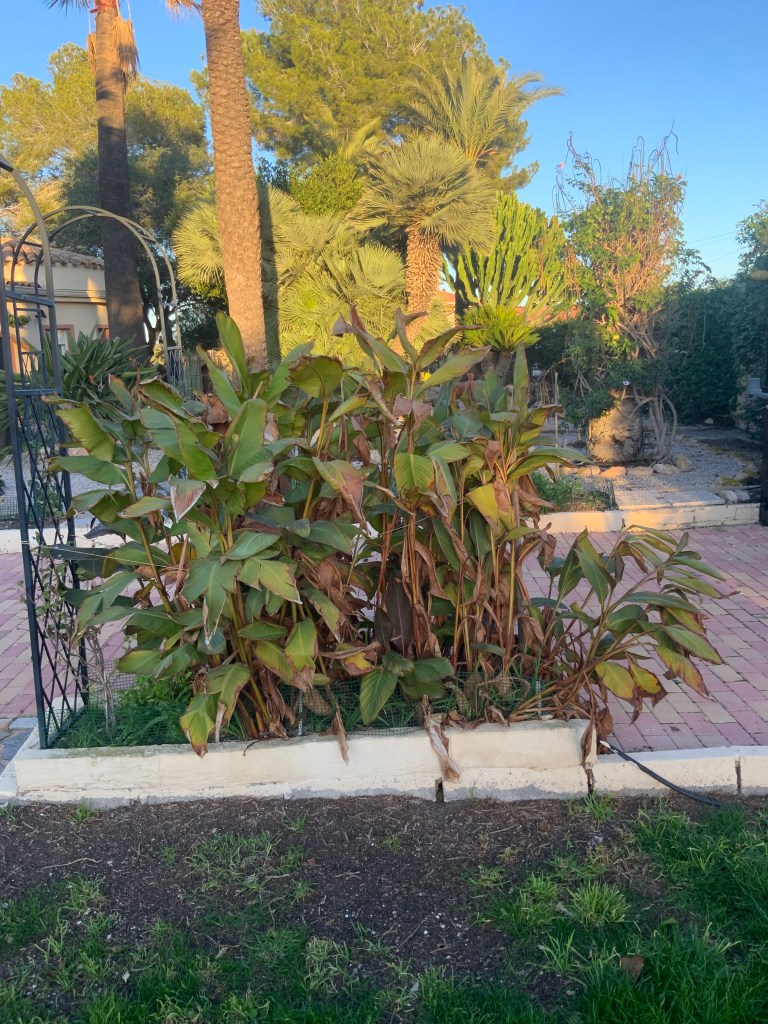
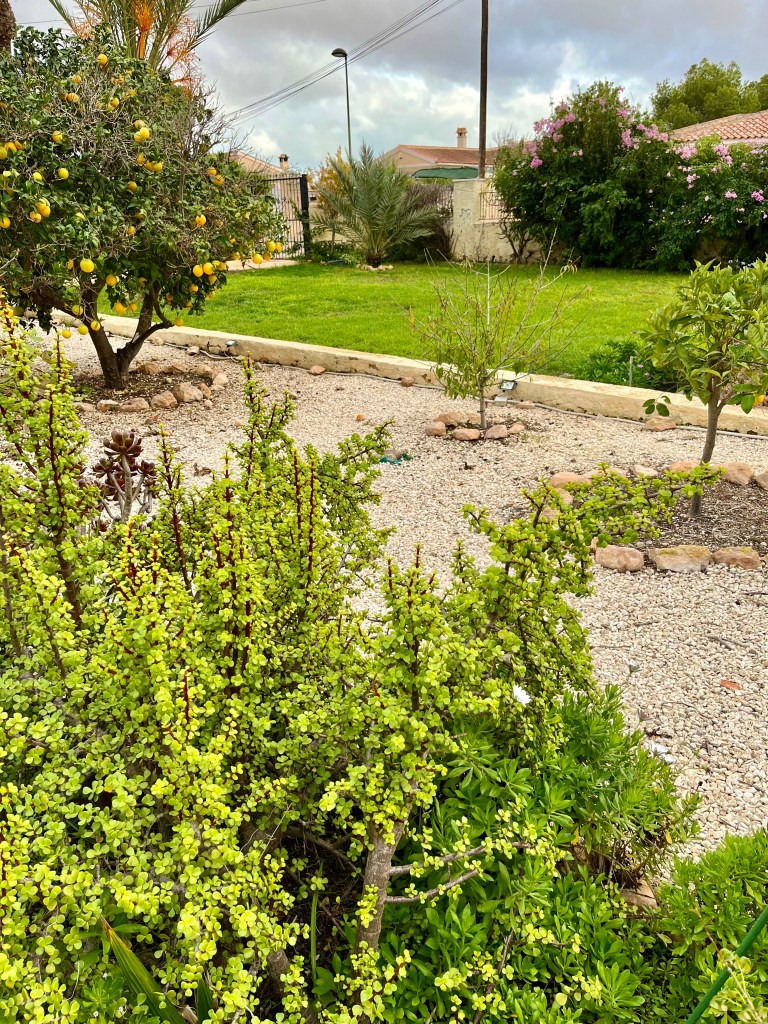
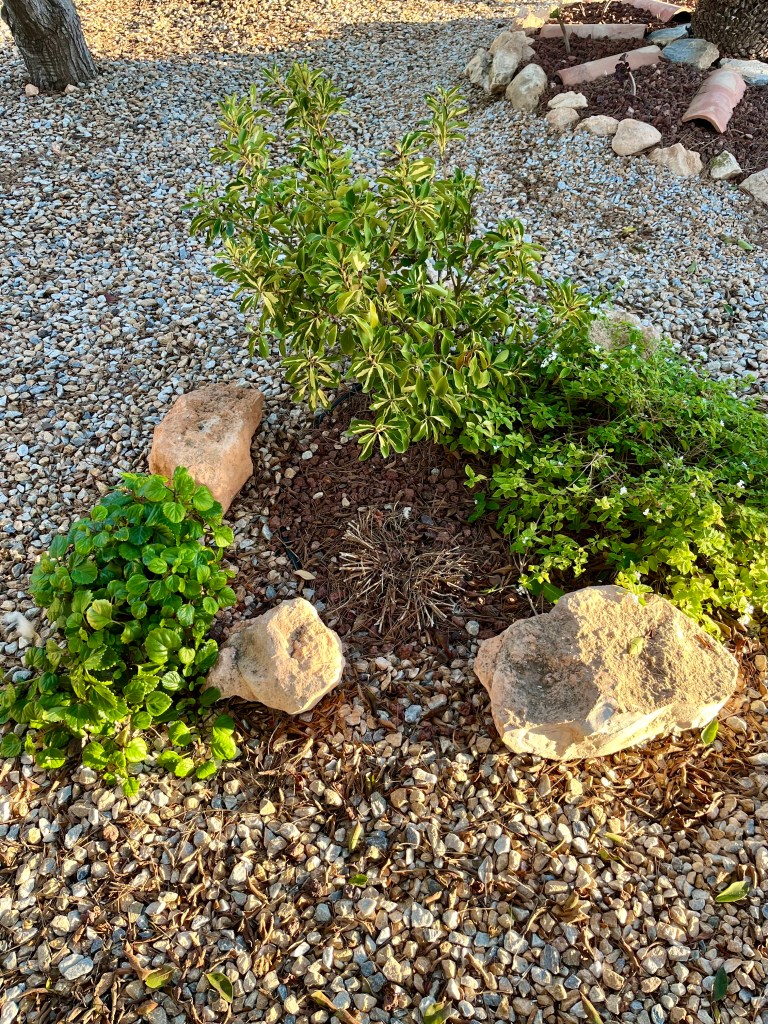
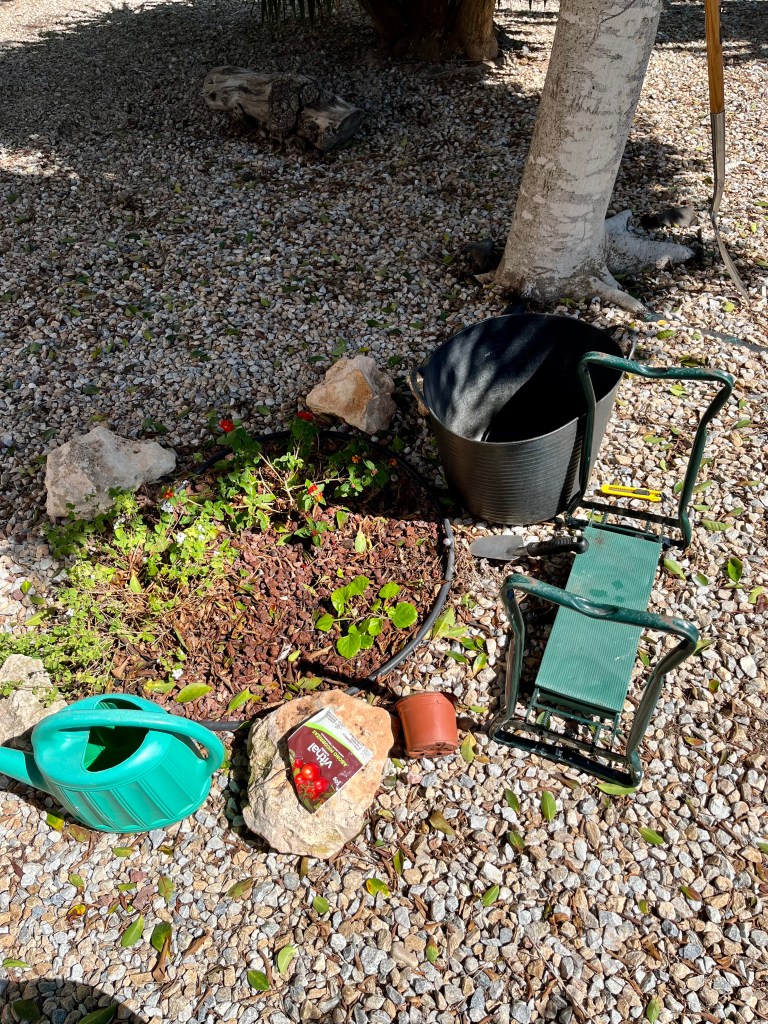
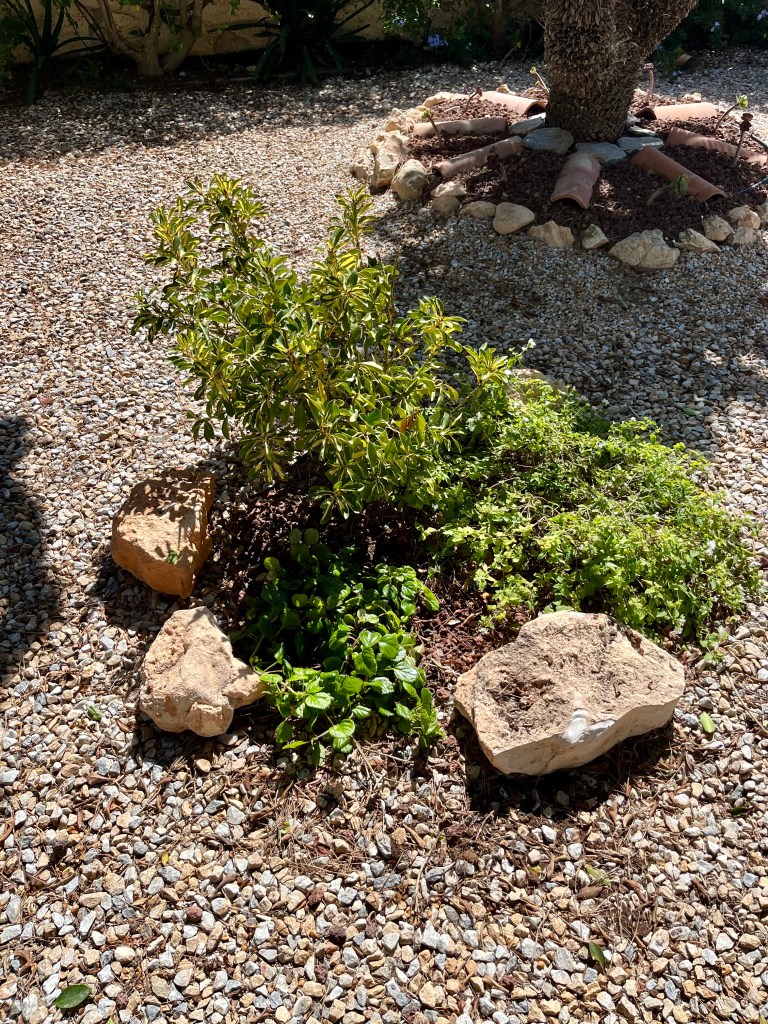
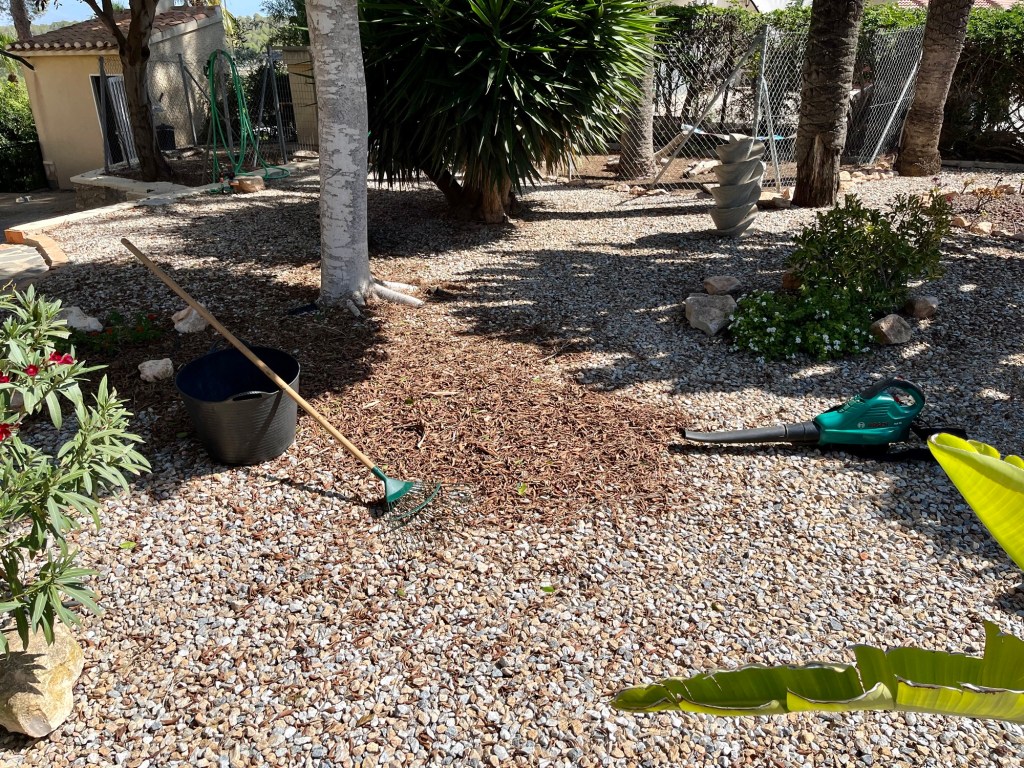
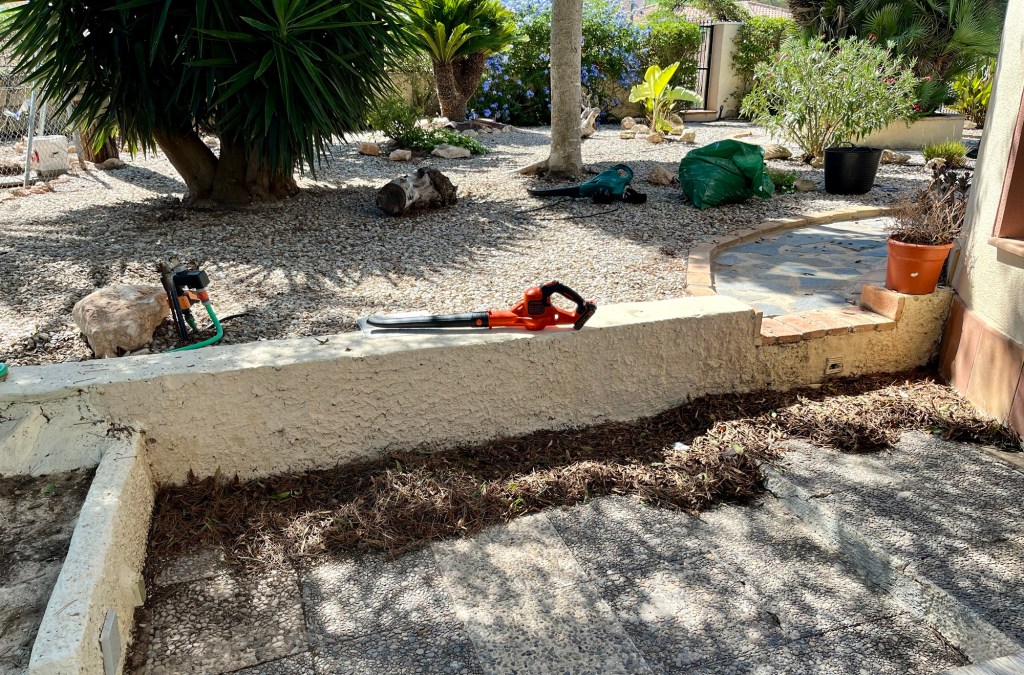
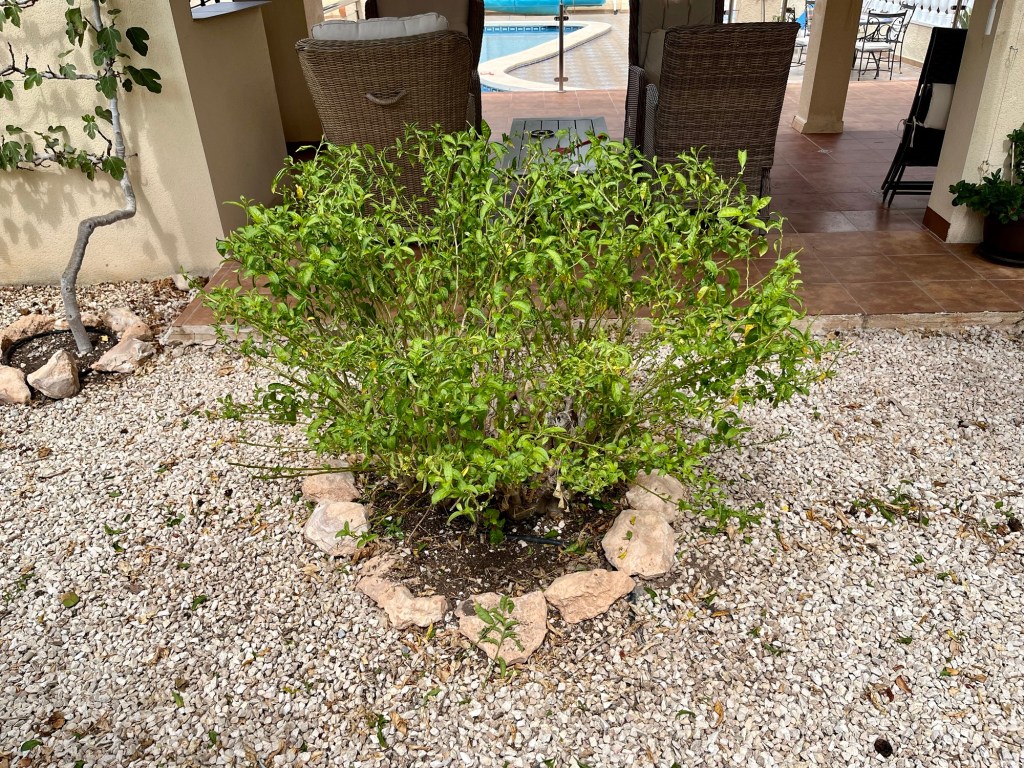
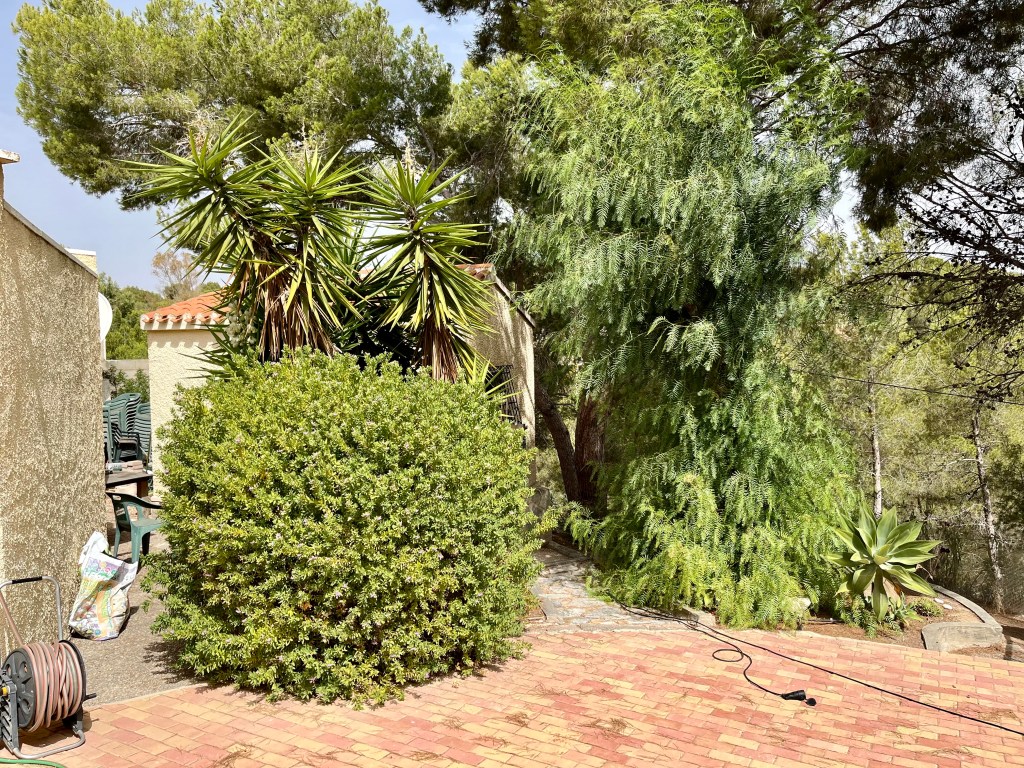
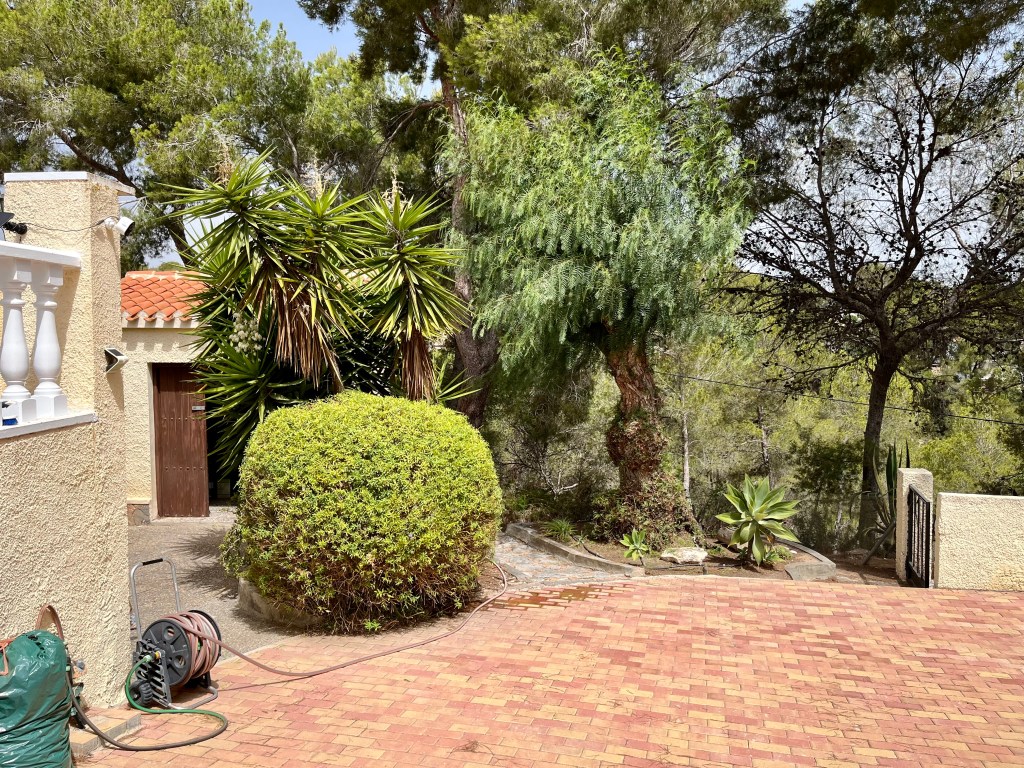
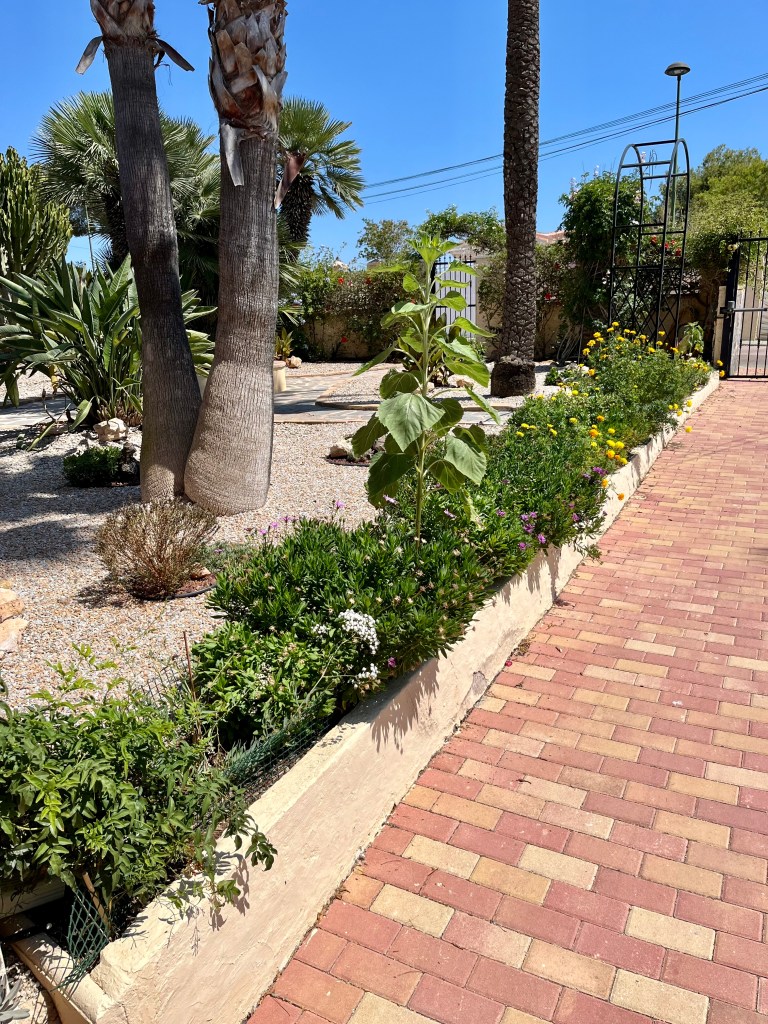
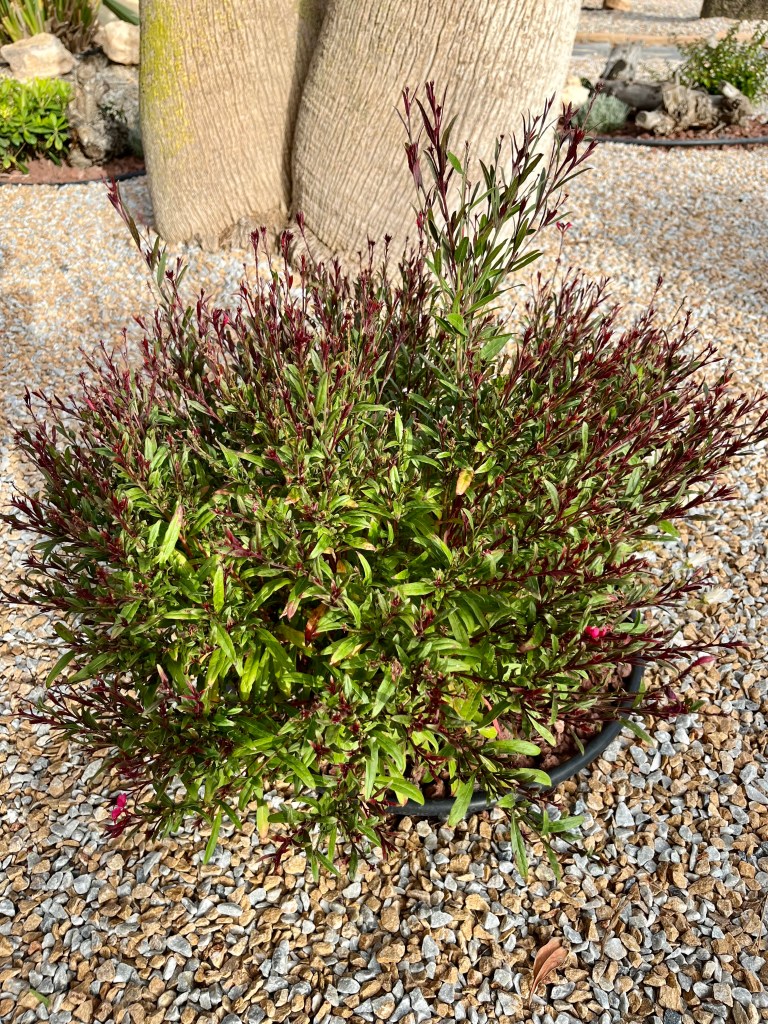
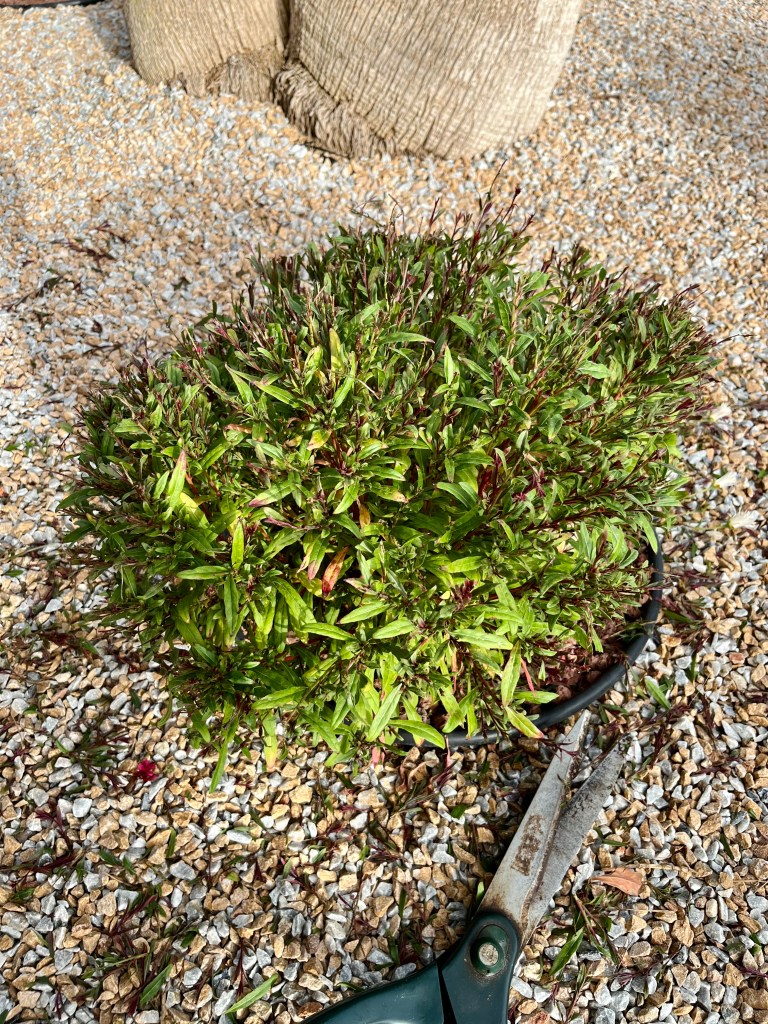
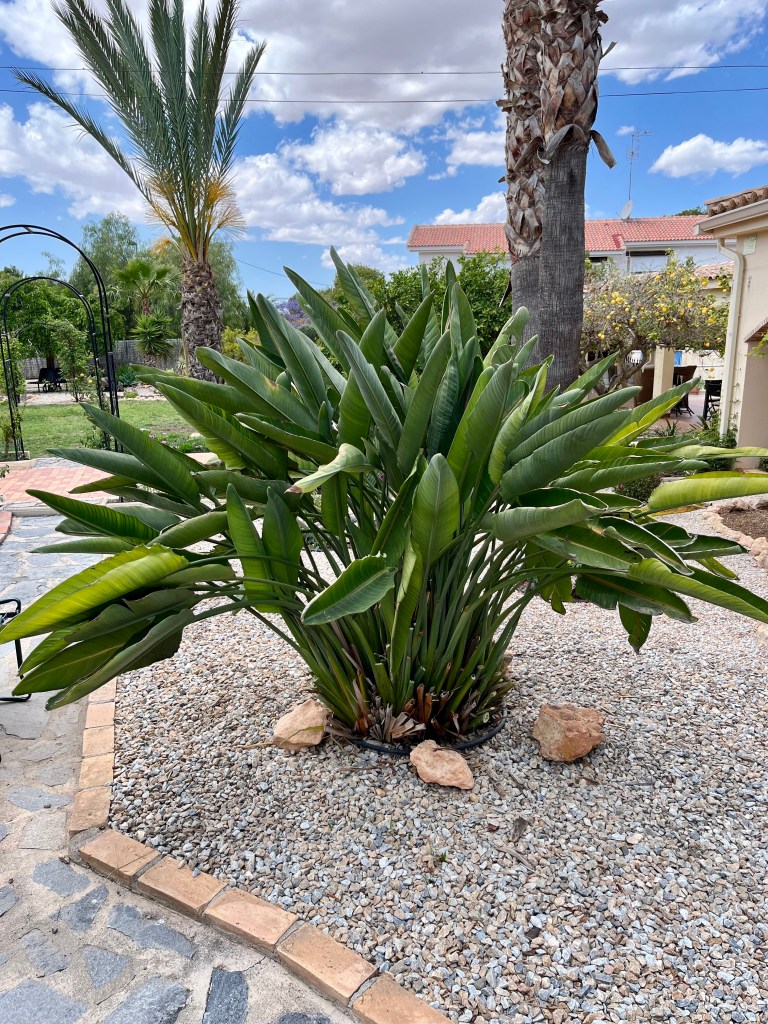
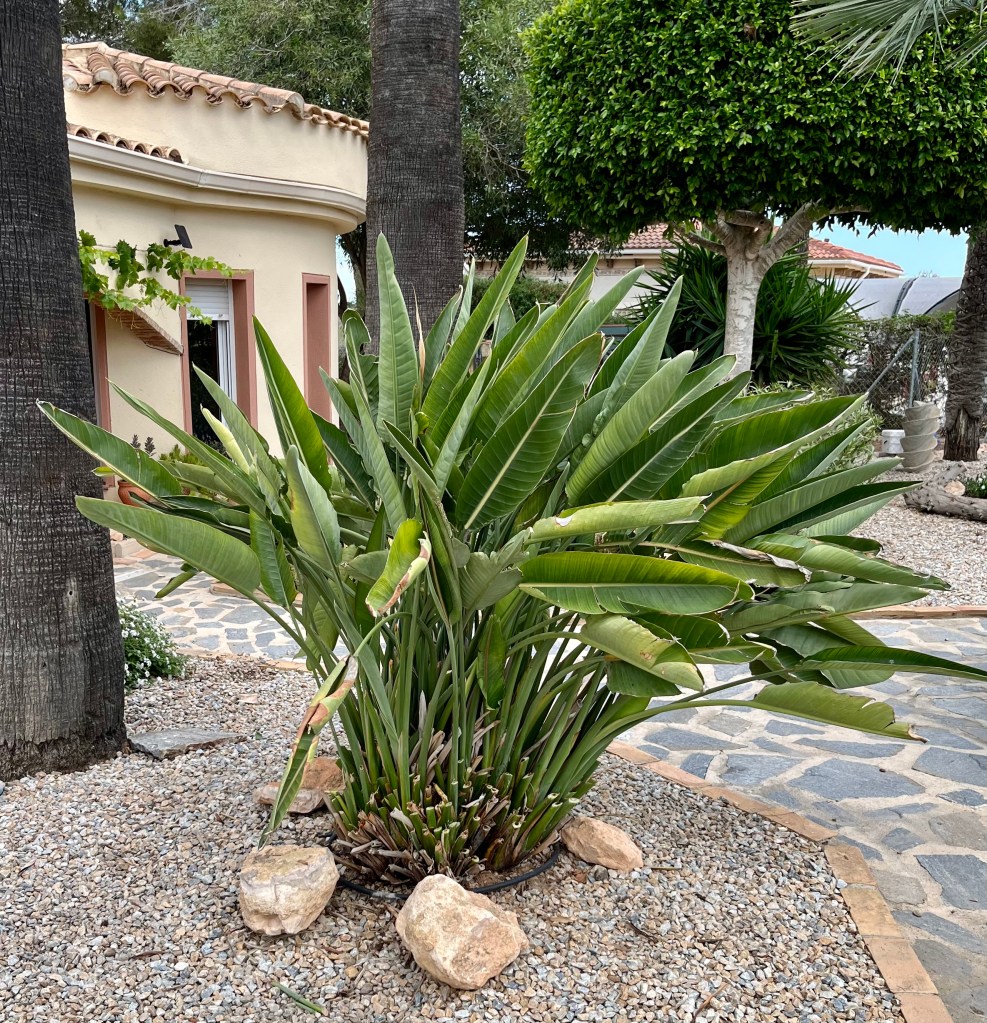
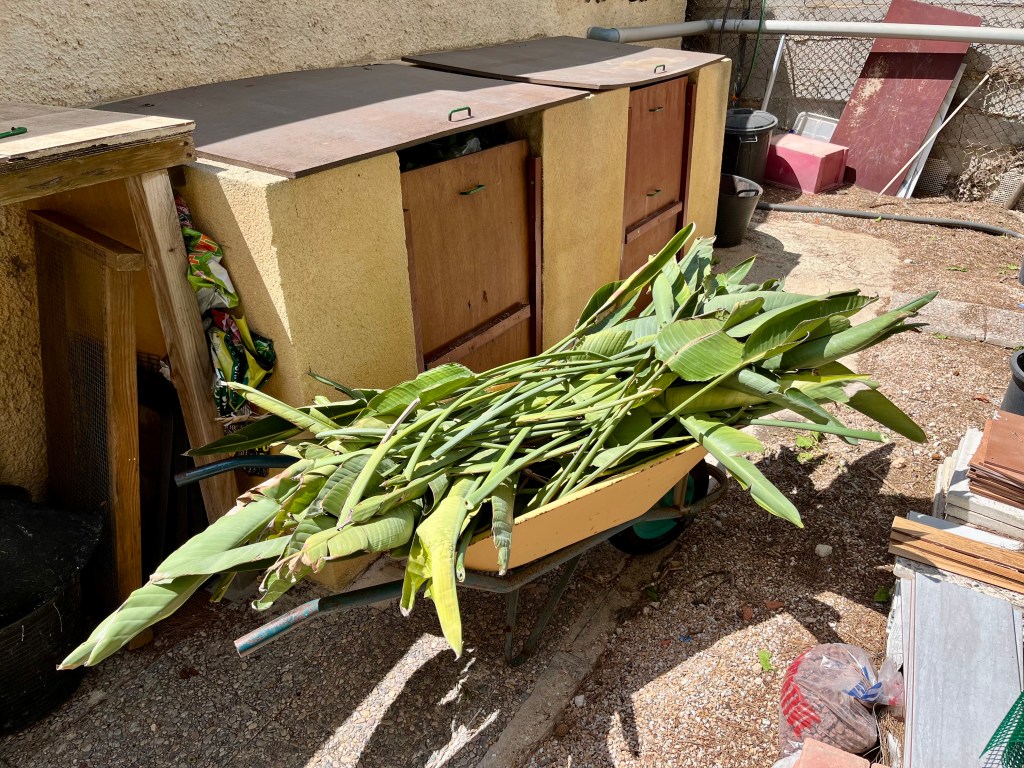
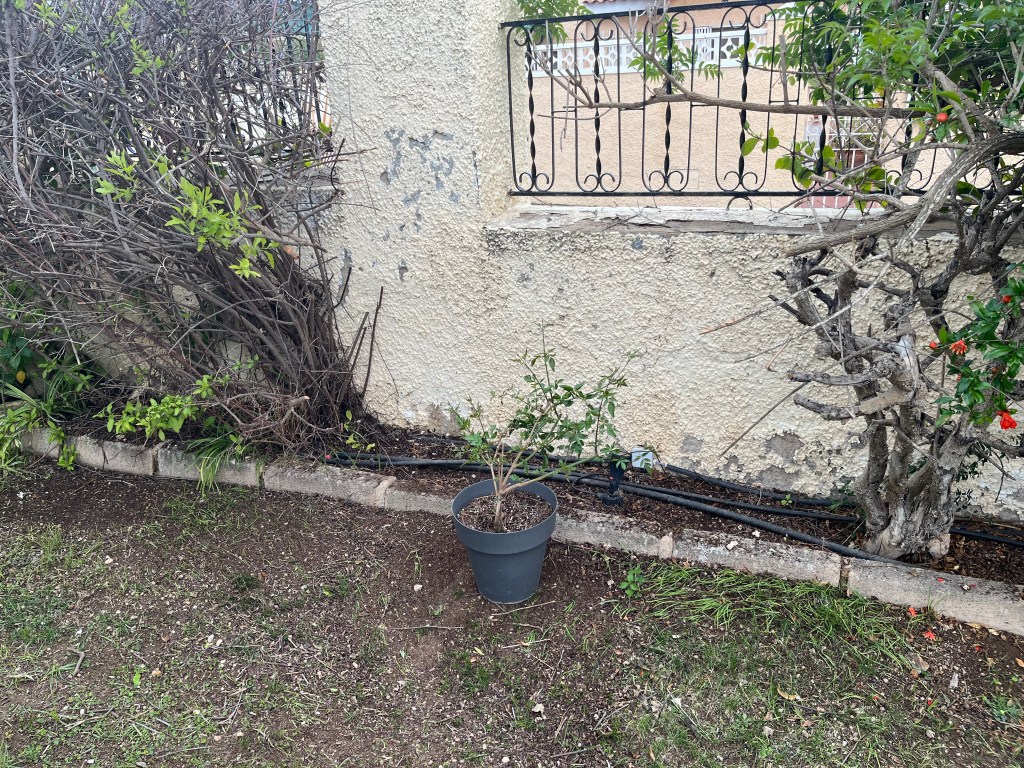
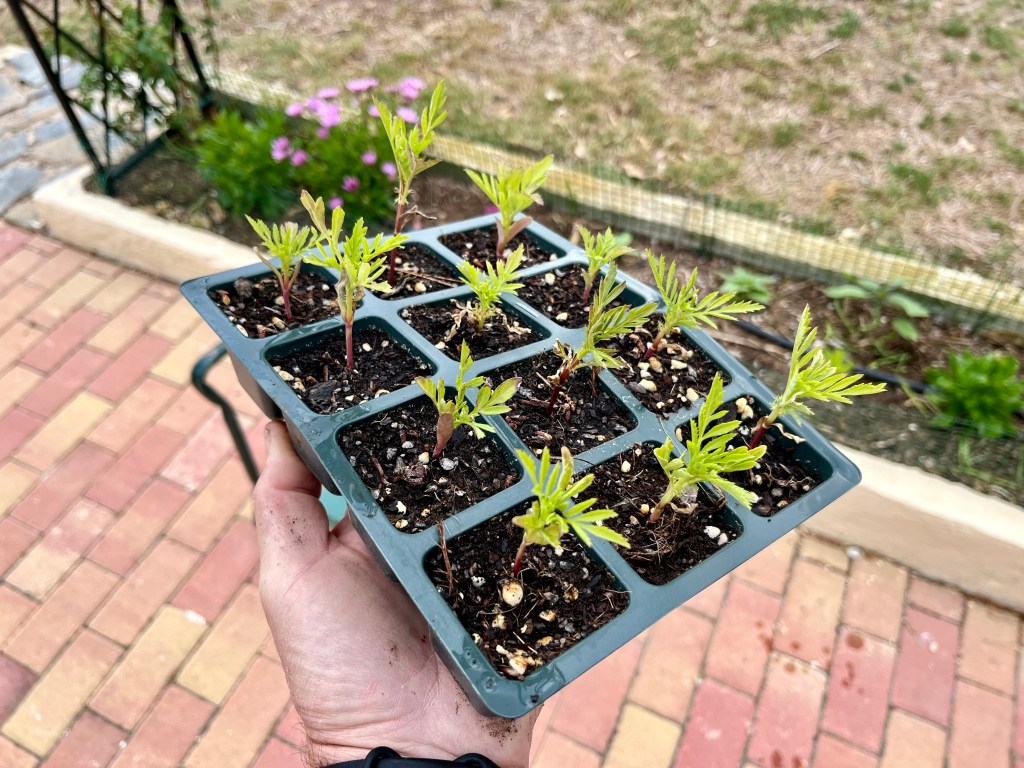
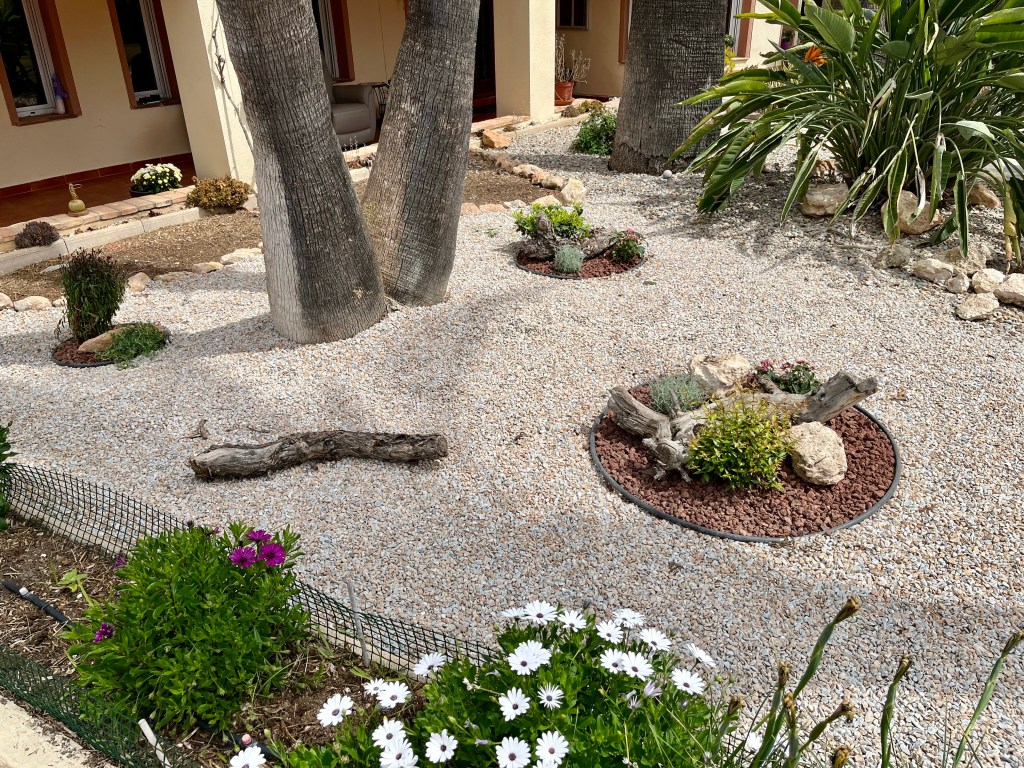
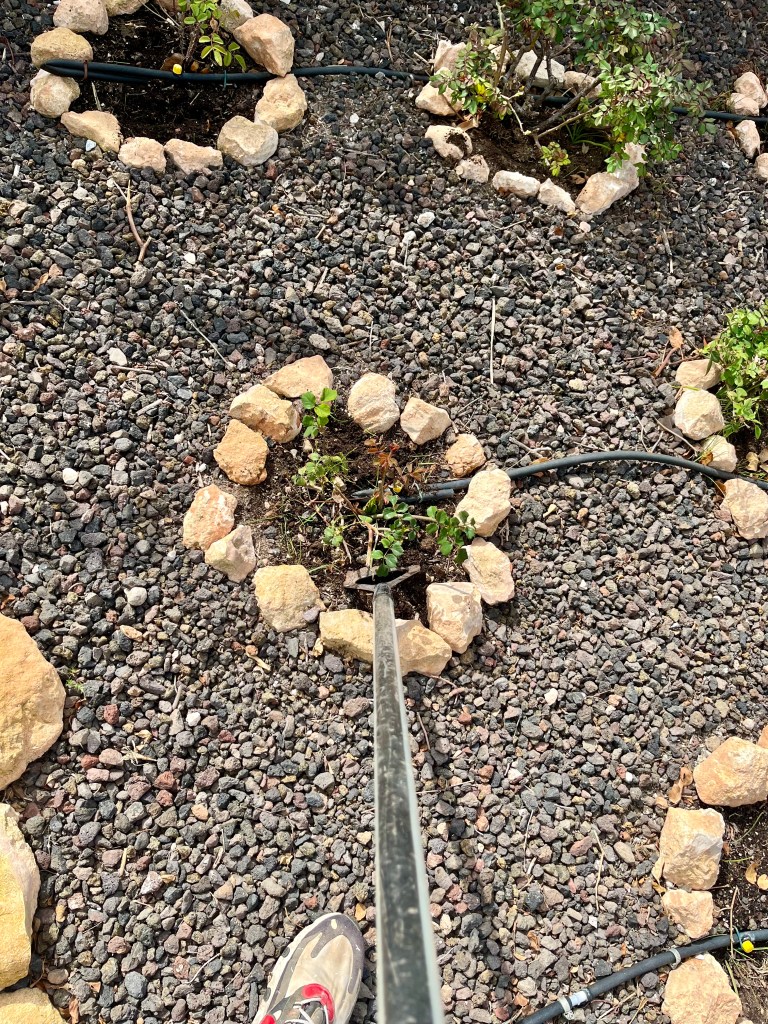
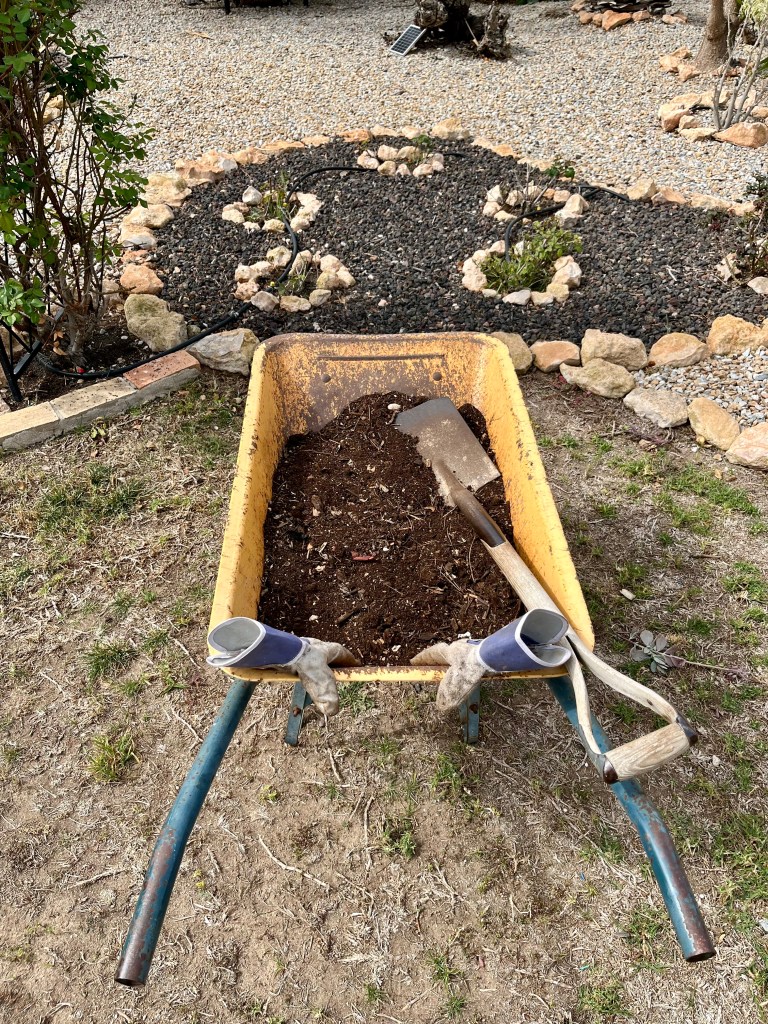
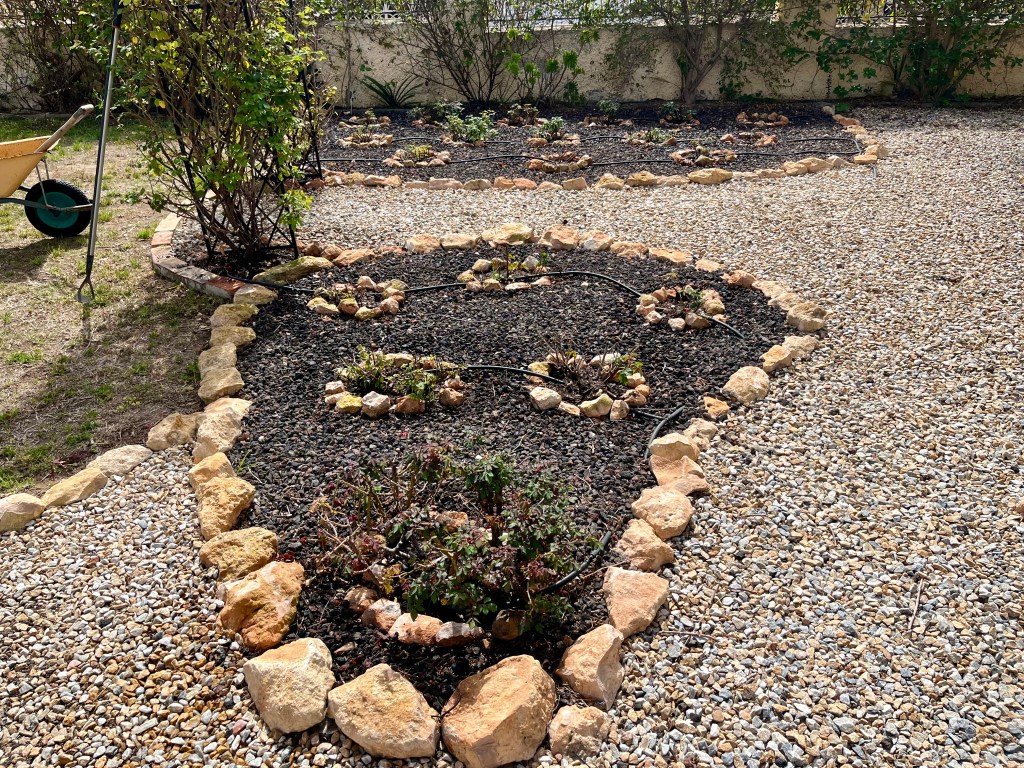
Planting out seedlings. May is the last month when you should be planting out seedlings. After this month it will just be too hot and they will wither. When I plant out seedlings, I first make space in my flower beds by ruthlessly taking out plants that have just finishing flowering. If I waited till everything finished flowering it would be too late for seedlings. So be brave and make space.
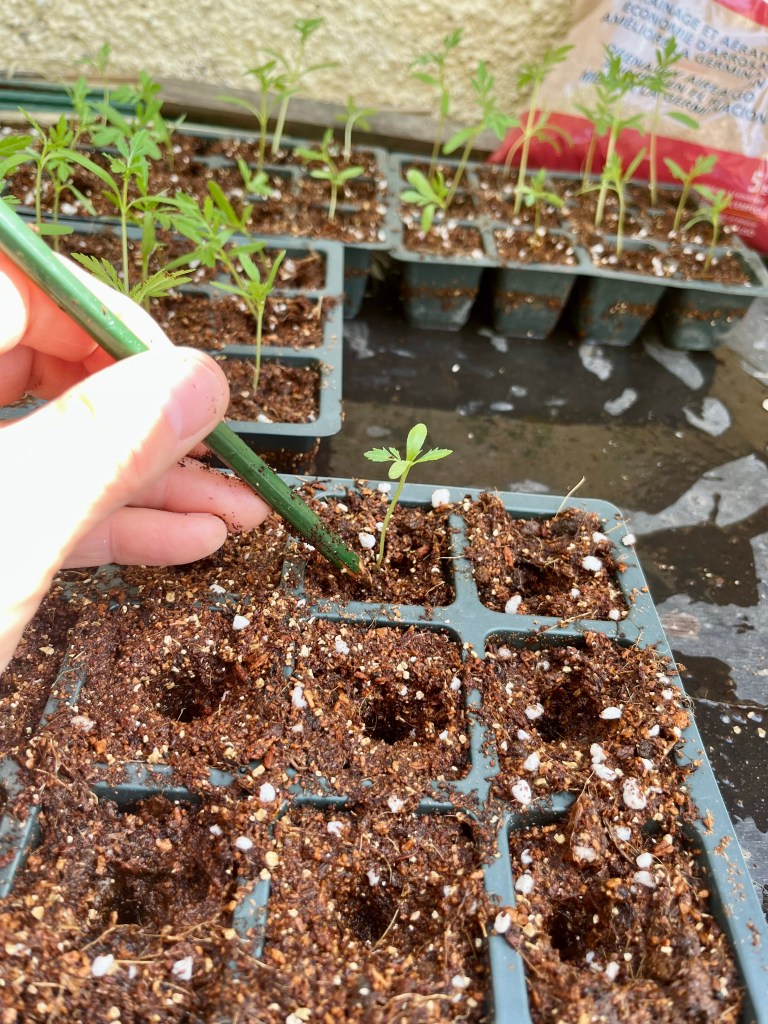
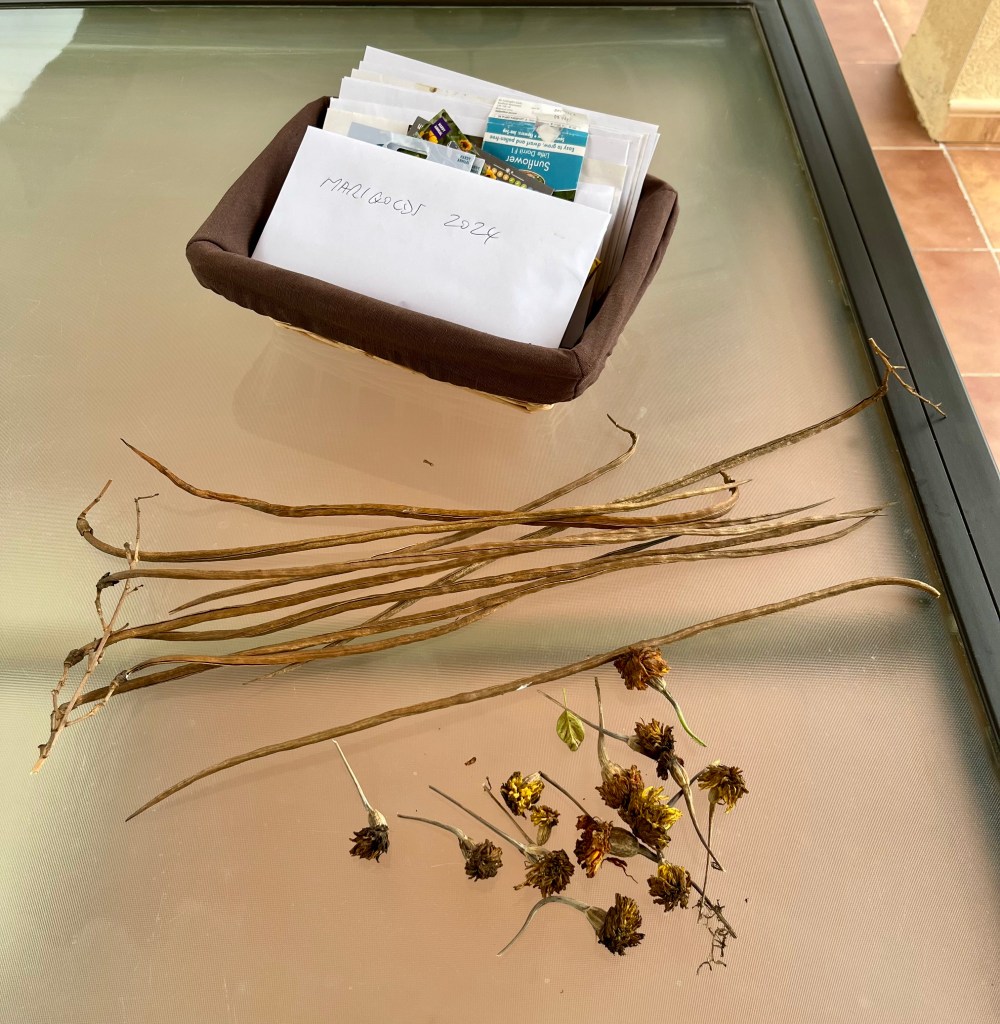
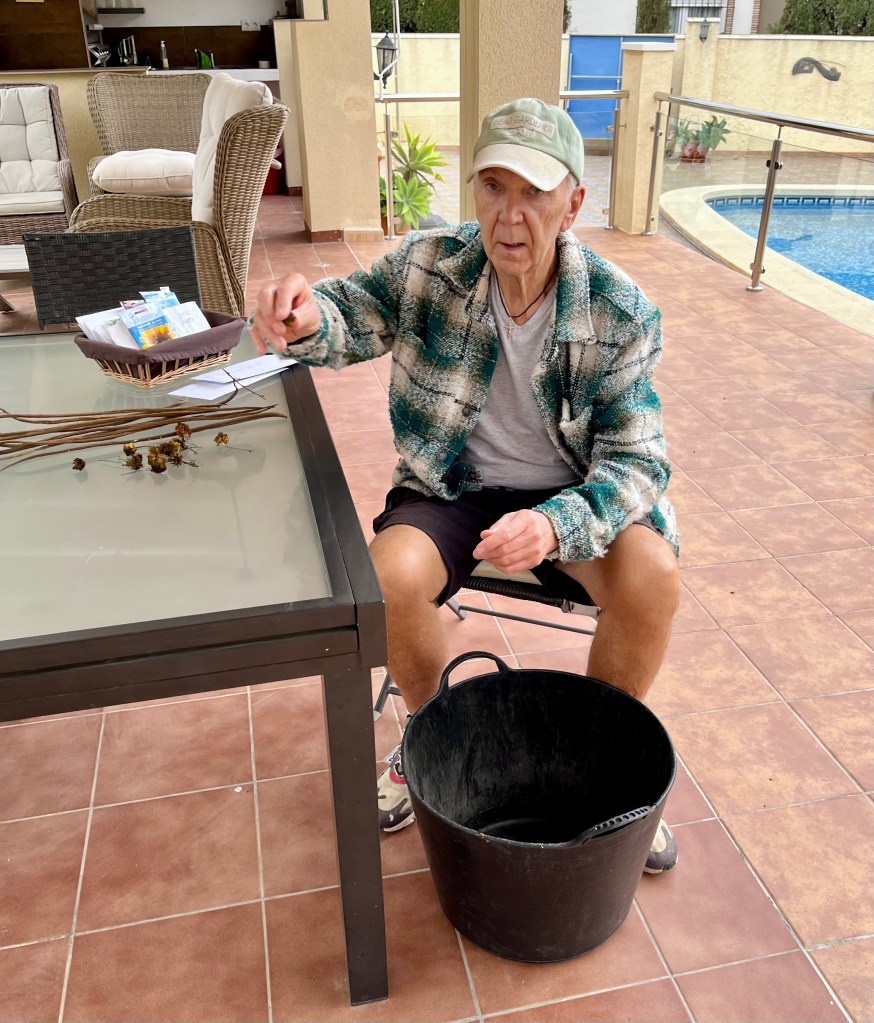
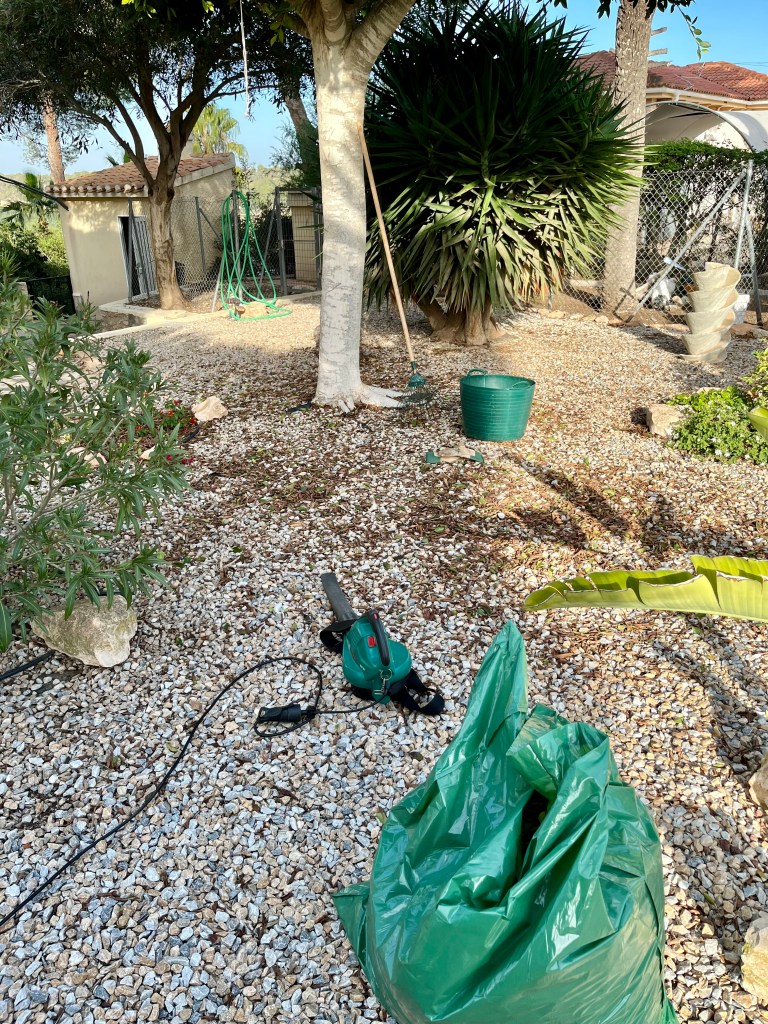
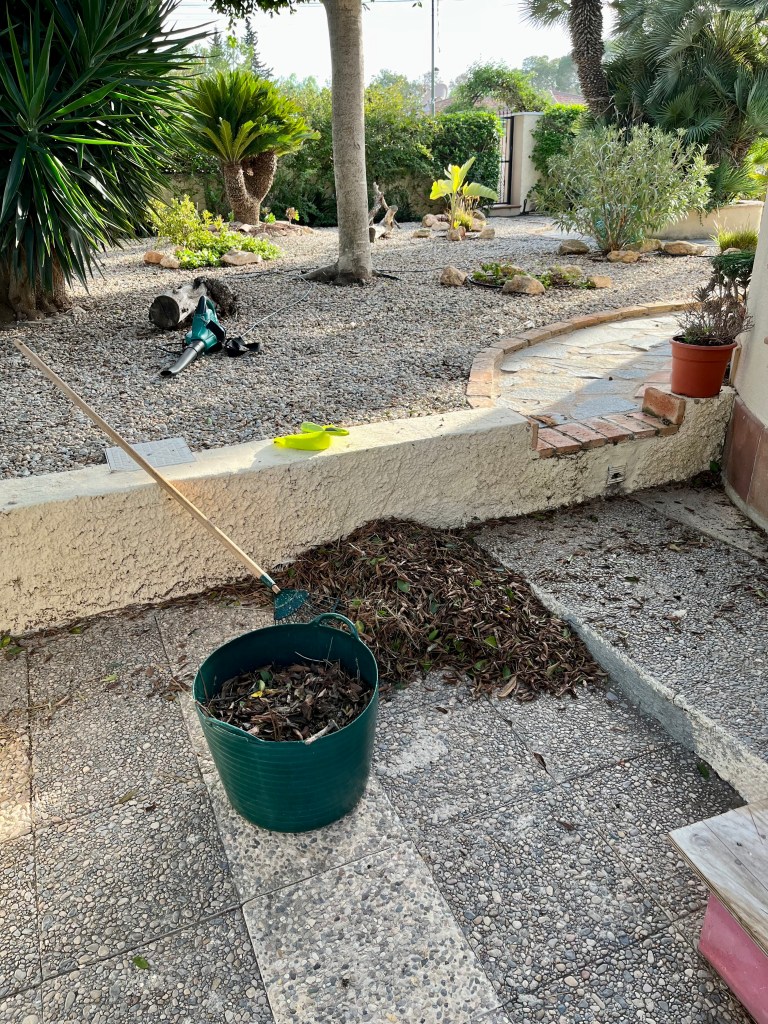
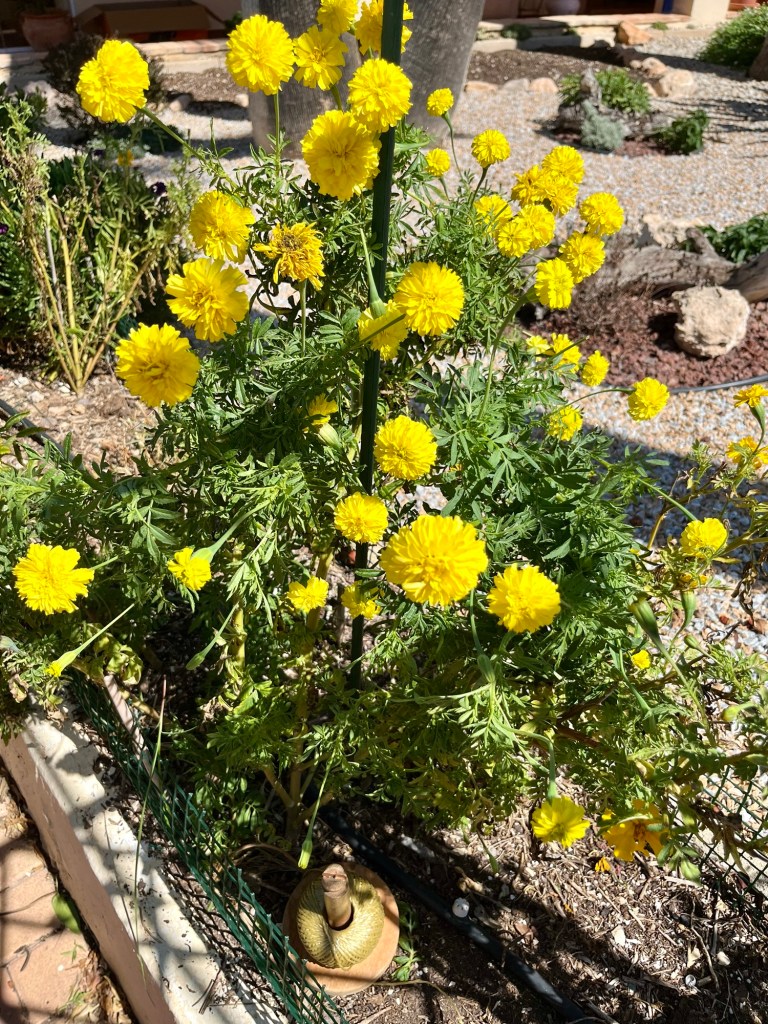
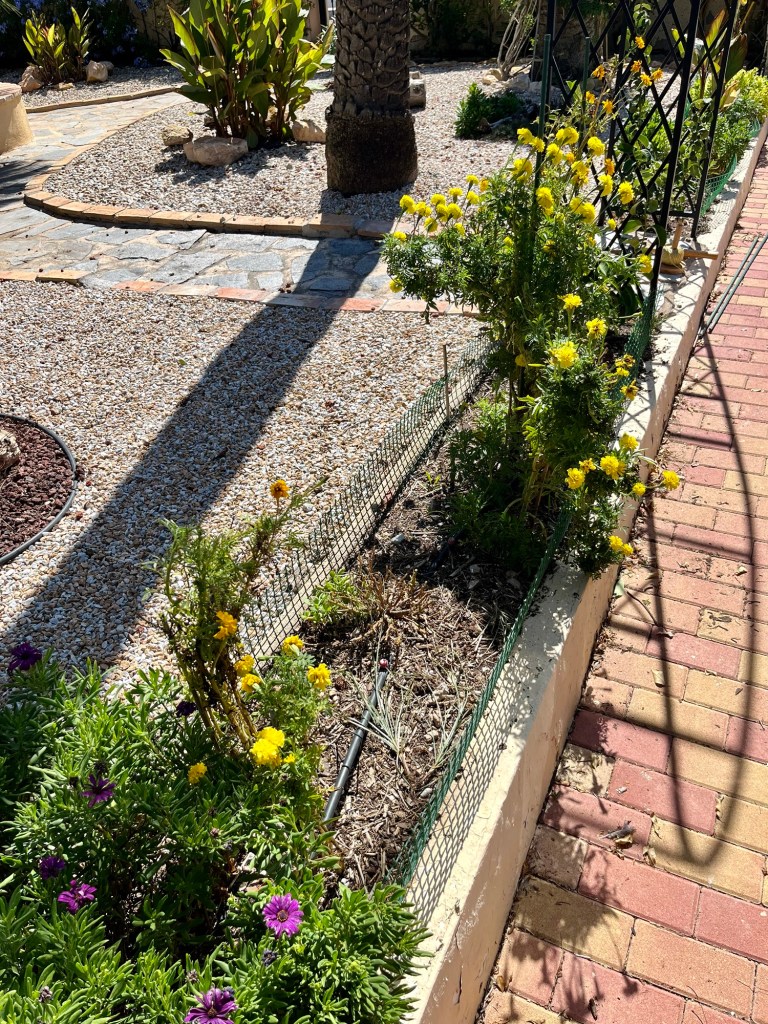
To make room for seedlings I take out huge clumps of Osteospermum. I then plant Marigolds, mini sunflowers and Alyssum in the new space. These will eventually grow and fill my flower beds with blooms all the way through till October. The first photos below show the removal of the lovely Osteospermum. These are followed by examples of the various seedlings going in.


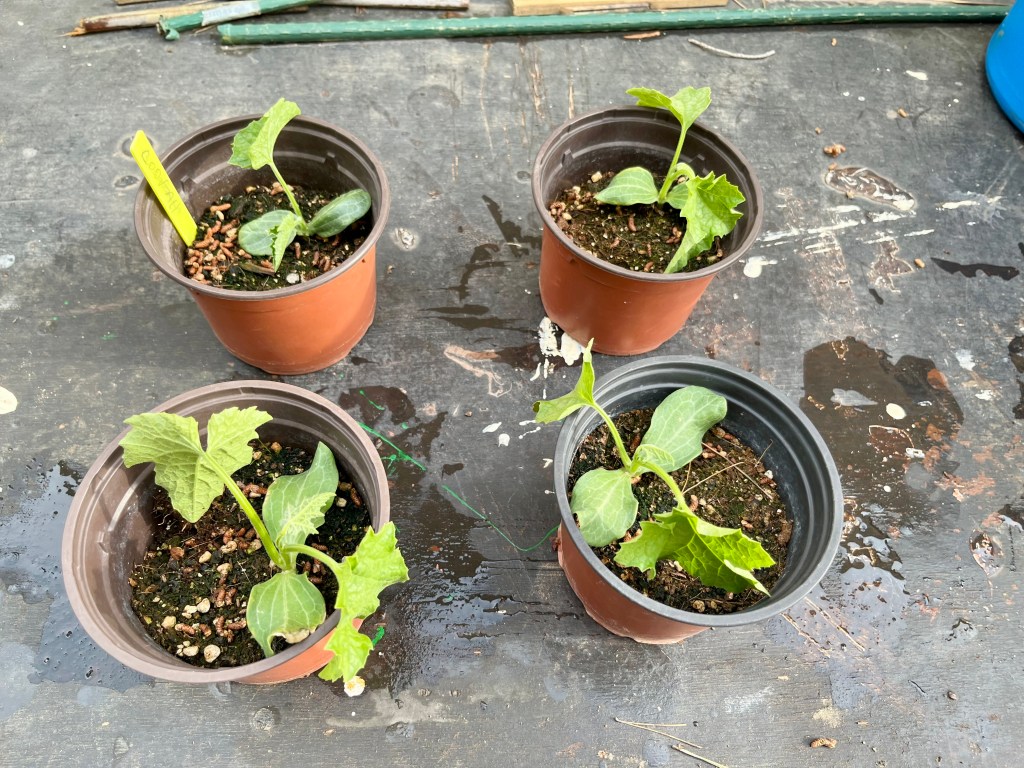
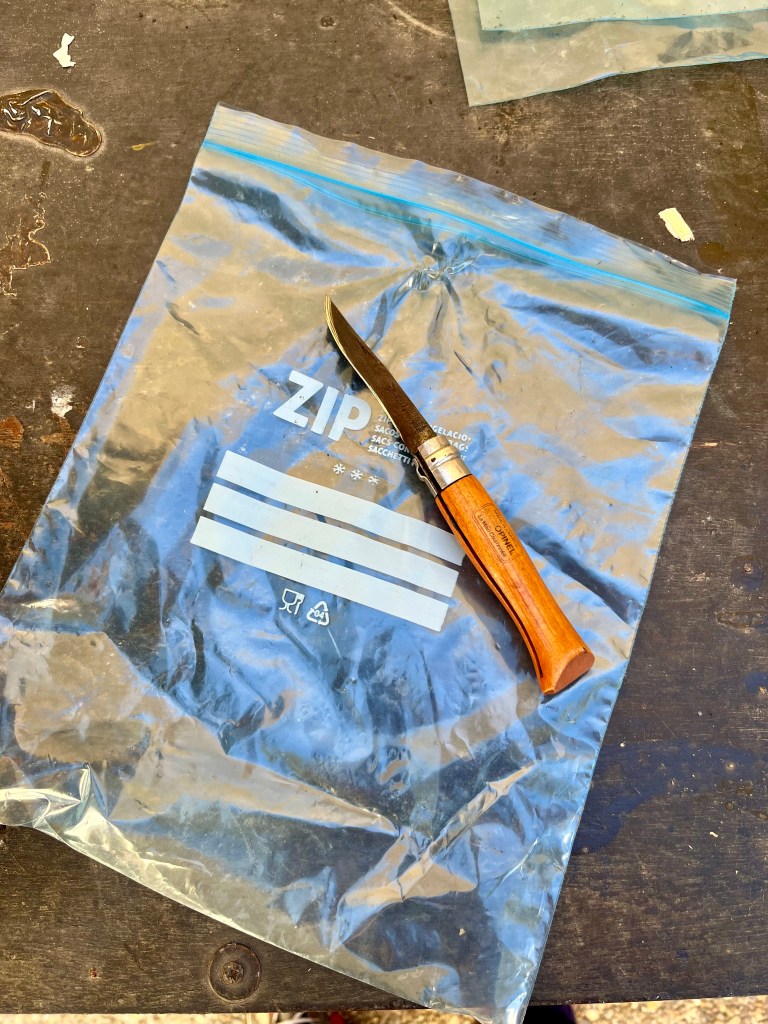
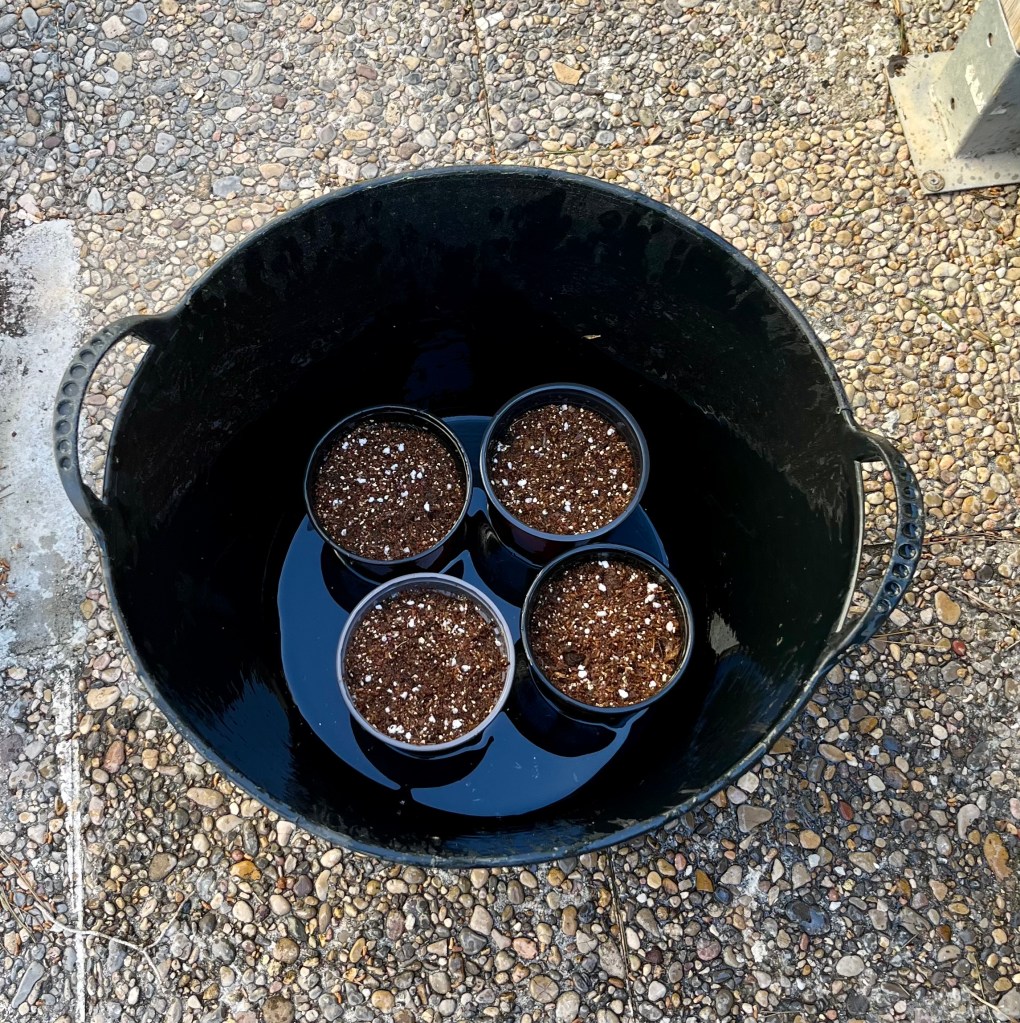
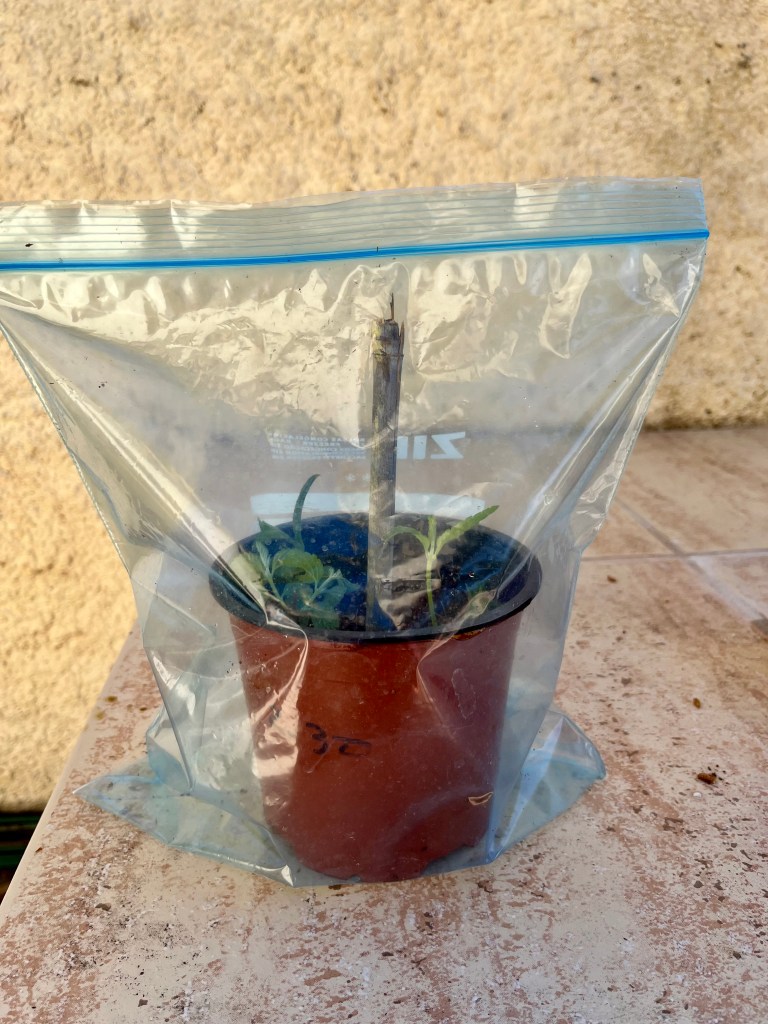
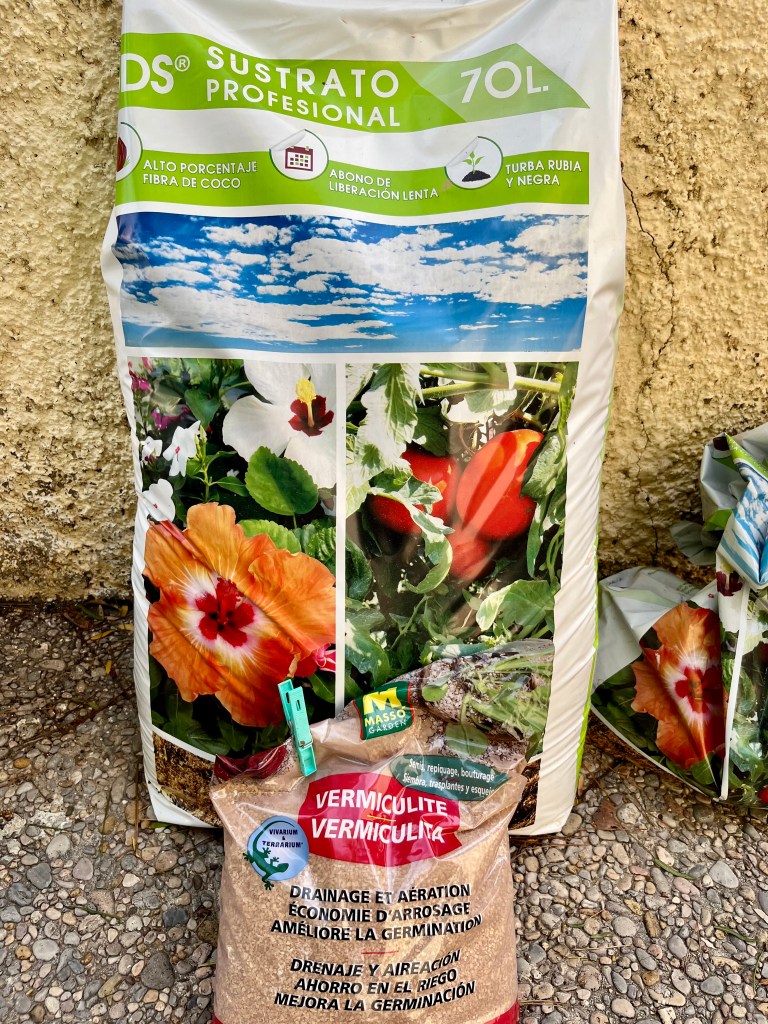
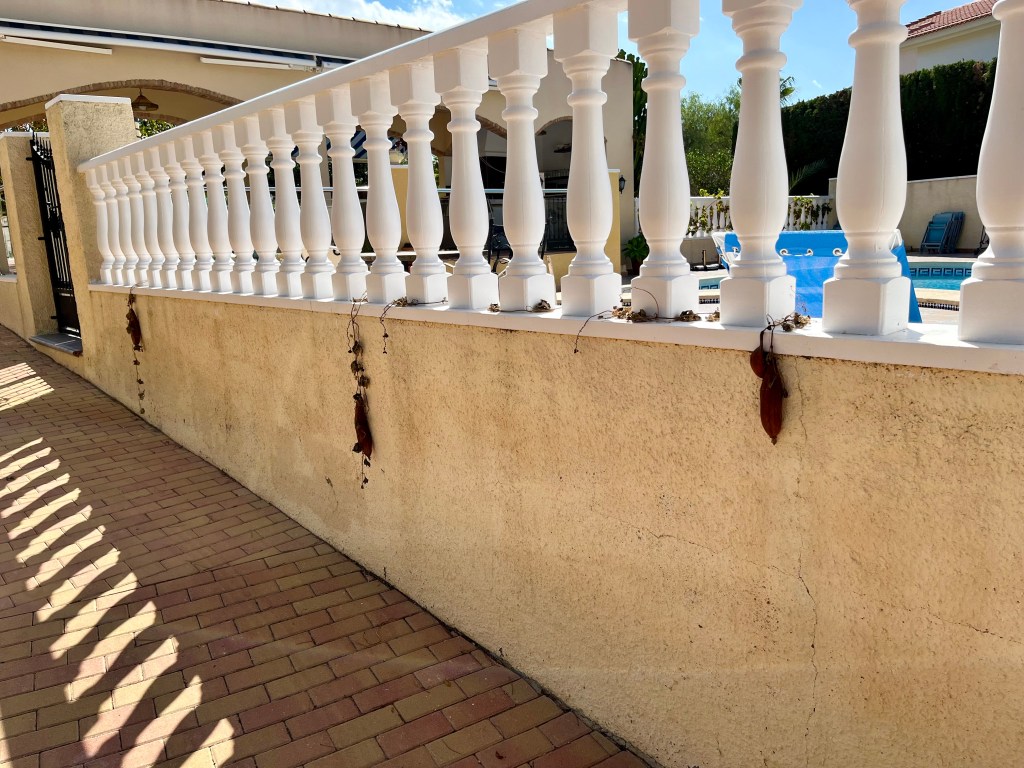
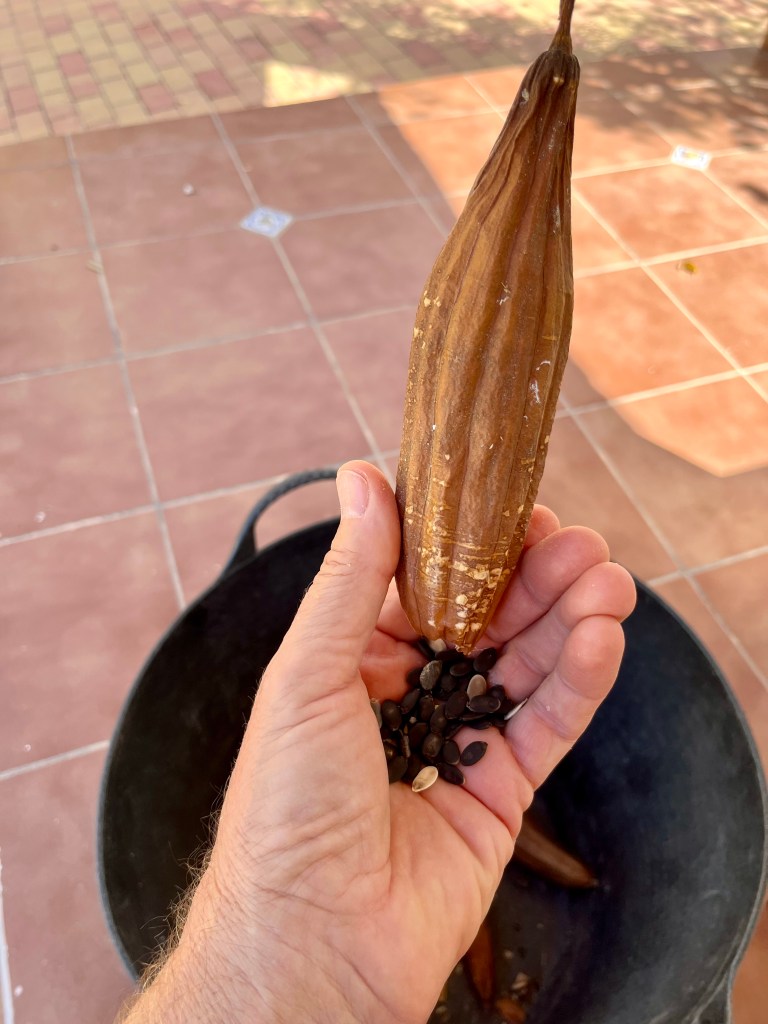
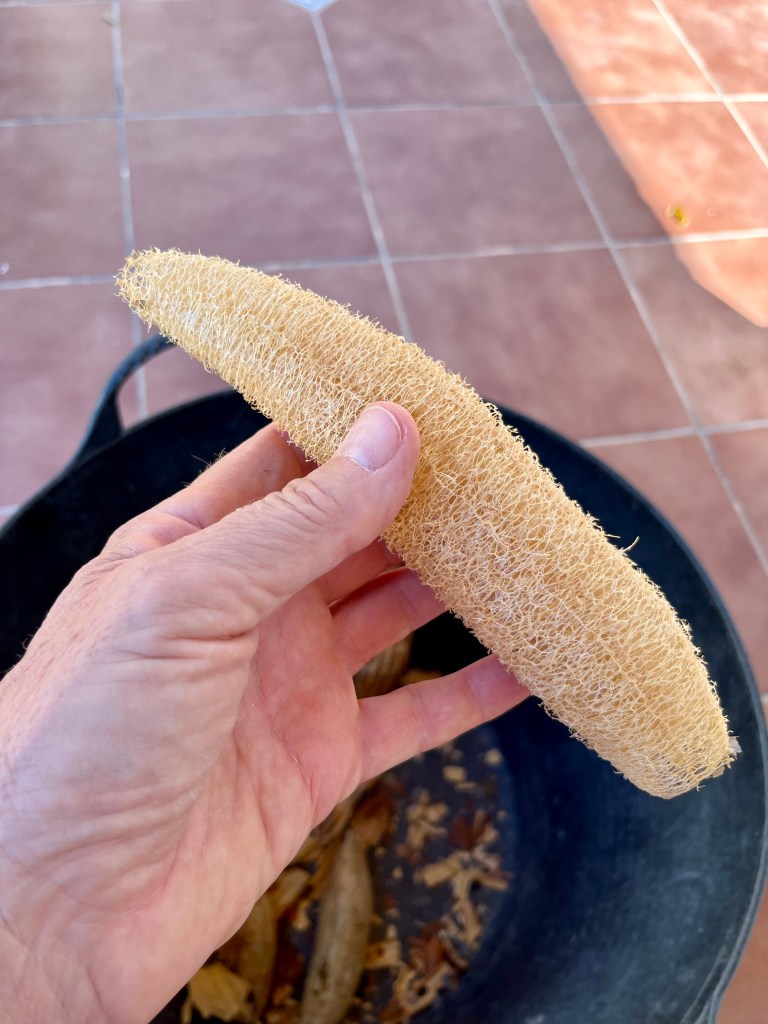
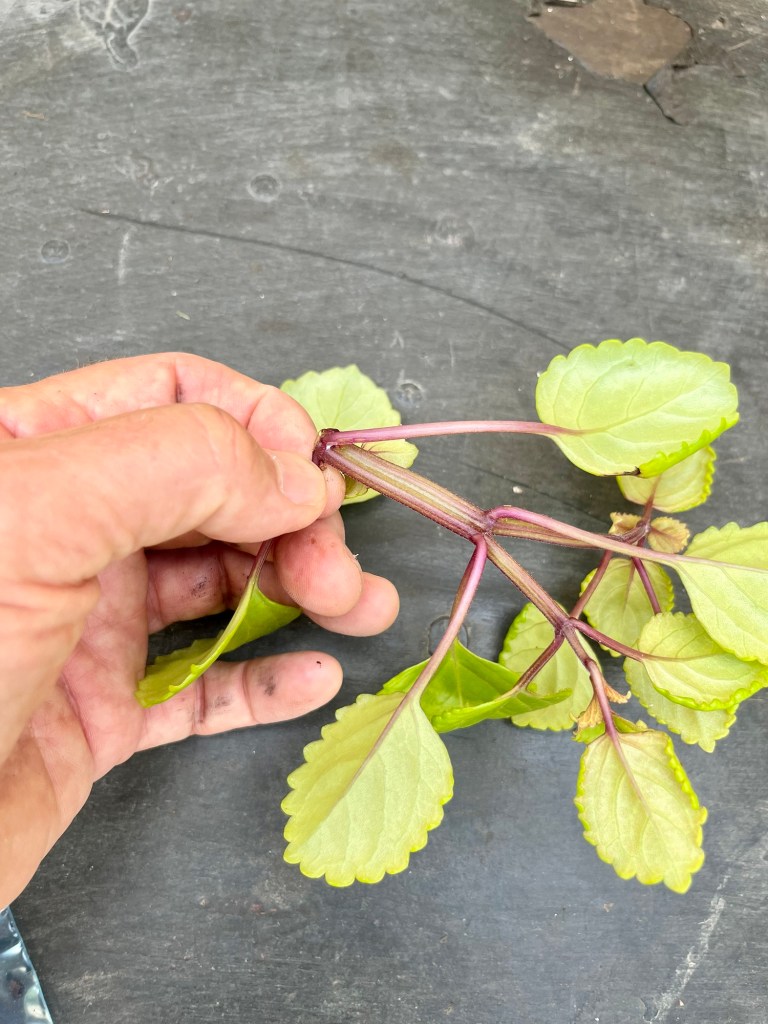
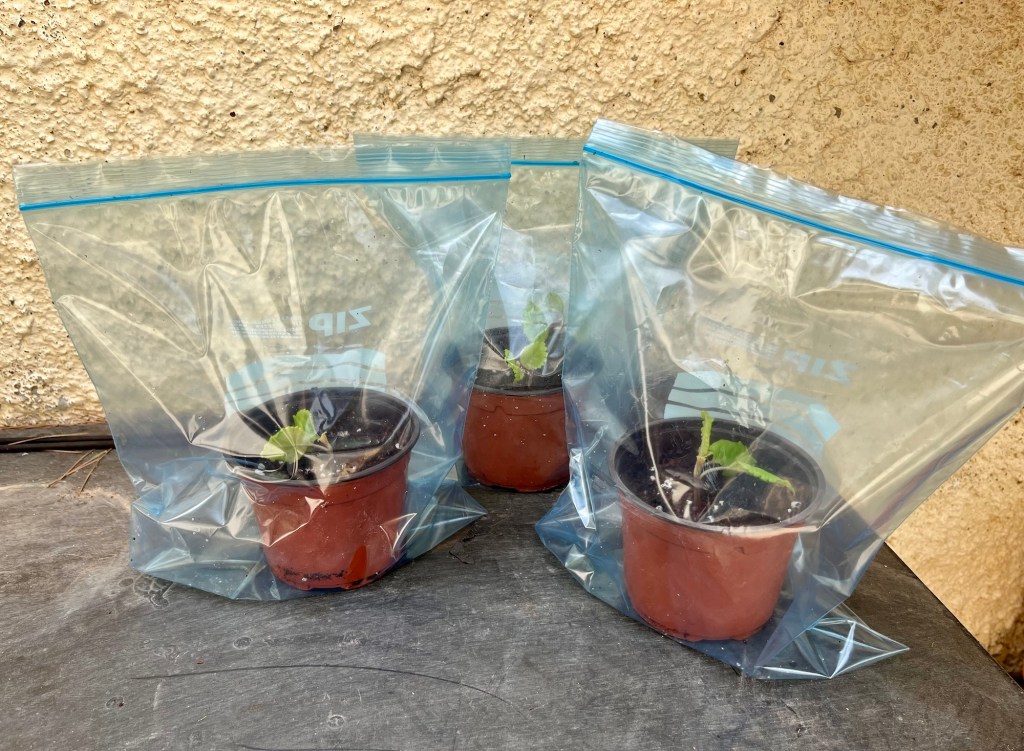
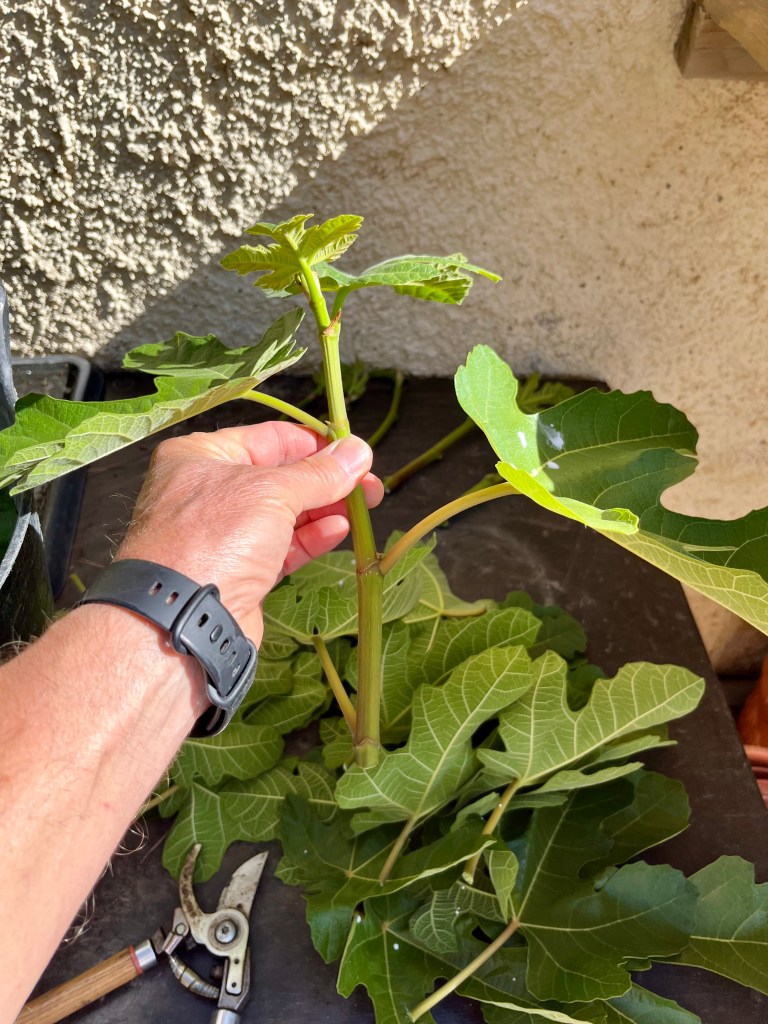
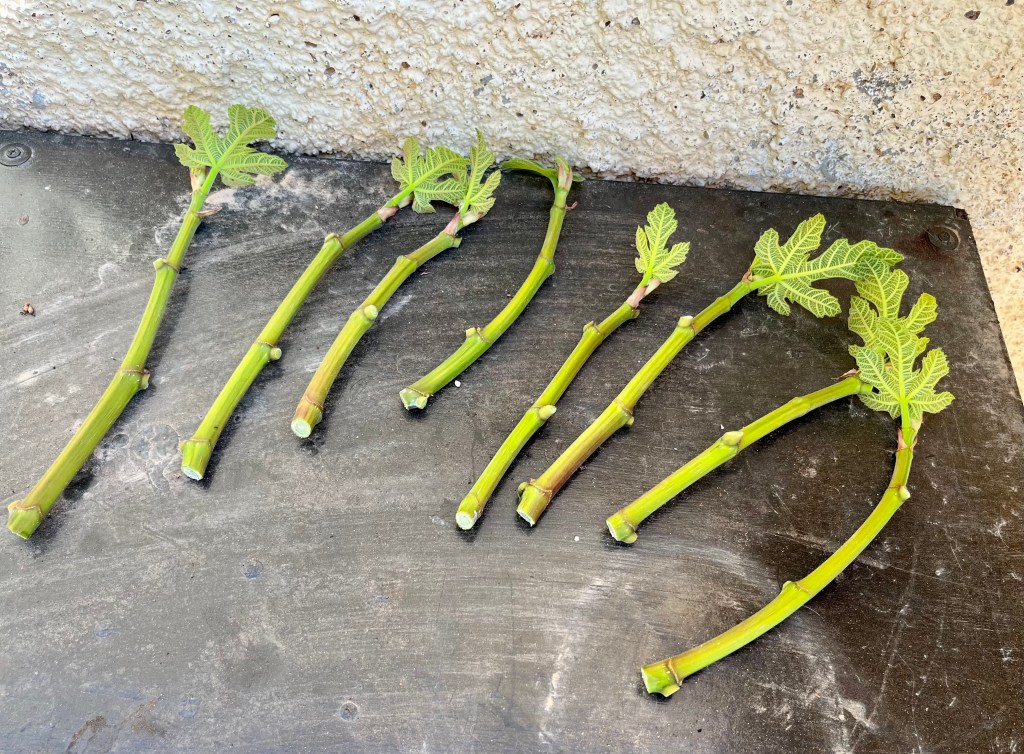
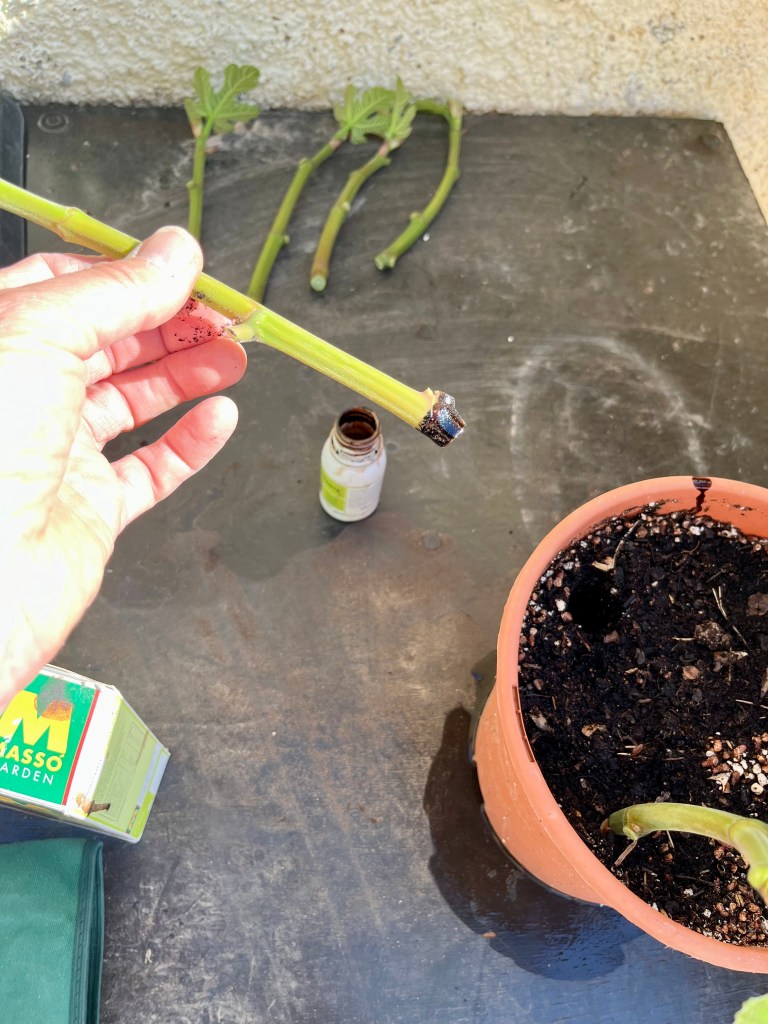
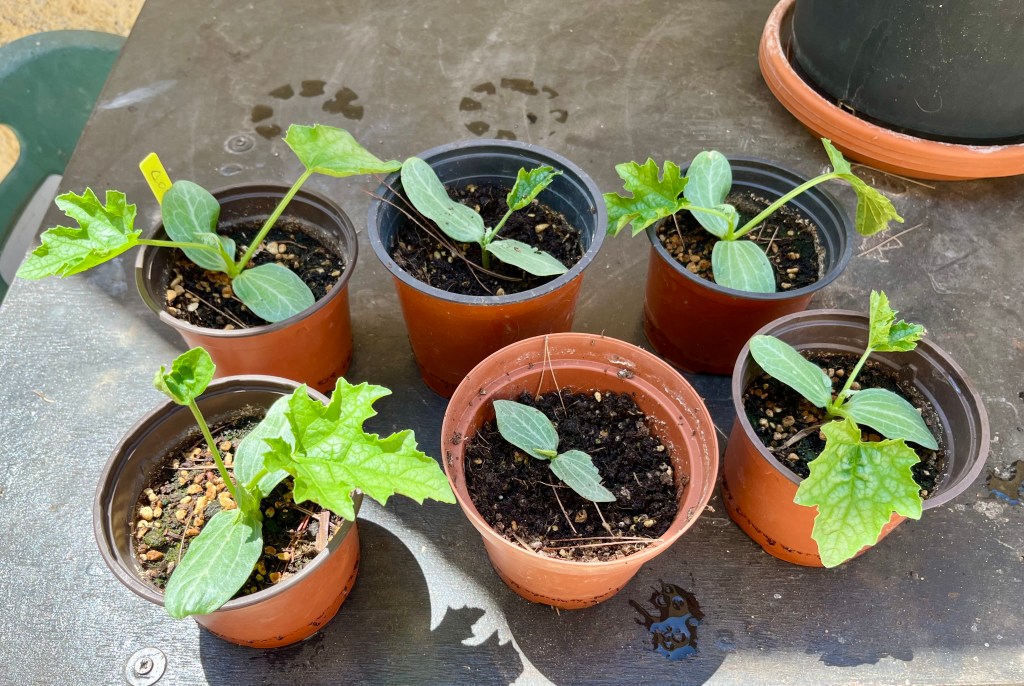
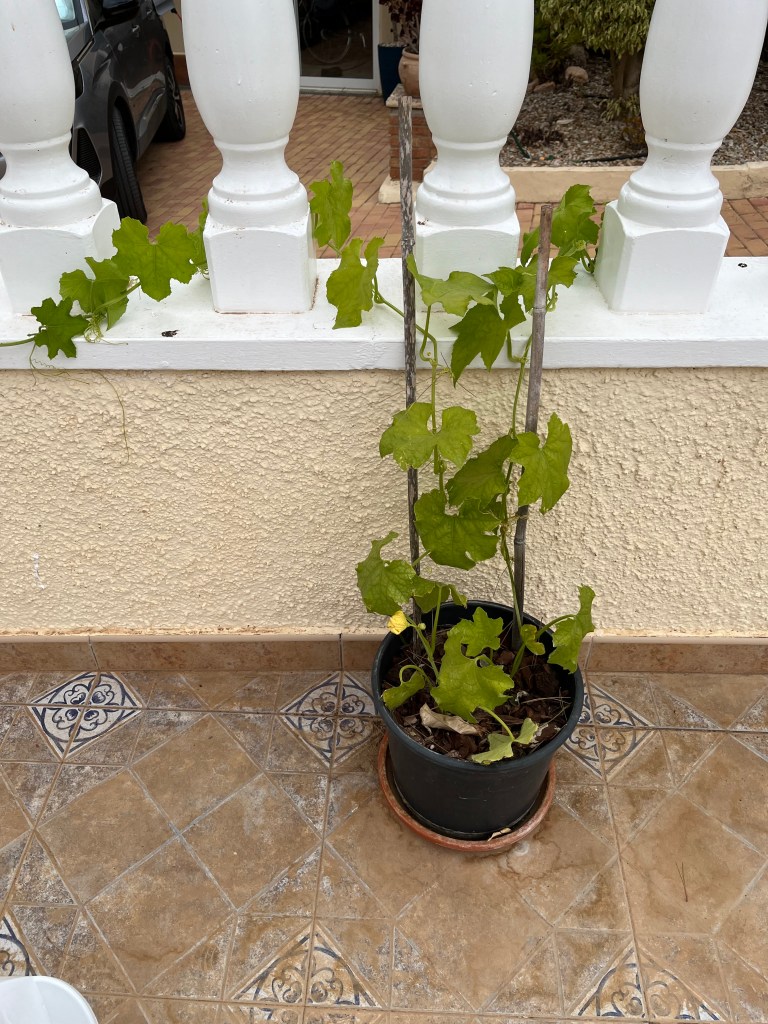
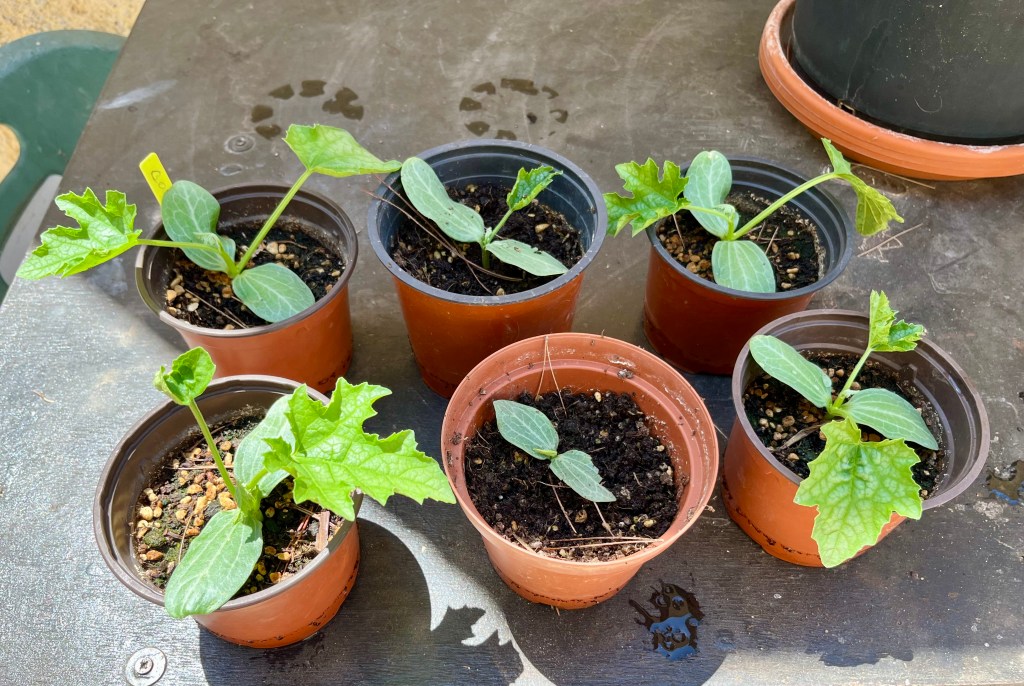
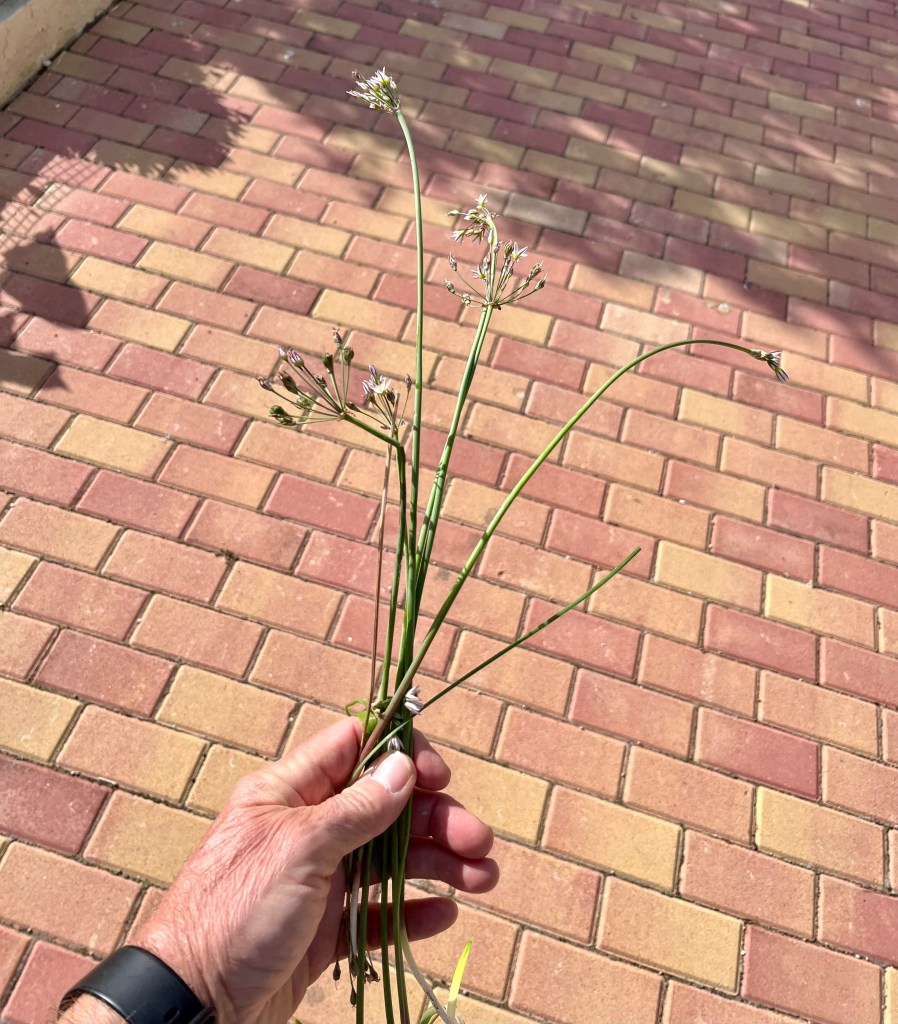
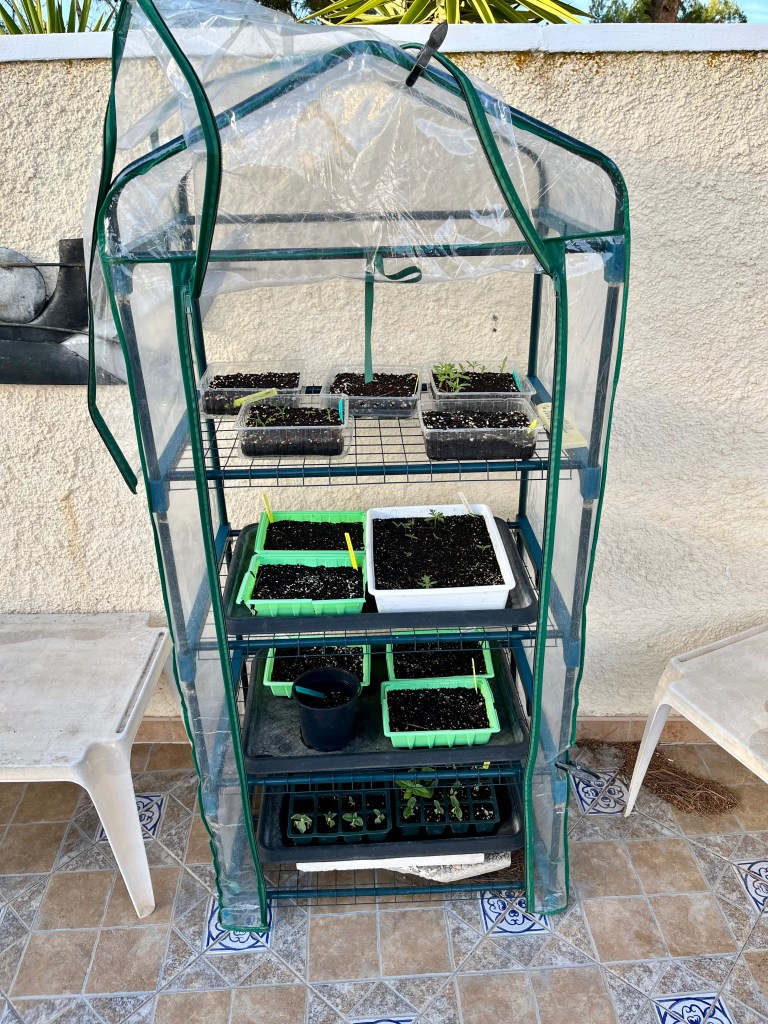
Potting up Loofahs. I enjoy growing Loofahs for two reasons: First they are unusual and provide flowering interest in the garden. Second, I sell the subsequent loofah plants to my wife (Cruella) and others from her Coven who use them to defoliate nose warts from the ends of their noses.
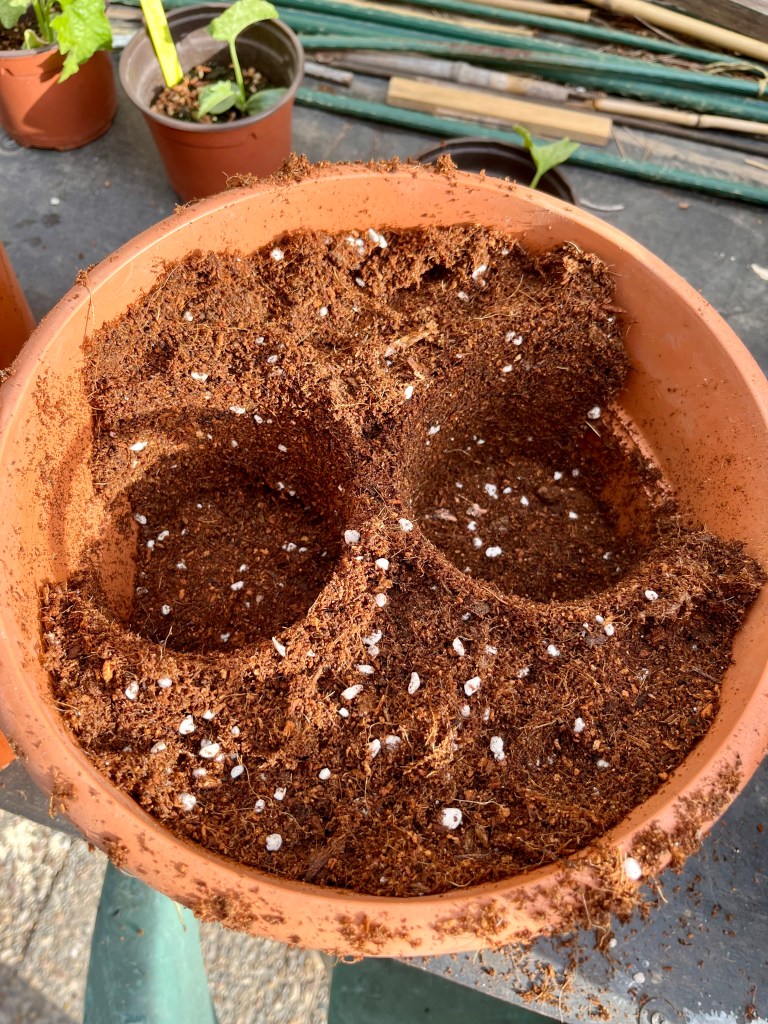
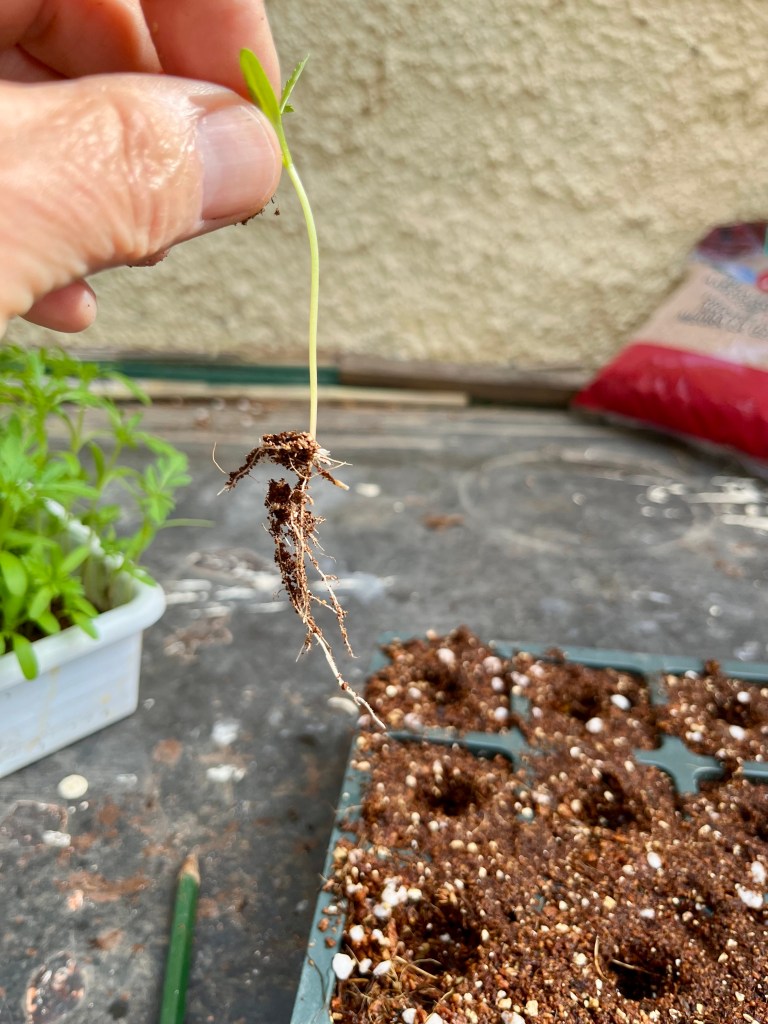
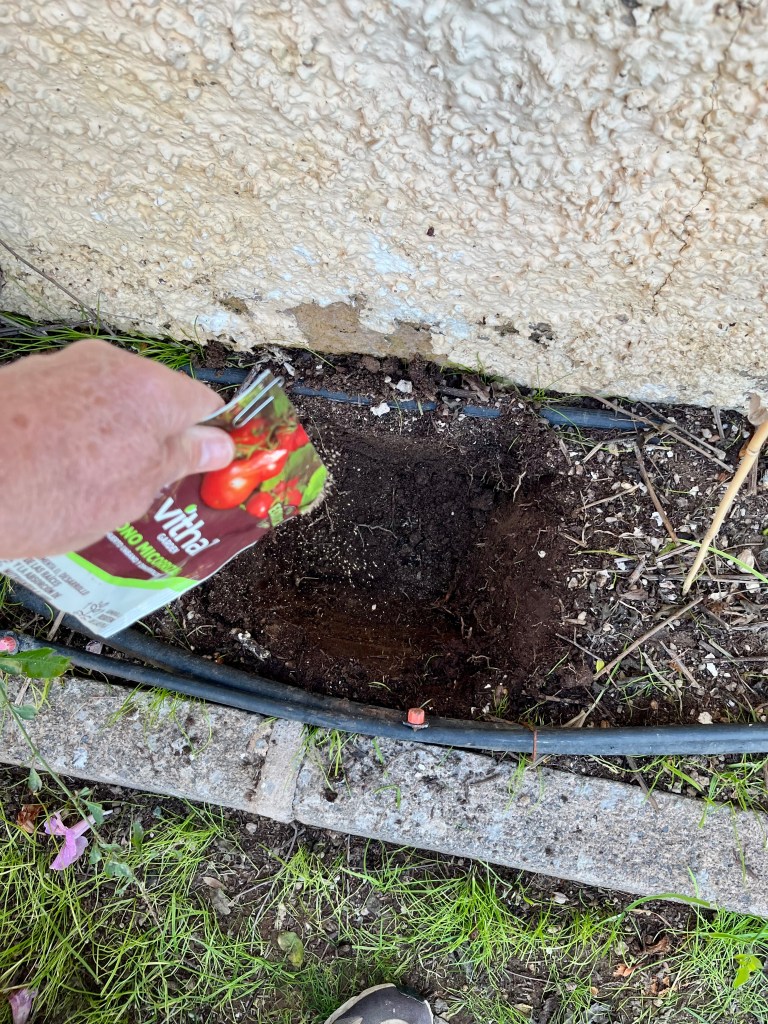
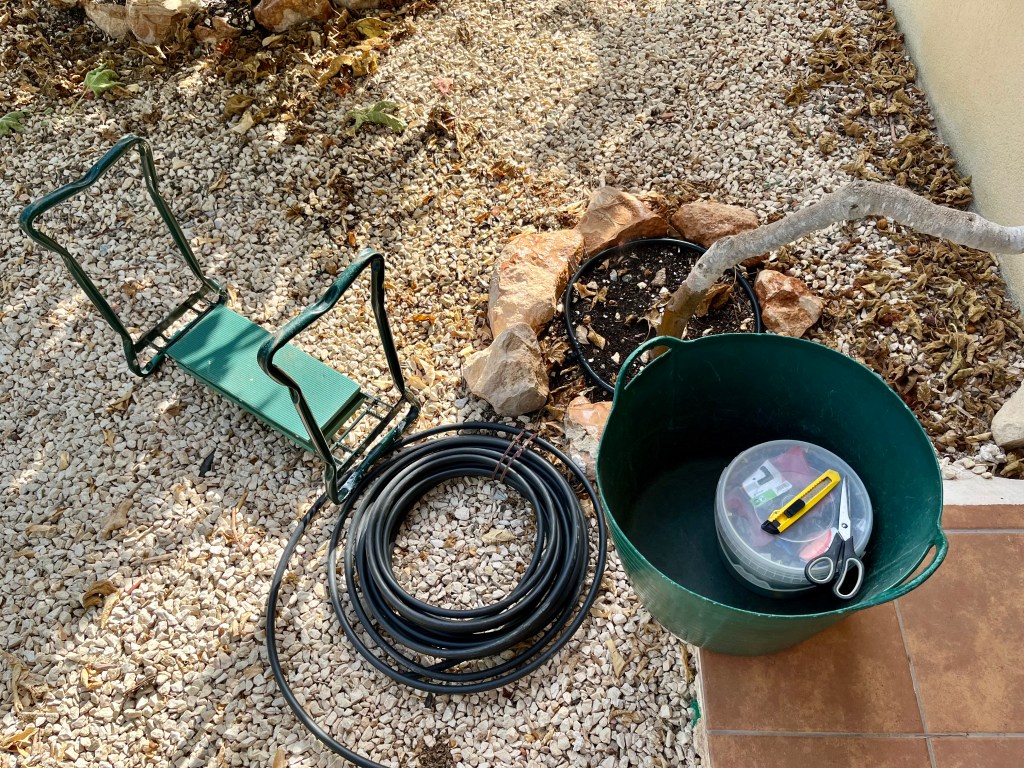
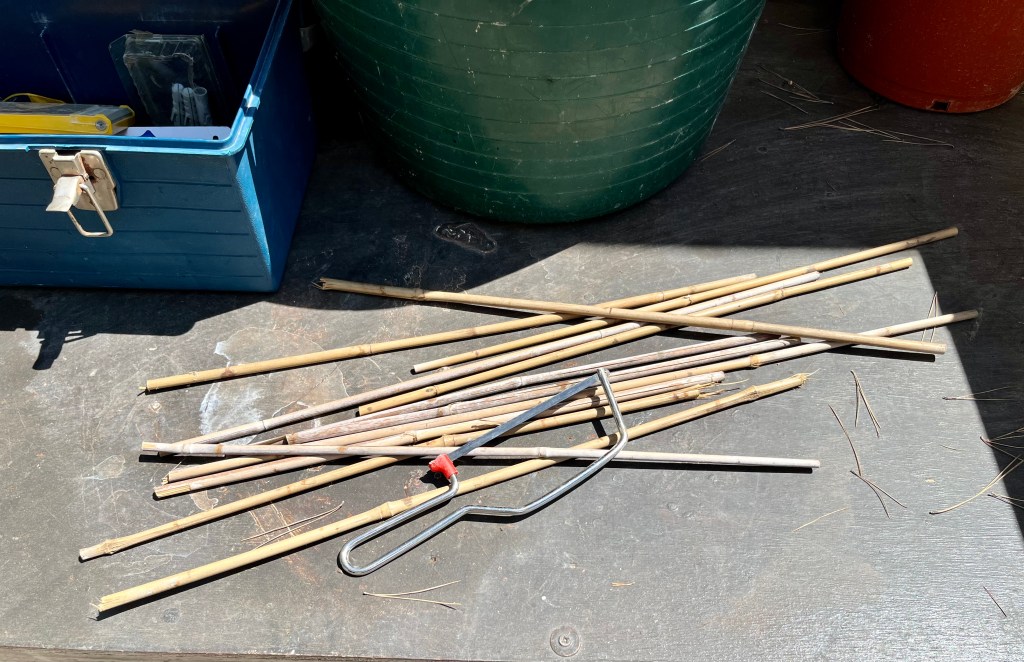
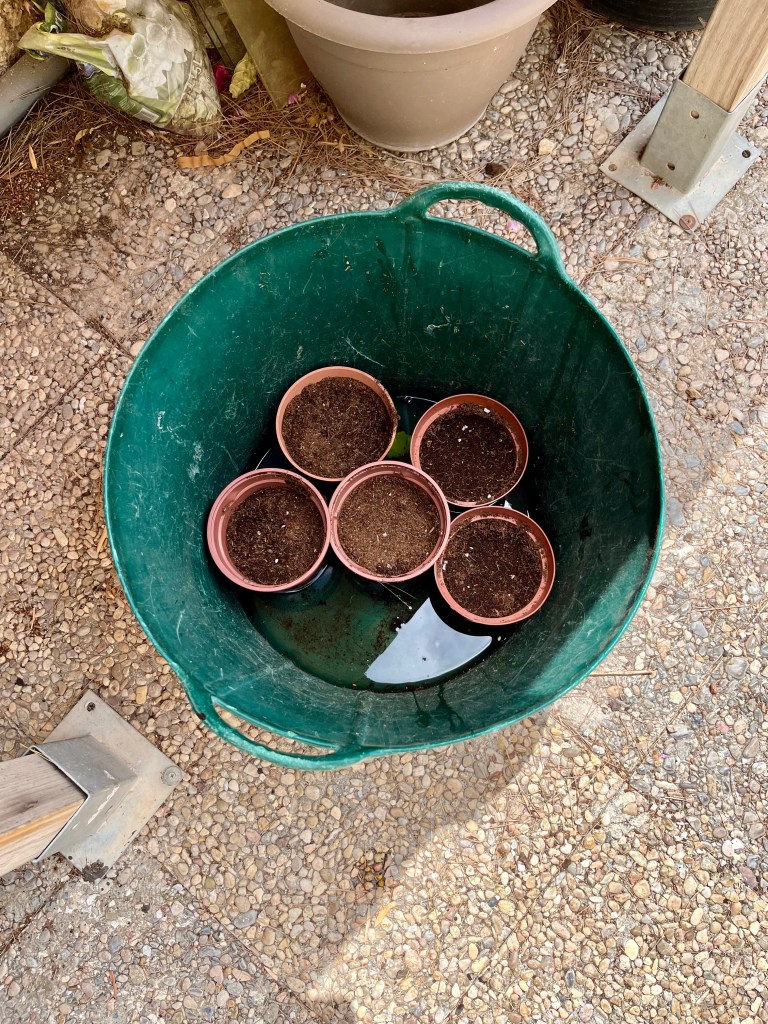
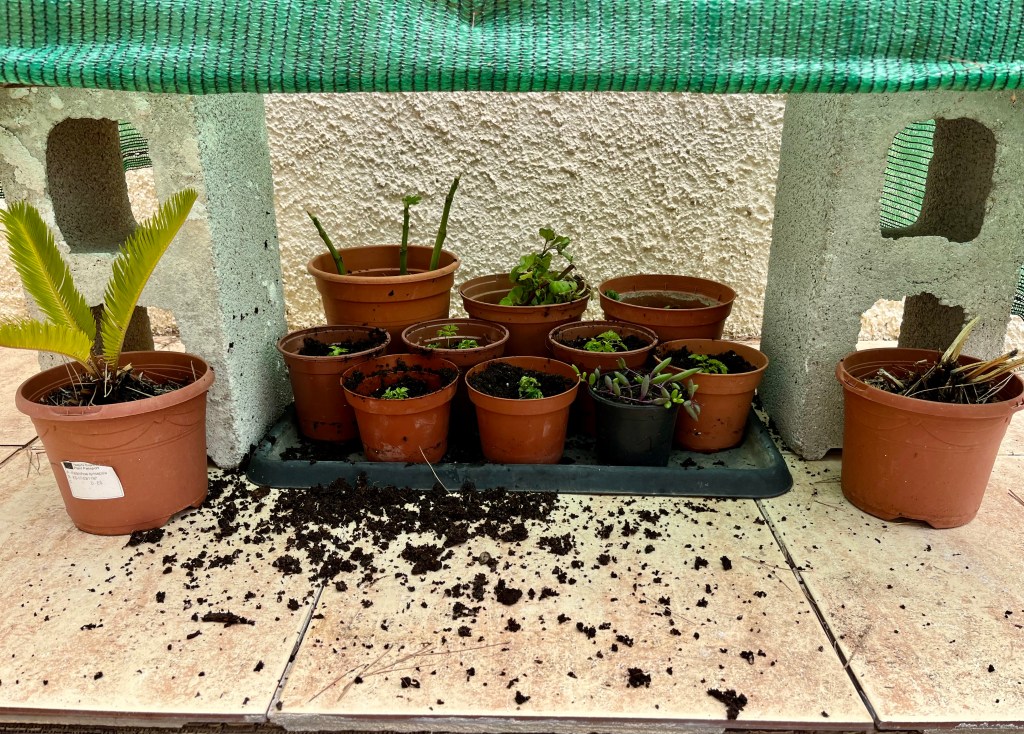
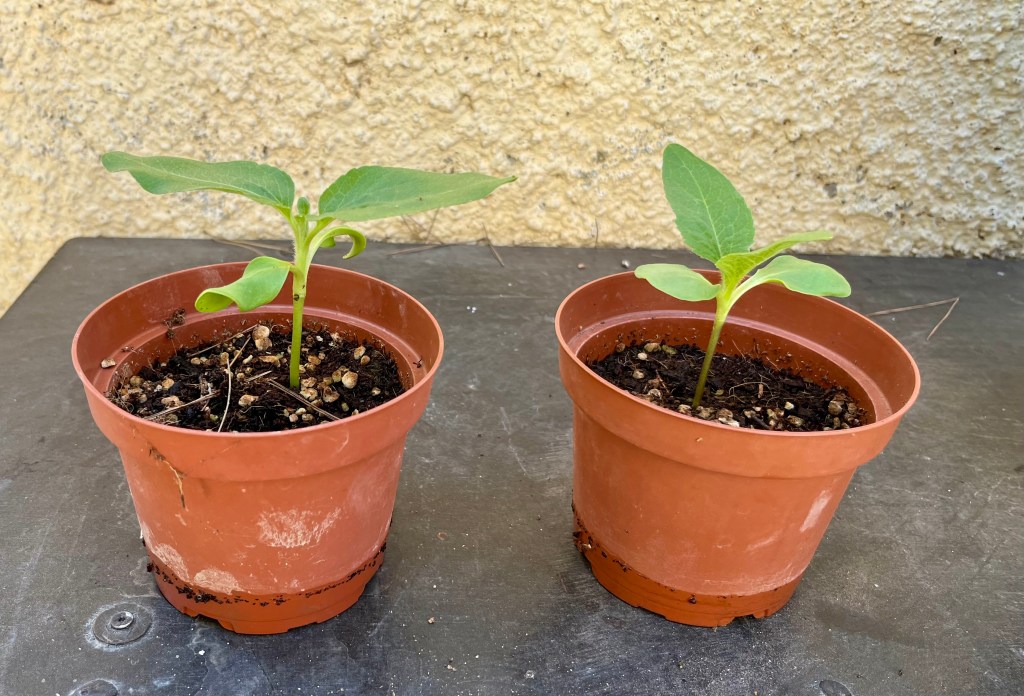
Plant loofahs seeds in four inch pots by pushing the seeds a finger nail deep into compost. They will grow quickly and you will need to pot them on when they are about two inches high. Loofahs do not like having their roots disturbed, so fill your new pots with compost around the existing 4 inch pots and then replant your loofahs into the subsequent pot shaped space. See photos below.


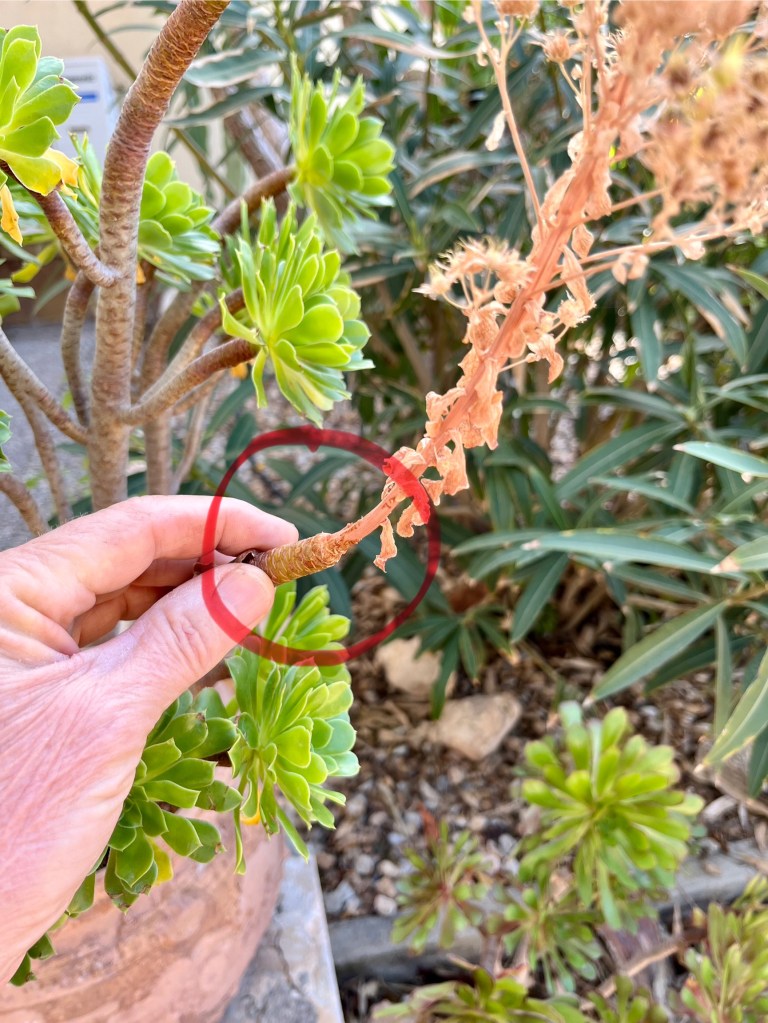
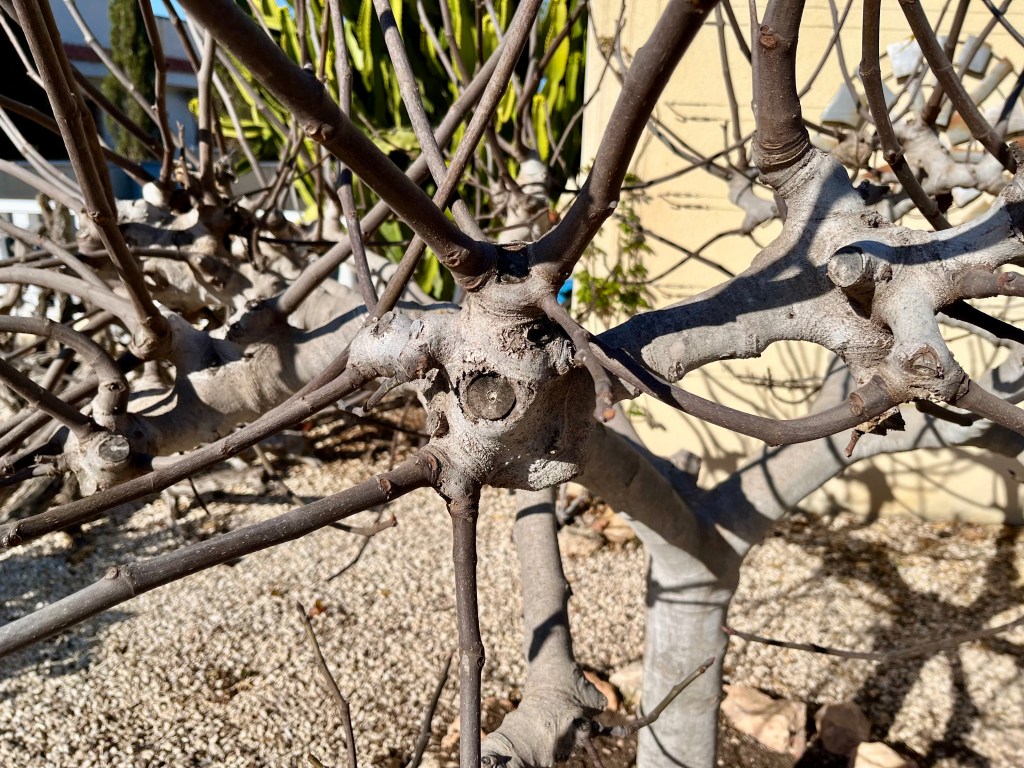
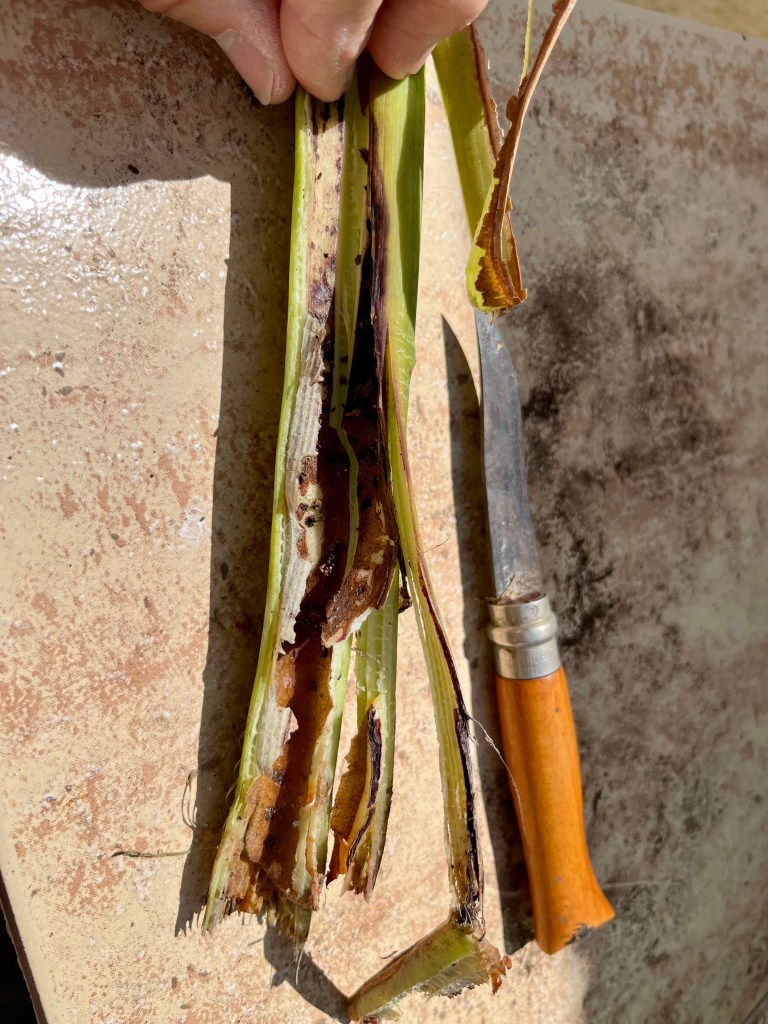
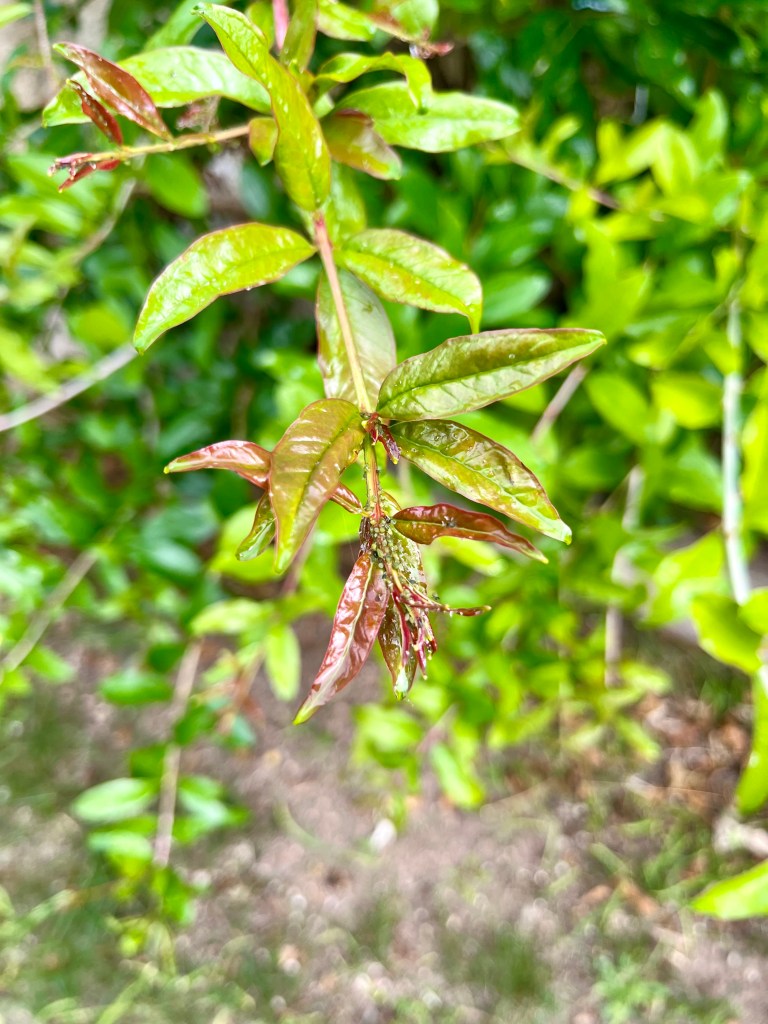
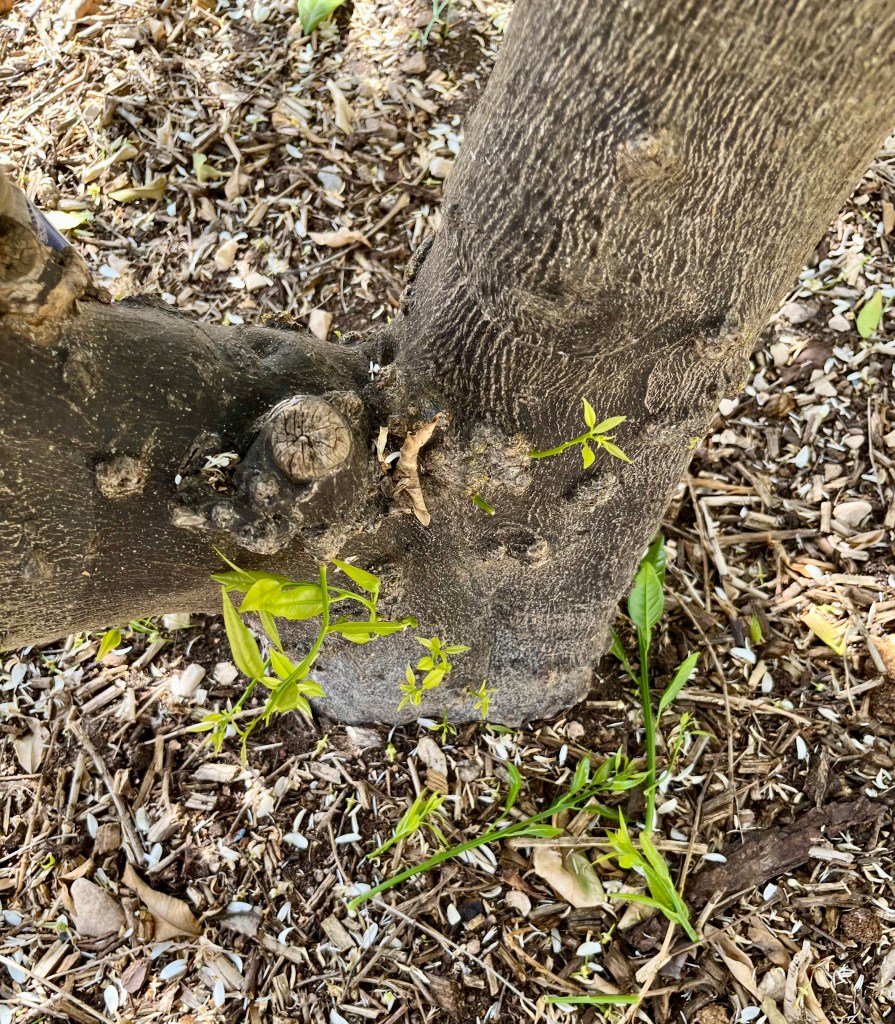
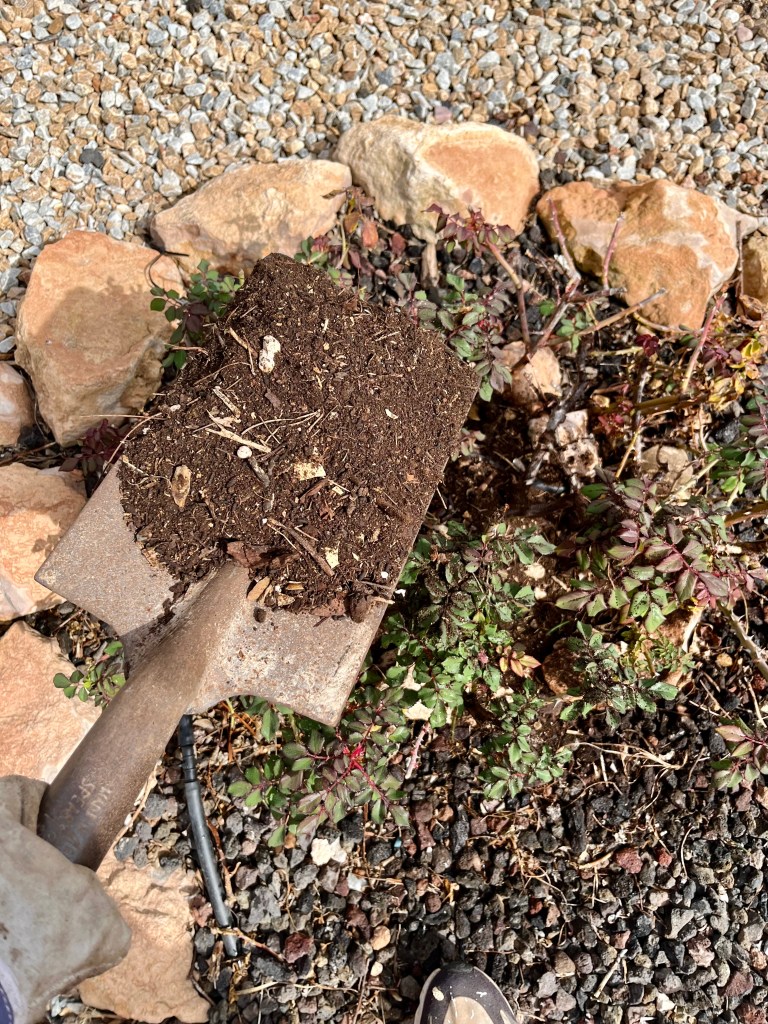
Dealing with Sawfly. If you have roses then you need to keep an eye out for Sawfly caterpillars or they could decimate your plants. Sawfly specialise in chomping through roses and they have a very simple but effective strategy.
Mummy Sawfly lands on your rose stem and saws a sliver from the stem and lays rows of eggs into the exposed stem. Once the eggs hatch as caterpillars, they have one mission to chomp through your rose leaves as they make their way to the ground. Once at ground level they burrow into the soil and the whole process starts again next summer. The first photo shows the caterpillars chomping on my roses, whilst the second shows the type of damage they can do, together with some of the culprits.


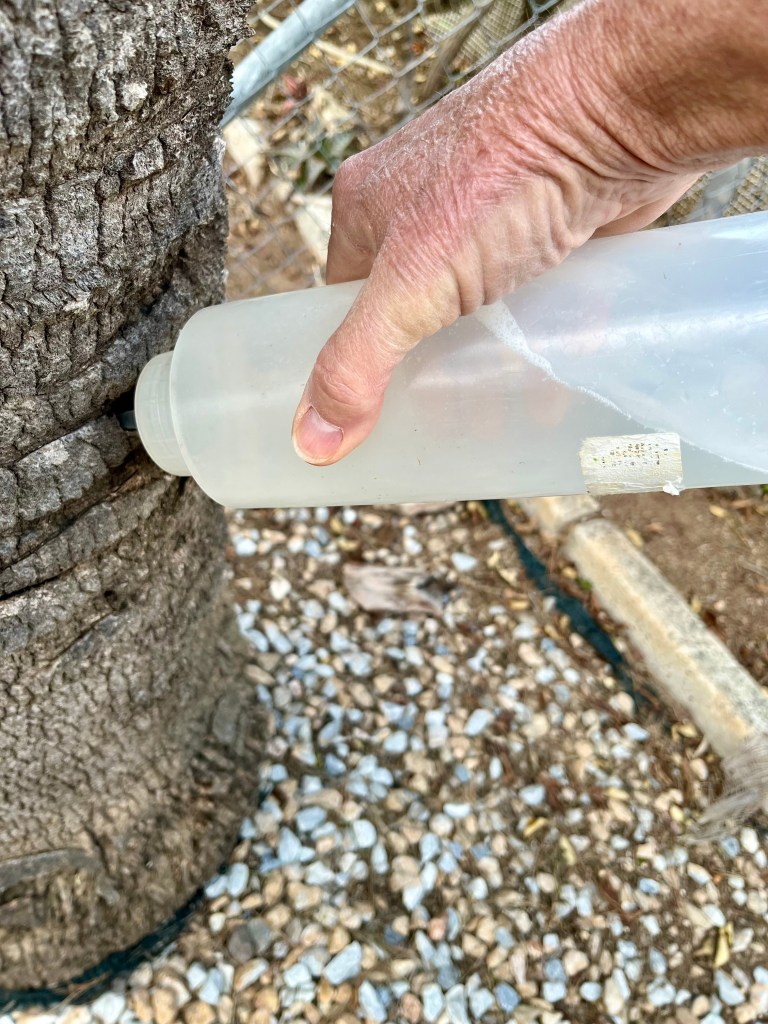
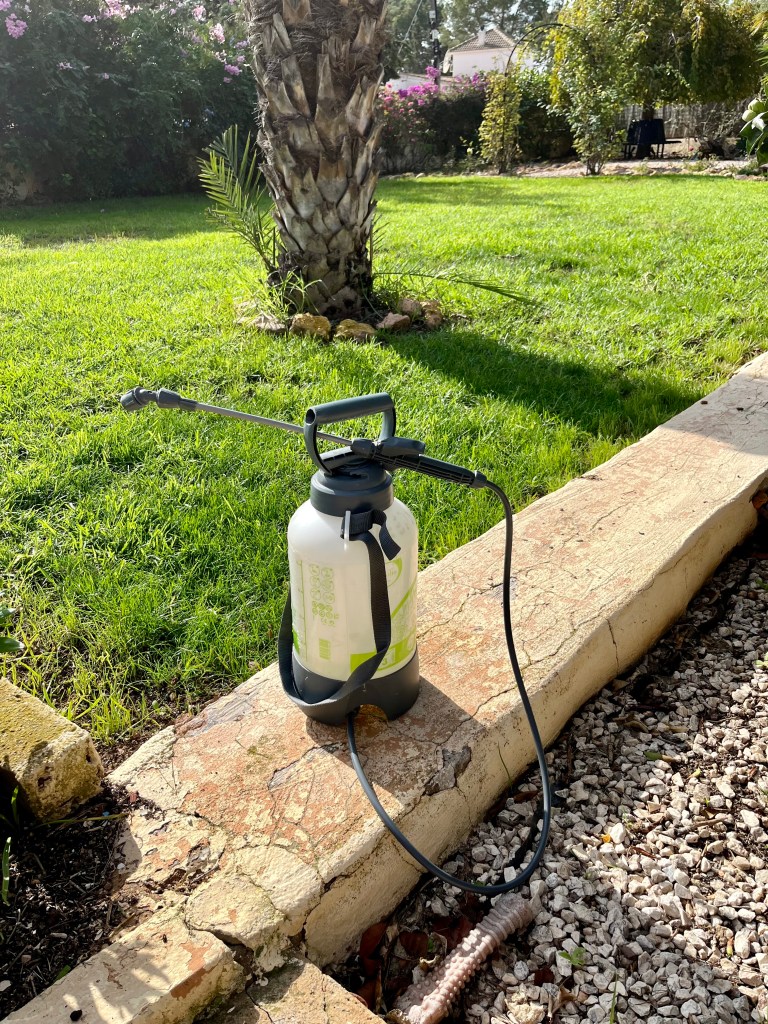
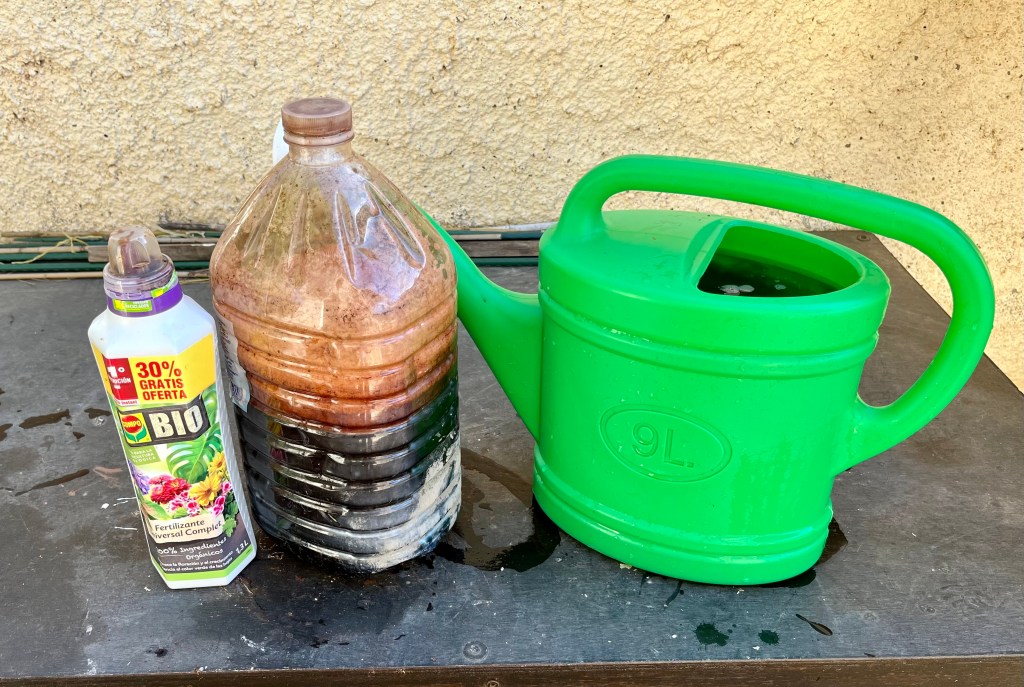
Most caterpillars you can just pick off your plants and throw them to the ground. But with Sawfly if you do this then you are fulfilling their life cycle. Instead you must break their life cycle by either spraying or plucking them off and drowning them in a pot.
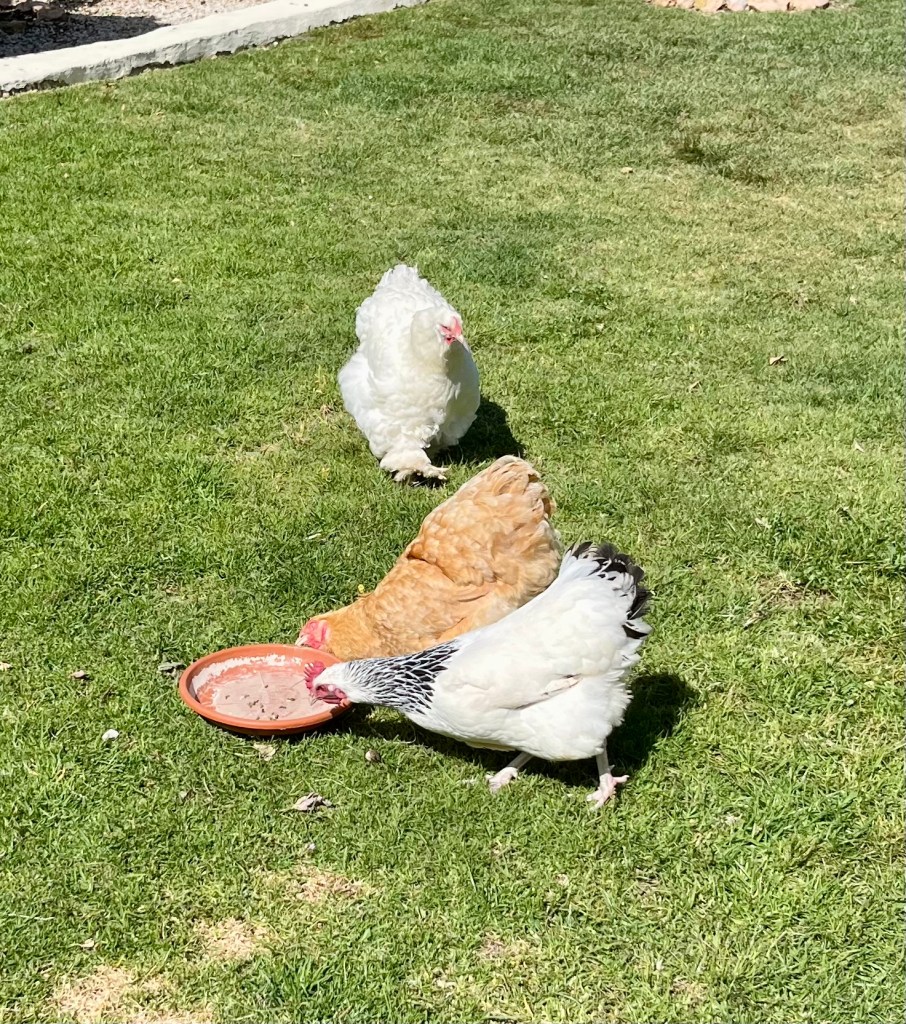
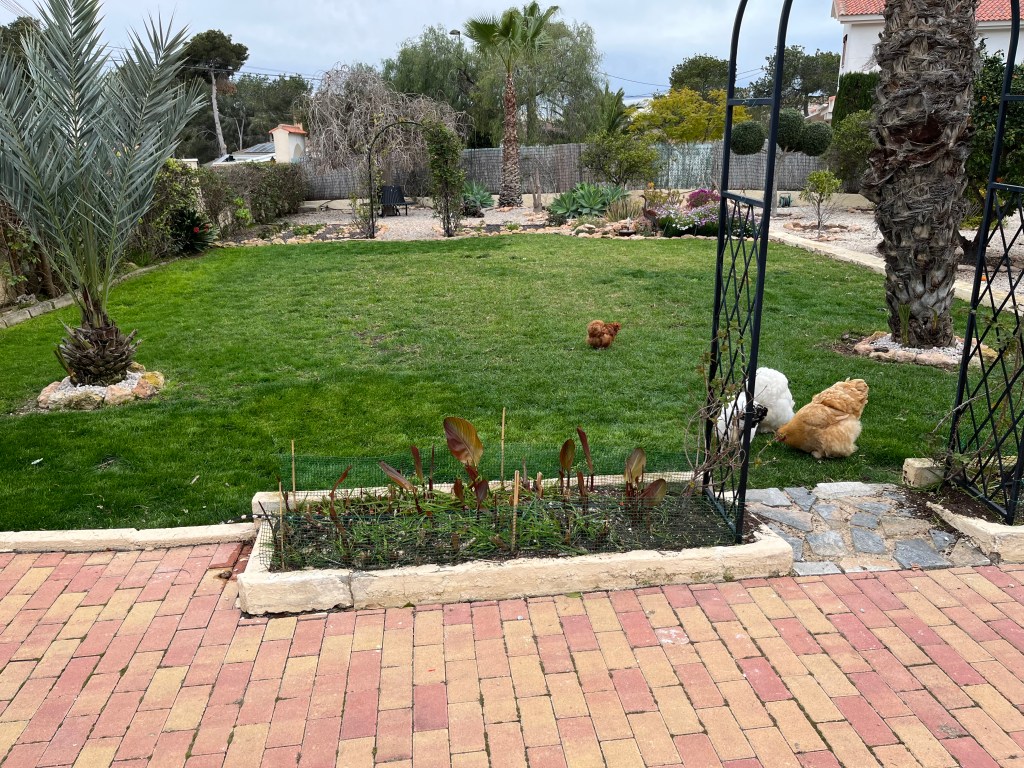
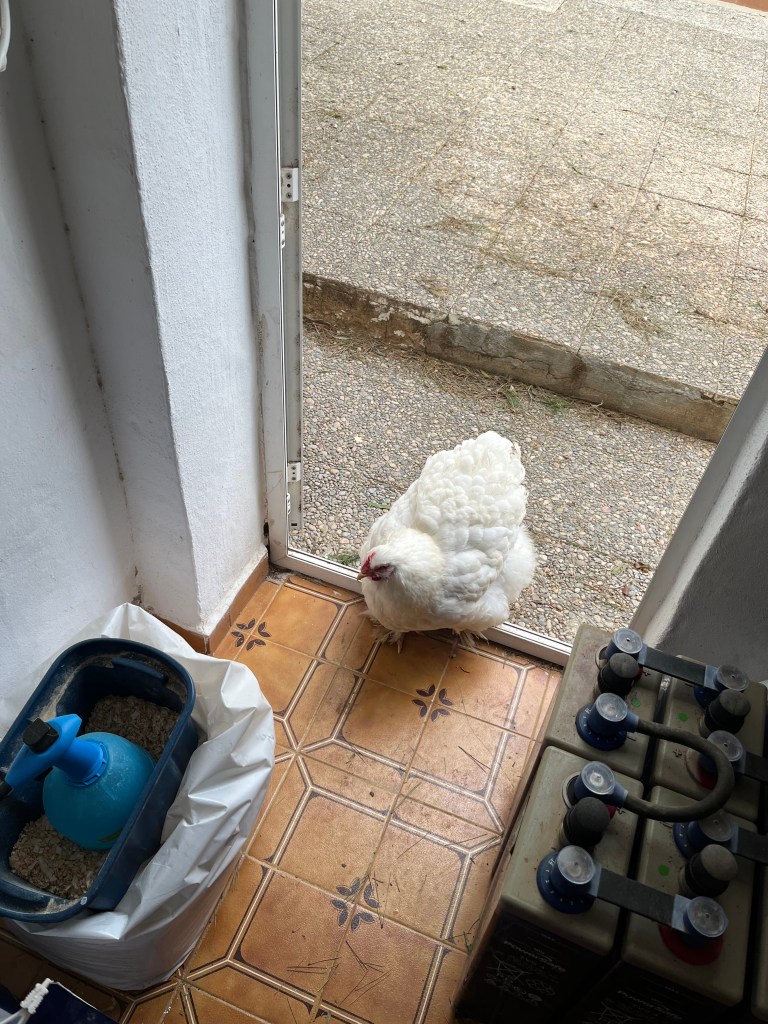
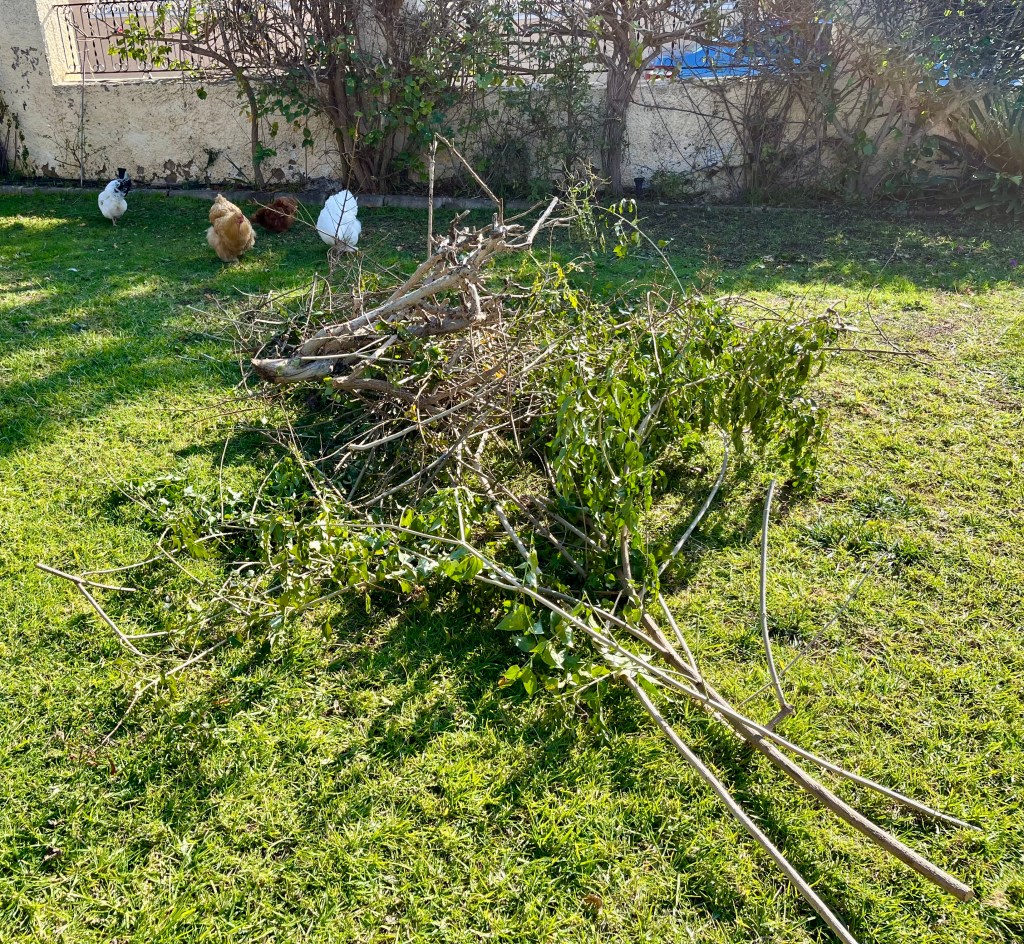
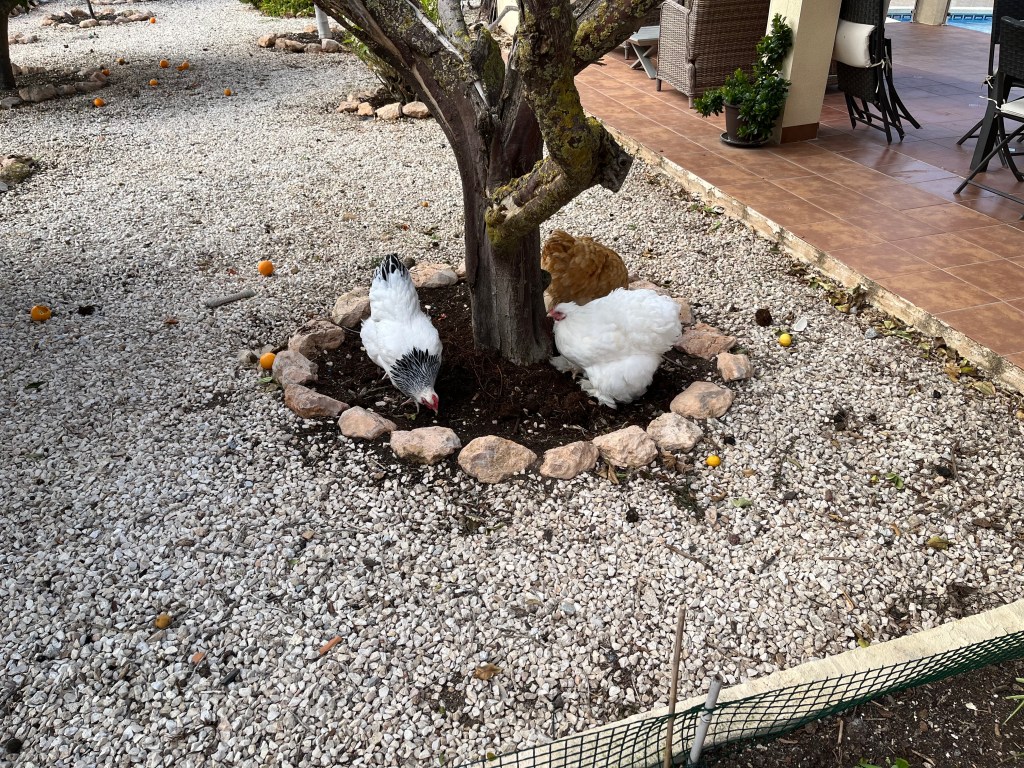
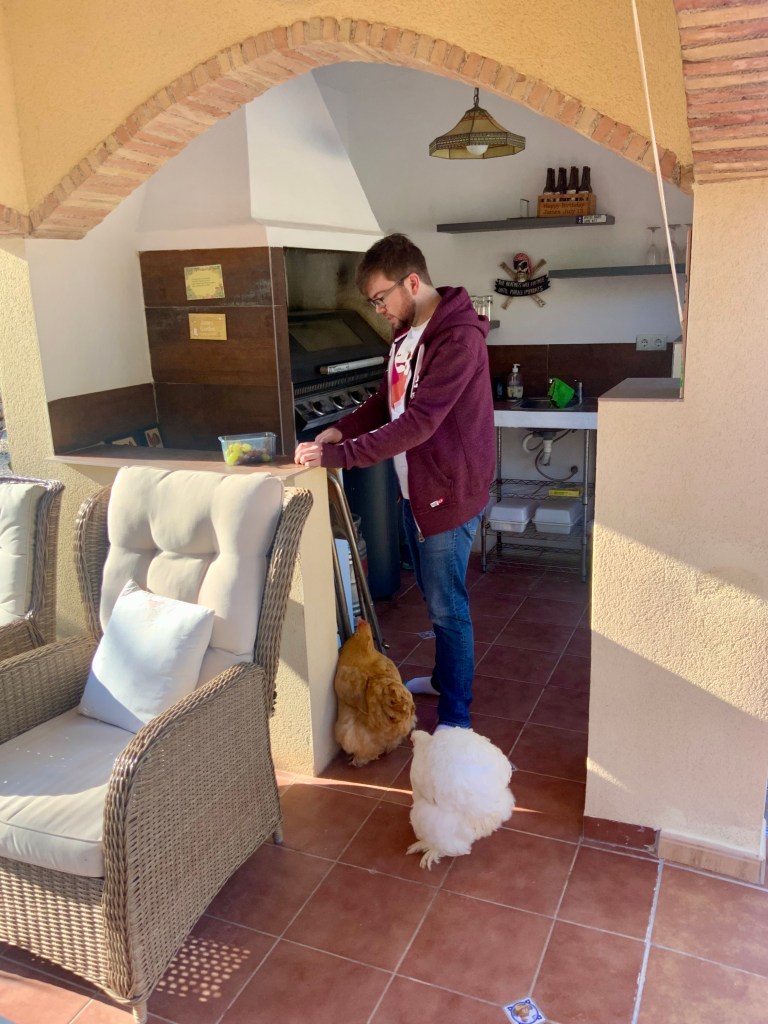
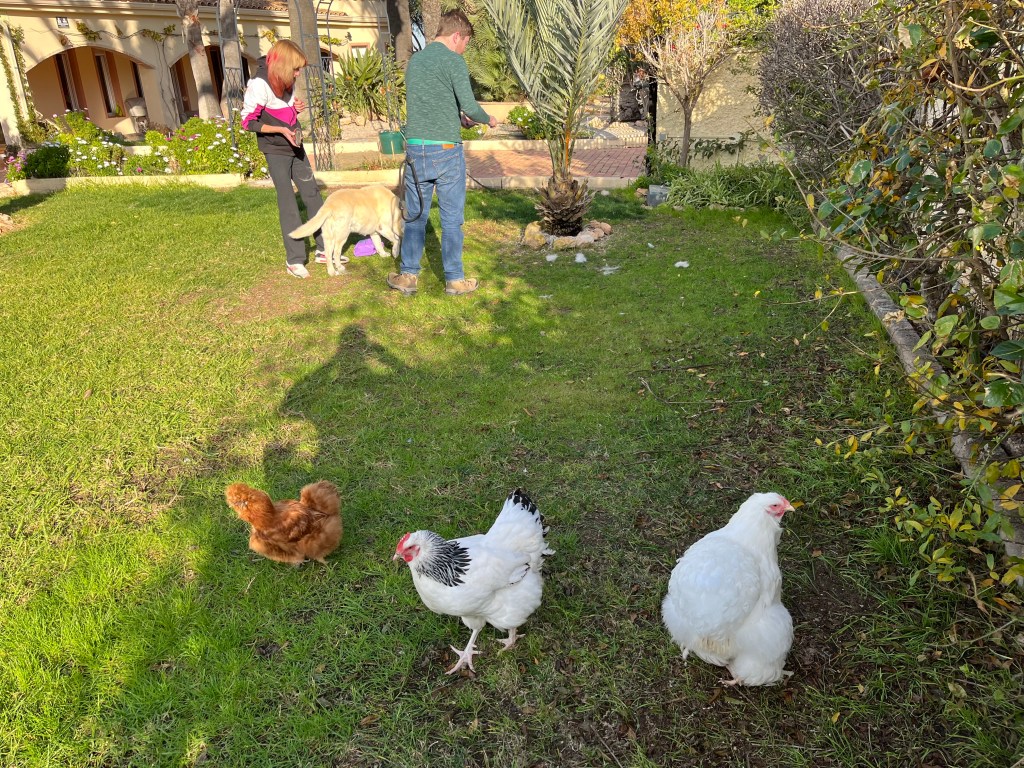
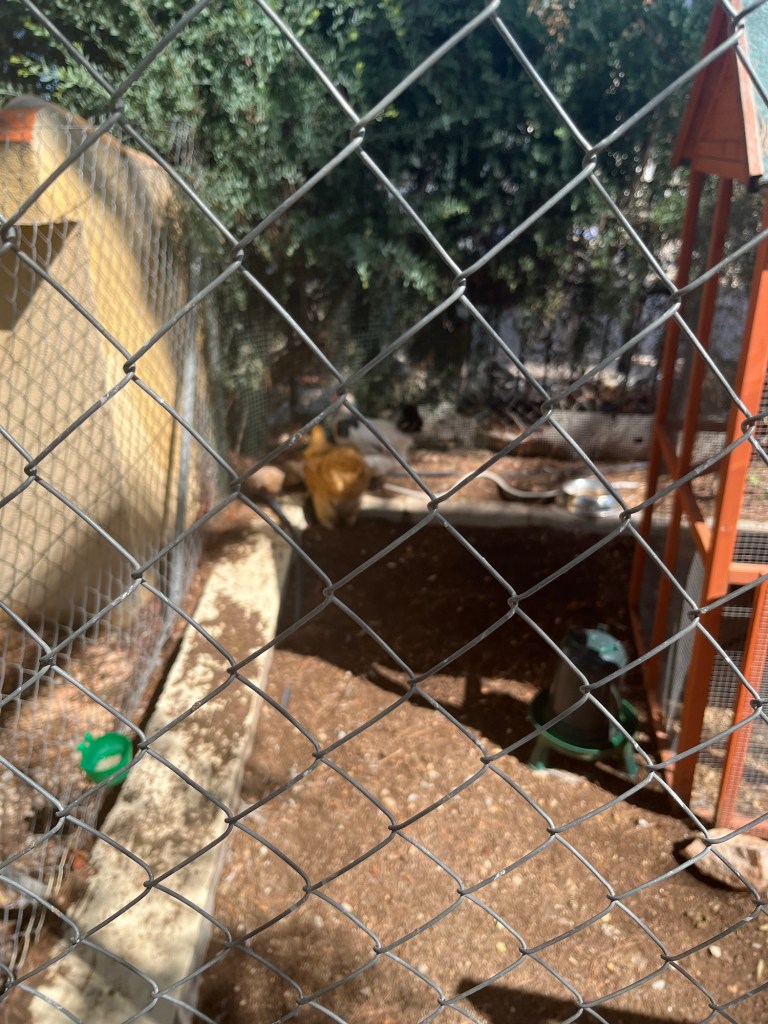
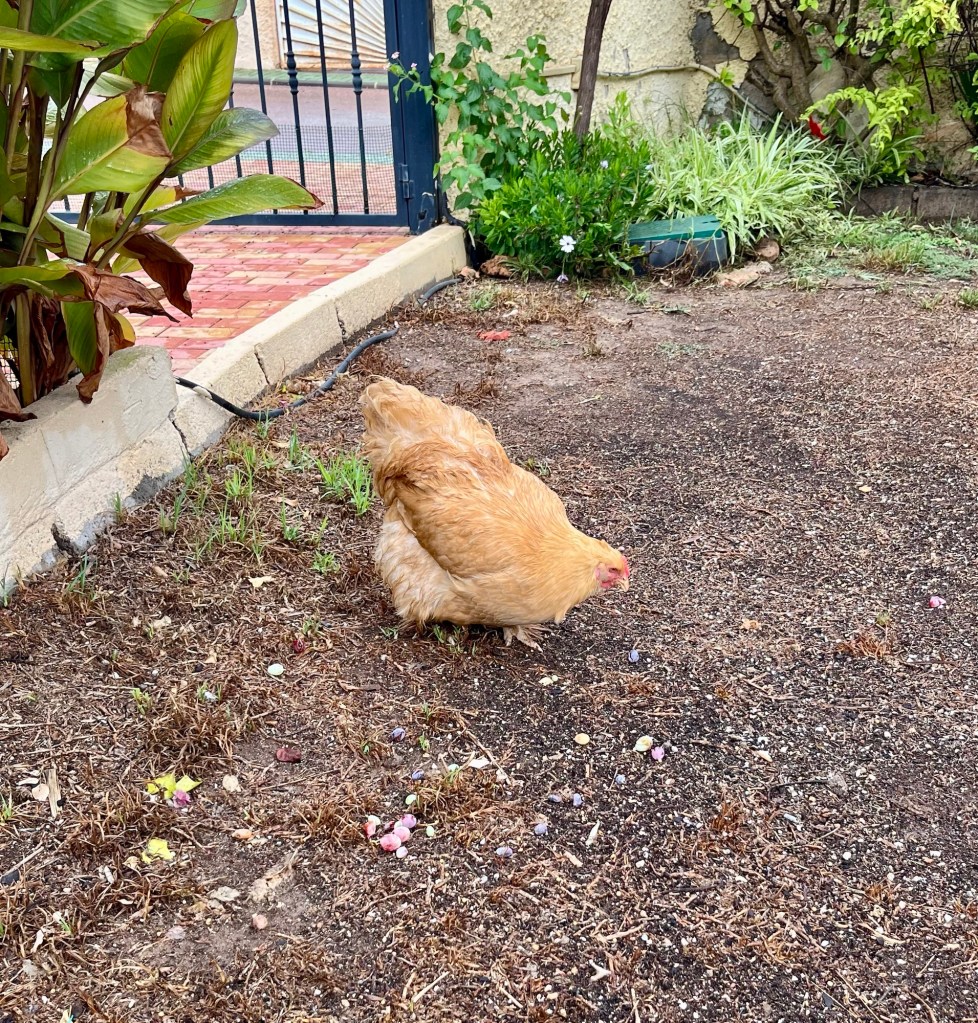
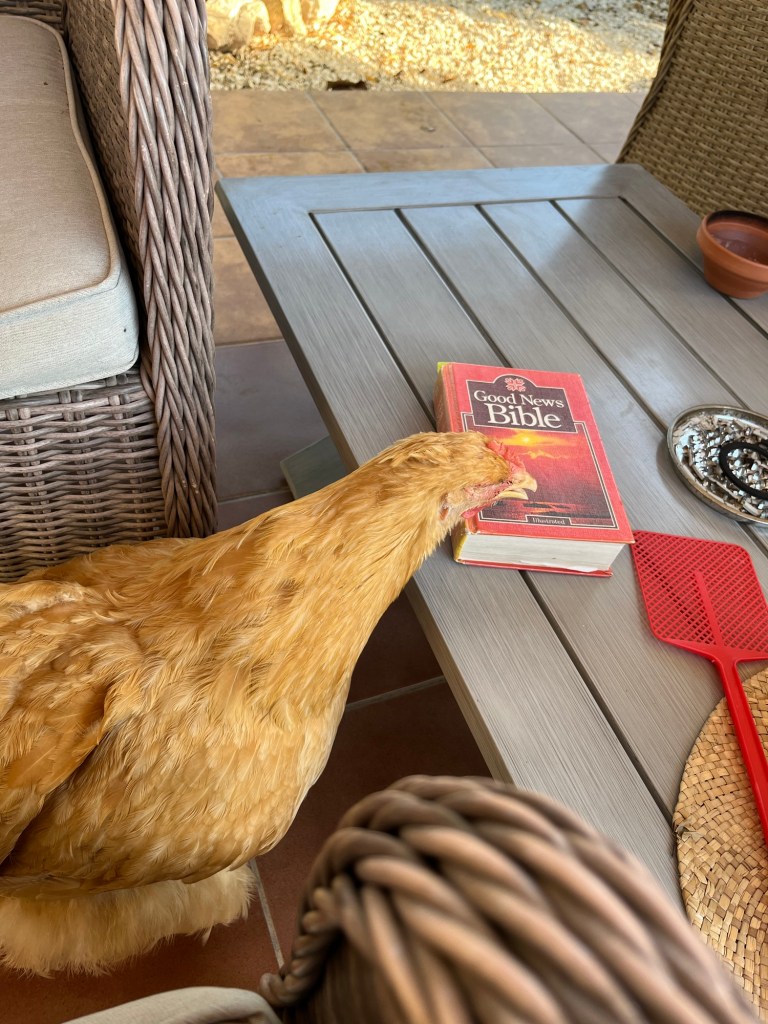
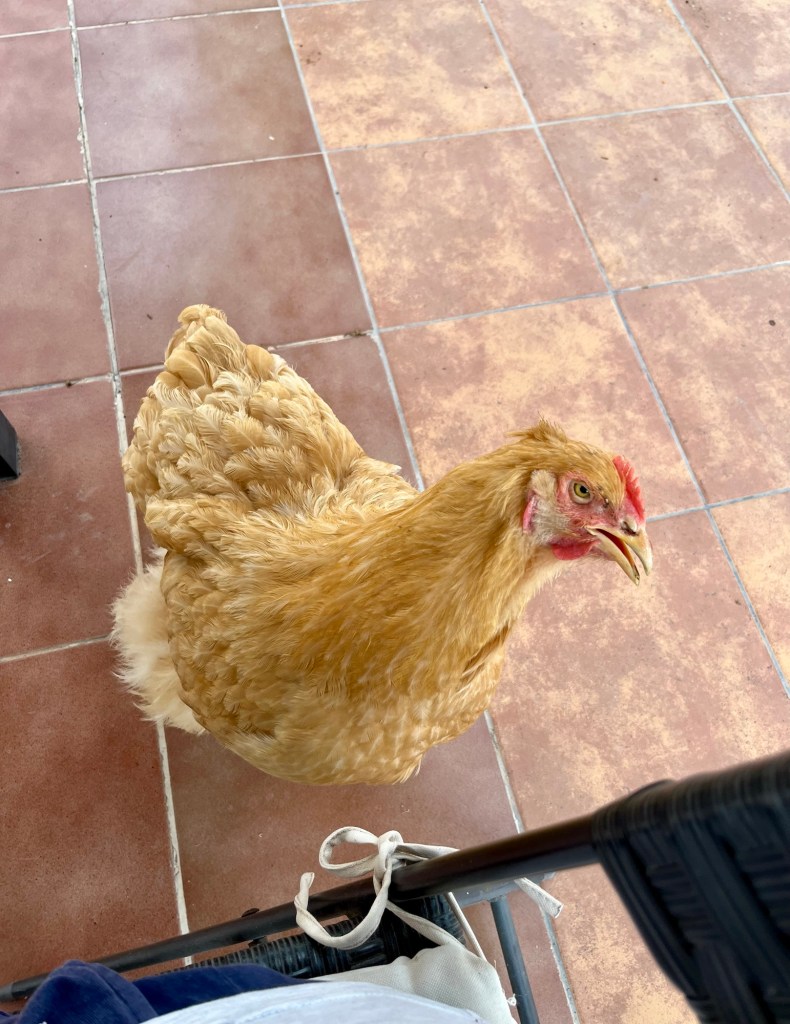
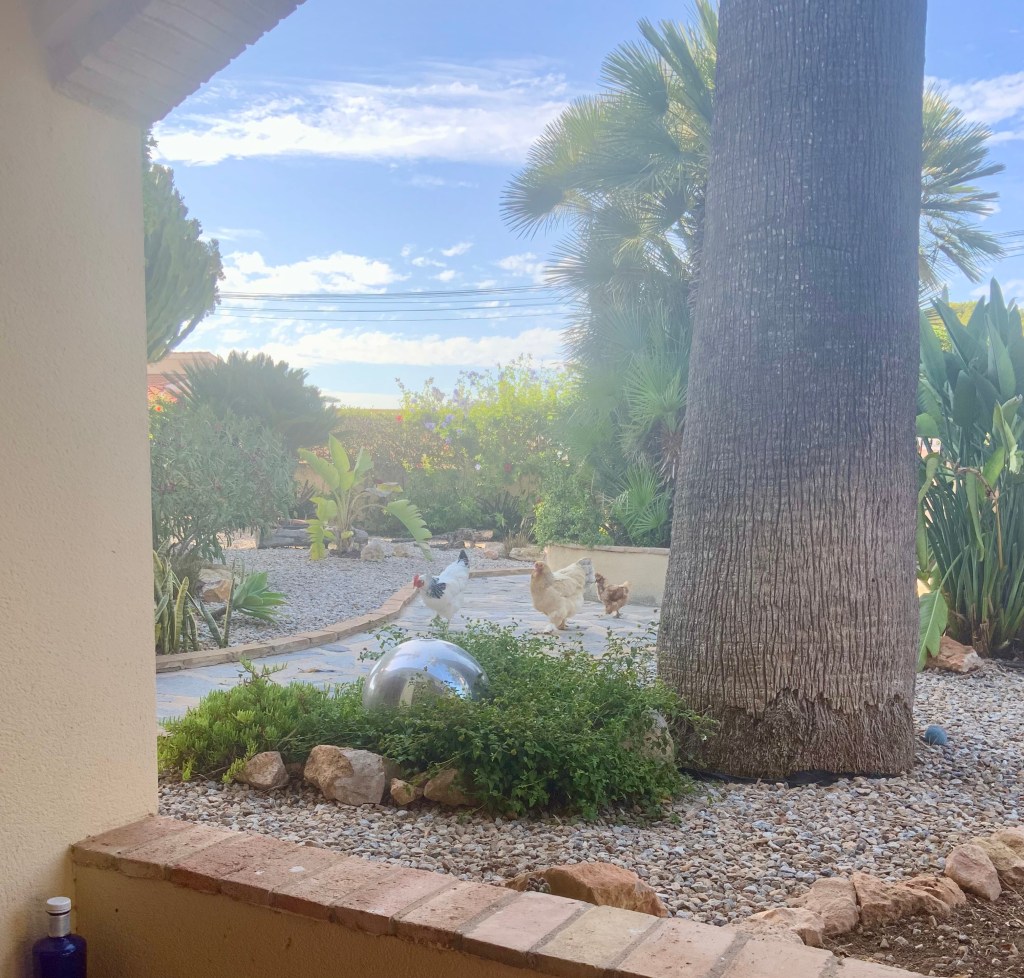
Luckily I managed to arrange my own Sawfly massacre by eventually persuading Cruella’s chickens that they were tasty. I have to tell you this was no mean feat persuading chickens that are hand fed grapes and strawberries that the wriggly worm like things I presented to them were tasty. I even ended up shouting at them that there were chickens in Africa that would be overjoyed to have Sawfly caterpillars.
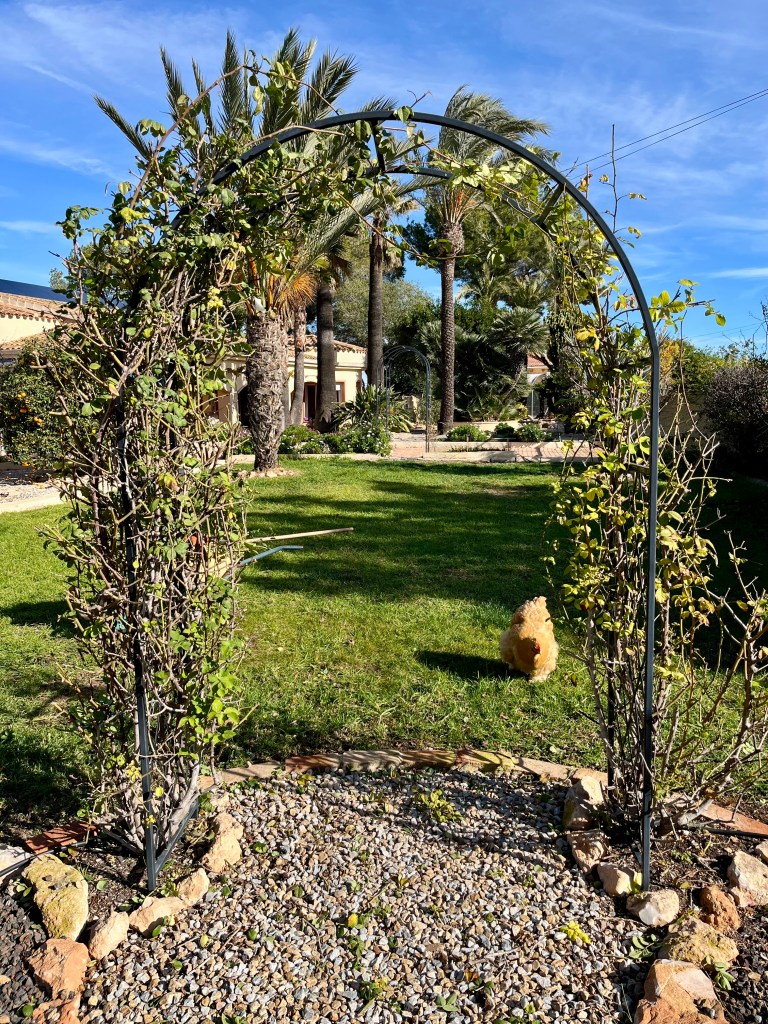
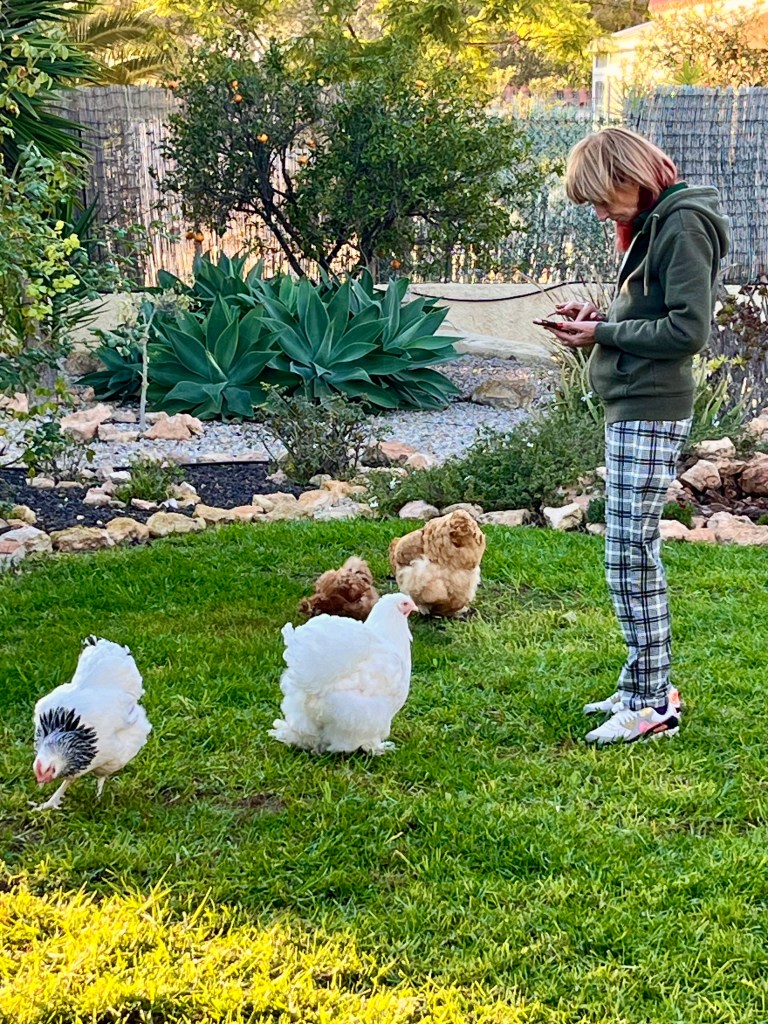
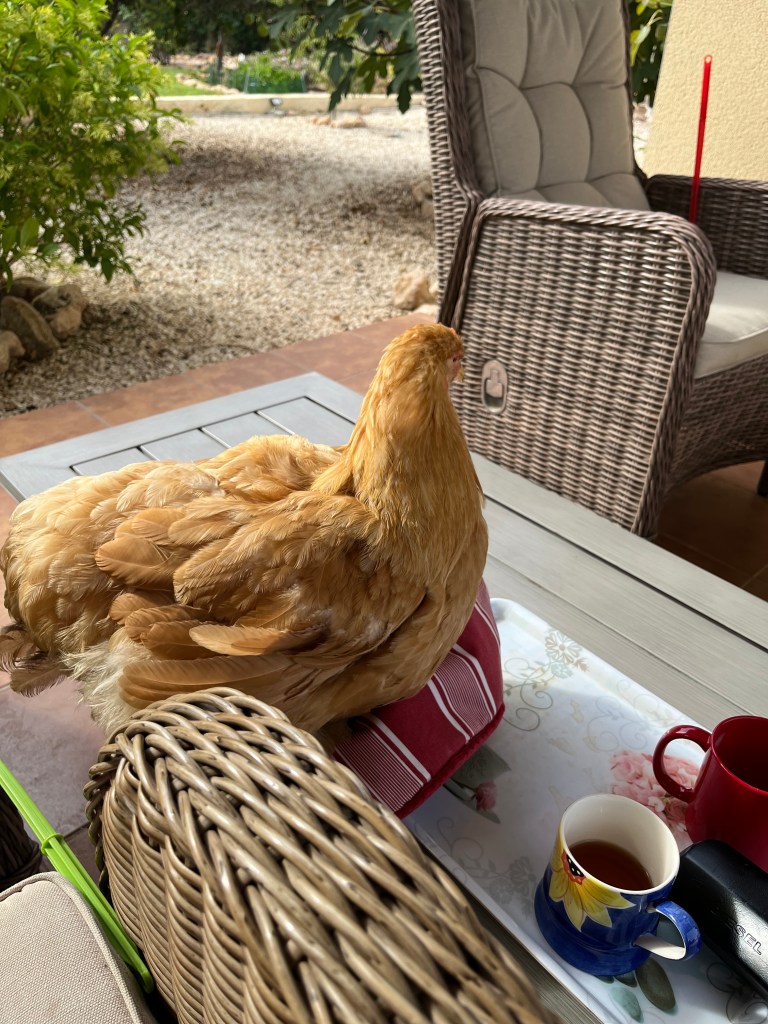
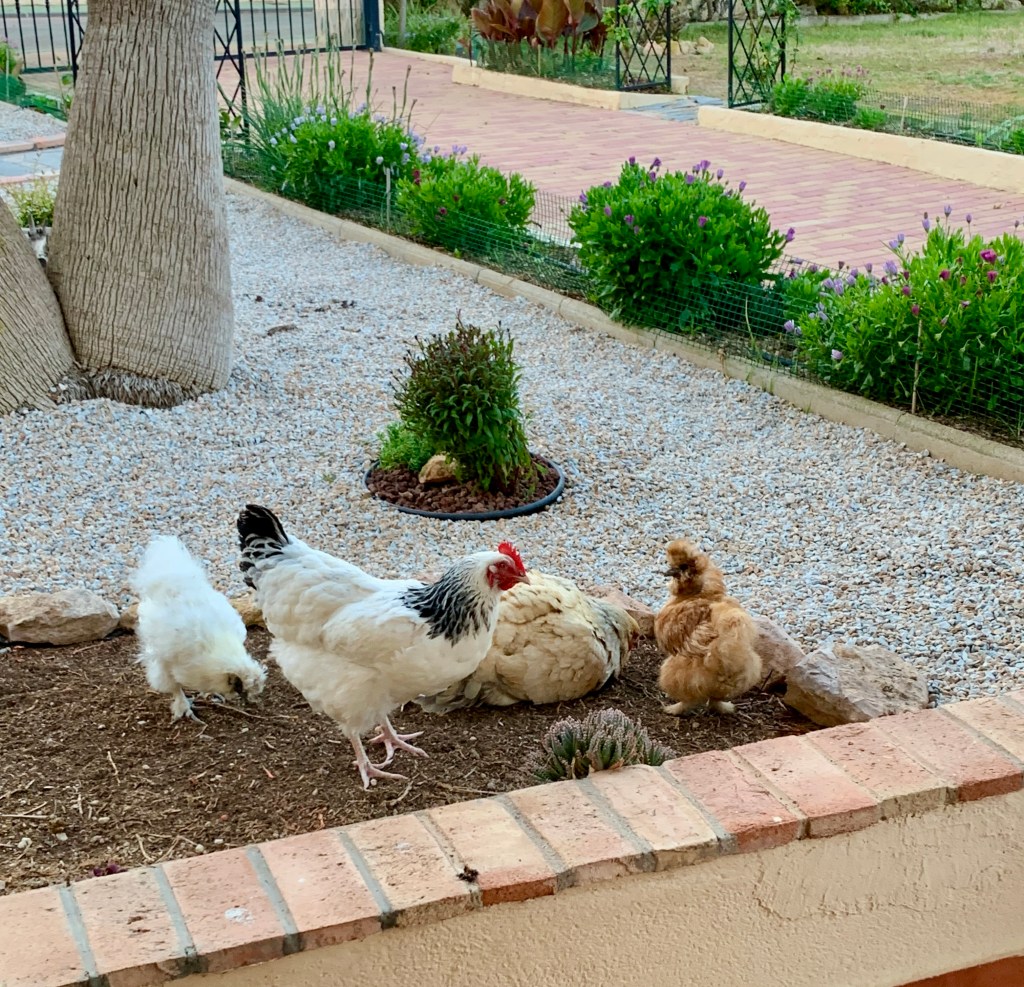
Eventually after covering a few of them in chocolate I persuaded Helga my favourite chicken to try a few. The photo below shows the start of the Sawfly massacre as Helga tentatively sniffs the caterpillars before being joined by the others in consuming every one.

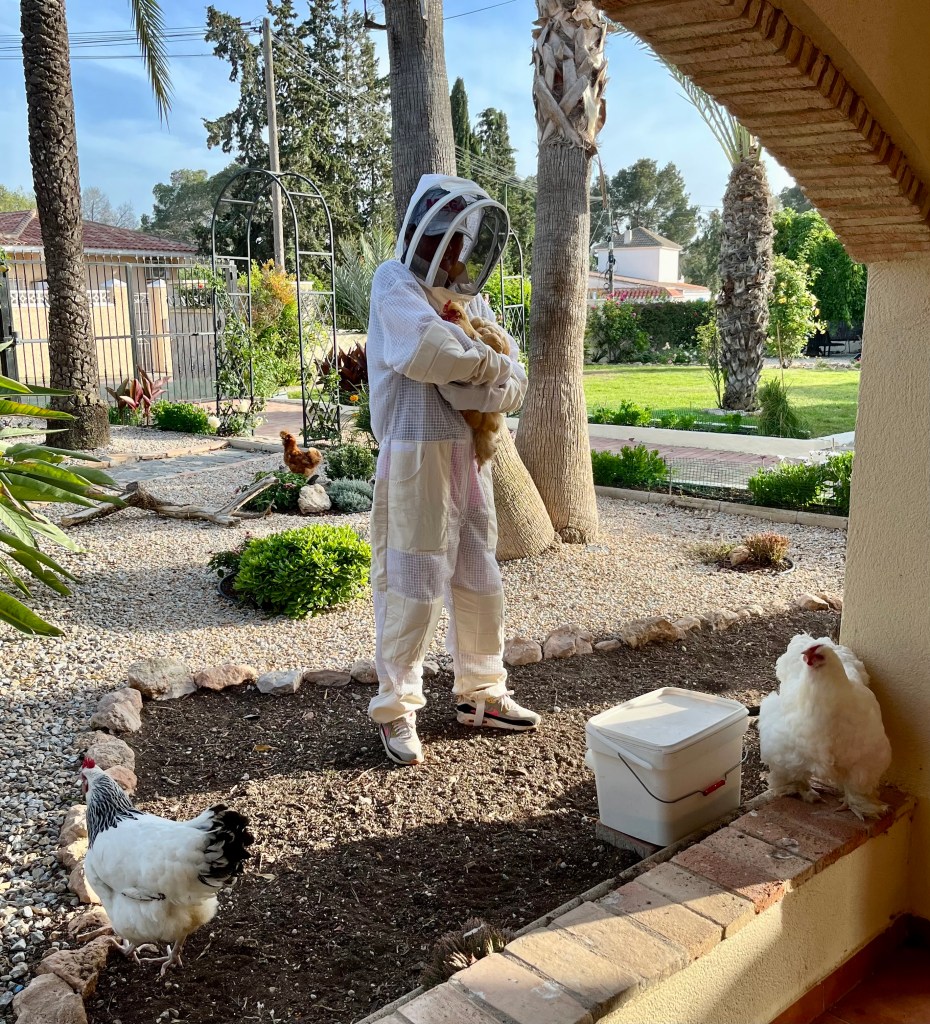
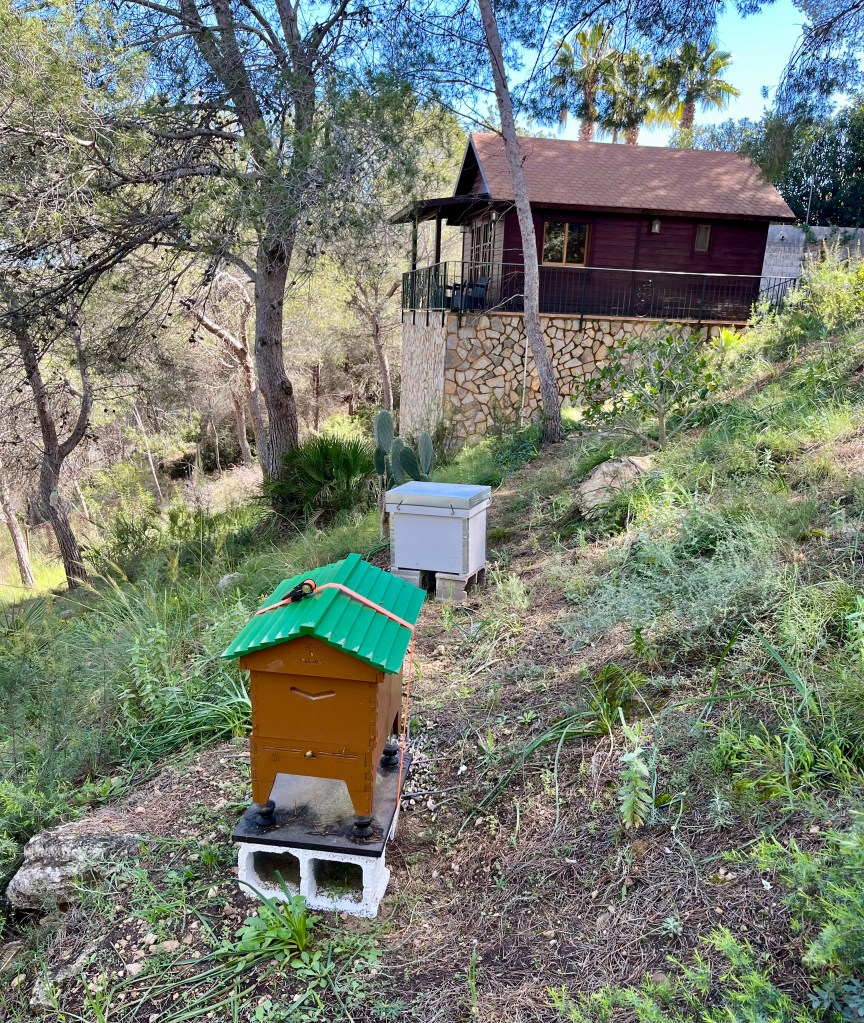
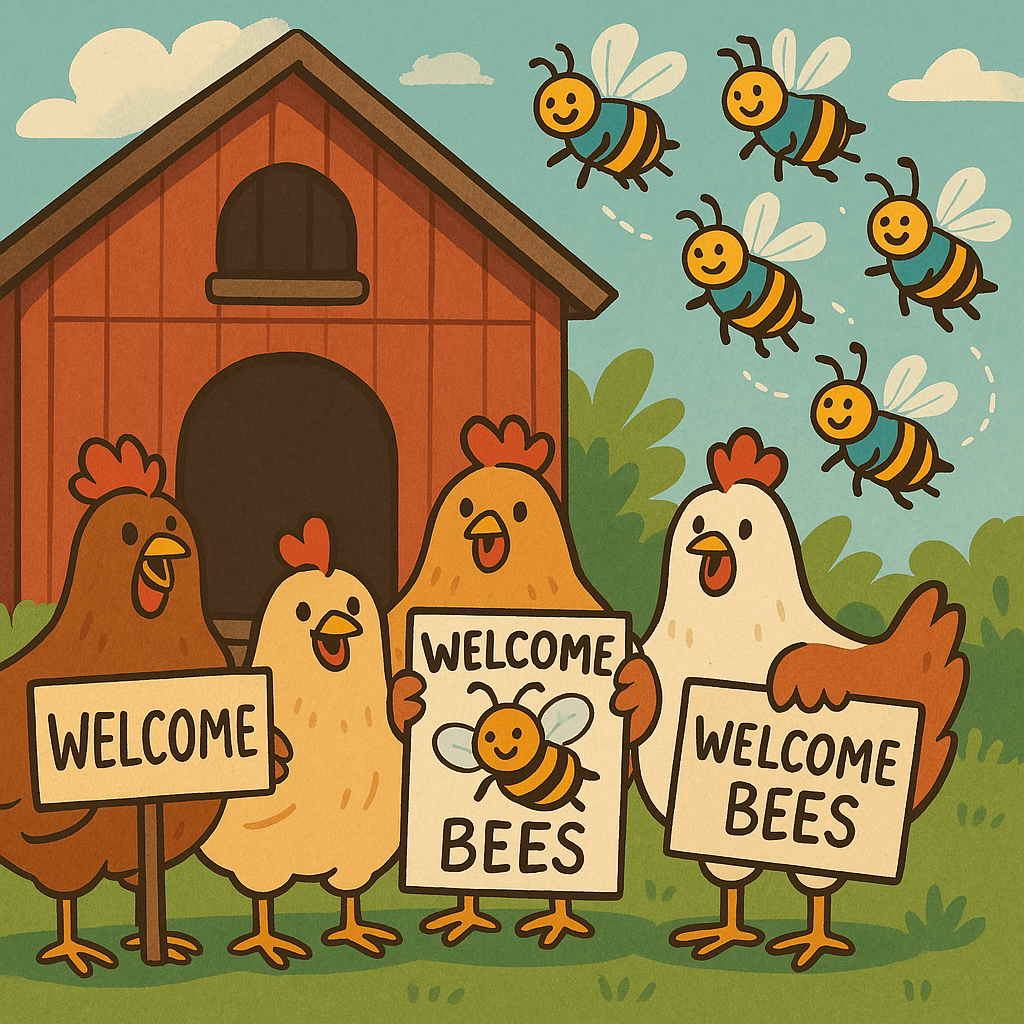
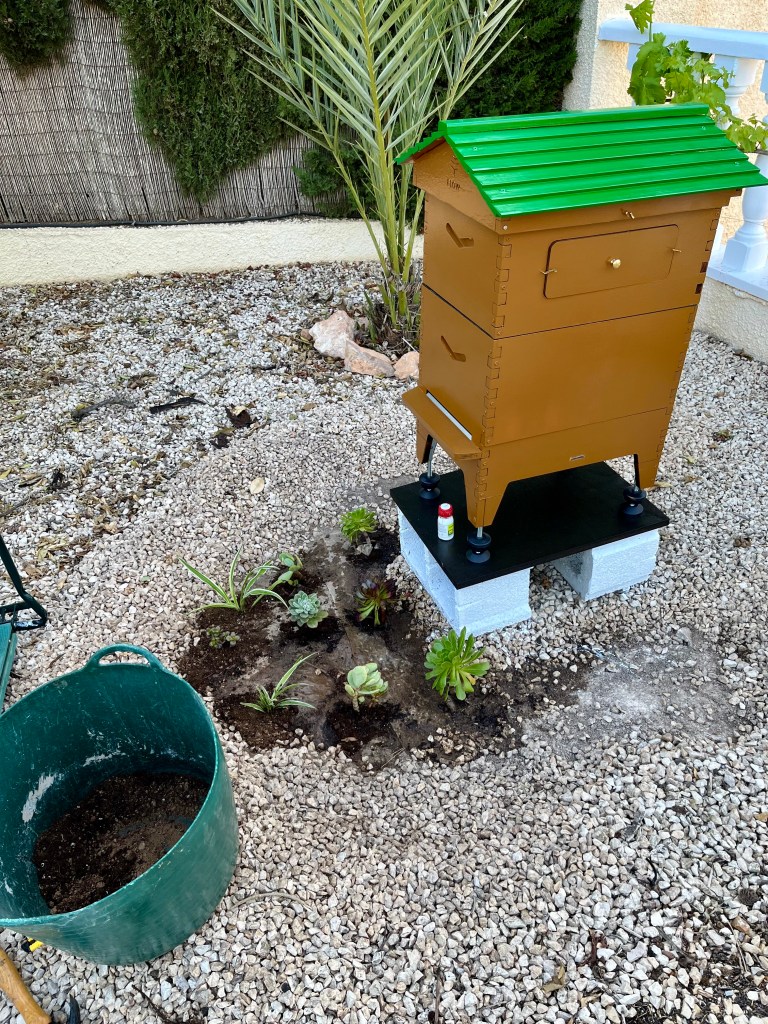
The bee and chicken pamper day. Well, the bees are here, and I am now the proud owner of 2 hives, 20,000 bees and two queens. It has taken a year of planning and much learning but I made it. Cruella is beside herself since she found out that most of the bees are girls. I mentioned in my last post that she and her chickens were planning a massive welcome ceremony for the bees, and they out did themselves.
Apart from the banners and balloons, there was a special buffet, a fancy dress competition and bunting over each of the hives. By the time both Cruella and I had got all our bee keeping outfits on and placed the Bees in their new hives, Cruella decided that they would be too tired for the fireworks so we just let them settle in. In case you were wondering what we look like in our new outfits I took a photo for you.

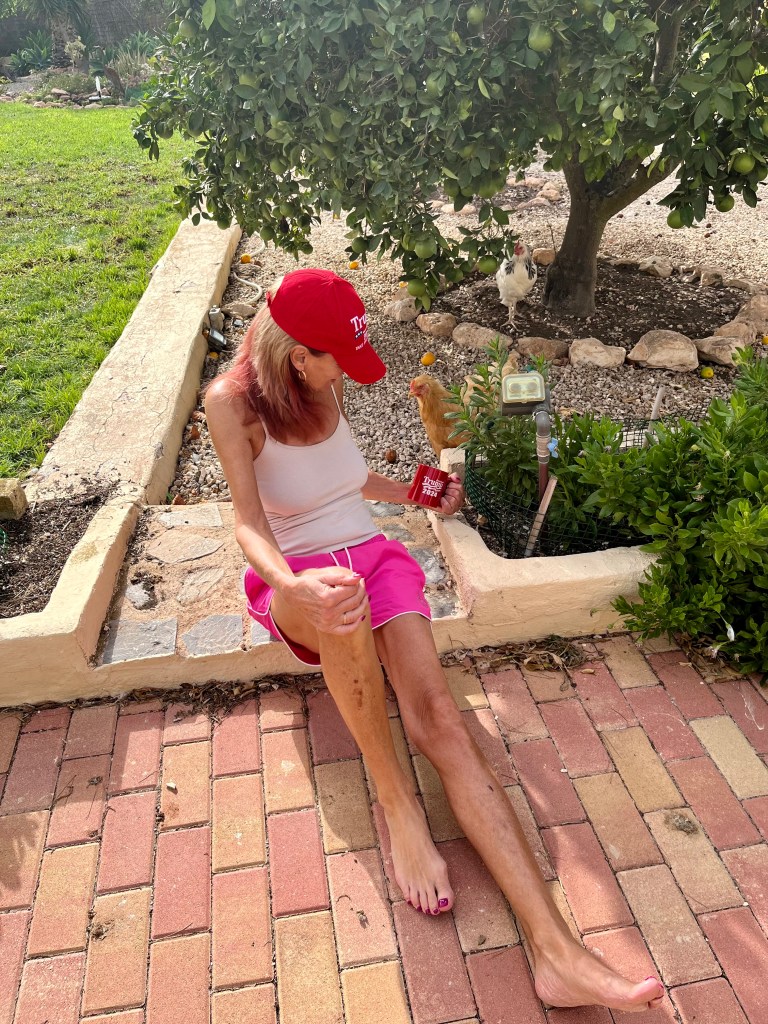
The next day Cruella rose early and by the time I got up she was already well into her girl pampering and wellness day. This started with the chickens getting a pedicure and then having nail polish applied to their toenails. At the end of it all Cruella asked me whether bees have toenails? I confessed that I didn’t know as I hadn’t got to that stage in my training course.
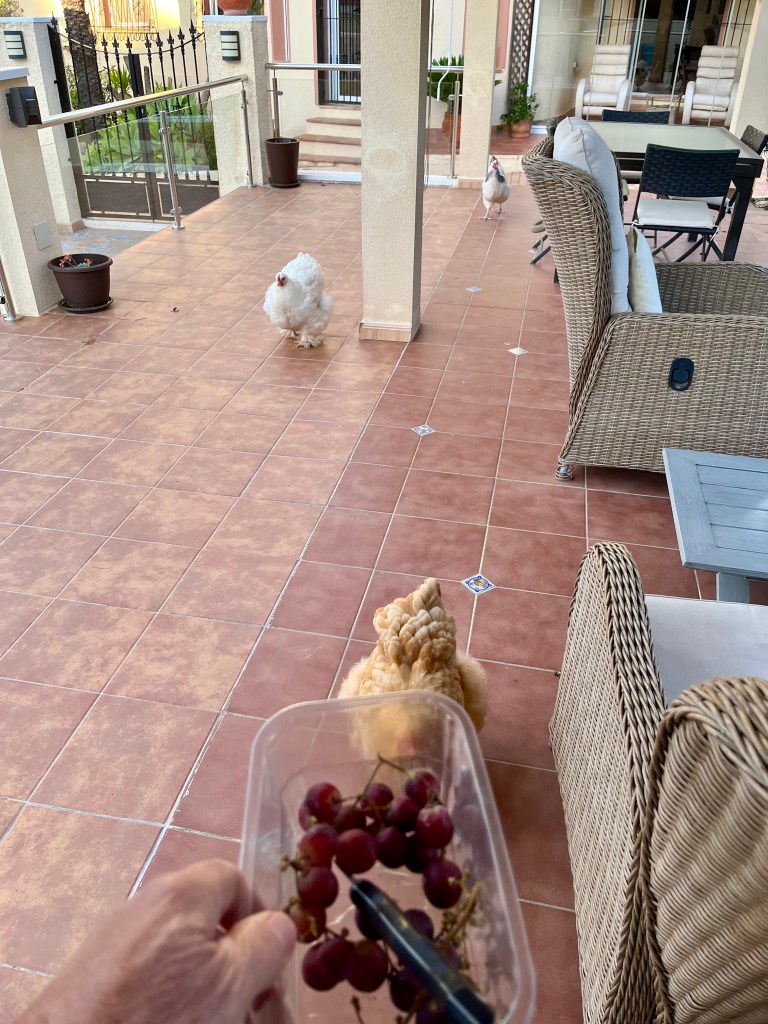
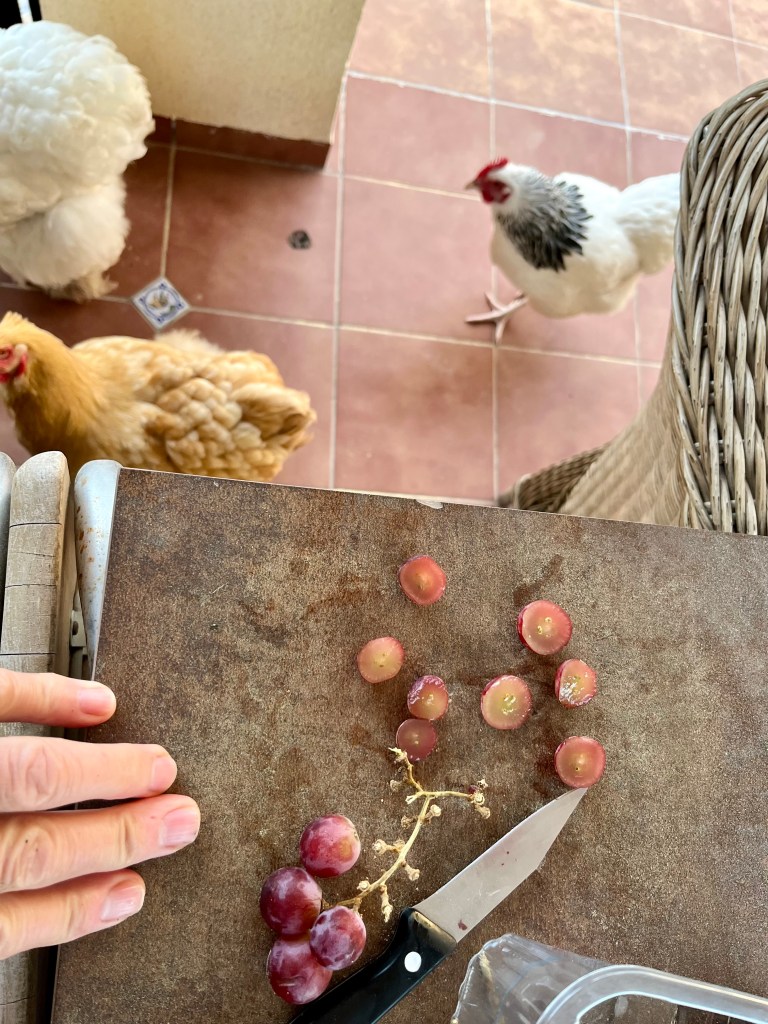
The early afternoon was spent in what Cruella termed a “Power Brunch”; she insists all her girls will eventually get professional jobs. As far as I could see this consisted of what Cruella calls a balanced diet for the chickens: strawberries, grapes, mulberries and infused juices. The bees got honey and I got some stale crisps.
After the brunch, the afternoon involved mainly chicken and bee therapy sessions, which included topics such as:
- Bee assertive
- Never Chicken out
- Striving for Eggcelence
- How to stand out in the hive
The day ended with Cruella excitedly announcing there would be a grand sleepover with her and her girls joining the bees down by the hives. I wasn’t invited as it was girls only; I was glad really as bees snore! The photo below shows Cruella and her girls heading off to the sleepover. I went to bed early but was kept awake all night by renditions of “I will survive” and “ girls just wanna have fun”.


You must be logged in to post a comment.