

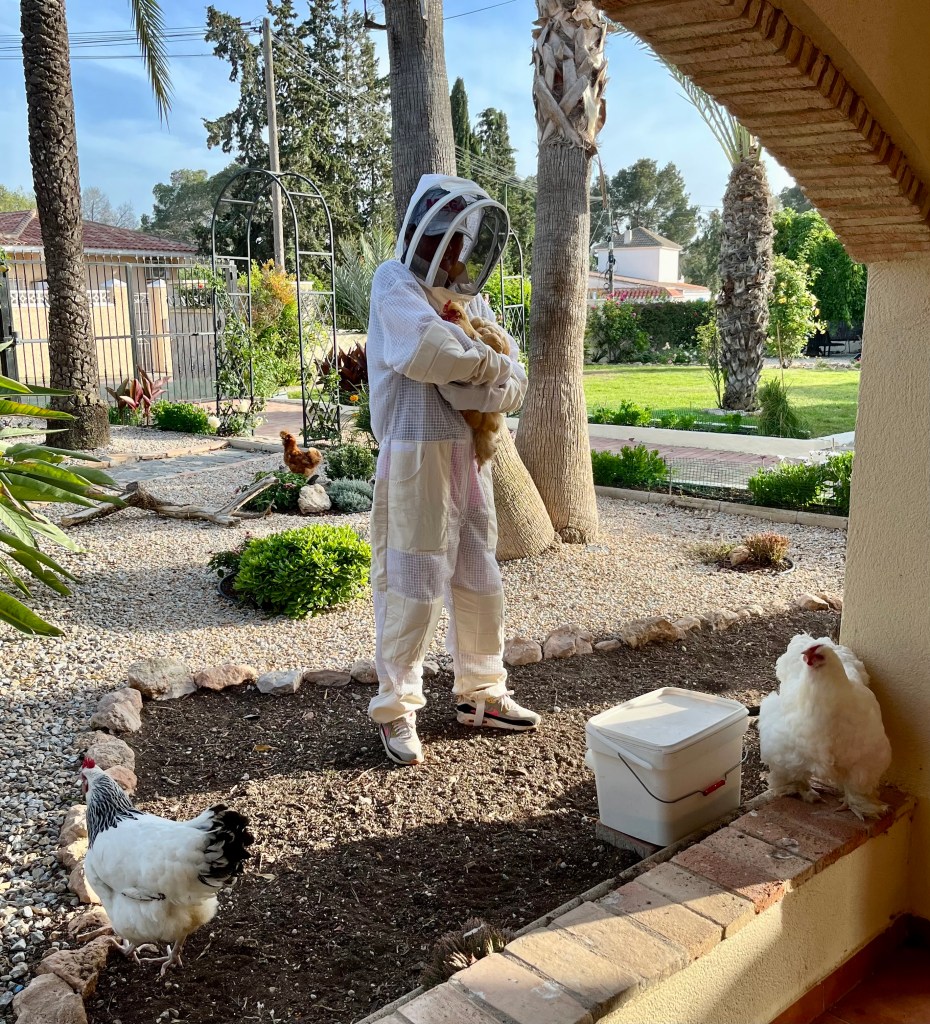
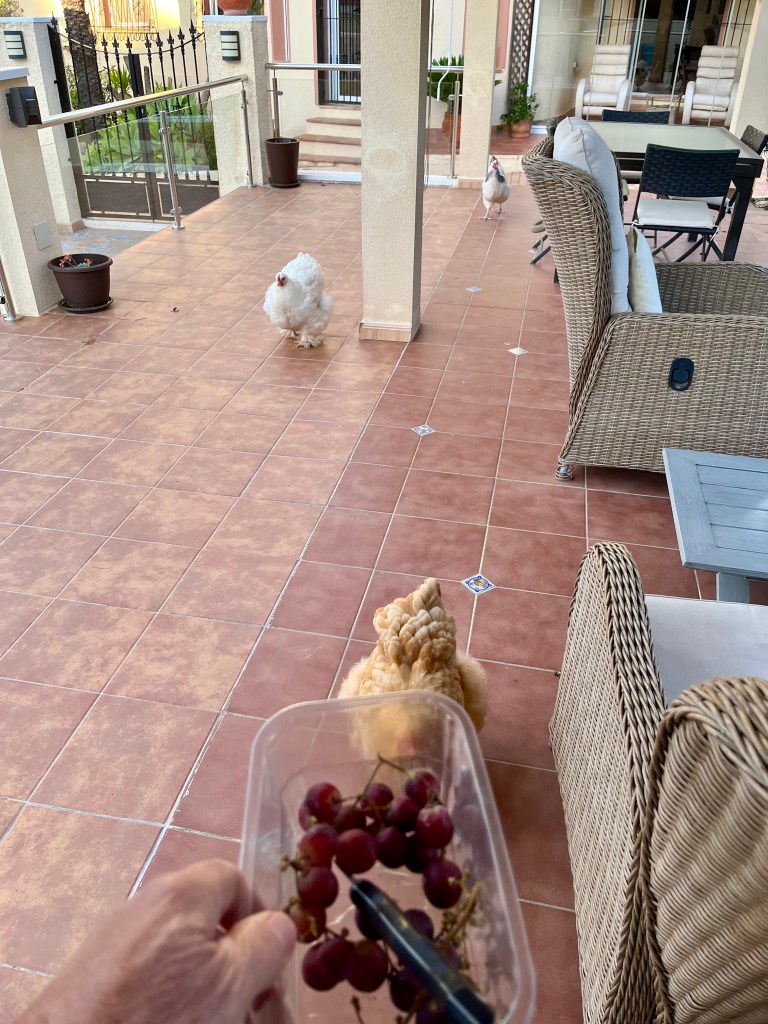
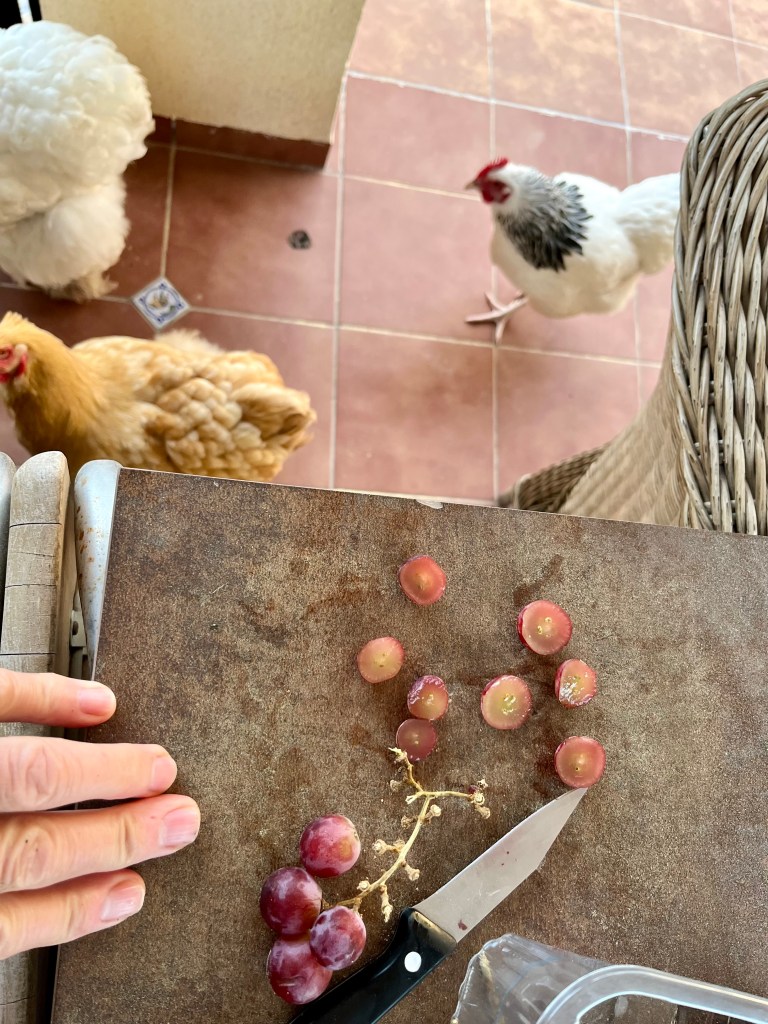
Cruella (my wife) is at our English house assisting our idiot son to move house and I am in sole charge of everything here. I am having a great time, I garden all day and hang around the compost bin and potting bench talking to the cuttings. At night when the chickens won’t go to bed I stuff them up through the coop entrance one after the other and they all end up like those Russian dolls forming one giant chicken.
But more worryingly the little white Dove has disappeared, but by way of compensation God has sent me a little blue rabbit. I will explain everything later but we need to get on with the gardening as it’s Spring and we don’t have a moment to lose.
12th March 2026. Things I have been doing lately.
- Preparing and revitalising you borders
- Planting out winter seedlings
- Planting annual seeds
- Feeding and mulching roses
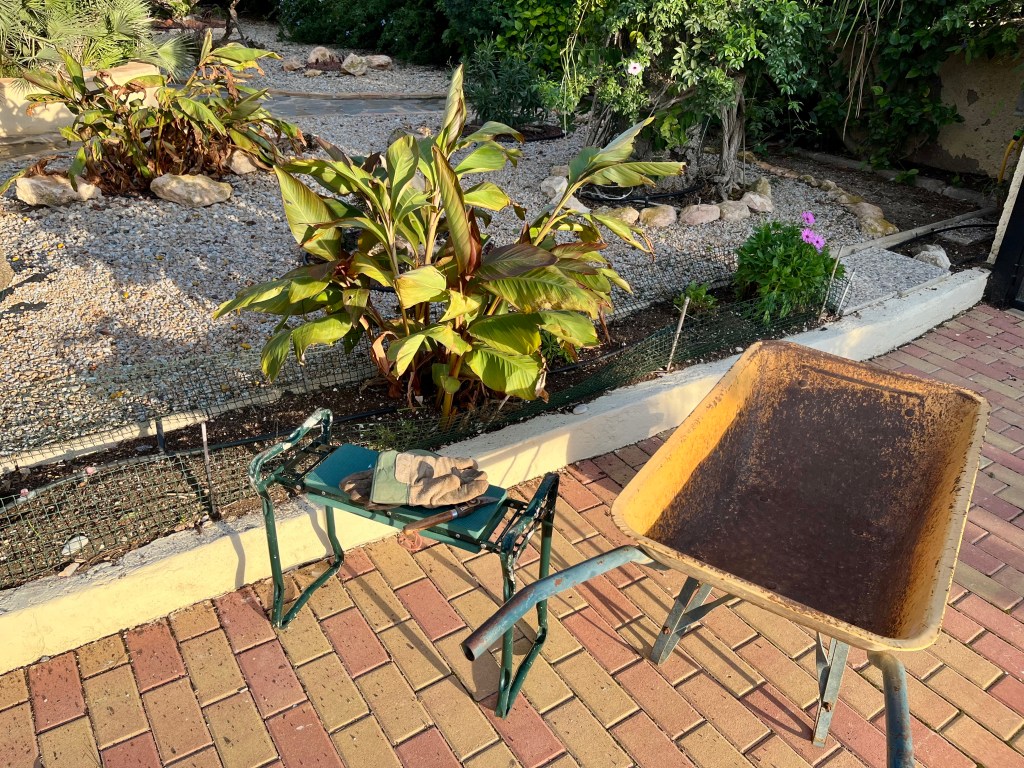
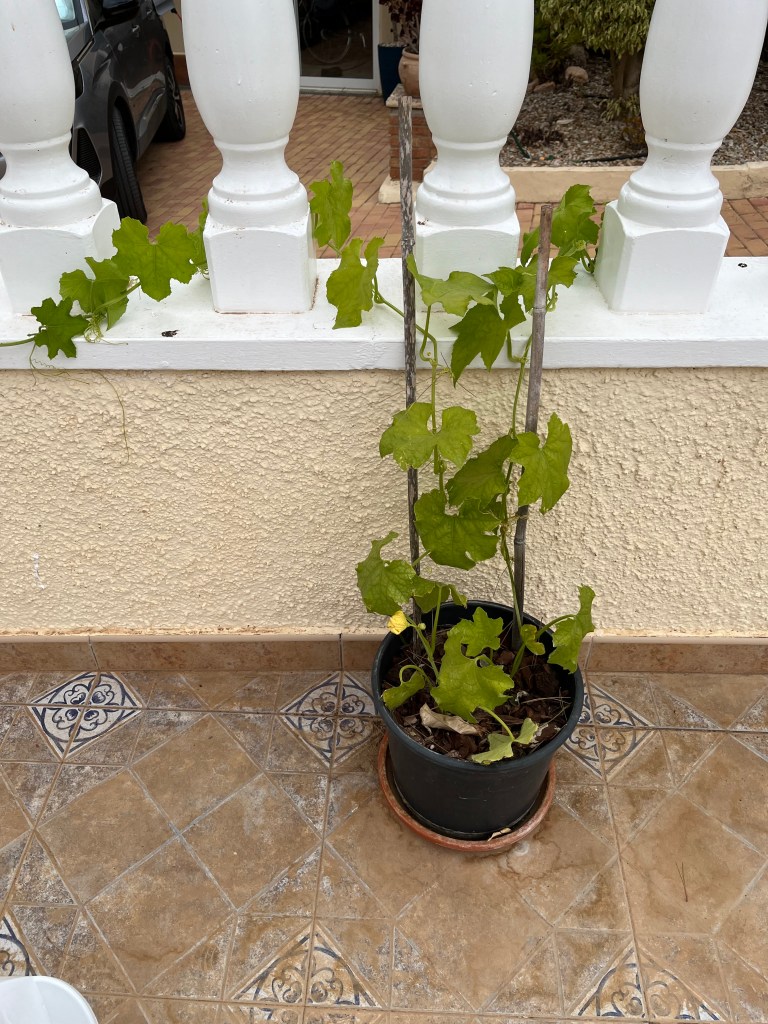
- Tidying and feeding Bird of Paradise
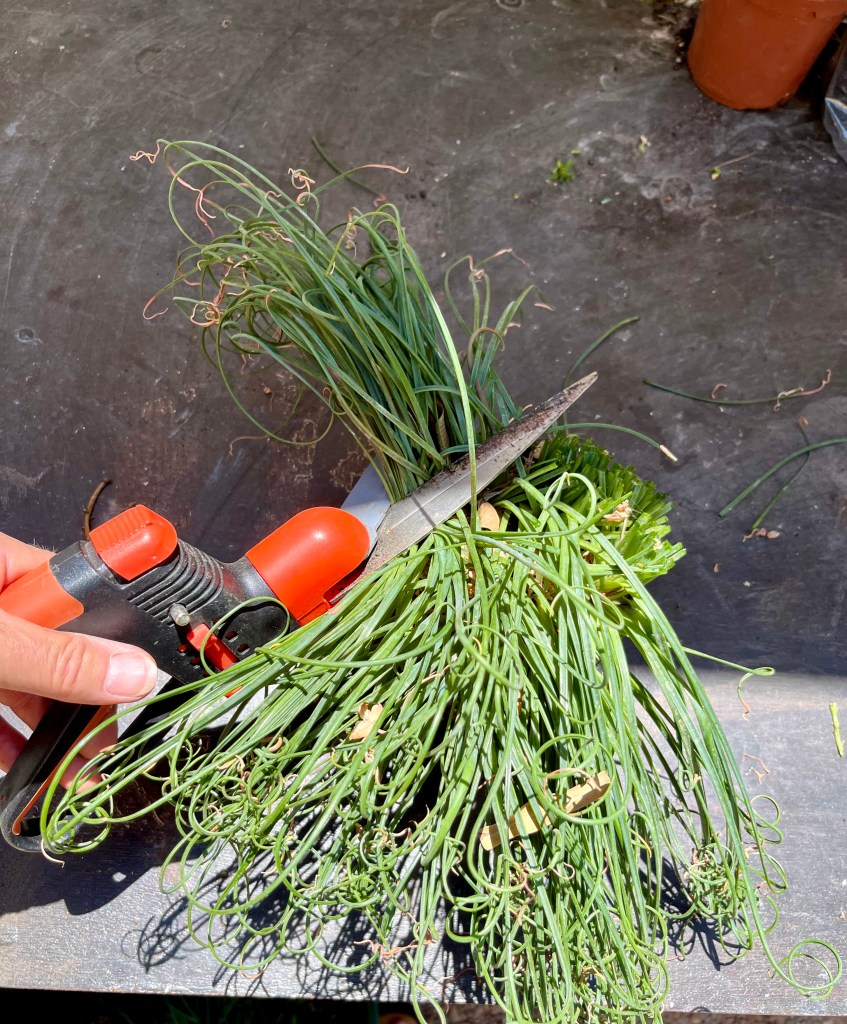
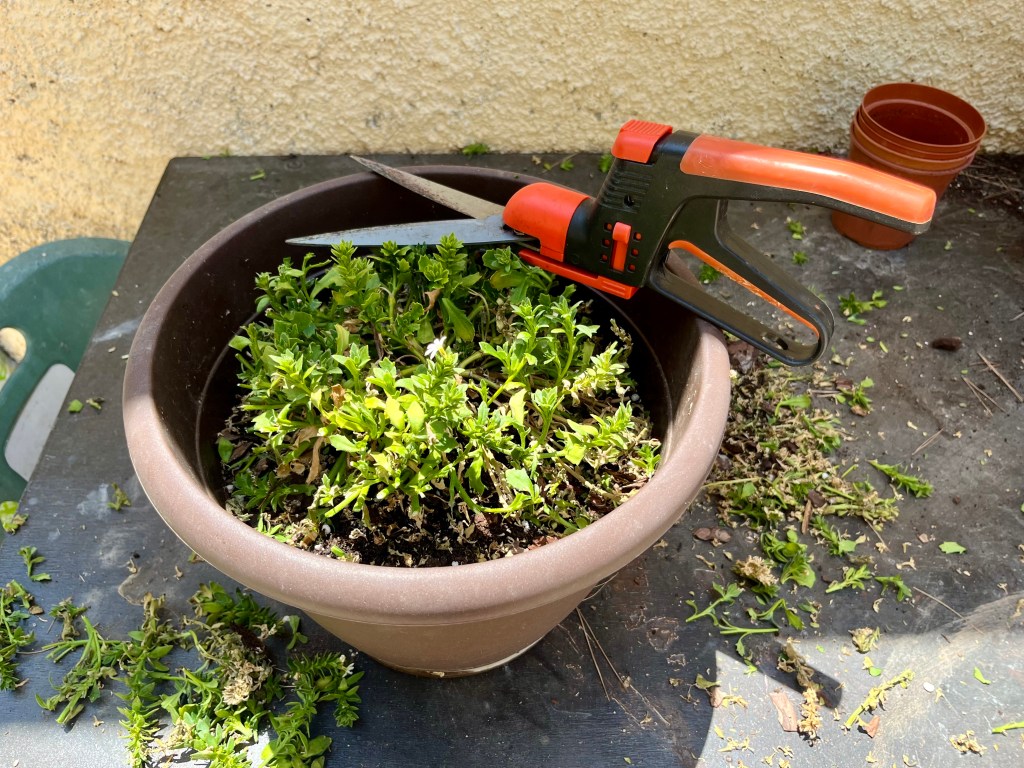
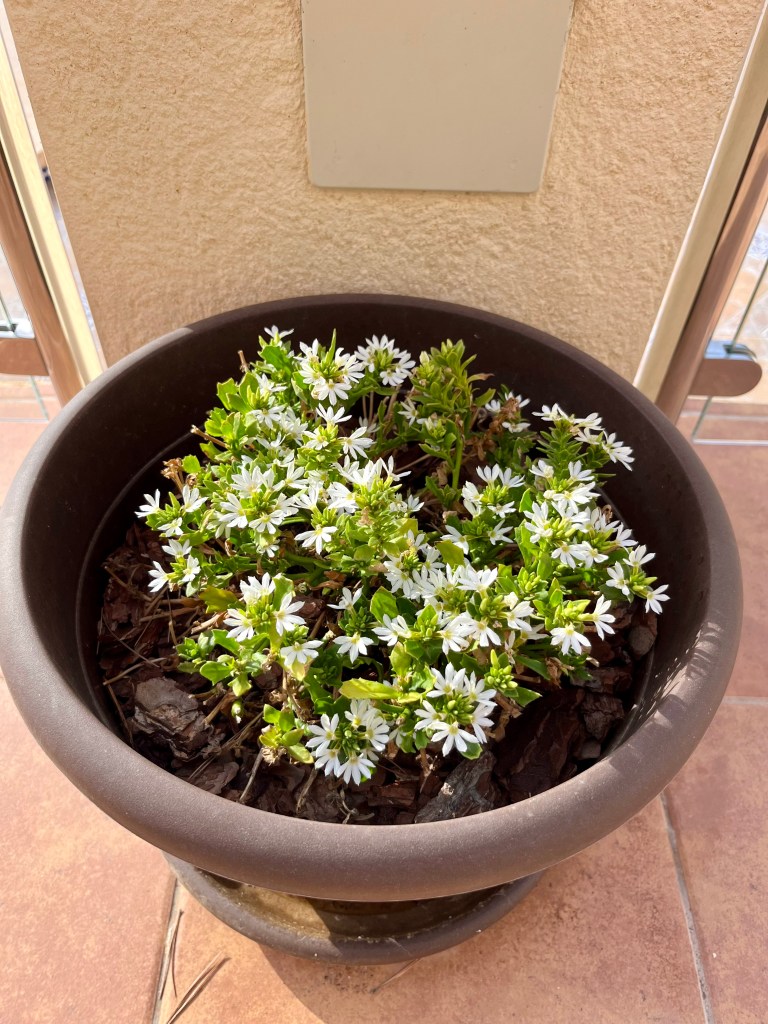
- Cutting back Allysium
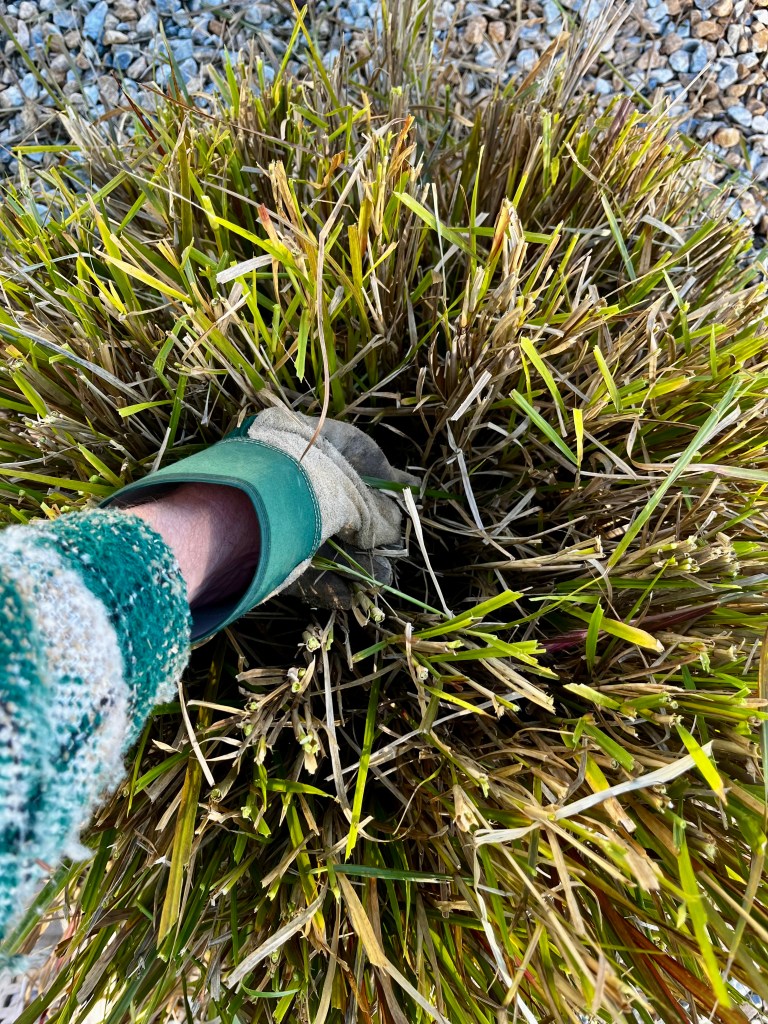
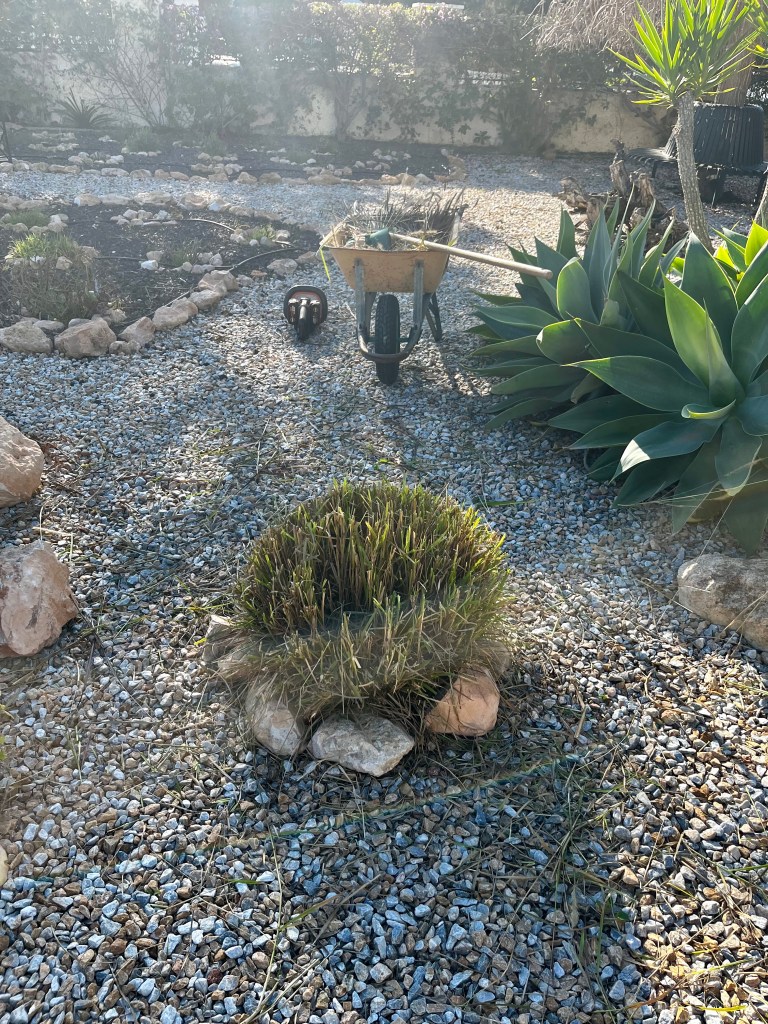
- Feeding grass
- Dealing with the loss of the little white dove and the arrival of the rabbit
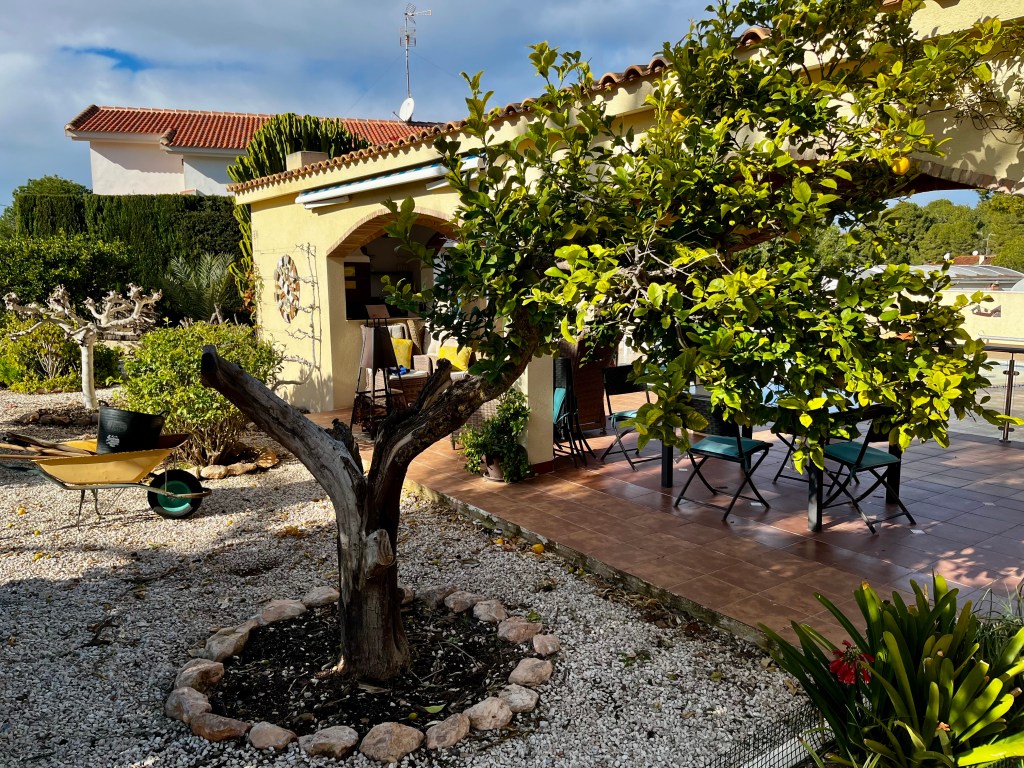
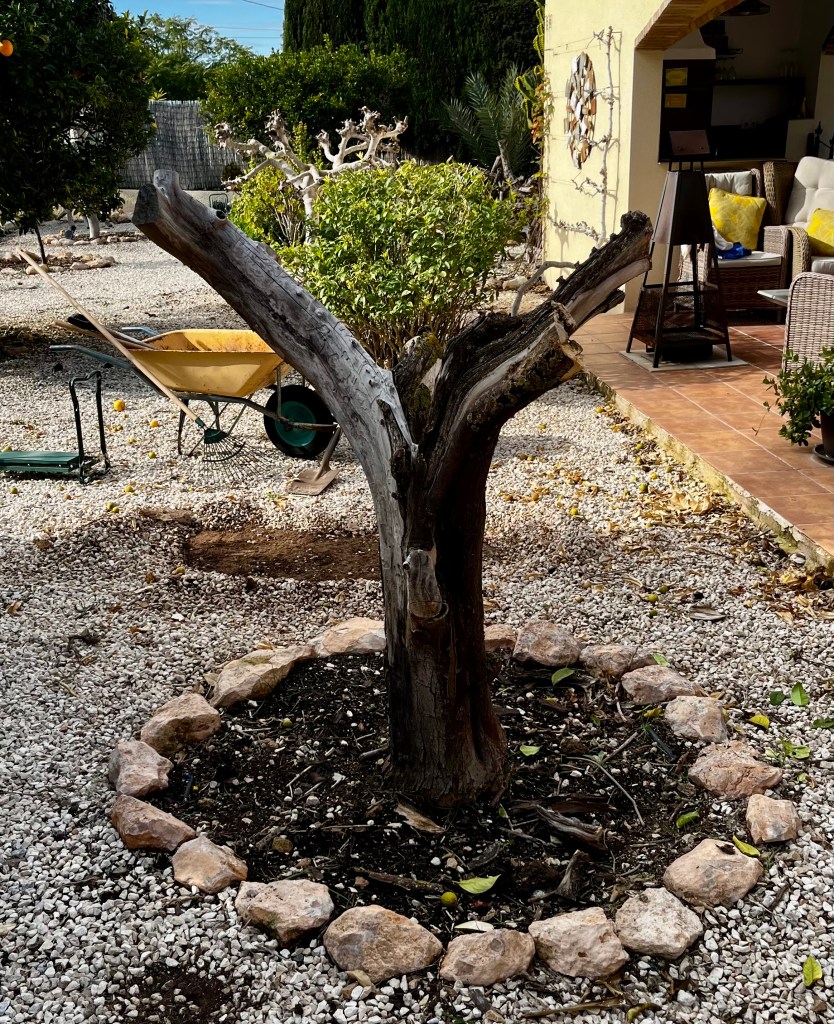
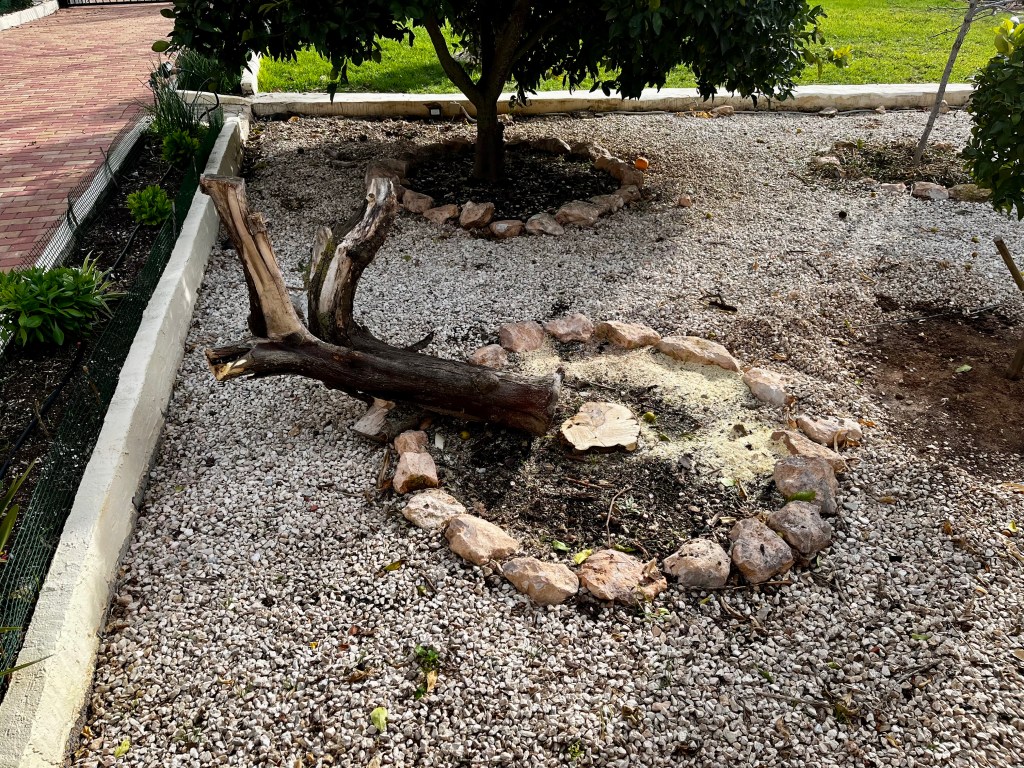
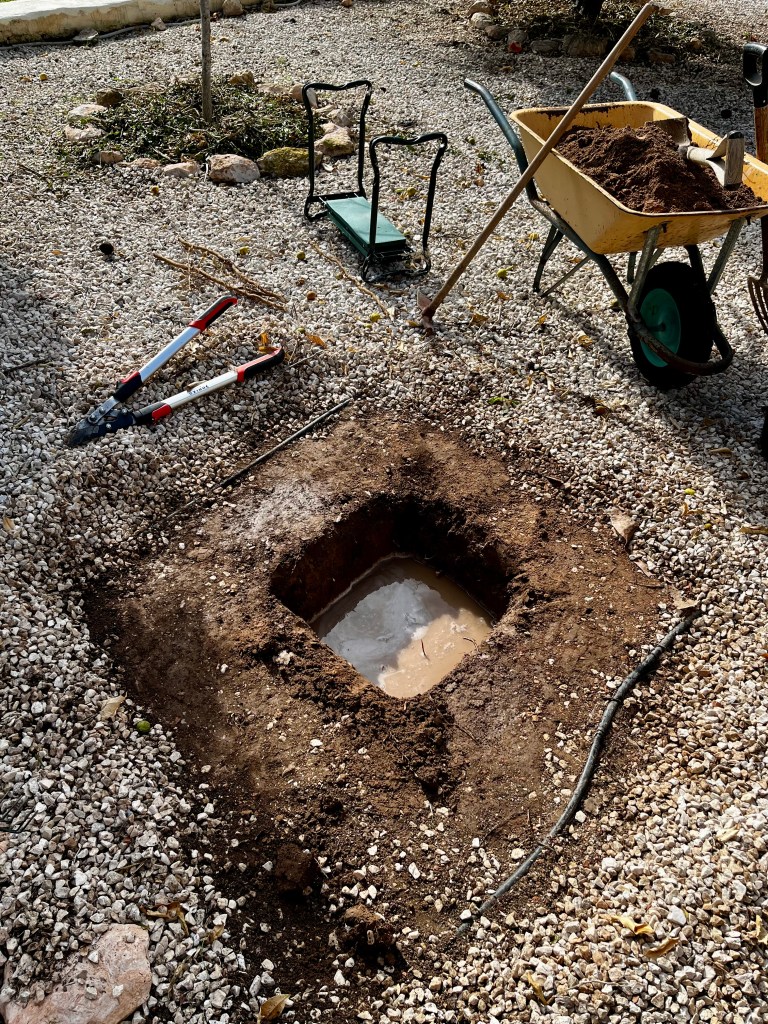
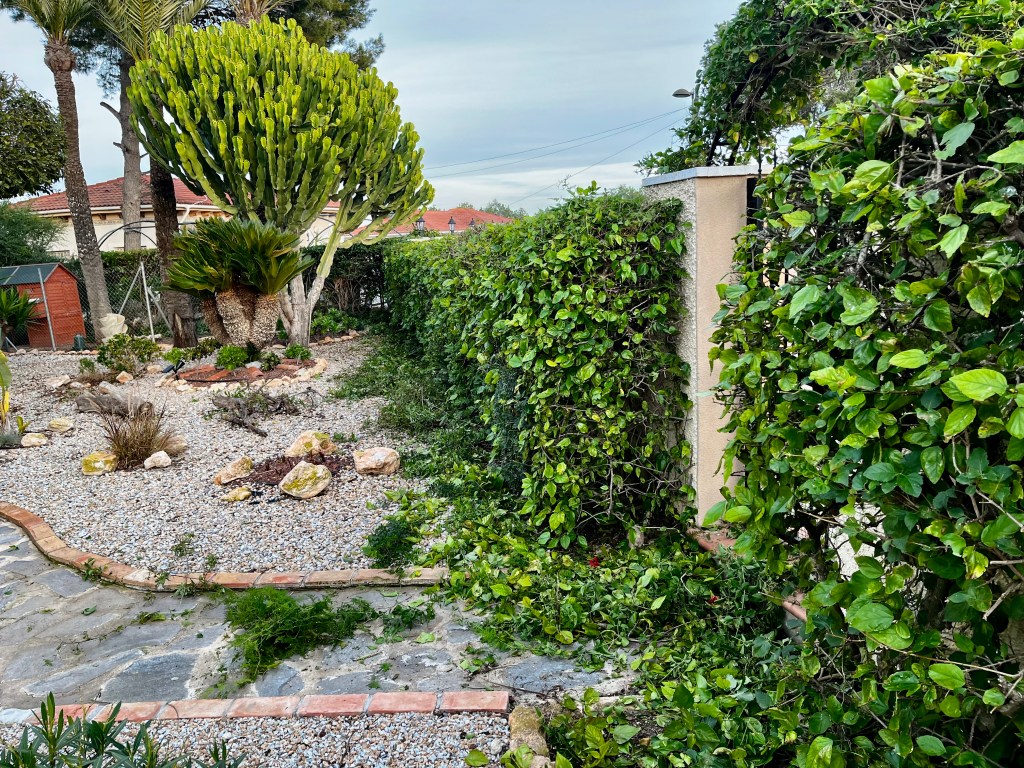
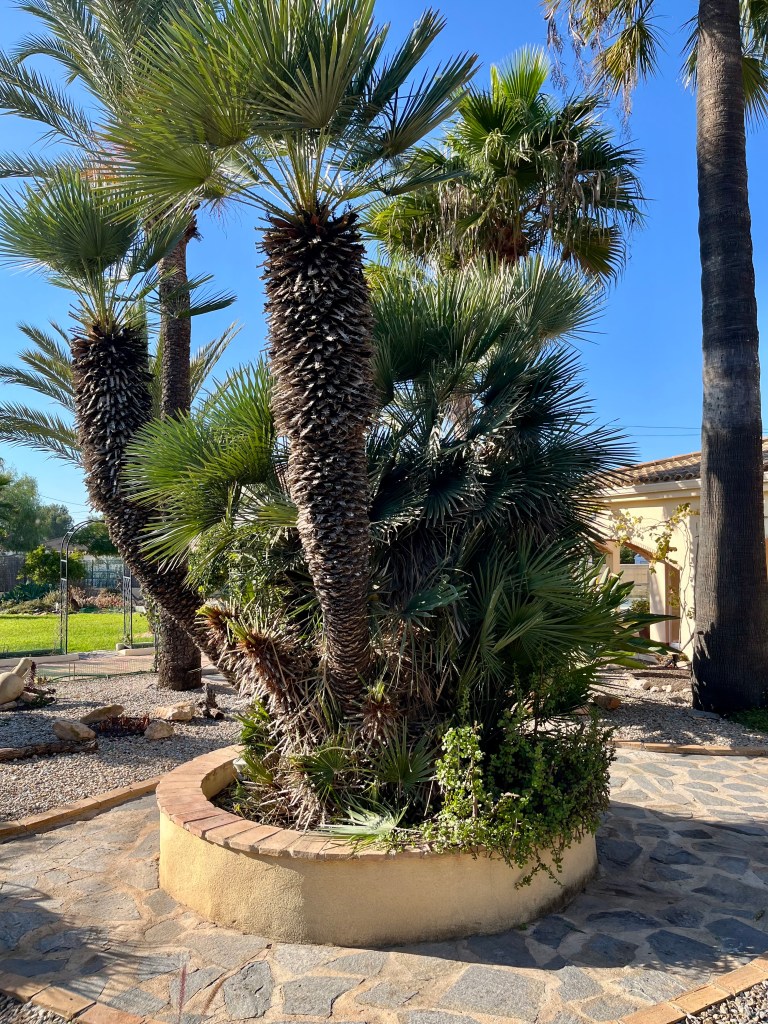
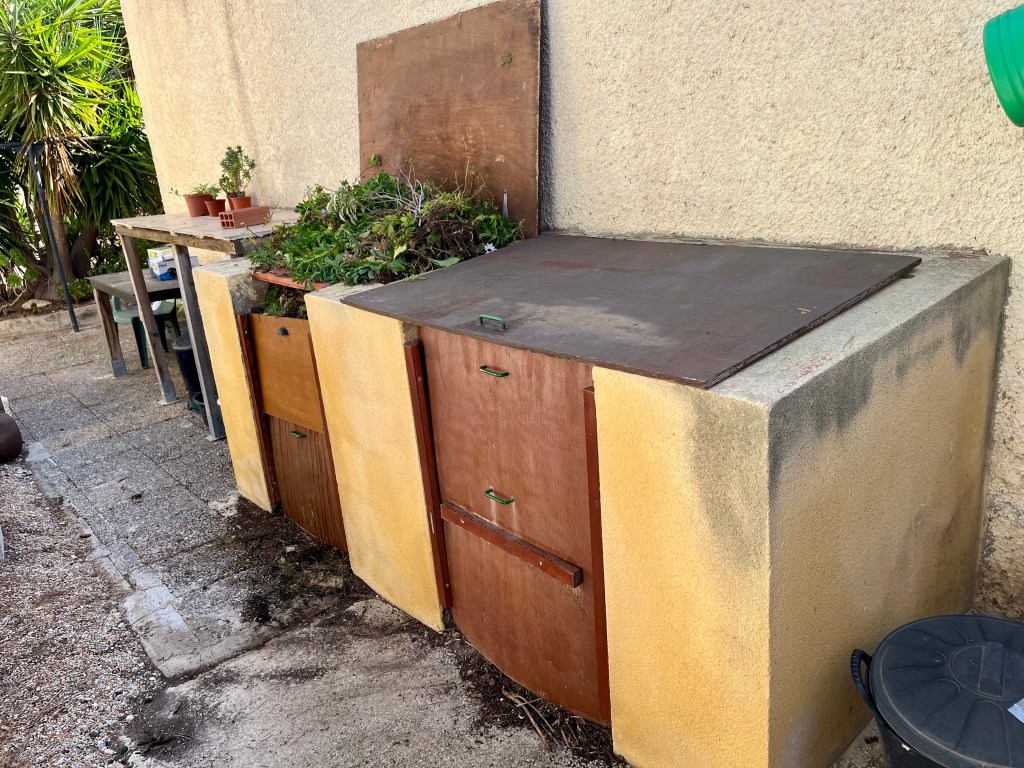
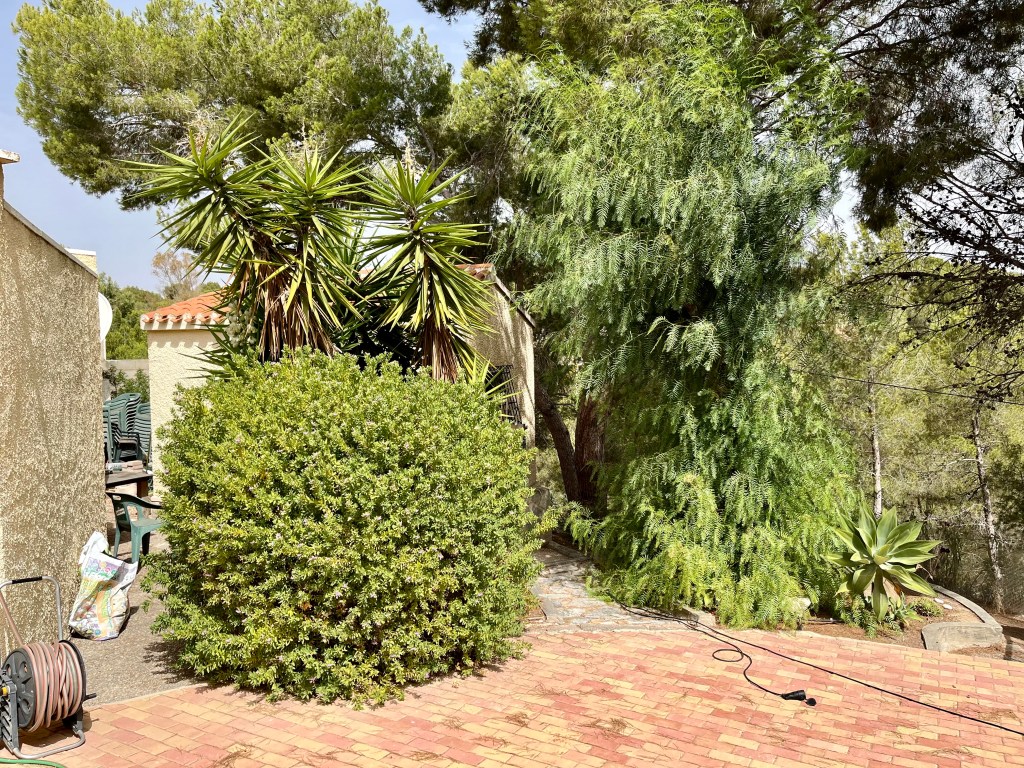
Preparing and revitalising your borders. Spring is a fantastic time for gardeners, the soil is warming up and nature is poised to leap forward. Your job as a gardener is to get ahead of the game and make all the necessary preparations to ensure a good summer.
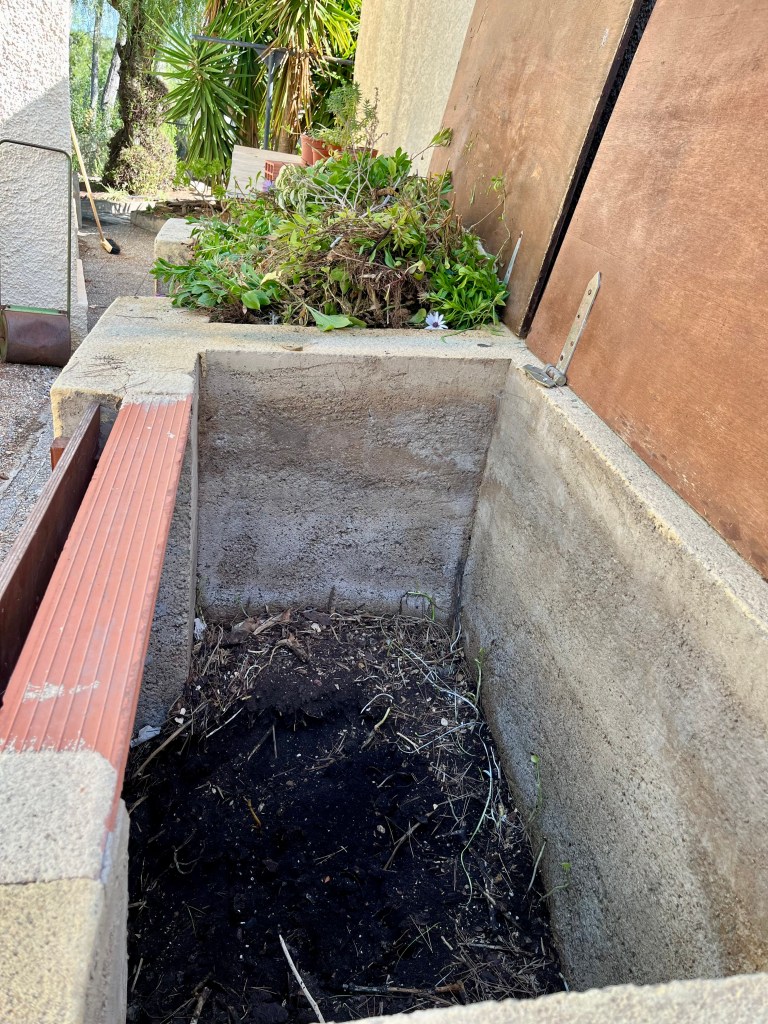
One of the first things you need to do is to weed, water and mulch your flowerbeds and borders. You can’t just keep sticking plants into the same soil every year without making an attempt to replenish it. Replenished soil is revitalised soil that will reward you with stronger plants and bigger flowers.
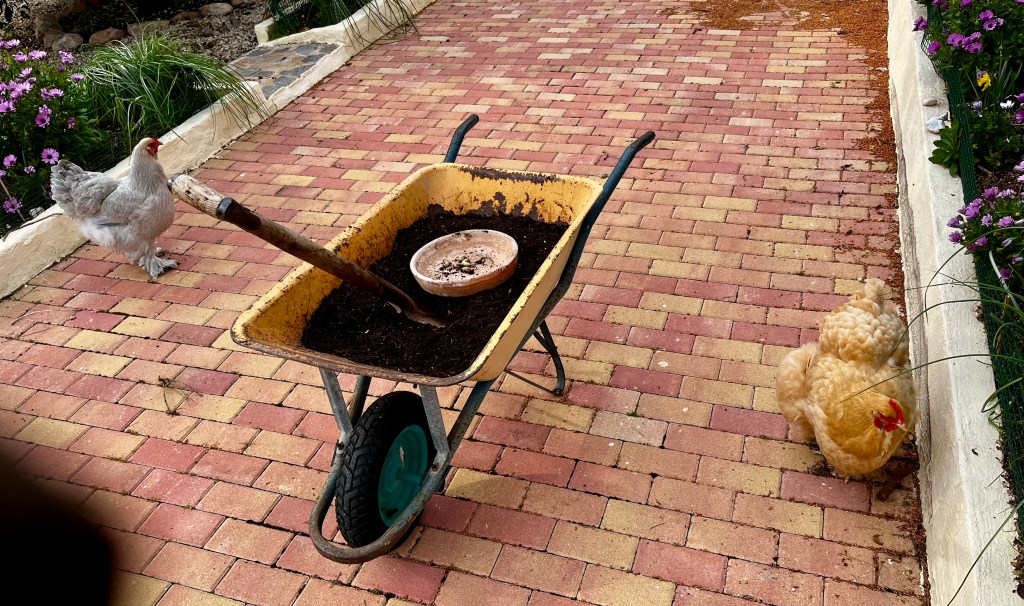
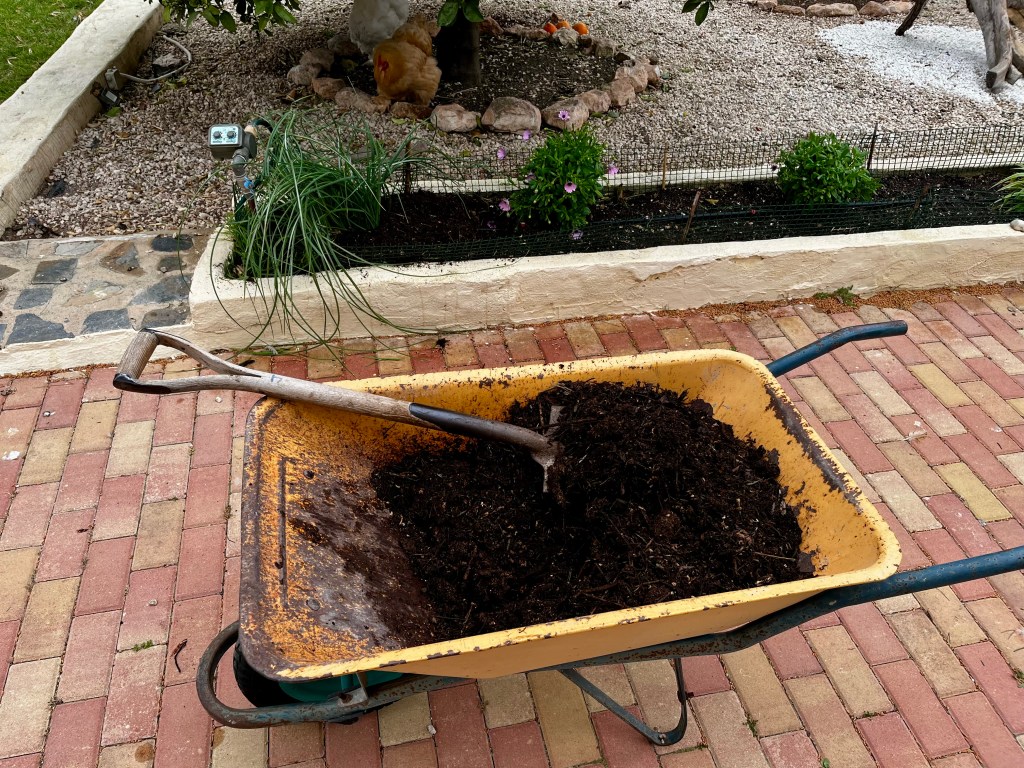
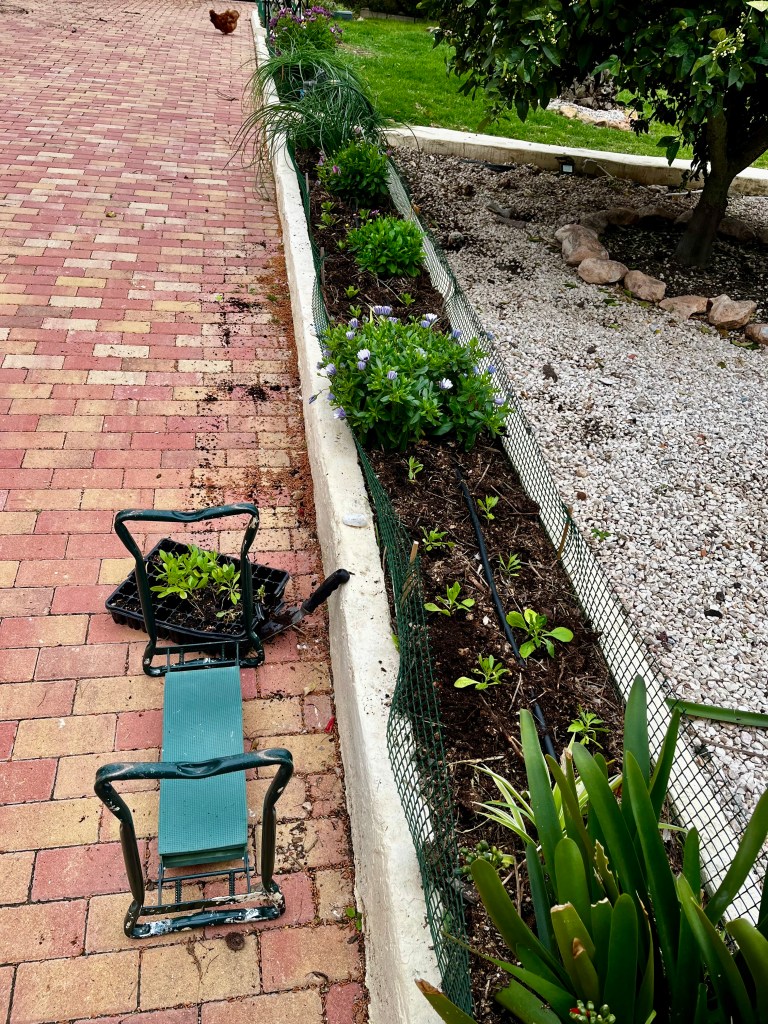
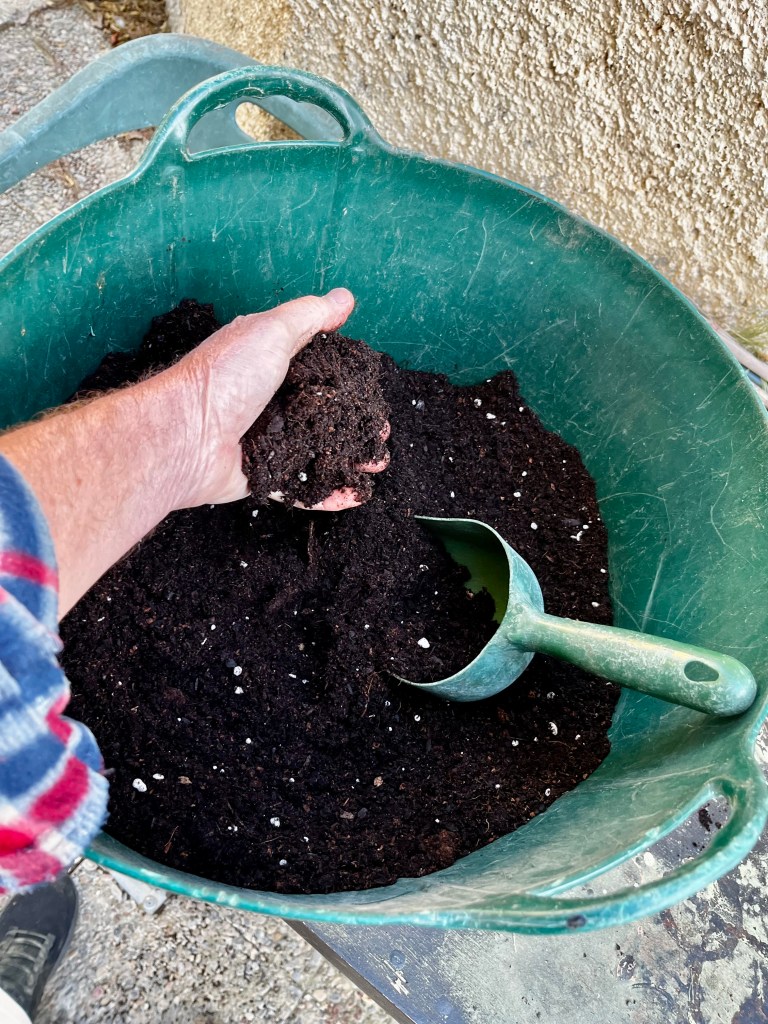
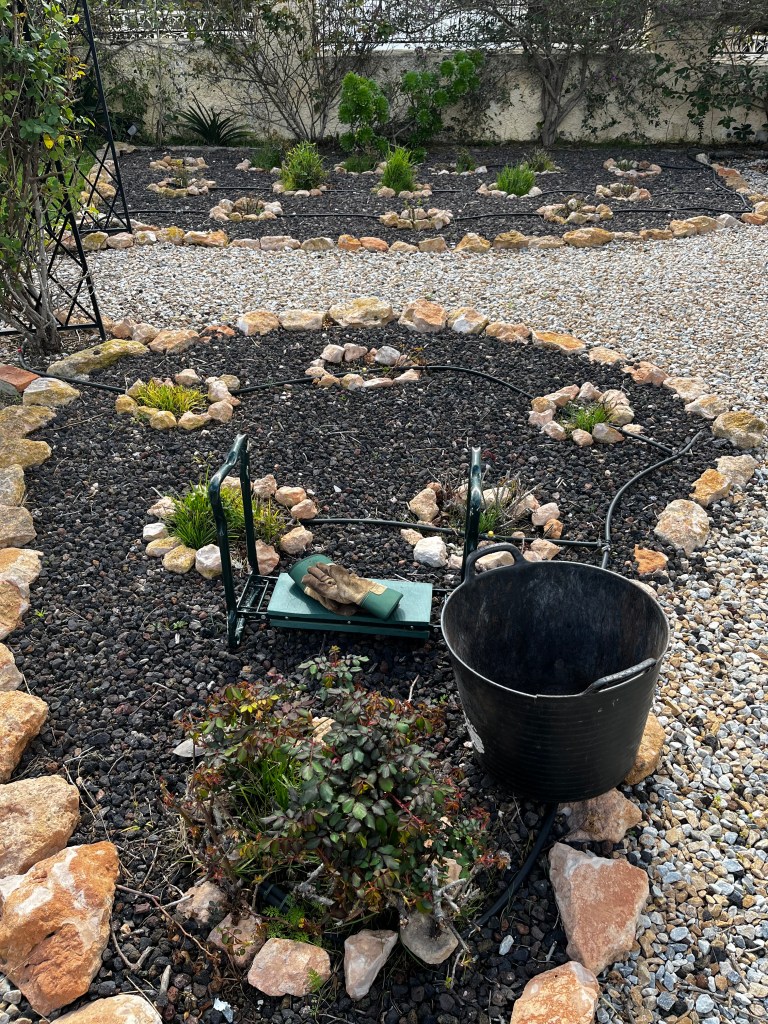
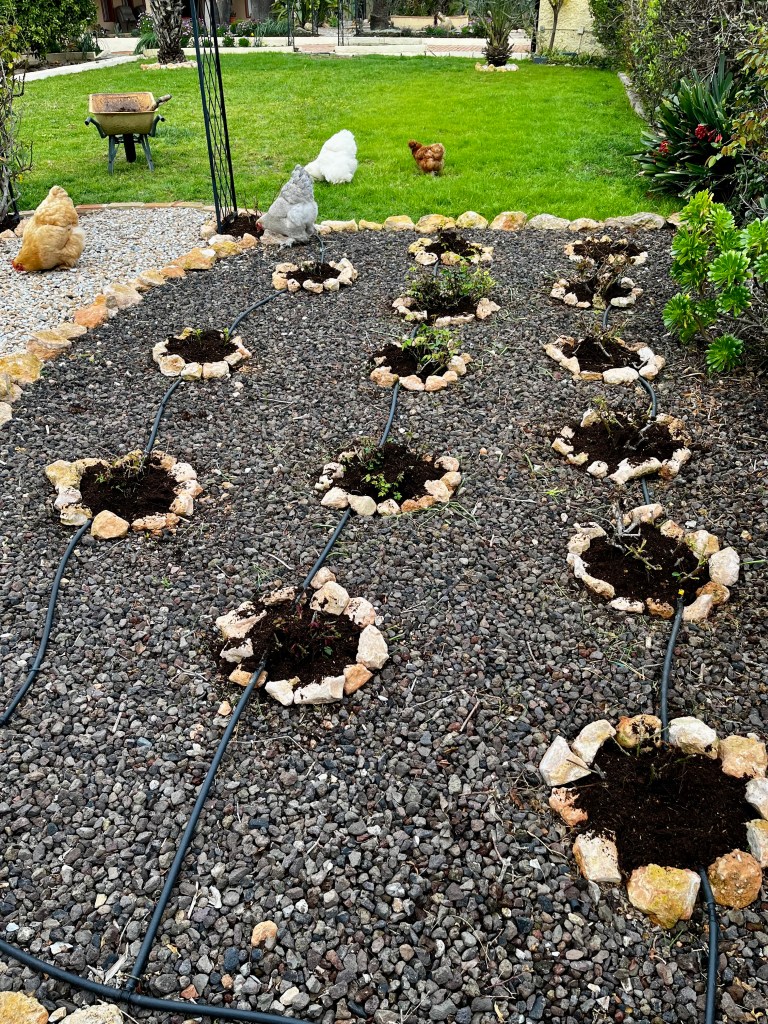
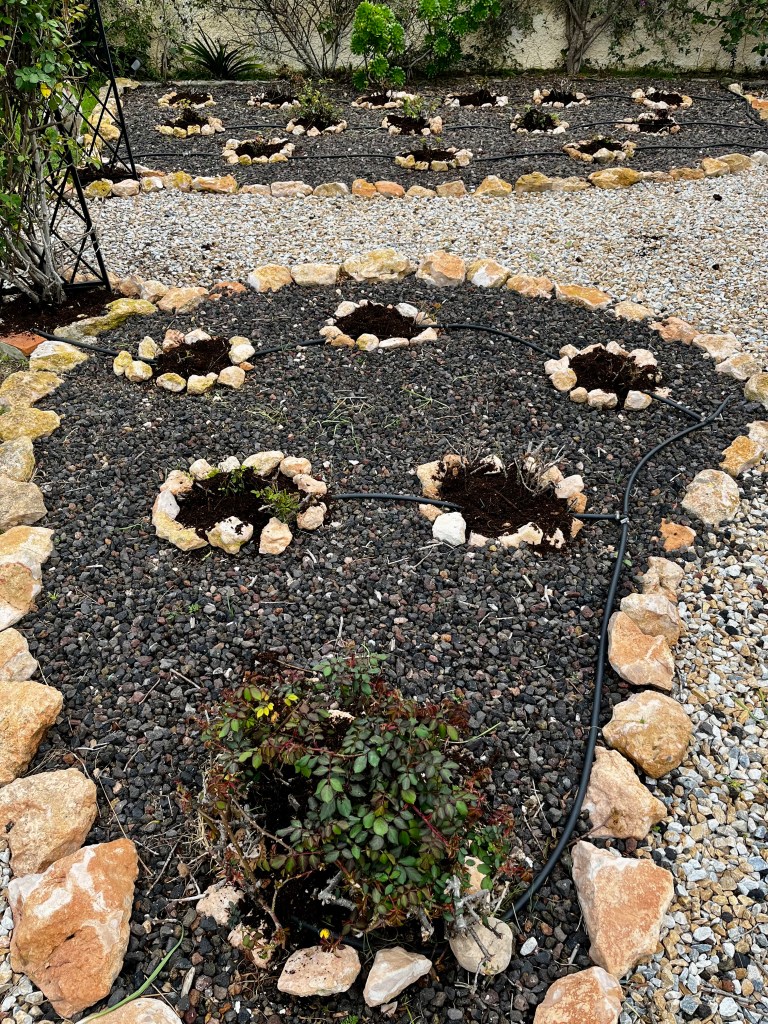
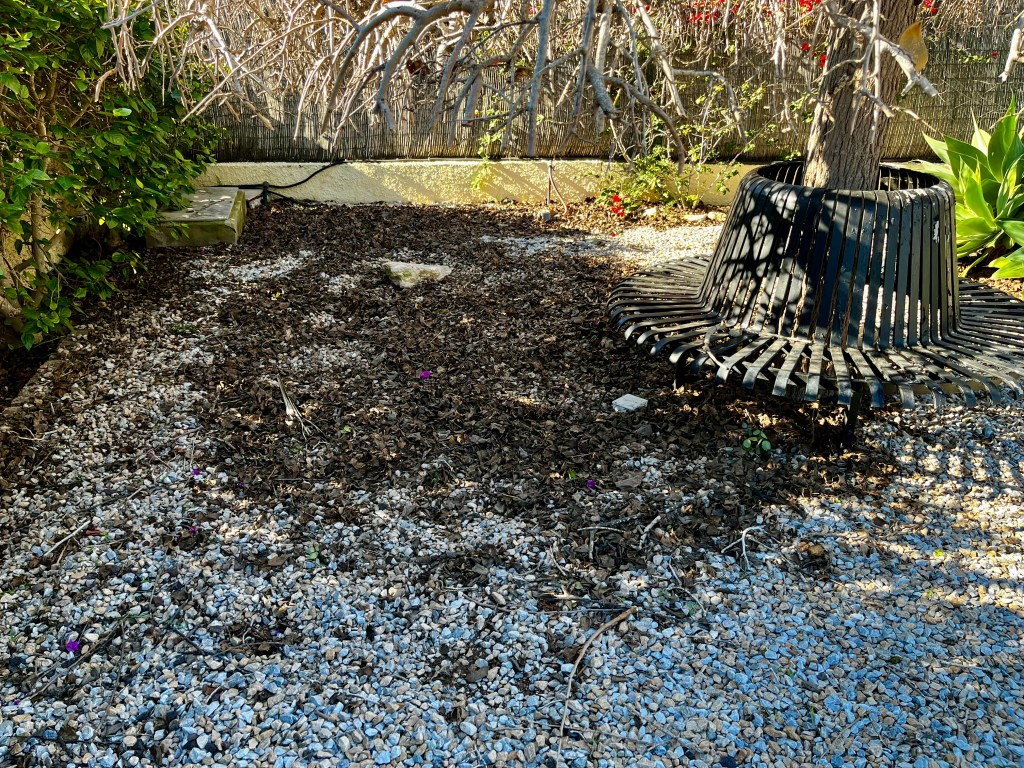
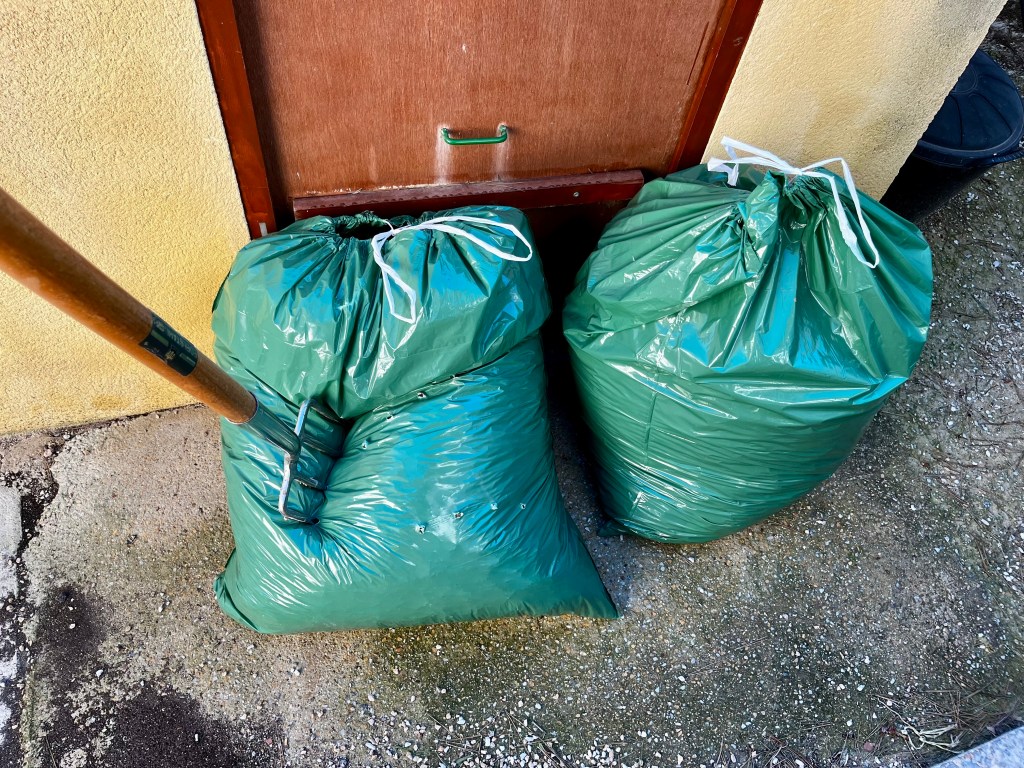
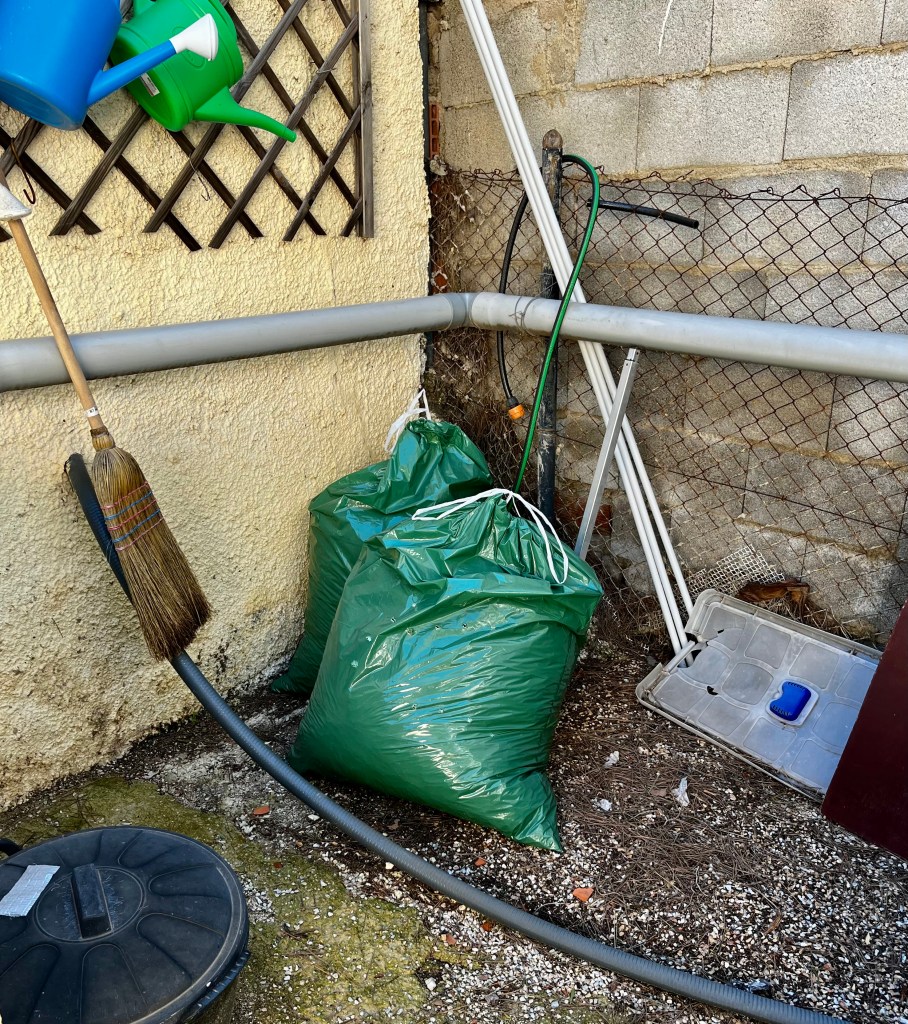
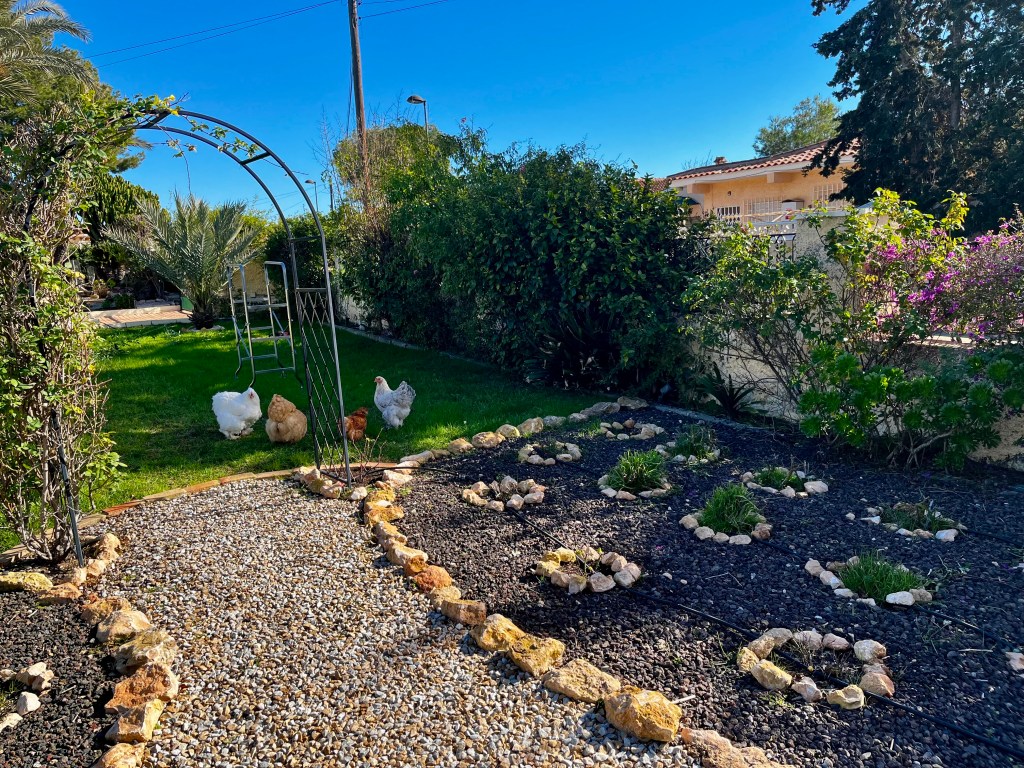
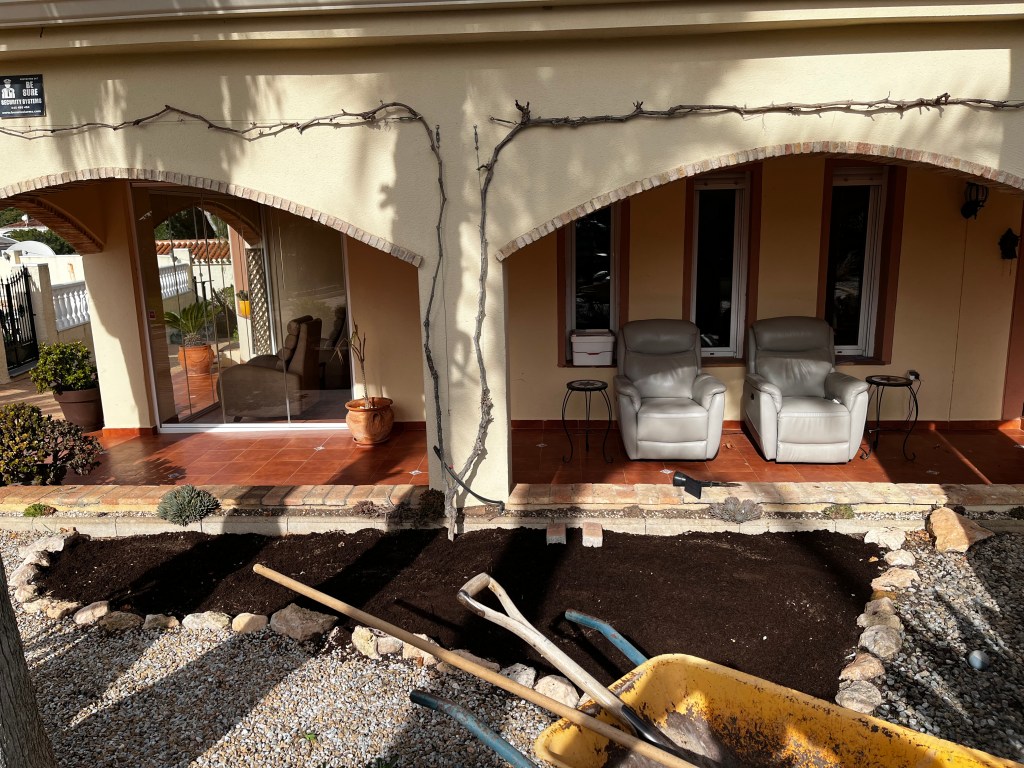
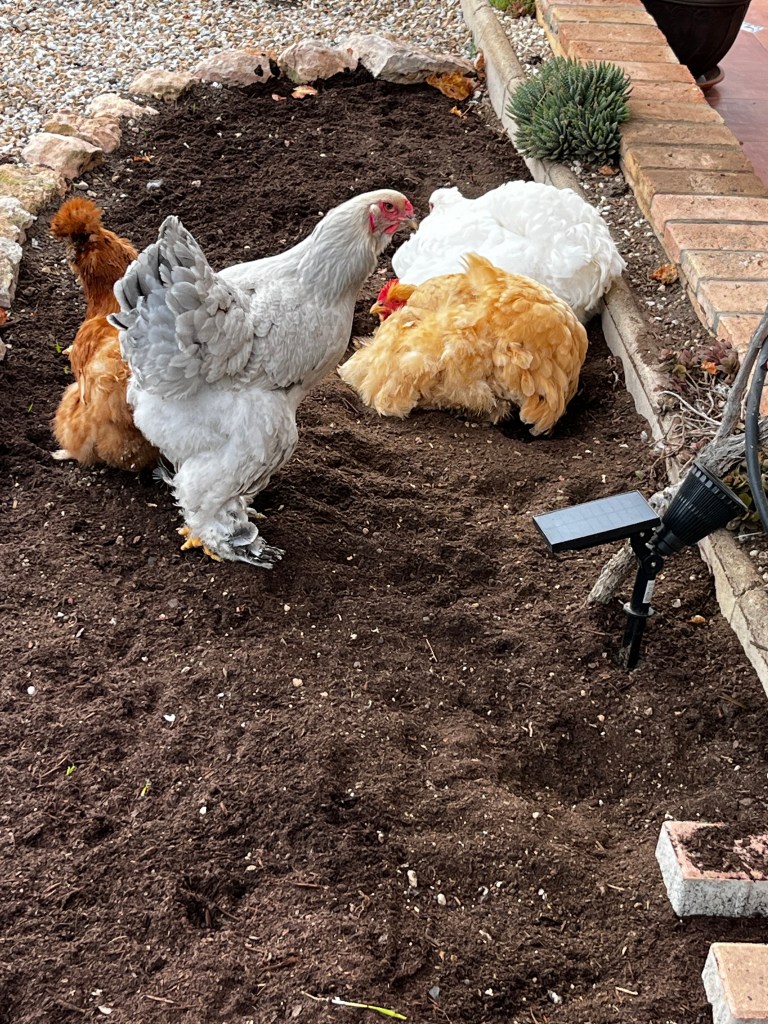
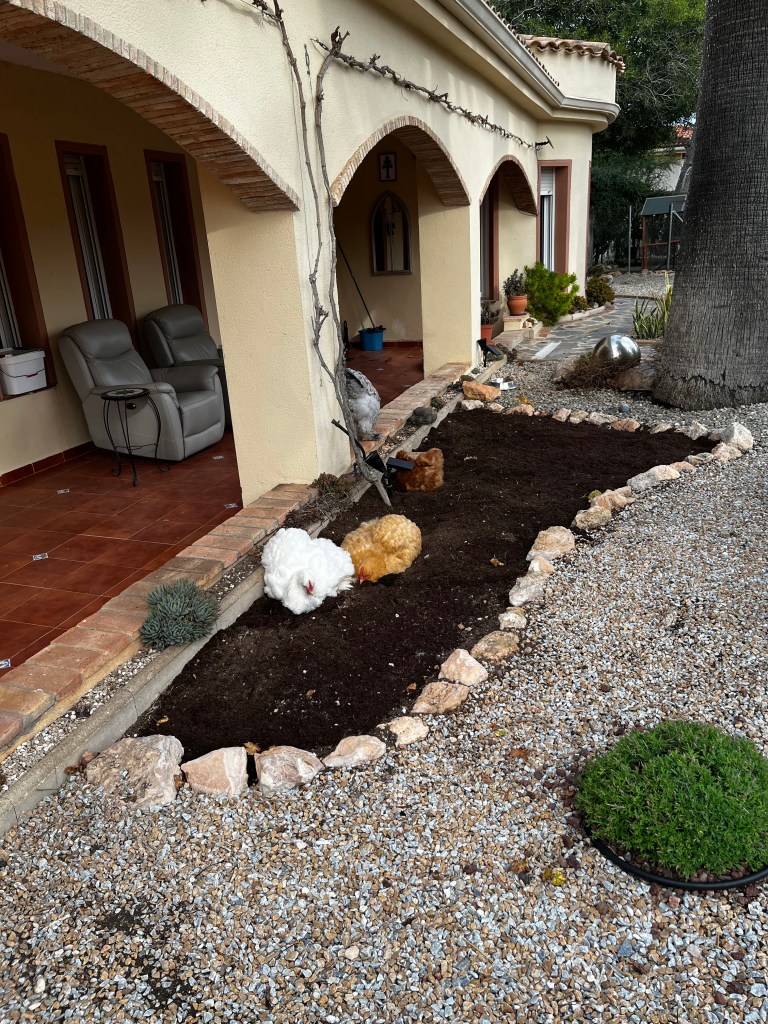
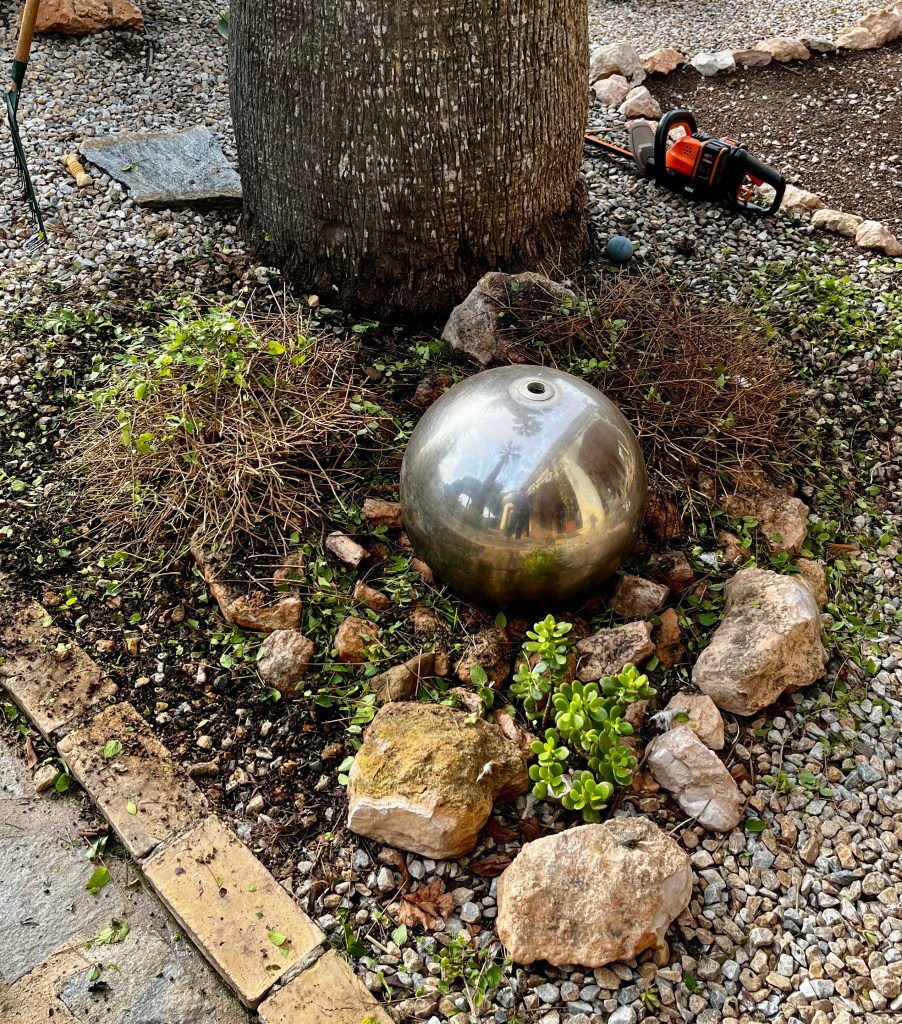
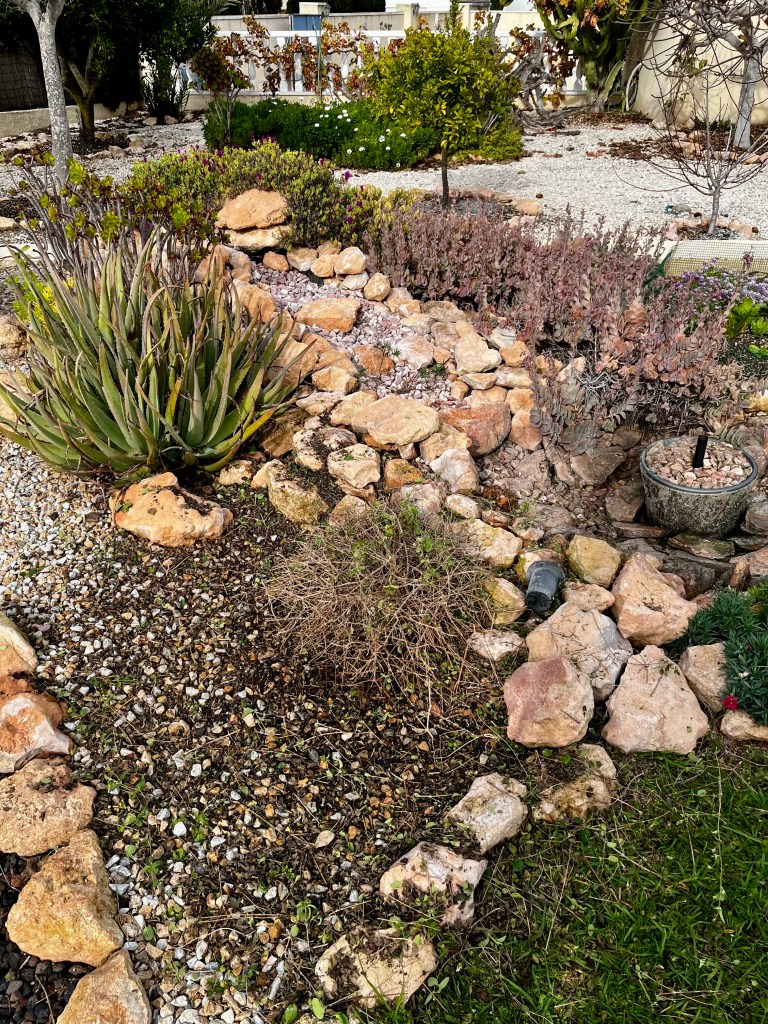
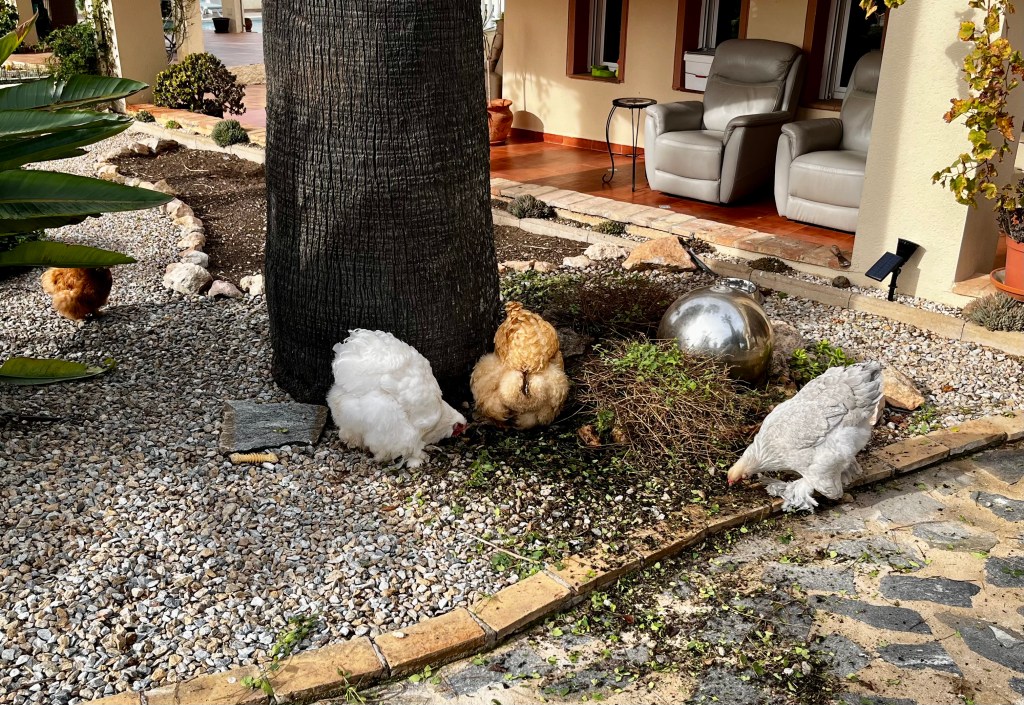
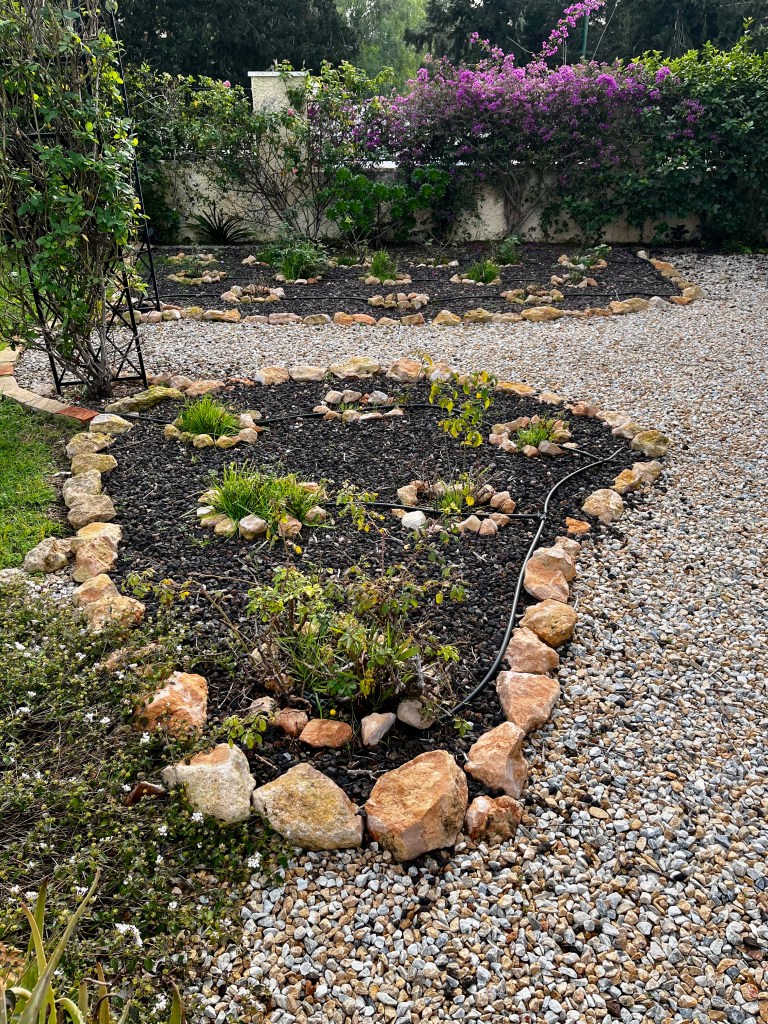
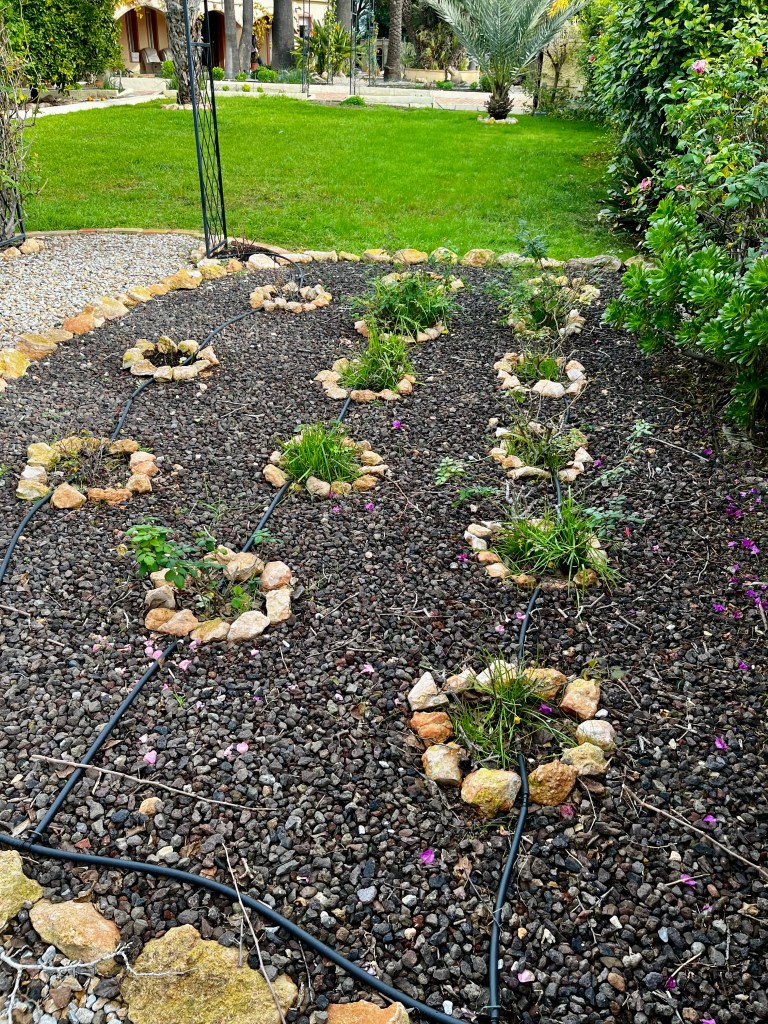
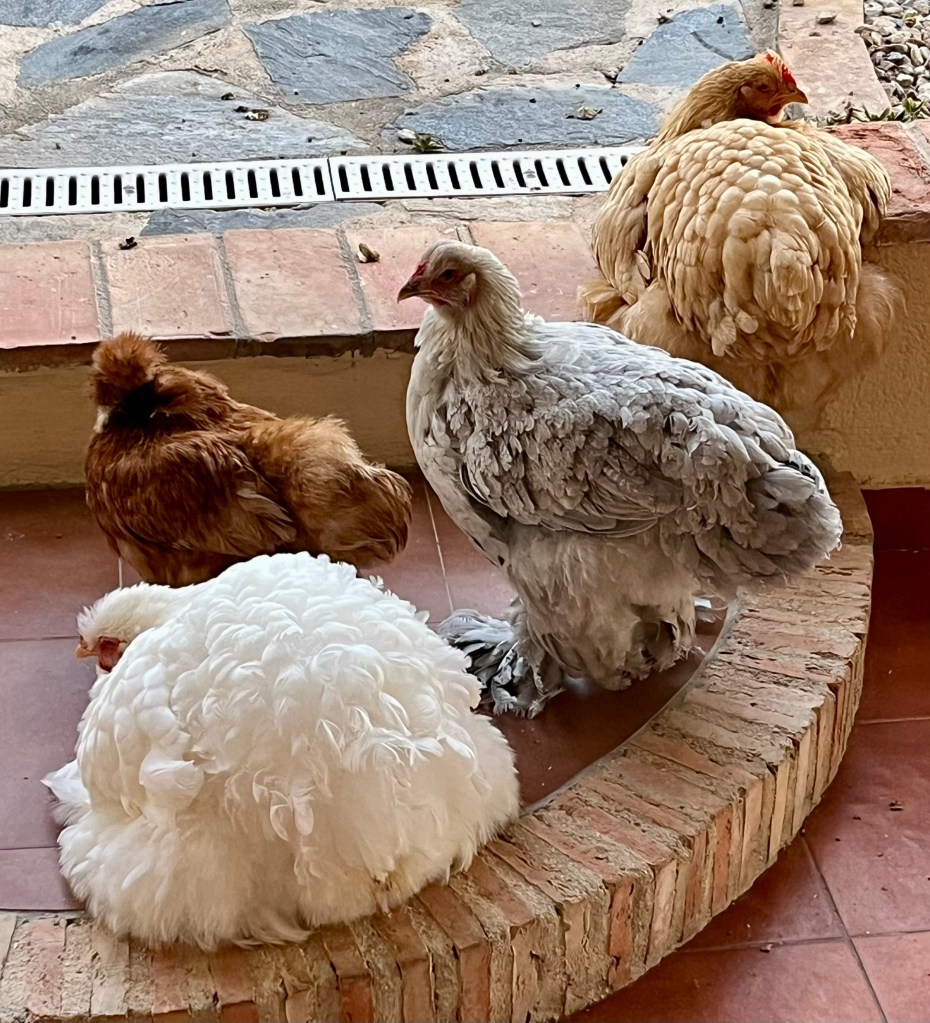
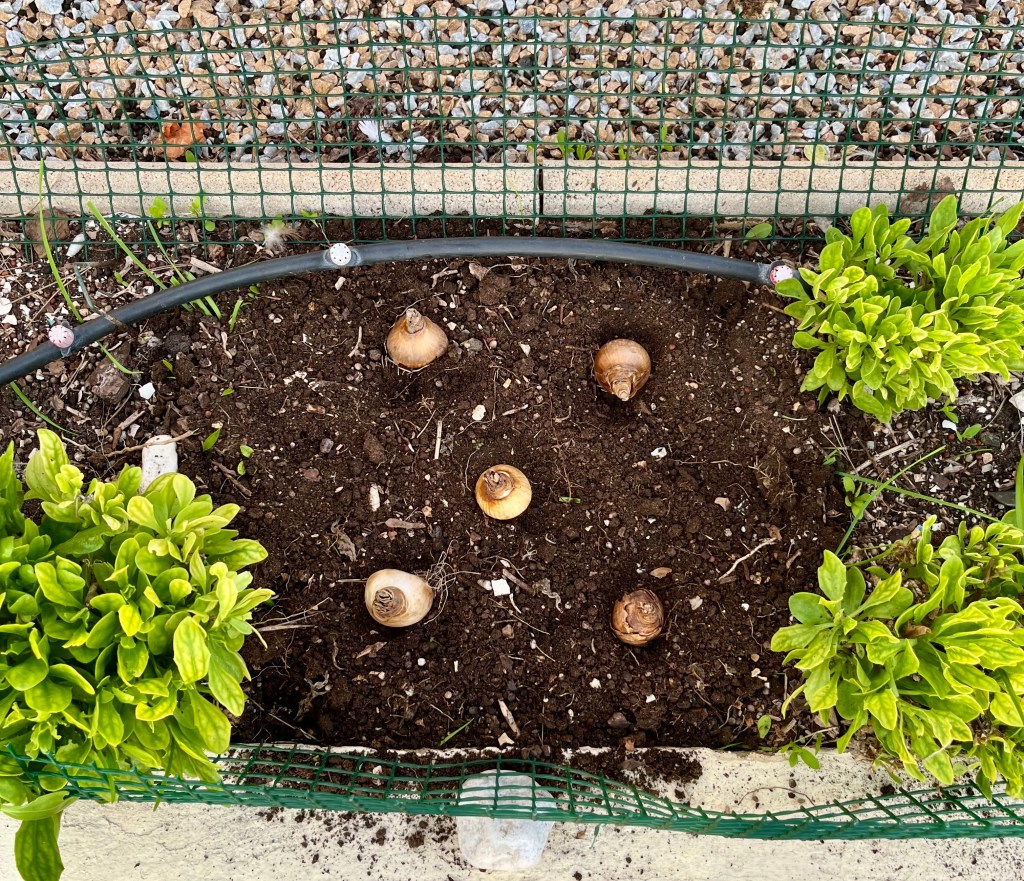
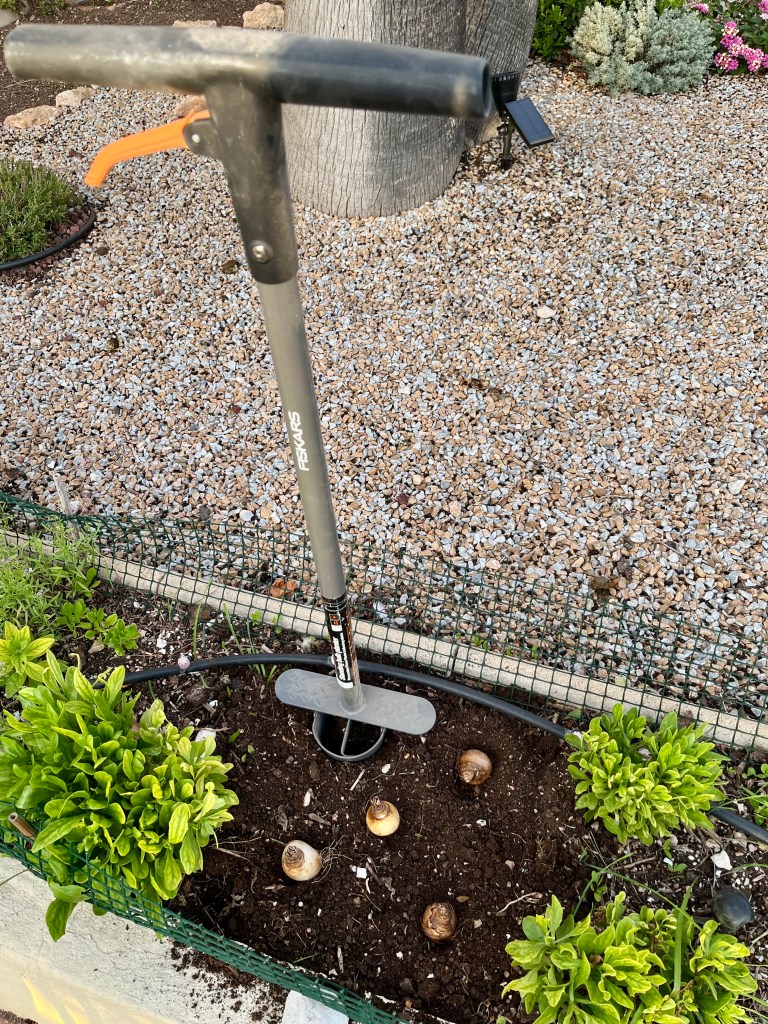
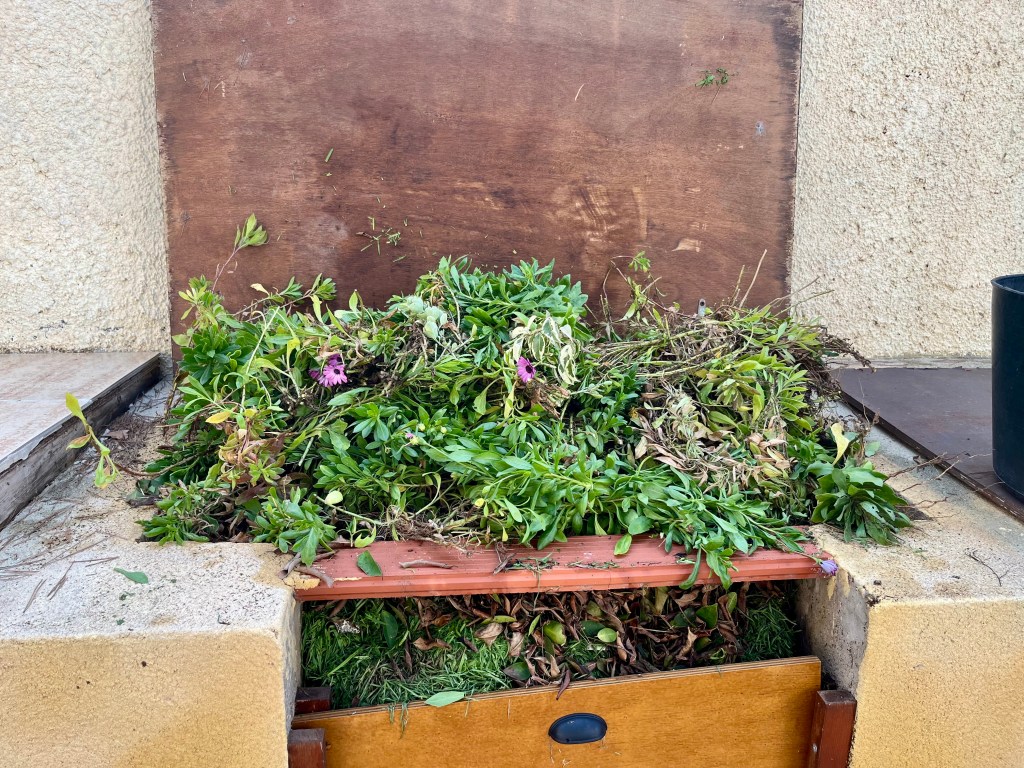
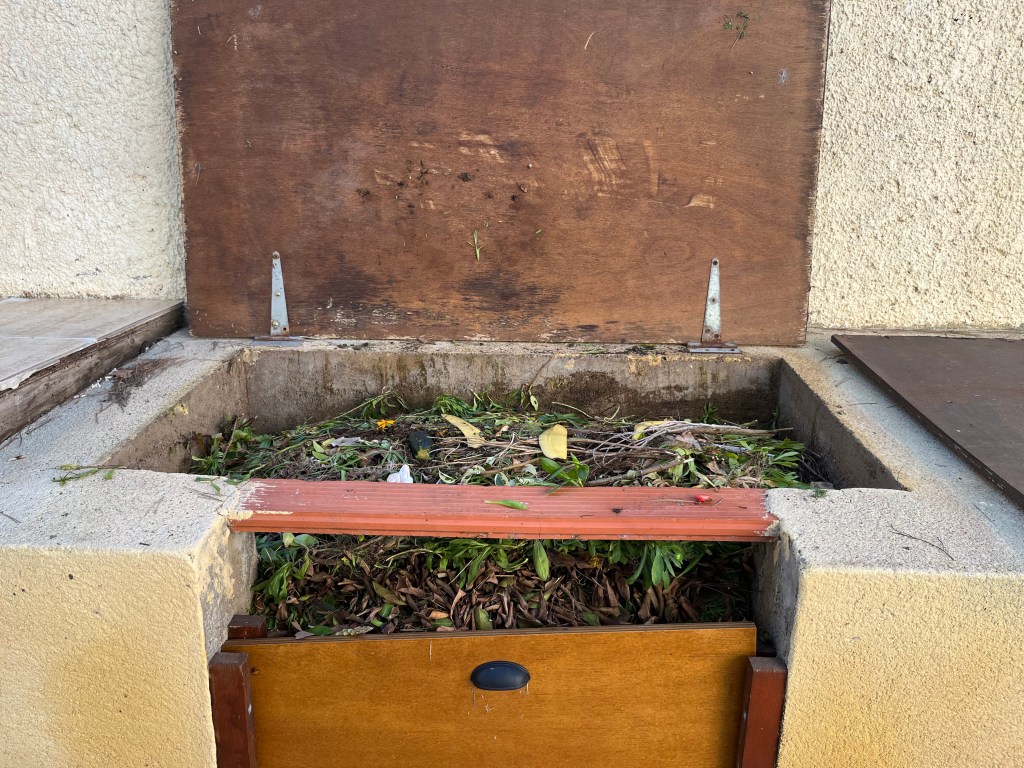
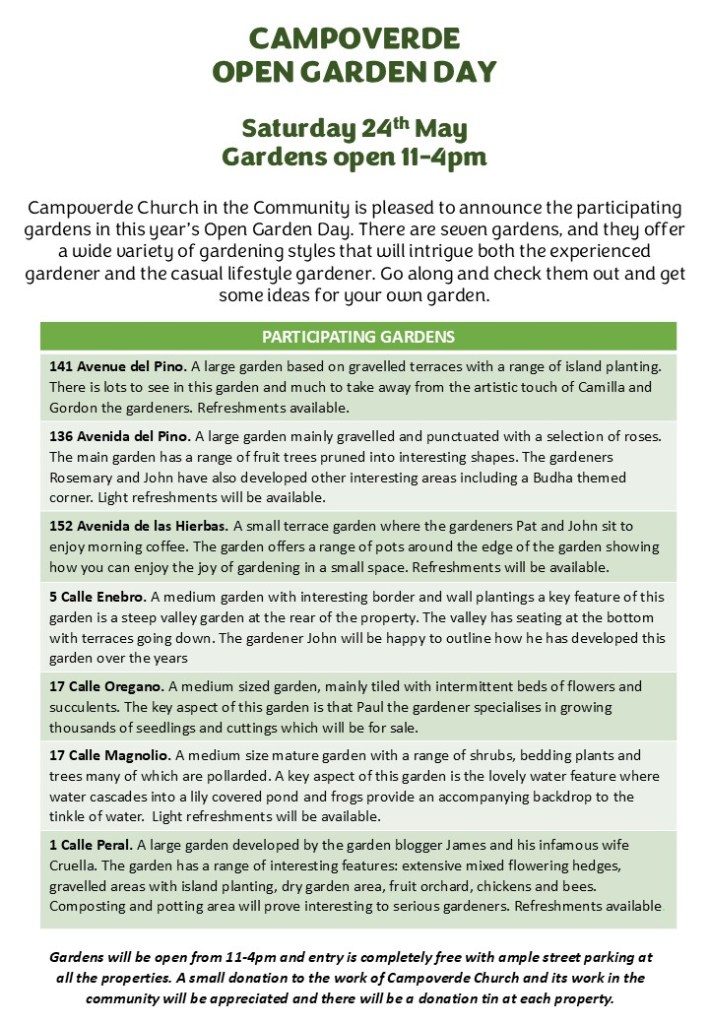
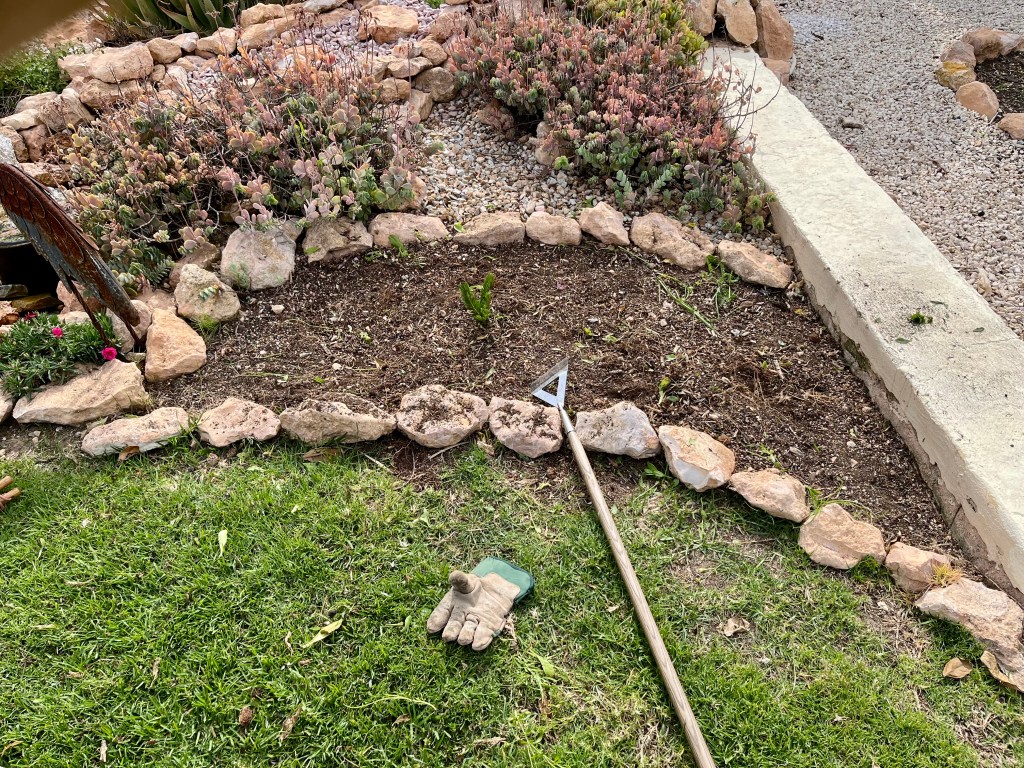
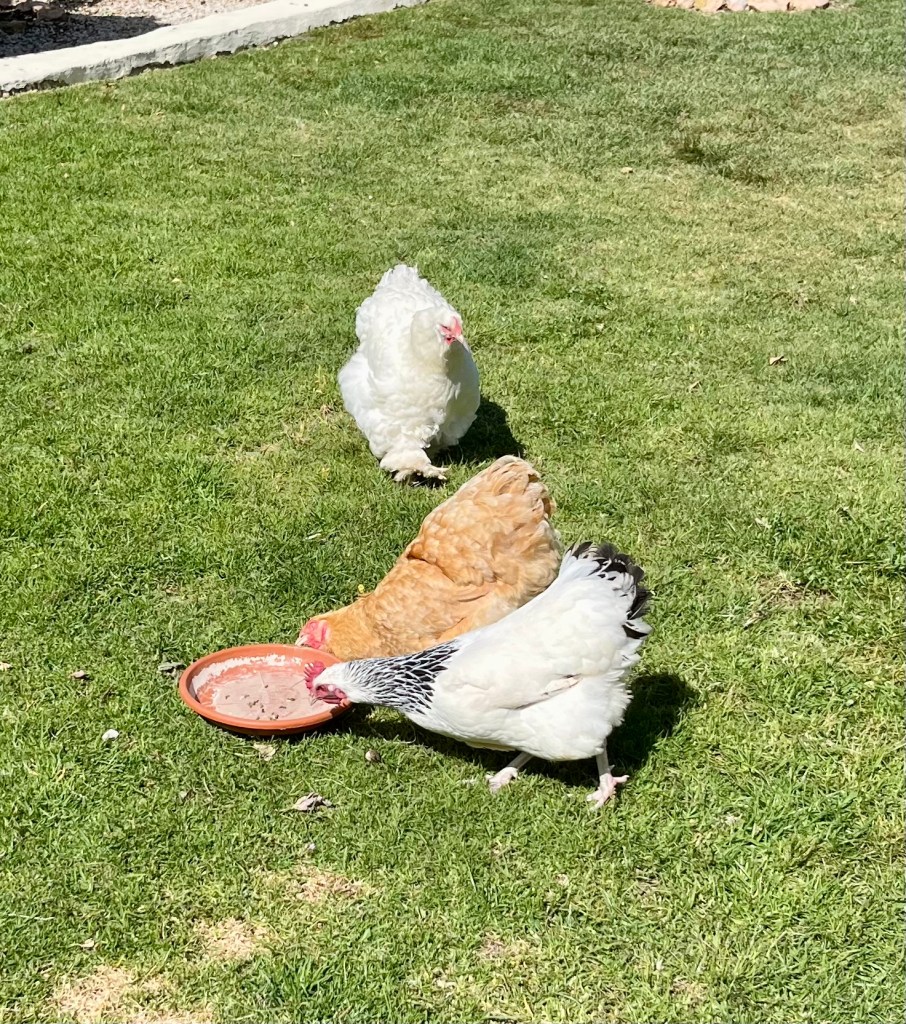
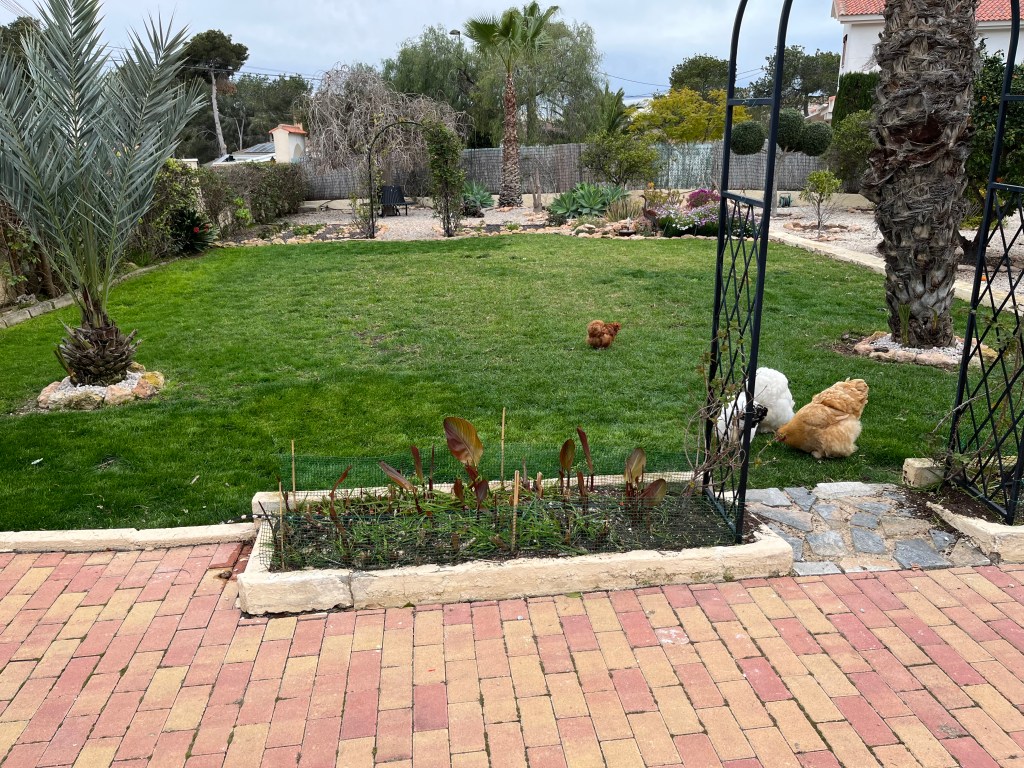
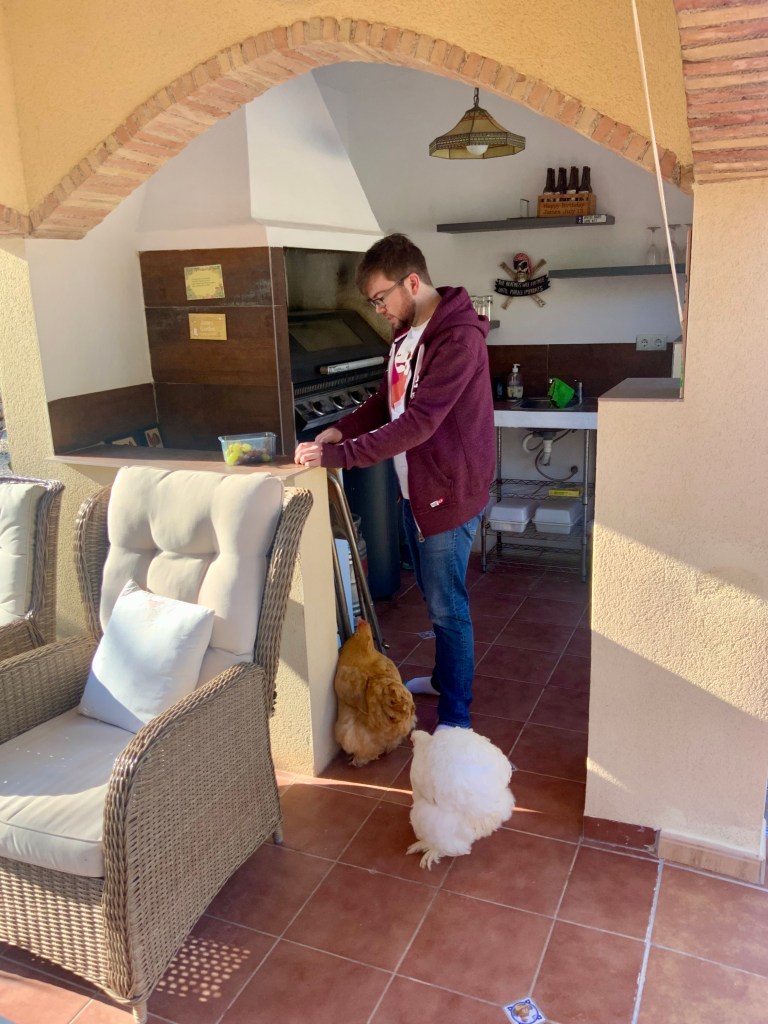
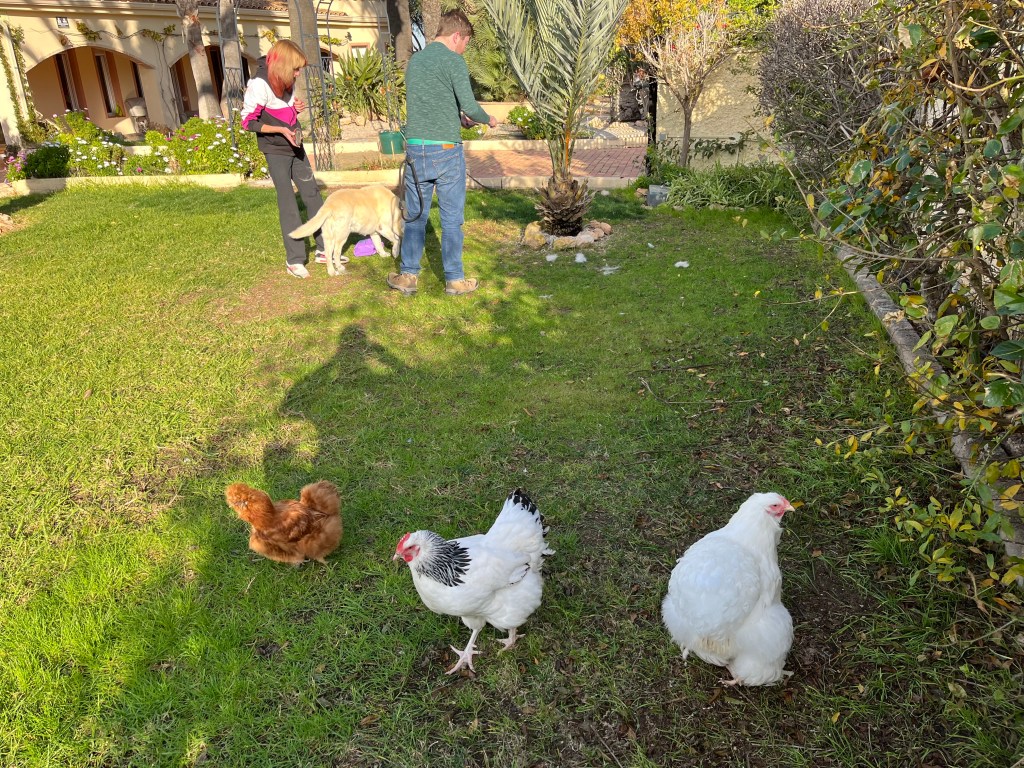
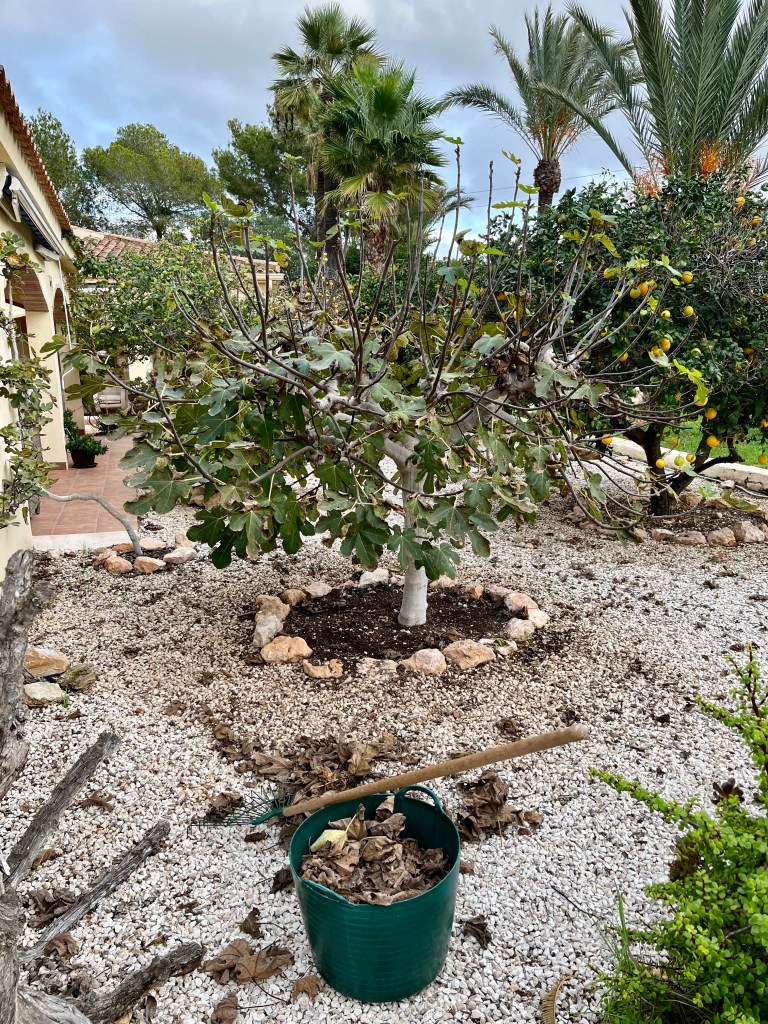
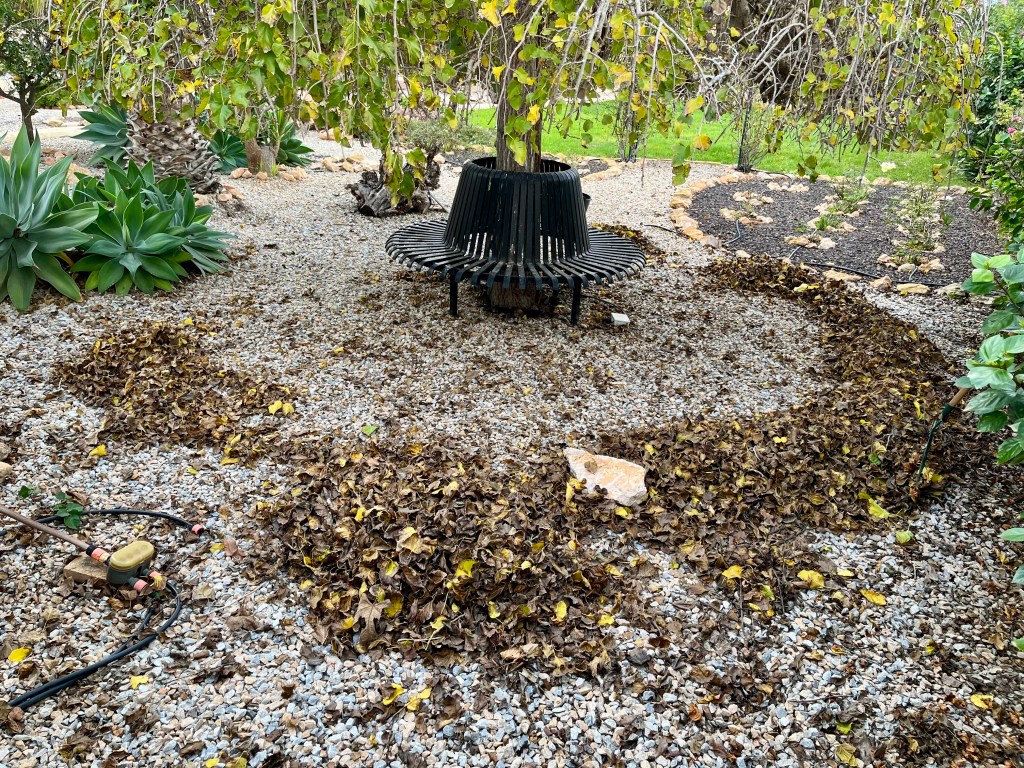
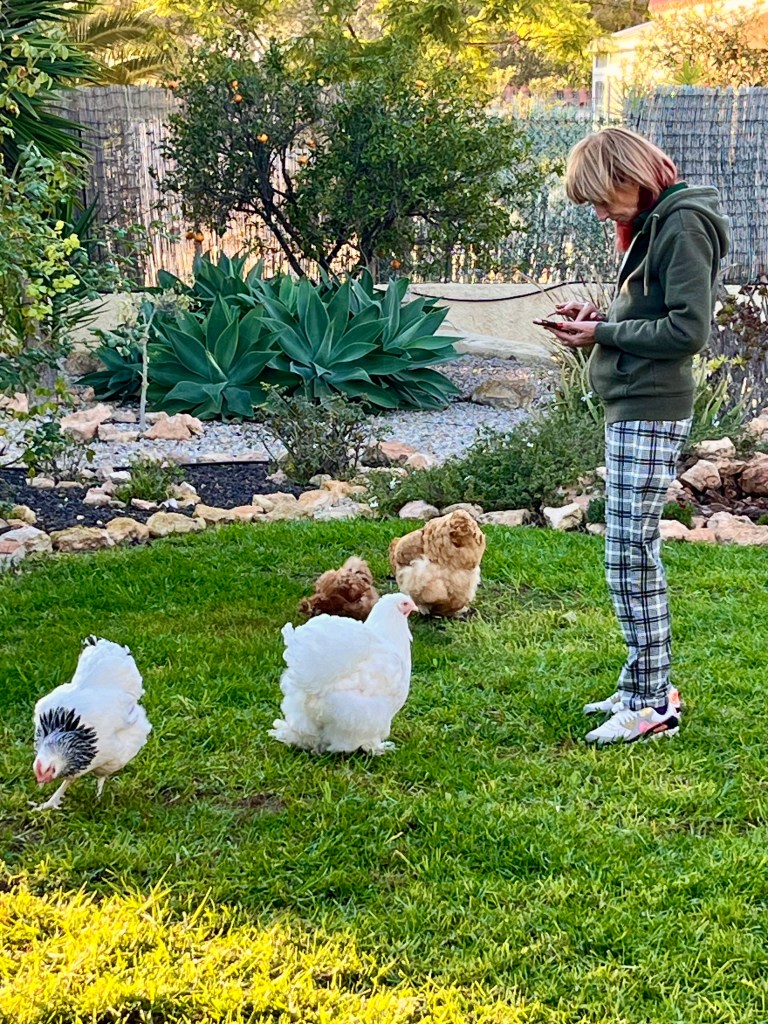
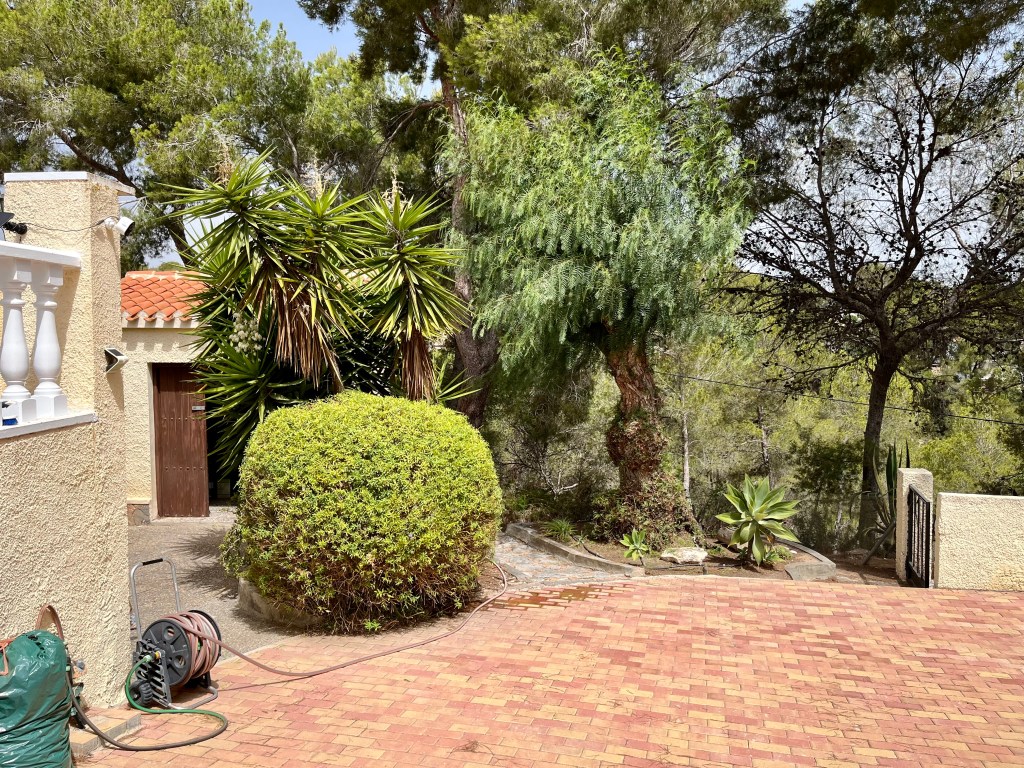
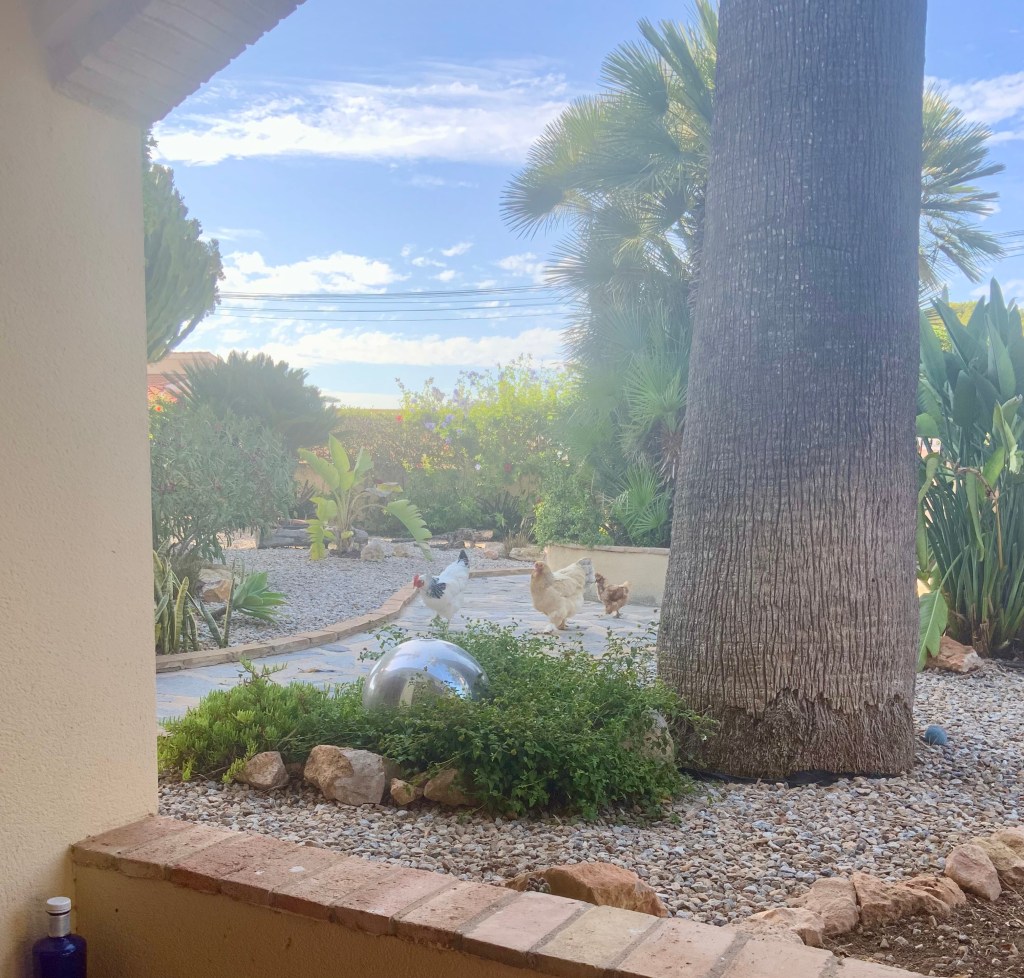
Ideally use mulch from your compost heap, but if you have still failed to start composting, then just buy a few bags of cheap compost from a China shop. Hoe the beds thoroughly first to remove any weeds and clear any leaf debris. Once you have done this deeply water the borders and then apply a thick mulch of compost; ideally at least 2 inches thick. Don’t worry about digging it in the worms will do that for you. The photos below show my mulching efforts accompanied by the chickens who like the maggots from the compost.

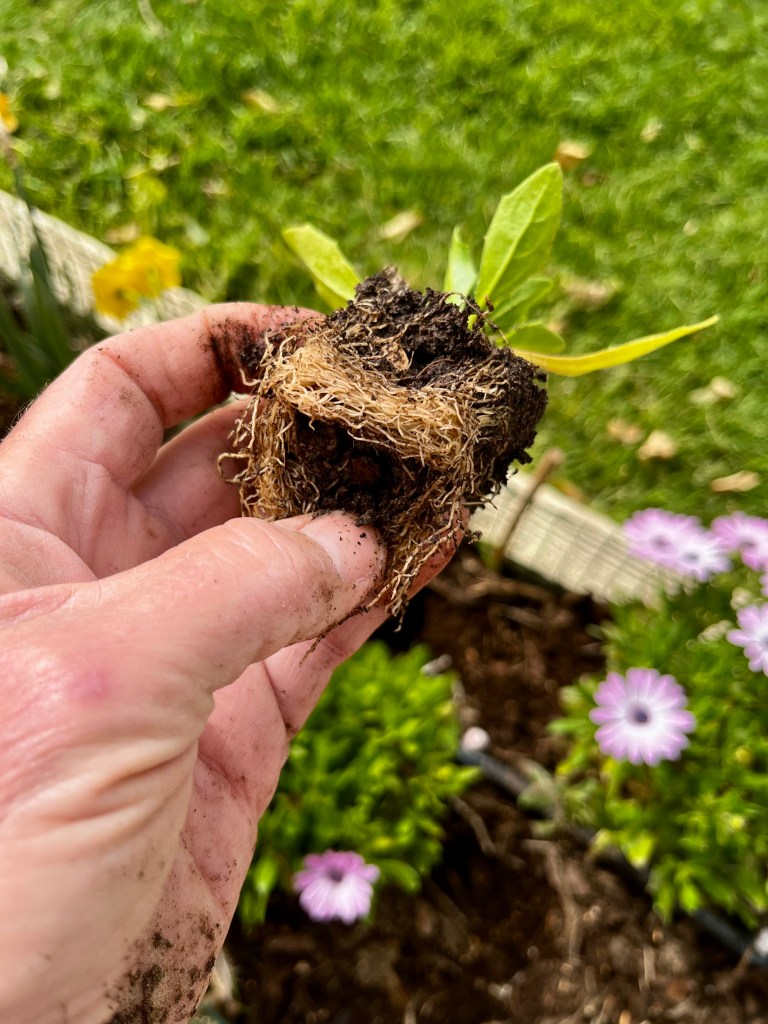
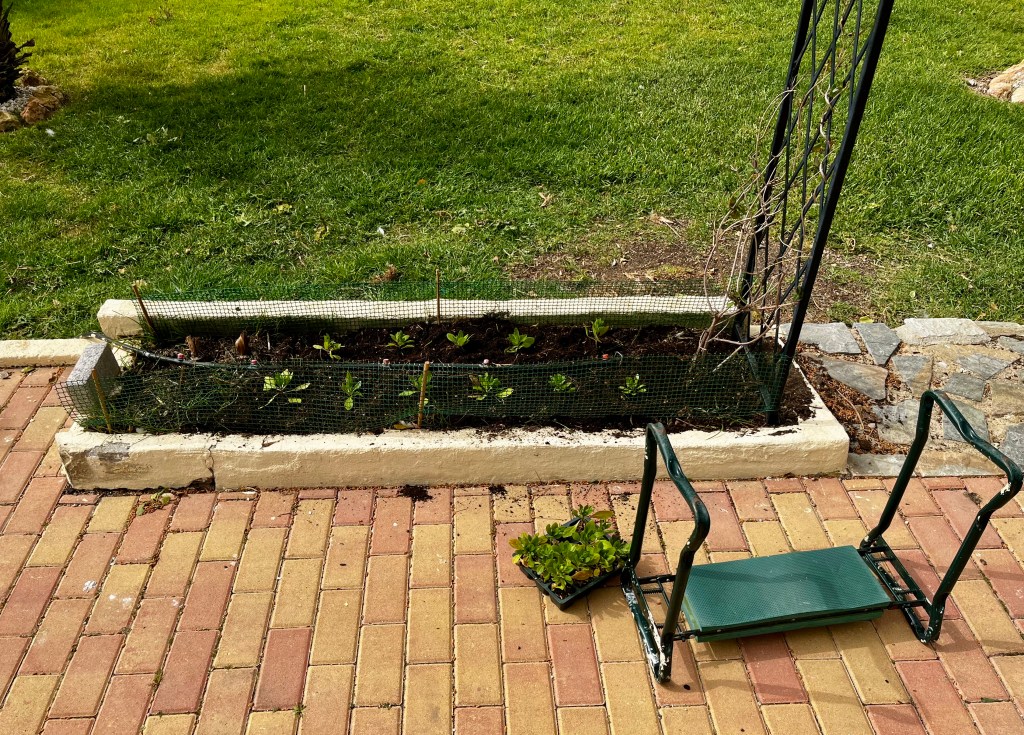
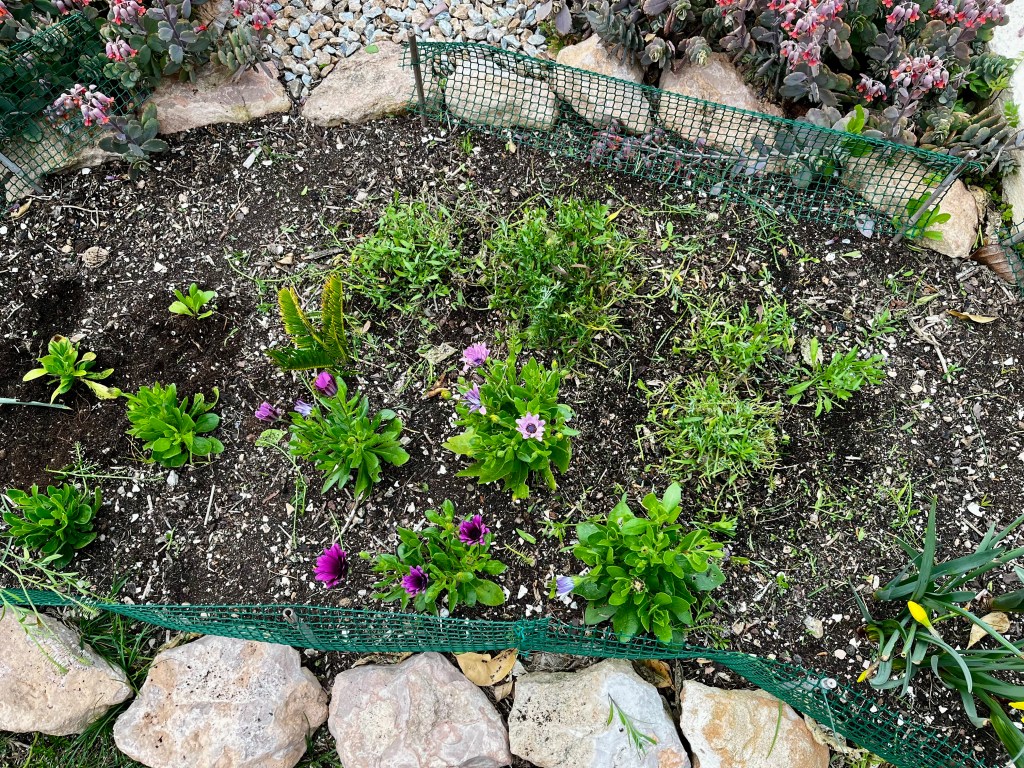
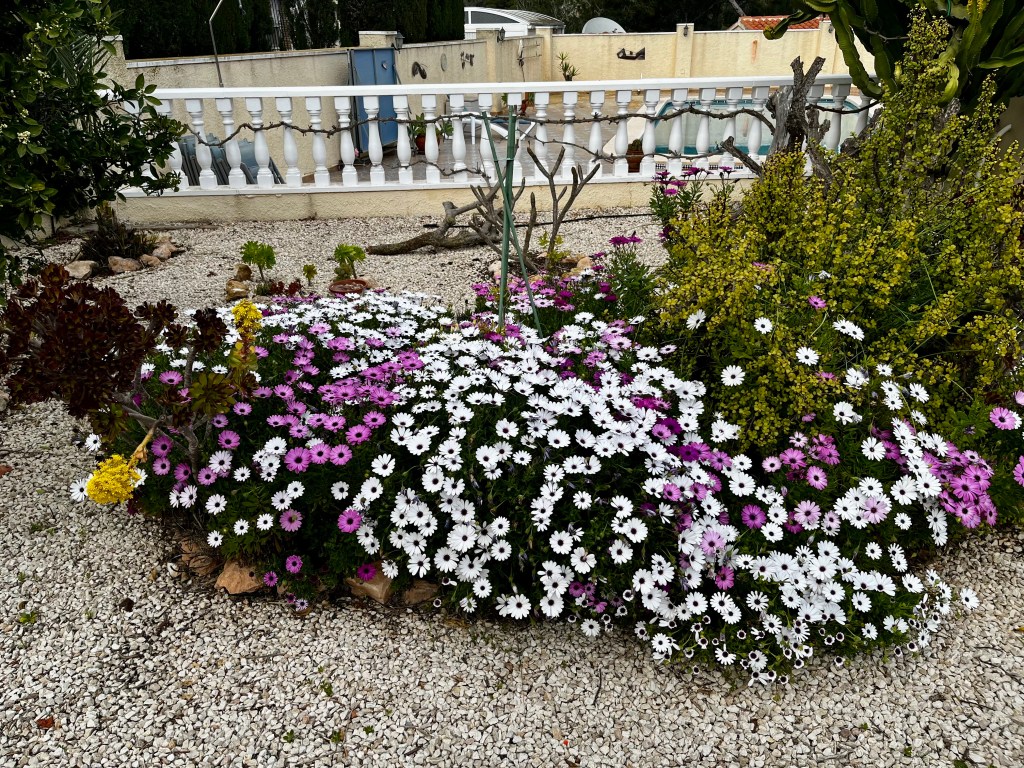
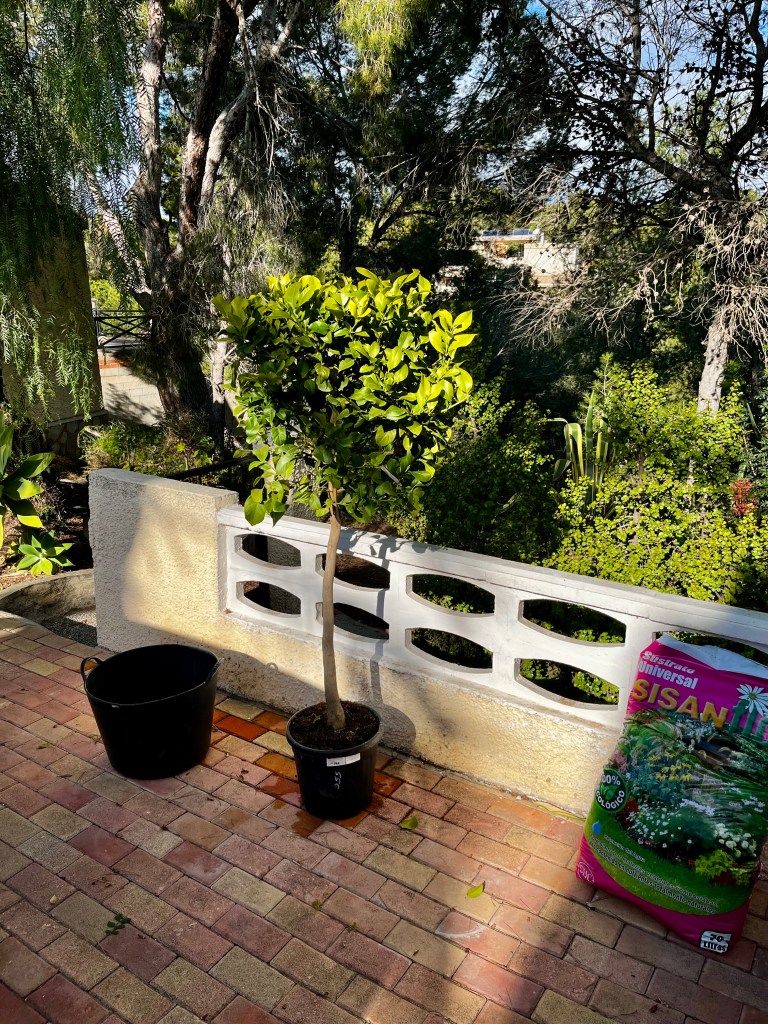
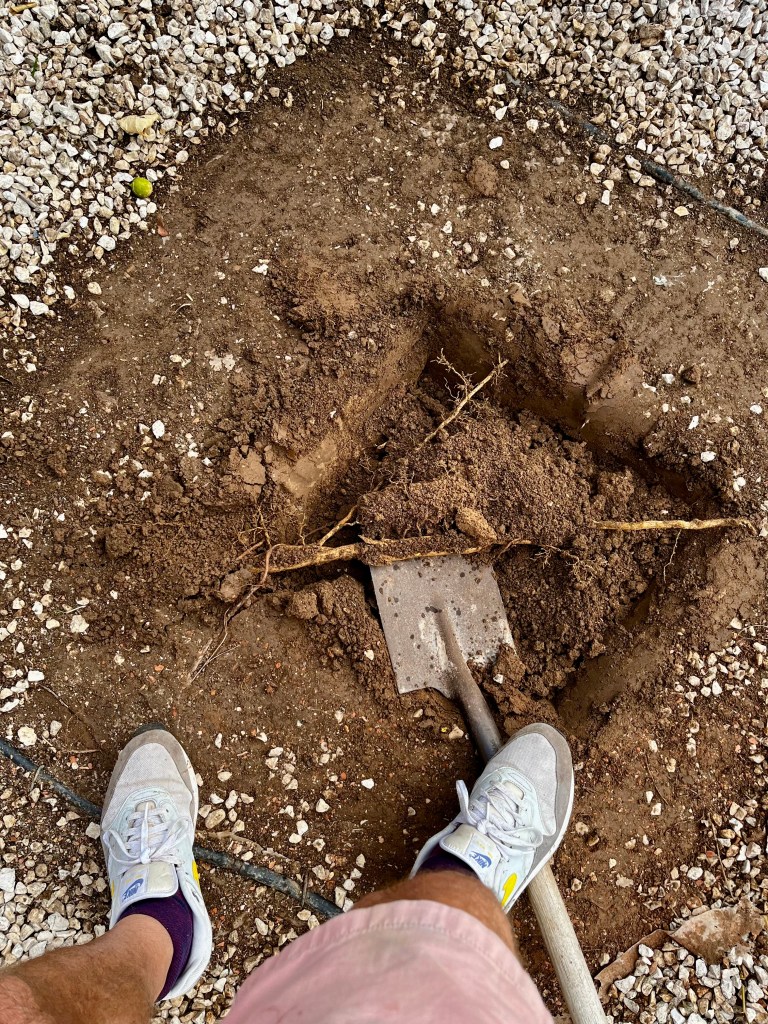
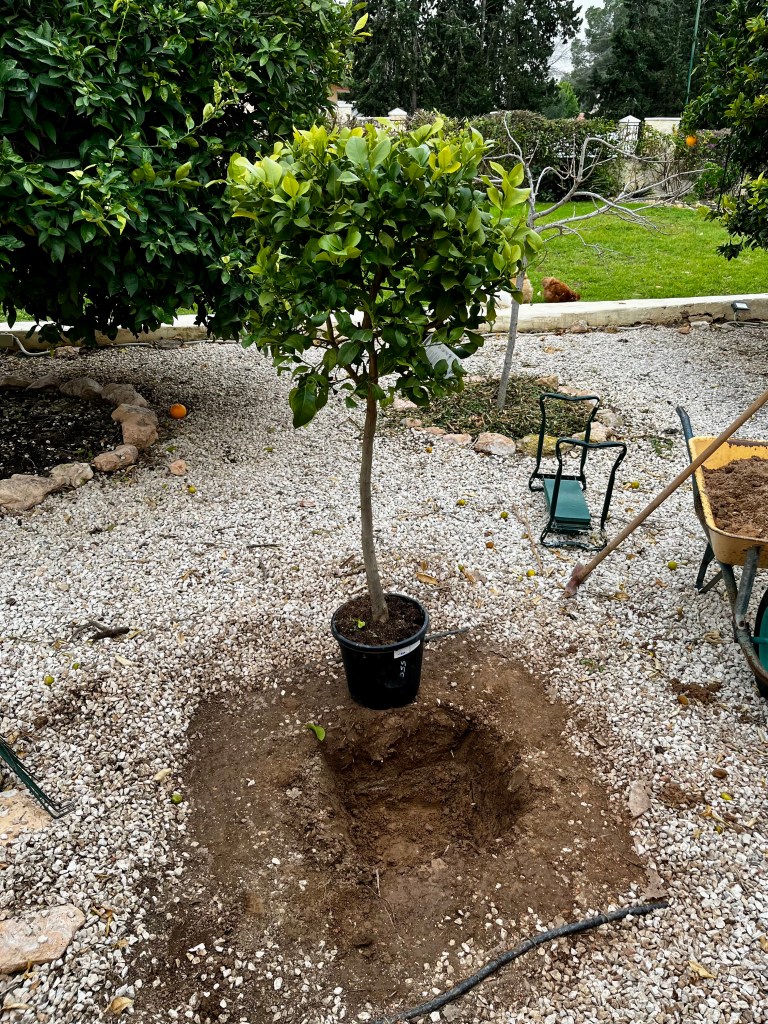
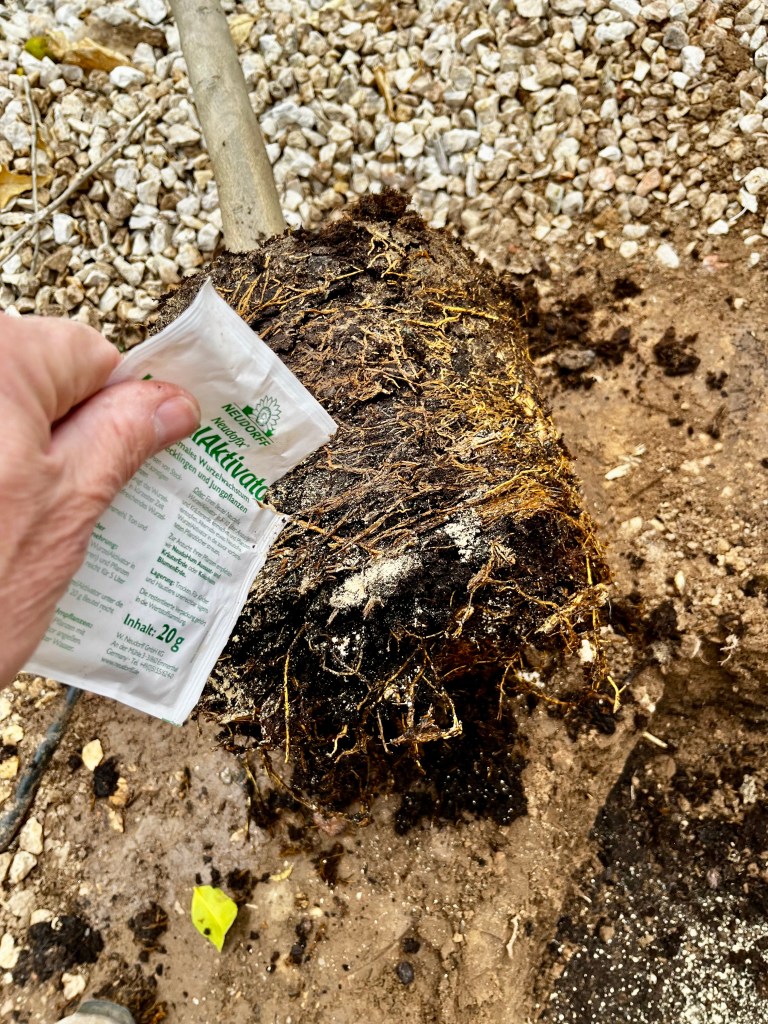
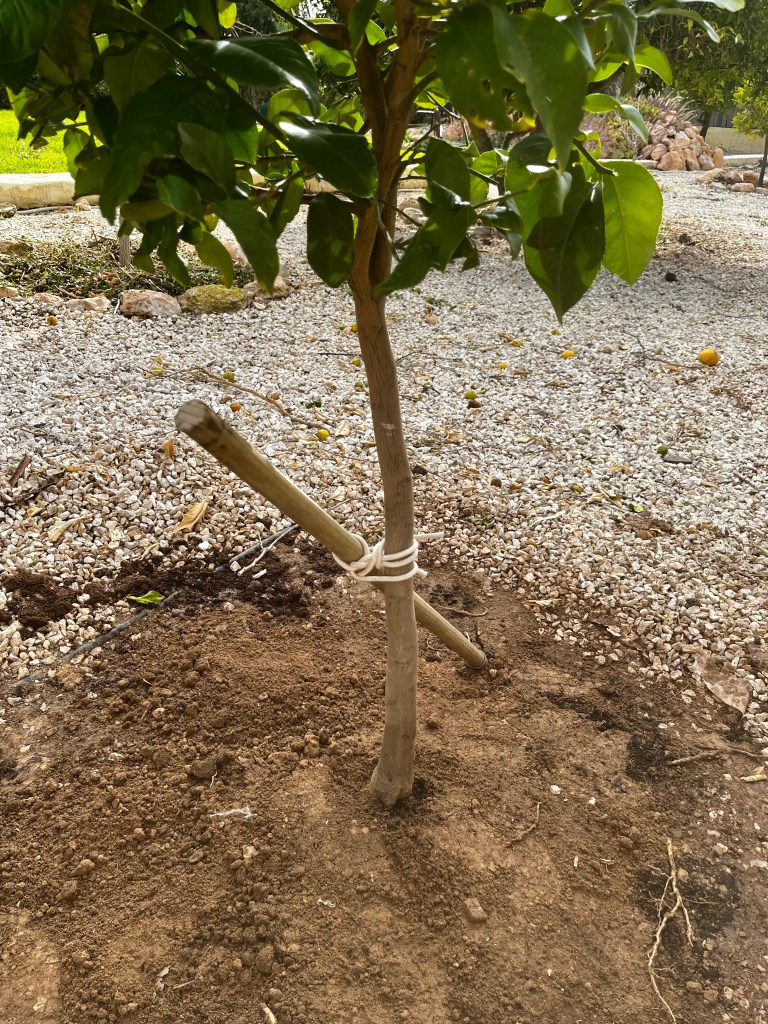
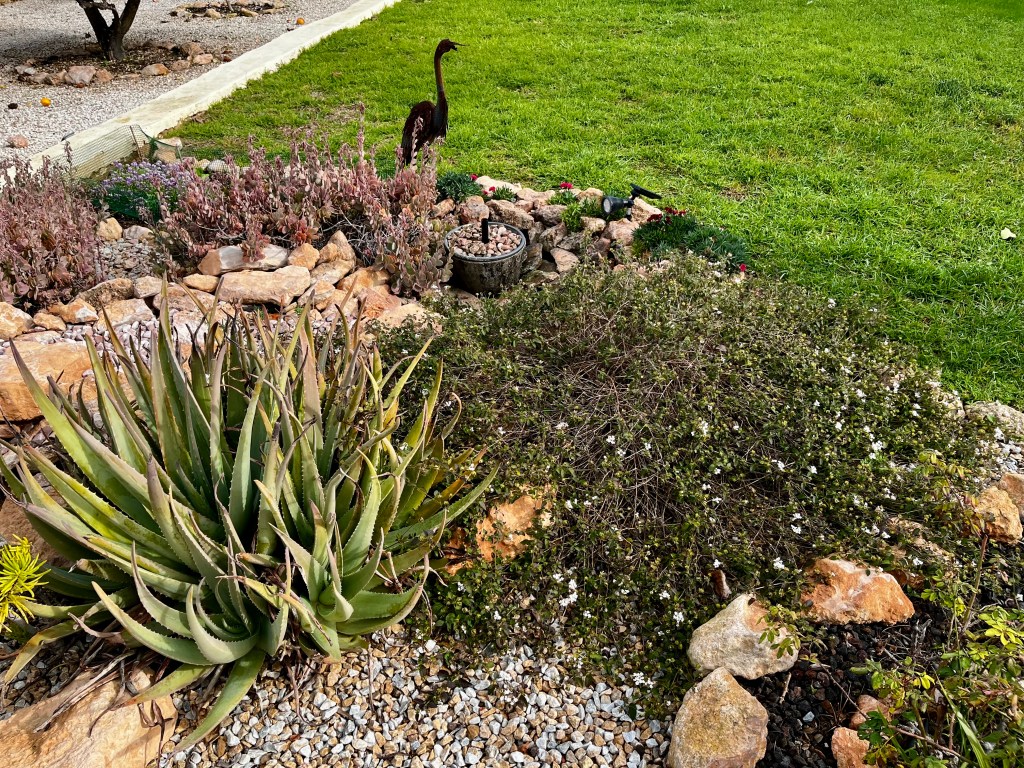
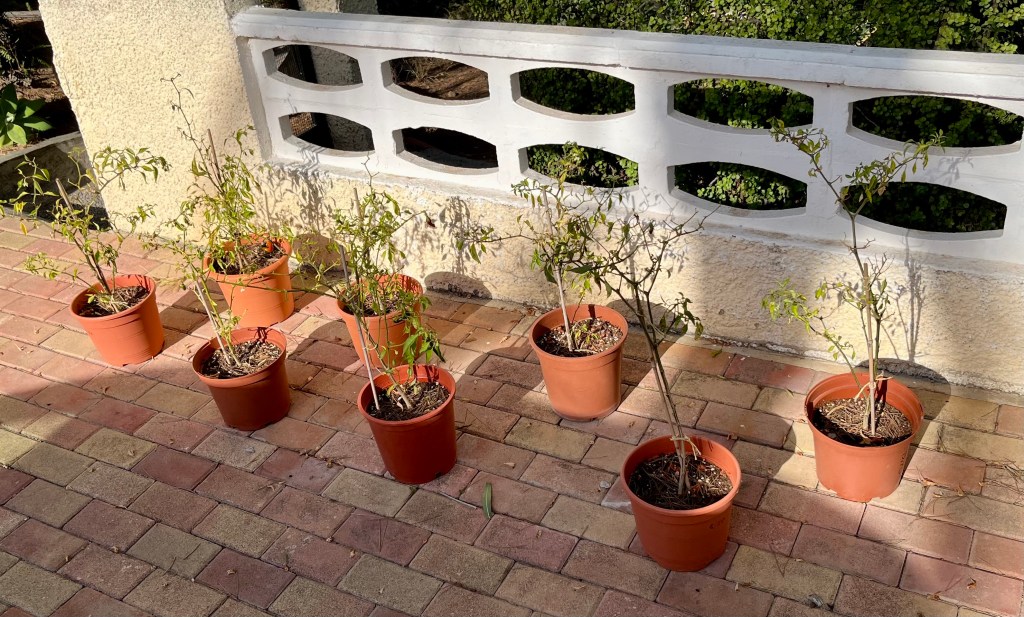
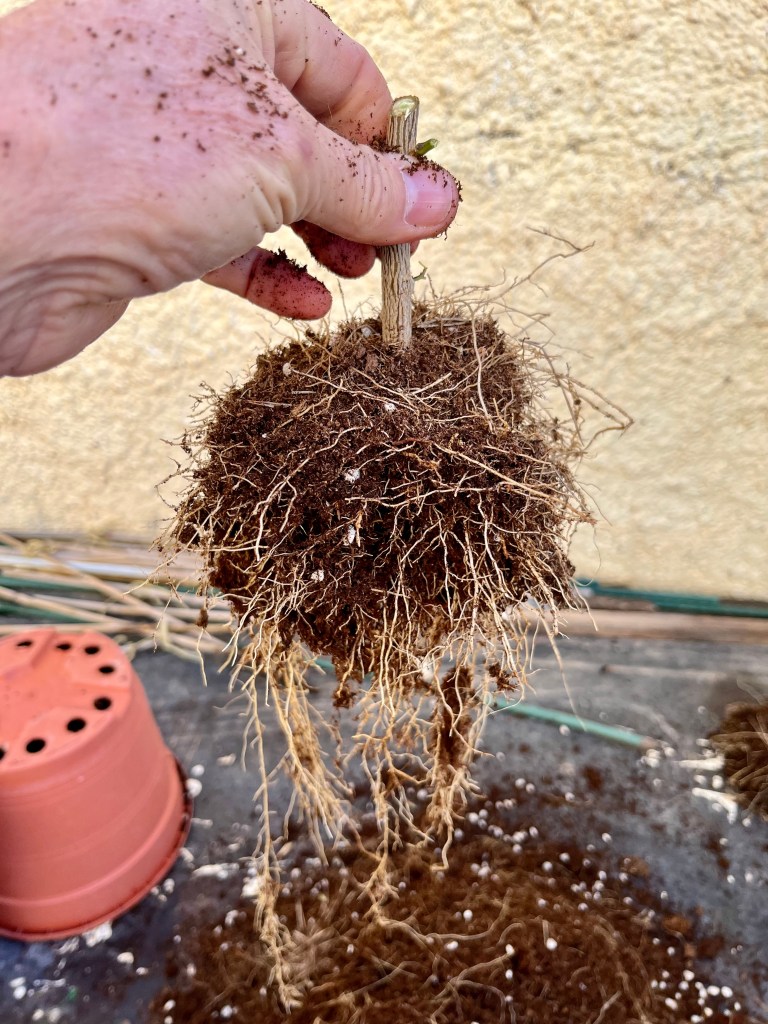
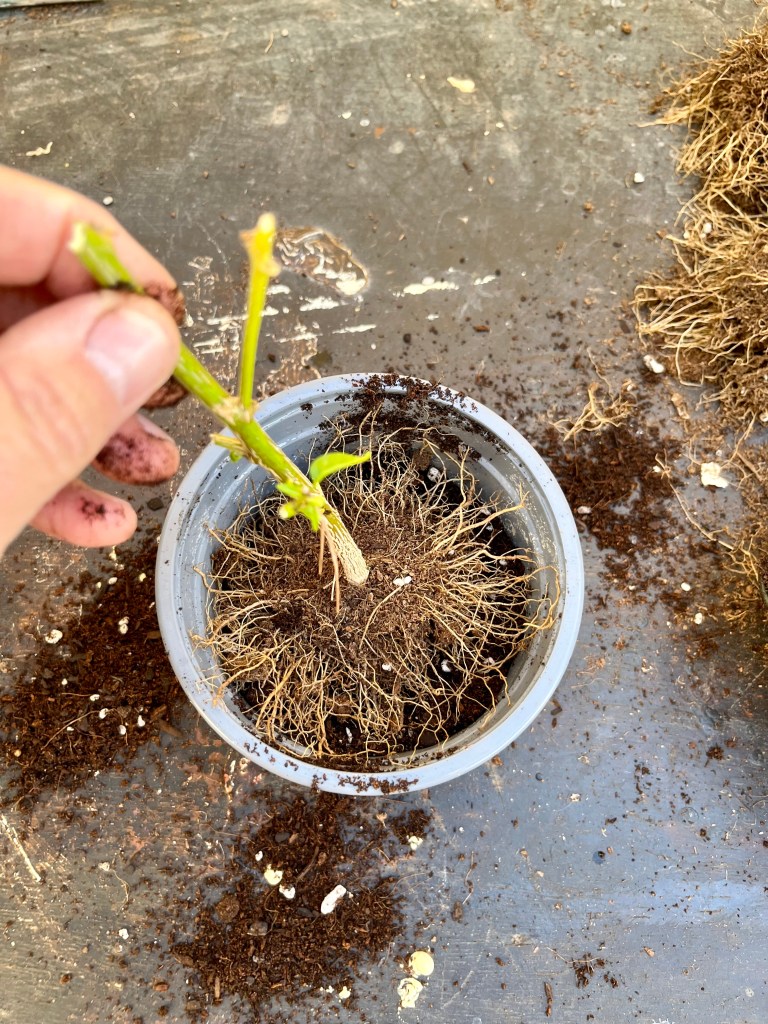
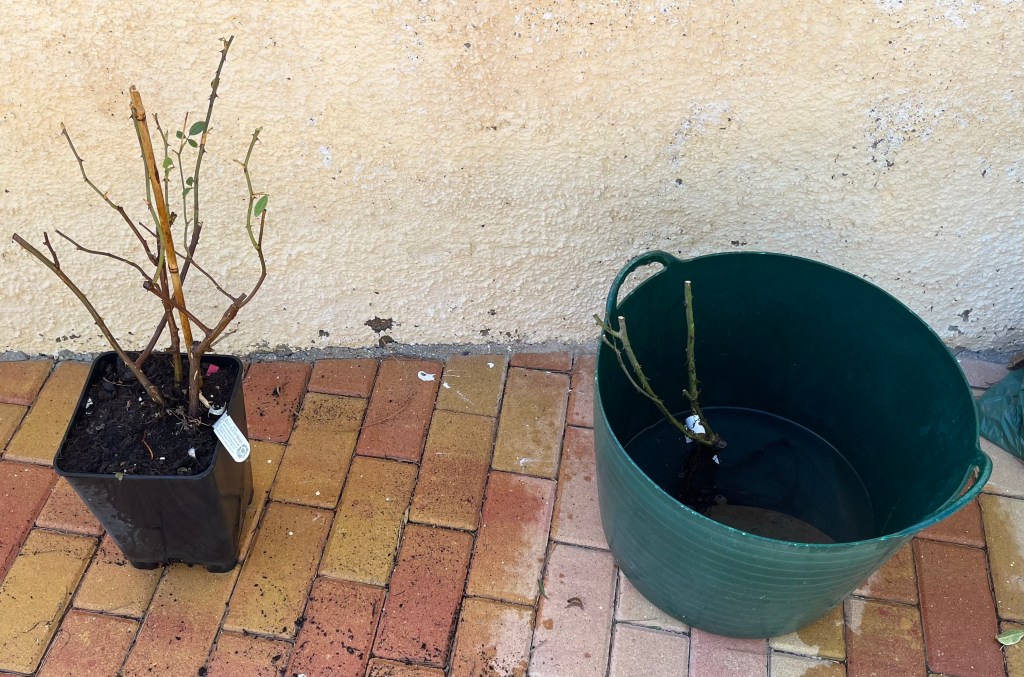
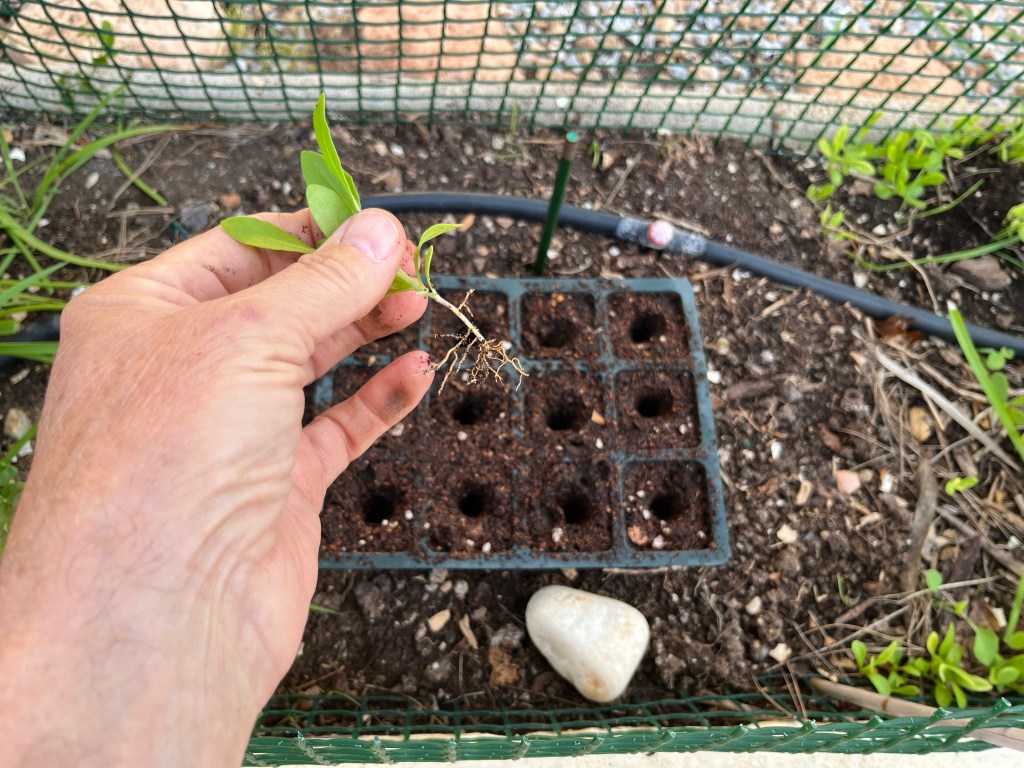
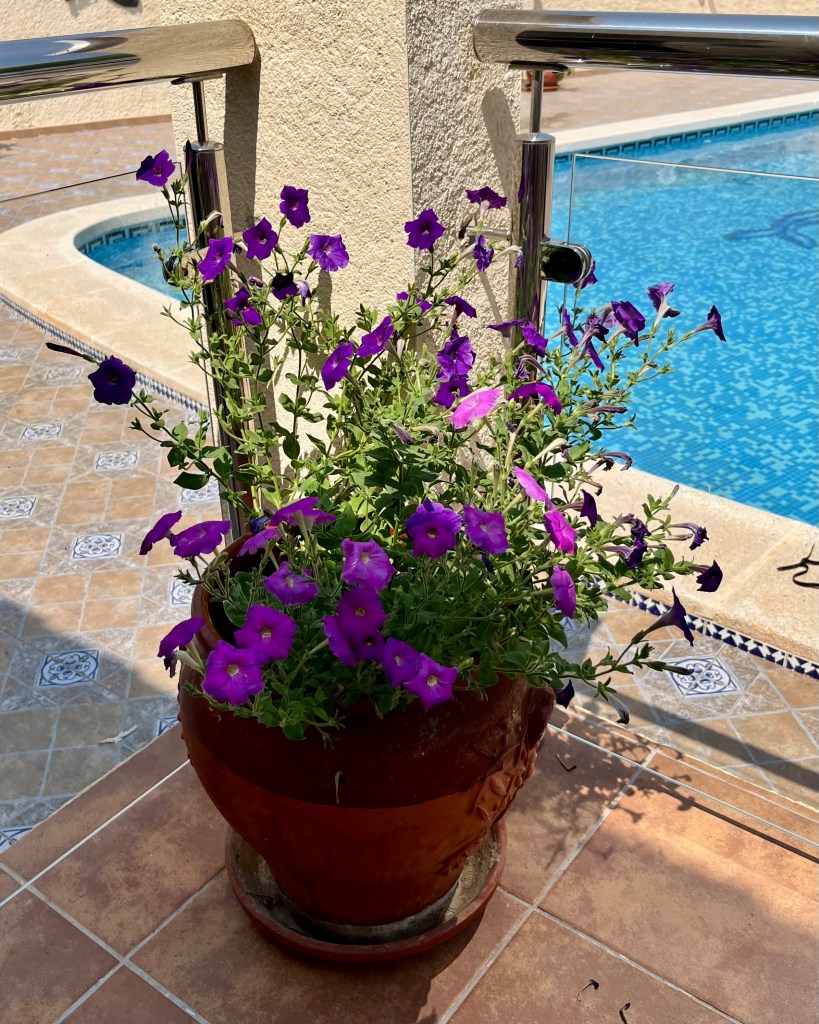
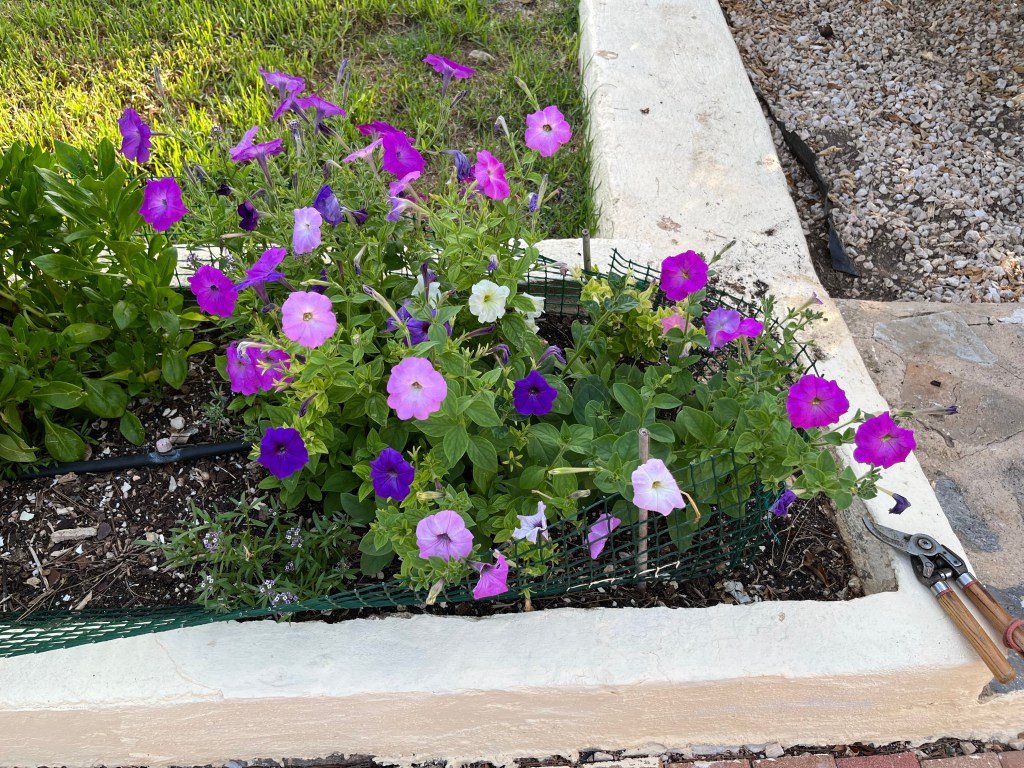
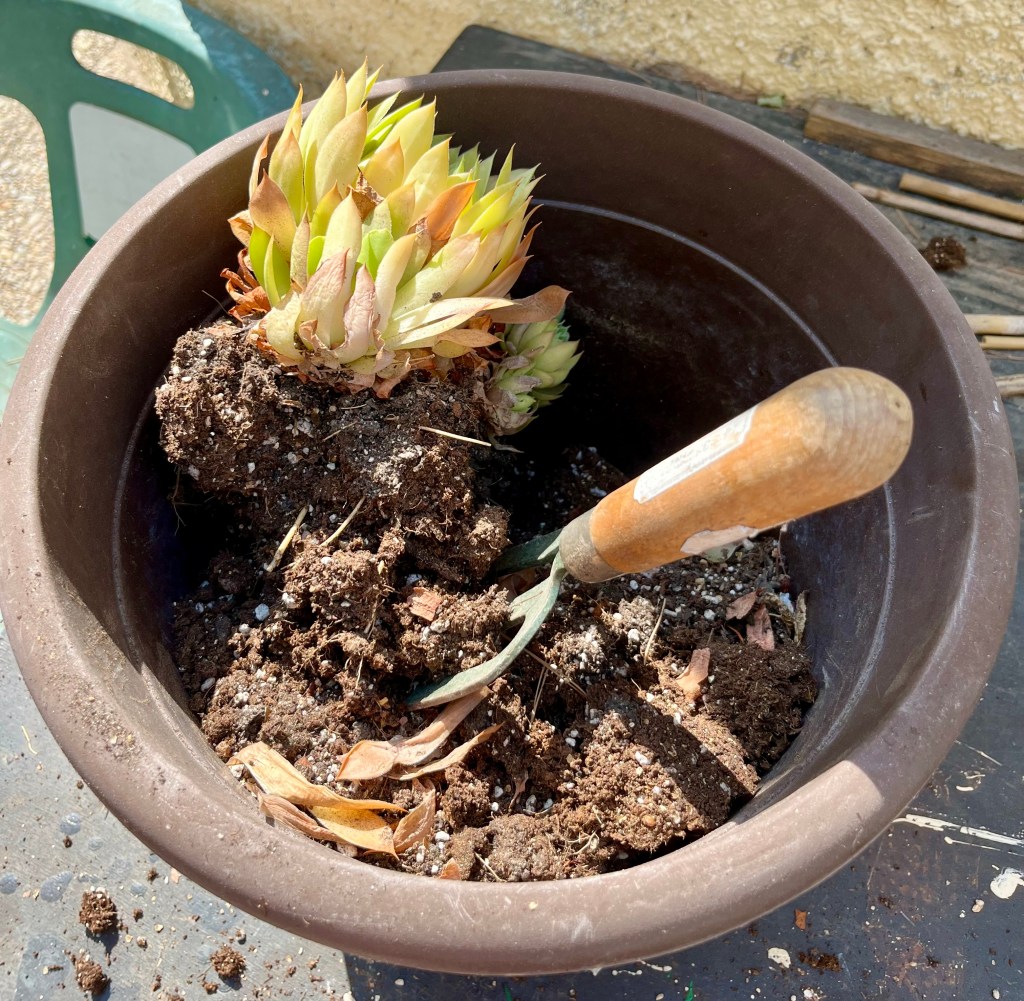
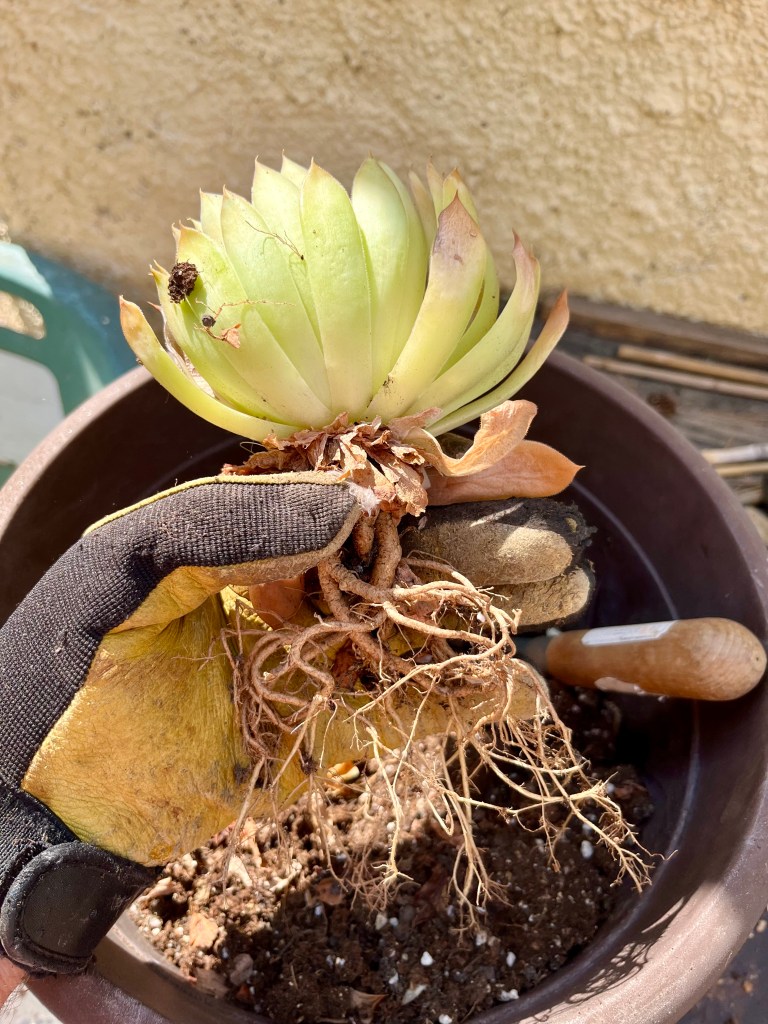
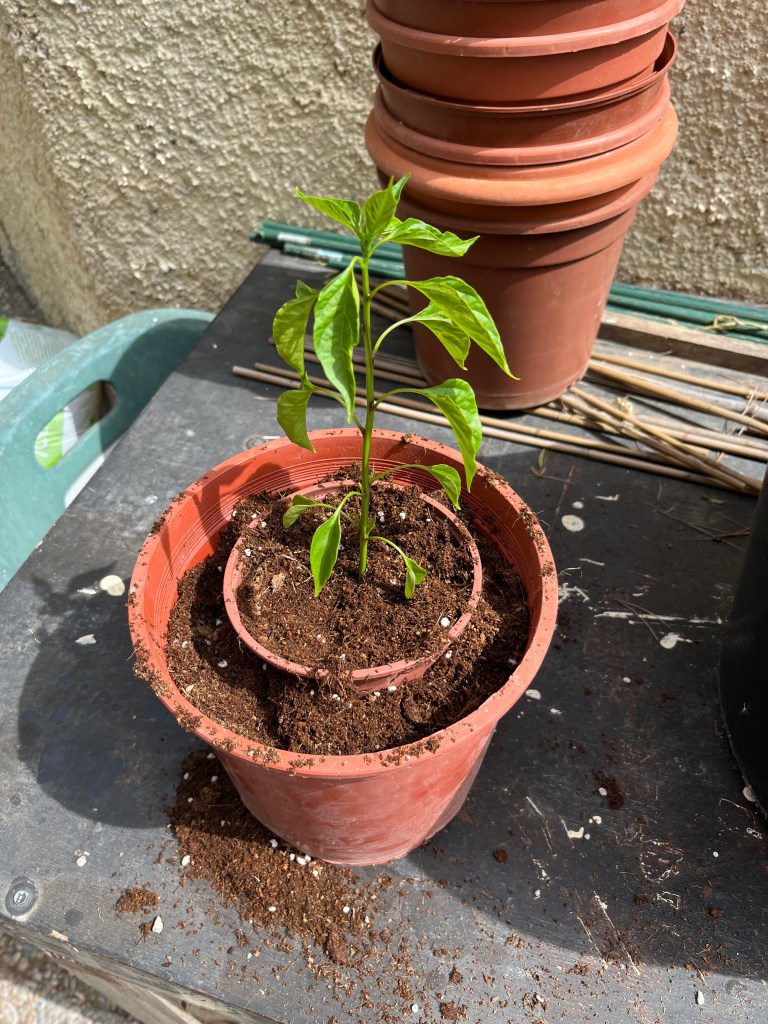
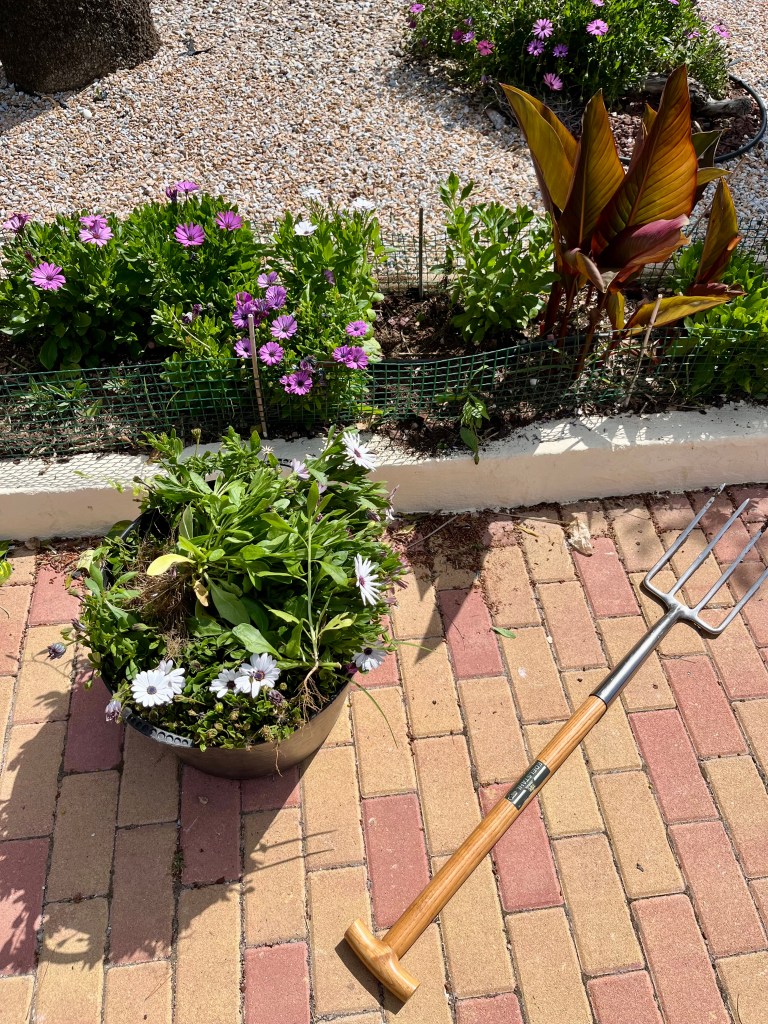
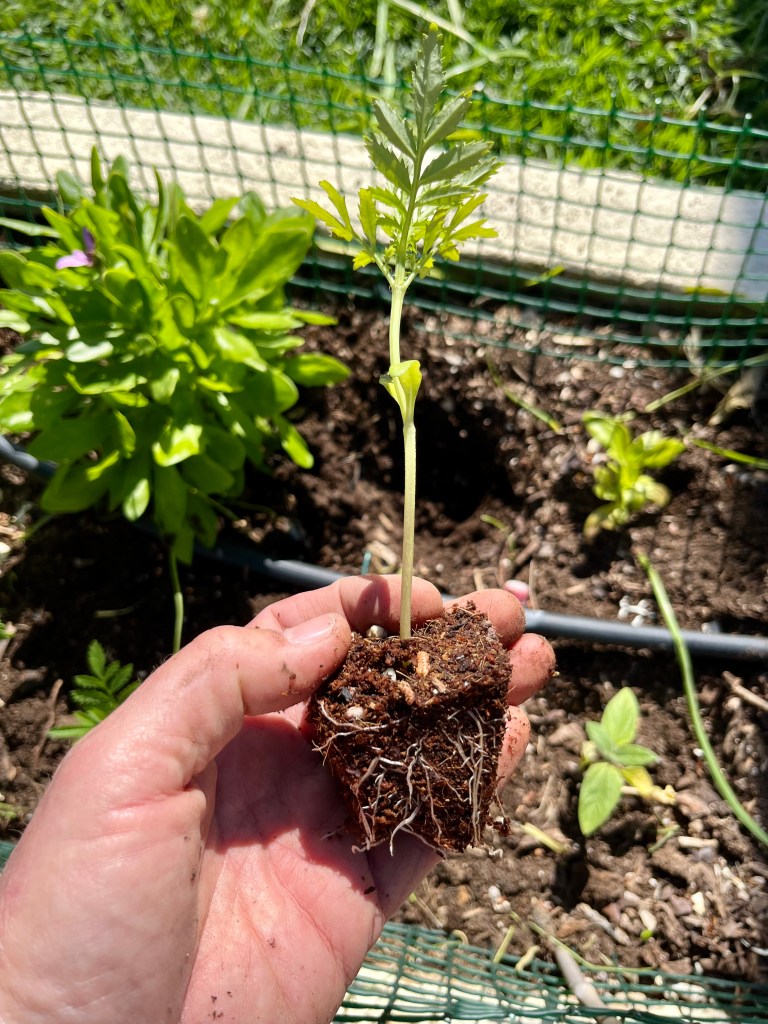
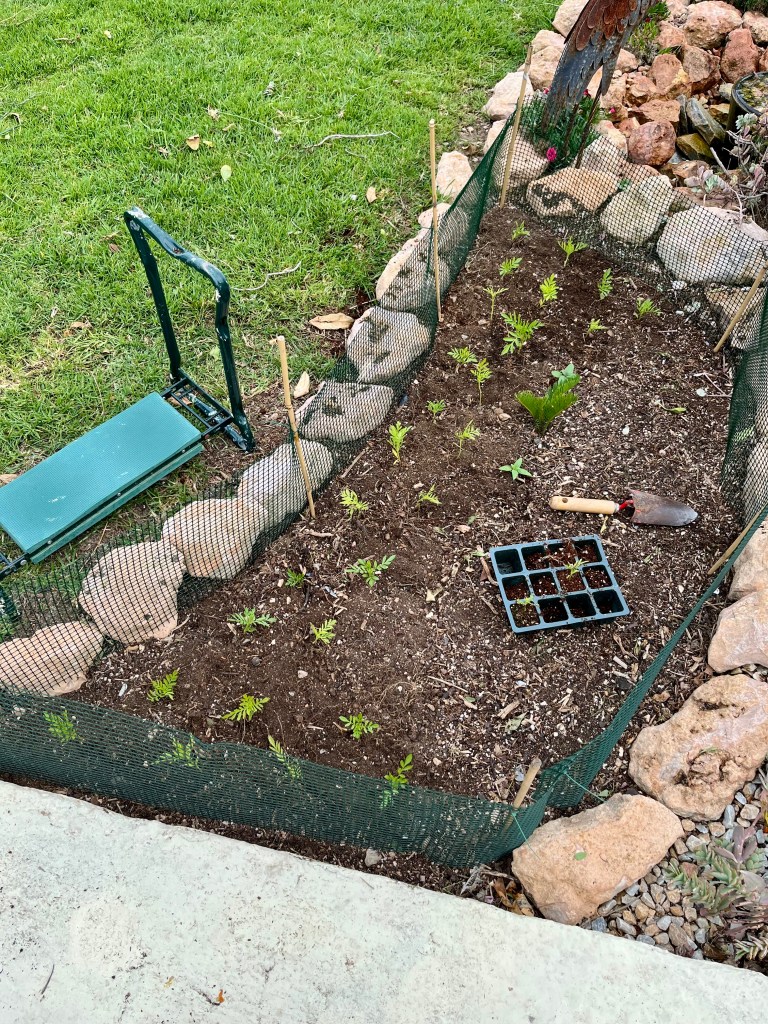
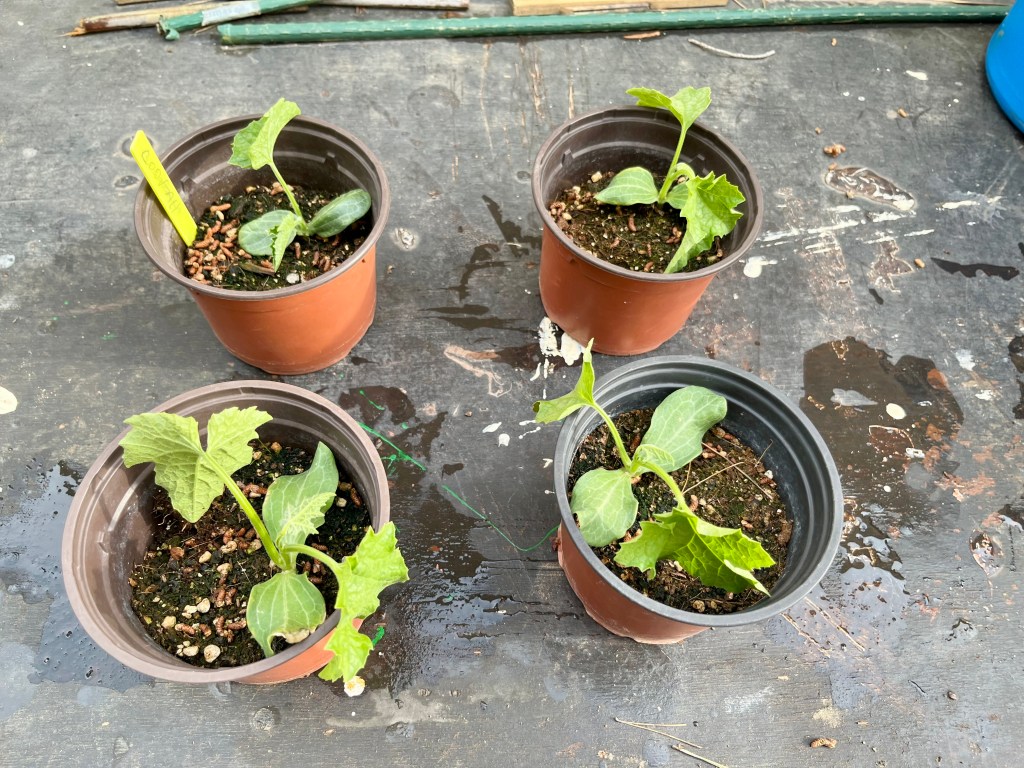
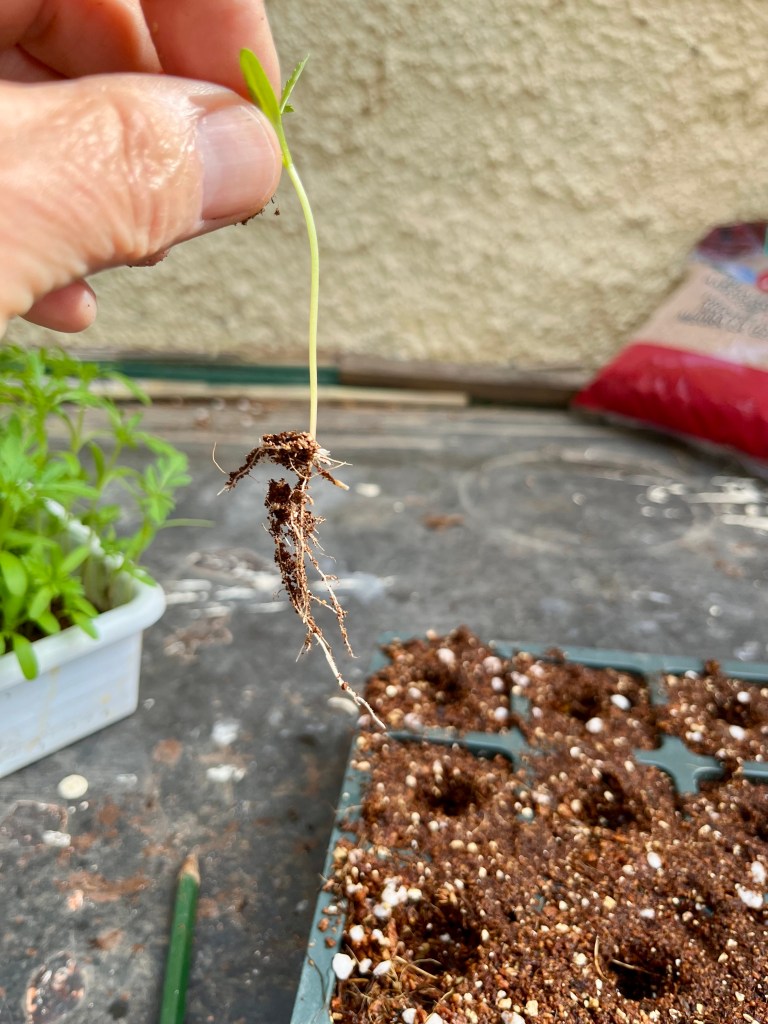
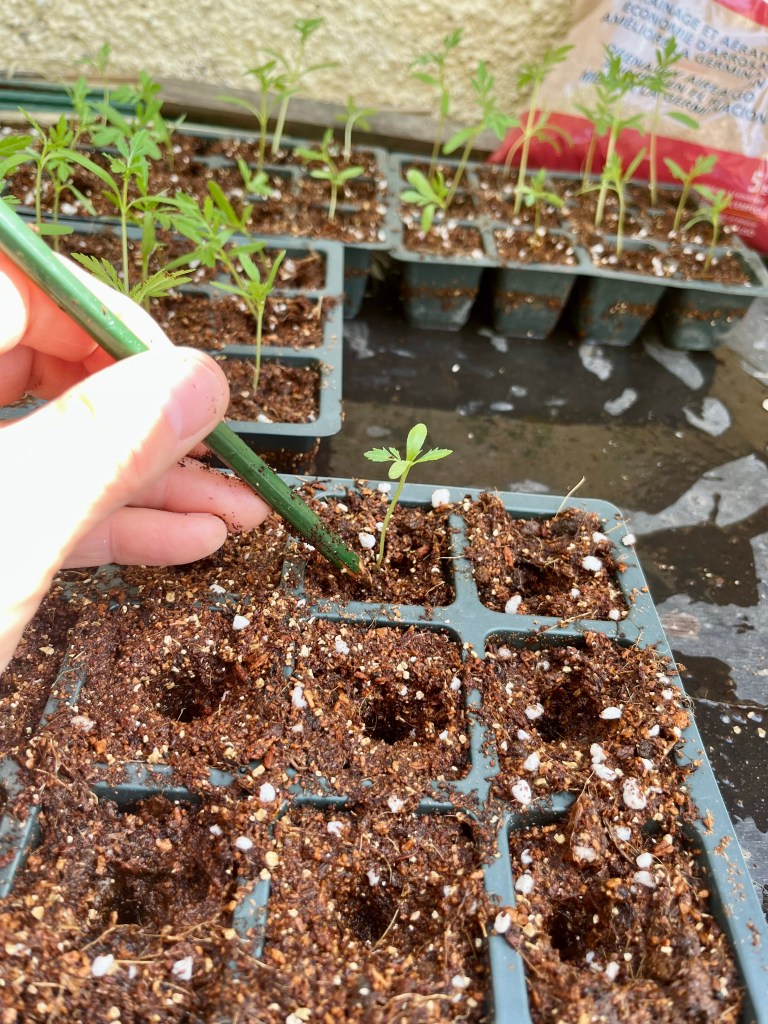
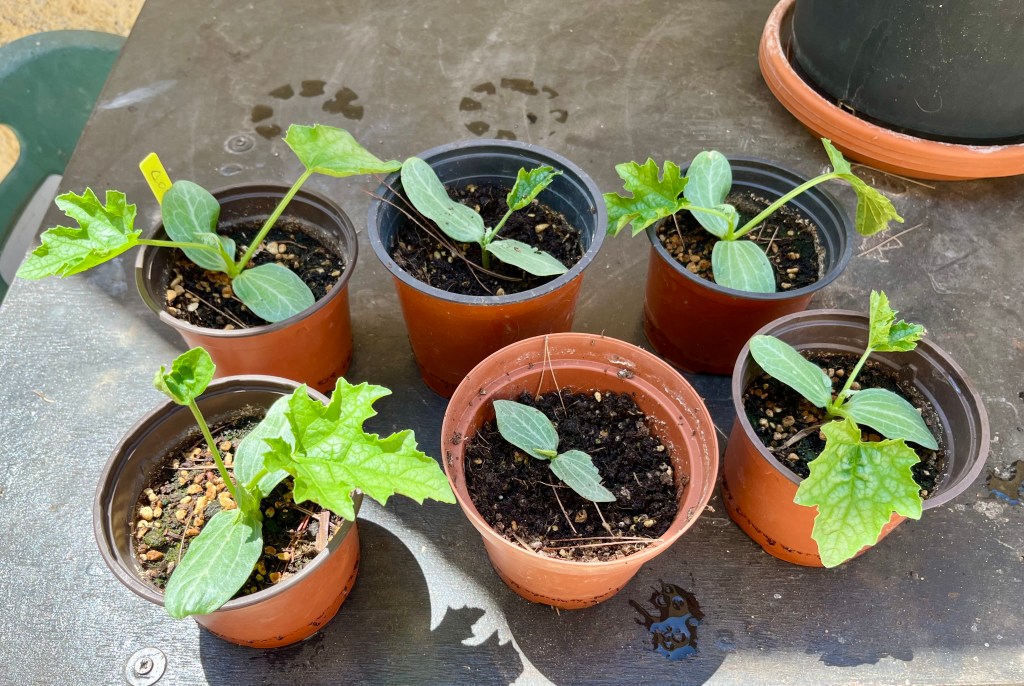
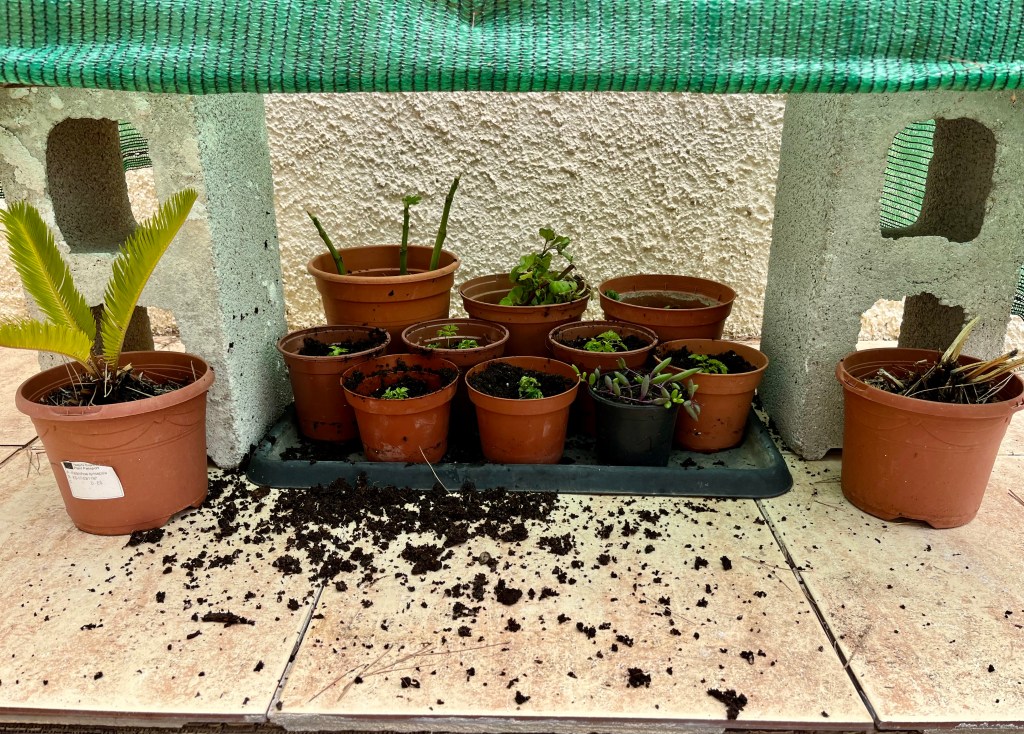
Planting out winter seedlings. In the autumn I pricked out lots of self seeded Osteospermums and planted these up in trays to grow on during the winter. Now is the time to plant out any seedlings you have been growing on as they will have become quite root bound. The photos below show my planting into the newly mulched borders.
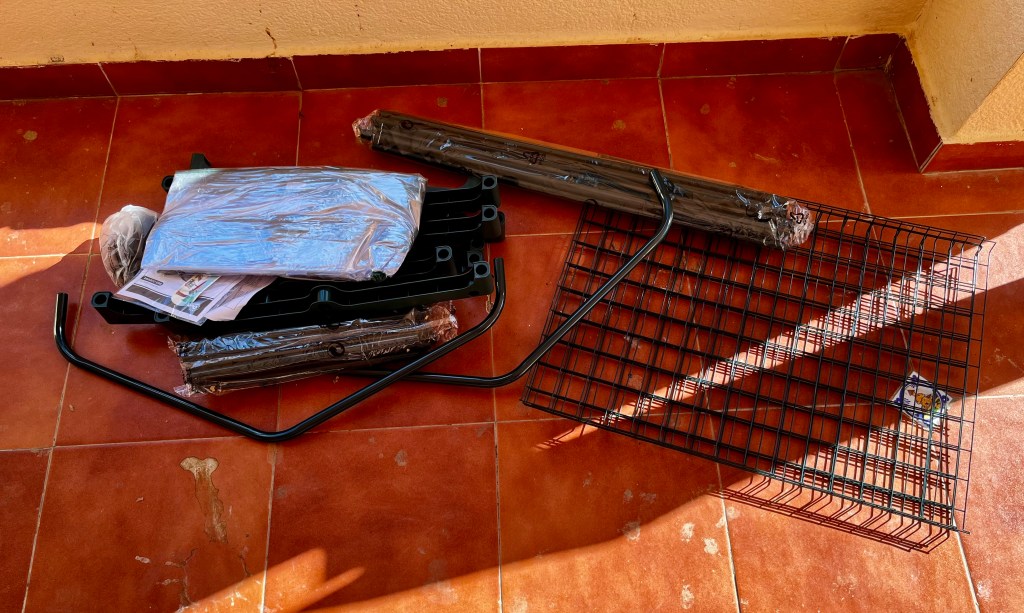
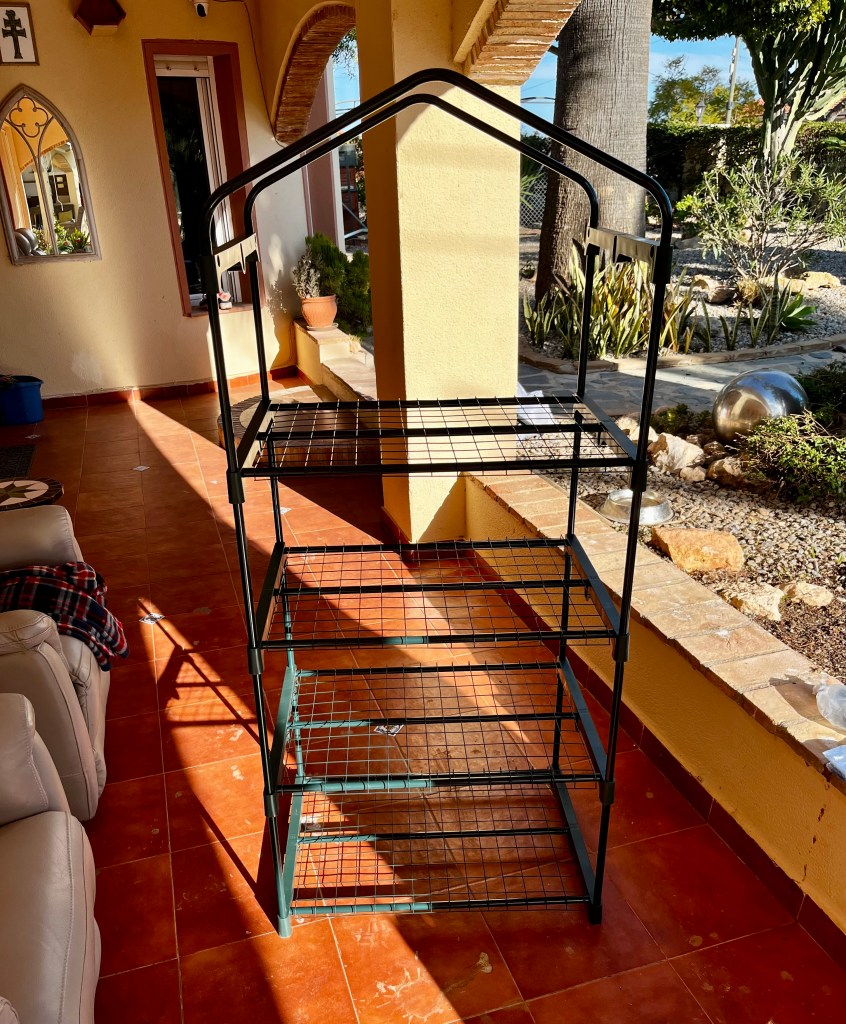
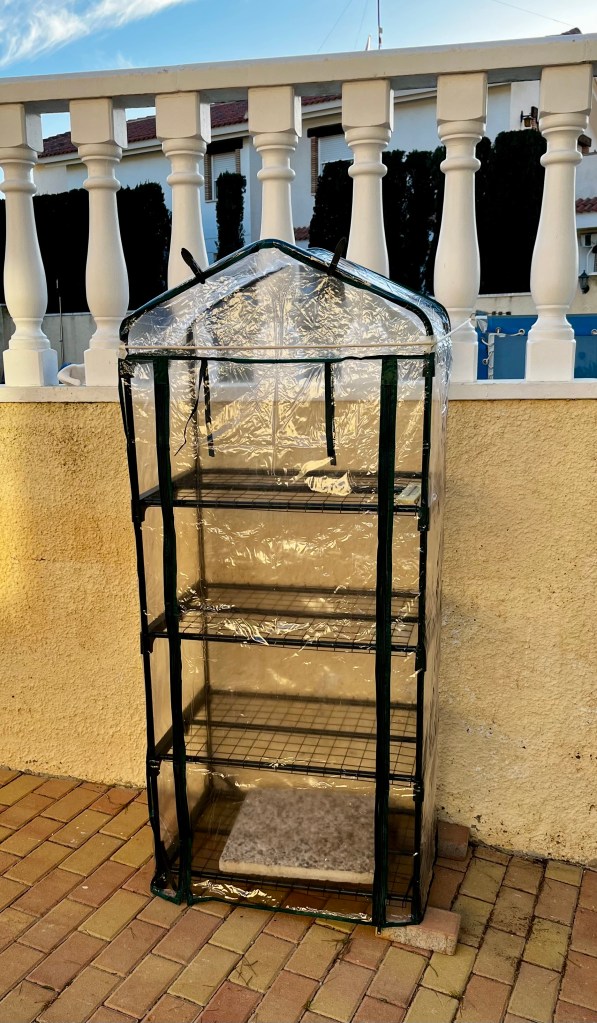
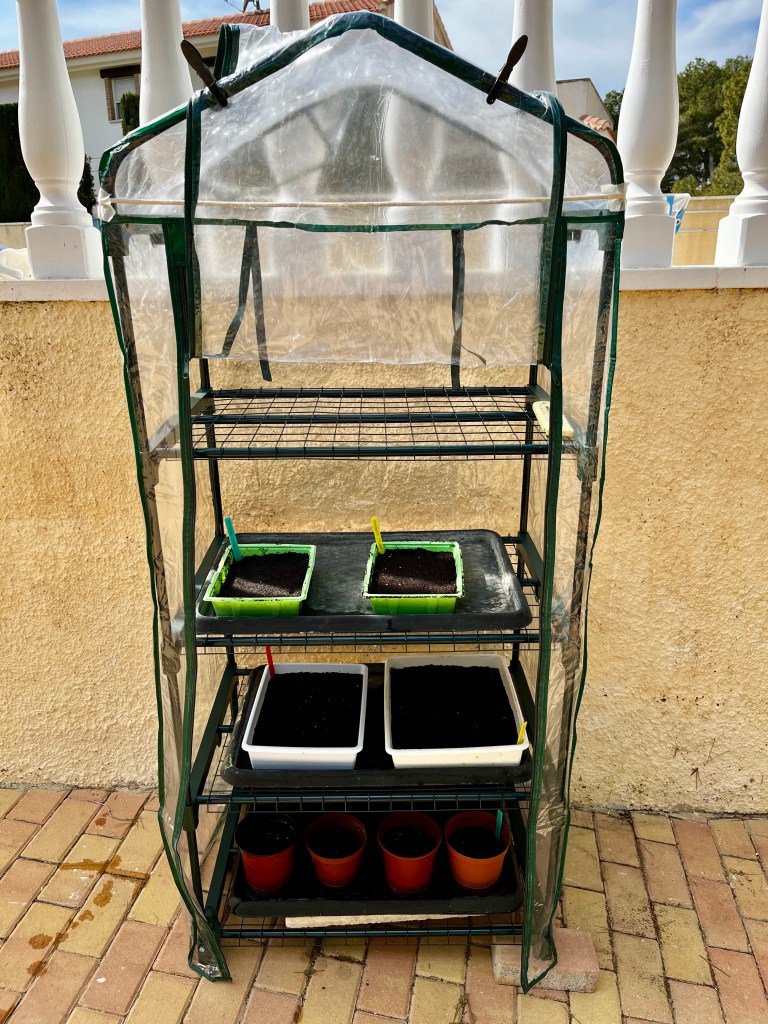
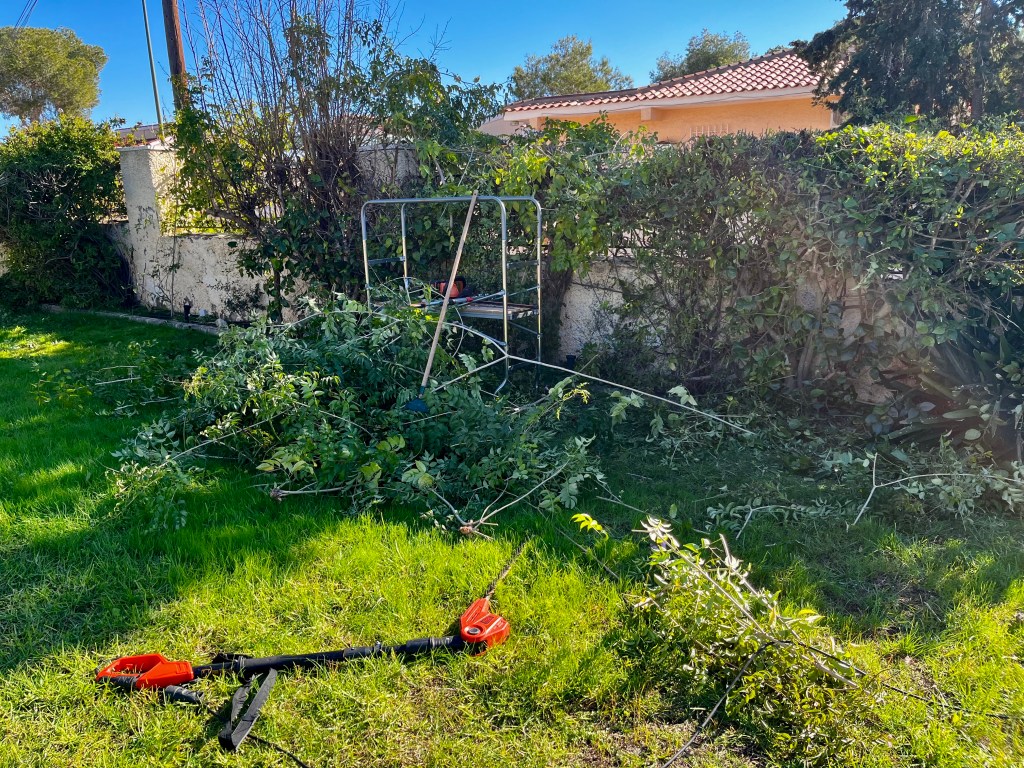
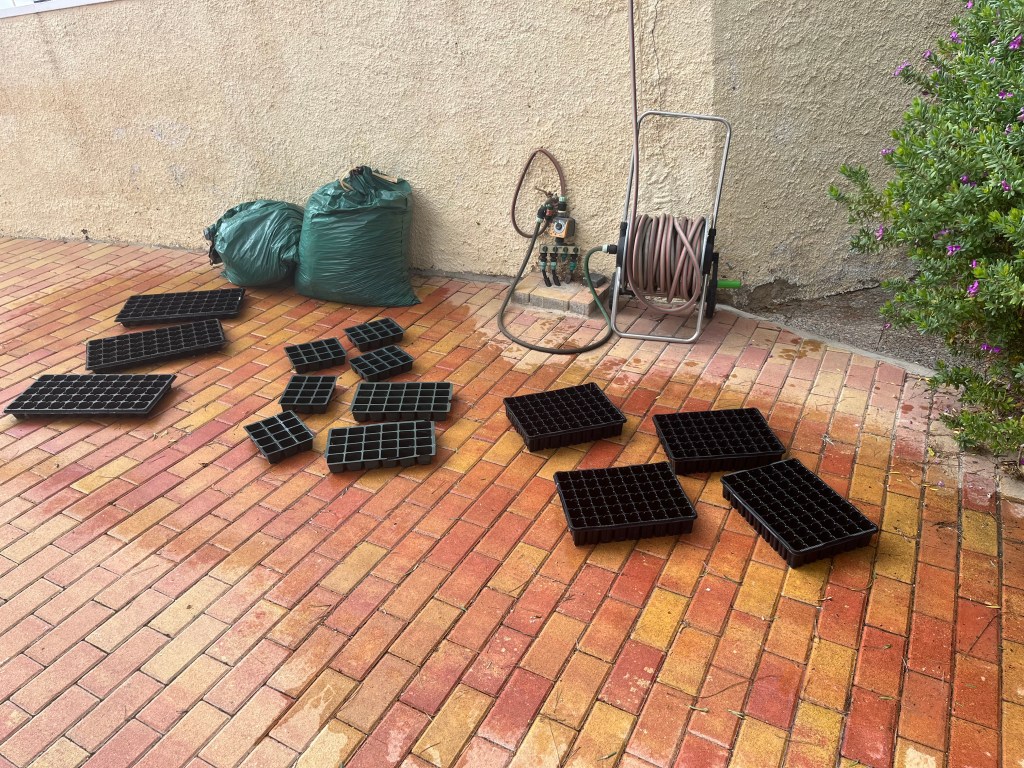
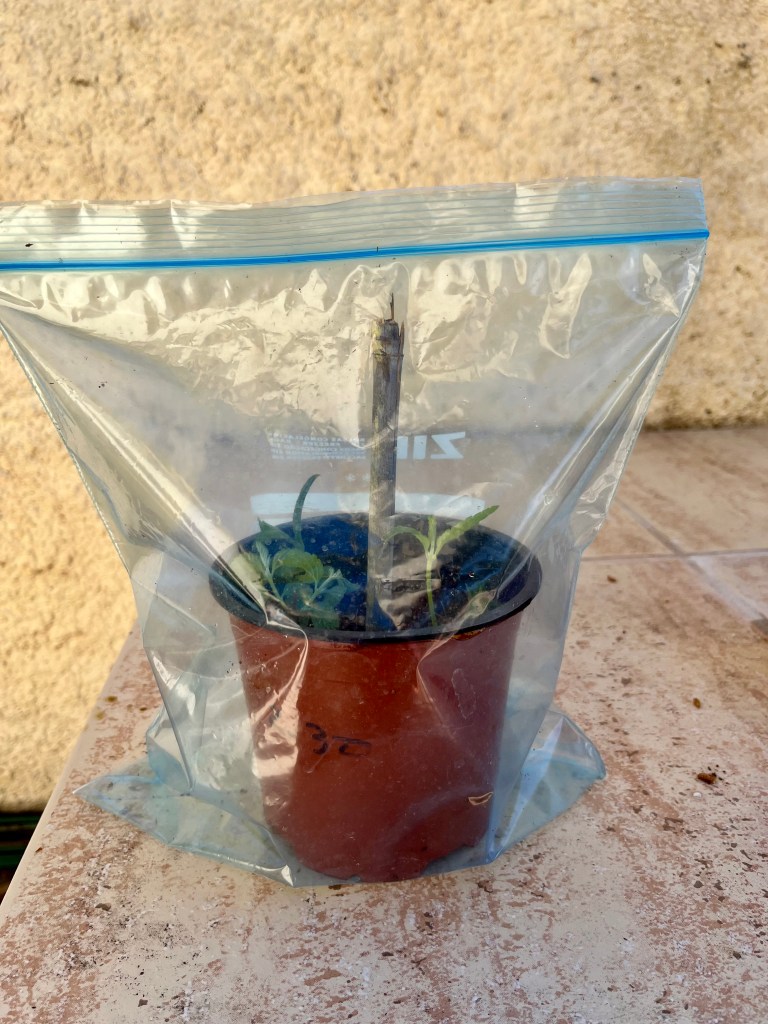
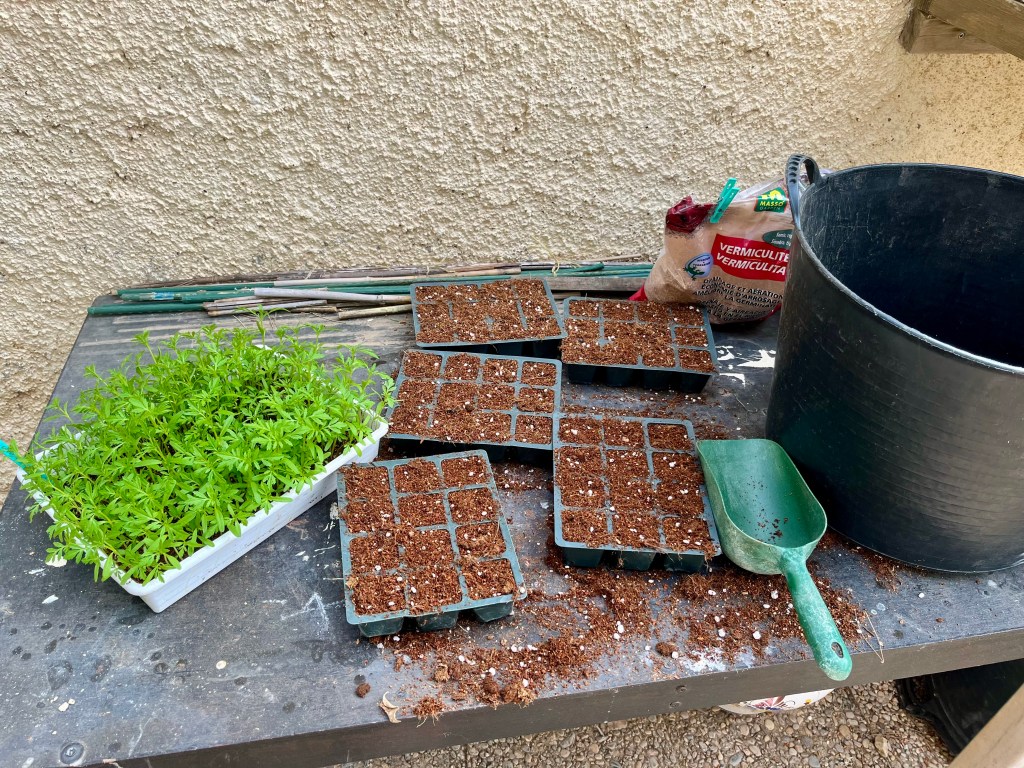
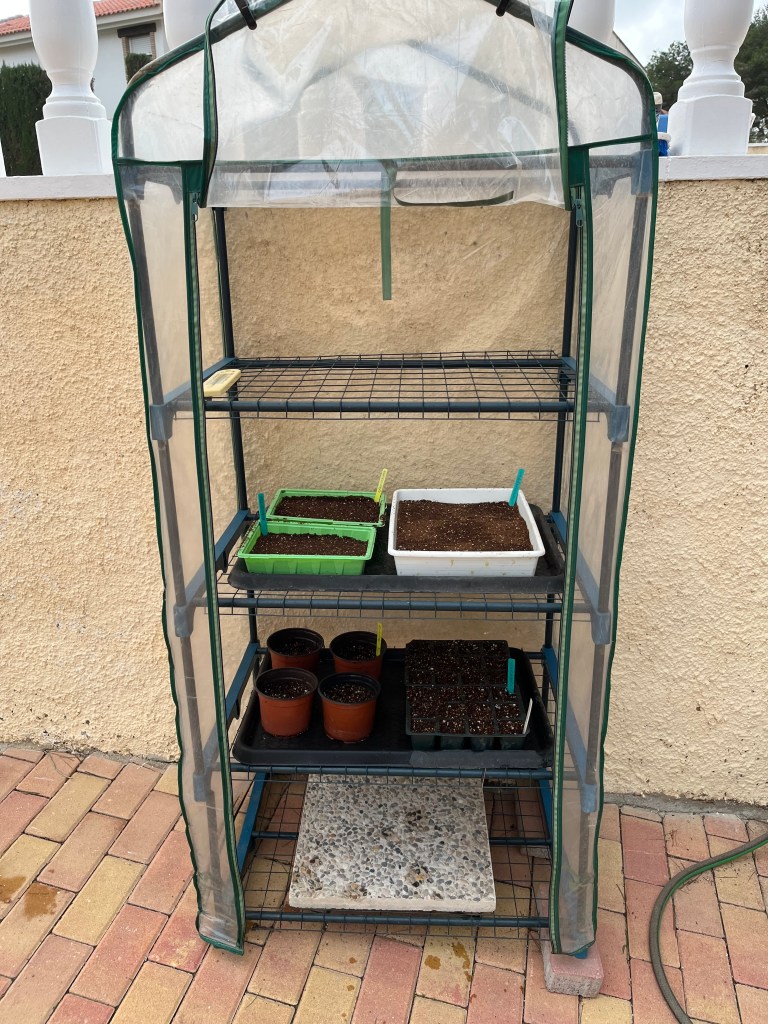
Planting annual seeds. Don’t rush out and buy lots of plants from garden centres. Instead grow your own from seed. It is easy and very cost effective. If you haven’t got nice warm window ledges in your home, then buy a cheap little plastic greenhouse either on line or from Leroy Merlin. You will only need a little greenhouse for a month or two but it gives you a lovely start to Spring. The photos below show my little greenhouse being assembled. I need a new one every 2-3 years as the sun perishes the plastic.
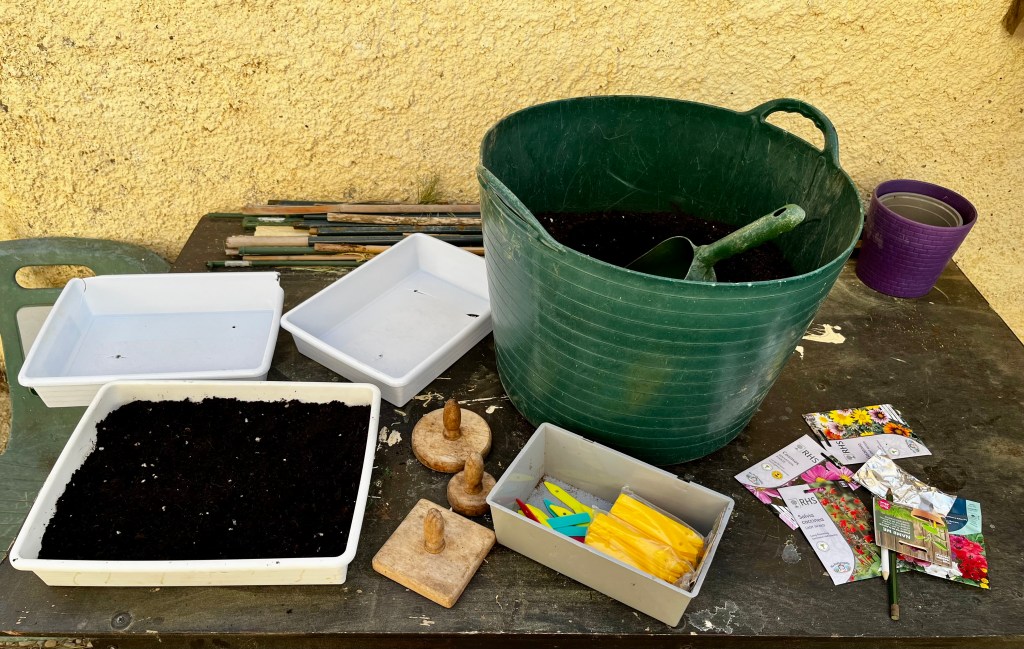
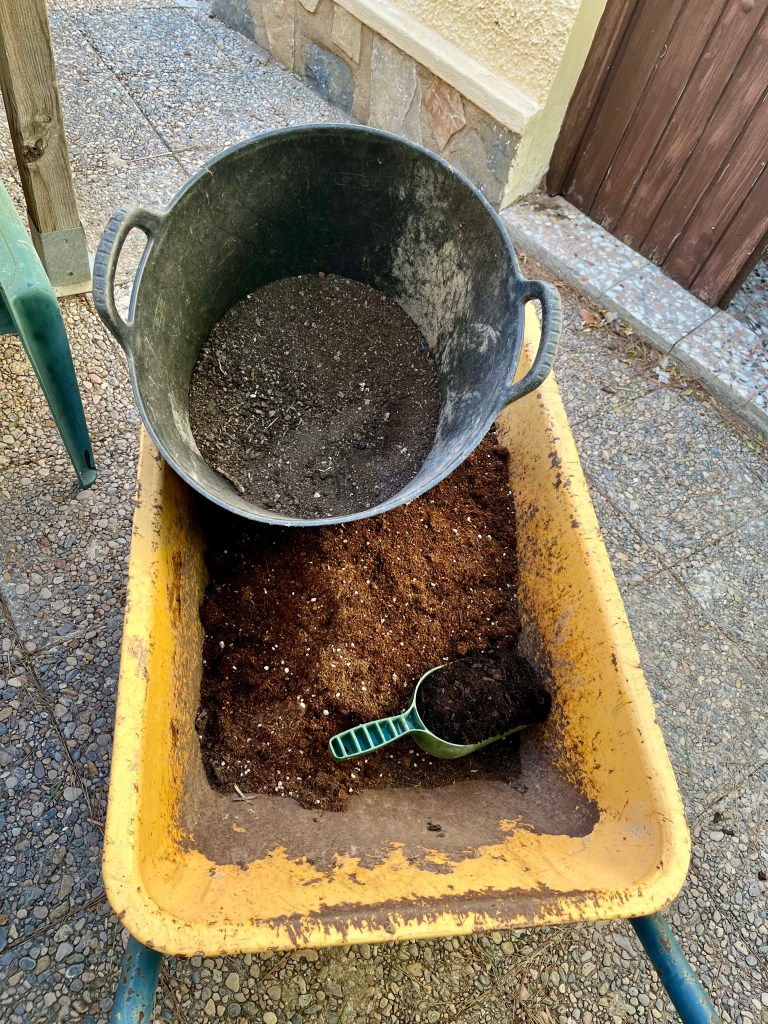
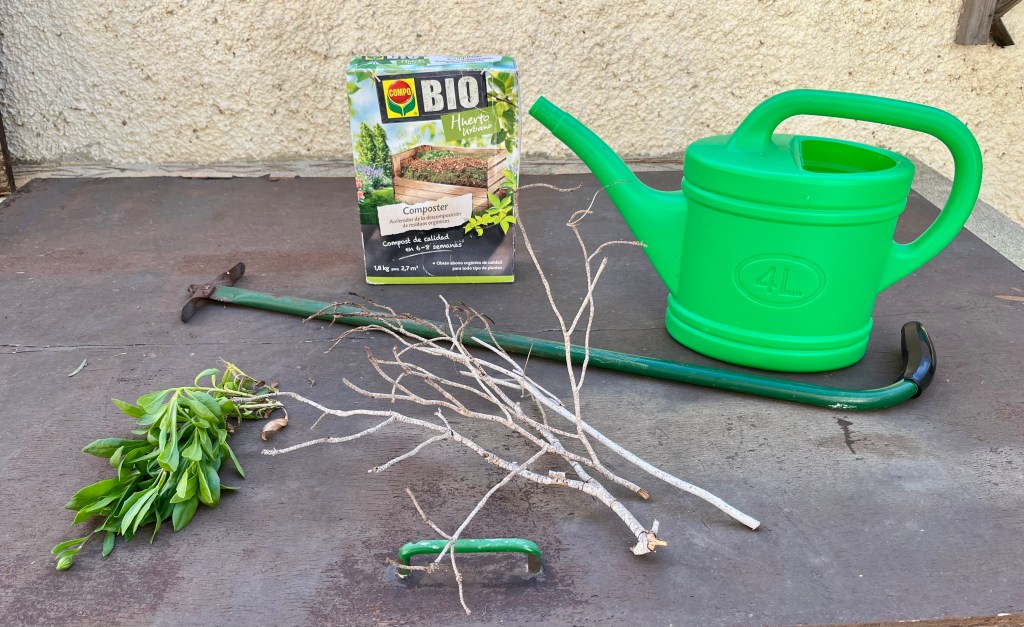
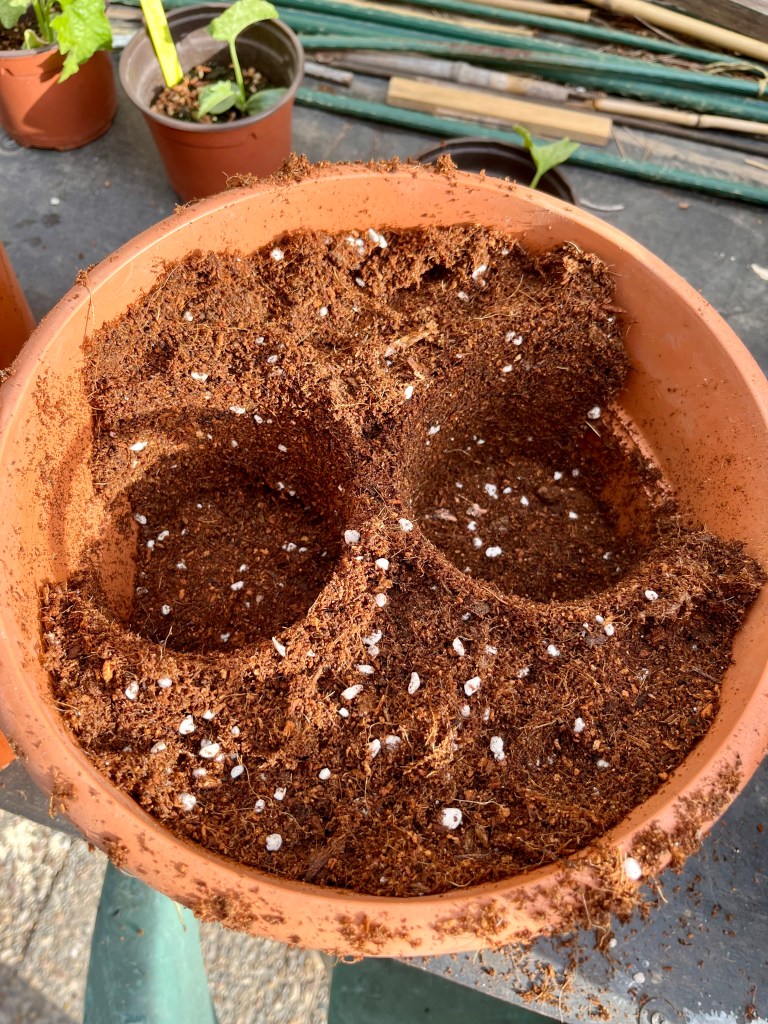
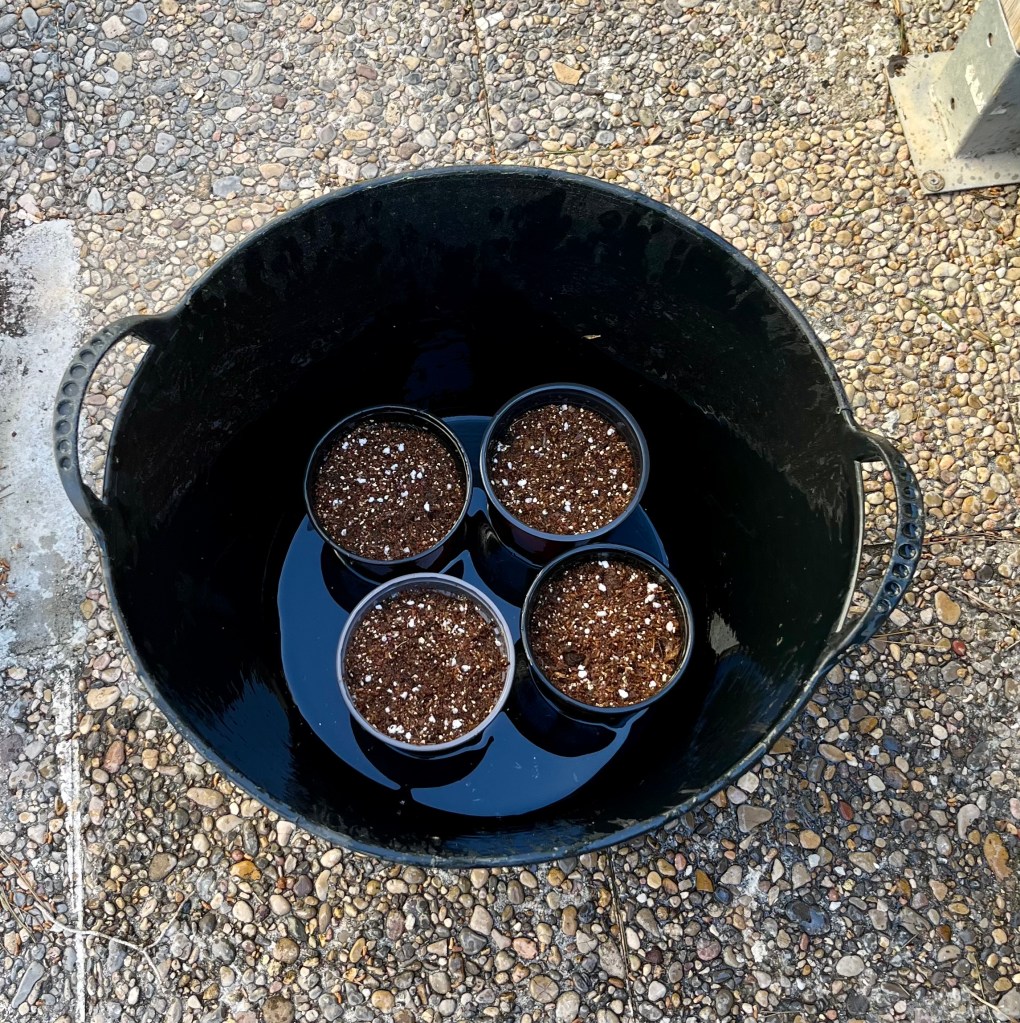
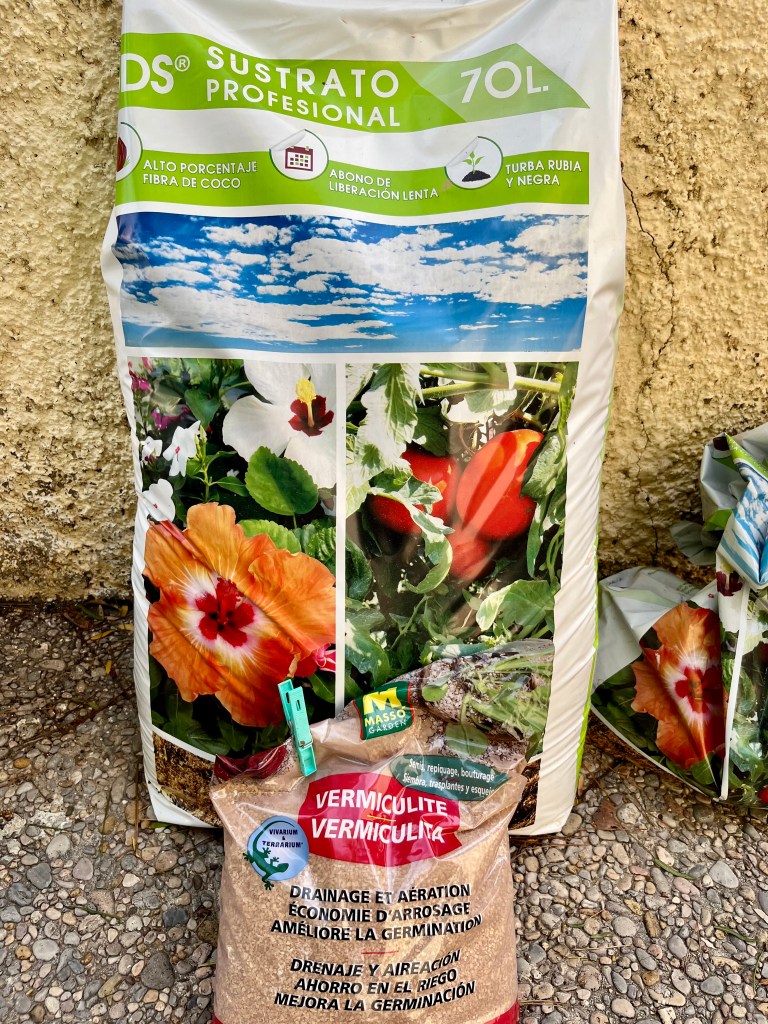
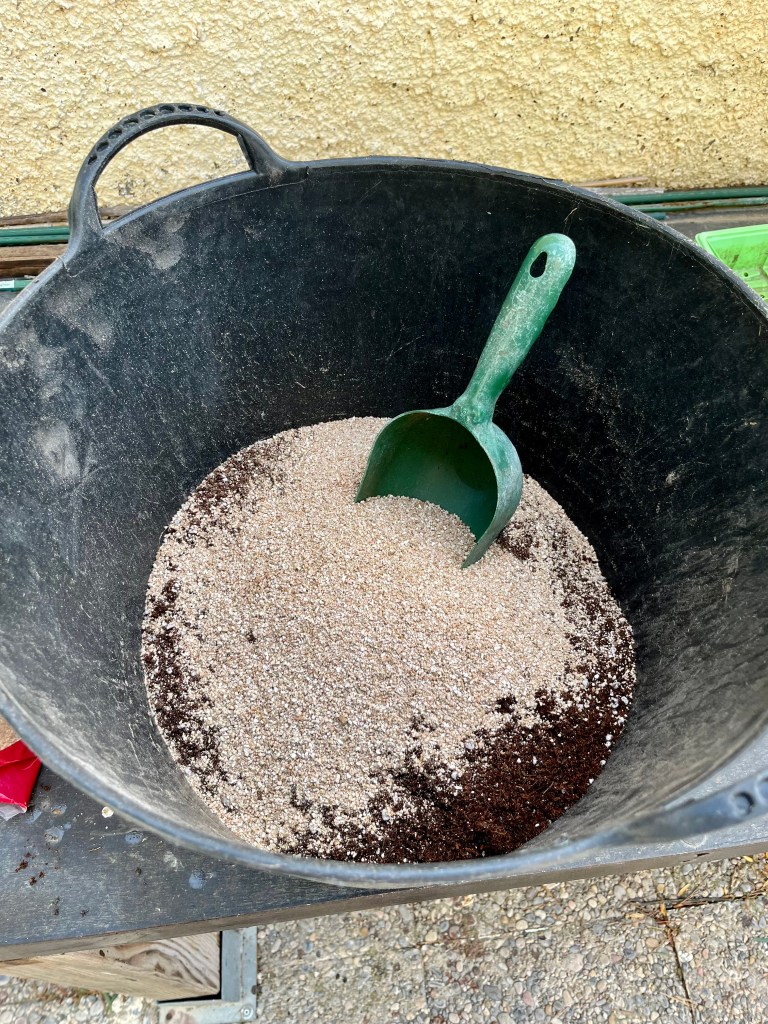
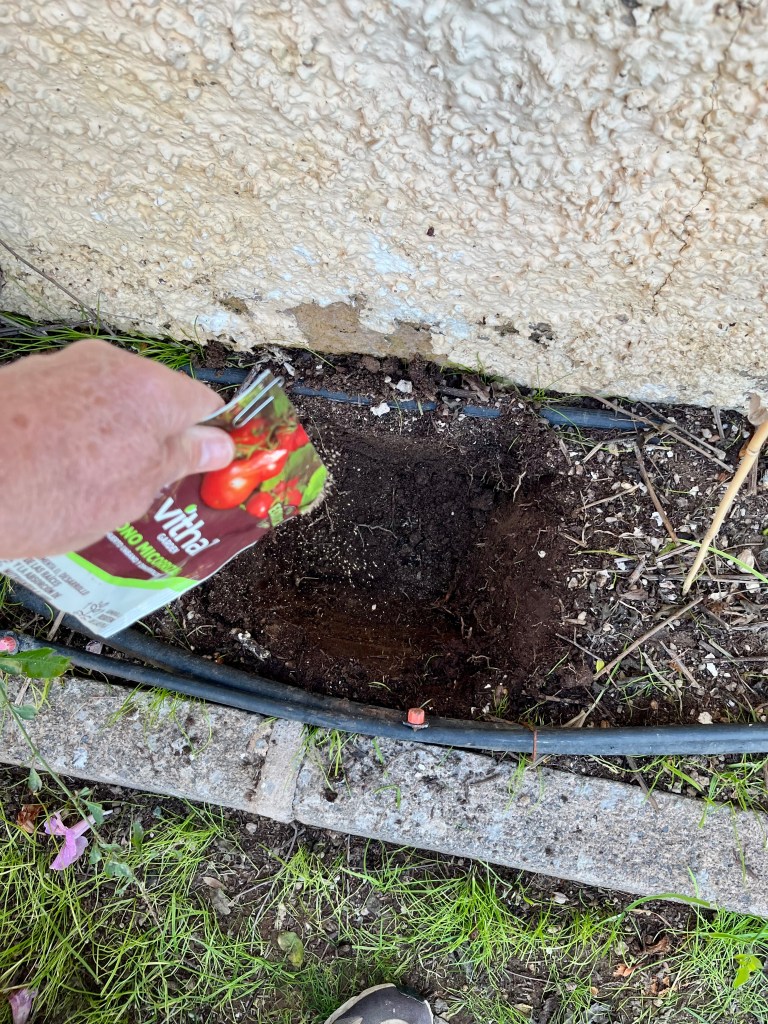
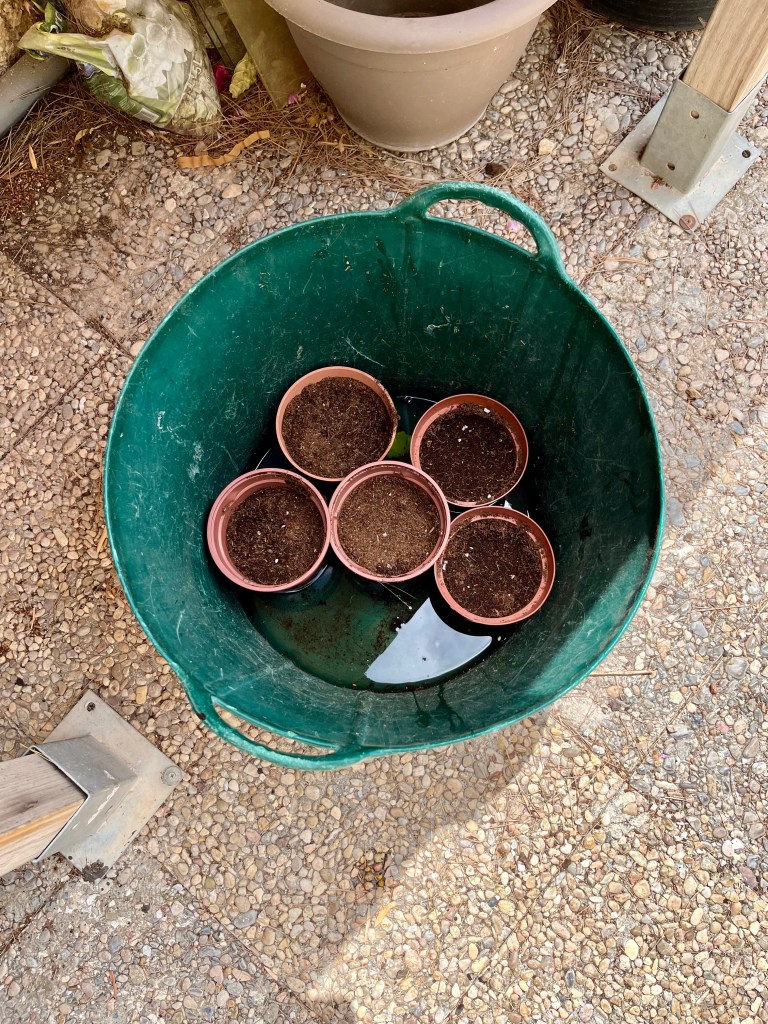
Once you have your little greenhouse then mix up or buy a suitable seed compost. You need a free draining fine compost for the little seed roots to work through. I mix some of my own compost, together with a premium bought compost and then add Vermiculite for drainage. You can see the result below.
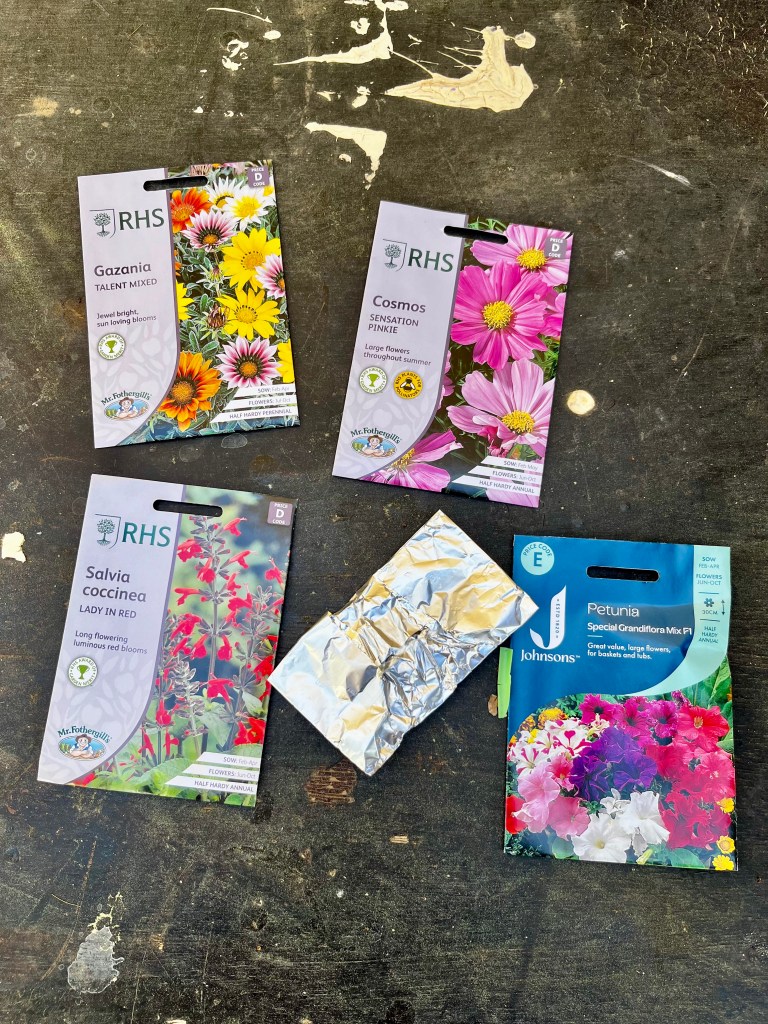
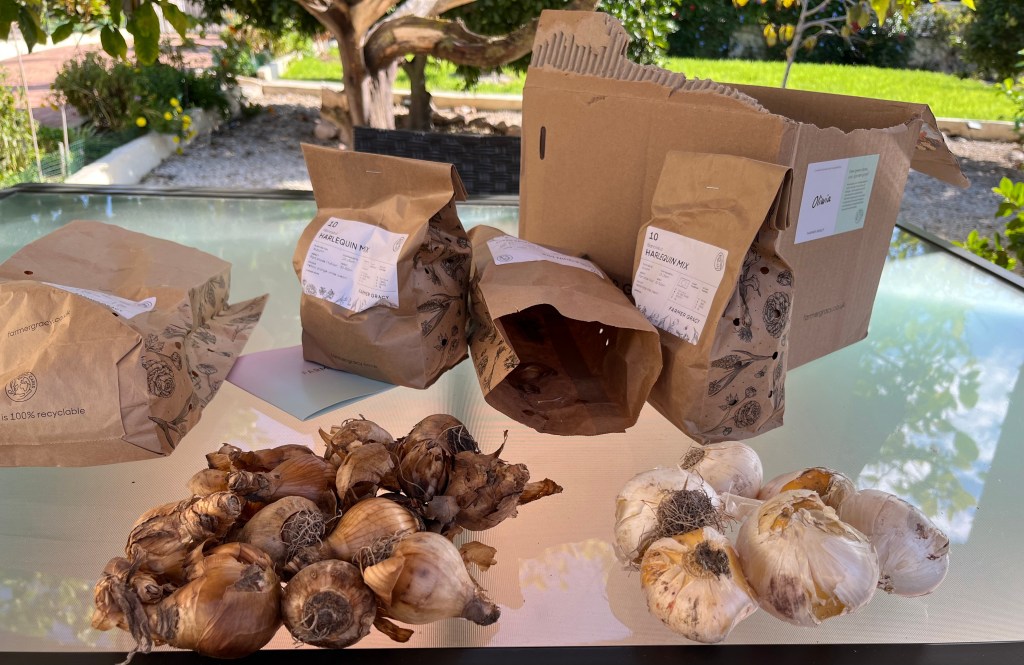
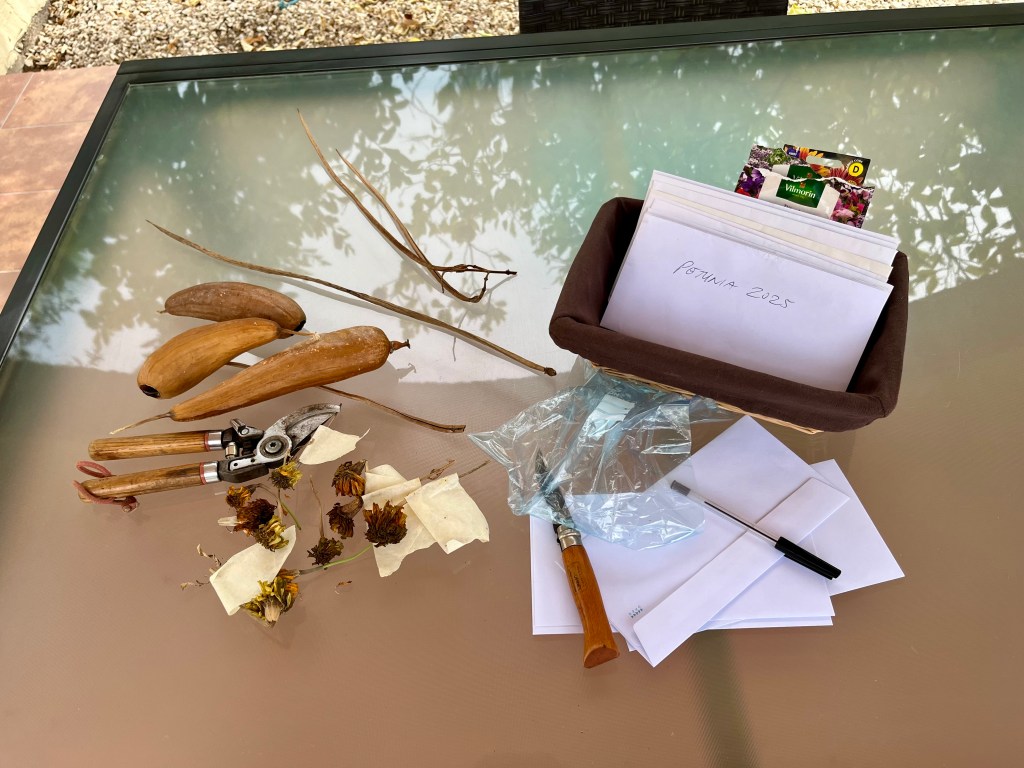
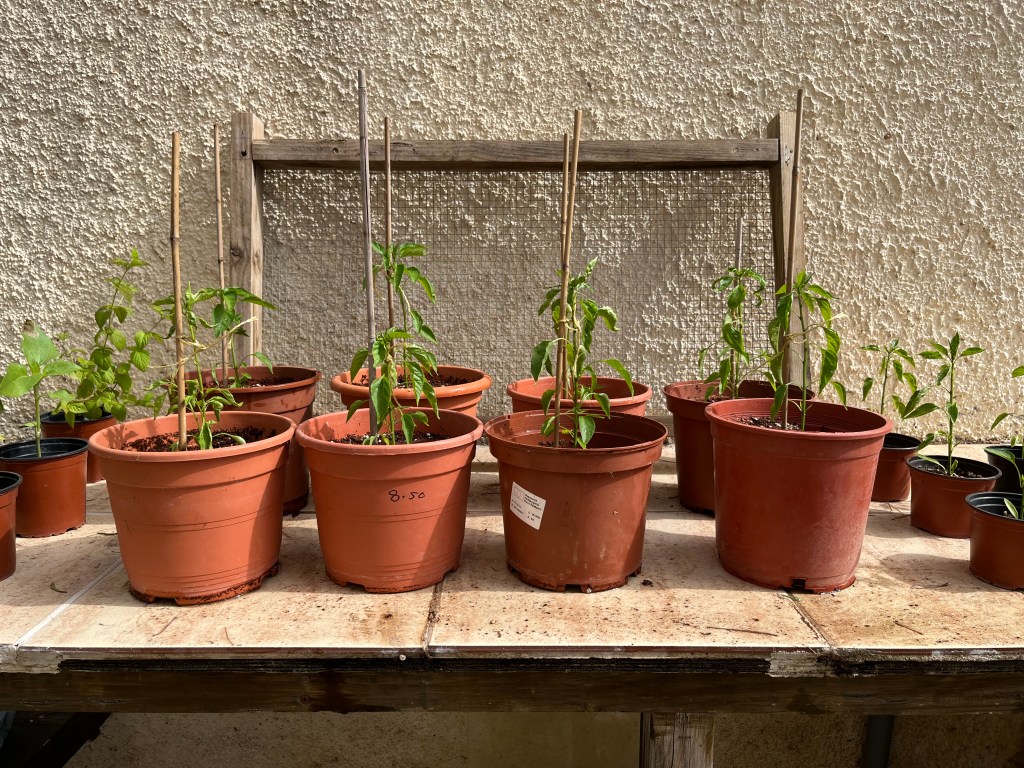
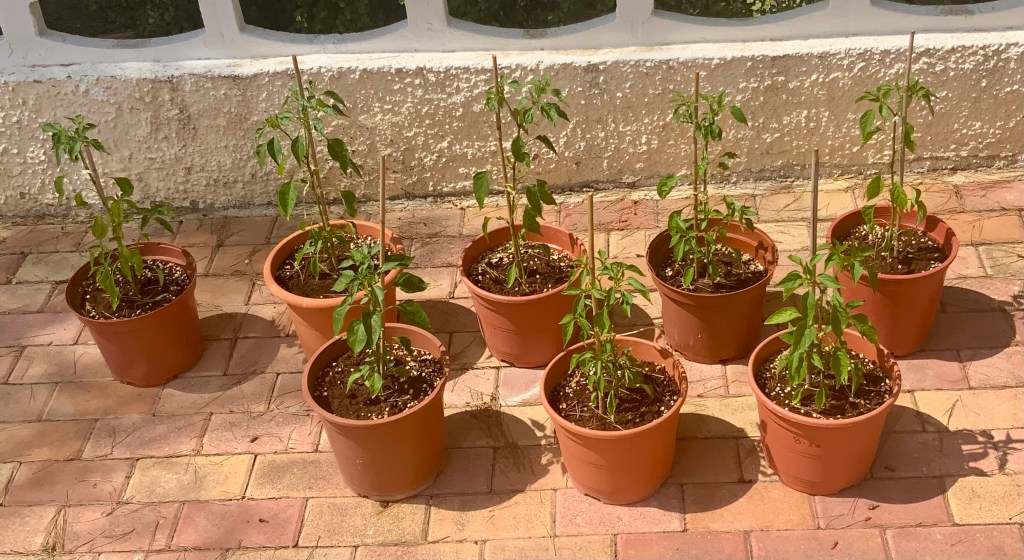
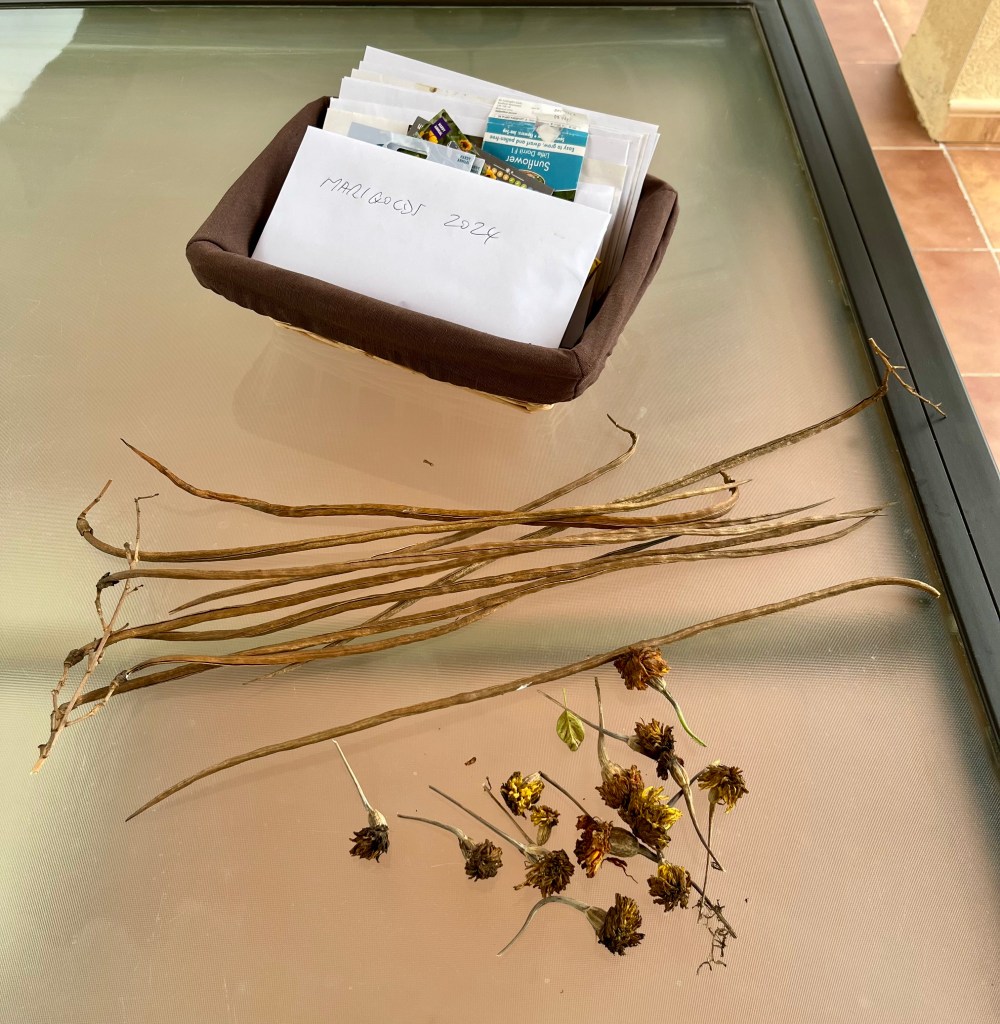
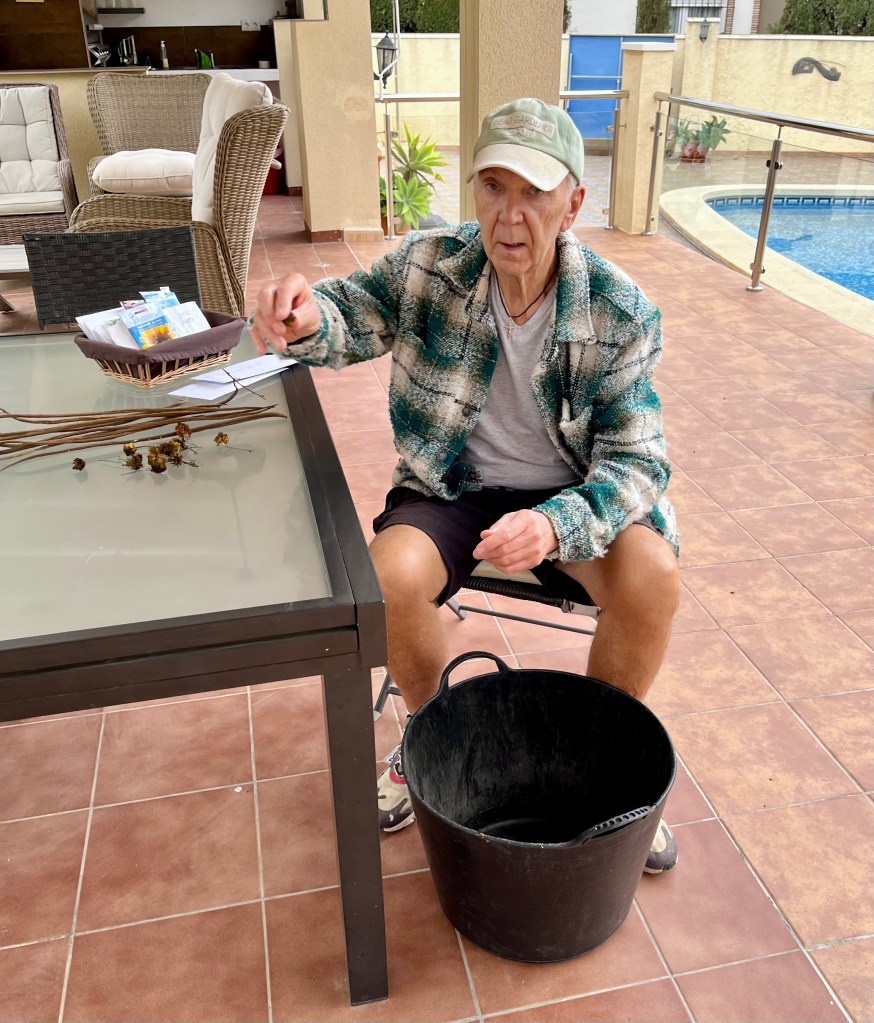
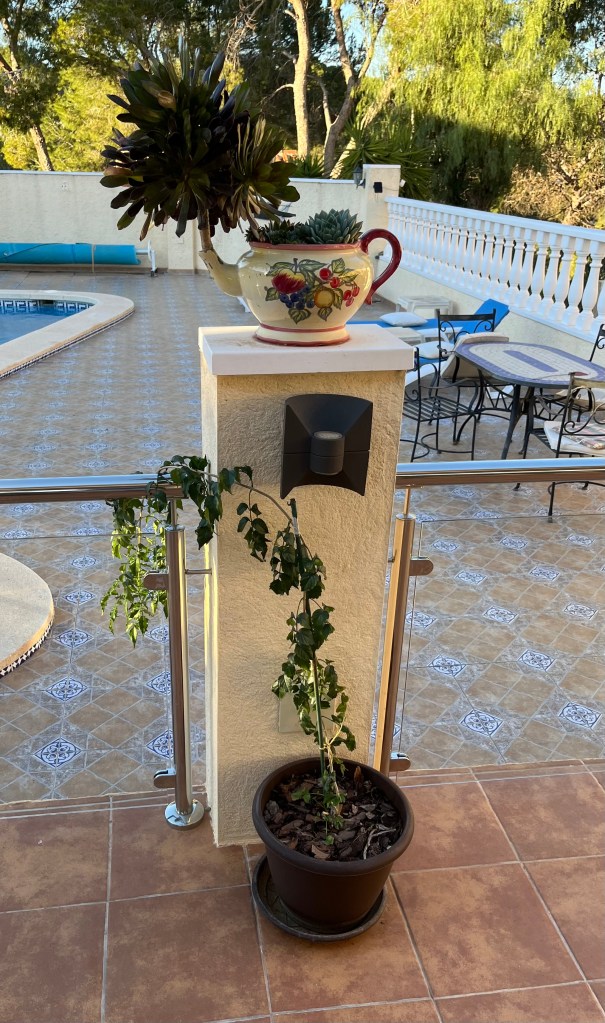
Once you have your compost ready then it is time to get your seeds out. I usually save seeds and these form the majority of my planting. But this year I am changing the main flowers in my borders to a mixture of Gazania, Cosmos, Salvia and Petunia. It is important to change every 5 or so years as continually planting the same can lead to virus building up in the soil. The photos below show shows the new choice.
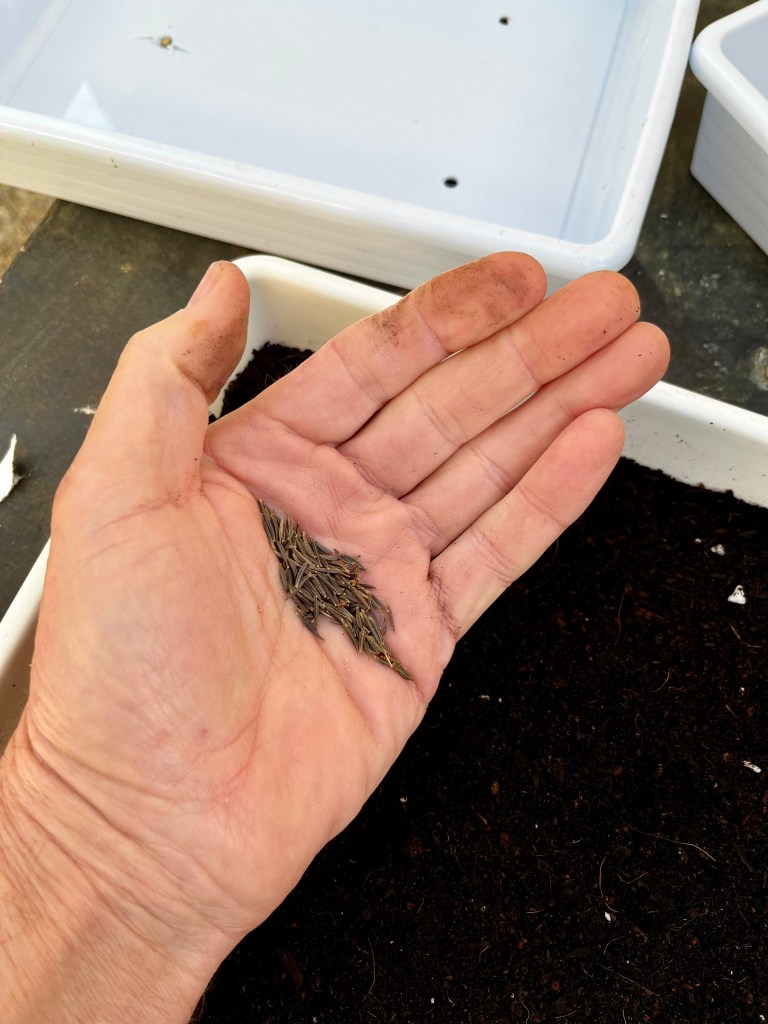
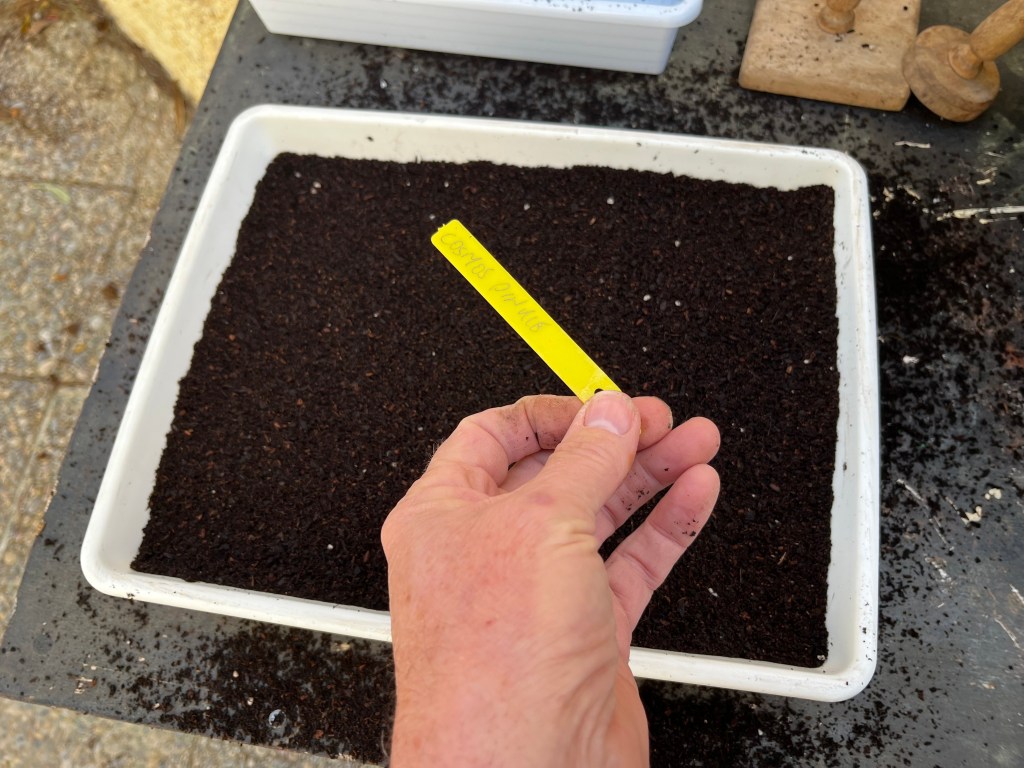
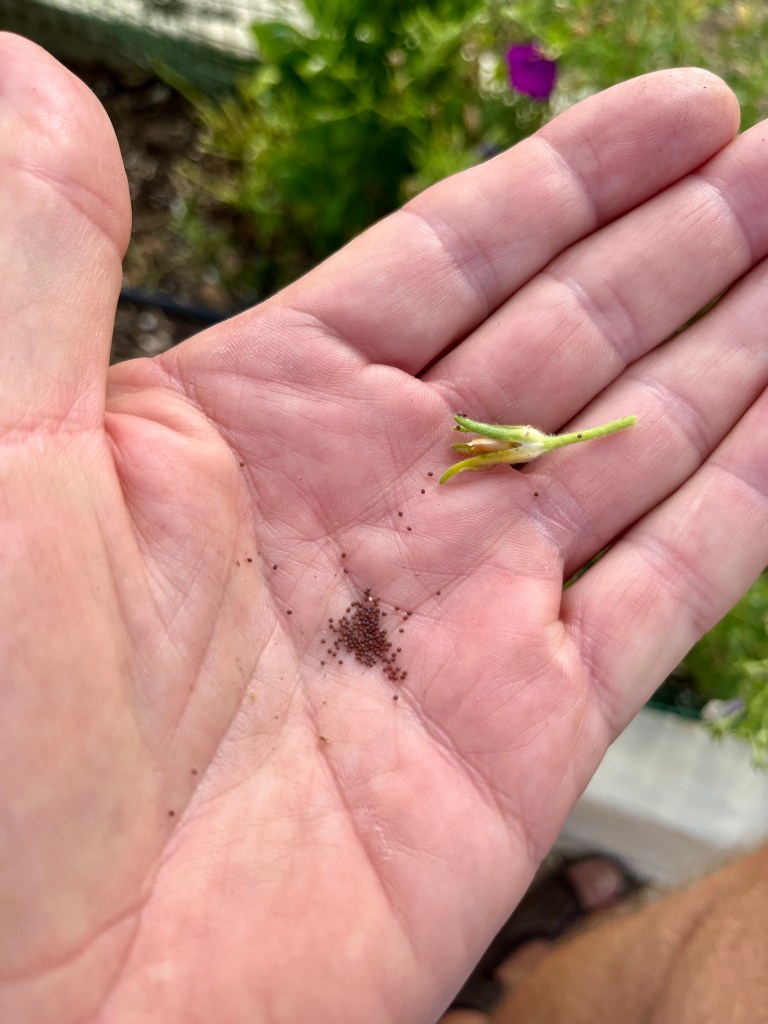
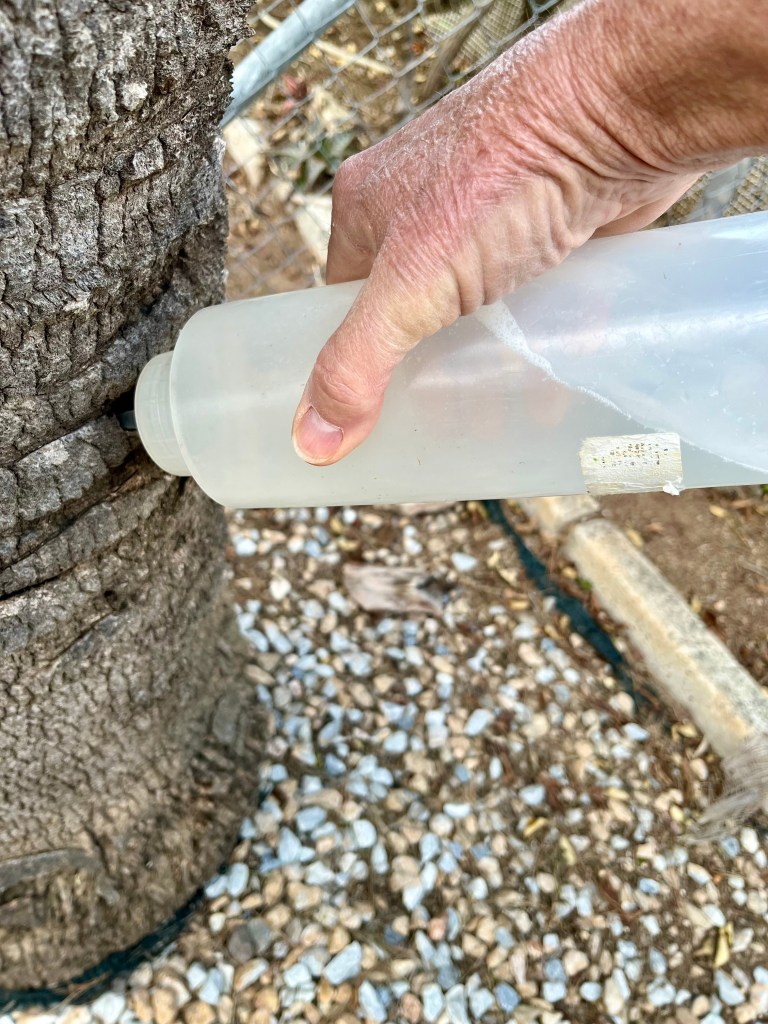
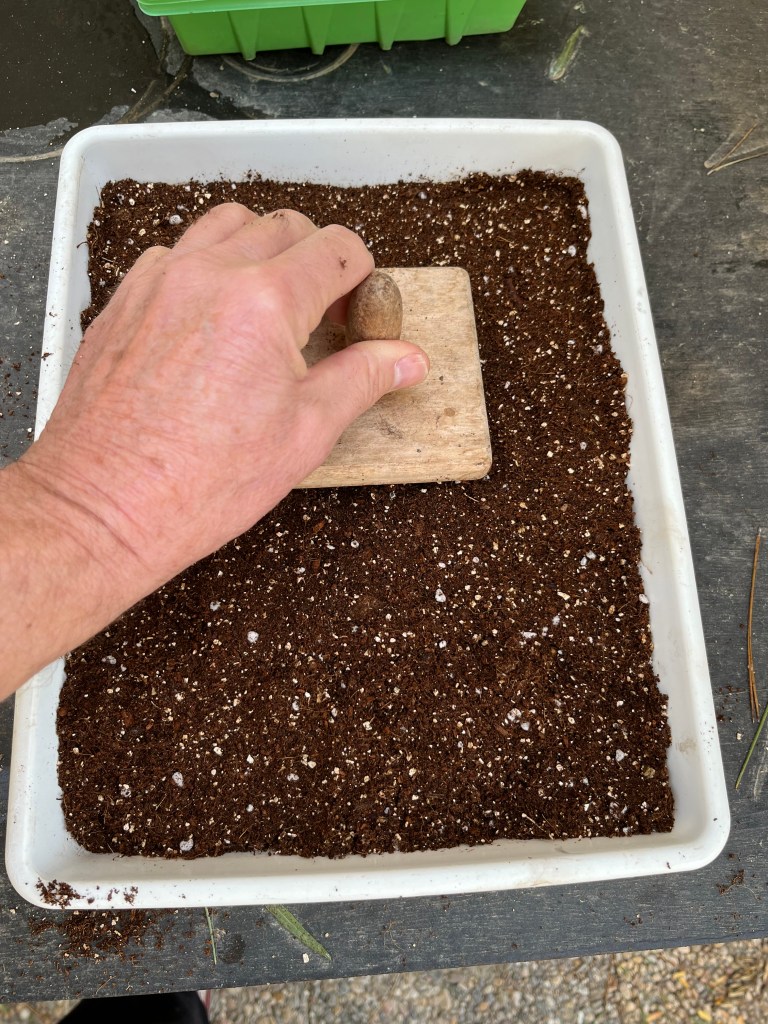
Finally, on seeds, sow them thinly and make sure you label them as you will surely forget what you have planted in each seed tray. When sowing them thinly, the simplest and most effective way that I have found is to pour the seeds into the palm of one hand. Let them form a basic line in the crease of your palm, and then tap gently on the side of your hand with your other hand whilst moving your palm across the surface of the compost. Go ahead try it, it works magnificently.
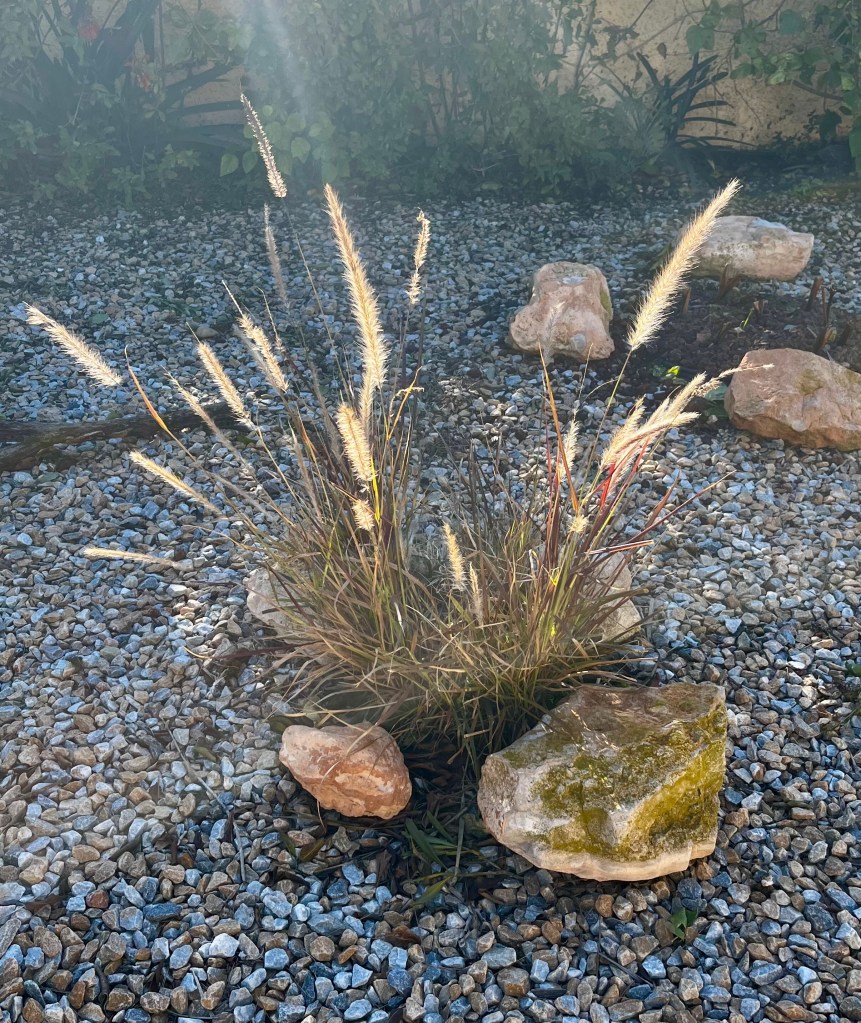
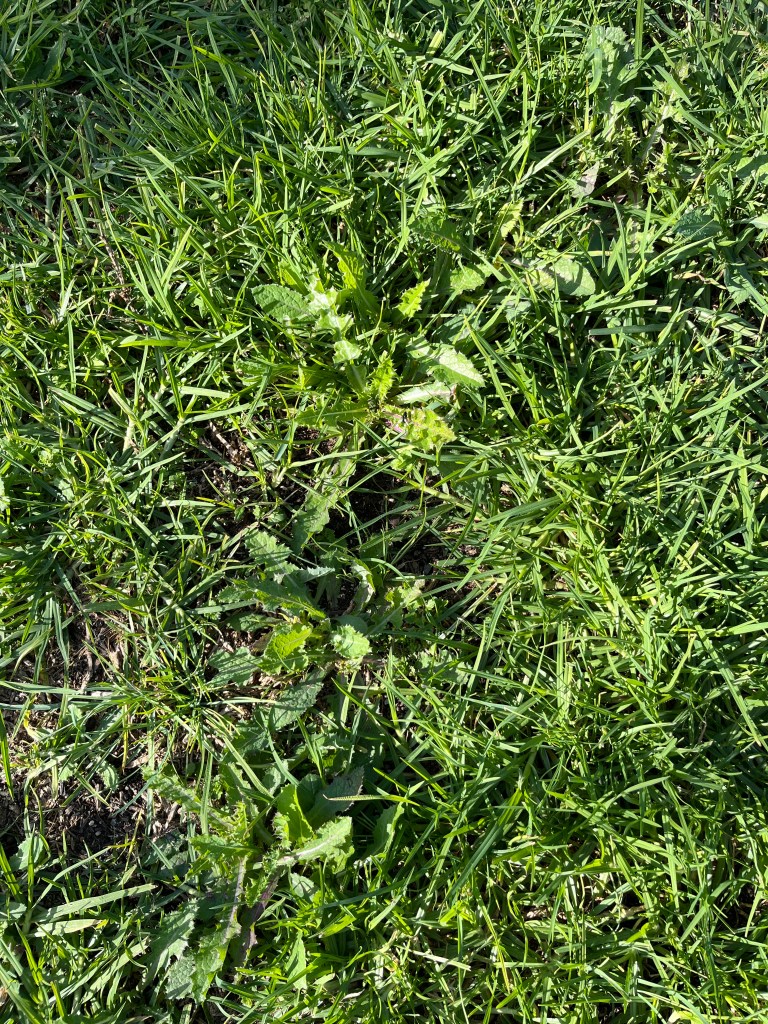
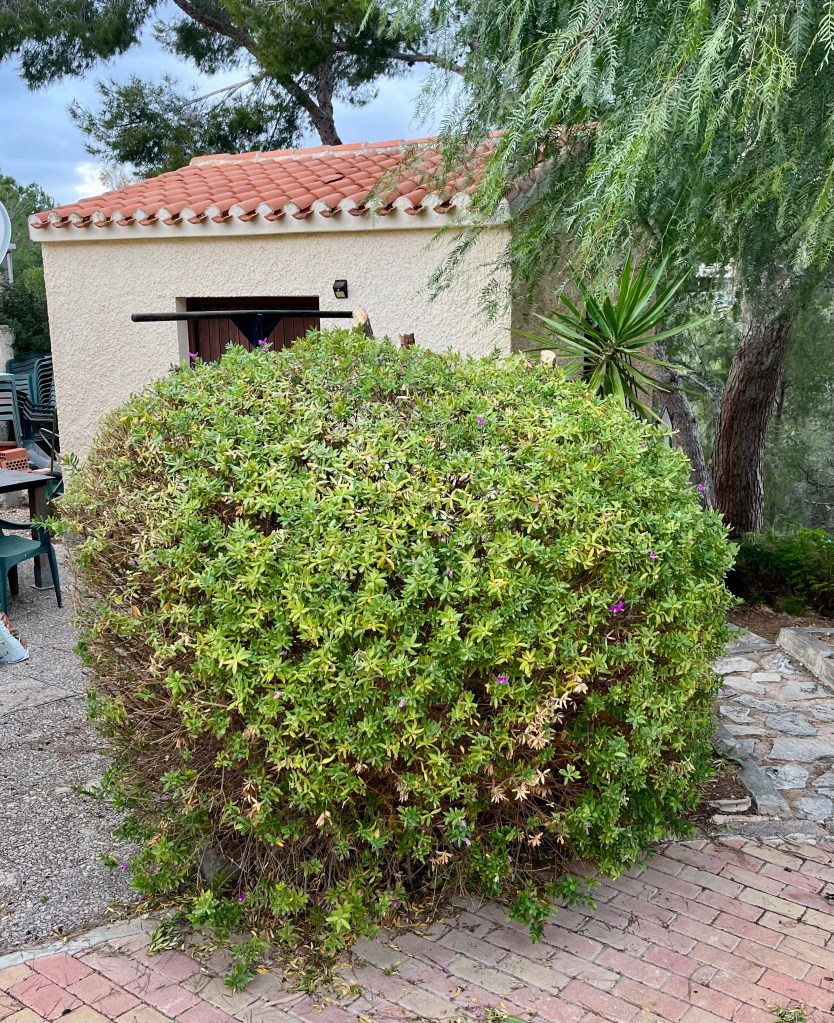
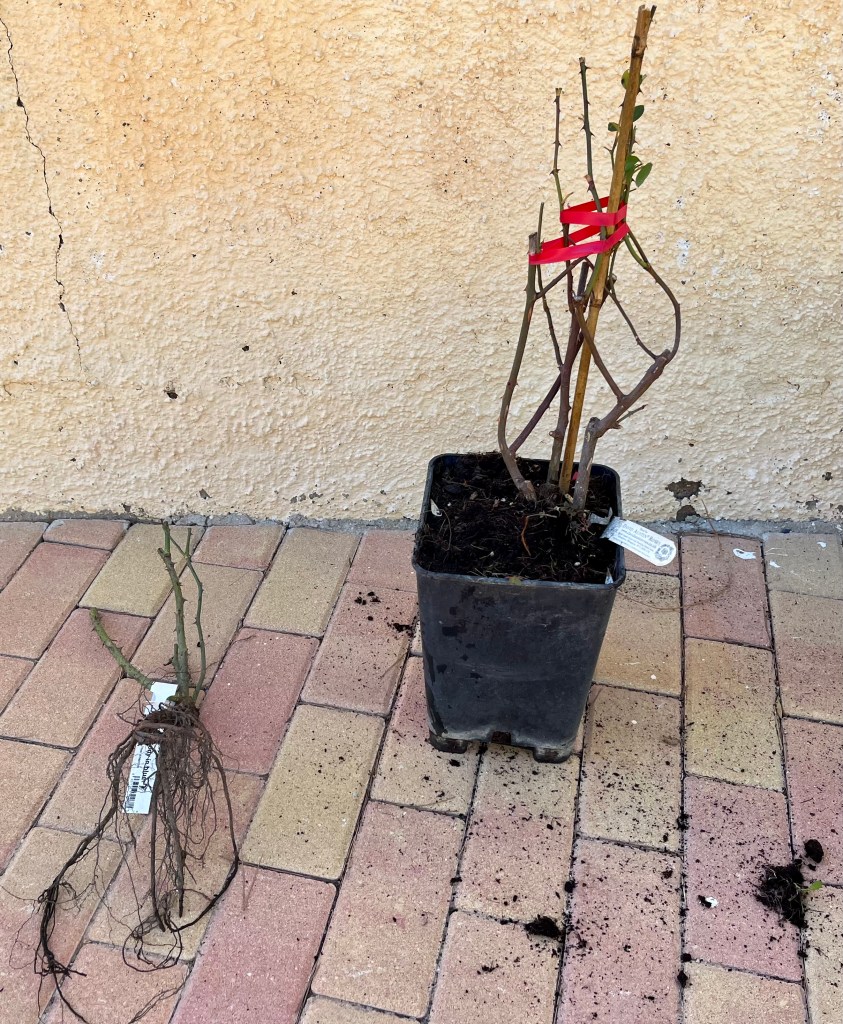
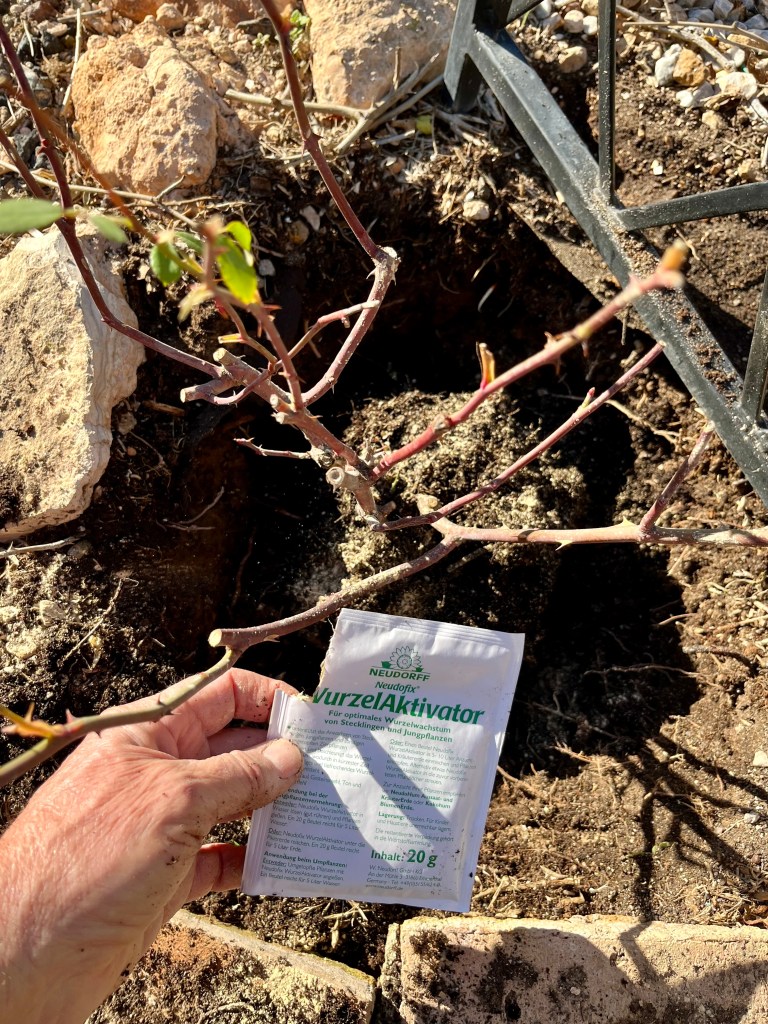
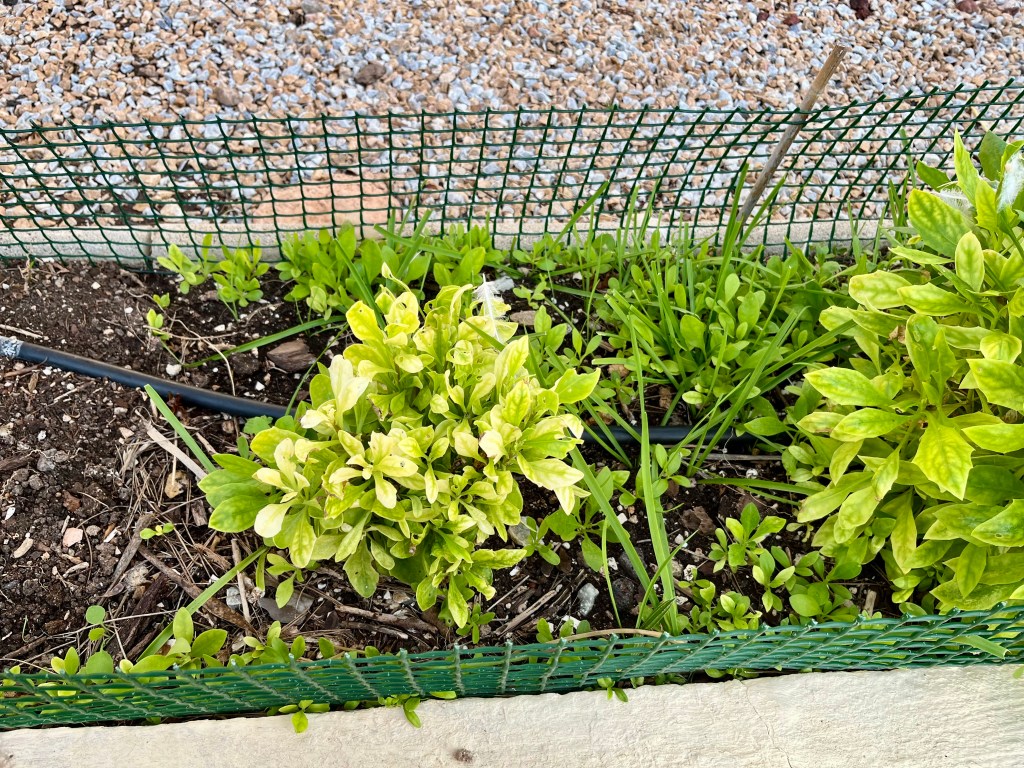
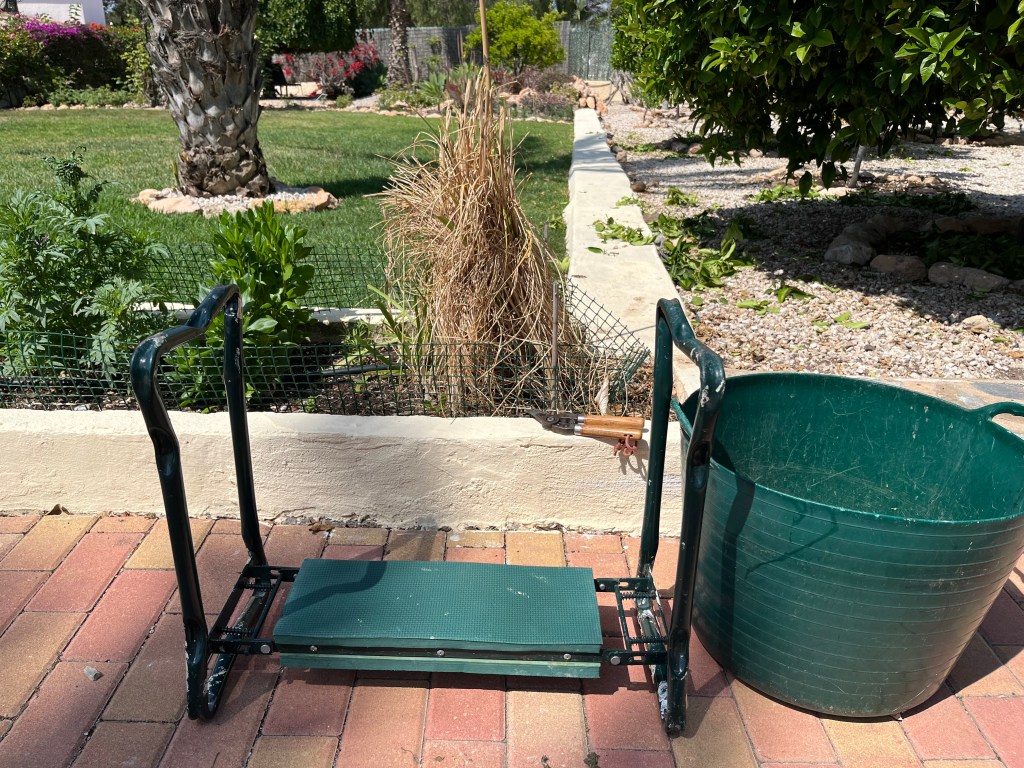
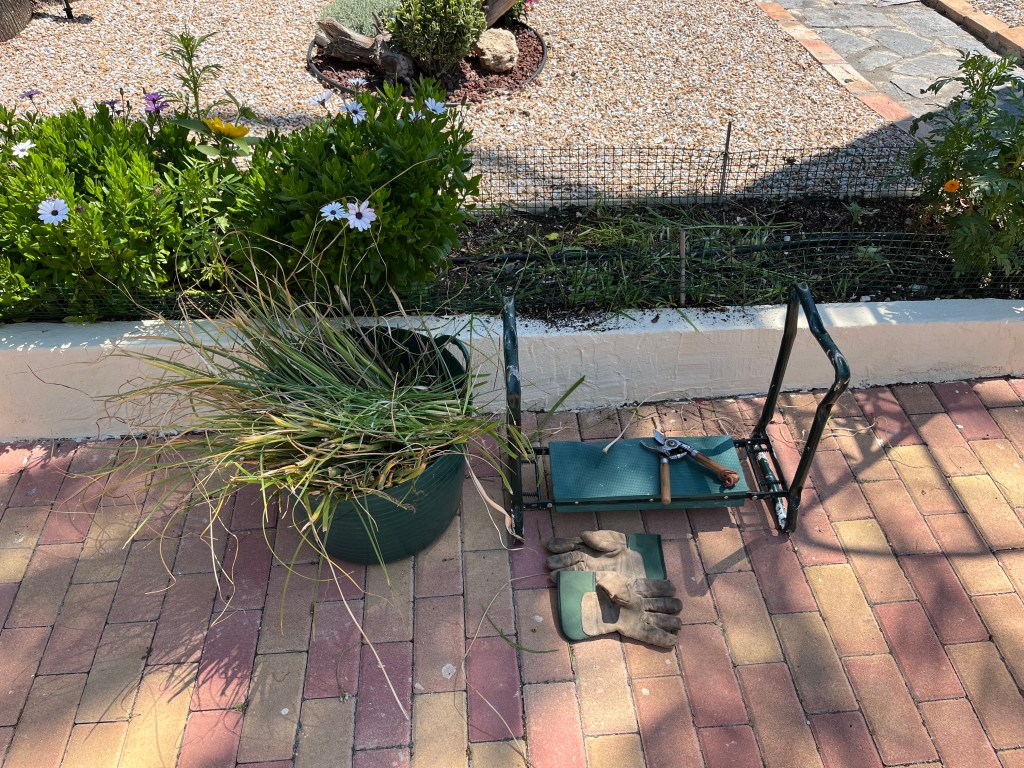
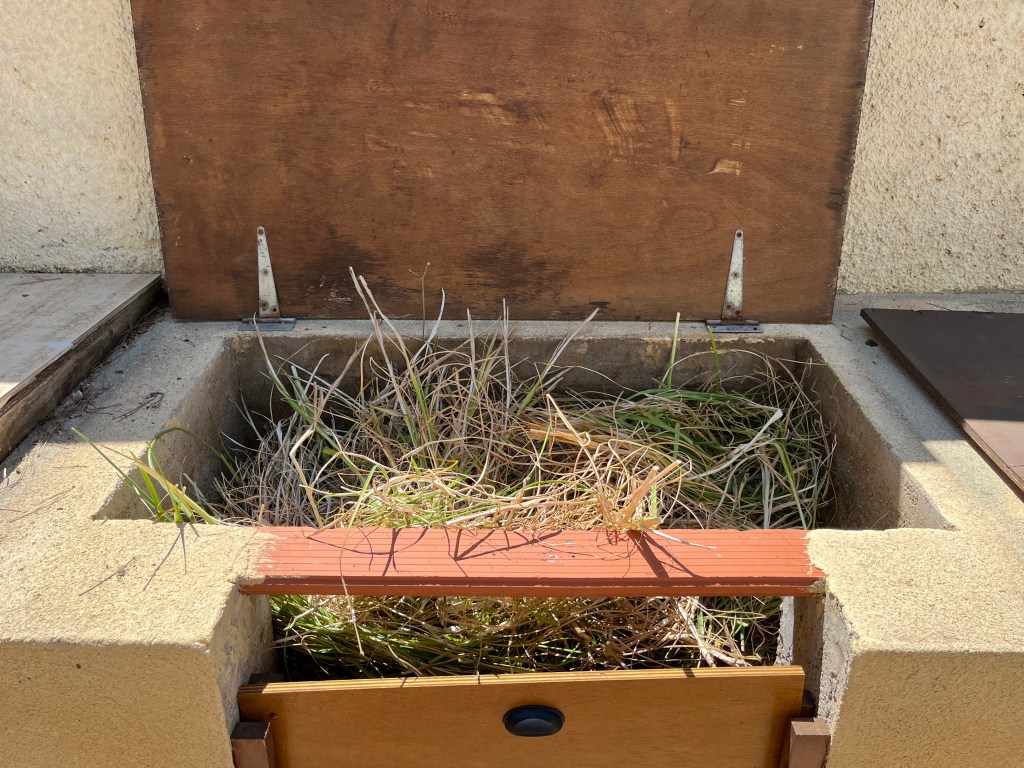
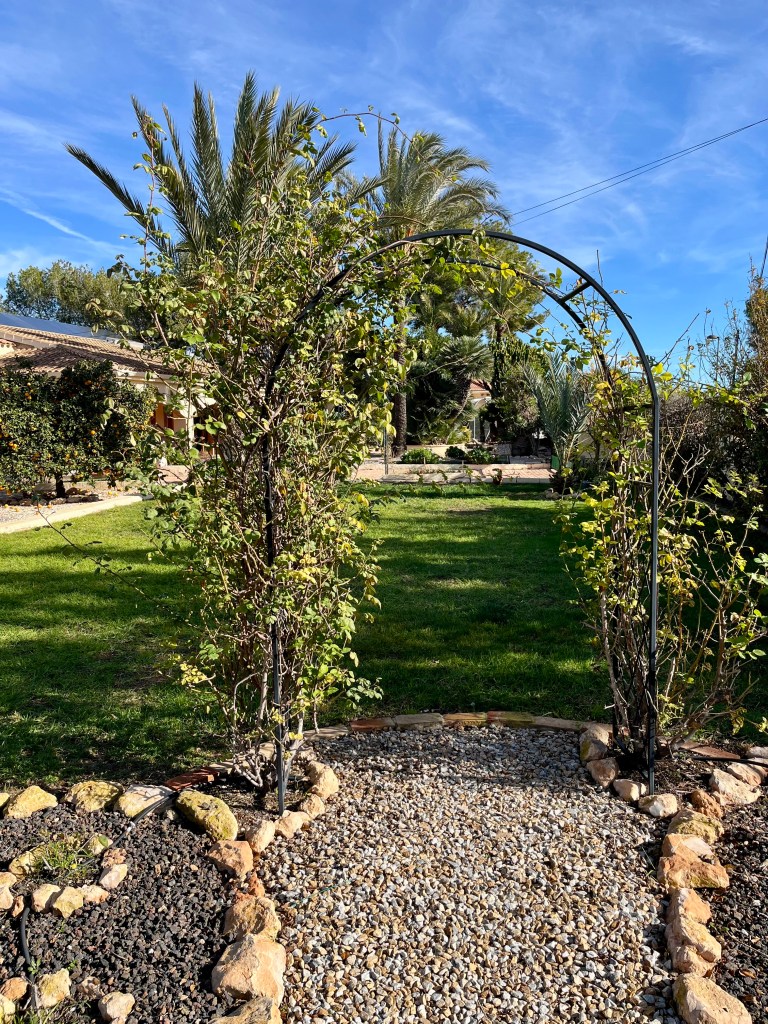
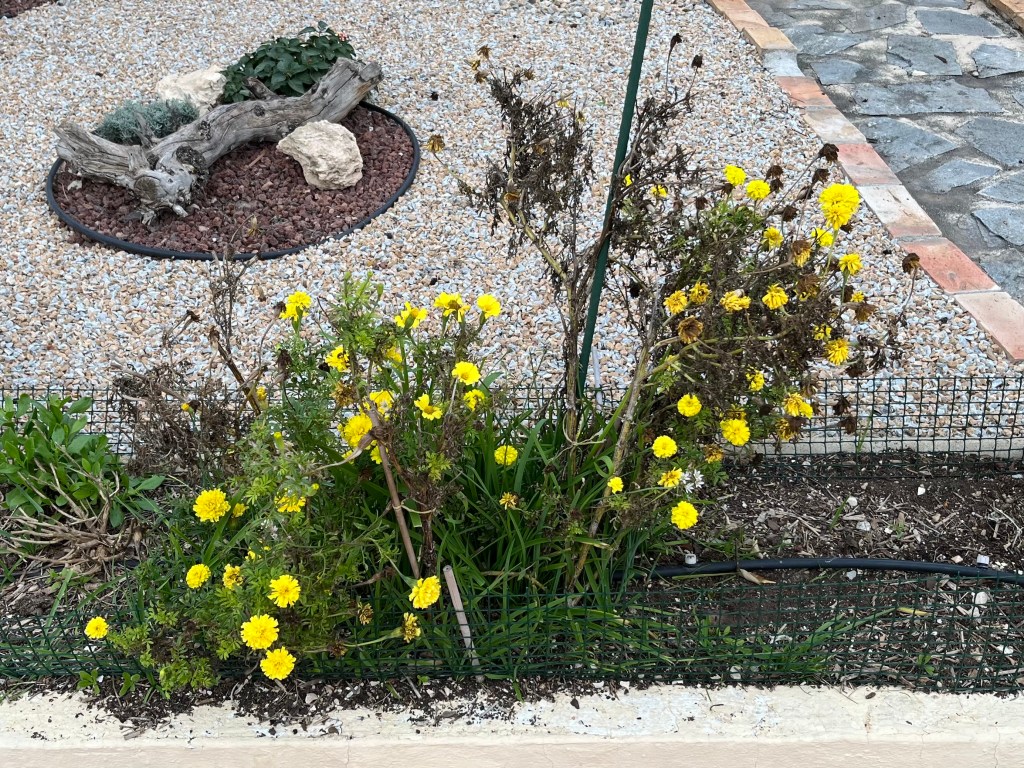
Feeding and mulching roses. Roses are greedy feeders and if you want to get them off to a good start then now is the time for the first feed. To my shame every winter grass grows up beside my roses and I hate it, but just can’t get rid of it. See shameful photo below.
Before I can feed my roses I need to get down on my hand and knees, and over a two day period remove the grass once more. I do it over two days as the blood loss I sustain from working under the roses is horrendous. By the end of the two days I normally need a blood transfusion and have used a few bottles of antiseptic formula.
Once the grass is gone I apply the rose food in great handfuls and then completely top up with good compost from my bins. I heap the compost up around the roses as this will soon be taken into the earth. I complete the whole process with deep watering (which always guarantees it will rain the next day). The photos below show the outcome, and I am proud of my roses once more till next winter.
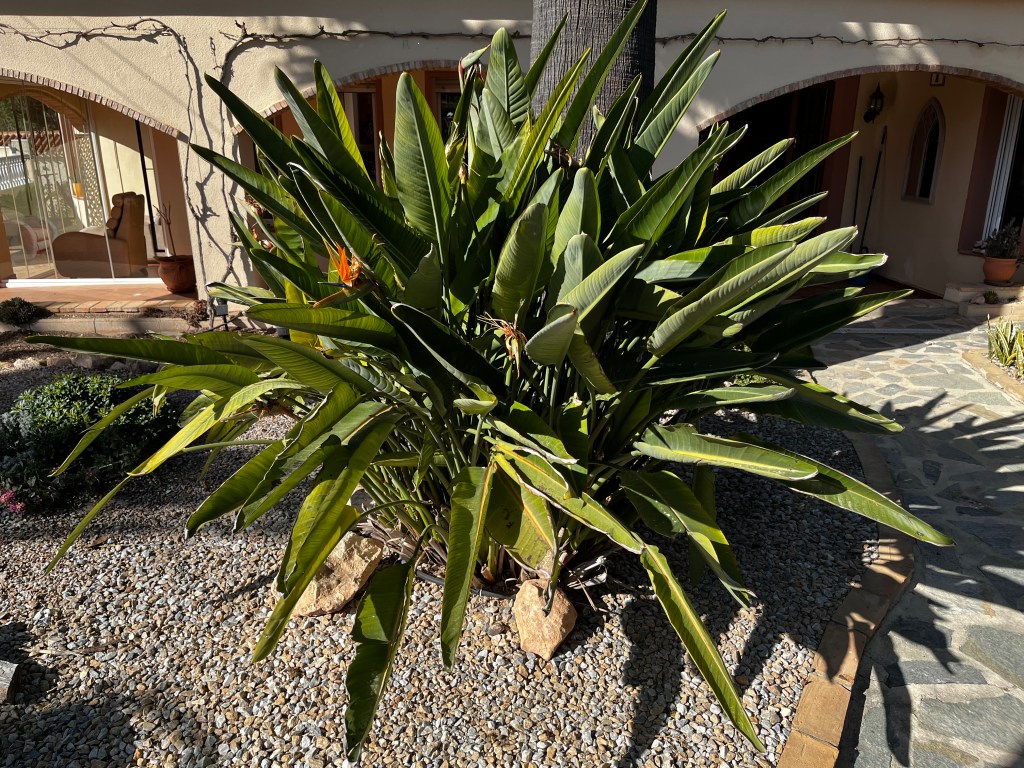
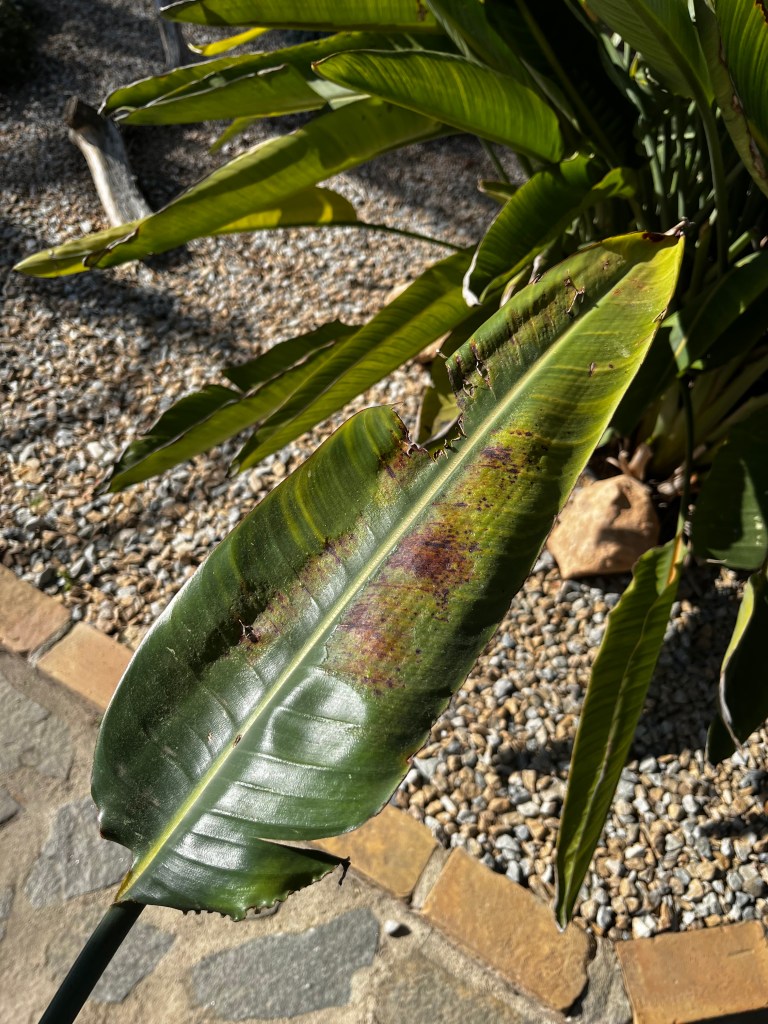
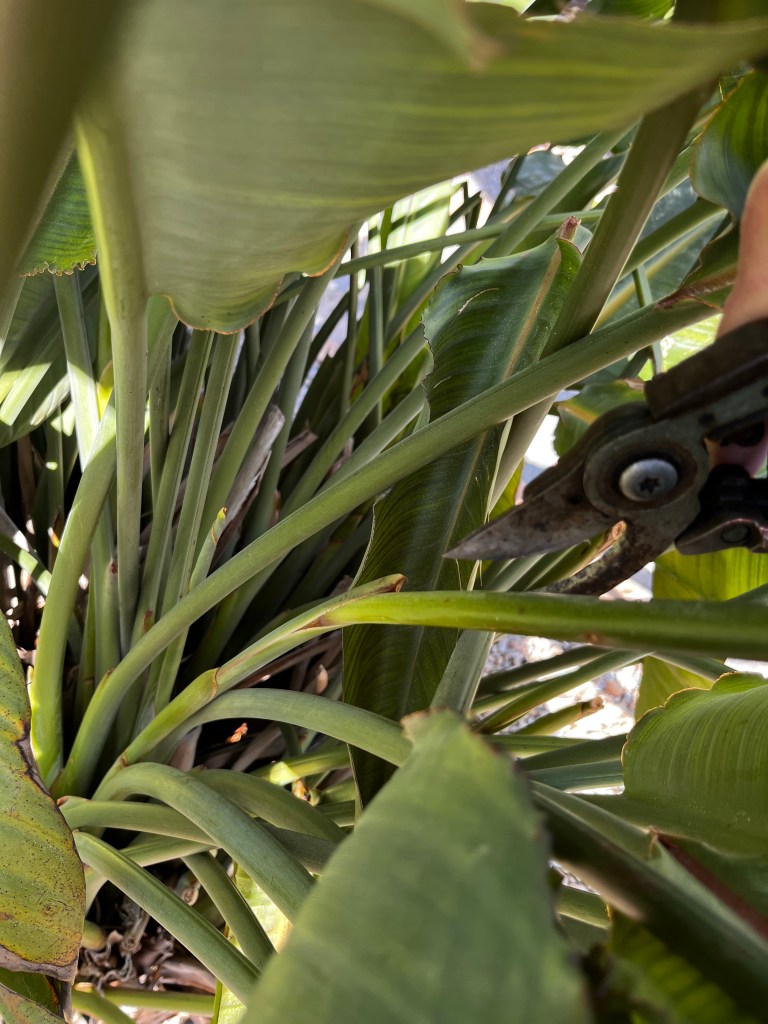
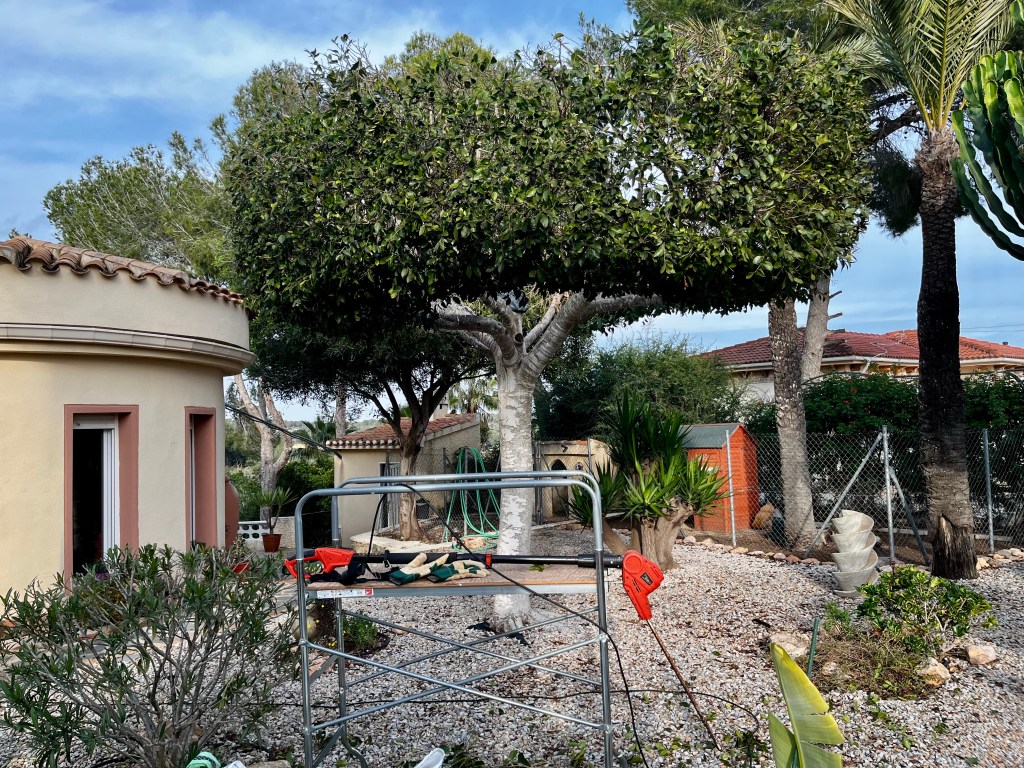
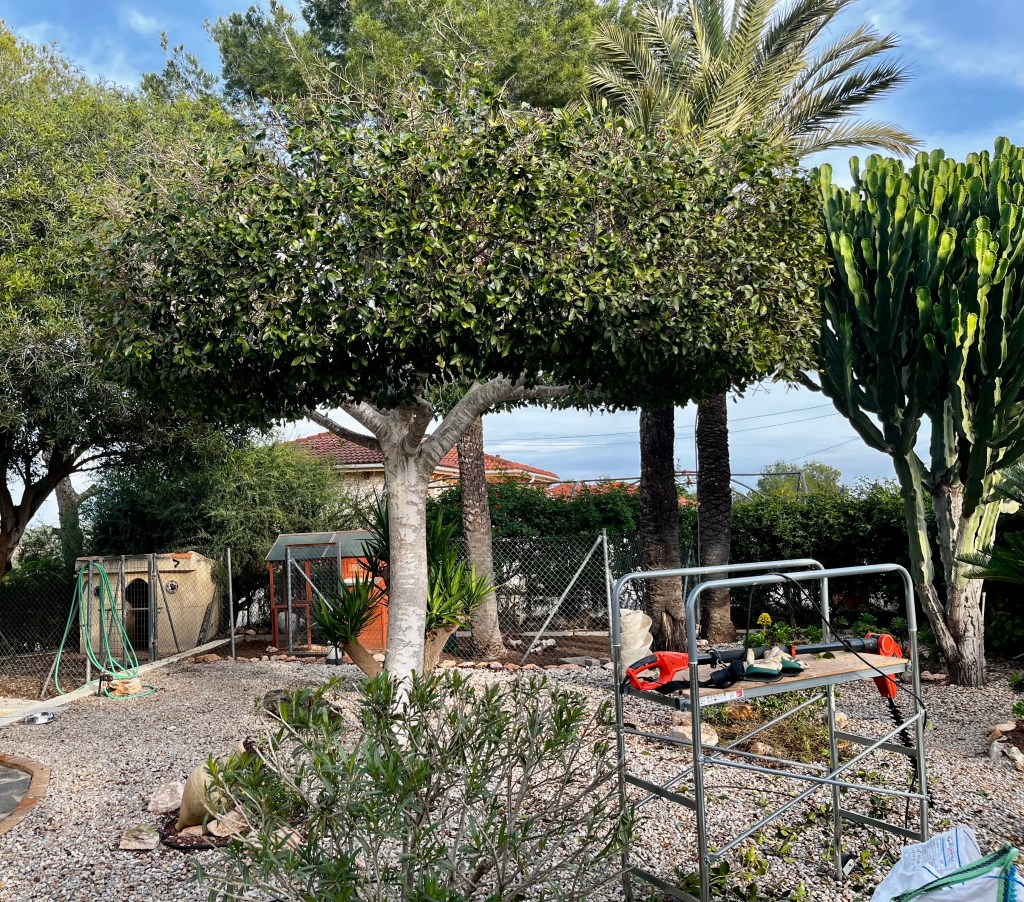
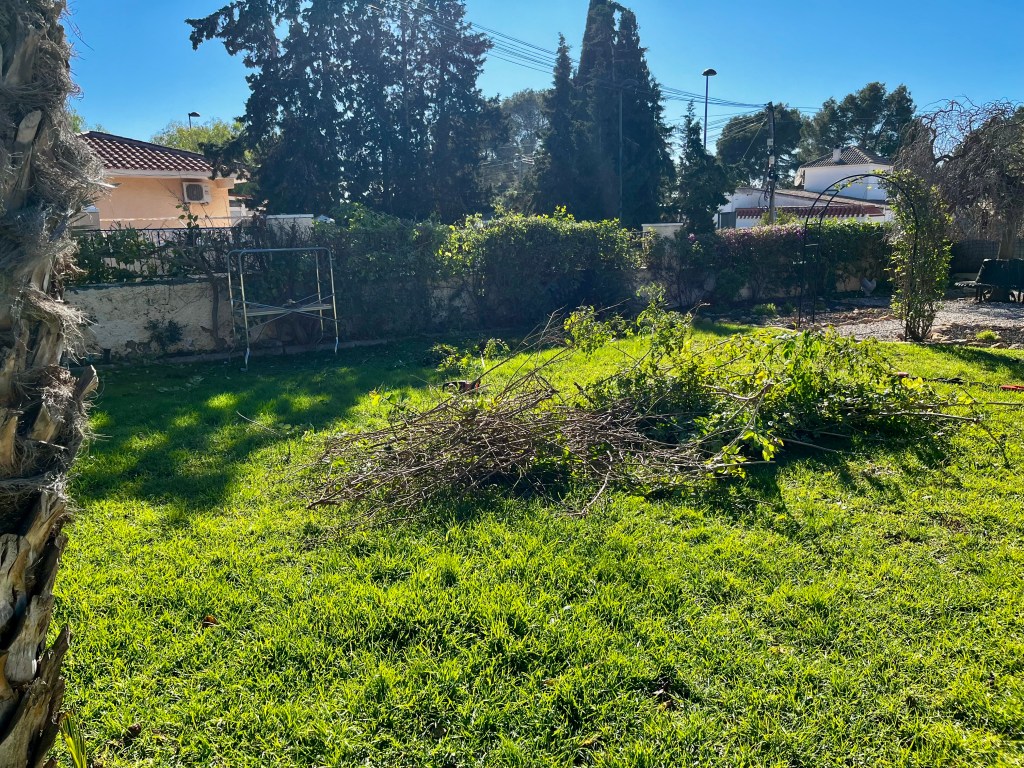
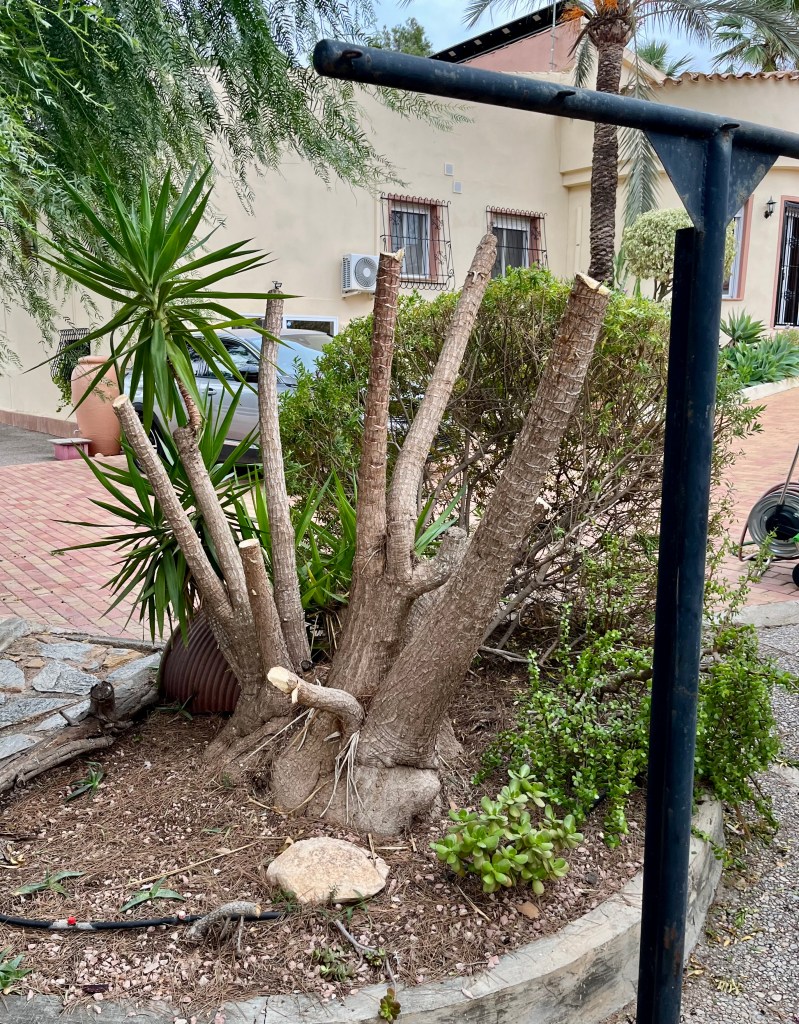
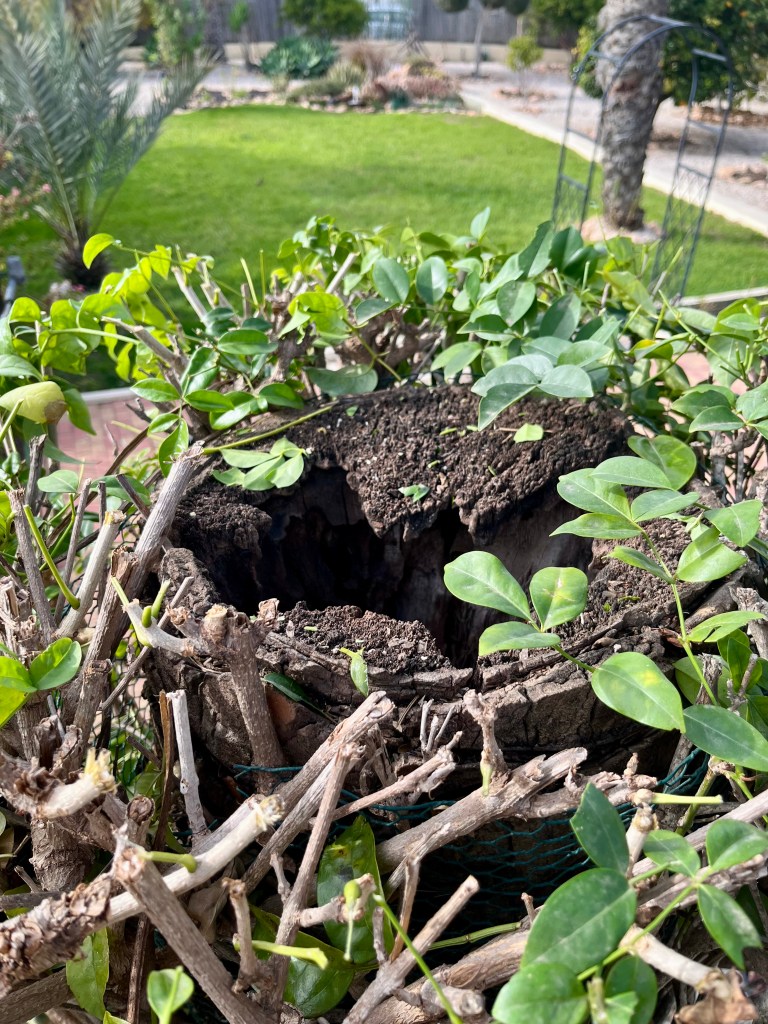
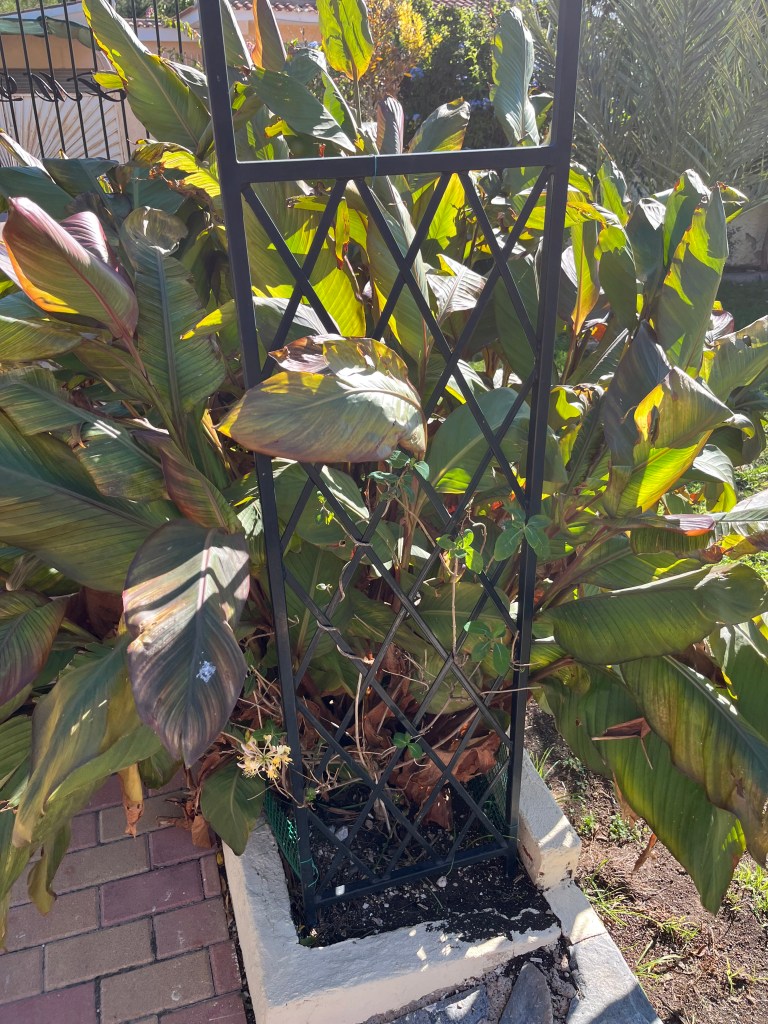
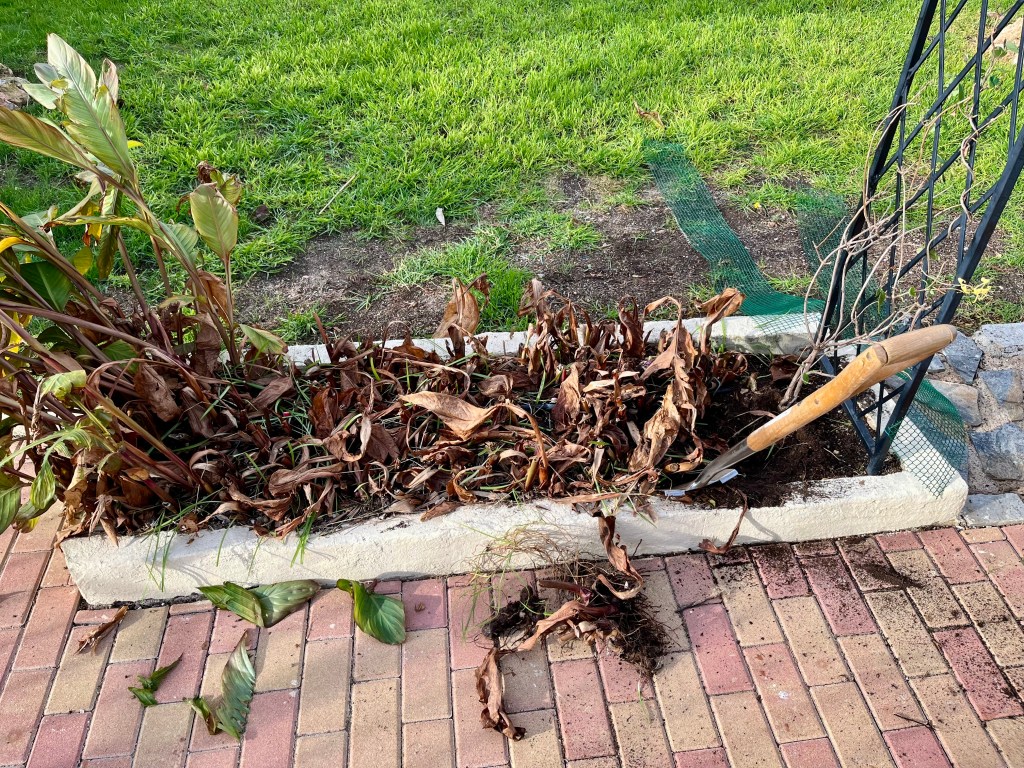
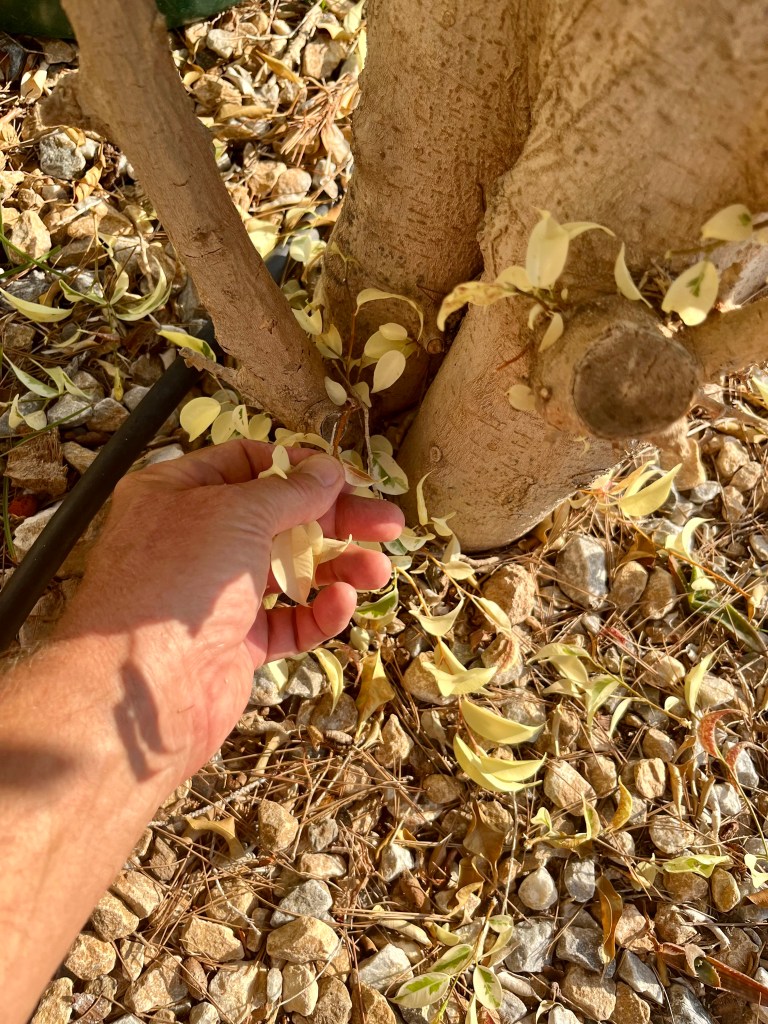
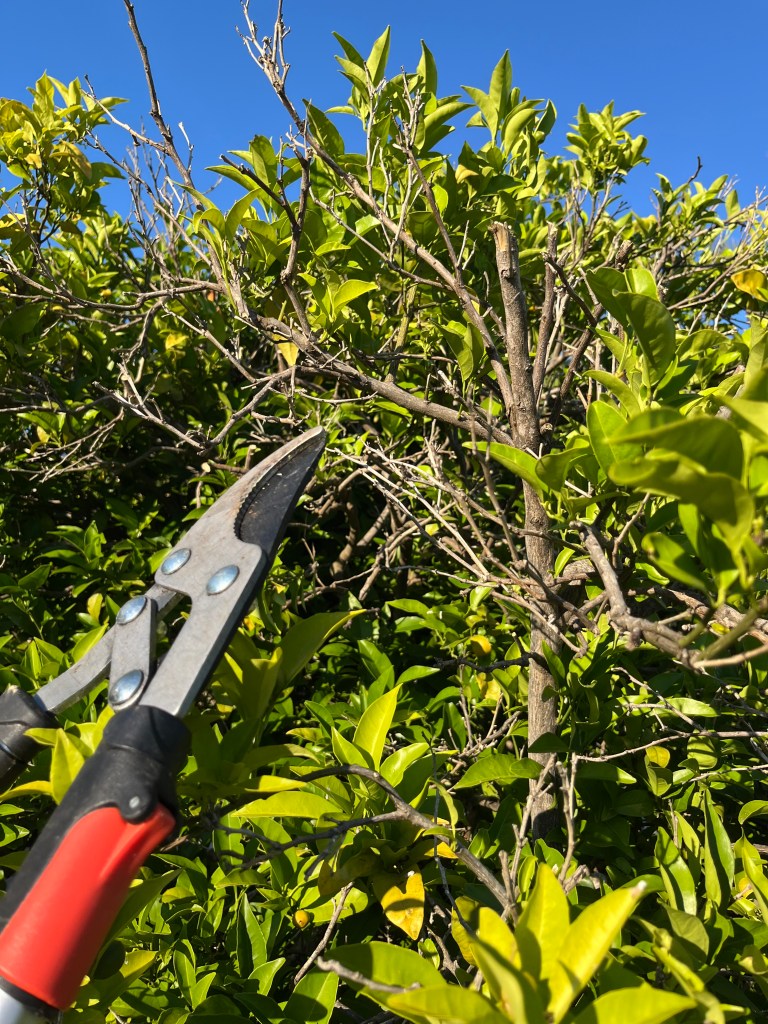
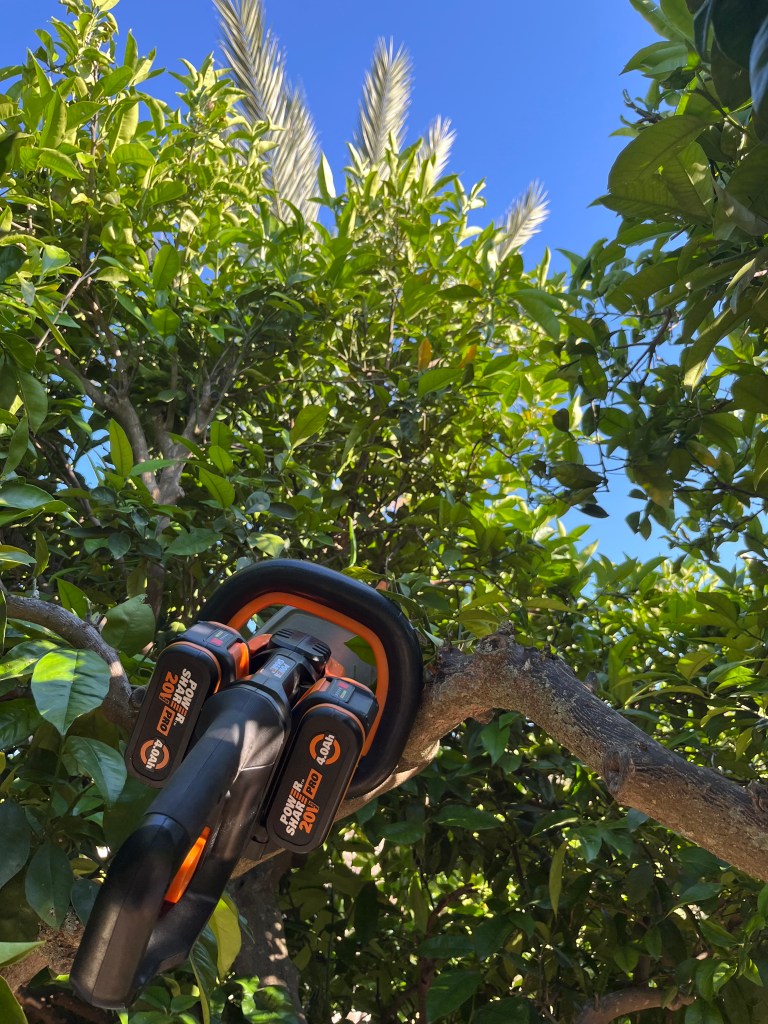
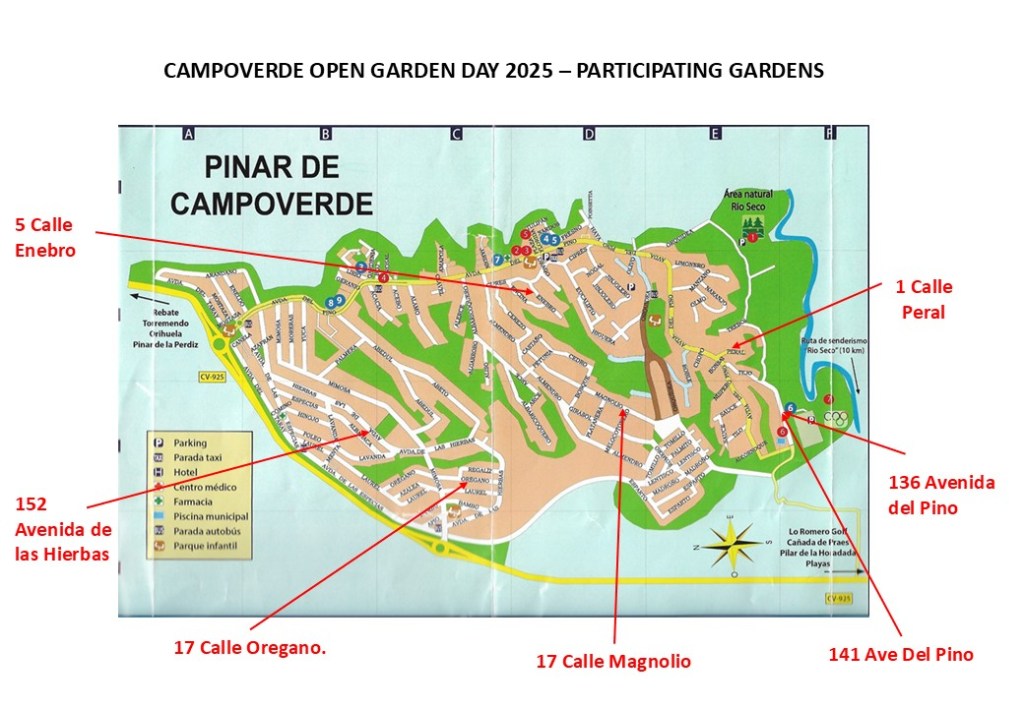
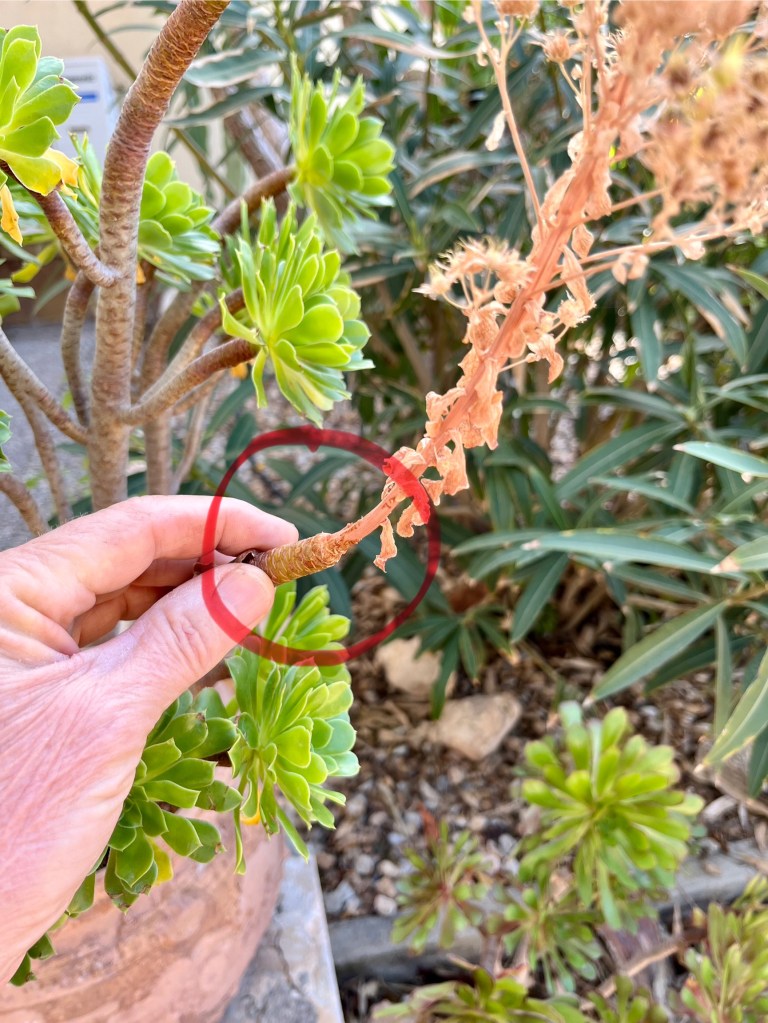
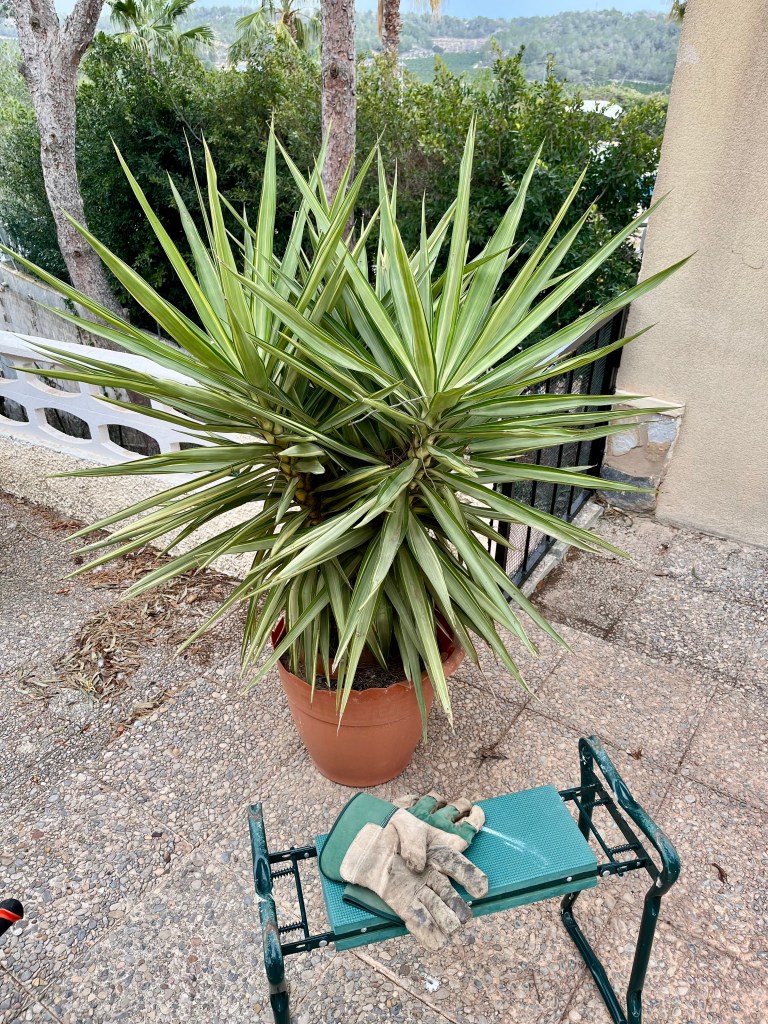
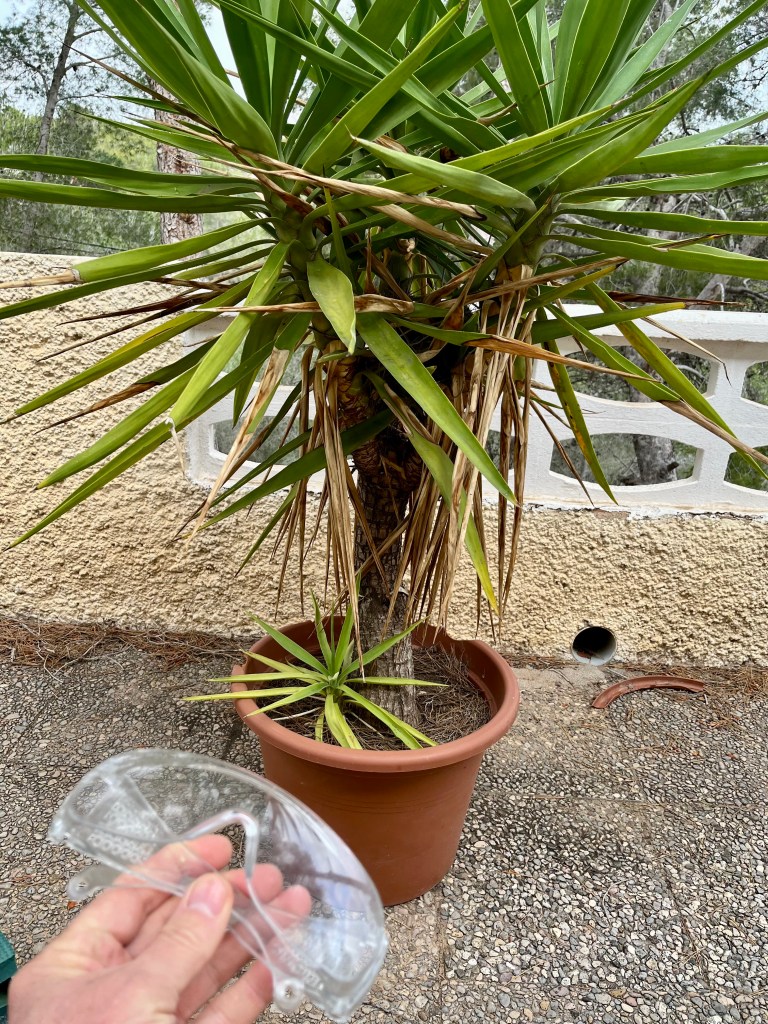
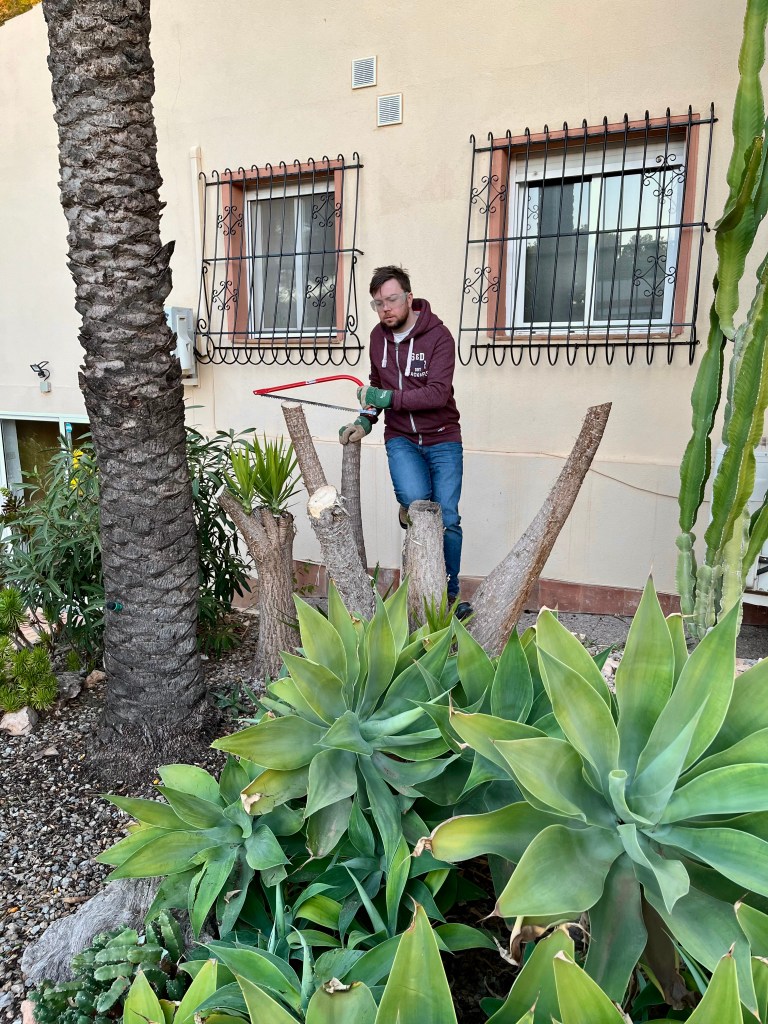
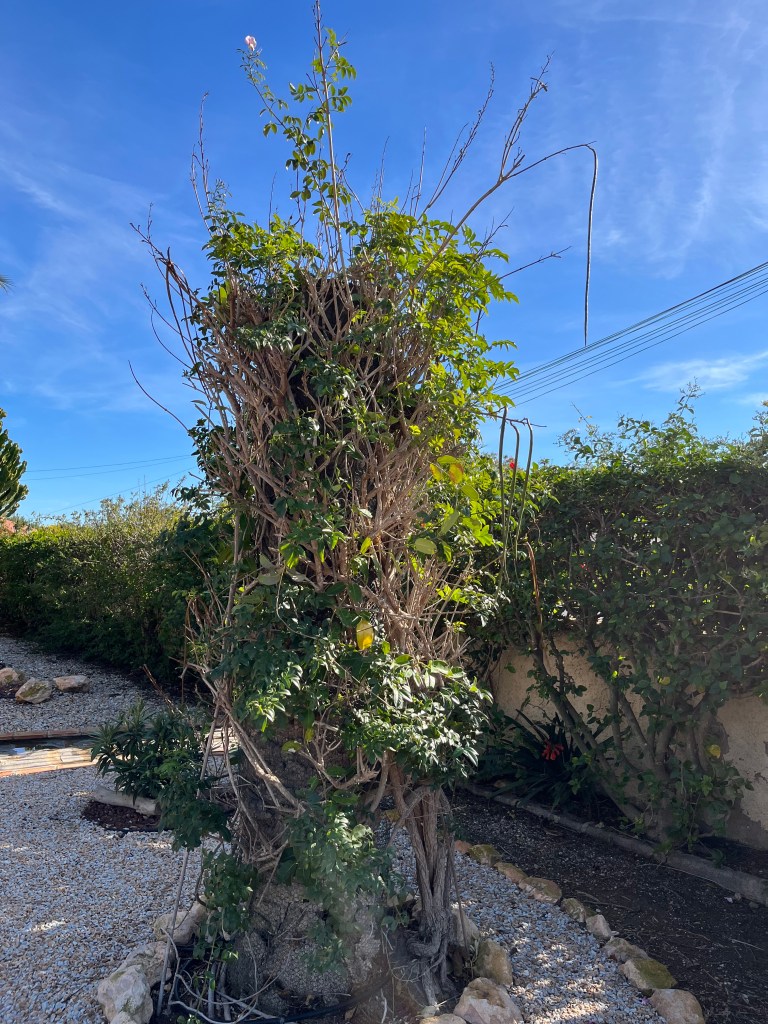
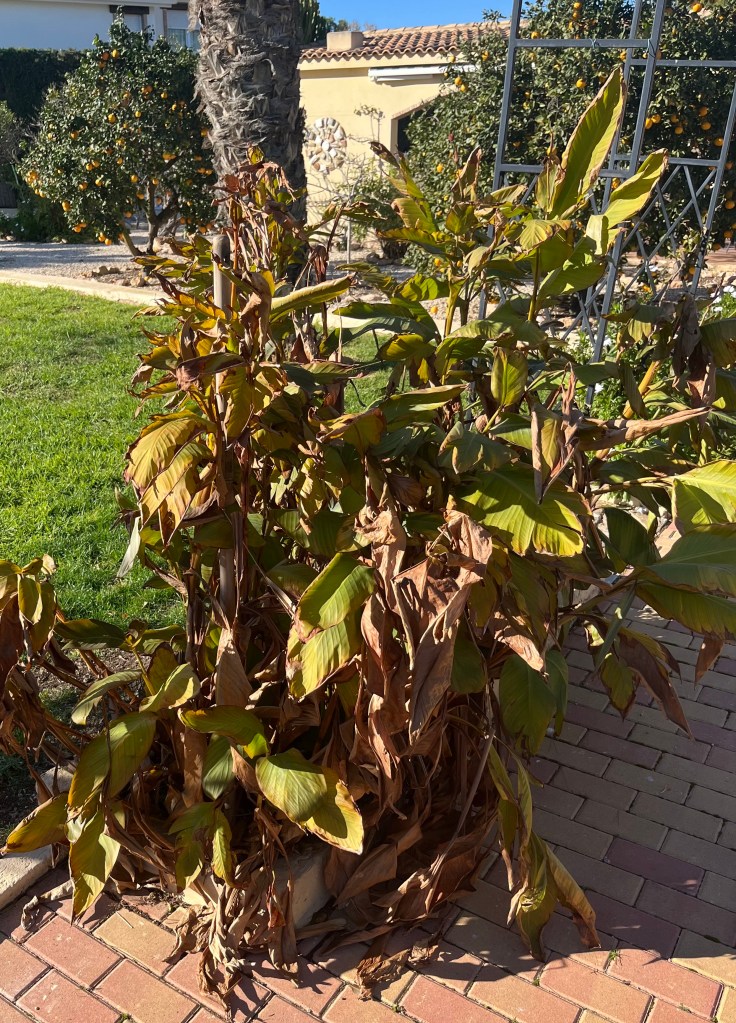
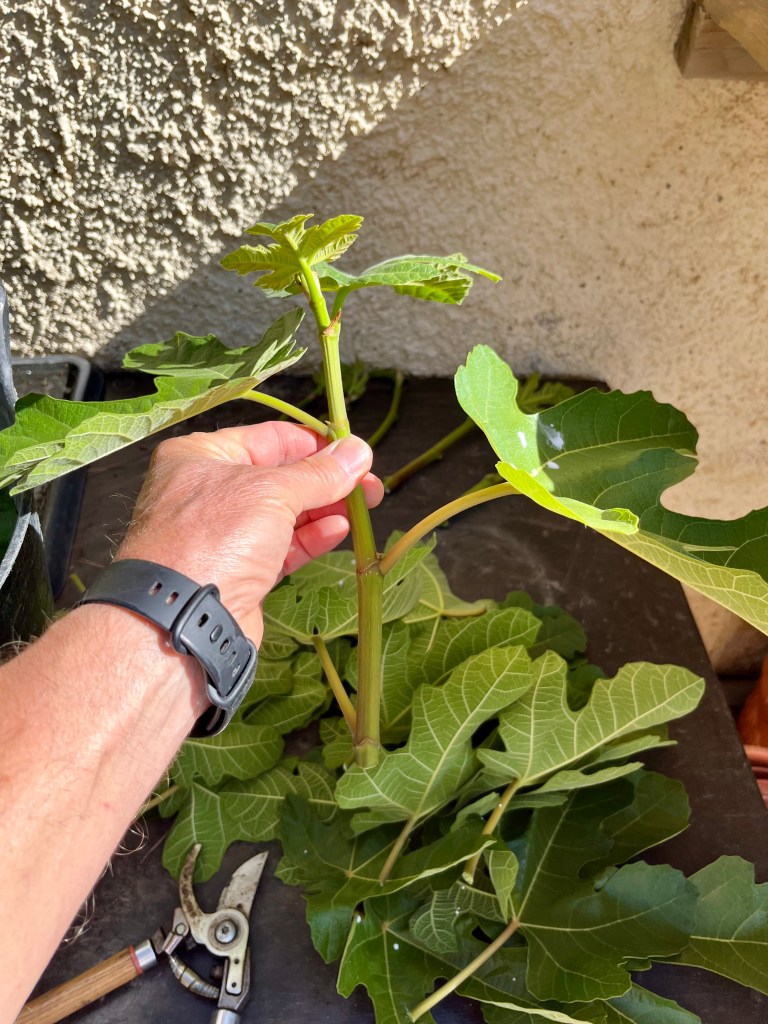
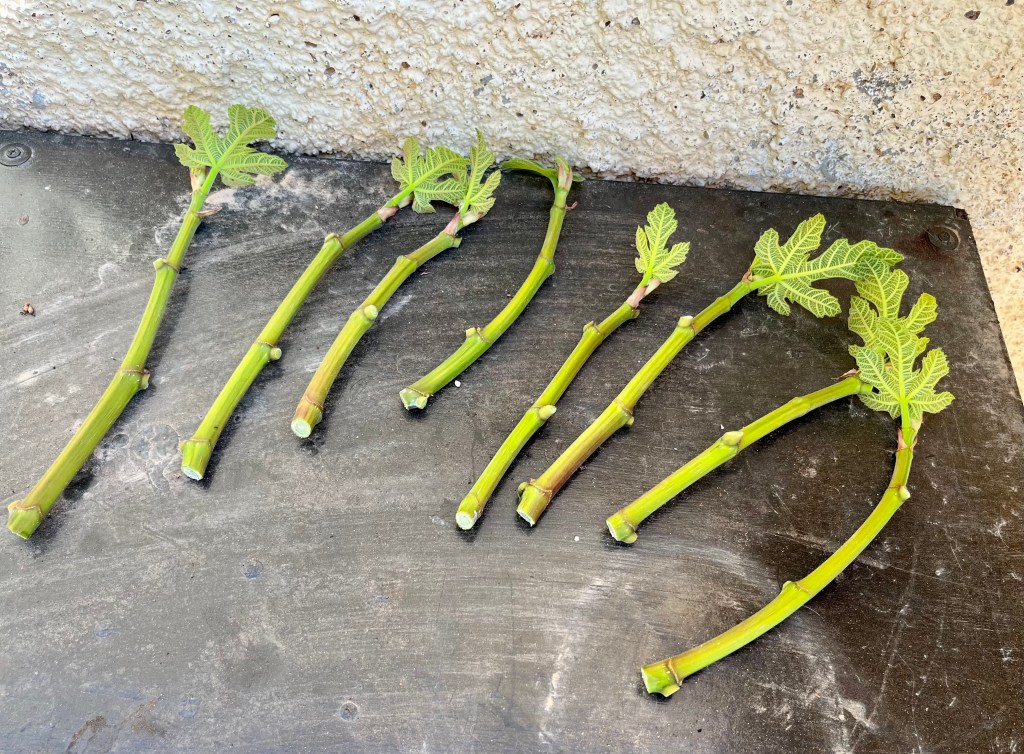
Tidying and feeding Bird of Paradise. The winter months will have taken a toll upon your Bird of Paradise (Strelitzia). So if you want to get the best out of it this summer, you need to do two things. First, cut back any old flowered stems, tidy up the flowers and cut out diseased stems. Secondly, you need to give it a good feed now and every month during the summer.
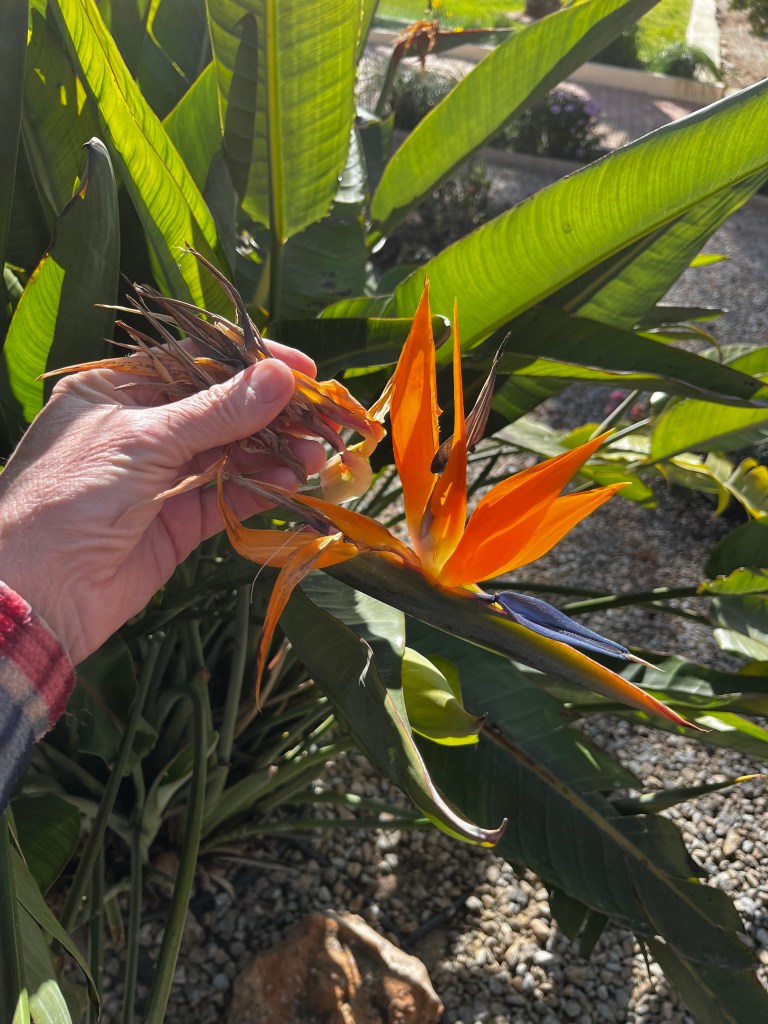
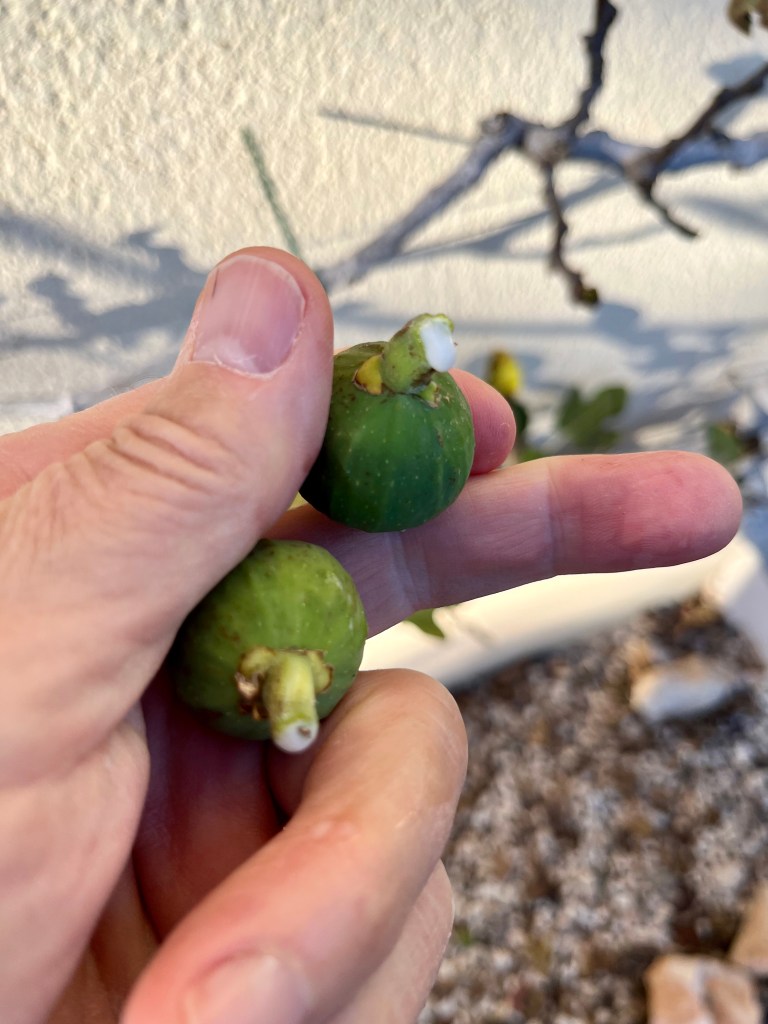
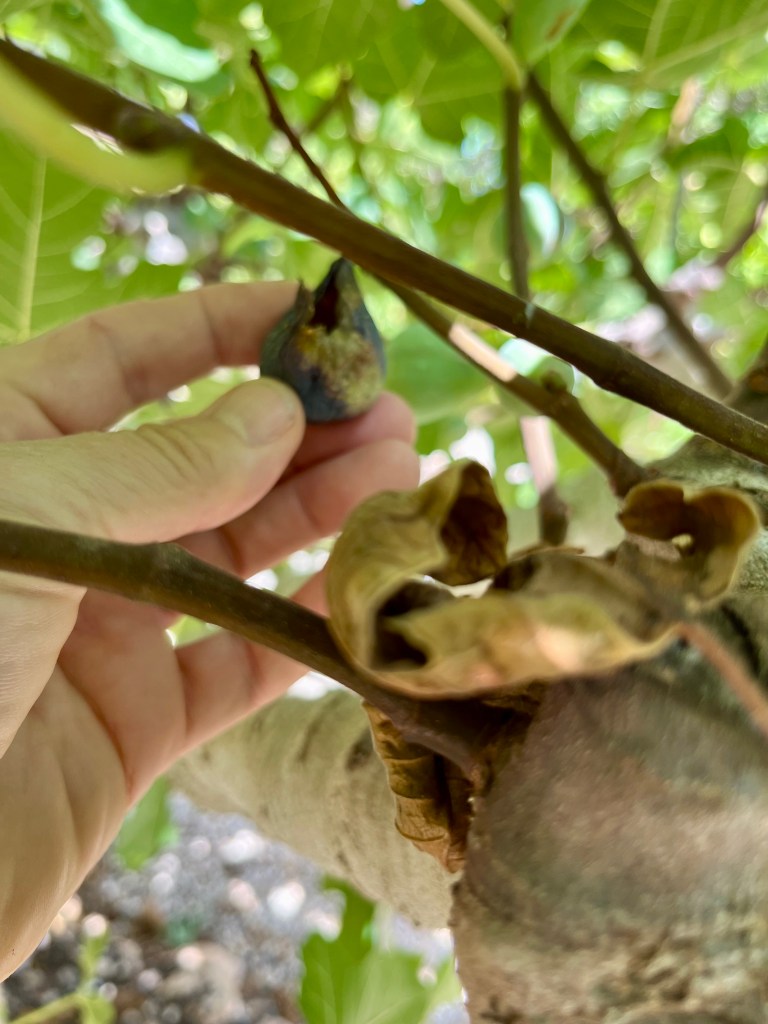
When cutting back flowering stems you can usually get at least one more flowering stem by cutting back to the diagonal joints shown in the photos below. Also don’t be afraid to peel dead petals out of flowers to make them cleaner and less likely to get insect attacks. See photos below.
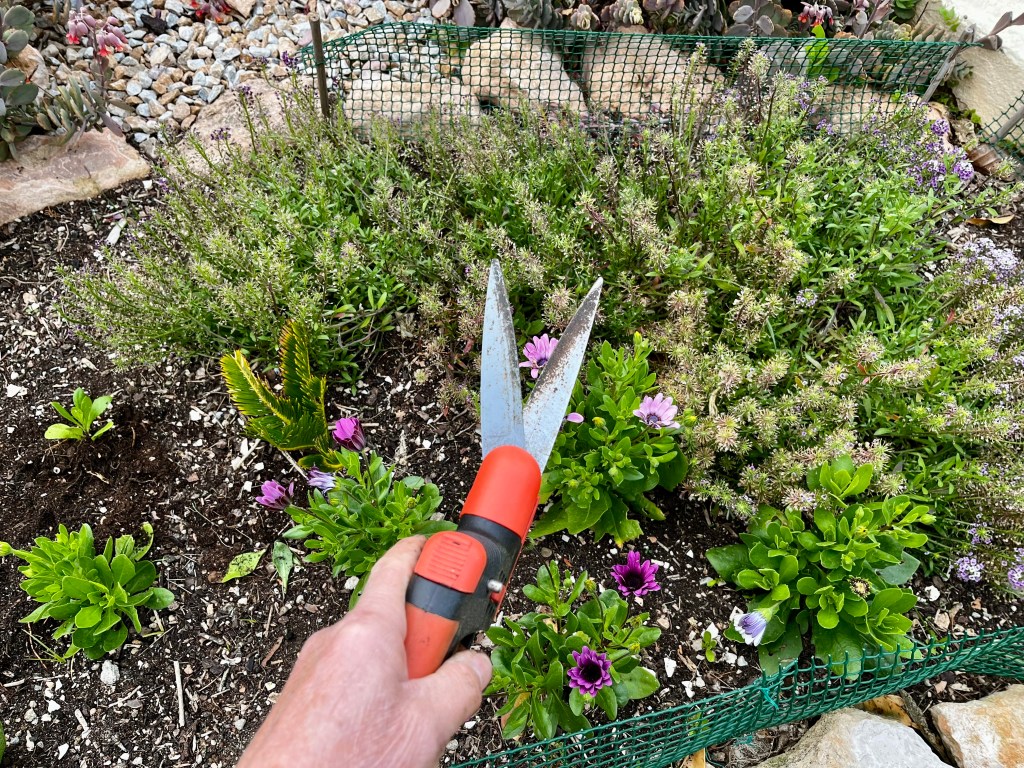
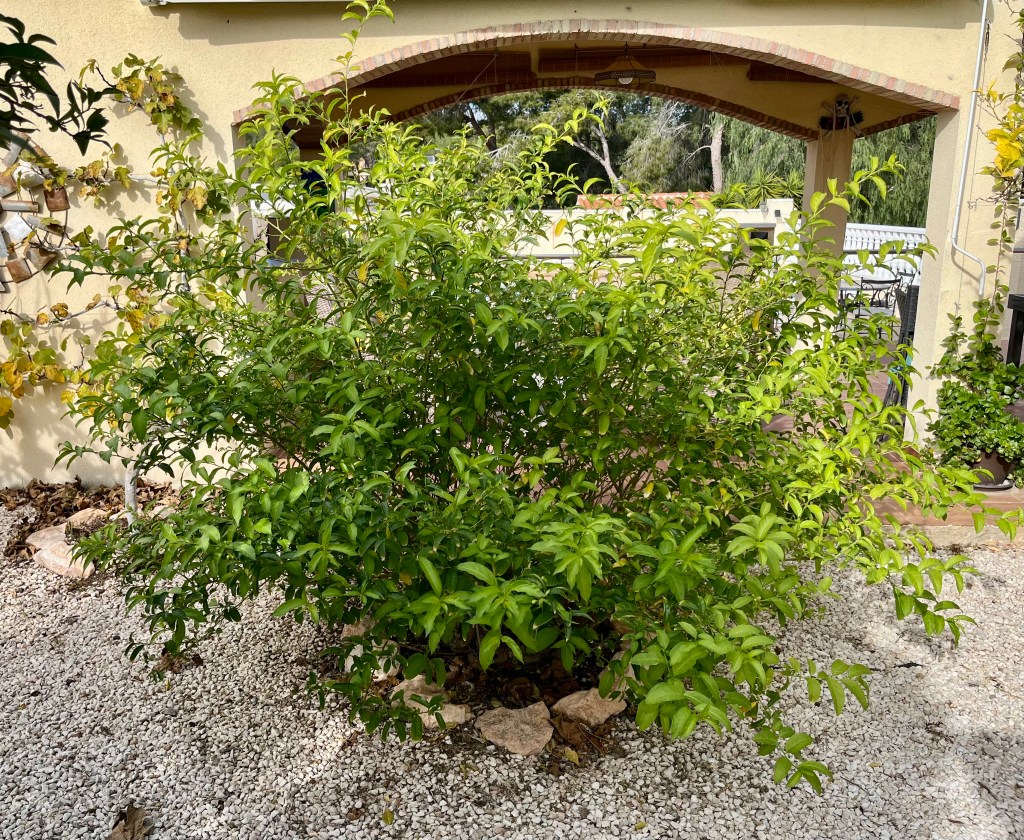
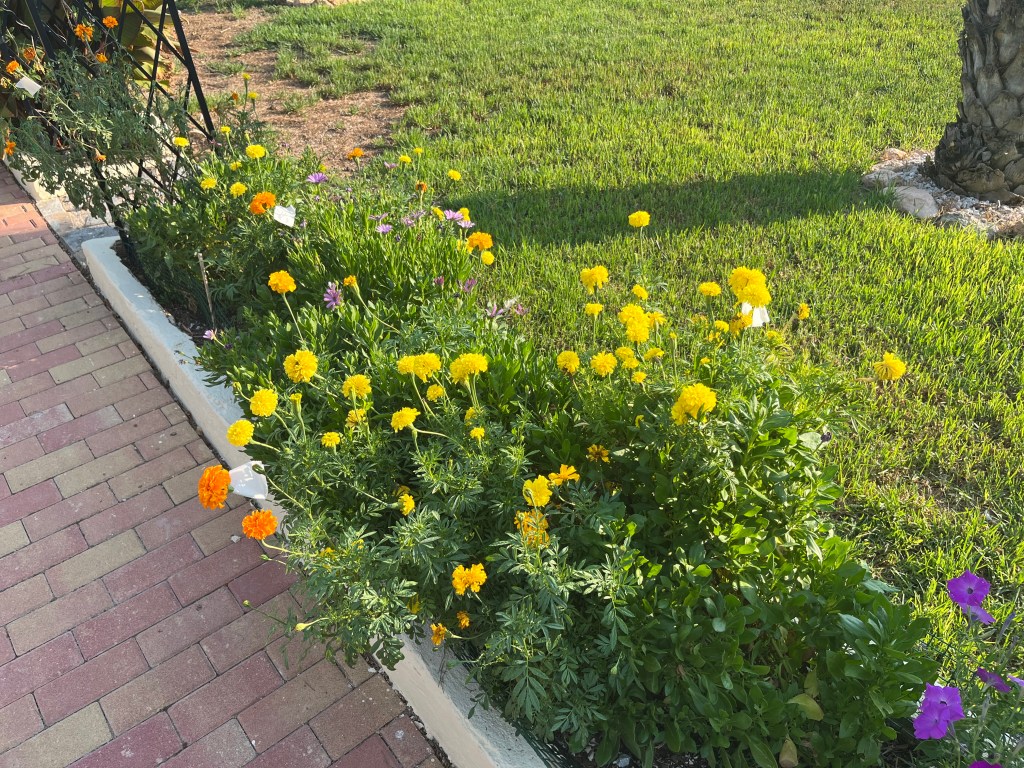
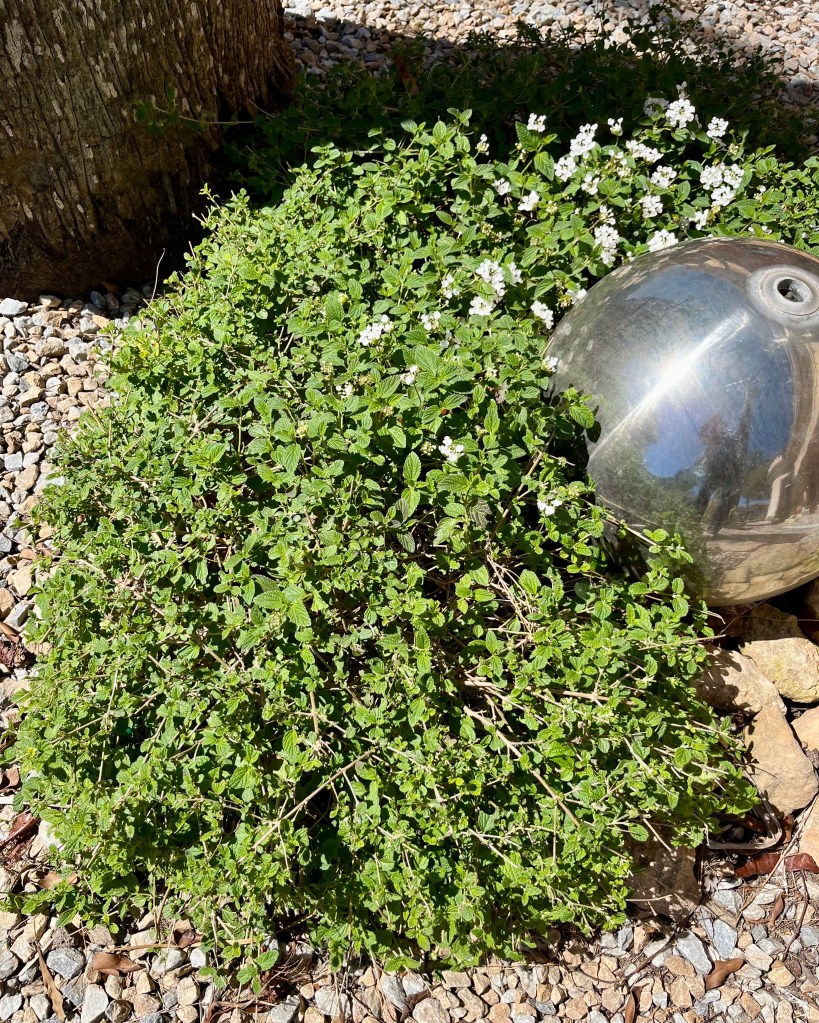
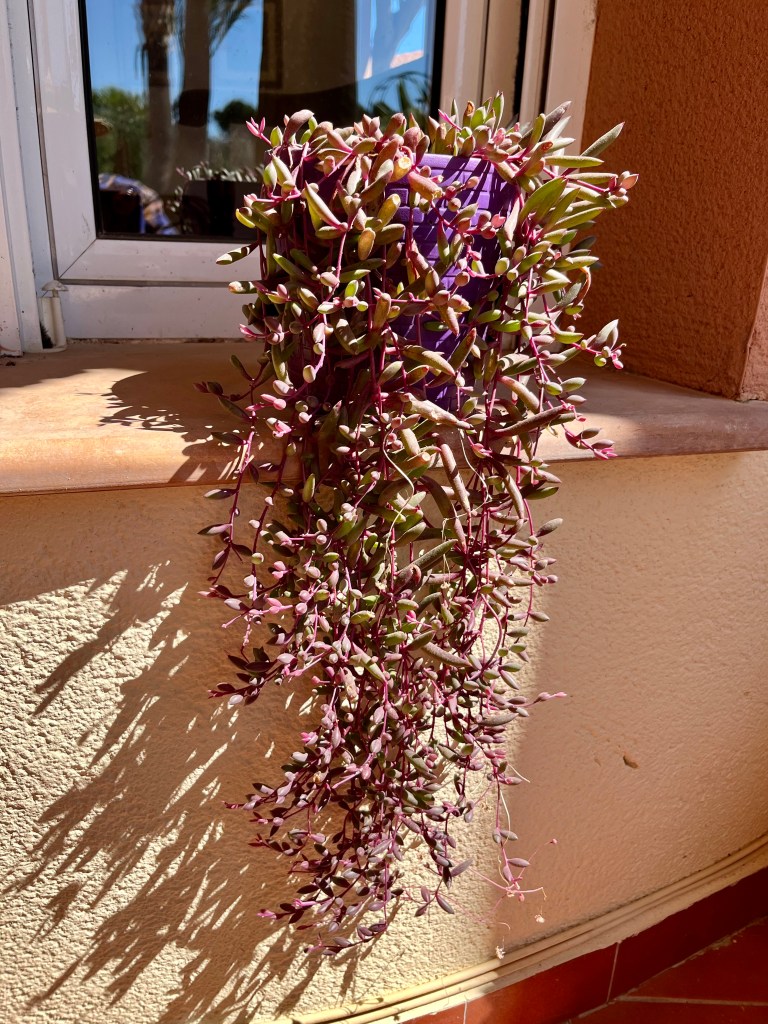
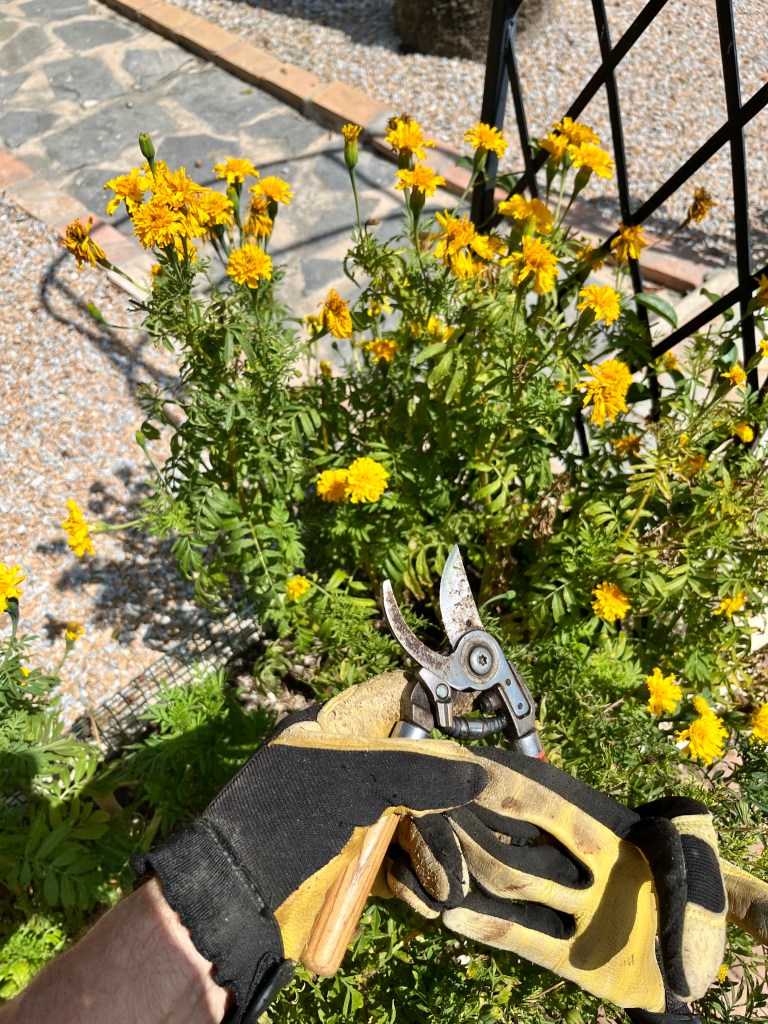
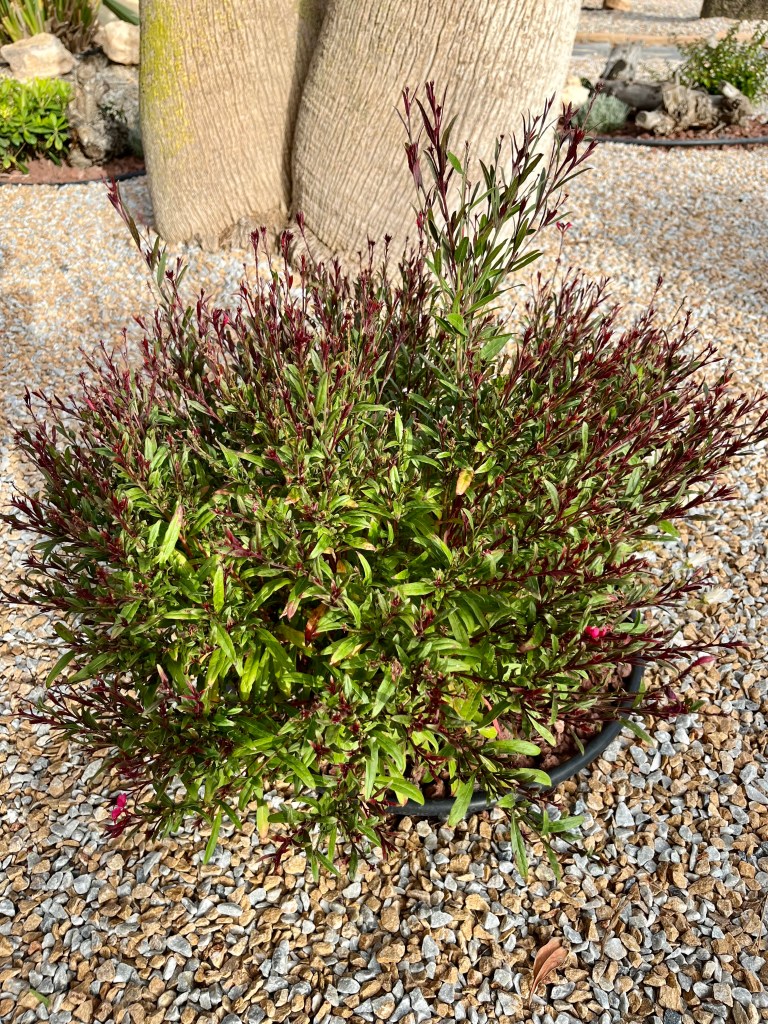
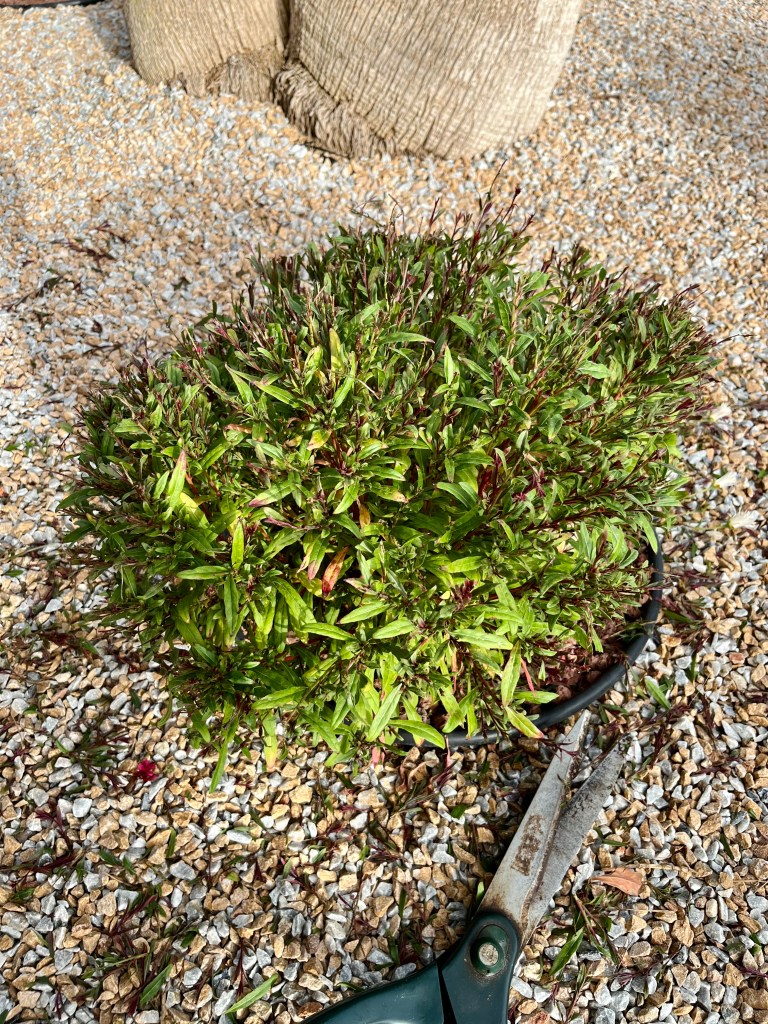
Cutting back Alyssum. These lovely plants were a star in my garden last summer and have now flowered all winter. I grew them from seed and they have given me great joy with their constant flowering. To keep them going all the time, all I need to do is occasionally shear off all their flowers and off they go again. See photo below.
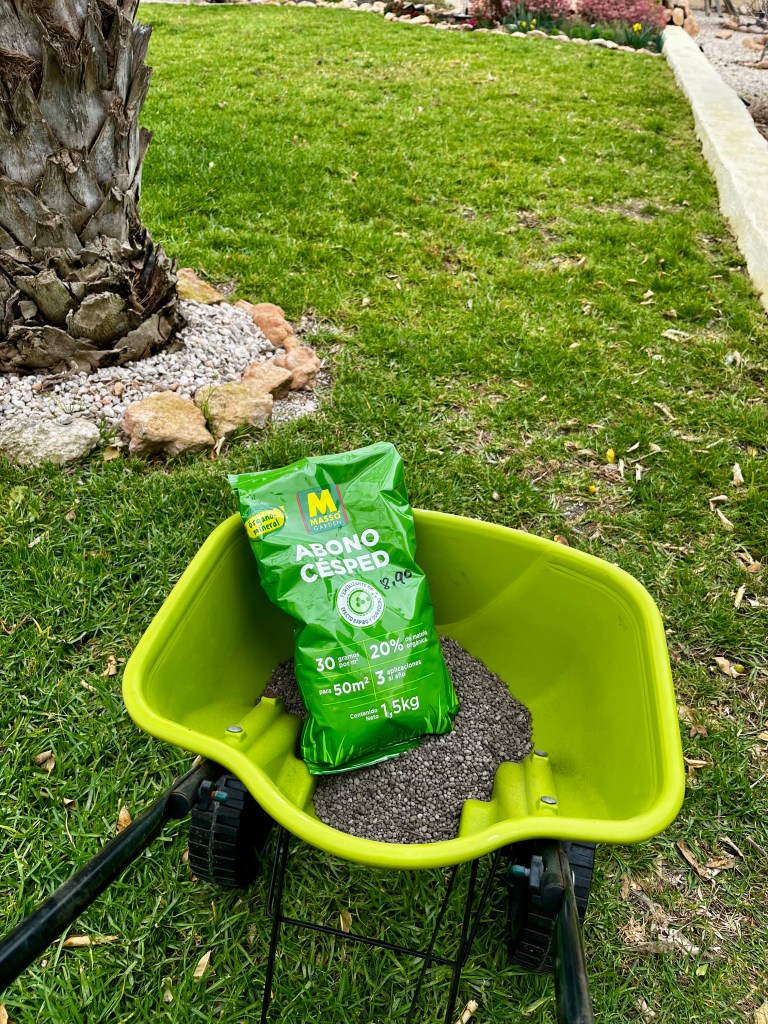
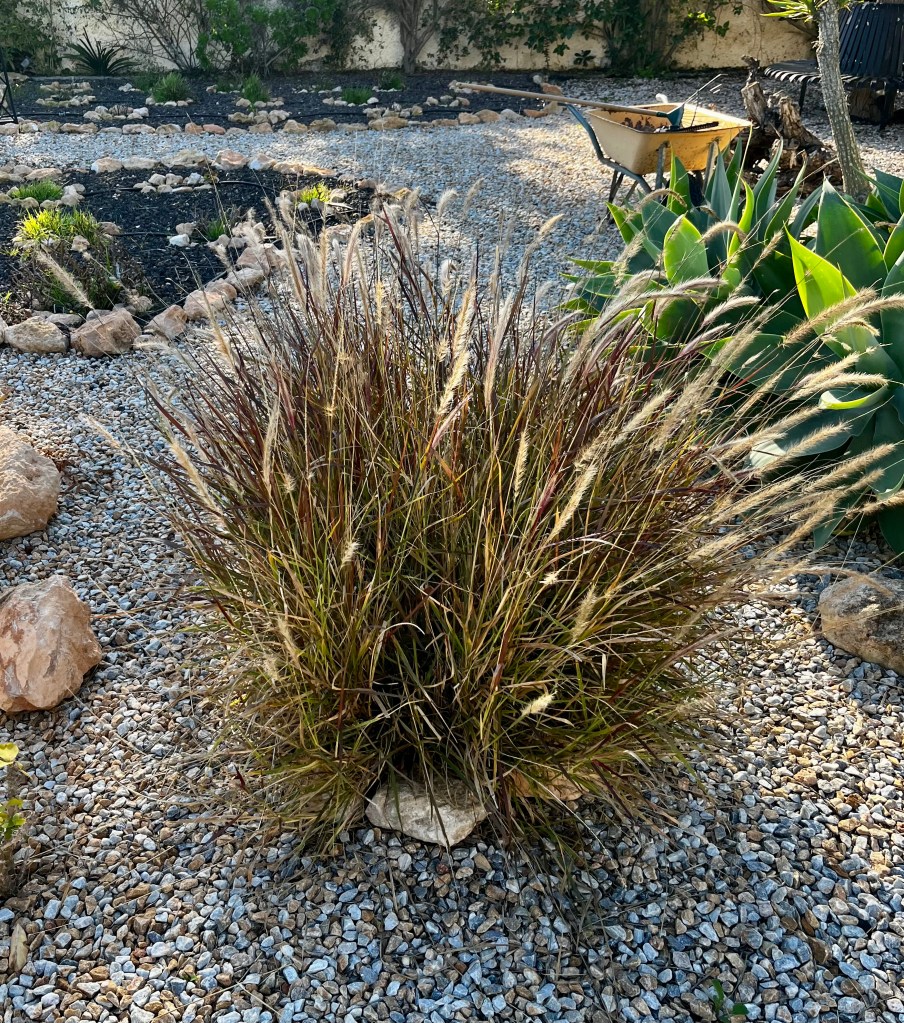
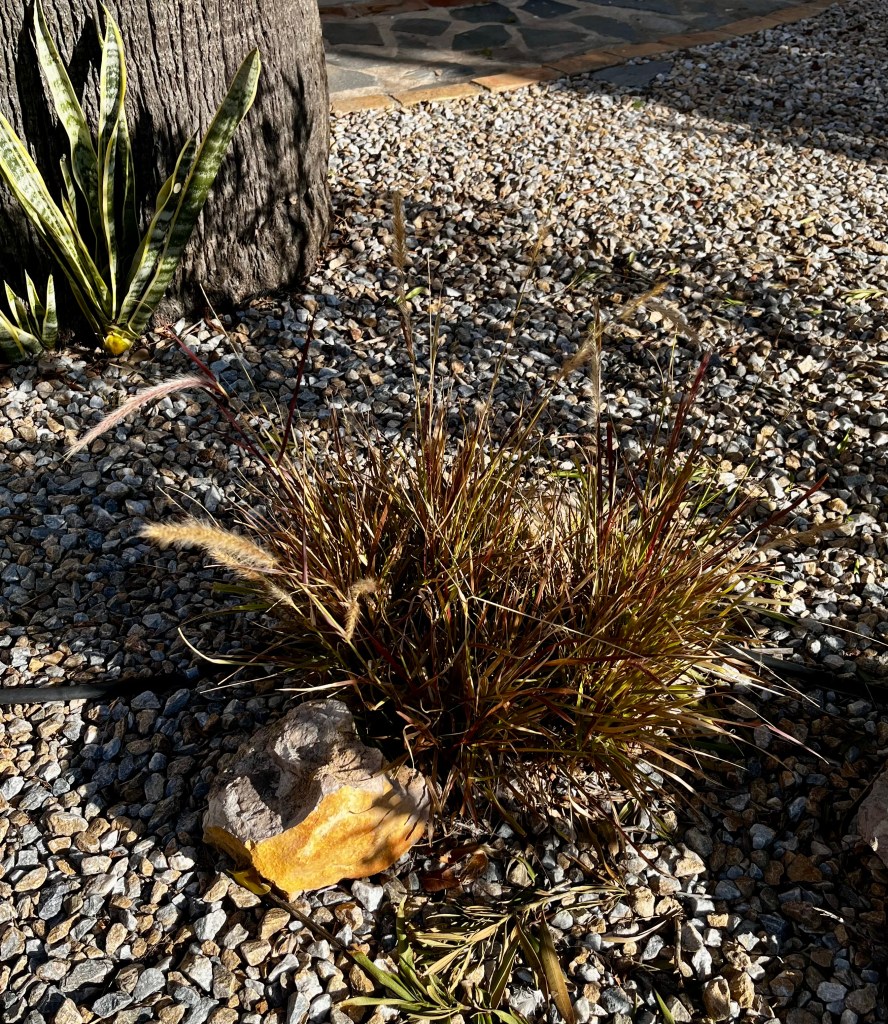
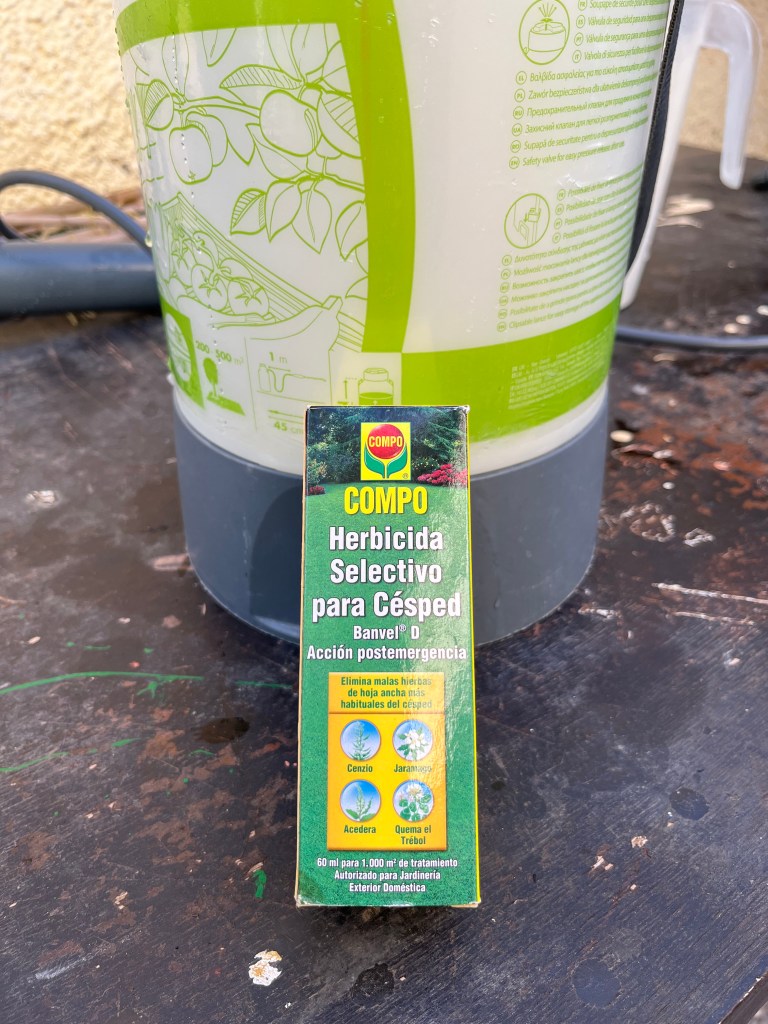
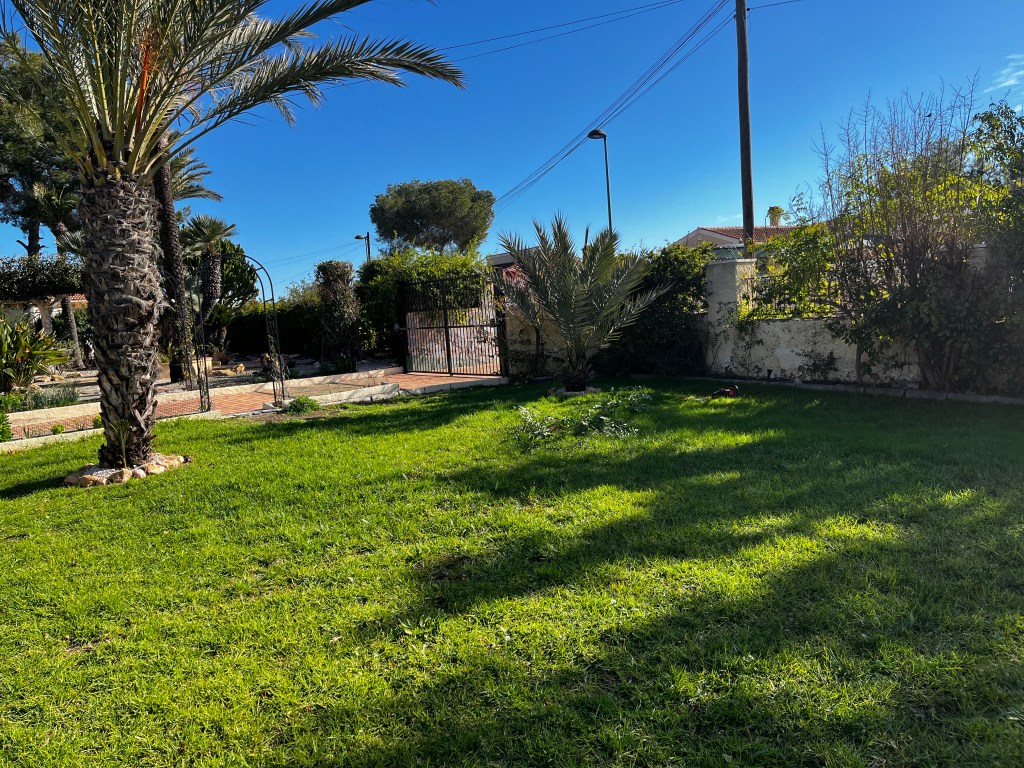
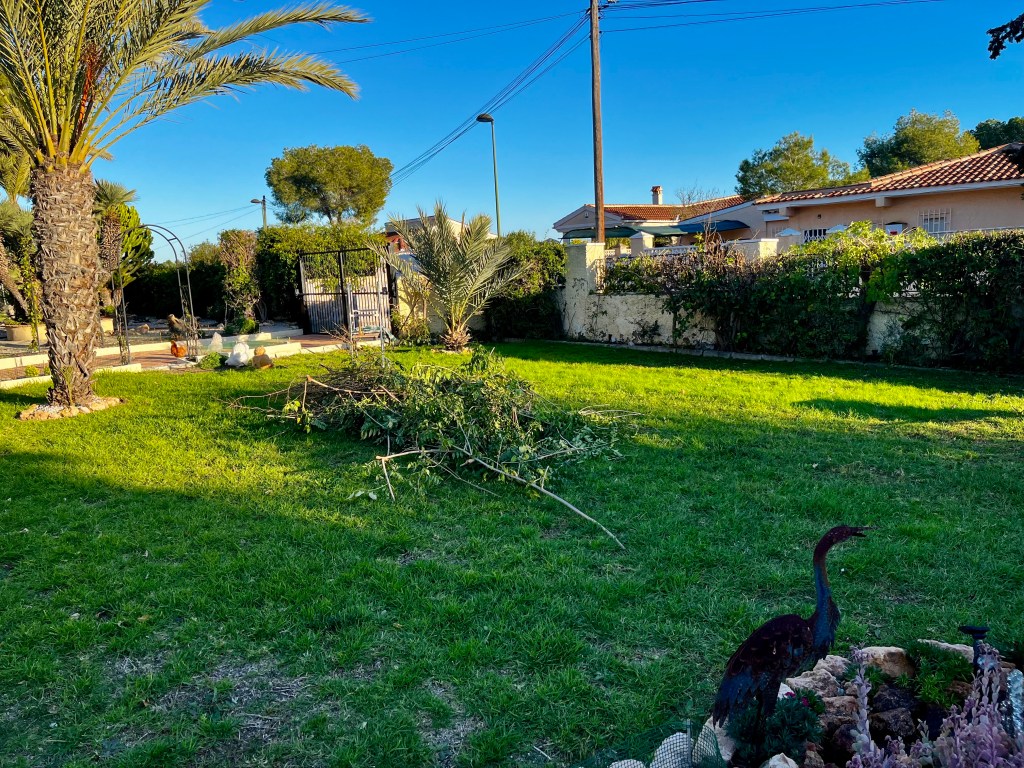
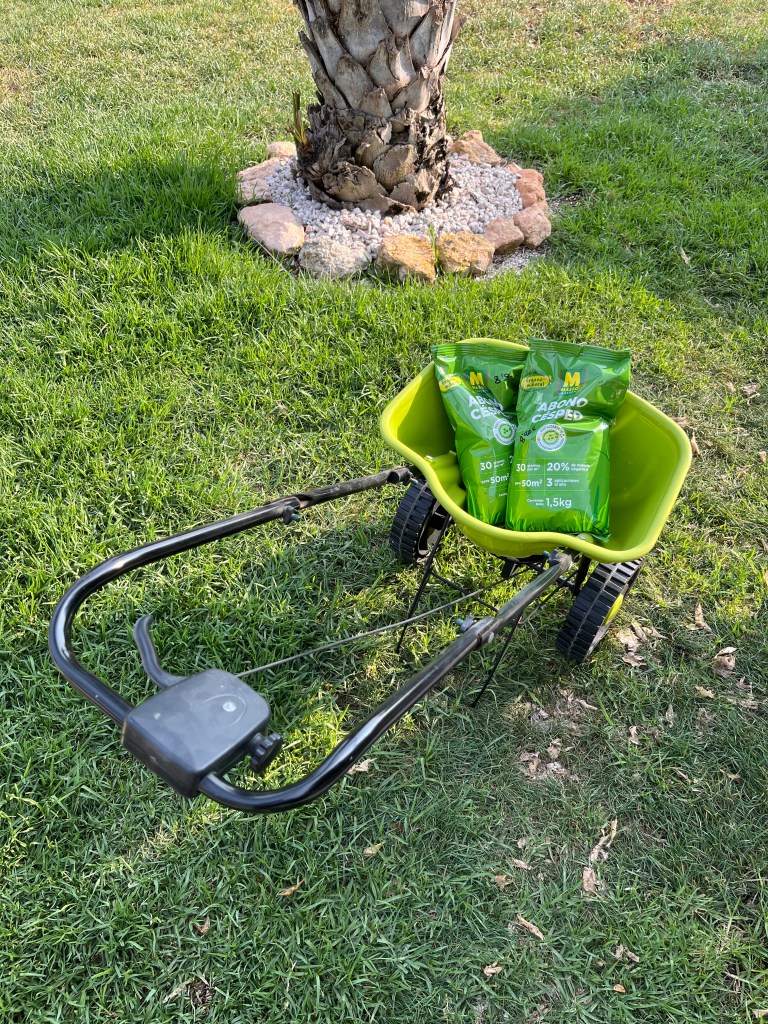
Feeding grass. If you have a lawn (and yes I know not many of you sane people have). Feed it now, this will be the first of four feeds over the growing season.
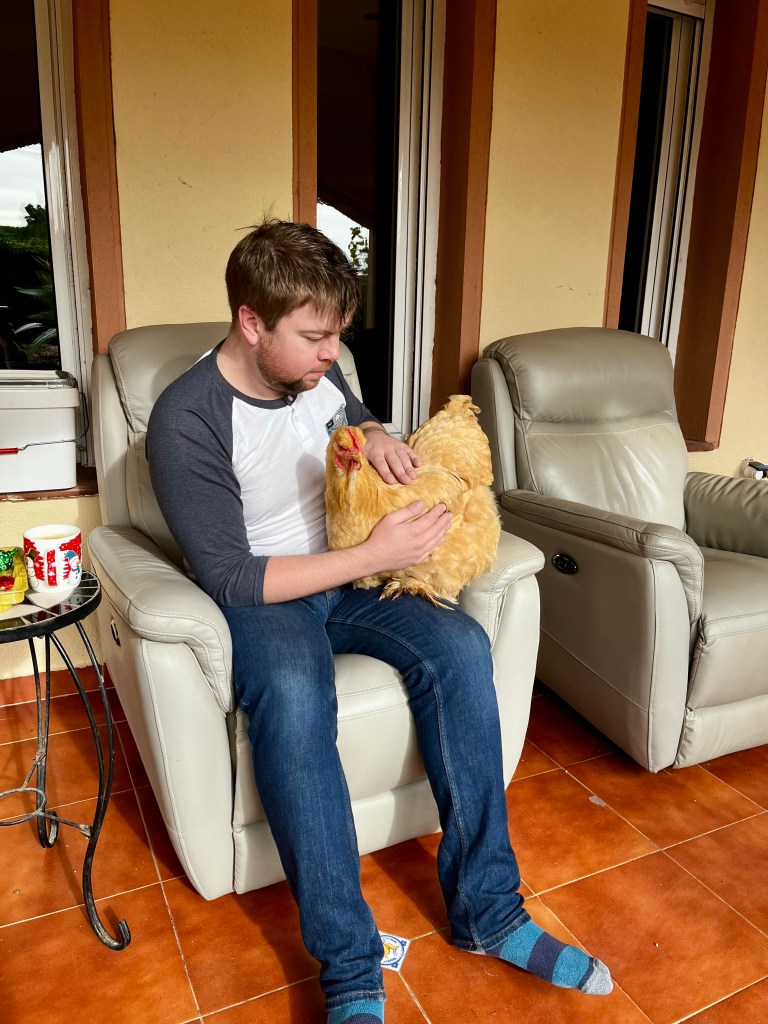
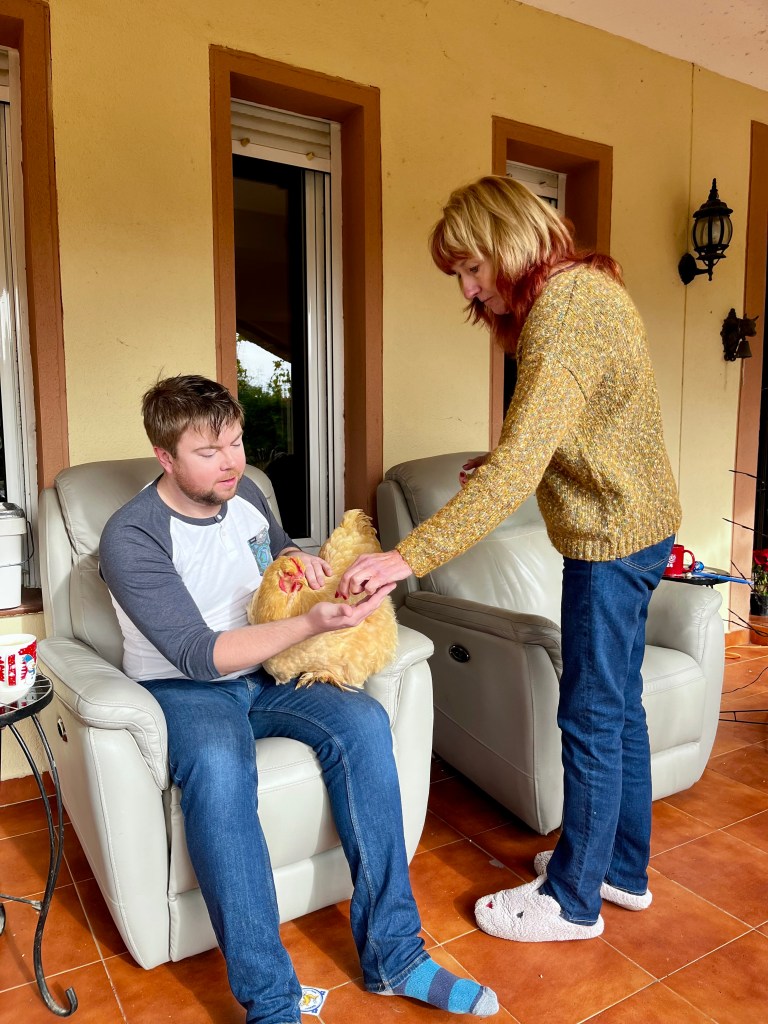
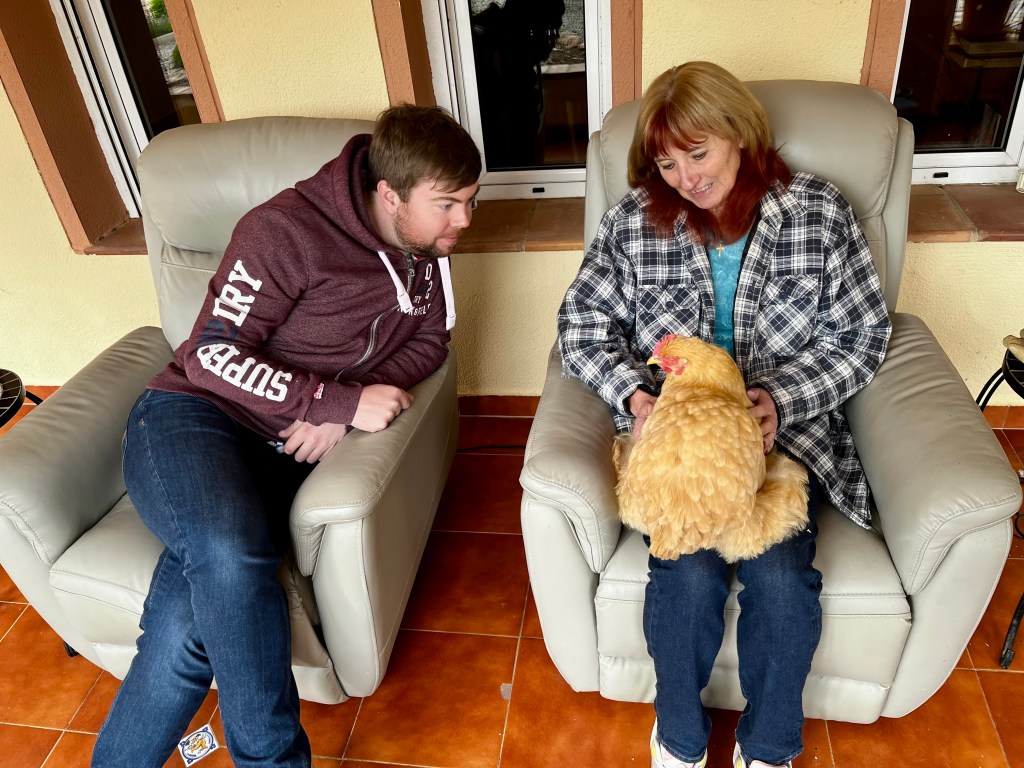
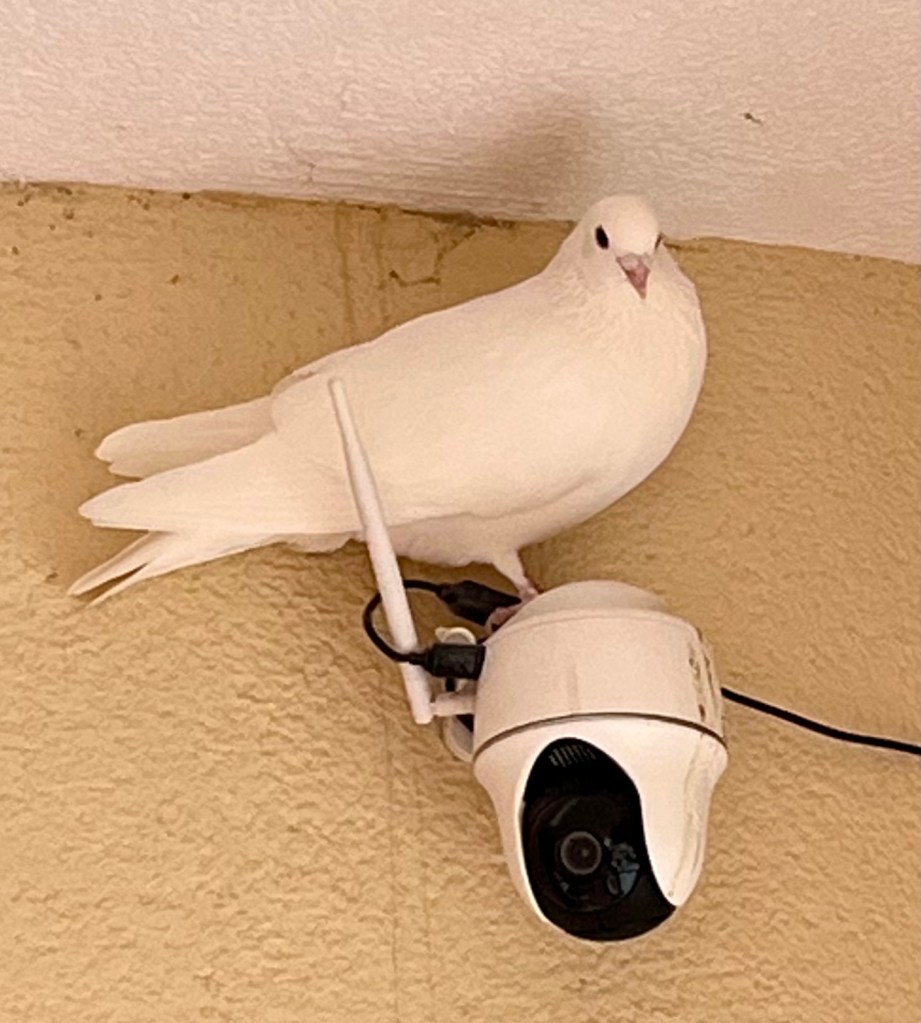
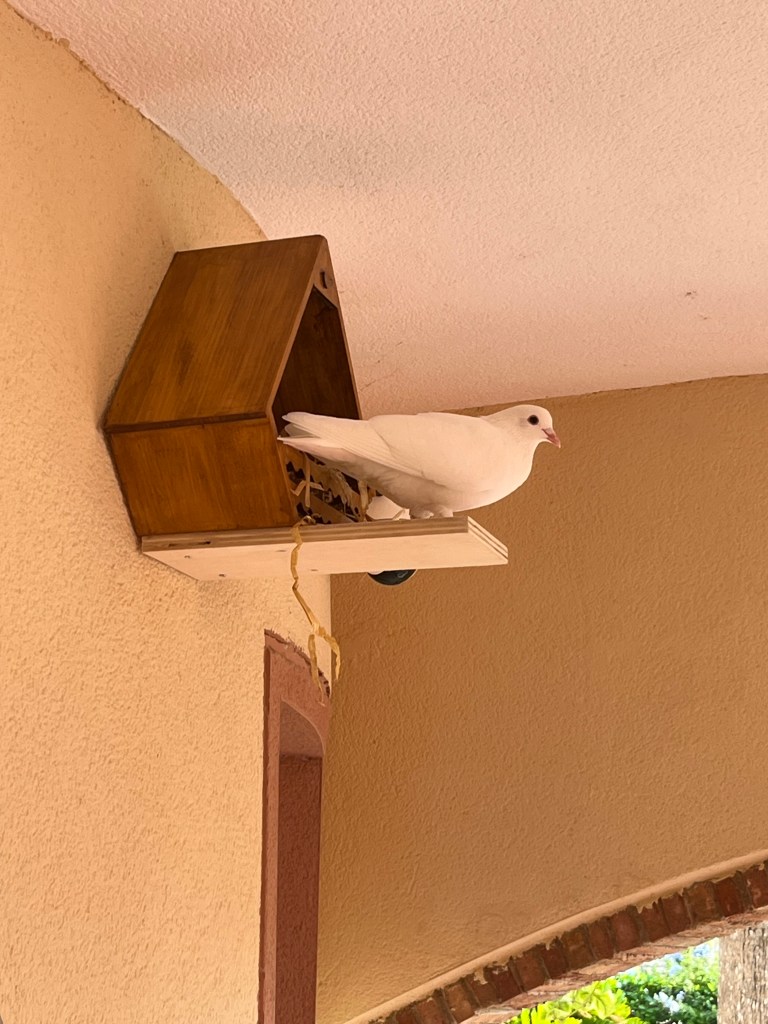
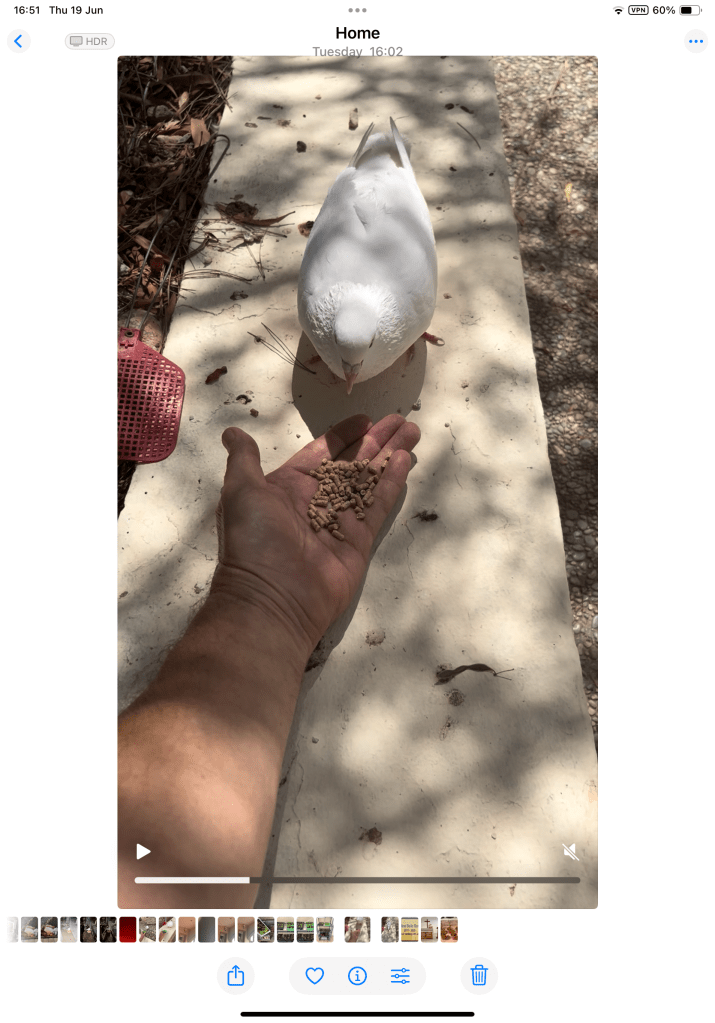
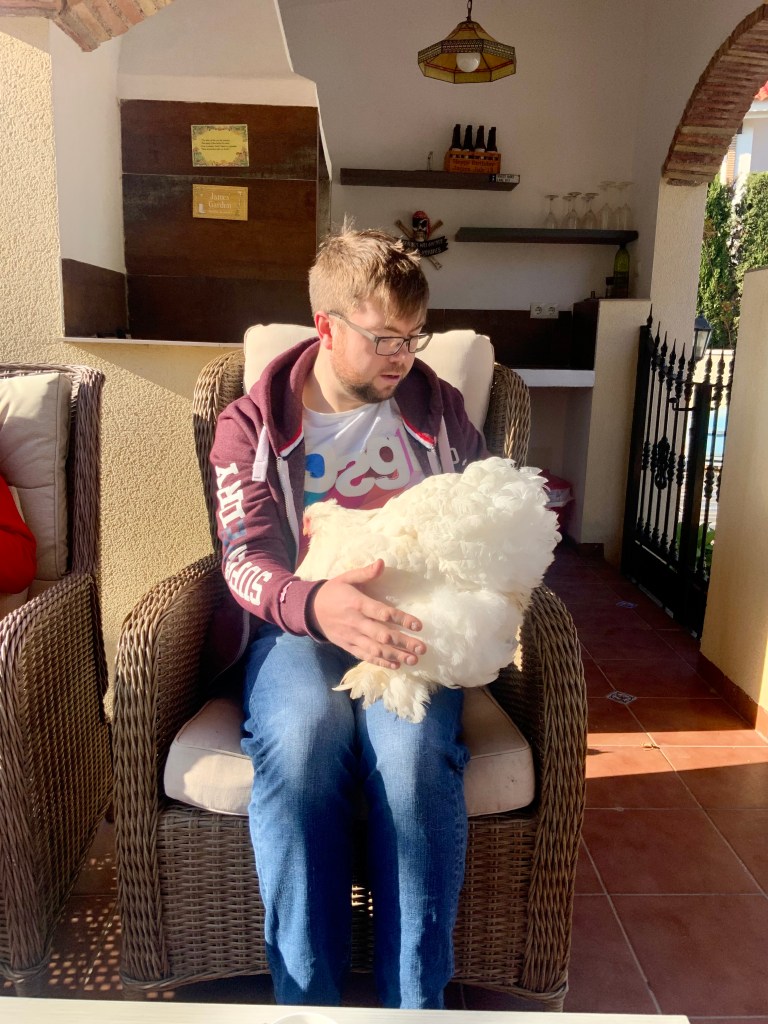
Dealing with the loss of the little white dove and the arrival of the rabbit. Regular readers of this blog will know that a little white dove arrived in our garden about a year ago, and since then has had accommodation built specially for her, she was fed special food, and has joined in Chickenese classes with Cruella (my wife) and her girls.
Well sadly I have to report that the little white dove has been missing for a few weeks. Cruella has been fretting from day one and insisted that I contact the police. I told her not to be so stupid. She then insisted that we contact the Bureau for Dove Investigations (BDI), to my surprise it appears there is such a thing. They have said that as it is spring the little white dove may have gone off to mate. Cruella is dismayed about not having an engagement party, but has calmed down a lot now that she has started knitting onesies for the future chicks when they visit. Myself, I think it was probably a cat.
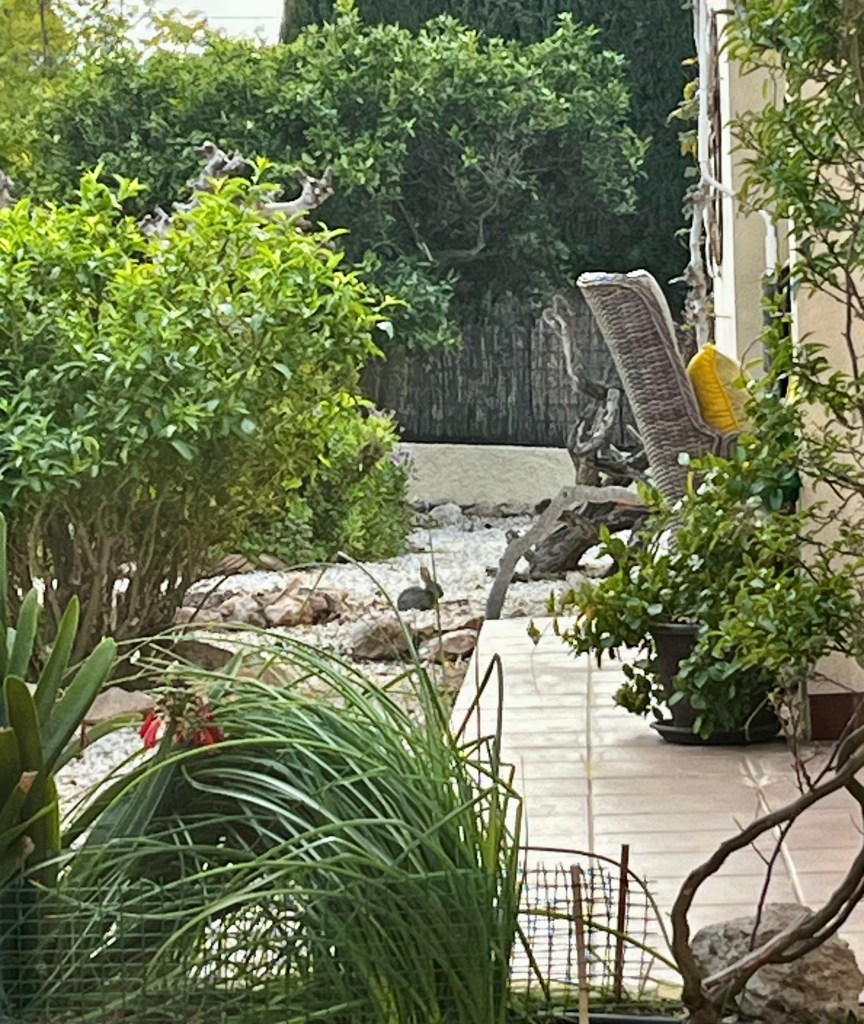
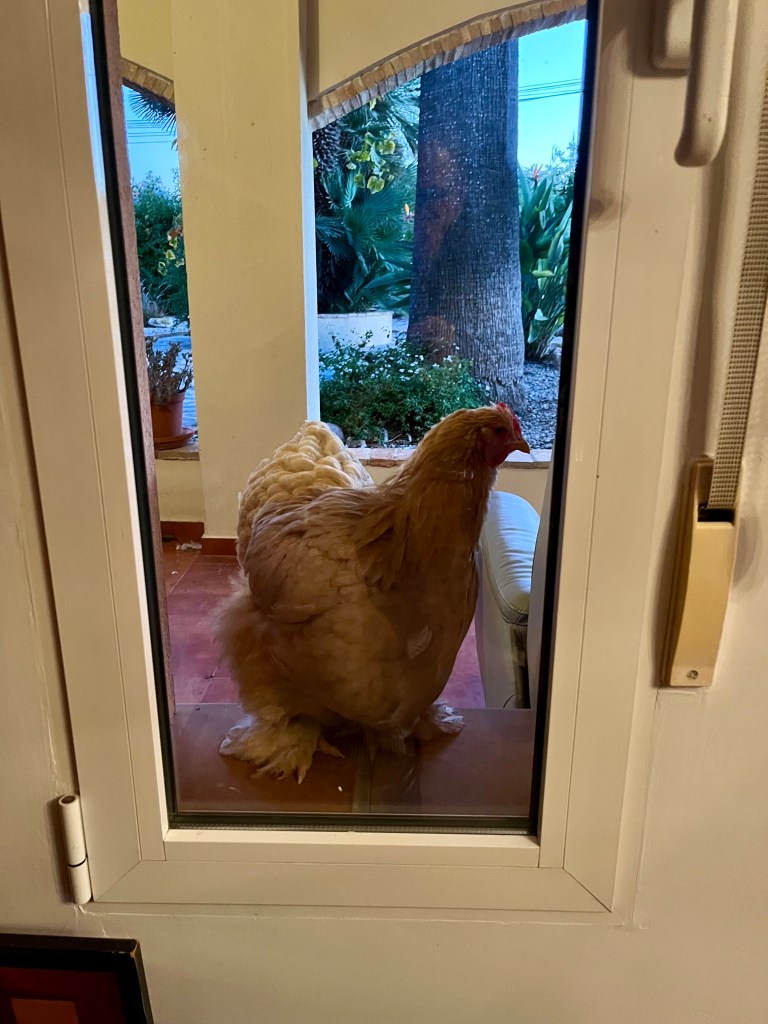
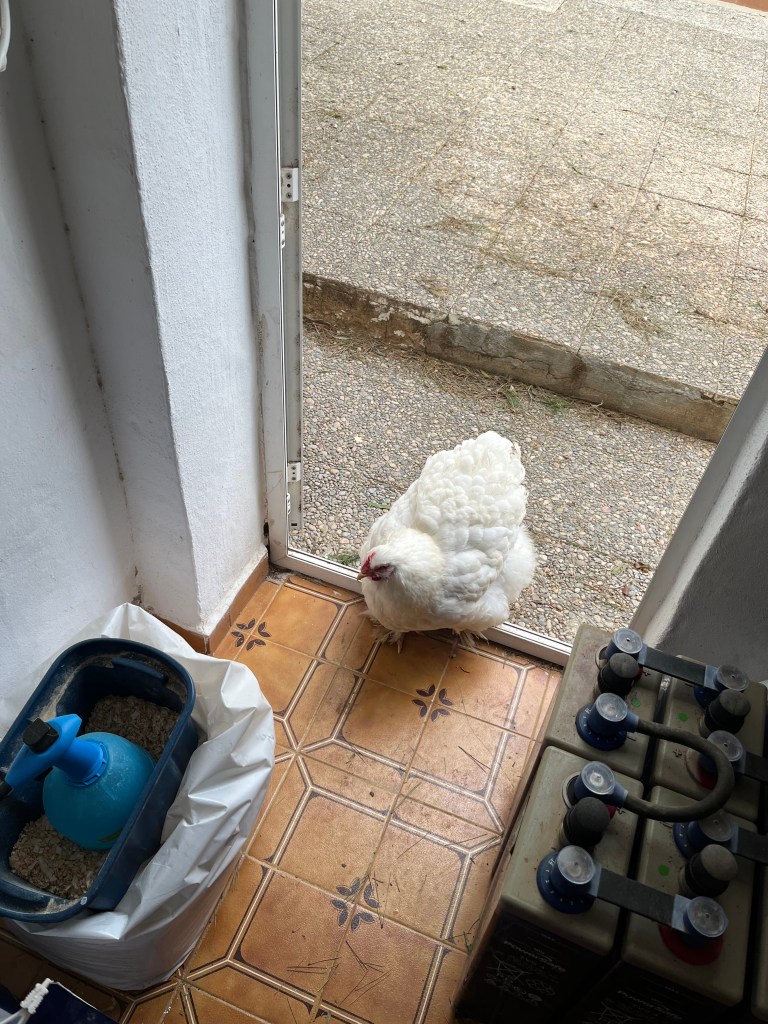
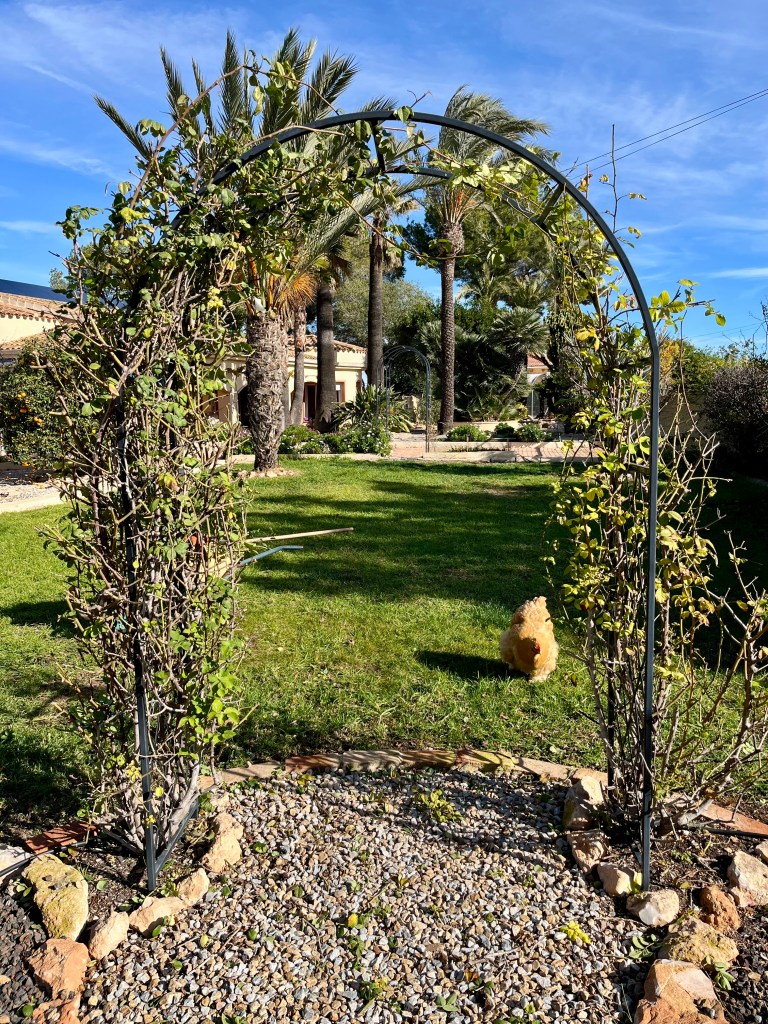
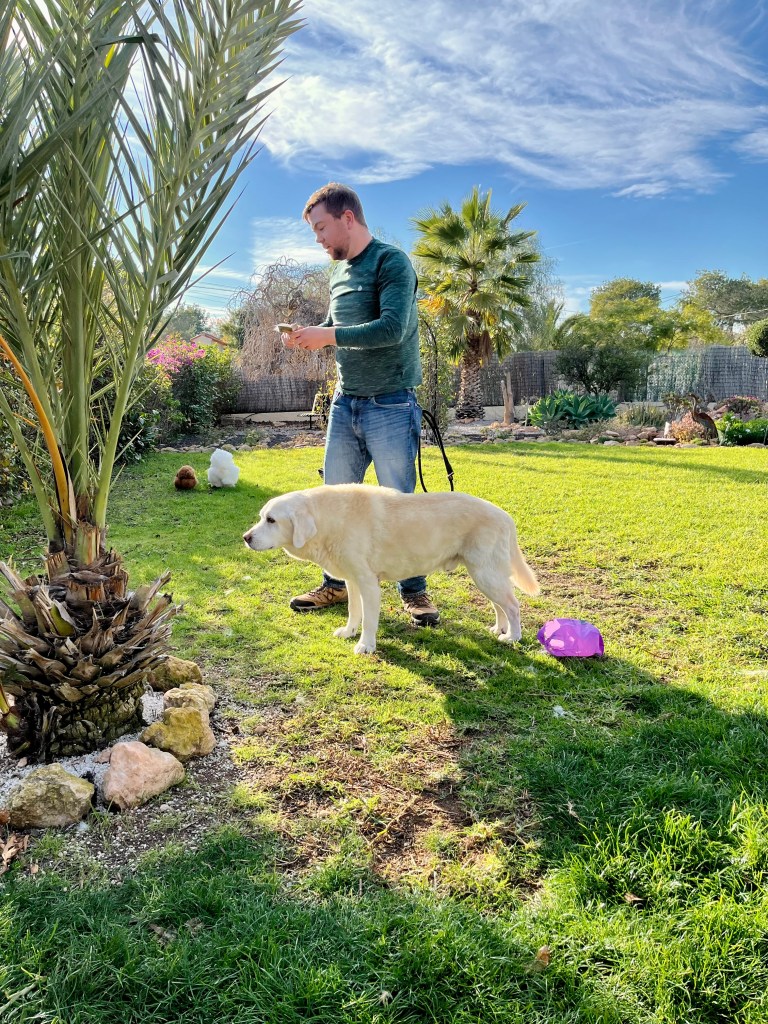
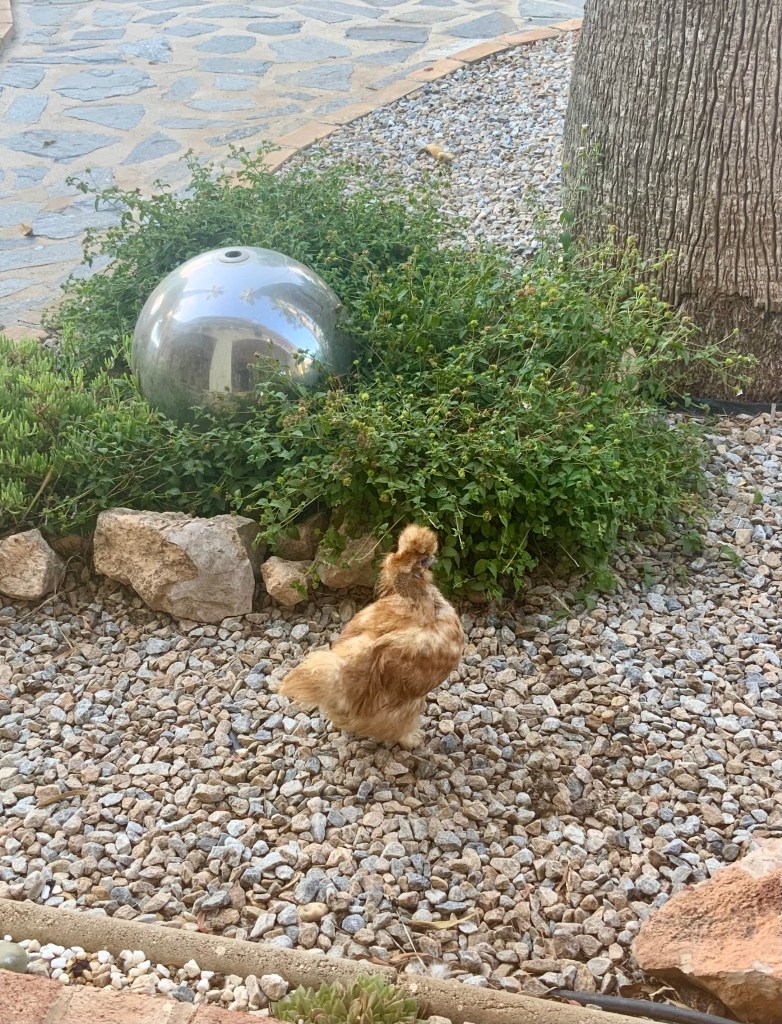
Well you can imagine my surprise when no sooner had the little white dove disappeared than a little blue rabbit appeared in the garden. It sleeps in a bed of Osteospermum and comes out during the day to frolic with the chickens on the lawn.
Cruella claims it is an answer to her prayers as she has always wanted a boy. This upset the idiot son, but he got over it. Anyway Cruella and her girls have named him Peter. I thought after the Apostle and founder of the Church, but no it seems after the Beatrix Potter character.


You must be logged in to post a comment.